What can I help
you find?


Explore our top blog’s
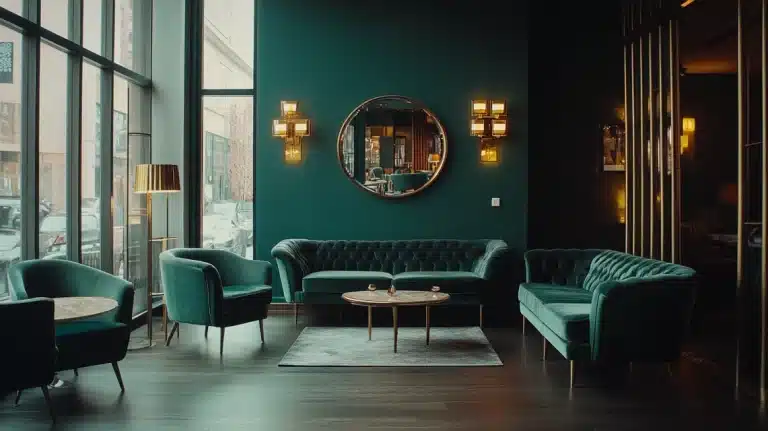


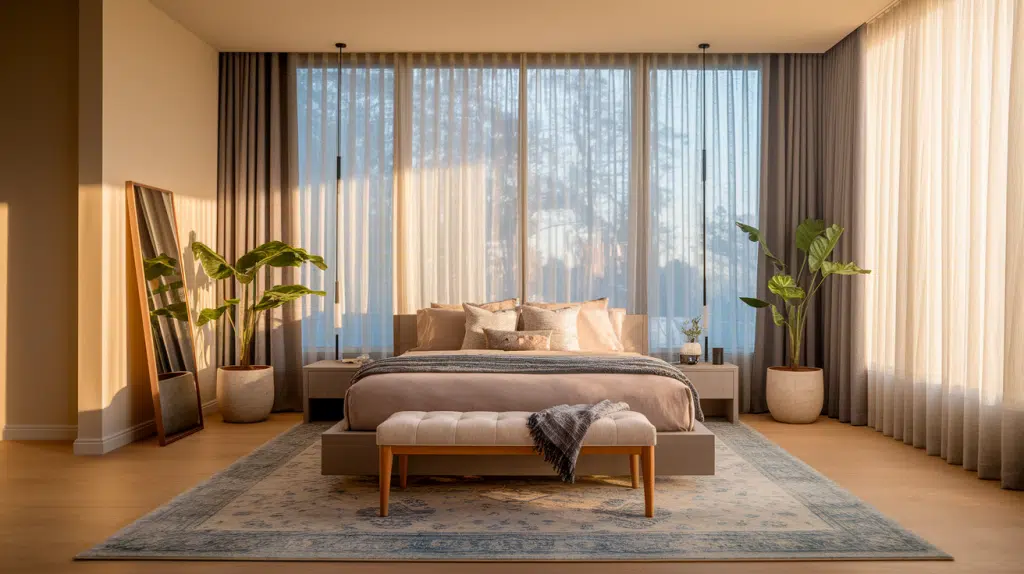
Decorate your home
Decorate your home and turn it into a stylish and inviting space. Choose from a wide range of furniture, accessories, and decorations to make your home your own. From modern to vintage, we have something for everyone.
Fun Facts About Me
I’d rather be
at the beach
Listening to
country music
grateful for
my family
Favorite place
maui
my weekends
sports & family
best snuggle buddies
my puppies
HI THERE! I’m Sarah Lyall
I’m the resident home decor expert at A House In the Hills. I’m an interior designer and stylist with over 10 years of experience working with clients to help them create the home of their dreams. I specialize in creating unique and timeless spaces that reflect the client’s personal style and budget.
My love of home décor began at a young age when I would rearrange my bedroom furniture every week and create my own little dream spaces. I’m passionate about helping others make their home look and feel great.
My design philosophy is simple: create spaces that are both functional and beautiful. I believe that a home should be a place of comfort, relaxation, and joy. With my help, I’m sure that you will be able to create your own perfect haven.

Latest from the blog


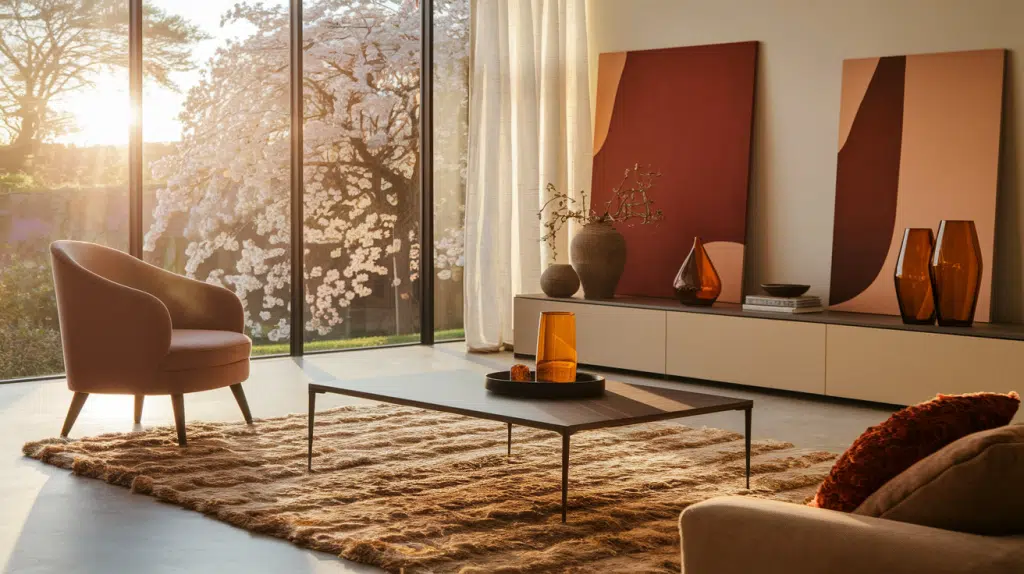
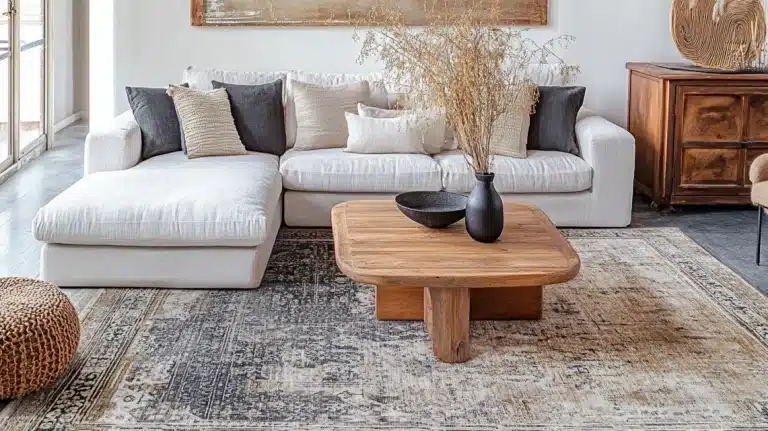
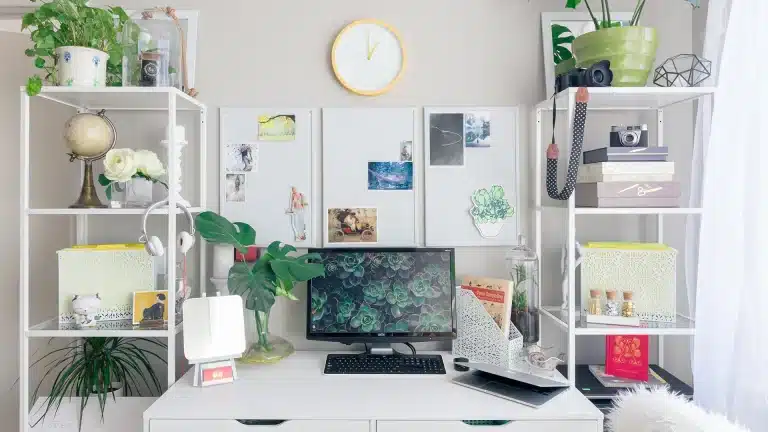
Best Home Décor and Lifestyle Products
A home in the hills offers people the best home décor and lifestyle products, which aim at curating a collection to bring the best. Start decorating your home now with a range of products like table lamps, reading nooks, and much more. We aim to ensure customer satisfaction through quality products and the best prices.