DIY Garden Tool Storage: An Easy-to-Follow Guide
Are your garden tools taking over your garage? If you’re tired of tripping over rakes or hunting for your favorite trowel, you’re not alone!
Creating your own garden tool storage is easier than you might think.
In this guide, I’ll show you how to DIY simple, cheap storage that actually works for your tools and space. With just basic supplies and a little time, you can create custom storage that keeps everything neat and within reach.
By the end of this blog, you’ll know exactly how to plan, build, customize, and maintain your own garden tool storage. Say goodbye to tool clutter and hello to a system that makes gardening more enjoyable.
Let’s get started with a solution that works for real people with real gardens!
Why Build Your Own Garden Tool Storage?
Building your own garden tool storage makes sense for many reasons. When you create a custom storage solution, you get exactly what you need for your specific tools – no wasted space or missing spots for odd-shaped items.
Money is another big plus. Most DIY garden storage projects cost less than $10 in materials, and you might even build them using scrap wood you already have lying around.
You don’t need fancy equipment either – just basic tools like a saw, drill, and some screws will do the job. Many projects take only 10-20 minutes to complete.
Best of all, you can make storage that works perfectly for your space, whether it’s for your garage, shed, or right in the garden itself.
Planning Your Garden Tool Storage
Before you start building, take a few minutes to think about what you really need. This small bit of planning will save you time and make sure your storage works well for years to come.
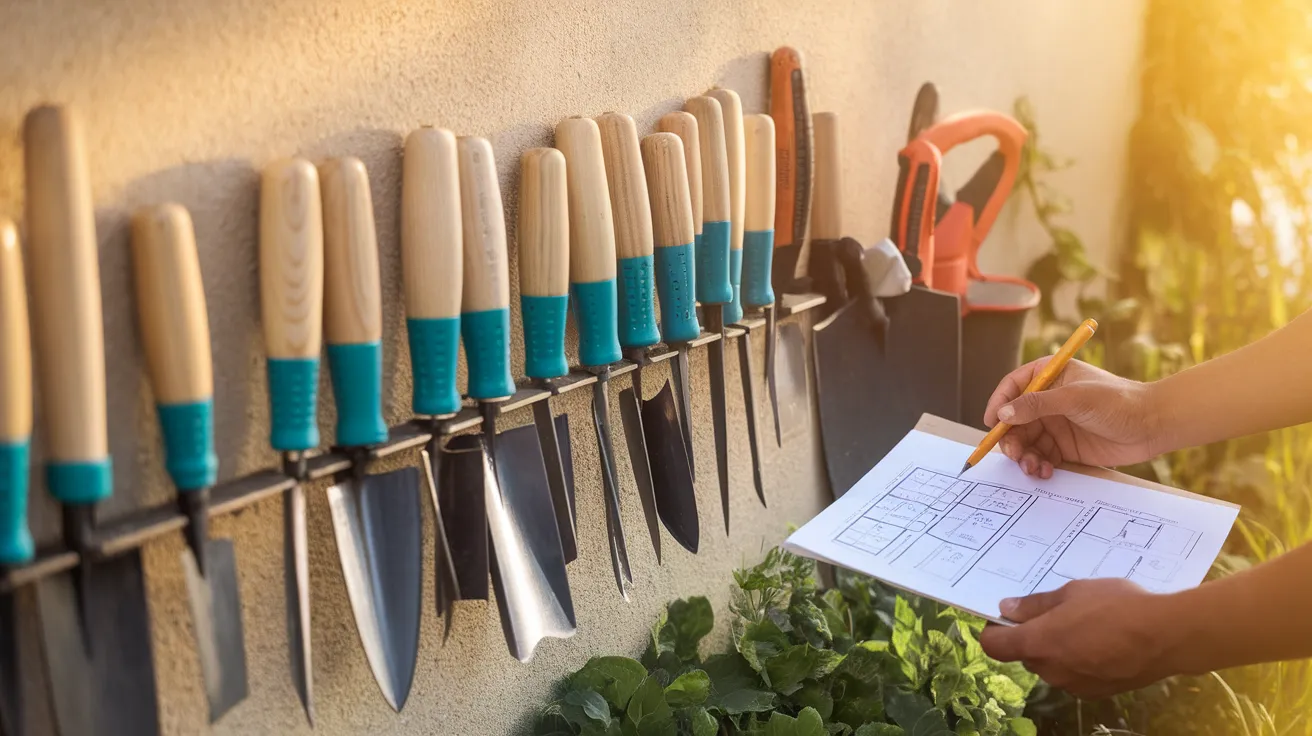
Assess Your Tools and Space
Take all your garden tools and spread them out where you can see them. I like to group similar tools together – rakes with rakes, shovels with shovels.
Grab a measuring tape and check how much wall or floor space you have to work with. Look at your garage, shed, or garden wall and decide if you want your storage hanging on the wall or standing on the floor.
Your choice really depends on what feels right for your space.
Choose Your Materials
For most storage projects, you’ll need:
- Scrap plywood (¾” thick works best)
- Or some 2×4 lumber pieces
- Wood screws (get exterior-rated ones if your storage will be outside)
- Sandpaper for smoothing rough edges
- Paint or stain if you want it to look nice with your other stuff
These basic supplies can build something that lasts for years
Step-by-Step Guide to DIY Garden Tool Storage
Let’s break down the building process into simple steps anyone can follow. Don’t worry if you’re not a woodworking expert; these steps are meant for beginners, too!
Step 1: Layout and Design
Start by sorting all your garden tools based on their size and handle type. I find it helpful to lay them against the wall where I plan to hang them. This gives me a good idea of how much space each tool needs.
Think about how you want to hang each tool – some work better hanging by the handle, others upside down. Give each tool enough room so you can grab it without knocking others off the wall.
Step 2: Cut Your Wood Pieces
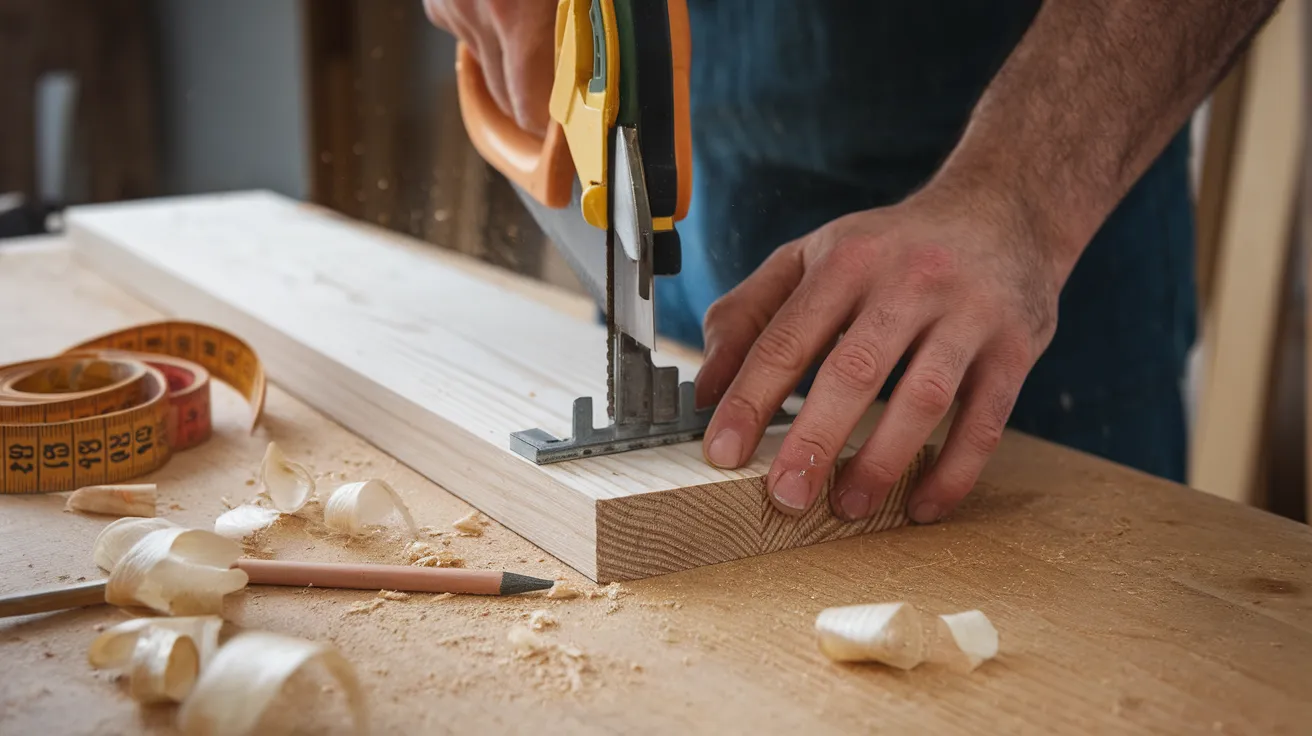
Grab your measuring tape and mark out the wood pieces you’ll need. For a basic wall hanger, you’ll want a backer panel and smaller blocks to create the actual hangers. The exact sizes will change based on your tools and available space.
If you don’t have one large piece of wood for the backer, you can make multiple smaller panels. Sometimes, this actually works better for odd-shaped spaces.
Step 3: Assemble the Organizer
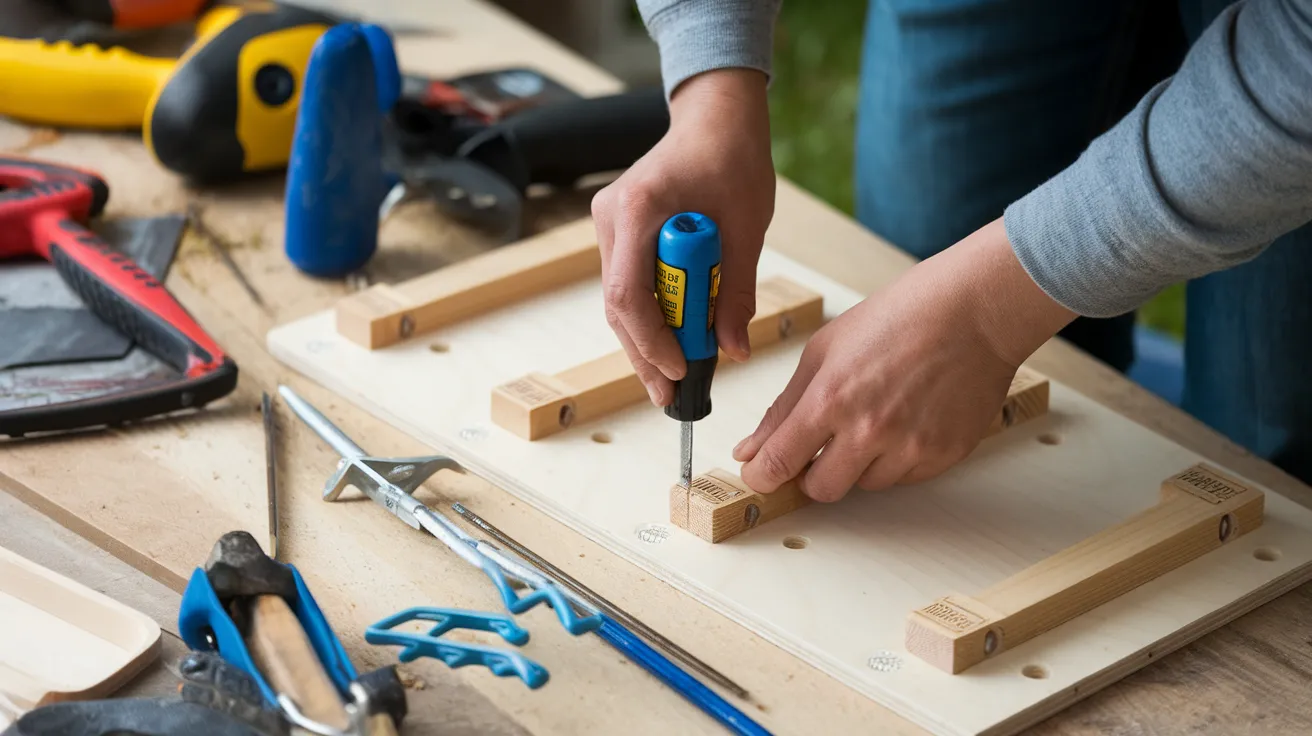
Wall-Mounted Organizer: Attach your hanger blocks to the backer panel using screws. Space them about 2 inches apart for enough room to grab tools. Make sure to secure each block firmly.
Freestanding Rack: Connect your upper and lower blocks with vertical supports. Before you finish, check that everything is square and stable. A wobbly tool rack can be really frustrating, especially when you’re trying to grab something quickly.
Step 4: Install the Storage
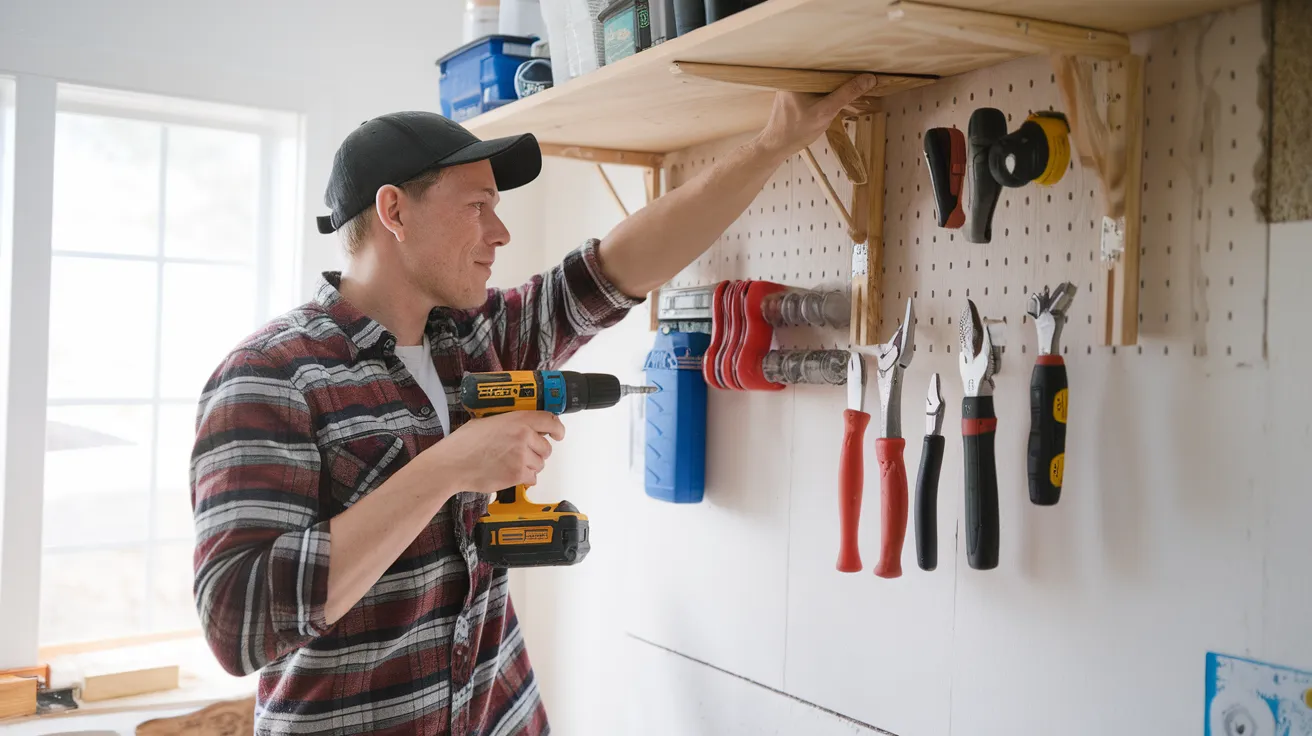
Mounting on the Wall: Use a stud finder to locate the wall studs – these provide the most secure mounting points. Install your rack at a height where your tools won’t touch the floor. If you’re mounting to brick or concrete, make sure you use the right wall anchors for a solid hold.
Setting up a Freestanding Rack: Place your rack where you can easily access it. For outdoor racks, find a spot that won’t flood or get too much direct sun. Please give it a little shake test to make sure it’s stable and won’t tip over when loaded with tools.
Step 5: Load Up Your Tools
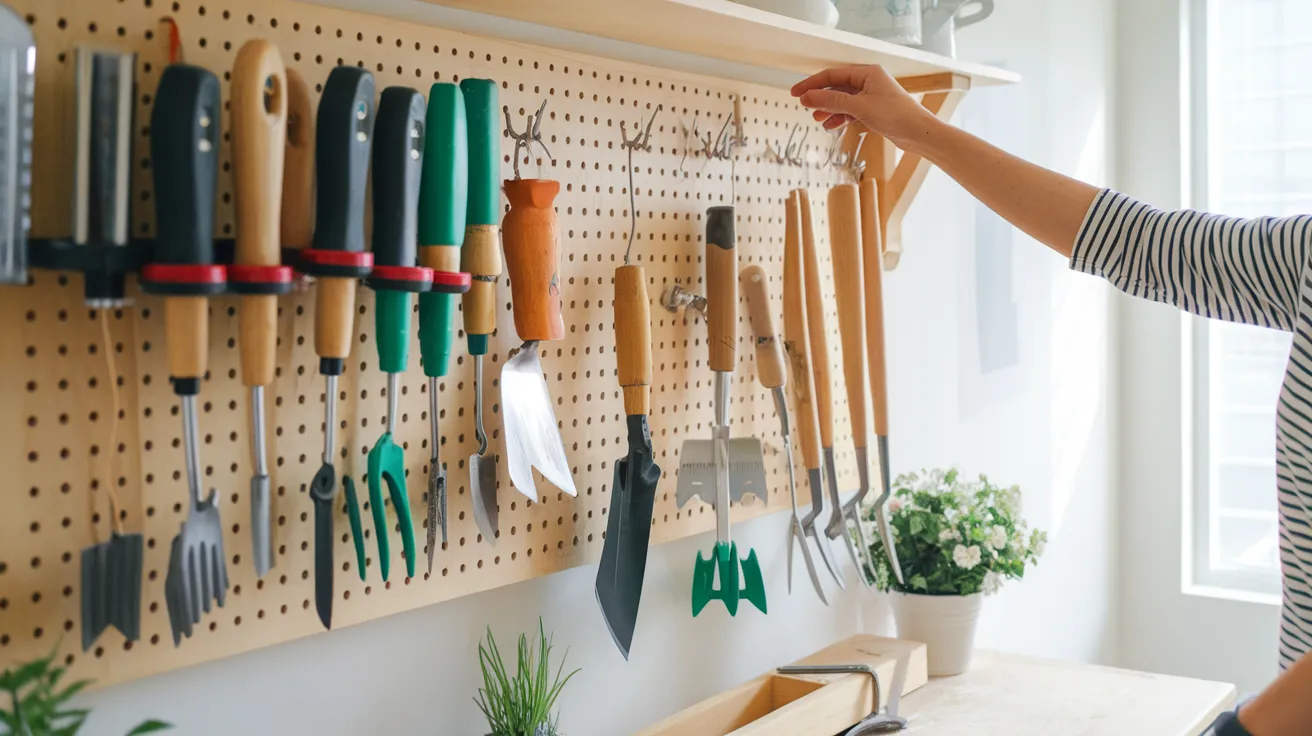
Now for the fun part: hanging up all your tools! I like to put similar tools together and place the ones I use most often in the easiest spots to reach.
Take a moment to test each hanger by removing and replacing the tool a few times. This quick check can help you spot any issues before they become real problems.
Customization Ideas
Once you’ve built your basic garden tool storage, you can add your own personal touch. These simple upgrades can make your storage more useful and better-looking without much extra work.
Personalize Your Build
Why not make your tool rack look nice while keeping it practical? A coat of paint or stain not only adds some color but also helps your wood last longer, especially in damp garden sheds.
You could also add small labels under each spot so that everyone in the family knows where the tools belong. This has saved many arguments in my house!
Try adding a few extra hooks for smaller hand tools like trowels and pruner, these tend to get lost easily. Having a dedicated spot for them is a real time-saver when you’re rushing to get some garden work done.
Adapt for Indoor or Outdoor Use
If your tool storage will live outside in the weather, use treated lumber or add a good outdoor sealant.
For areas that get strong winds, make sure to secure freestanding racks to the ground or a wall. Nothing’s worse than coming outside after a storm to find all your tools scattered across the yard.
A few extra minutes securing things now can save you hours of cleanup later.
Maintenance Tips
A little care will keep your garden tool storage working well for many years. Just like your garden tools, your storage needs some attention now and then.
- Regularly check screws and fastenings that might come loose, especially after heavy use. I make this a habit at the beginning of each season. It only takes a minute but saves so much hassle later.
- Wipe down your organizer when it gets dirty. Mud and plant bits can build up over time. A quick brush or damp cloth is all it takes to keep things clean and make your storage last longer.
- For outdoor storage, watch for signs of weather damage. A fresh coat of paint or sealant every year or two will protect the wood and keep everything looking good. I learned this the hard way after my first rack rotted!
Conclusion
Building your own garden tool storage really does make a difference in your gardening life. Instead of wasting time searching for tools, you can grab exactly what you need and get back to gardening.
The best part? You’ve now got all the know-how to create something that fits your unique space and collection of tools. No more settling for store-bought options that never quite work right.
Remember that your storage solution can grow and change as your gardening hobby does. Add hooks, adjust spacing, or build additional units as needed.
I hope this guide has taught you everything you need to know about DIY garden tool storage, and you can have a perfect spot waiting!