DIY Potting Bench With Sink: A Quick Guide
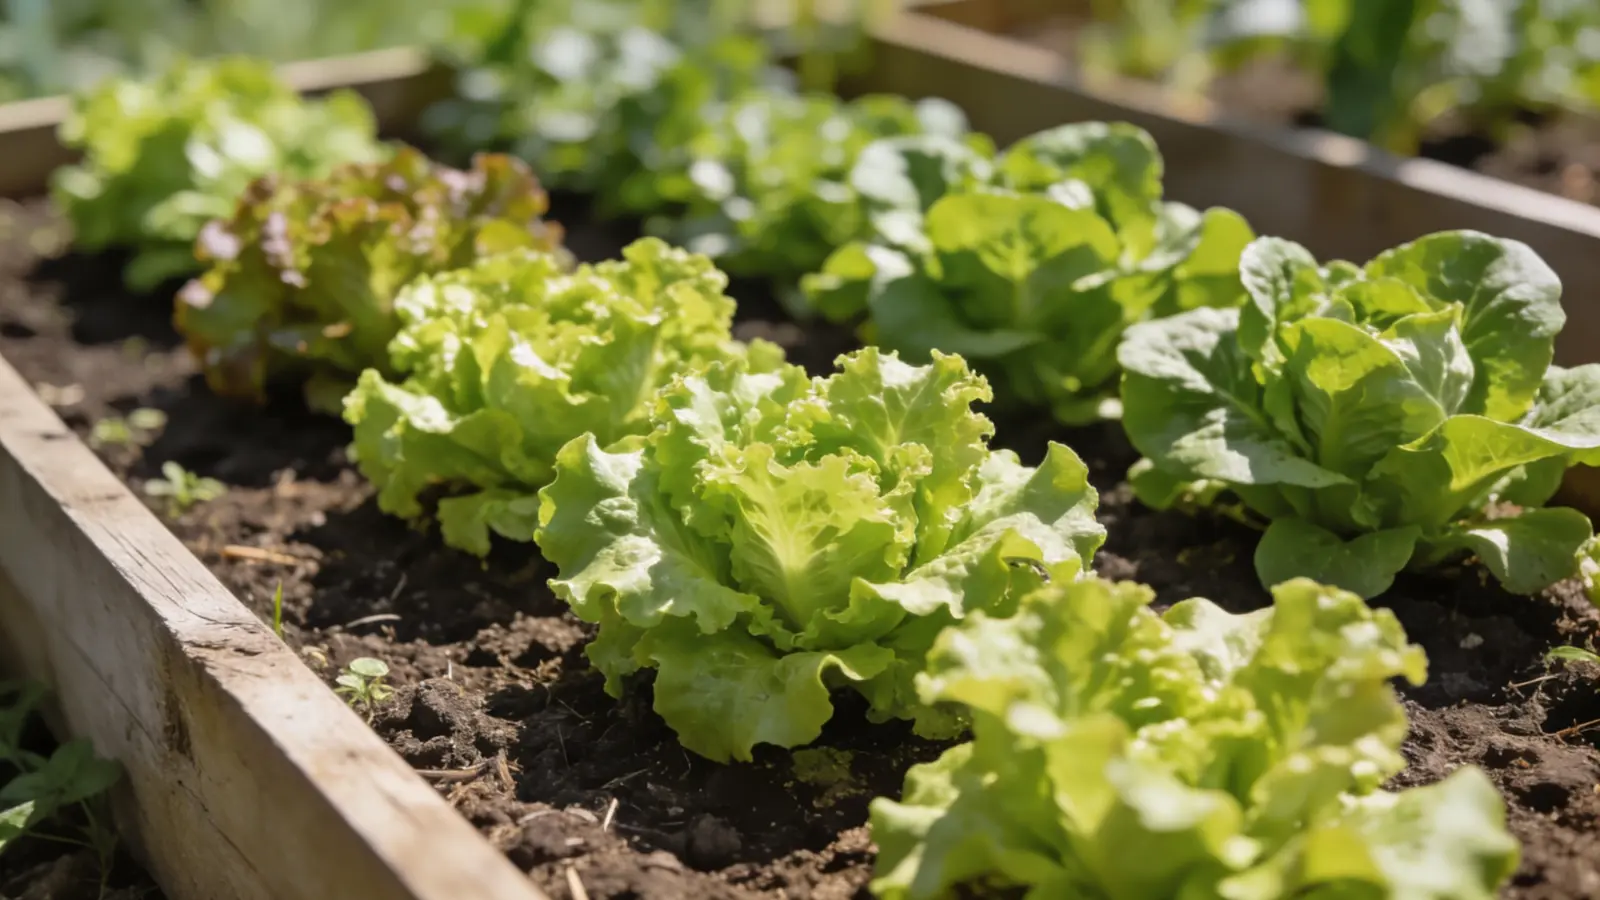
Tired of bending over or making a mess every time you repot a plant? A basic garden table just doesn’t cut it, especially when water and soil are involved.
That’s where a DIY potting bench with a sink comes in. It gives you a clean, organized space to work and makes cleanup easy.
If you’re a first-time builder or want a smarter setup, this project saves time and hassle. Keep reading, and you might find some clever ideas that even store-bought benches don’t offer.
This guide will walk you through everything from gathering materials to adding smart features like a built-in sink. But before we start building, let’s talk about why a sink makes such a big difference.
Why Add a Sink to Your Potting Bench?
A sink might seem like a small feature, but it makes a big difference once you’re using your bench regularly.
With a built-in sink, you can keep soil, water, and tools in one place. No more running back and forth to the hose or dragging dirty pots inside to clean them. Everything stays right where you need it.
It also helps control mess. You can rinse off muddy tools, wash your hands, or clean up spilled soil without creating more work for yourself. This keeps your garden area cleaner and saves time in the long run.
A sink also makes planting tasks easier. In one spot, you can soak roots, fill watering cans, and handle messy jobs like mixing soil or rinsing produce.
In short, a sink turns your bench into a complete garden station. It’s a simple add-on that makes gardening smoother, neater, and more convenient.
Tools and Materials Checklist
Before you start building, gather everything you’ll need. Here’s a simple list to help you stay organized.
Basic Tools:
- Tape measure
- Pencil
- Power drill
- Saw (hand saw or circular saw)
- Screwdriver or screw gun
- Clamps
- Sandpaper or power sander
Materials:
- 2×4 or 2×6 lumber (for the frame and legs)
- Plywood or deck boards (for the top and shelves)
- Screws or nails
- Wood glue
- Outdoor wood sealant or paint
- Metal or plastic sink basin (repurposed or new)
Plumbing Basics (if using a real sink):
- Garden hose splitter or adapter
- Drain hose or bucket for runoff
Optional Upgrades:
- Locking wheels for easy movement
- Faucet with hose hookup
- Hooks or pegs for hanging tools
- Drawers or storage bins
- Waterproof liner for the sink area
- Towel bar or glove rack
Gathering your tools ahead of time will make the whole project go more smoothly.
Step-by-Step DIY Potting Bench Plans with Sink
This project is beginner-friendly and can be done in a weekend.
Step 1: Planning Your Design

Start by deciding how big your bench should be and where it will go. Measure your space and consider how you’ll use the bench. Will it stay in one spot, or do you want to move it around?
Choose the Right Size:
- Make your bench about 36 inches tall so you can work without bending.
- Go with a width of 3–4 feet and a depth of 18–24 inches for a roomy but compact setup.
- Adjust the size based on your space and needs.
Sketch Your Layout:
- Draw a simple plan on paper.
- Mark out the frame, shelves, and sink location.
- Think about where you’ll want hooks or bins for tools.
Pick a Sink Style:
- Dry sink: Easiest option; drop in a bowl or tub.
- Metal basin: More durable and easy to clean.
- Old kitchen sink: Great if you’re reusing materials; make sure it fits your design.
Planning helps you build faster and get better results.
Step 2: Cutting and Assembling the Frame
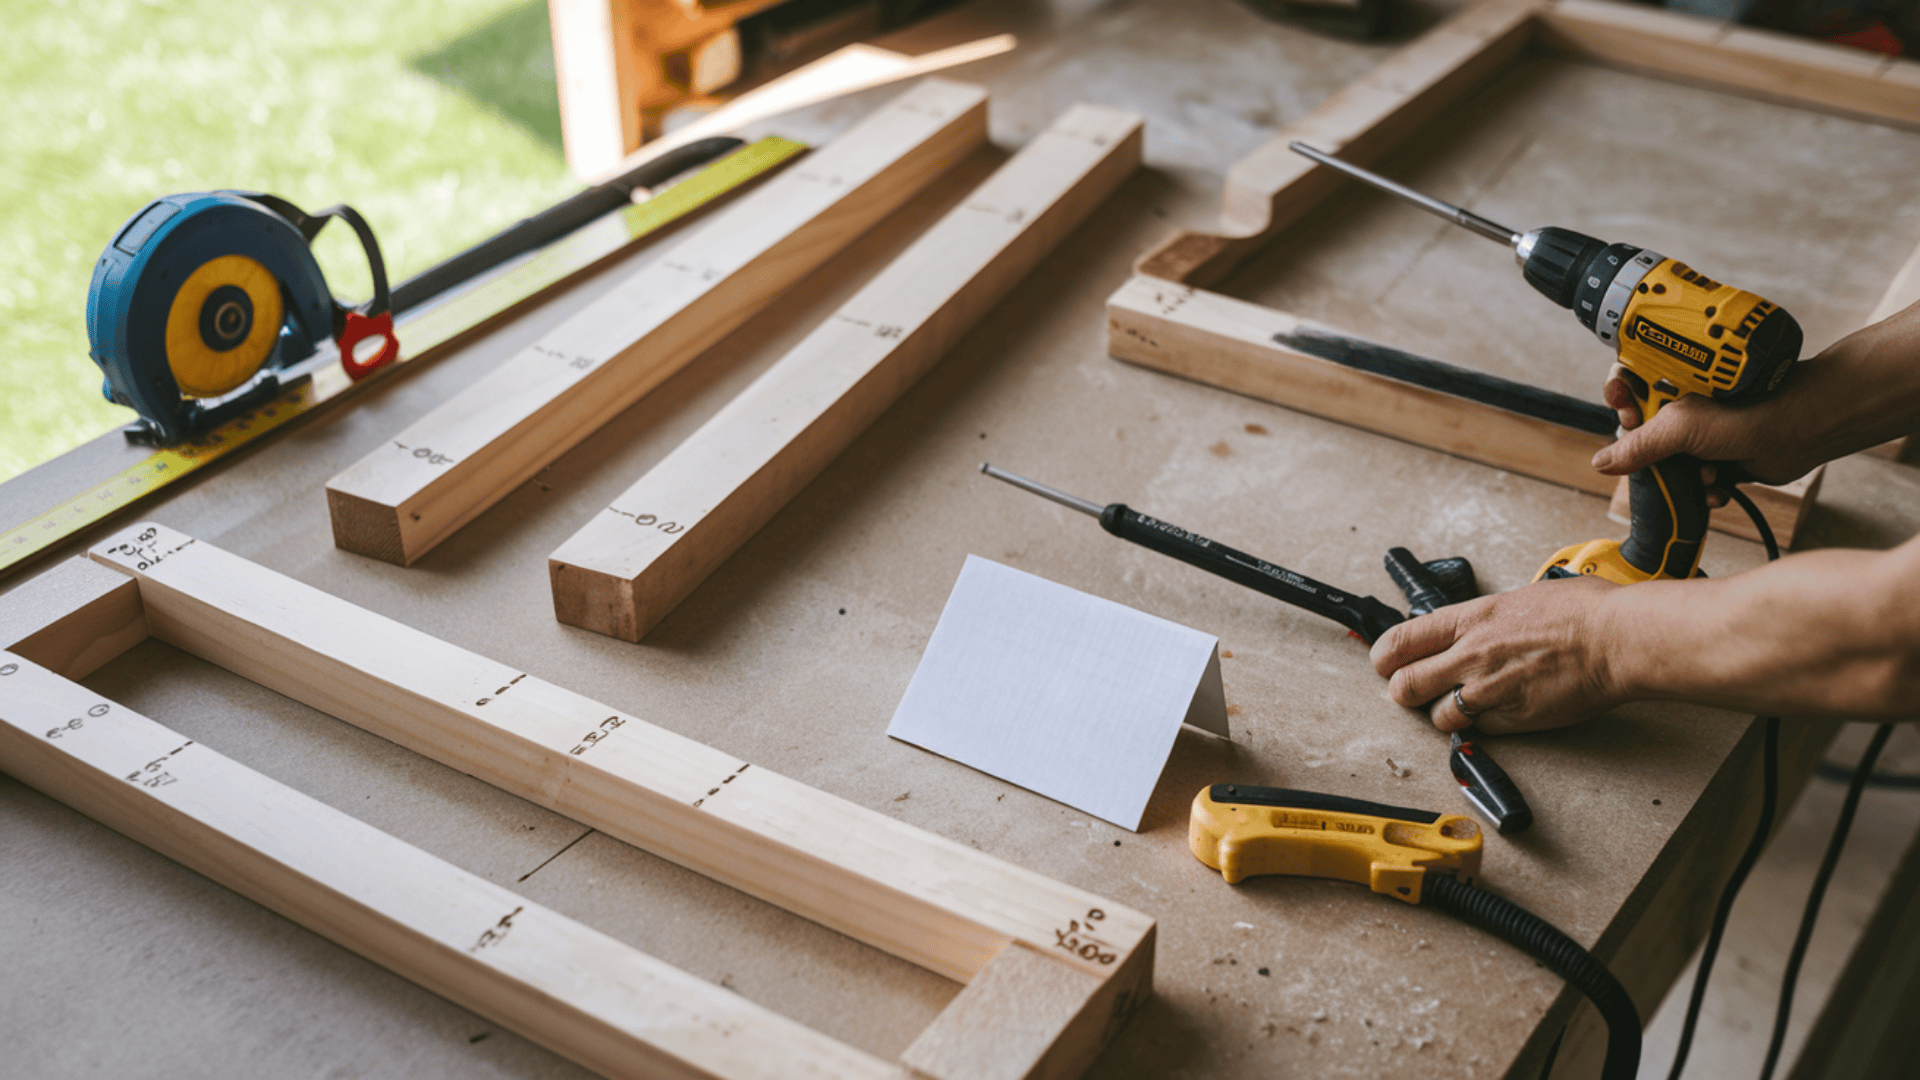
Now that you’ve planned your layout, it’s time to cut your boards and build the base of your bench.
Basic Frame Measurements:
Here’s a simple frame size that works for most spaces:
- Legs: 36 inches tall (4 pieces)
- Top frame: 48 inches wide x 20 inches deep
- Bottom shelf frame: same size as the top, about 12 inches from the ground
You can adjust these numbers to fit your space. Just make sure the bench feels comfortable to stand on and work on.
Lumber Options:
- Cedar: Naturally weather-resistant, lightweight, long-lasting; best choice for outdoor use
- Pine: Cheap and easy to find, but needs sealing to protect from rot
- Pressure-treated wood: Strong and weather-resistant, but may contain chemicals; don’t use on surfaces where food or herbs will go
Once cut, assemble the frame using screws and wood glue. Clamp pieces while fastening to keep everything square.
Step 3: Installing the Sink
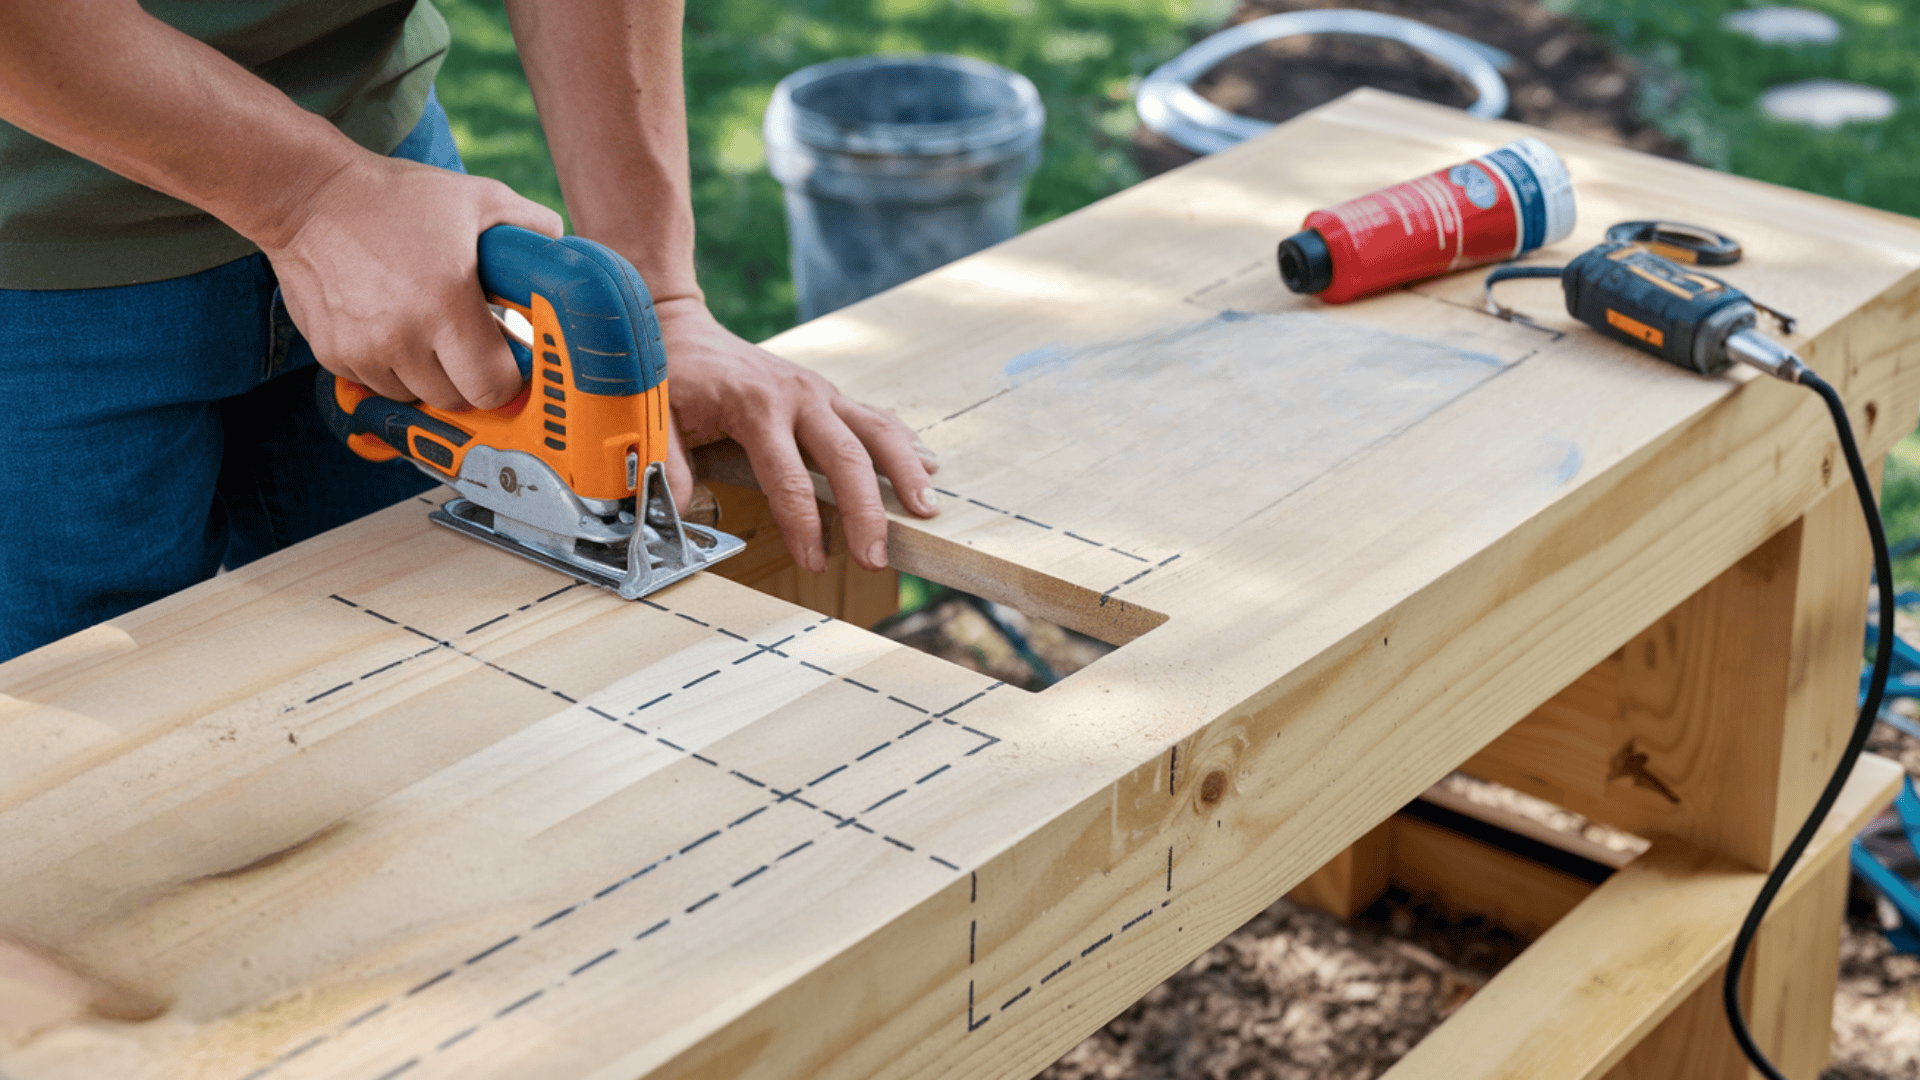
The sink is the centerpiece of your potting bench, so take your time with this step. You’ll need to cut a hole in the countertop and decide how the sink will drain.
Mark and Cut the Sink Opening:
- Place the sink upside down on the countertop where you want it.
- Trace around the edge, then draw a second line ½ inch inside—this will be your cutting line.
- Use a jigsaw or hand saw to carefully cut along the inner line.
- Test-fit the sink. It should sit snugly without falling through.
Install the Sink:
- For a dry sink, drop it into place. No sealing is needed.
- For a plumbed sink, apply waterproof caulk around the edge for a tight seal.
Add Drainage (Optional):
- Attach a drain pipe or hose underneath if your sink has a drain hole.
- Direct the water into a bucket or down a slope to keep your area dry.
Installing the sink properly makes your bench more useful and keeps cleanup easy.
Step 4: Adding Storage and Features
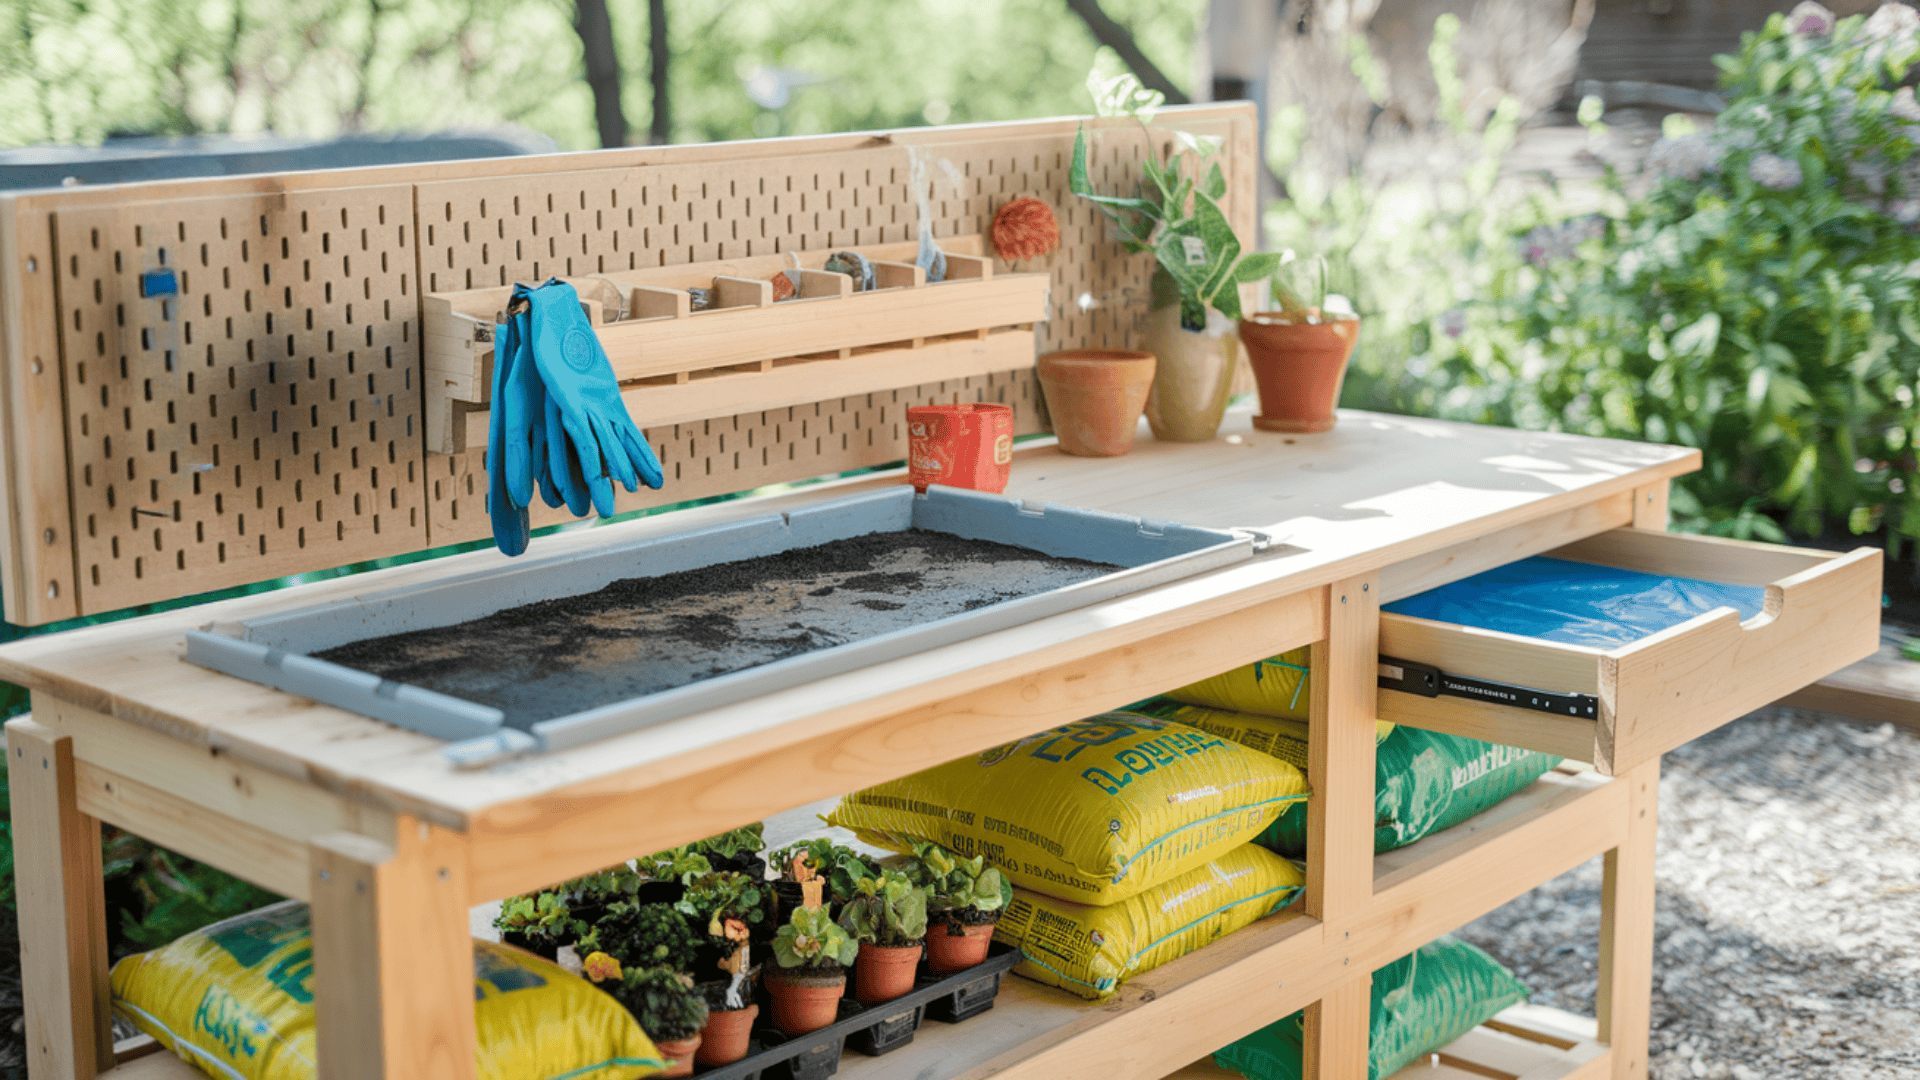
Now that the frame and sink are in place, it’s time to make your bench more useful with some smart add-ons.
Lower Shelves, Hooks, and Side Trays:
- Cut boards to fit between the legs for a lower shelf; great for storing pots, soil, or tools
- Attach hooks or a pegboard along the back or sides for trowels, gloves, and other tools
- Add a small side tray or folding shelf for extra workspace when needed
Weatherproof Drawer Solutions:
- Use plastic storage bins or repurpose old kitchen drawers
- Line drawers with plastic or a waterproof mat to prevent water damage
- Install simple sliders using wood strips or metal runners
These features help keep your workspace clean, organized, and ready for any garden task.
Step 5: Finishing Touches

This last step makes your bench look good and last longer, especially outdoors.
Sanding, Staining, and Sealing:
- Sand all edges and surfaces to prevent splinters
- Apply an outdoor wood stain or paint for color and added protection
- Finish with a clear weatherproof sealant to guard against moisture and sun damage
Attaching Casters or Anchoring the Bench:
- Add locking casters if you want to move the bench around your patio or yard
- If you want it to stay put, anchor the legs with brackets or L-hooks to a wall or deck
Finishing your bench right helps it hold up through the seasons and gives it a clean, polished look
Bonus Upgrades You Can Add Later
Once your bench is built, you can add a few extra features to make it even more useful and fun to use.
These upgrades aren’t needed right away, but they’re great if you want to improve your setup.
- Water tank or faucet connection: Add a small water tank with a spout or connect a faucet using a garden hose adapter. This gives you running water without plumbing.
- Folding tabletop extensions: Install a drop-leaf or side panel to give yourself more work space when needed. Fold it down when you’re done to save room.
- Vertical pegboard or tool organizer: Mount a pegboard or slatted board to the back for easy access to tools, gloves, and garden tags.
- Greenhouse integration: Place your bench inside a greenhouse or add a cold frame nearby to keep plants protected and ready for transplanting.
These small additions can make your bench more flexible, organized, and efficient over time.
Common Mistakes to Avoid
Avoid these simple but common errors to make sure your bench lasts and works the way it should.
Building a potting bench is a fun project, but skipping a few key steps can lead to problems later.
Using untreated wood: If your bench stays outside, untreated wood can rot fast. Choose cedar or seal pine well to protect it from weather.
Poor drainage for the sink: Without a good way for water to drain, you’ll end up with standing water or mud. Always plan for a drain bucket or hose, even with a dry sink.
Inadequate bracing: Wobbly benches are unsafe and annoying. Make sure to use corner braces or cross supports to keep your frame strong and stable.
Forgetting to level the bench: If your bench isn’t level, water won’t drain properly, and tools may roll off. Use a level before screwing the frame together.
Skipping weather protection: Outdoor benches need a sealant or paint to prevent damage from rain and sun. Unsealed wood will crack, warp, or rot over time.
Taking a little extra care during the build can save you a lot of hassle later.
Final Thoughts
Building your potting bench with a sink is a simple weekend project that can totally change how you garden.
It provides a cleaner, more organized space to work in, and the built-in sink saves time and hassle with every task.
If you’re planting, repotting, or just cleaning up, having a dedicated station makes everything easier. Plus, you can customize it to fit your space and style.
Take the time to plan it right, and it’ll serve you well for years.
Want more DIY garden ideas? Check out our other posts for helpful guides, simple builds, and creative ways to upgrade your outdoor space. There’s something for every gardener.