How to Use Tung Oil on Pine: Tips and Benefits
Looking to make your pine wood look better and last longer? Tung oil is a popular choice, but applying it correctly can be tricky if you’re unsure of the process.
This blog will guide you through everything you need to know about using tung oil on pine, from preparation to application. You’ll learn how to get a smooth, durable finish without making common mistakes.
If you’re finishing furniture, floors, or smaller items like cutting boards, we’ve got you covered. Keep reading to find out how to achieve the best results and avoid the pitfalls others often face.
You’ll be ready to tackle your pine projects with confidence.
Benefits of Using Tung Oil on Pine
Tung oil is a natural finish made from the seeds of the tung tree. It’s been used for centuries to protect wood because of its ability to create a durable, water-resistant surface. Unlike other finishes, tung oil soaks deep into the wood, highlighting its natural grain and adding a rich, warm tone.
Here’s why tung oil is perfect for pine:
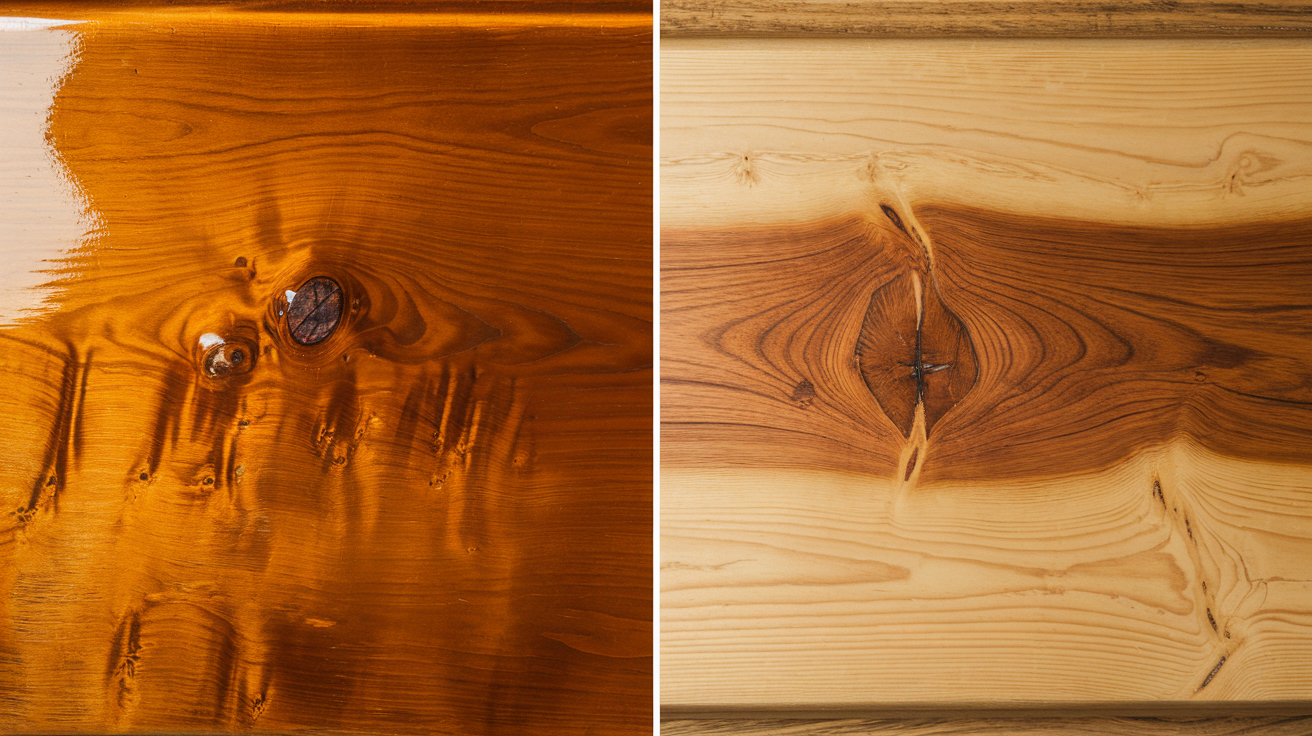
- Enhances Natural Grain: Tung oil seeps deep into the wood, bringing out the beauty of the pine’s natural grain. This gives the wood a rich, warm look.
- Durability: It creates a tough, water-resistant layer that protects pine from spills, stains, and daily wear.
- Non-Toxic: Pure tung oil is a safe, food-grade option, perfect for projects like cutting boards and furniture.
- Long-Lasting Protection: Once applied, tung oil forms a protective barrier that can last for years, keeping the wood looking great.
- Easy to Apply: Tung oil is simple to use, requiring only thin coats and minimal sanding between layers.
In addition, it’s an eco-friendly option compared to synthetic finishes, providing long-lasting, natural protection for wood projects.
These benefits make tung oil a great choice for improving both the look and lifespan of pine wood.
How to Apply Tung Oil on Pine
Applying tung oil to pine is easy, but following the right steps will give you the best results. Here’s a simple, step-by-step guide to help you get started:
Preparation
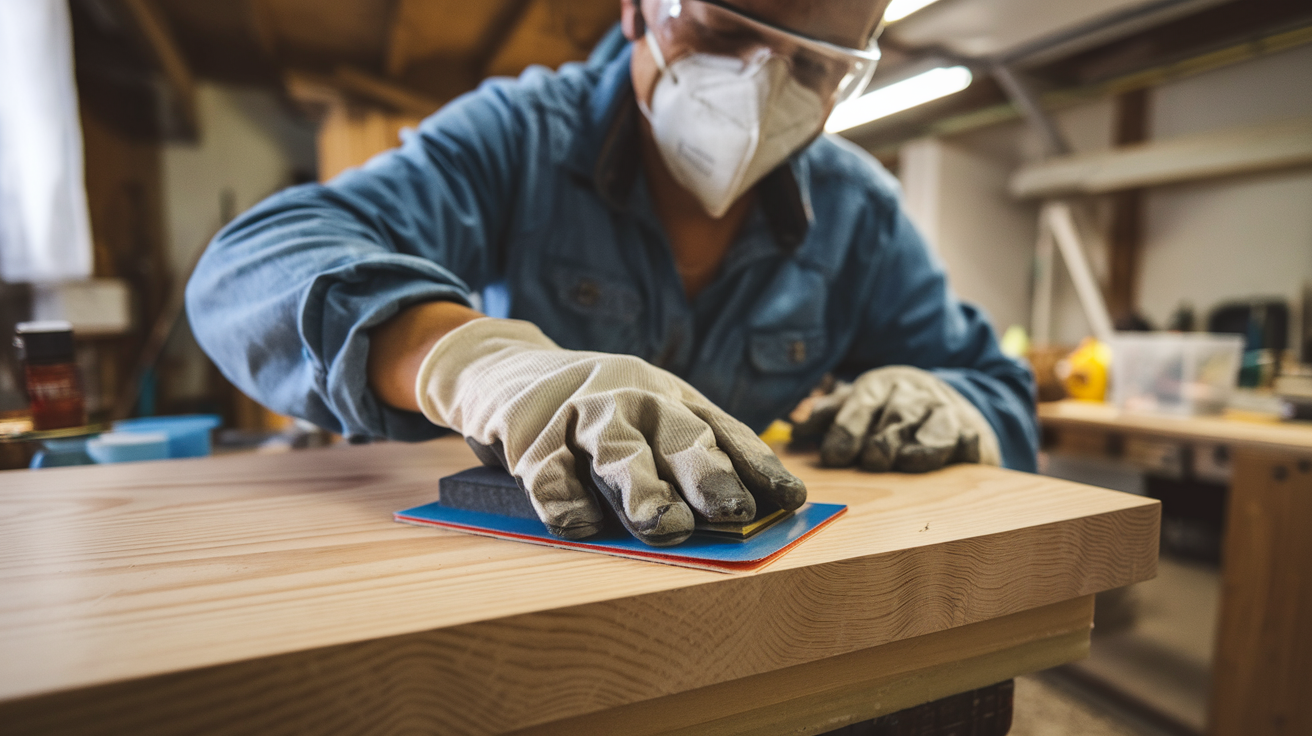
Before you start applying tung oil, it’s important to prepare the surface properly.
- Clean the Surface: First, make sure the pine is free from dust, dirt, or any old finishes. Wipe it down with a clean cloth to ensure a smooth, clean surface.
- Sand the Wood: Lightly sand the pine with fine-grit sandpaper to remove rough spots and make the surface smooth. This step helps the oil absorb better.
Applying Tung Oil
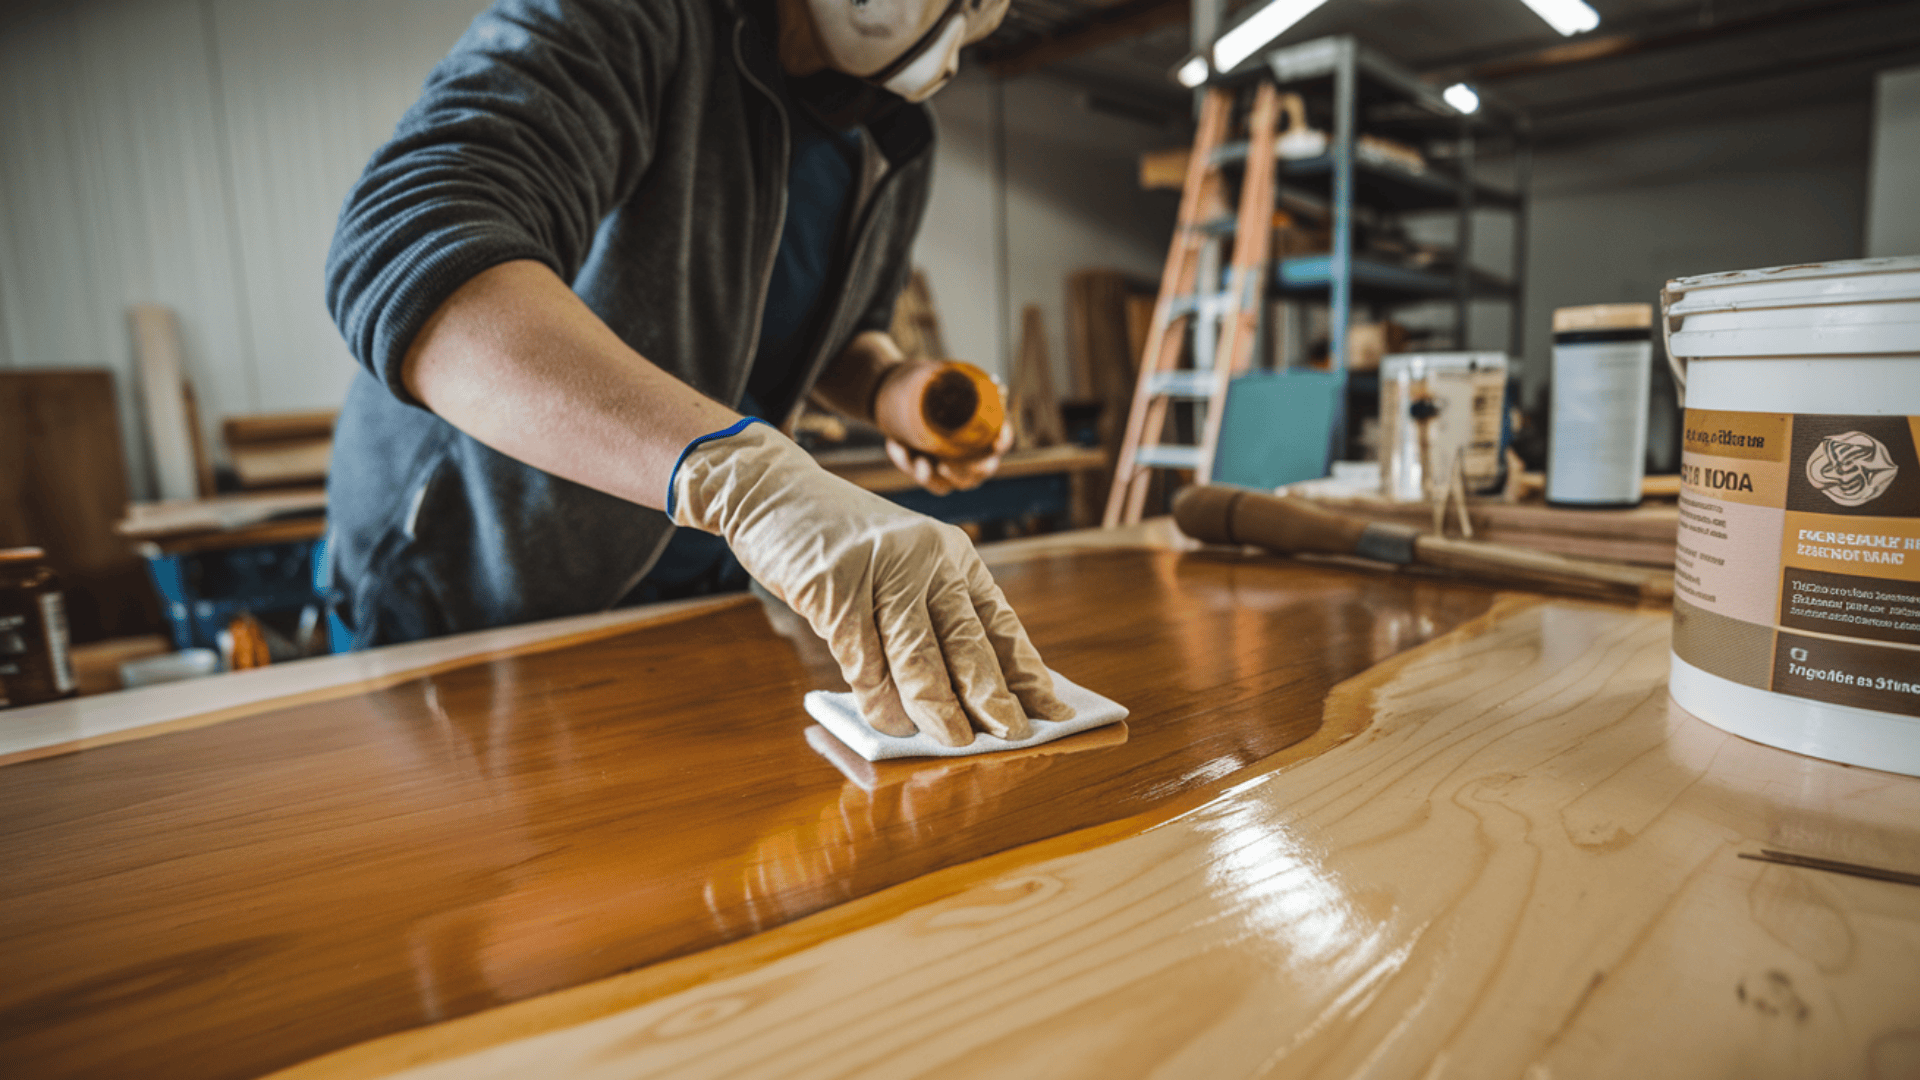
Now, it’s time to apply the tung oil.
- Apply Thin Coats: Start by applying thin, even coats of tung oil using a clean cloth or brush. Thin layers help the oil soak into the wood better.
- Wipe Off Excess: After each coat, wipe off any extra oil with a clean cloth to prevent it from getting sticky or tacky.
- Let It Dry: Allow each coat to dry completely before applying the next. Typically, you’ll need to wait 24 hours between coats.
For the best finish, you’ll need to apply several coats of tung oil.
- How Many Coats? Two to three coats should be enough for most projects. If you want extra protection, you can add more.
- Sanding Between Coats: After each coat dries, lightly sand the surface with fine-grit sandpaper to smooth things out. This will help create a smooth, flawless finish.
By following these steps, you’ll get a beautiful, durable finish on your pine wood that lasts.
Achieving a High-Gloss Finish with Tung Oil
If you’re aiming for a glossy appearance on your pine wood, achieving a high-gloss finish with tung oil takes a bit more effort but can produce stunning results. Here’s how you can do it:
- Application: Apply multiple thin coats of tung oil, ensuring each layer is fully cured before the next. Thin coats help the oil penetrate better and reduce the chance of sticky patches.
- Sanding: Between each coat, lightly sand the surface with fine-grit sandpaper (320-grit). This helps the next coat of oil adhere better and removes any imperfections.
- Buffing: After the final coat has cured, buff the surface with a soft cloth or a buffing machine to bring out the gloss and create a smooth, shiny finish.
- Curing: Let the final mix cure completely, which can take up to 30 days. For the best results, avoid using the wood during this period.
This process will give you a beautiful, durable, high-gloss finish that enhances the natural beauty of the wood.
Tung Oil vs. Other Finishes: Which is Best for Pine?
When it comes to finishing pine, you have a few options. Tung oil is just one of several finishes available, and it’s important to understand how it compares to others like Danish oil and Boiled Linseed Oil (BLO).
Here’s a breakdown to help you decide which one is best for your pine project:
Tung Oil vs. Danish Oil
| Feature | Tung Oil | Danish Oil |
|---|---|---|
| Appearance | A deeper, more lustrous finish enhances the natural grain. | A more matte finish enhances the wood’s color. |
| Durability | Durable, water-resistant, provides a harder surface. | Less durable, not as water-resistant as tung oil. |
| Application | Requires more coats to achieve the desired result. | Fewer coats are needed, and it dries faster. |
Tung Oil vs. Boiled Linseed Oil (BLO)
| Feature | Tung Oil | Boiled Linseed Oil (BLO) |
|---|---|---|
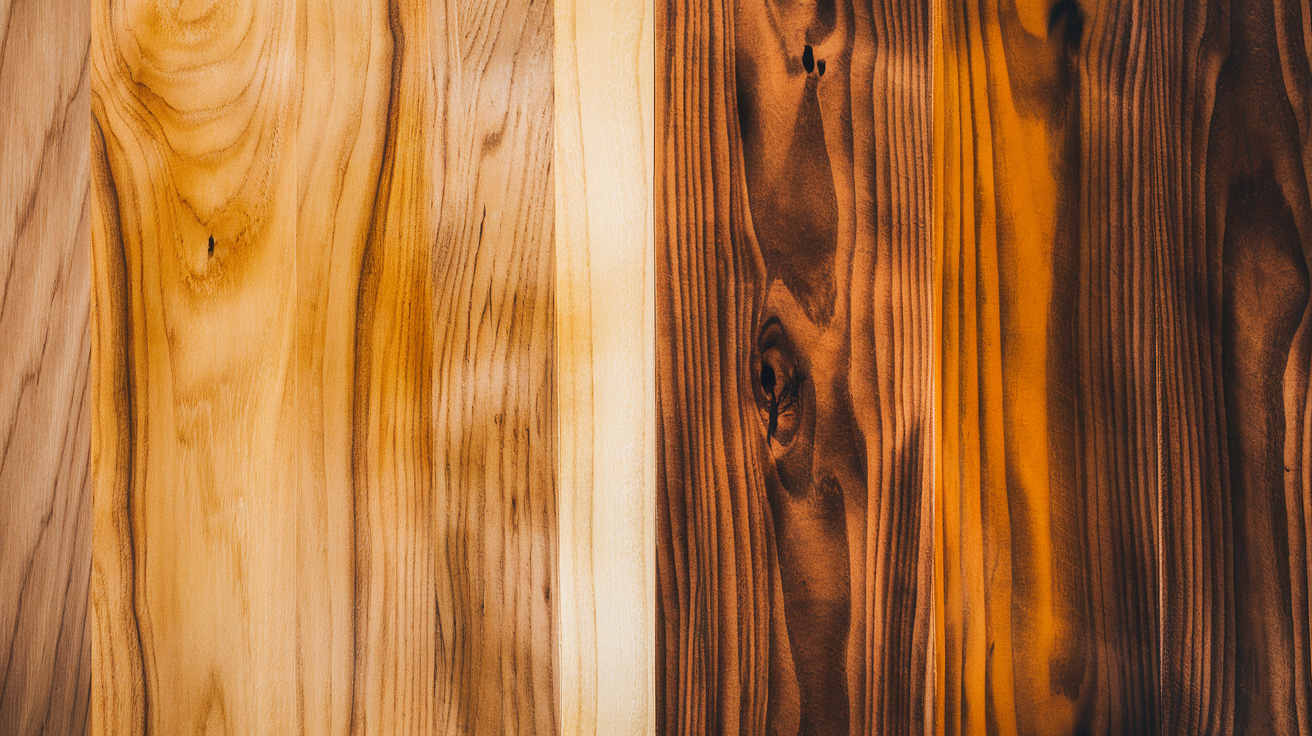
| Color | Leaves a warm, honey-like color, doesn’t darken the wood much. | Darkens the wood with a rich, amber hue. |
| Drying Time | Dries faster, allowing for more coats in less time. | Has a longer drying time, which can slow the process. |
| Protection | More durable and long-lasting finish than BLO. | Provides protection but is less durable than tung oil. |
By understanding these differences, you can choose the finish that best suits your project, ensuring you get the desired look and durability for your pine wood.
Troubleshooting Common Issues with Tung Oil on Pine
While tung oil is a great choice for pine, it’s not always a perfect process. You may run into some challenges during the application.
Here are some common issues and how to solve them:
1. Sticky or Tacky Finish
If you notice that the finish feels sticky or tacky even after drying, it might be due to applying too much oil or not wiping off excess oil.
Solution: Always apply thin coats and wipe off excess oil before it dries. If the finish remains tacky, wait a bit longer for it to dry completely. Sand the area lightly and apply another thin coat.
2. Uneven Coverage
Sometimes, the tung oil may soak unevenly into the wood, leaving streaks or blotches.
Solution: Apply thin, even coats. Sand the surface lightly before each coat to help the oil absorb more evenly. Consider using a different application method (cloth vs. brush) to find what works best for your project.
3. Darkening Too Much
Tung oil generally improves the natural color of pine, but if it darkens the wood too much, it could be due to applying too many coats or not wiping off enough excess oil.
Solution: Use fewer coats if you’re aiming for a lighter finish. Also, make sure to wipe off excess oil immediately after applying each coat to prevent darkening.
4. Long Drying Times
Tung oil takes time to dry, and humidity can slow down the process. If the drying time seems too long, it could be due to high humidity or applying too much oil.
Solution: Ensure you’re in a well-ventilated space with low humidity. Apply thinner coats to speed up the drying process. For the best results, wait 24 hours between each coat.
By addressing these common issues, you’ll get the best possible finish on your pine projects.
Safety Precautions and Handling of Tung Oil
While tung oil is a natural product, it’s essential to handle it with care to ensure safety during application and storage. Here are some key safety tips:
- Personal Protective Equipment (PPE): Always wear gloves and safety glasses to protect your skin and eyes from potential irritation.
- Ventilation: Apply tung oil in a well-ventilated area to avoid inhaling fumes. This helps reduce exposure to potentially harmful vapors.
- Storage: Store tung oil in a cool, dry place, away from direct sunlight and heat sources. Make sure the container is tightly sealed to prevent spills or contamination.
- Disposal of Oily Rags: Used rags can spontaneously combust if not disposed of properly. Lay them flat to dry outdoors before discarding them, or place them in a sealed metal container filled with water to prevent any risk.
By following these precautions, you’ll ensure a safe and effective application of tung oil.
Conclusion
Tung oil is a great option for finishing pine wood. It gives the wood a smooth, natural look and provides strong protection.
By following the right steps, such as applying thin coats and allowing enough drying time, you can make sure your pine projects last longer and look great.
If you run into any problems, don’t worry. Simple fixes like sanding between coats or wiping off extra oil can help. With these easy tips, you’ll be able to finish your pine projects with ease.
Want more tips on wood finishing? Check out our other guides for more helpful advice!