Wallpaper Hacks: Upgrade Your Space with Ease
Looking at your blank walls again? I get it.
I’ve spent countless hours staring at my boring white walls, wishing I could make them stand out without spending a fortune.
Here’s something you might not know: Wallpaper isn’t just for professional decorators anymore. With new materials and simple techniques, anyone can create stunning wall designs.
I’ve learned tricks that will help you create beautiful spaces without the headaches of traditional wallpaper.
These tips will save you time, money, and prevent those frustrating bubbles and misaligned patterns.
Let me show you my favorite wallpaper hacks that will help you transform your room this weekend. I promise these methods work – even if you’ve never hung wallpaper before.
Understanding Wallpaper Types
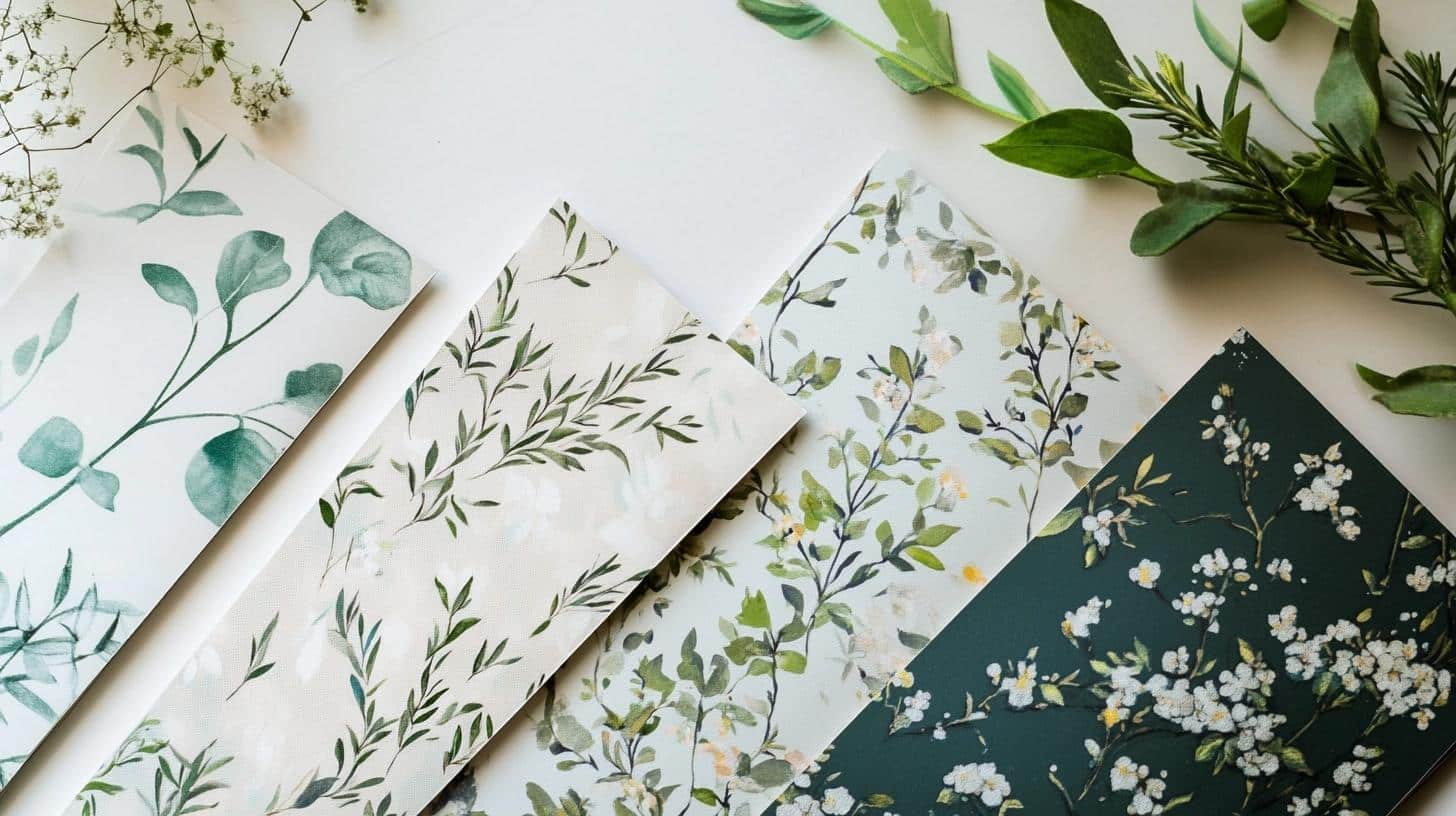
Let me share what I’ve learned about different wallpaper options. After trying all three types in my own home, I can tell you exactly what works best for different situations.
Traditional Wallpaper
I found that traditional wallpaper needs paste or water to stick to walls. It’s made of thick paper or vinyl and stays put for years.
This type works great in rooms that won’t see much moisture, like living rooms or bedrooms. You’ll need some basic tools: paste, smoothing tools, and patience.
The results can last 10-15 years with proper care.
Peel-and-Stick Wallpaper
As someone who rents, I love this option! Think of it as a giant sticker for your wall.
You can pull it off when you move out without damaging the wall. I’ve used it in my kitchen and bathroom because it handles moisture well. The best part? If you make a mistake, you can peel it off and try again.
No mess, no fuss.
Wall Decals and Alternatives
Sometimes you don’t need to cover an entire wall. I’ve used decals to create fun spots in my home.
They’re perfect for:
- Making a small statement on one wall
- Adding patterns to furniture
- Creating kid-friendly spaces
- Testing designs before committing to full wallpaper
Each type costs differently too.
- Traditional wallpaper might cost more upfront but lasts longer.
- Peel-and-stick options cost less and work better for short-term use.
- Decals give you the most budget-friendly choice for small changes.
Surface Preparation Wallpaper Hacks
Before you start making your walls look great, let me share some tricks I’ve picked up about getting your walls ready.
Trust me – good prep makes a huge difference in how your wallpaper looks.
First, clean those walls! Here’s my tried-and-true method:
- Mix warm water with mild dish soap
- Wipe down walls with a soft sponge
- Pay extra attention to corners and edges
- Let walls dry completely (I usually wait 24 hours)
I learned the hard way that bumps and holes need fixing.
Here’s what I do:
- Fill small holes with spackling paste
- Sand smooth once dry
- Wipe away dust with a damp cloth
- Check the wall with good lighting to spot issues
For the best stick, prime your walls:
- Use a roller for smooth coverage
- Pick a primer made for wallpaper
- Let it dry fully (check the label for time)
- Test a small spot before full application
Quick tip from my mistakes: Don’t skip the primer on new drywall or painted surfaces. I once did, and my wallpaper didn’t stick well.
Tools Needed for A Successful Wallpaper Installation
Here’s an organized table of essential wallpaper installation tools based on my experience.
| Tool Name | What It’s For | Do I Really Need It? |
|---|---|---|
| Smoothing Brush | Removes air bubbles and helps paper lay flat | Yes – Essential |
| Utility Knife | Makes clean cuts around edges and outlets | Yes – Essential |
| Measuring Tape | Gets exact wall measurements | Yes – Essential |
| Level | Keeps patterns straight | Yes – Essential |
| Pencil | Marks cutting lines and makes notes | Yes – Essential |
| Clean Cloth | Wipes surfaces and removes excess paste | Yes – Essential |
| Seam Roller | Helps bond seams between panels | For traditional wallpaper only |
| Spray Bottle | Adds moisture when needed | For traditional wallpaper only |
| Paint Tray | Holds paste for traditional paper | For traditional wallpaper only |
| Paste Brush | Spreads adhesive evenly | For traditional wallpaper only |
| Step Stool | Helps reach high spots | Yes – if walls are tall |
| Metal Ruler | Makes straight cuts | Yes – for precise cuts |
Quick Tip: I keep all these tools in a plastic bin just for wallpaper projects. This makes setup and cleanup much easier!
Wallpaper Installation Hacks and Tips
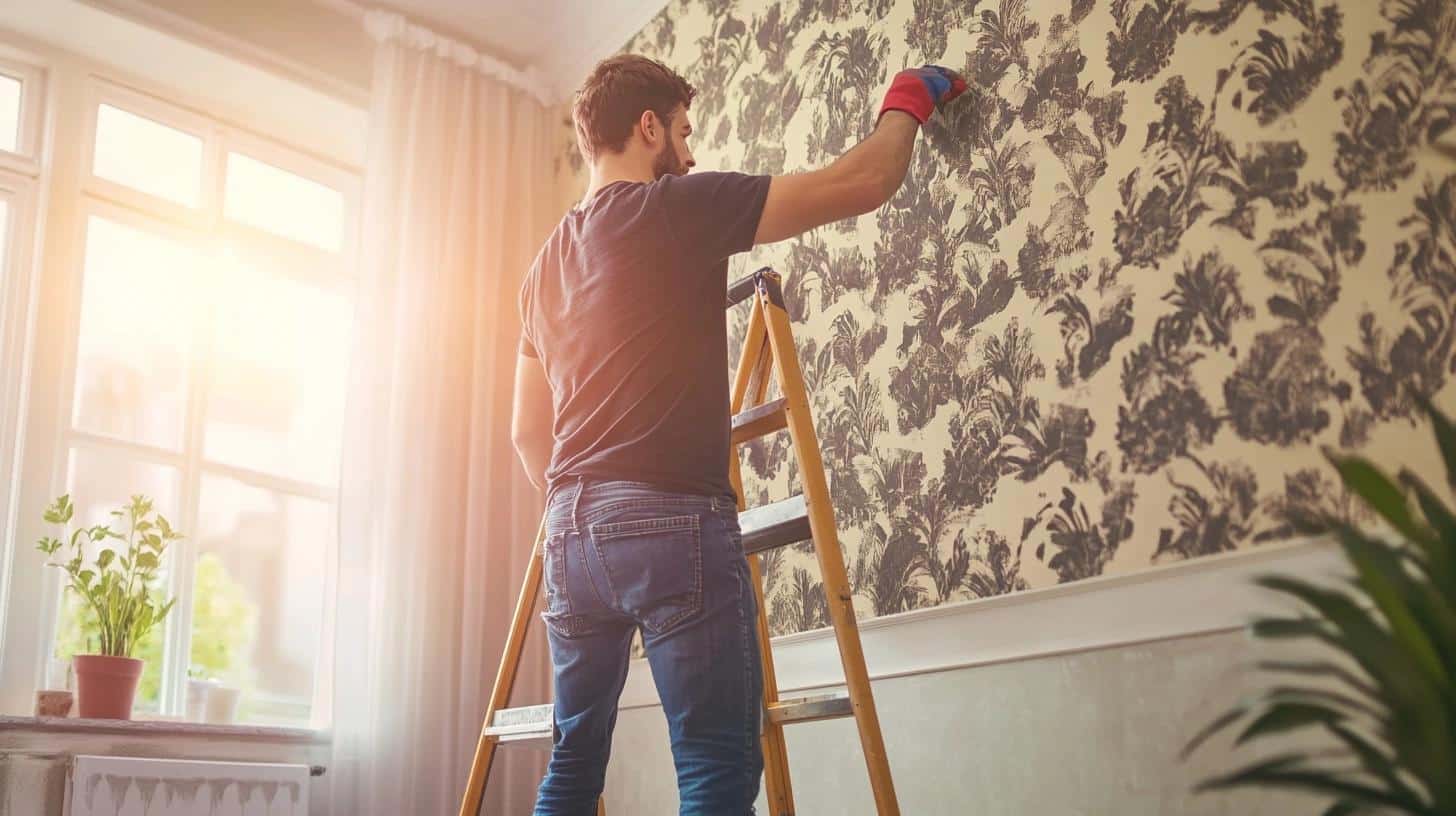
1. Easy Installation Techniques
I’ve found some simple tricks that make hanging wallpaper much easier:
Rolling Trick
Have you ever fought with wallpaper that keeps curling? I’ve got a fix.
Take your wallpaper and roll it opposite to how it came on the roll. Leave it like this for 10 minutes before you start. This simple step relaxes the paper’s “memory” and makes it more willing to lay flat.
I learned this after struggling with curling edges on my first few projects.
Key steps:
- Roll against the natural curve
- Hold with light rubber bands
- Keep rolled for 10 minutes
- Let it relax flat for 2 minutes before hanging
Bubble-Free Method
Start in the middle of your wallpaper panel – this changed everything for me! Press your smoothing tool at the center point, then work your way out in gentle, steady strokes.
Think of it like smoothing a bed sheet.
My proven steps:
- Place panel loosely on wall
- Find center point
- Press tool firmly at center
- Work in small, even sections
- Move outward in smooth strokes
- Keep steady pressure
- Check for bubbles as you go
2. Dealing with Tricky Areas
Here’s how I handle the tough spots:
Corners:
- Cut strips with 2 inches extra for each corner
- Press firmly into corners with a plastic tool
- Trim excess with a sharp blade
- Use new blade tips often for clean cuts
Around Fixtures:
- Turn off power to electrical outlets
- Remove cover plates
- Cut an X shape over the outlet
- Trim edges carefully
- Replace covers when done
3. Adding Finishing Touches
Small details make big differences.
Clean Edges:
- Use a sharp blade for all cuts
- Change blades often
- Cut at an angle, not straight on
- Press firmly with a straight edge
Perfect Seams:
- Line up patterns before applying
- Work with one seam at a time
- Press edges together gently
- Wipe away any paste right away
My top tip: Keep a clean, damp cloth handy. Wipe off any paste right away – it’s much harder to clean when dry!
Tips for Removing Old Wallpaper Without Damage
Want to know how I learned to remove old wallpaper without turning it into a weekend-long project? After messing up my first attempt, I figured out some useful methods that work every time.
Let me share the steps that saved my walls – and my sanity.
- Score the wallpaper surface with a scoring tool, making small holes without pressing too hard
- Mix hot water and vinegar in equal parts for a natural removal solution
- Apply the solution generously with a spray bottle and let it soak for 15 minutes
- Start peeling from bottom corners, pulling at a 45-degree angle
- Use a plastic scraper tool (metal ones can damage your walls)
- Keep spraying stubborn spots as you work up the wall
- Clean any remaining paste with warm water and a soft sponge
- Let the wall dry completely for 24 hours before new wallpaper or paint
- Test a small hidden area first to understand how your wallpaper responds
- Work in sections of 3-4 feet at a time to maintain even moisture
- Keep windows open for good air flow during the removal process
- Have plenty of drop cloths ready – this gets messy!
Budget-Friendly Wallpaper Hacks and Solutions

Let me share some money-saving tips I’ve learned while working with wallpaper. These ideas helped me create beautiful walls without breaking my budget.
Smart Shopping Strategies
- Buy during end-of-season sales (I saved 40% on my kitchen paper!)
- Check online marketplaces for leftover rolls from other projects
- Sign up for store newsletters to catch flash sales
- Look for sample rolls to test patterns before buying full rolls
- Consider buying slightly more than needed – matching batches later costs more
Clever Uses for Less Paper
- Create a single accent wall instead of doing the whole room
- Use wallpaper to line shelf backs for a pop of pattern
- Make framed wallpaper panels as wall art
- Cover cabinet doors or drawer fronts for a fresh look
- Split rolls between small projects in different rooms
Money-Saving Application Tips
- Measure twice to avoid buying extra rolls
- Cut carefully to reduce waste
- Save scraps for small touch-ups later
- Use basic tools that work for multiple projects
- Share tools with friends who also work on home projects
Low-Cost Alternatives
- Try paint techniques that look like wallpaper
- Use stencils for pattern effects
- Mix solid-color papers for custom designs
- Check out paper from craft stores for small areas
- Make temporary paper with starch and fabric
Wrapping It Up
Looking at bare walls used to make me nervous. But now, with these wallpaper tricks in my toolkit, I feel ready to take on any room makeover. I hope these tips help you feel the same way.
Remember, the key to success lies in proper preparation and using the right tools.
Whether you choose traditional wallpaper for lasting style or peel-and-stick for quick changes, your walls can look just how you want them to.
Ready to start your project? Take a moment to plan your approach. Get your tools ready, prepare your walls well, and work step by step.
And don’t forget – if you run into any problems, you can always check back here for help.
Share your wallpaper success stories in the comments below. I’d love to see how these tips worked for you!

