How to Make a Stuffed Animal Zoo at Home: Easy DIY Guide
Got stuffed animals taking over your floors, beds, and shelves? I’ve been there, and I found a fun, budget-friendly fix.
Building a stuffed animal zoo gives you a neat way to keep everything in one spot without tossing your kid’s favorites.
In this blog, I’ll walk you through step-by-step instructions, innovative design ideas, and simple safety tips to help you make a zoo that’s both cute and practical.
You’ll also get inspiration for other storage options if DIY isn’t your thing.
Ready to turn stuffed chaos into something your kids will actually use? Let’s build a stuffed animal zoo that works for you.
What Makes a Stuffed Animal Zoo Worth Building
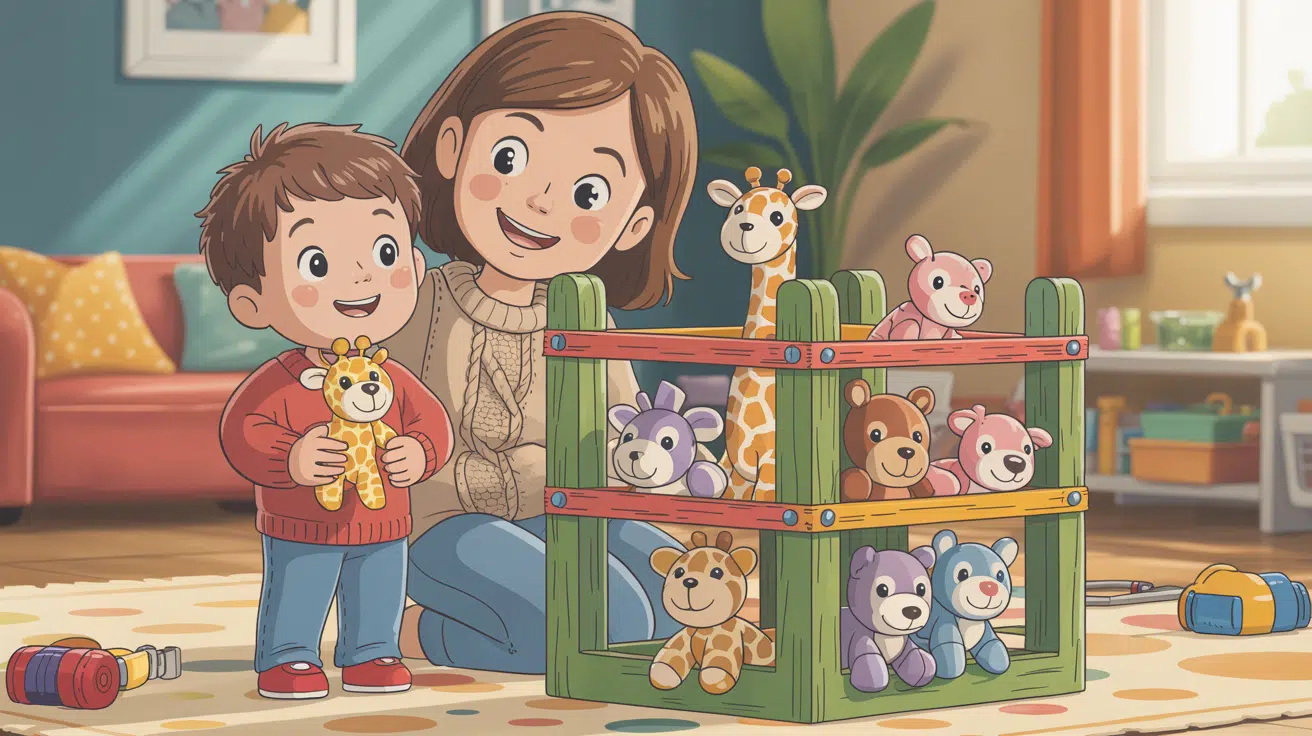
If your home is anything like mine, stuffed animals tend to pile up fast, and they always seem to end up on the floor. That’s why I decided to build a stuffed animal zoo.
It gave me a simple way to organize everything, and you can do the same. You’ll get a neat storage solution that still keeps the toys easily accessible. Plus, it’s a fun project you and your kids can work on together.
You won’t need to spend a lot, and you can customize it to fit your space and your child’s favorite colors. It’s practical, affordable, and honestly a lot more fun than anything you’d buy off the shelf.
Planning Your Build the Right Way from the Start
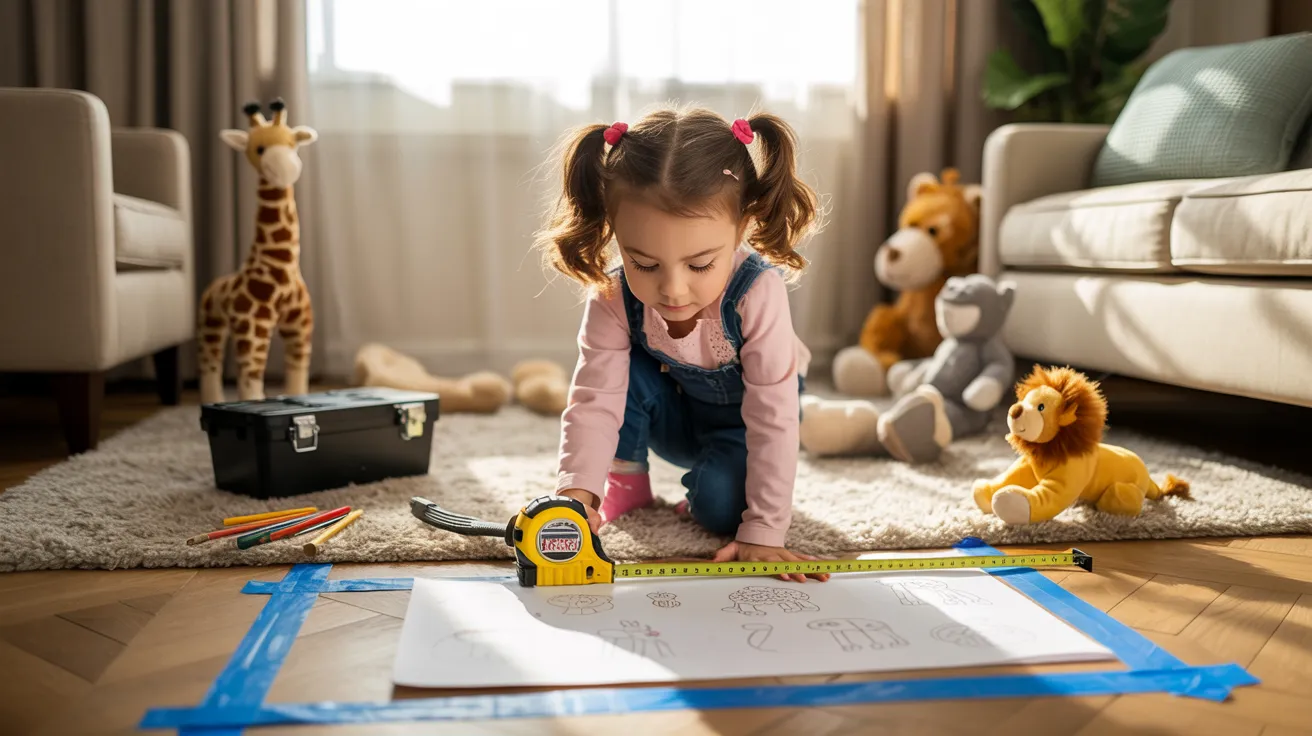
Before you start cutting or buying materials, take a few minutes to plan your stuffed animal zoo. This step saves time, avoids waste, and helps you build something that fits your space and works well for your child. From seeing the area to picking a theme, a little prep makes the project smoother and more enjoyable.
Start by measuring the area where you’ll place the zoo. Write down the height, width, and location of nearby furniture. Having these numbers on hand while shopping or sketching helps you avoid sizing mistakes.
Estimate the amount of time you’ll need. Basic towers take 2–3 hours and are great for beginners. More detailed designs may require half a day, but they are still beginner-friendly.
Choose a fun theme that matches your child’s style. Jungle, superhero, or soft pastels, anything goes. Let colors, labels, or shapes reflect the theme.
Still unsure of size? Use painter’s tape to mark the floor or try a free online sizing tool. Seeing it laid out helps you adjust the design before you build.
Tools and Materials You’ll Need
- 8 wood pieces (2 feet each)
- 4 wood pieces (3 feet each)
- Bungee cords
- Paint and brush
- Sandpaper or sander
- Hooks
- Nails
- Wood glue
- Hammer
- Drill
- Measuring tape
- Permanent marker
- Drop cloths or bags for drying
DIY Stuffed Animal Zoo: Step-by-Step Guide
This guide helps you build a stuffed animal zoo to organize toys while having fun with your child. It’s simple to follow, even if you’ve never built anything before. Just take it step by step.
Step 1: Cut and Sand the Wood
First, measure all the wood to ensure it has 8 shorter pieces and 4 taller ones. Then, use a hand sander to smooth every edge and corner.
You can use electric or hand sanding, either works fine. Take your time with this, as it helps the paint adhere better and makes everything feel clean and safe for kids.
Don’t skip this part; it sets up the whole project. Once you’re done, wipe off the dust so it’s ready for painting.
Step 2: Paint All Wood Pieces
Place everything in old leaf bags and begin painting. You can choose any color that you and your child like.
Bright colors make it fun! Use small paint samples, which saved me money while still providing good coverage. Make sure you paint all sides of each piece.
After painting, let them dry completely. Then gave mine a full day to be on the safe side. If you’d like, your child can help paint; it’s a great way to make them part of the process.
Step 3: Mark Hook Spots
Once the pieces were dry, use a measuring tape to mark where the hooks would be placed. And spaced the dots about 4.5 inches apart. This helps keep the cords lined up and neat.
Used a permanent marker so the spots were easy to see while placing the hooks.
If you want everything to look balanced, try to be as even as possible with your marks. This part took a little focus, but it makes a big difference in the end.
Step 4: Install the Hooks
Next, place each hook right over the marked spots. You’ll want to tap them with a hammer first, lightly, just enough to get them started.
Then, twist each hook into the wood by hand. It’s not hard, but it does require some effort. Do this on all four top and bottom boards.
Ensure the hooks face inward to prevent the bungee cords from slipping out of the frame. That detail matters later when everything comes together.
Step 5: Build the Top and Bottom Frames
Begin by arranging four short pieces into a square to create the bottom frame. Glue was applied to each corner, and then a nail was hammered in to secure it tightly.
Once the bottom is complete, repeat these steps to build the top frame in the same manner.
It’s essential to ensure that the hooks stay on the inside. You’ll want everything secure and lined up before moving on to the next part.
Step 6: Attach the Vertical Posts
Now it was time to attach the taller boards that go upright. You have to line each one up at a corner of the bottom frame and use glue to hold it in place first. Then, carefully hammered in nails to secure the post.
Once all four were attached, place the top frame on and nail it down the same way. Ensure that everything is positioned correctly and feels stable. A second pair of hands makes the job easier here.
Step 7: String the Bungee Cords
To complete the main build, tie a firm knot on the top hook using the bungee cord. Then, pulled it down through each hook on the way to the bottom.
Ensured there was sufficient tension to hold the stuffed animals in, but not too tight. If the cords are loose, toys will fall out. After tying off the bottom, repeat it for each row. You’ll see it start to look like a little toy zoo now!
Step 8: Add Names or Designs
This is where you can really make it special. Pick the front wood panel and paint my child’s name on it with a marker and brush. You can write something fun like “Sam’s Zoo” or add shapes and colors.
If you’d rather decorate earlier, that works too; mark the front board before assembling and paint it first. Either way, take your time with this part. It adds that personal feel and makes the whole project feel finished.
Step 9: Final Fixes and Cleanup
Before calling it a day, walk around the zoo and ensure all the joints are solid. Add a little more glue in areas where needed and tap in any loose nails.
Also went back with some extra paint to clean up spots where the wood got scratched or smudged. Once everything looked good,
Then, let my child help load it up with their favorite stuffed animals. It’s not just a build; it becomes something you’ve made together.
Need a visual guide? Watch this stuffed animal zoo DIY video for extra help and inspiration.
Choosing the Right Design for Your Stuffed Animal Zoo
You’ve got options! From towers to wall-mounts, here’s how to match the right zoo design to your room size, tools, and how many toys you’re working with.
Tower Zoo
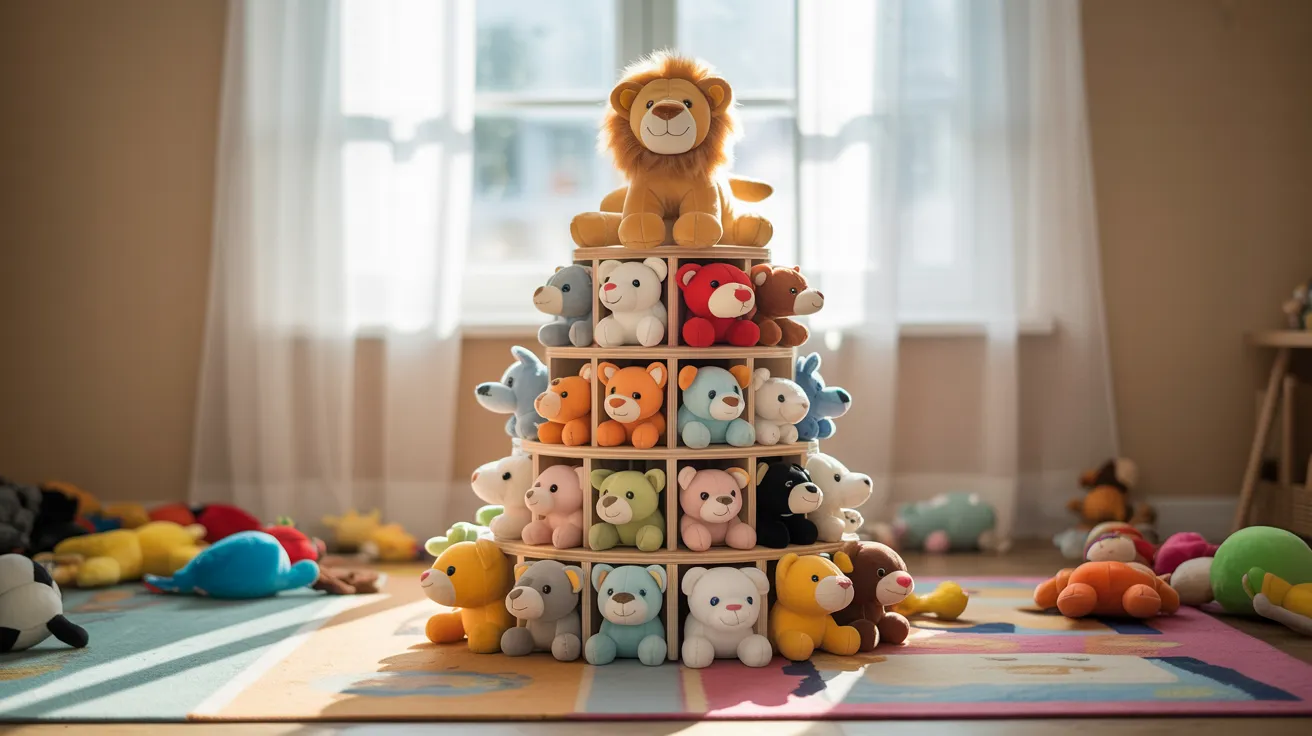
The tower zoo is perfect if you don’t have a lot of floor space. It’s tall, narrow, and lets you stack stuffed animals without making a mess. This design is for playrooms or bedrooms with high ceilings.
It’s also great if your child likes to see and grab their favorites quickly. You can build it with wood, or even a large hamper frame. Bonus: It can also serve as a fun room feature.
PVC Zoo
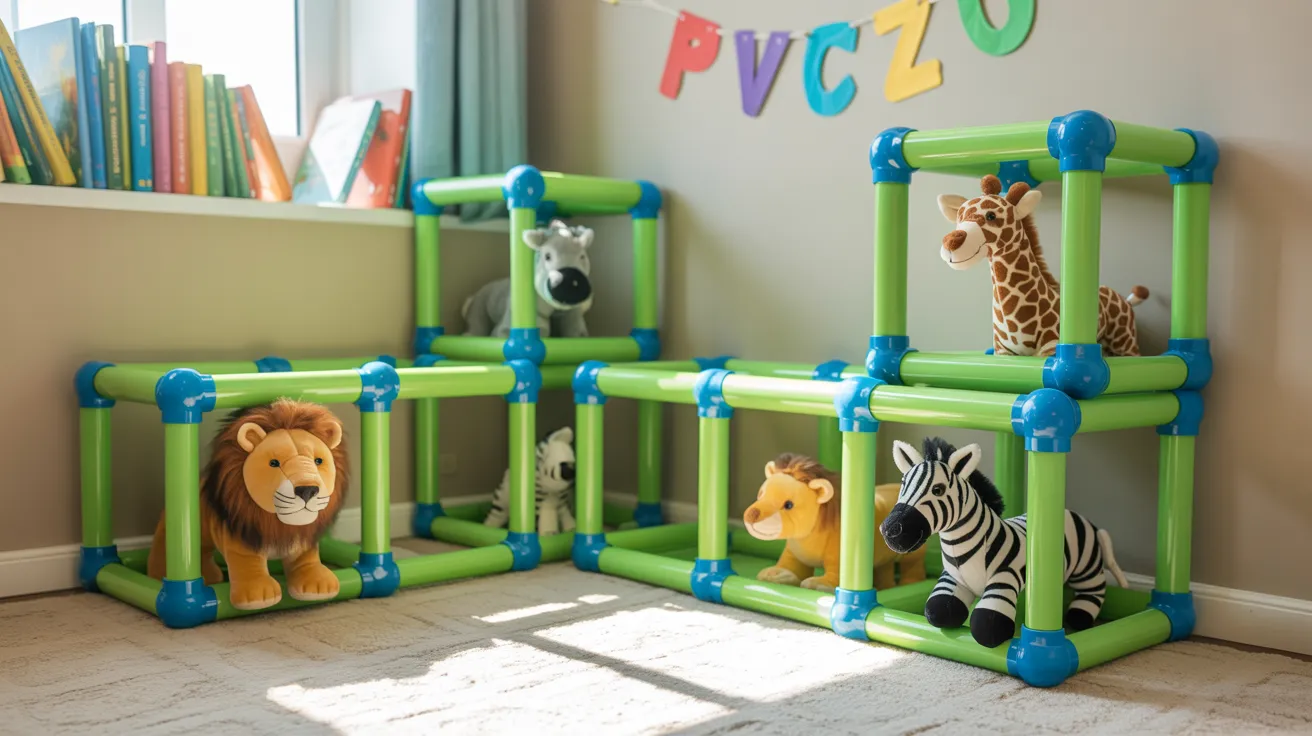
The PVC zoo is one of the most cost-effective and straightforward options for building. It’s made from lightweight plastic pipes and connectors, which can be purchased at any hardware store.
It’s also extremely easy to move around or disassemble if needed. This design is ideal for younger kids’ rooms because it features soft edges and is safe.
You can build it as a cube, tower, or even a corner unit. Add elastic cords and you’re done in a day.
Repurposed Table Zoo
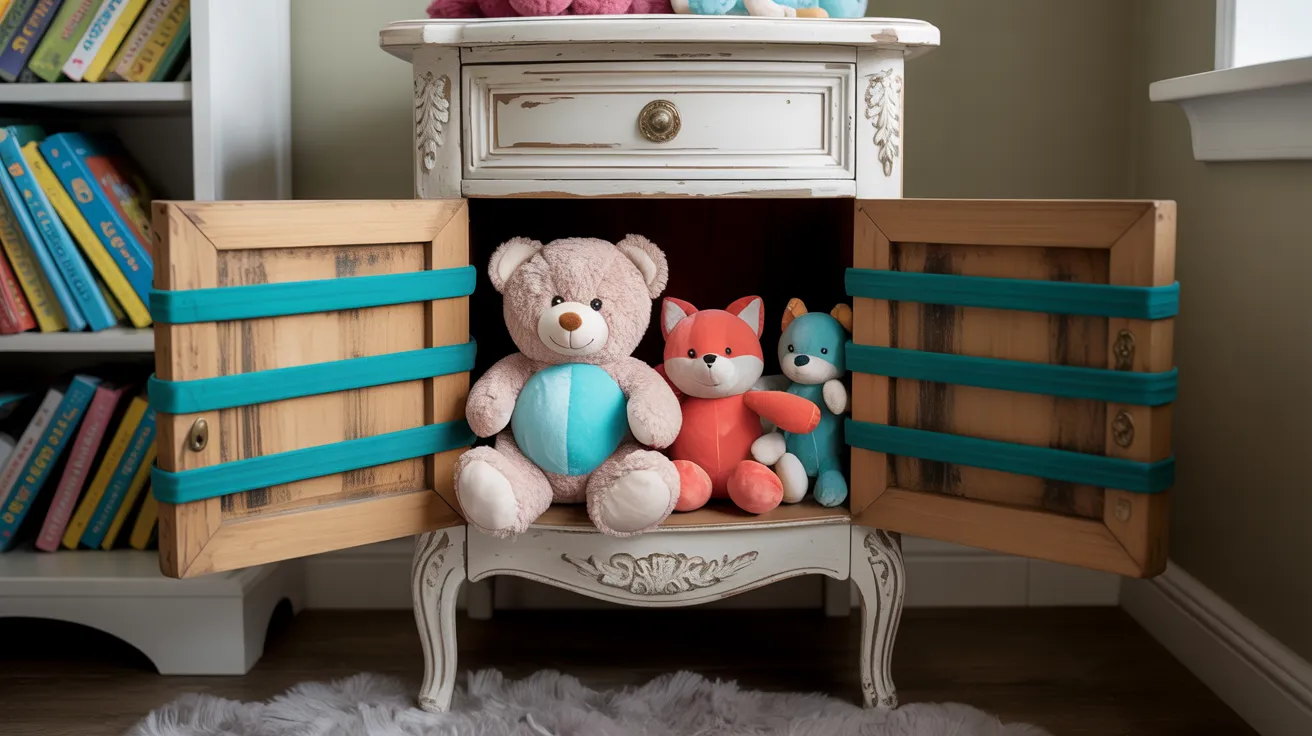
If you have an old side table, coffee table, or nightstand, repurpose it into a unique piece of art. It’s an innovative way to upcycle furniture and add function.
Just add vertical rods or bungee cords to the open sides, and you’ve got instant toy storage. See this work great in nurseries and reading corners.
Plus, it blends in with existing furniture while keeping plush toys contained and off the floor.
Corner Zoo
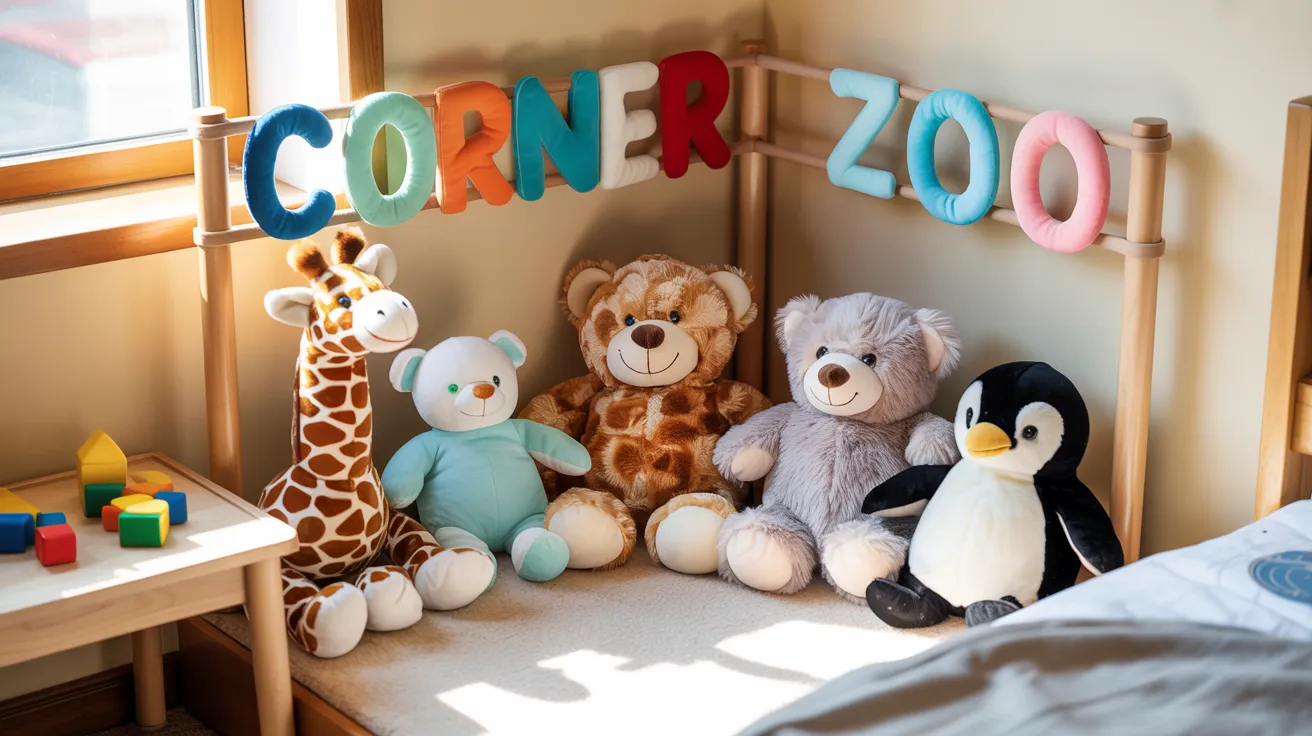
If you’re working with a tight or oddly shaped room, a corner zoo fits right in. It utilizes space that would otherwise be wasted and keeps everything in one tidy spot.
This design is easy to build, requiring only a few vertical posts and some elastic or bungee cords. It works well in bedrooms where toys tend to accumulate near the corners anyway. It’s a smart way to organize without giving up floor space.
Wall-Mounted Zoo
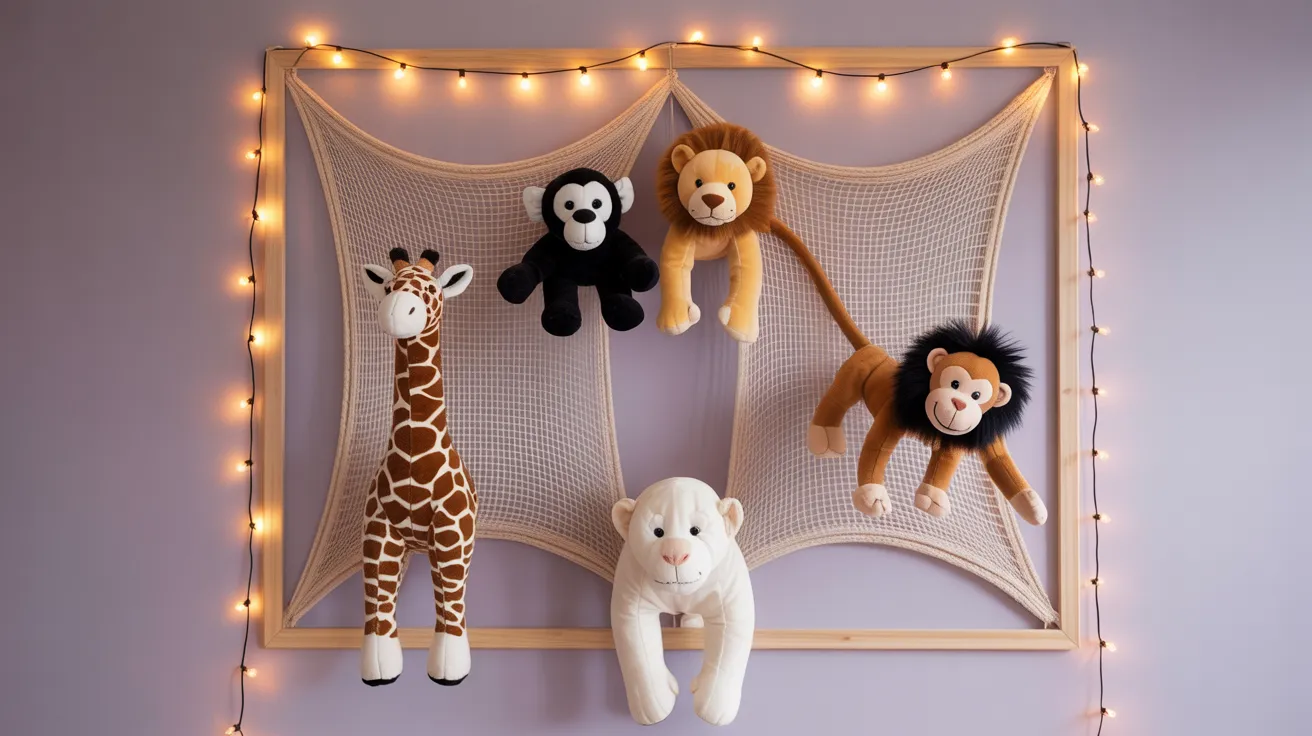
Want to free up your floor completely? Try a wall-mounted zoo. This version turns your storage into wall art. Use bungee cords, rope, or netting in a framed structure that hangs securely on the wall.
It keeps stuffed animals visible and accessible without occupying space below. This option is for smaller bedrooms or shared spaces. Just make sure it’s mounted to studs so it stays safe and sturdy.
Hanging Nets & Toy Hammocks
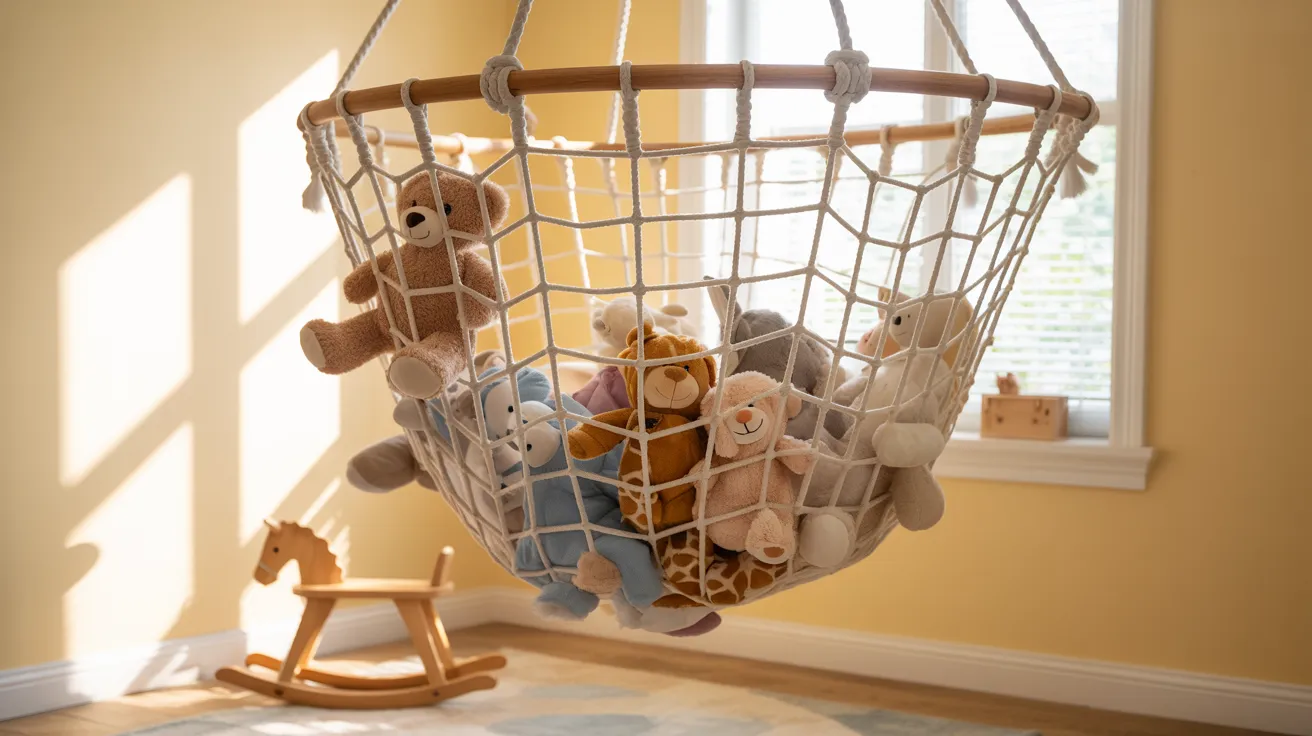
If you’ve got some wall space, hanging nets and toy hammocks are a quick way to lift the mess off the floor. I like using them in corners or above the bed to make the most of unused space.
Use strong hooks and ensure it’s at a height your child can reach safely. They’re great for lightweight stuffed animals, giving the room a cozy feel while keeping everything visible and within reach.
Over-the-Door Organizers
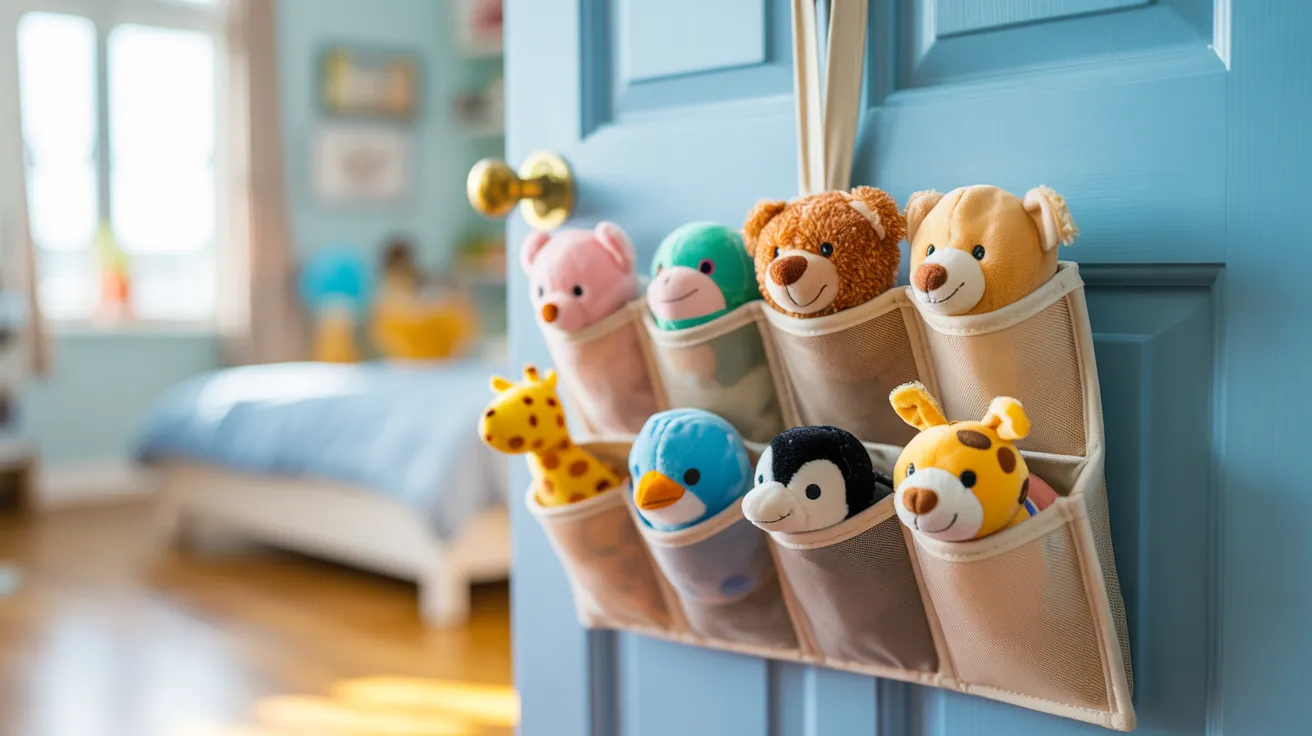
You’ve probably seen these used for shoes, but they’re great for small plush toys, too. Just hang one over the closet or bedroom door, and you’ve got dozens of pockets ready for action.
It’s one of my favorite no-drill storage hacks, quick to set up and perfect for renters. Plus, kids can see all their animals at a glance and pick their favorite without having to dump a basket on the floor. Win-win.
Cubbies with Bins or Drawers
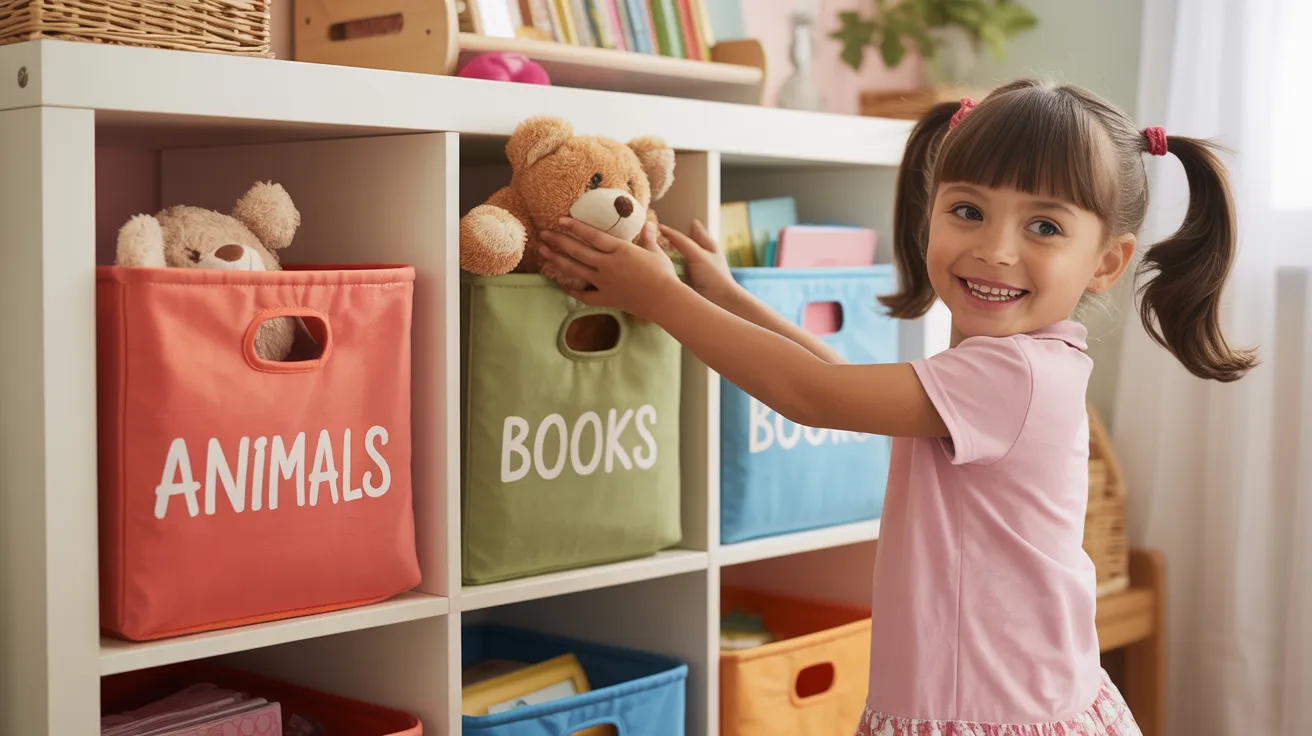
Cubbies are a tidy solution if you’ve got a little floor space to spare. Pair them with fabric bins so kids can toss their toys in without having to think too hard.
Each bin can be labeled for animals, dolls, or even books. Some cubby units come with built-in drawers, too, which helps hide the mess when guests come over.
You can even let your child decorate the bins to make the space feel personal and fun.
Safety & Usability Tips You’ll Be Glad You Thought Of
When building something for kids, safety should always be the top priority. These tips will help you create a zoo that’s safe, steady, and easy for little ones to use, allowing you to enjoy peace of mind.
Toddler Safety Tips
If toddlers will use your zoo, avoid using bungee cords, as they can snap or pinch fingers. Instead, use soft ropes or wide elastic bands with low tension.
Make sure everything is securely anchored, and skip small parts that could come loose. A few childproofing steps now can save you a lot of stress later.
Wall Anchoring Basics
To prevent tipping, anchor your stuffed animal zoo to the wall using furniture straps or brackets. Drill directly into wall studs for a firm hold.
If you’re using drywall only, choose heavy-duty anchors. Kids tend to tug and climb, so this step helps keep everything stable and safe, even during playtime.
Kid-Friendly Access
Ensure that bar spacing allows children to reach in easily, but is tight enough to keep toys in place. Keep your favorite plush toys at a lower level so children can reach them without help.
Avoid placing things too high; this encourages independence and makes clean-up time easier and more enjoyable for everyone.
DIY Plans & Kits to Help You Get Started Without Guesswork
If you’re unsure where to start, don’t worry – there are plenty of ready-to-go plans and kits to guide you. Whether you want to download instructions or buy a full kit, this section has you covered.
Free Plans to Download
If you want to build a stuffed animal zoo without spending extra, there are some great free plans out there. I recommend checking out:
- Ana White: Her site features easy, beginner-friendly designs that’re perfect for those new to building.
- Kreg Tool: They offer solid woodworking plans that are well-organized and reliable.
- Instructables: You’ll find lots of creative builds shared by other parents, complete with step-by-step photos.
You can print the plans, check off material lists, and follow along at your own pace. Just make sure to double-check the measurements so the design fits your space before you start cutting.
Where to Buy Plans & Kits
Sometimes you want everything in one box, and I totally get that.
- Etsy offers downloadable plans that often include cutting diagrams and layout sketches. Many designs have a stylish look and helpful notes from the seller.
- Amazon offers full kits with pre-cut pieces, eliminating the need for measuring or sawing on your end.
- Toynk Toys has themed kits (like zoo animals or pastel colors) that kids will love right out of the box.
Just make sure to read reviews and check what’s included so you know you’re getting something that works for your needs.
Conclusion
Now that you’ve seen how simple it is to build a stuffed animal zoo, I hope you feel ready to give your plush pile a home. You’ve got the steps, tools, and even some themed ideas to make it fun and personal.
This project doesn’t need to be fancy; it just needs to work for your space and your child. A little planning goes a long way.
Take what you’ve learned, make it your own, and enjoy how much easier cleanup gets. For more practical DIY guides and clever storage ideas, be sure to check out our other blogs as well.