Painting Over Painted Cabinets: DIY Guide and Tips
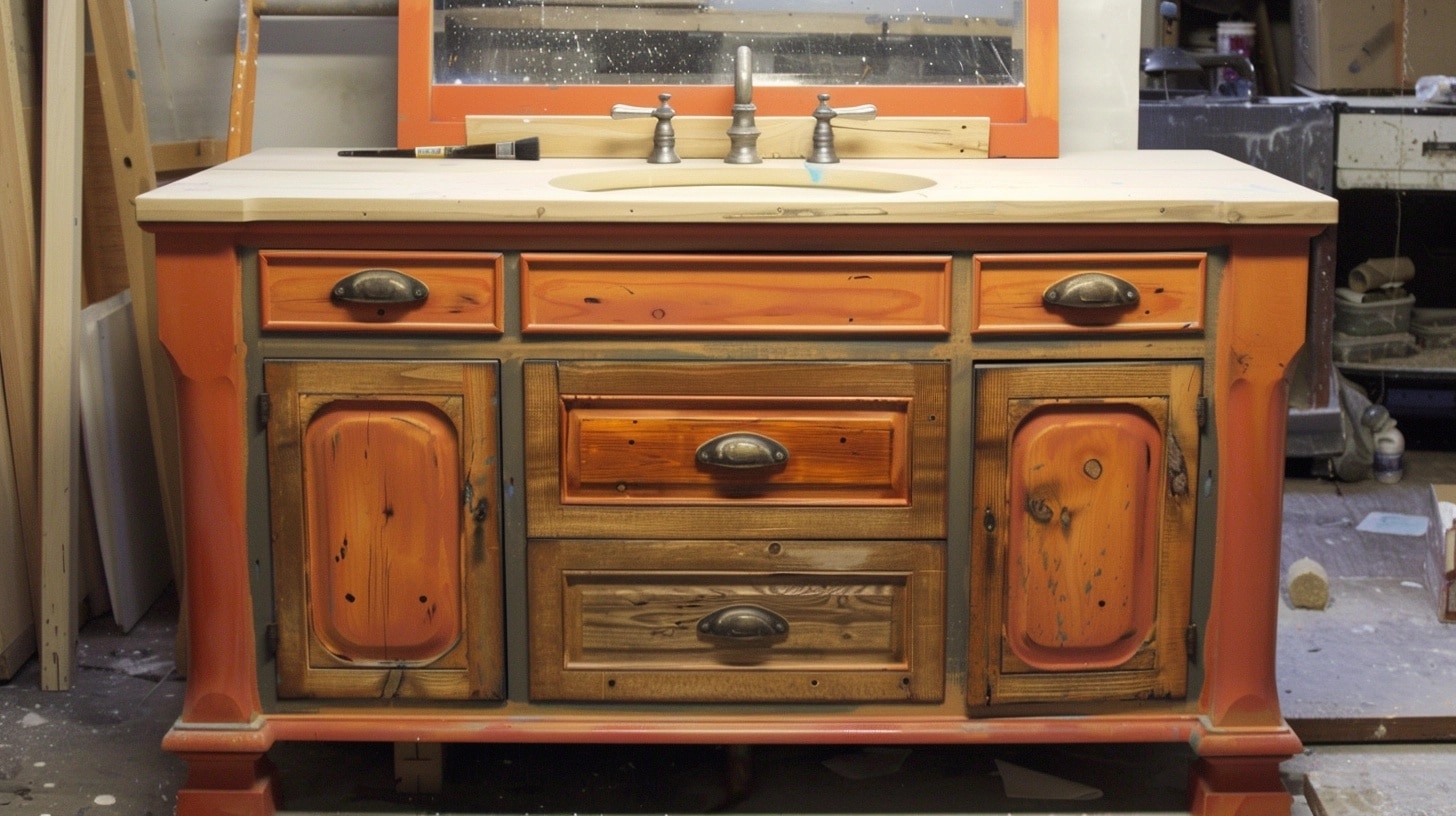
Let me share what I learned while fixing up my old bathroom vanity. I recently repainted the worn-out cabinet, and I made every mistake possible in my past DIY attempts.
But this time, I did my homework. I spent hours researching proper techniques and testing different materials. Now, I want to help you avoid the trial-and-error phase I went through.
I’ll break down the steps, tools, and materials needed to give your cabinets a long-lasting, professional finish.
Trust me, the right method makes all the difference!
Painting Over Painted Cabinets of a Wooden Vanity
1. Gather Materials
- Degreaser (e.g., Crud Cutter)
- Sandpaper (220 grit recommended)
- Wood filler (if needed for repairs)
- Primer (e.g., shellac primer)
- Paint (oil-based furniture and cabinet paint; shade: Sherwin Williams “Iron Ore”)
- Paintbrush (angled for grooved areas) and roller
- Tack cloth or damp rag for cleaning
- Electric screwdriver (for handle removal, optional)
- Plastic bags for hardware (to label and store screws/handles)
2. Clean the Vanity
- Wipe down the vanity thoroughly with a degreaser to remove grime.
- Pay extra attention to high-traffic areas that may have built-up dirt.
3. Remove Hardware
- Use an electric screwdriver to detach existing handles and attached items like paper towel holders.
- Store screws and hardware in labeled bags to keep them organized for reassembly.
4. Repair and Sand
- Fill any unwanted hardware holes or damage with wood filler.
- Sand down rough areas or peeling paint for a smooth base.
- Light scuff sand may be enough for existing painted surfaces to ensure the new paint adheres well.
- If you want to hide wood grain (e.g., on oak cabinets), fill it with wood filler before sanding.
5. Prime the Vanity
- Apply a coat of shellac primer using an angled brush for grooves and a roller for flat surfaces.
- Ensure even coverage; priming helps the paint adhere and creates a longer-lasting finish.
- Allow the primer to dry completely; apply a second coat if necessary, especially if painting over dark colors.
6. Paint the Vanity
- Once primed, apply the oil-based cabinet paint in your chosen color (e.g., Iron Ore) with a satin finish.
- Allow ample drying time between coats. Oil-based paint typically requires about a day to cure.
- Apply a second coat if needed for full, even coverage.
7. Reassemble
- Once the paint has cured, reattach handles or add new hardware if desired.
- Consider adding feet or legs to the vanity to give it a built-in, furniture-like appearance.
8. Optional Distressing
- Lightly distressed edges for an antique look.
- Add a bit of brown paint to accentuate the vintage style if desired.
9. Final Touches
- If aiming for a smooth finish, clean the painted vanity with a tack cloth to remove dust.
- Consider adding a top coat if extra durability is needed, though oil-based paint with enamel may not require it.
Painting Techniques to Get Professional Results
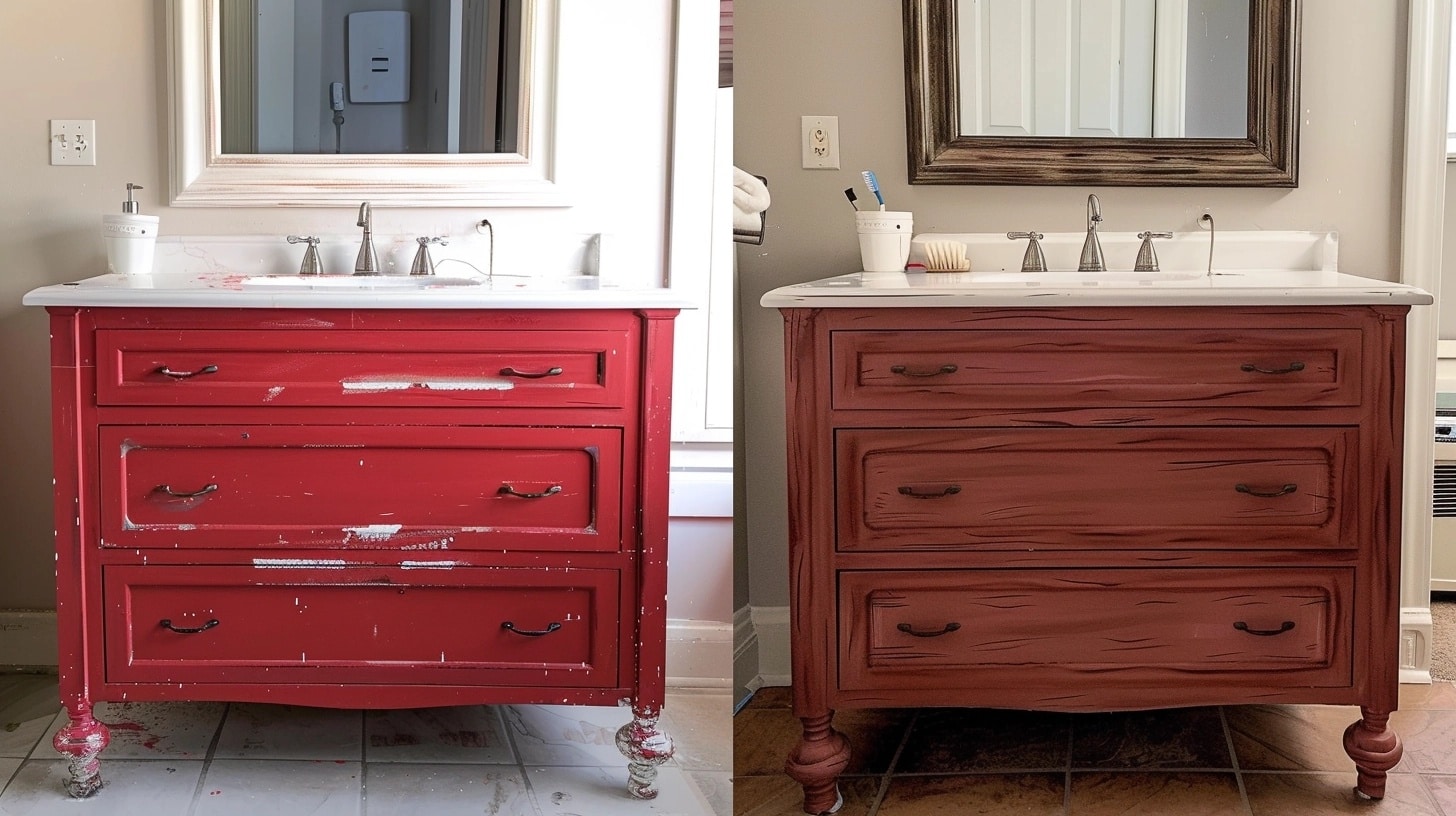
When painting cabinets, getting a smooth finish depends on your tools and technique. Here’s what you need to know.
Preventing Brush Marks
- Use high-quality synthetic brushes with soft bristles
- Thin your paint slightly (follow manufacturer instructions)
- Paint in long, steady strokes, going with the wood grain
- Don’t overwork the paint – apply and leave it alone
- Keep a “wet edge” by working quickly in small sections
Choosing Your Tools
- Brushes: Best for detailed areas and corners
- Small foam rollers: Perfect for flat surfaces and give the smoothest finish
- Paint sprayer: Good for large projects but requires more setup and practice
- Pro tip: Use a combination – roller for flat panels, brush for grooves and edges
Number of Paint Coats
- Apply 2-3 thin coats rather than one thick coat
- Prime first (always!)
- Sand lightly between coats with fine-grit paper
- The final look should be solid and even
Most Durable Paint Options
- Oil-based enamel paint offers excellent durability
- Look for specific cabinet and furniture paints
- Satin or semi-gloss finishes clean more easily than flat
- Consider water-based alkyd paints for easier cleanup
Drying Time Guidelines
- Let the primer dry completely (usually 24 hours)
- Wait 24-48 hours between paint coats
- Allow 72 hours before reattaching the hardware
- Full cure takes 7-14 days – handle gently during this time
- Temperature and humidity affect drying time
Remember, good results take patience. Rushing between coats often leads to peeling and sticky surfaces. It’s better to wait longer than recommended rather than move too quickly.
Summing Up
After completing this project, I can tell you that patience pays off. The vanity I painted following these steps still looks great months later—there is no peeling, no scratching, and no regrets.
Here’s one final tip I wish someone had told me: invest in good lighting while you work.
I use a portable LED work light positioned at an angle, which helps spot any drips, bubbles, or missed spots immediately.
Without proper lighting, these flaws might only appear when the paint dries.
Remember, a well-lit workspace isn’t just about seeing better – it’s about catching imperfections before they become permanent.
Frequently Asked Questions
Can I Paint Over Already Painted Cabinets Without Sanding?
While possible, it’s not recommended. At least light sanding is needed to create a proper surface bond for good adhesion and a smooth finish.
Do I Need to Remove Old Paint Before Repainting Cabinets?
You don’t need to strip all the old paint. Simply clean thoroughly, repair damaged spots, and sand the surface until smooth before applying new paint.
What is the Best Primer for Previously Painted Cabinets?
Shellac-based or bonding primers work well on previously painted surfaces. These create strong adhesion and prevent the old paint color from showing through.

