
How to Paint Glass Vases: Simple Steps for a Fresh Look
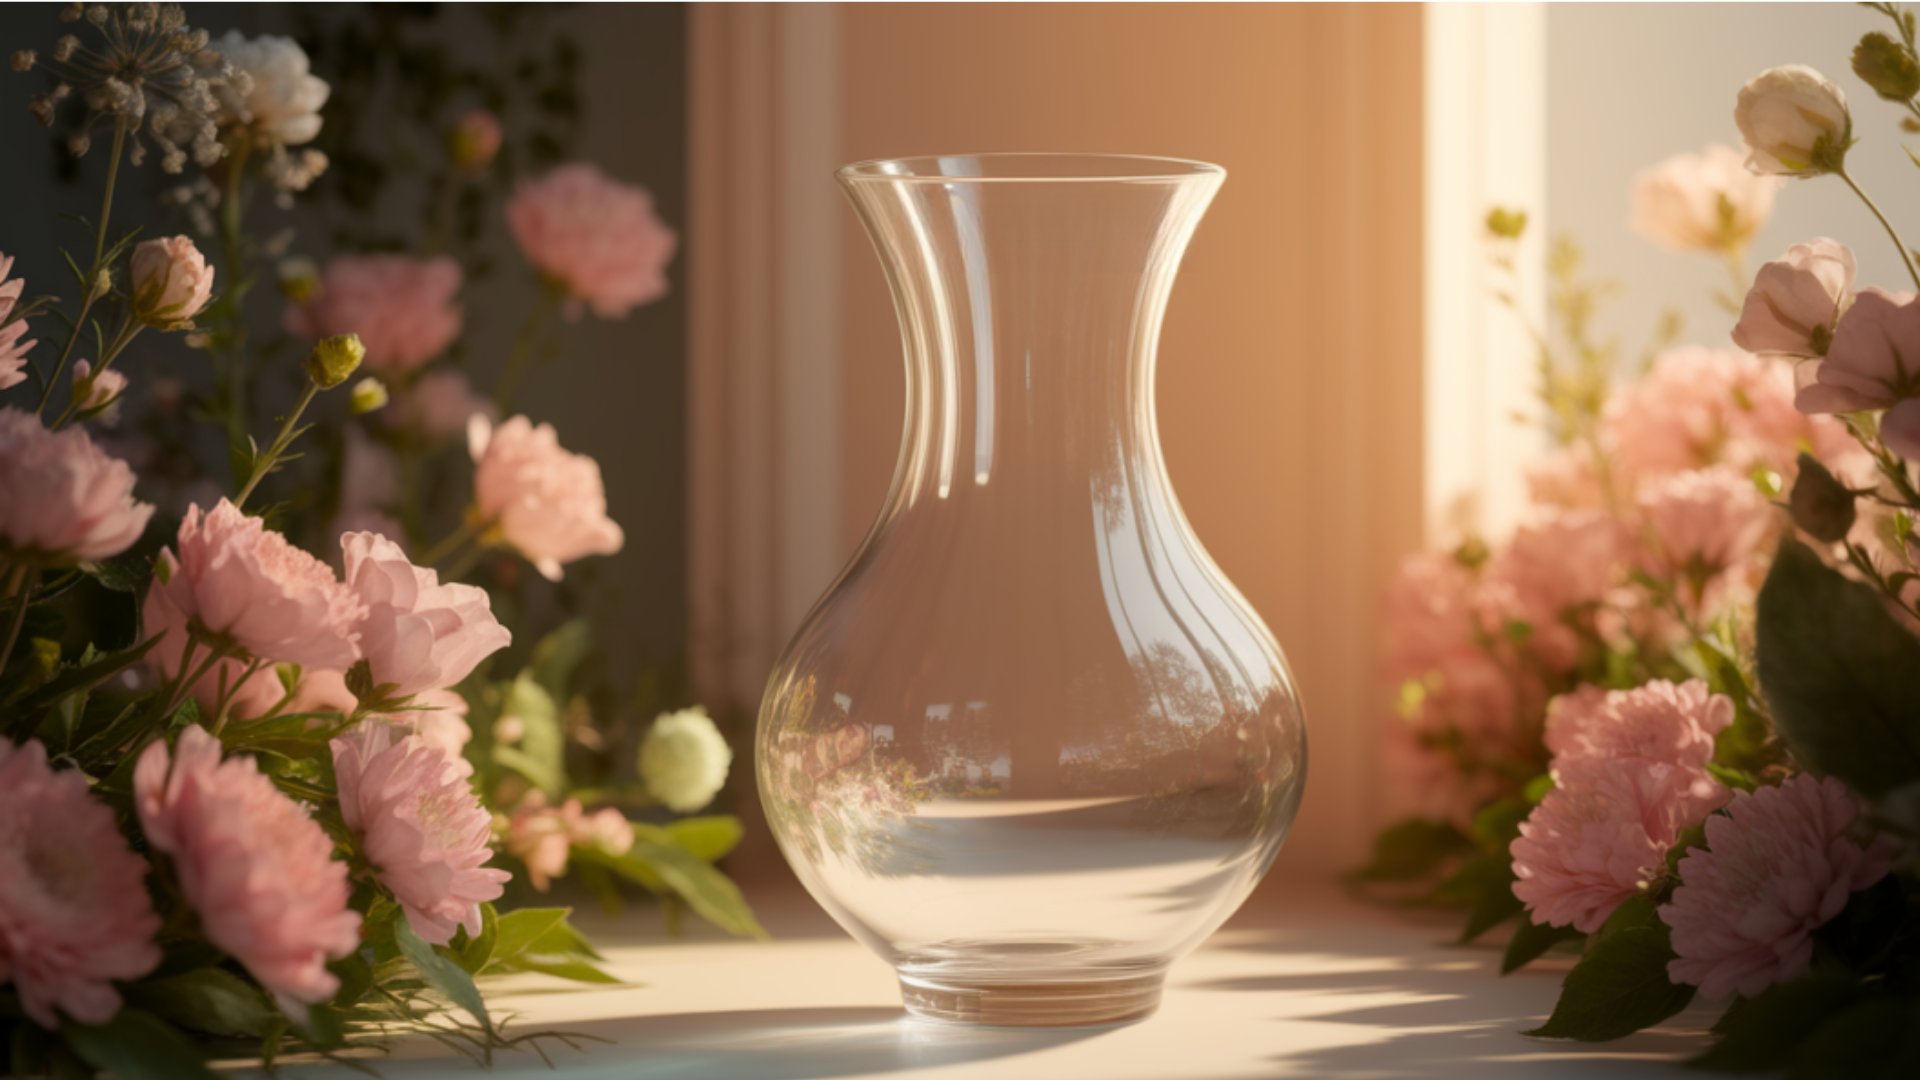
Glass vases often sit untouched, waiting for a second chance to shine. Instead of letting them collect dust, a simple paint makeover can bring them back to life.
Painting glass vases is an easy way to refresh home decor without spending much.
With a few basic materials and a little time, you can create beautiful, custom pieces. From smooth finishes to textured styles, there’s a method for every look.
This guide covers simple steps and helpful tips to make sure the paint sticks well and the final result lasts.
Let’s get started!
Why Painting Glass Vases is a Great Idea
Painting glass vases is a smart and affordable way to freshen up your home. You can use old vases you already have or pick some up from a thrift store. It’s an easy project that doesn’t need fancy tools.
You can create a new look with paint, baking soda, or even cinnamon. Choose smooth, soft colors or add texture for a rustic style. Giving old glass a new purpose helps reduce waste, too.
Each vase will be slightly different, making your decor feel more personal. It’s a simple way to change your space without spending much.
Additionally, it’s a fun and satisfying project that anyone can finish in no time. With a bit of time and a few basic supplies, anyone can do it.
How to Paint Glass Vases: Step-by-Step Guide
Painting glass vases is a simple and fun way to refresh your home decor. With a few supplies, you can turn old or thrifted vases into beautiful decorations.
The steps are easy to follow, and you don’t need special tools. Just a bit of time and some patience will give you great results. Follow these steps carefully, and soon, you’ll have your own painted glass vases to enjoy or even gift to family and friends.
Step 1: Clean the Vase
Start by cleaning your glass vases well. Use warm water and soap or a mixture of vinegar and water to remove dirt, grease, or sticky residue.
Clean both the inside and outside, even if you’re only painting the outside. Dry the vases completely before moving to the next step. If any spots are left wet, the primer and paint may not stick well.
Take your time with this step. Clean surfaces are key to a smooth paint job that lasts.
Step 2: Prime the Surface
Once your vases are clean and dry, it’s time to apply primer. Use a bonding primer that’s designed for slick surfaces like glass. Apply the first coat evenly and let it dry for 2–3 hours.
After the first coat is dry, add a second layer and leave it to dry overnight. This gives the best grip for your paint. Primer helps your paint hold better and prevents peeling.
Don’t rush this step — letting the primer dry fully makes a big difference in how well the paint stays on your vase.
Step 3: Mix Paint for a Textured Finish (Optional)
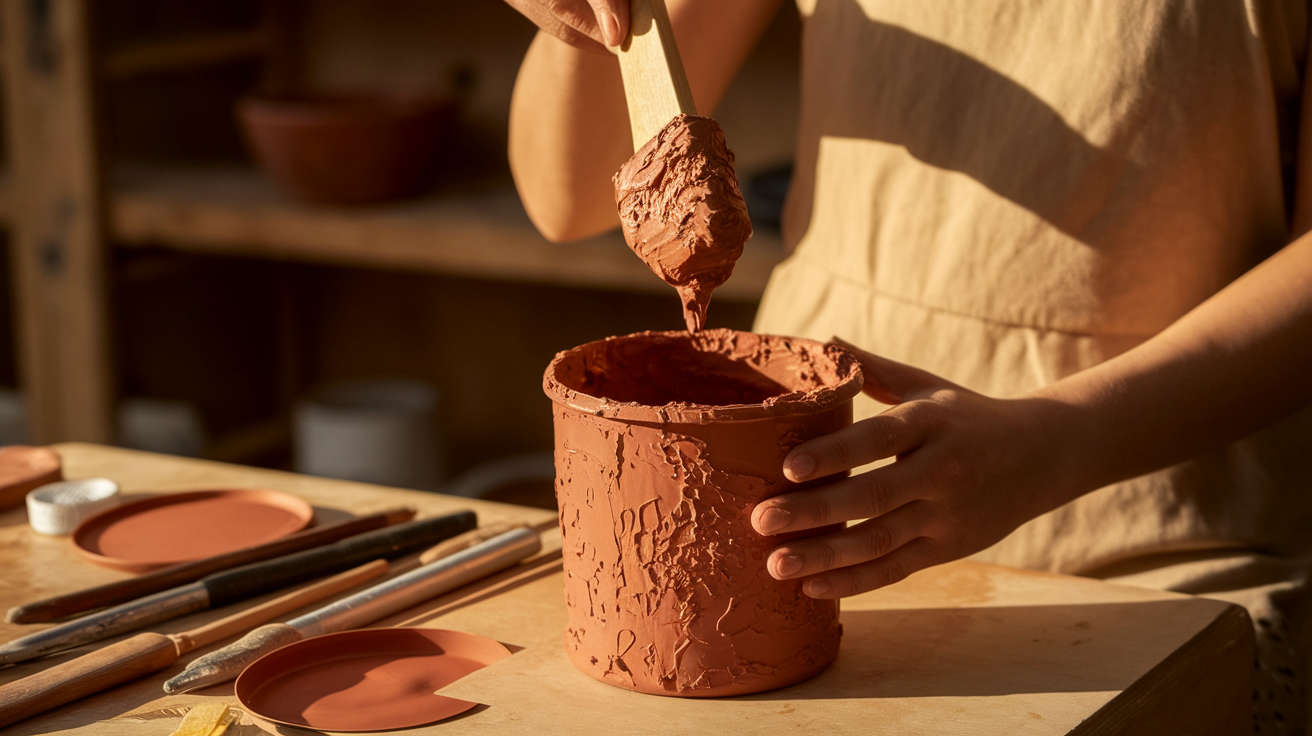
If you want to give your vase a textured look, this step is perfect. Mix about one cup of paint with half a cup of baking soda. Stir the mixture well until it feels like thick cream.
The baking soda creates a rough, clay-like finish on the vase. It’s a simple way to add character without needing special products. You can adjust the amount of baking soda to control how rough the texture feels.
Make sure to use a disposable container, as the mixture can dry quickly and may be hard to clean later.
Step 4: Apply the Base Coat
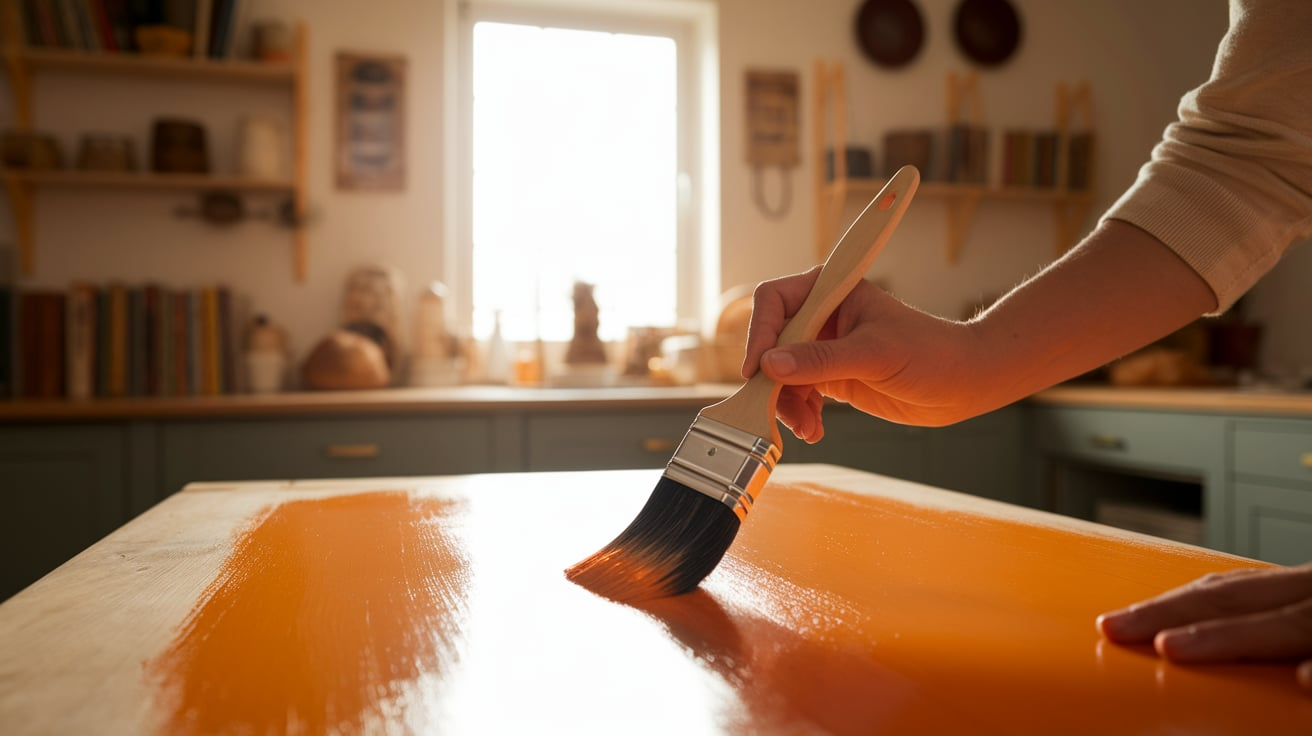
Now you’re ready to paint. Use a chip brush to apply the paint or the baking soda mixture. Apply thin, even layers and follow the same direction with your brush strokes.
You can keep the strokes straight or make them a bit random for a rustic look. Let the first coat dry fully before adding another layer. Depending on the coverage, you might need two coats.
Take your time and let each coat dry completely for a smooth finish. This step builds the foundation for your final design.
Step 5: Add Layers and Patina
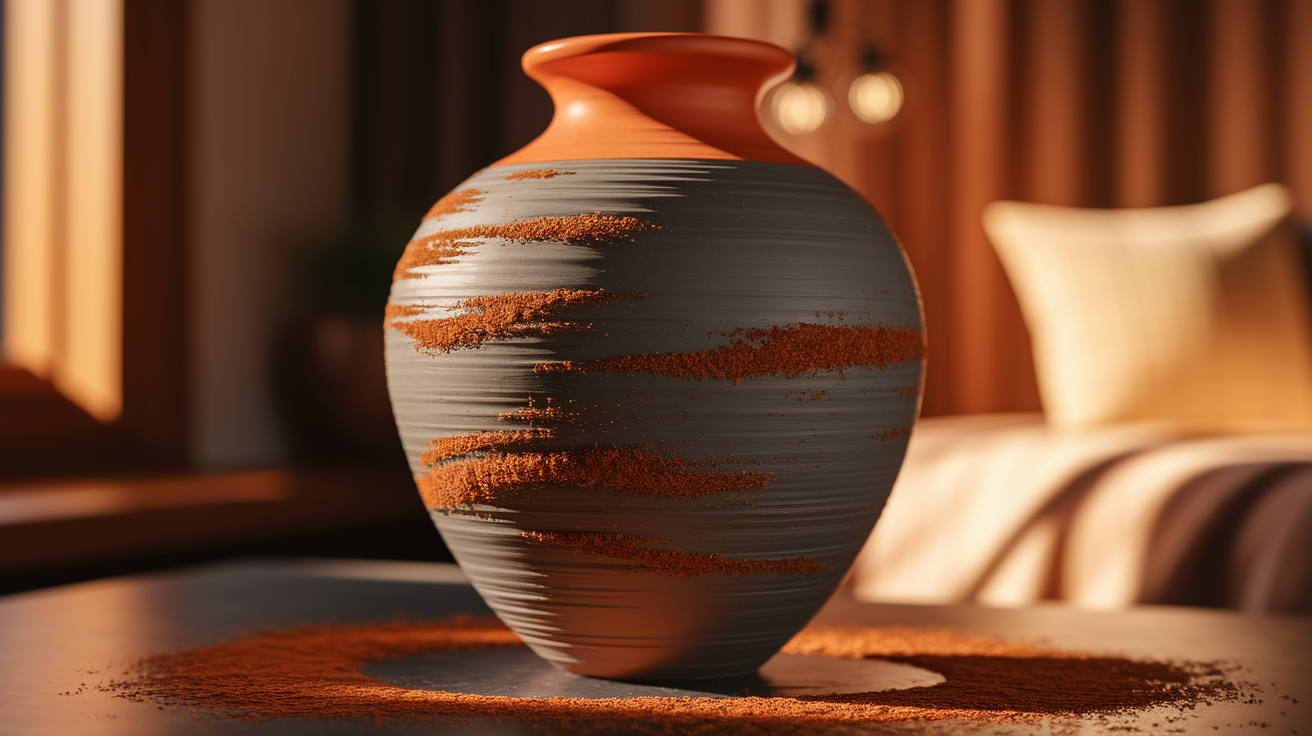
For extra depth, you can add another color over your base coat. Using a small brush, dab on shades like gray or dark brown.
You don’t need to cover the whole vase; highlight areas for a richer look. If you want to try something unique, sprinkle cinnamon over the slightly sticky paint. This creates a warm terracotta effect and gives your vase extra charm.
Let it sit for a moment, then gently brush off any excess. This step adds warmth and texture, making your vase feel special and full of character.
Step 6: Seal Your Vase (Optional)
If your painted vase will hold real flowers or be handled often, sealing it is a good idea. Use a clear, matte sealer to protect the surface.
Apply the sealer with a clean brush or spray it on for even coverage. Let it dry completely, according to the product’s instructions.
Sealing your vase helps prevent chips, marks, and wear from daily use. It’s an easy extra step that helps keep your vase looking fresh for longer. If your vase is only for decoration, this step is optional but still helpful.
Step 7: Enjoy Your New Decor!
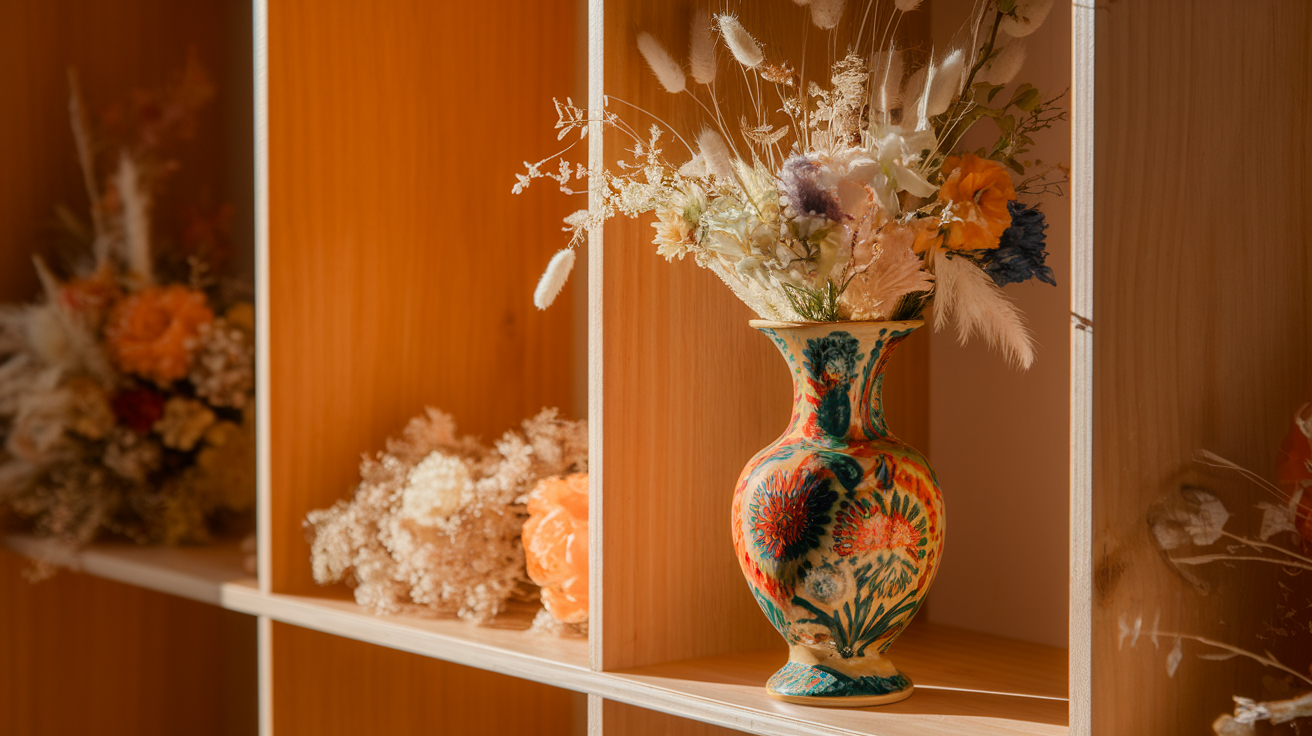
Once everything is fully dry, your painted vase is ready! You can place it on a shelf, use it as a centerpiece, or give it as a thoughtful gift. Painted vases can brighten up any room and show off your style.
Try pairing them with faux flowers or dried arrangements for a lovely touch. Move them around your home as needed to refresh your space.
The best part is knowing you made something special by hand. Enjoy your finished project, and have fun planning your next DIY idea!
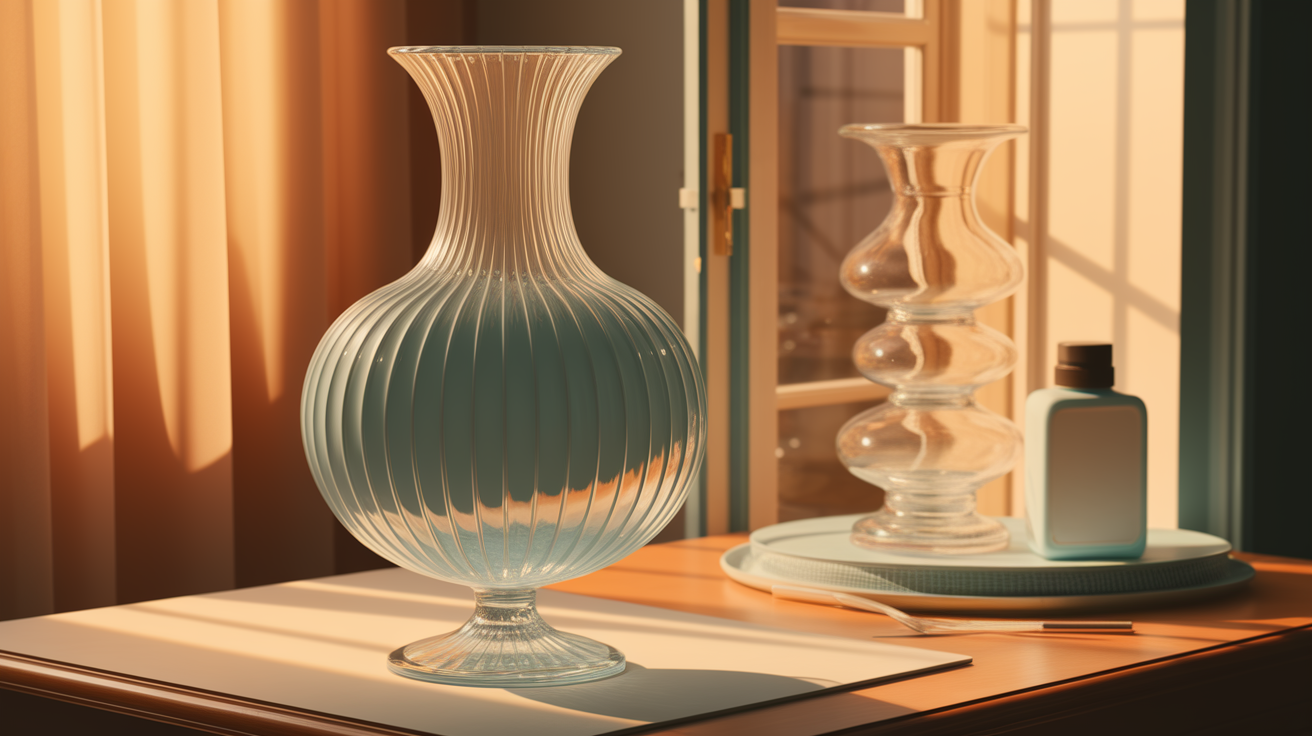
Choosing the Right Style for Your Vase
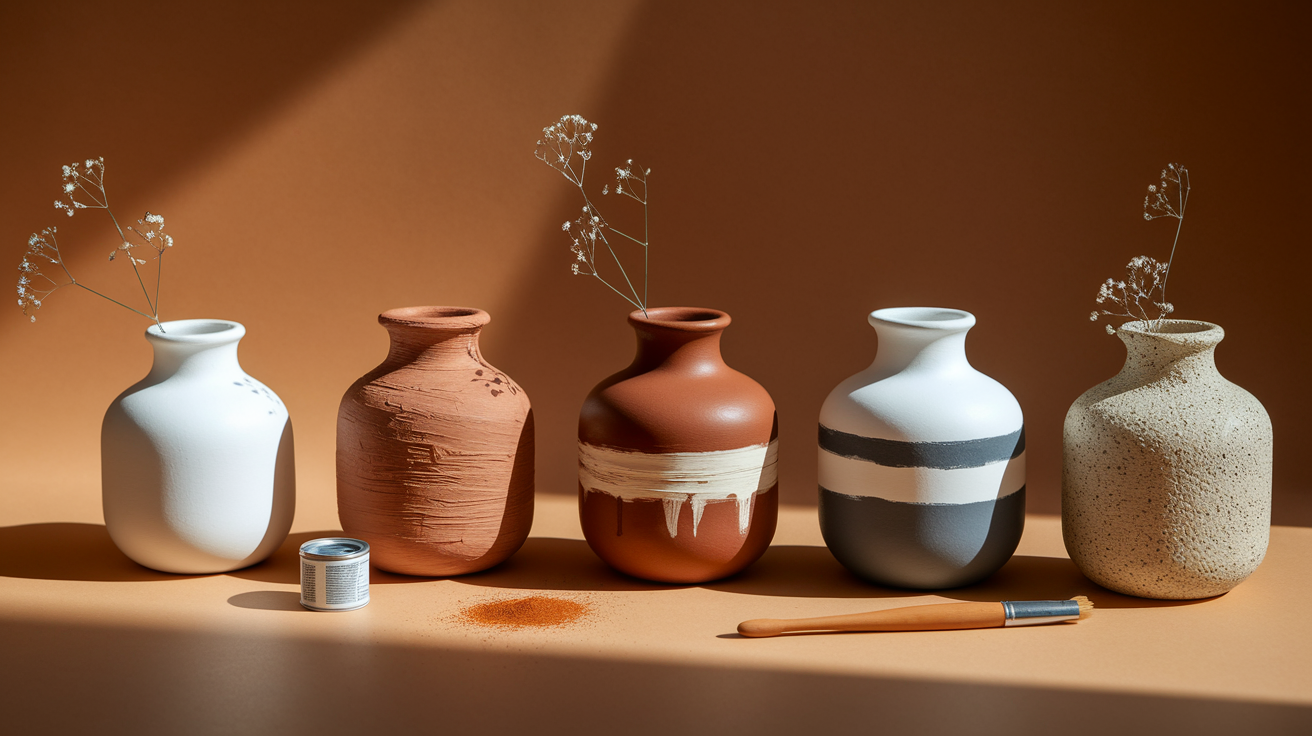
Before you begin painting, it’s helpful to think about the finish you want. Each method creates a different look and feel for your vase. Some are simple and smooth, while others add texture or warmth.
Picking your style early helps you gather the right materials and follow the steps that suit your vision. Below are a few easy styles you can try at home. Go with the one that fits your space, or mix and match for a fun collection of vases that feels personal and well thought out.
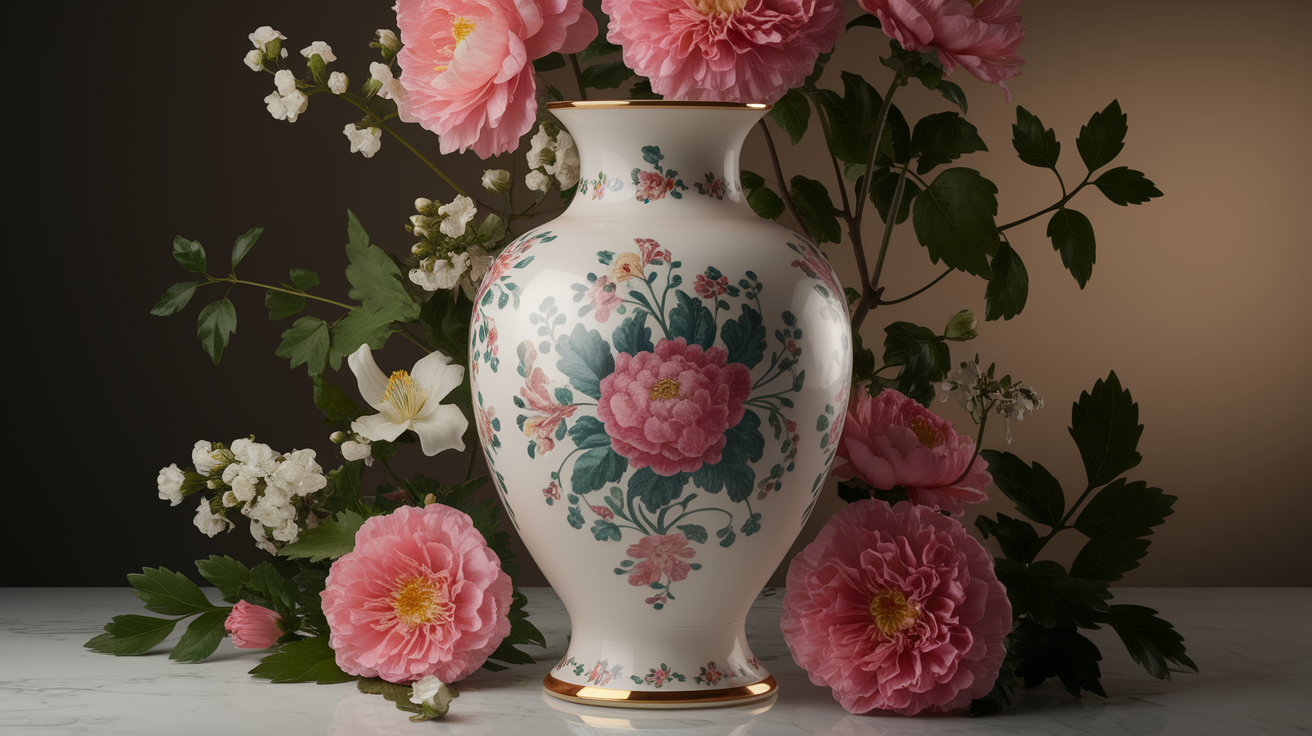
Smooth Finish
For a clean and simple look, go with regular paint and skip the baking soda. This style works well if you want your vase to have a soft, even finish without any texture.
First, use a good bonding primer, then apply your paint in thin, even coats. To avoid streaks, let each layer dry before adding the next.
Smooth finishes look great in modern spaces and pair well with fresh or dried flowers. It’s an easy option if you’re looking for a quick update without adding extra steps to your project.
Textured Clay Look
If you want your vase to feel like pottery, add baking soda to your paint. Mix about one cup of paint with half a cup of baking soda until you get a thick, smooth texture.
This method gives your vase a soft, clay-like surface that feels handmade. Apply the paint with a brush, making your strokes in one direction or mixing them for a rustic look.
Let the paint dry fully before adding extra layers. This style adds warmth and charm to your decor and works well in cozy spaces.
Rustic Patina
For an aged and earthy feel, try using cinnamon over slightly tacky paint. Sprinkle it gently and press it in with a soft brush. The cinnamon adds a warm color and natural texture, giving your vase a timeworn appearance.
If you add too much, lightly brush away the extra once it dries. This simple trick uses something already in your kitchen.
This style is great for adding character to shelves, tables, or even as a gift. The result is a vase that feels familiar and welcoming.
Two-Tone Design
Creating a two-tone vase is a fun way to add interest. Before you start painting, use painter’s tape to mark off sections of the vase.
You can make clean lines across the middle or try diagonal or pointed shapes for something different. Paint one section first and let it dry fully before removing the tape.
Then, cover the painted part and add your second color. This method works well if you want to mix textures, like smooth paint on the top and textured spray paint on the bottom.
Stone Texture
To get a rough, stone-like surface, use a textured spray paint made for this purpose. These sprays create a finish that feels a bit like natural stone, with small specks and a solid feel.
Make sure to follow the can’s directions, and spray in light, even coats while keeping the can about ten inches away from your vase. Let each layer dry before adding more for the best results. T
his style works well for outdoor spaces or if you want your vase to have a strong, grounded appearance in your room.
Best Paints for Glass Vases
Picking the right paint makes a big difference. The right choice helps the paint stick better and last longer. Some paints add texture, while others give a smooth, even finish. Always seal your vase for extra protection.
Chalk Paint
Chalk paint is a good choice if you want a soft, matte finish. It works well when you want to add texture too. This type of paint pairs nicely with a bonding primer to help it stay in place.
You can use it alone or with baking soda for a clay-like surface. Make sure to seal the vase after painting to help prevent chips and scratches. Chalk paint is easy to work with and dries fairly quickly, making it a favorite for many DIY projects.
Acrylic Paint
Acrylic paint is easy to find and works well with glass if you use a primer first. It comes in many colors and is simple to apply with a brush. If you want to add texture, you can mix it with baking soda for a rough finish.
Acrylic paint dries fast so that you can finish your project in less time. It’s also water-based, so cleaning up is quick and simple. For long-lasting results, seal your finished vase with a clear topcoat after the paint has fully dried.
Spray Paint for Glass
Spray paint made for glass is a fast and easy option. It covers smoothly and helps you reach all sides of the vase evenly. This type of paint saves time and gives your vase a neat, polished finish.
Make sure to spray in light, even coats and let each layer dry fully. Spray paint is great if you want a simple, smooth style. Don’t forget to seal the paint with a clear topcoat to help it last longer and resist scratches.
Textured Spray Paint
Textured spray paint adds a rough, stone-like finish to your vase. It is perfect if you want a natural look with a bit of grip. Spray from about ten inches away and build up the texture in light layers.
Allow each coat to dry completely before adding more. This paint gives your vase a strong, bold surface that stands out. It works well for both indoor and outdoor spaces. Sealing your finished vase will help protect the texture and keep it looking good over time.
Tips for Long-Lasting Results
Follow these simple tips to keep your painted vases looking fresh over time. Careful preparation and gentle handling go a long way. These small steps will help your paint stay in place and keep your vases looking great.
- Clean your vases well: Remove all dirt, grease, and dust. A clean surface helps the paint stick firmly and last longer.
- Use a good primer: A proper primer gives your paint something to grip. This step is key for smooth surfaces like glass to avoid peeling.
- Apply thin coats: Thin, even layers of paint dry better and reduce the risk of peeling. Let every coat dry fully before adding another.
- Seal for protection: Use a clear topcoat to protect your painted surface, especially if the vase will be handled or moved frequently at home.
- Handle with care: Painted glass can chip easily, so place vases gently and avoid dropping or knocking them against hard surfaces to prevent damage.
Maintenance Tips and Things to Avoid
Keeping painted glass vases in good shape is simple with the right care. Follow these easy tips to make sure the finish lasts and stays looking fresh. Avoid common mistakes to prevent damage and enjoy your vases for longer.
- Dust Regularly: Gently wipe the vase with a soft cloth to keep dust from building up and dulling the paint over time.
- Use Mild Cleaners: Avoid harsh chemicals. Clean your vase with mild soap and water without risking damage to the painted surface.
- Avoid Soaking: Do not soak the vase in water. Excess moisture can weaken the paint and cause it to peel away.
- Handle with Care: Move the vase carefully to prevent chips or scratches. Painted glass can be more delicate than it looks.
- Keep Away from Direct Heat: Do not place painted vases near heaters or direct sunlight, as heat can cause the paint to crack or fade.
- Touch Up When Needed: If small chips appear, touch them up with leftover paint and sealant to keep the vase looking fresh.
- Avoid Abrasive Cloths: Never use rough sponges or brushes, as they can quickly scratch and damage the paint finish.
Conclusion
Painting glass vases is a simple project that brings fresh life to old or plain decor. With the right steps, even basic vases can become beautiful additions to any space.
Cleaning, priming, and choosing the right paint make all the difference. Whether the goal is a smooth finish or a rustic texture, this guide offers easy options.
Finishing touches like sealing help the paint last longer and keep the vases looking great over time. With a little care, these painted vases can be enjoyed for many years as part of everyday home style.
So, start painting!


