How to Make Coasters: 3 Different DIY Options
Ever noticed water rings on your coffee table? We’ve all been there! Making your own coasters isn’t just a fun weekend project, it’s a practical way to protect your furniture while adding your personal touch to your home.
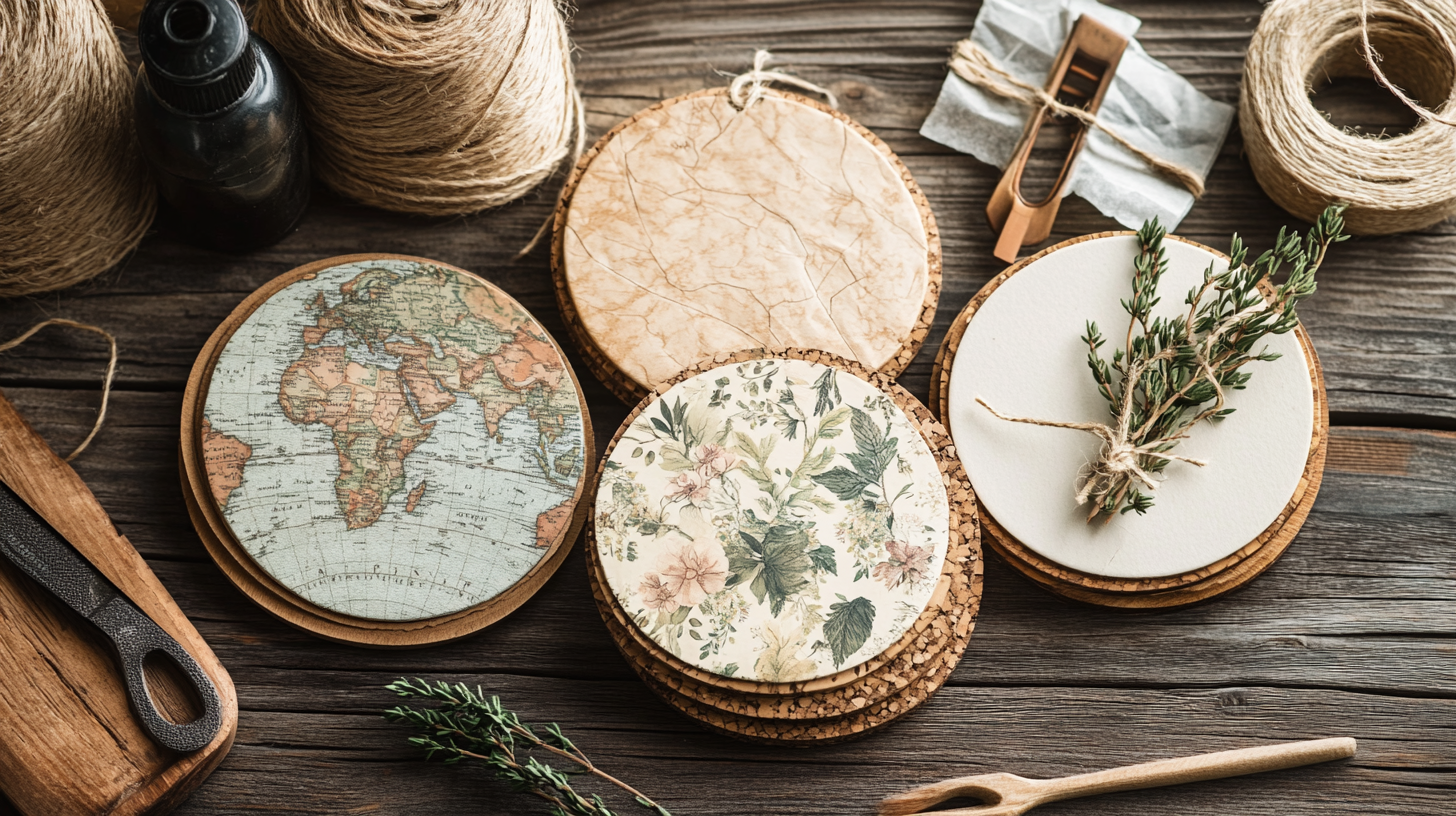
In this guide, we’ll show you three simple ways to create custom coasters that are both useful and good-looking. You’ll learn how to make cork coasters for a quick project, ceramic tile coasters that stand up to daily use, and wooden coasters for a natural feel.
By the end of this post, you’ll have all the know-how to create coasters that match your style and protect your tables.
Let’s get crafty!
Why Make Your Own Coasters?
Making your own coasters is both fun and useful. When you create something with your own hands, it brings a special feeling that store-bought items just can’t match.
Personalization
You can make coasters that truly reflect who you are. Want colors that match your living room? Done. Need a fun pattern for a party? No problem. You can even add family photos to create something that feels like “you.”
When friends visit, they’ll notice these small touches that make your home unique. Your personality shines through in these small but important items.
Cost-Effective Gifts
Handmade coasters won’t break the bank but still show you care. For birthdays, holidays, or housewarming parties, a set of custom coasters says, “I took time to make something just for you.”
People love gifts with thought behind them. A handmade coaster set costs much less than many store gifts but means so much more to the person receiving it.
Practical Use
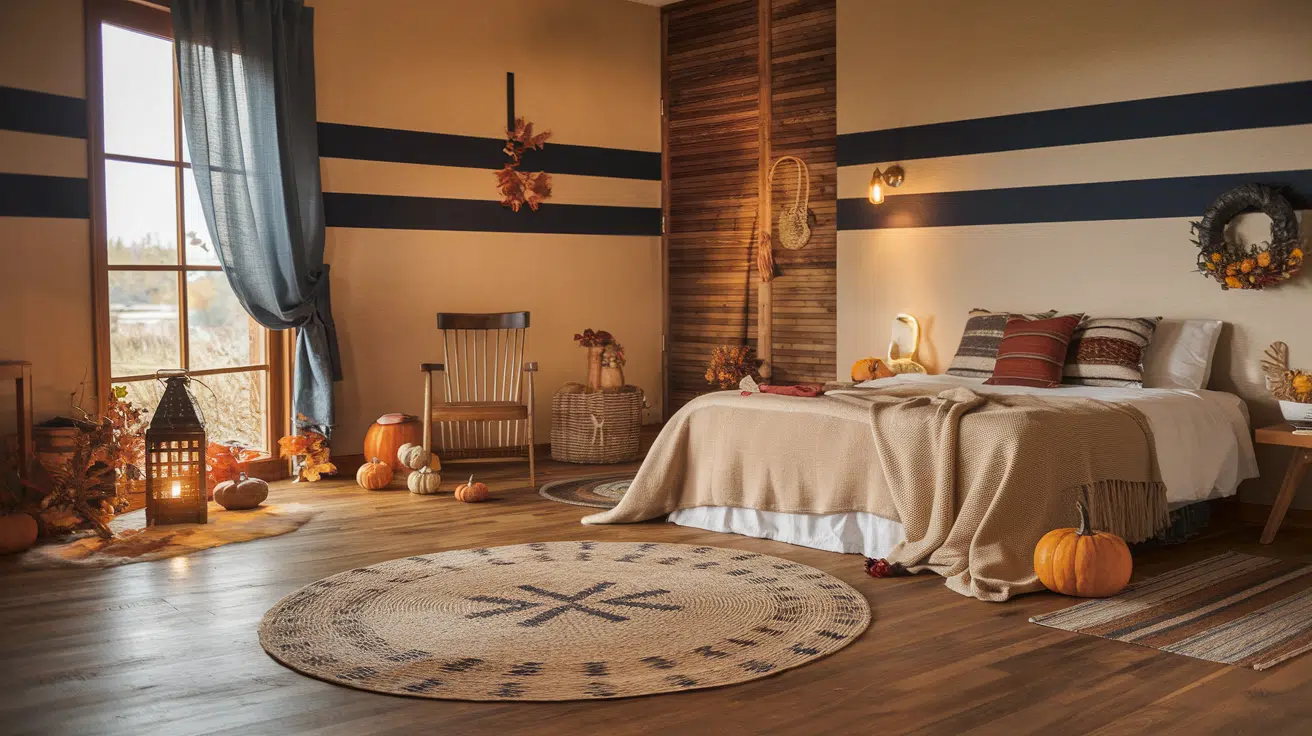
Coasters work hard while looking good. They keep water rings off tables and protect your furniture from hot mugs. But they’re not just useful—they add charm to any room.
Placed on coffee tables, nightstands, or kitchen counters, they serve a purpose while making your space look put together. Good protection doesn’t have to be boring.
How to Make Cork Coasters
Making cork coasters is easier than you might think! With just a few basic supplies and some creativity, you can create beautiful, functional coasters in no time.
Materials You’ll Need
- Mod Podge or white craft glue
- Scissors or craft knife
- Decorative paper, photos, or artwork
- Paintbrush or sponge applicator
- Pre-cut cork coasters
- Craft paint (optional for added design)
Step 1: Prepare the Paper
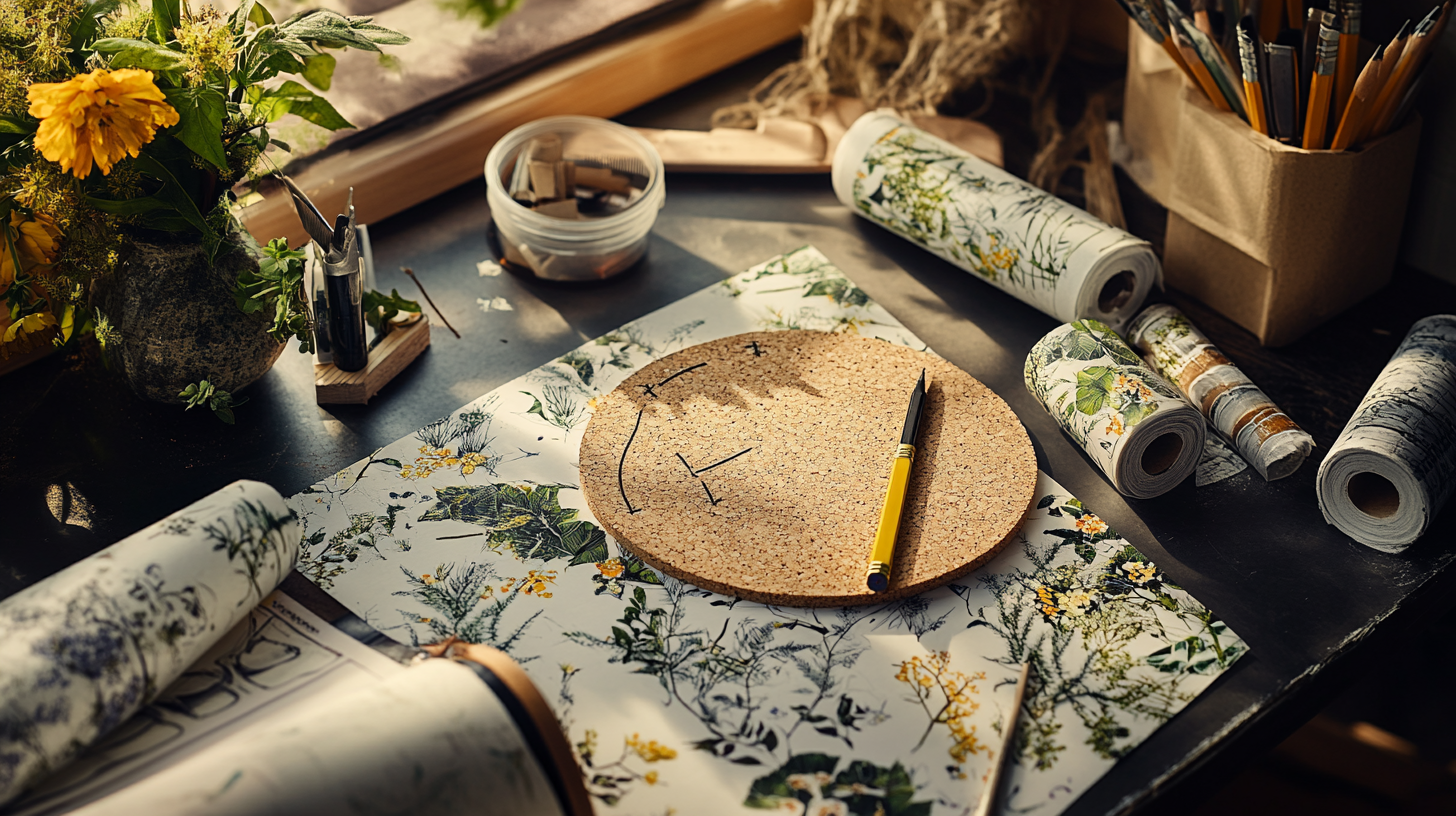
First, you’ll need to cut your decorative paper to match your cork coaster size. Take your time with this step – a clean cut makes all the difference in the final look.
I like to trace the coaster onto the back of the paper first, then cut just inside the line for a perfect fit.
If you’re using photos, make sure they’re printed on regular paper rather than photo paper, which can bubble up when glued.
Step 2: Glue the Paper
Now comes the fun part! Grab your Mod Podge or white craft glue and apply a thin, even coat to the top of your cork coaster.
Don’t worry about putting too much; you can always smooth out the extra glue.
Place your cut paper onto the wet surface and gently press down from the center outward. This helps push out air bubbles that might get trapped.
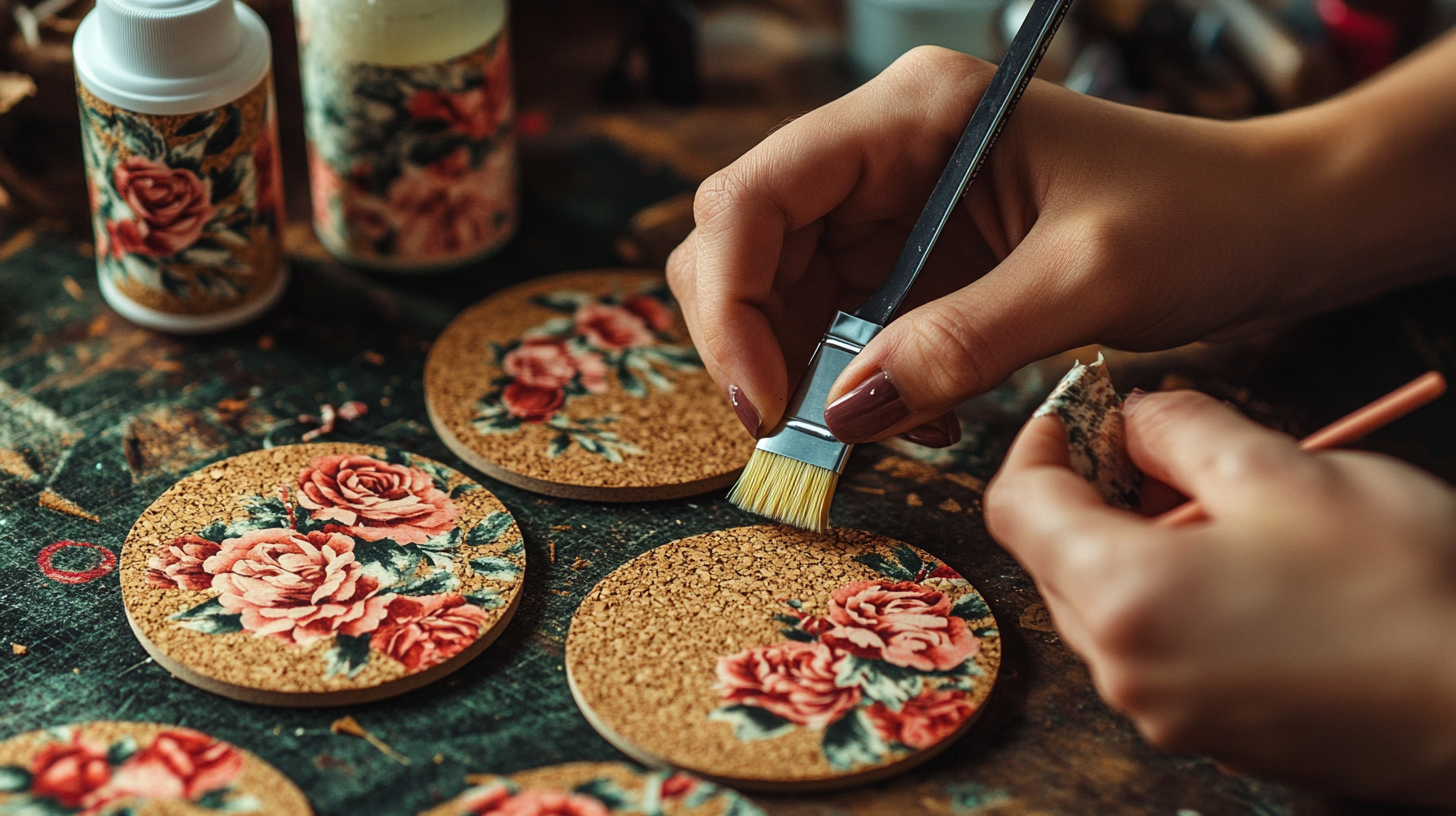
Step 3: Seal the Surface
Once your paper is stuck down and looks good, it’s time to protect it.
Apply a layer of Mod Podge over the top of your design using your brush or sponge. Work in one direction (left to right or up and down) for the smoothest finish. The Mod Podge will look white at first but will dry clear, so don’t panic!
This top coat keeps water from damaging your pretty design when drinks sweat or spill.
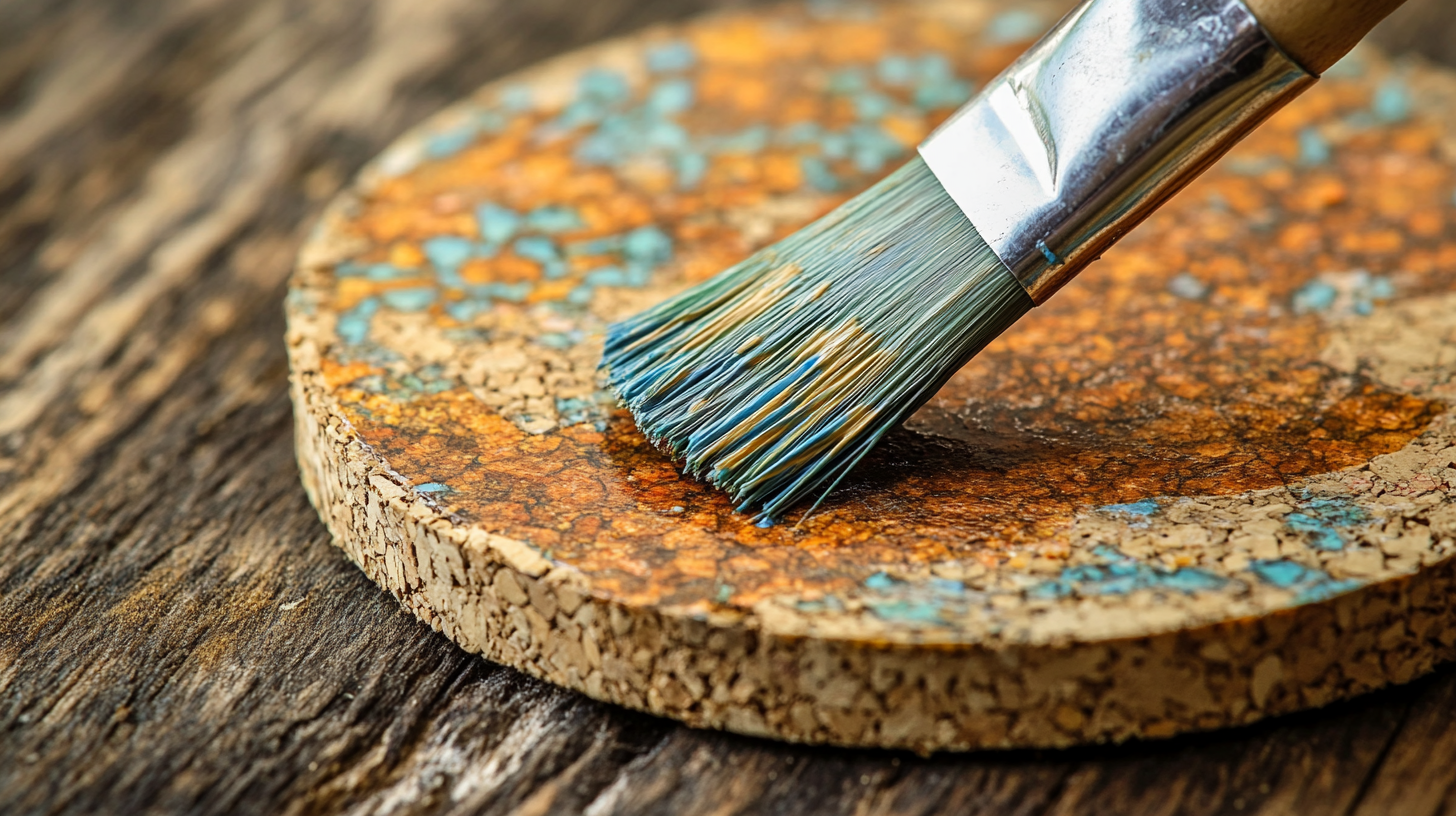
Step 4: Dry and Finish

Let your coasters dry completely – at least 2-3 hours, but overnight is even better.
Once dry, add another layer of Mod Podge for extra protection. The more layers you add, the more durable your coasters will be.
Some people add up to five layers, but I find that two or three work just fine for normal use. Between layers, you might want to sand with fine sandpaper for a super-smooth finish lightly.
Bonus Tip
Try using special photos or maps of places you love. I made coasters with maps of cities where my friends live – they were so touched by the personal connection when I gave them as gifts!
How to Make Ceramic Tile Coasters
Ceramic tile coasters stand up to daily use better than most other homemade options. They can handle hot drinks, cold sweaty glasses, and years of use while still looking great.
Plus, they feel substantial and high-quality in your hand.
Materials You’ll Need
- Mod Podge or white craft glue
- Scissors or craft knife
- Decorative paper, photos, or artwork
- Paintbrush or sponge applicator
- 4″ ceramic tiles
- Envirotex Lite Pour-On Resin (for waterproofing)
- Felt or cork for backing
- Protective gloves and disposable cups
Step 1: Prepare the Tile and Design
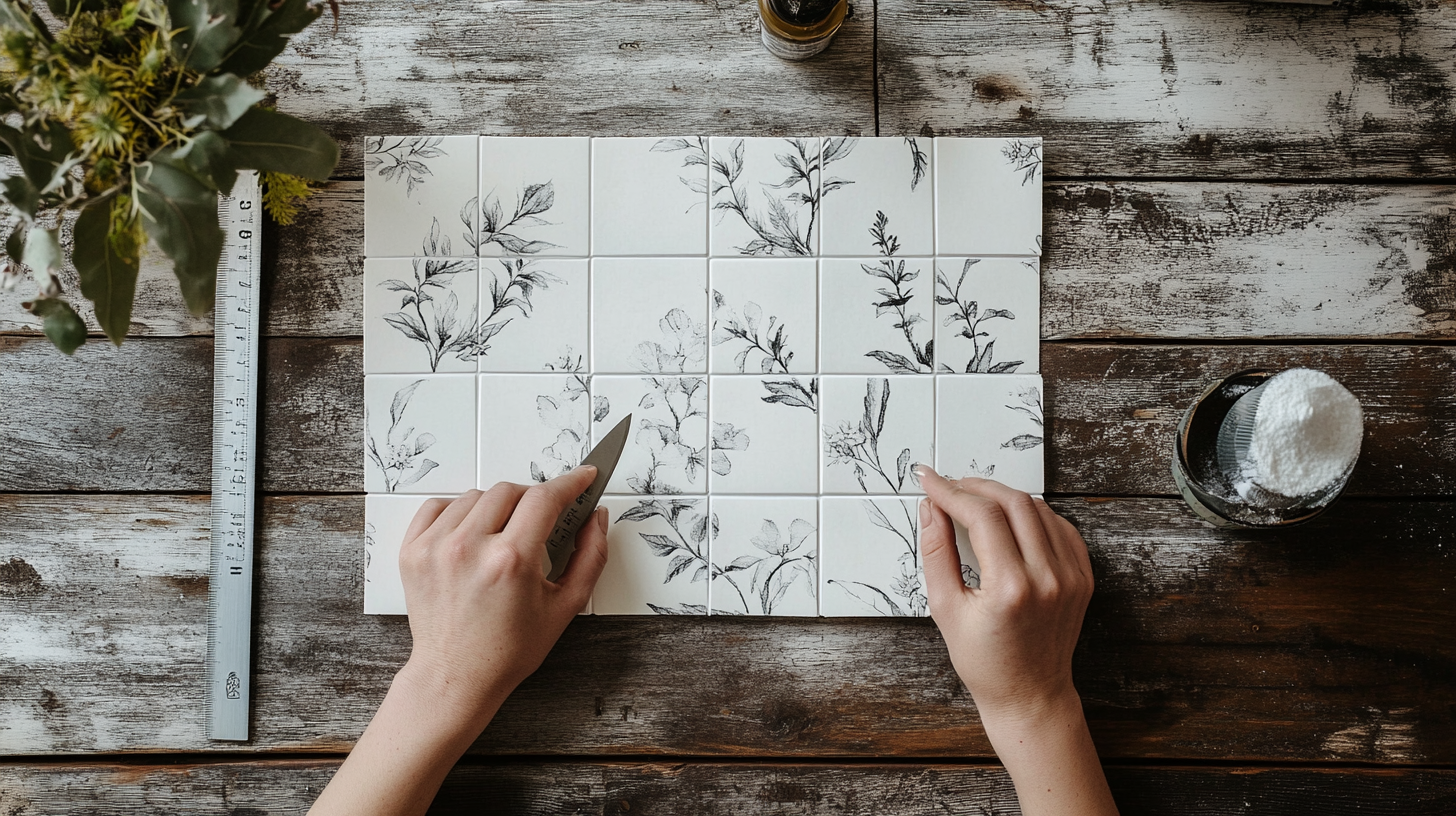
Before you start, make sure your ceramic tiles are totally clean and dry.
Next, cut your paper or photos about 1/8 inch smaller than your tile on all sides. This small gap creates a nice border around your design.
I made the mistake of cutting my paper to the exact size of the tile my first time, and it was so hard to place it perfectly without edges sticking out! Trust me, leaving that small margin makes the whole process much less stressful.
Step 2: Glue and Seal the Paper
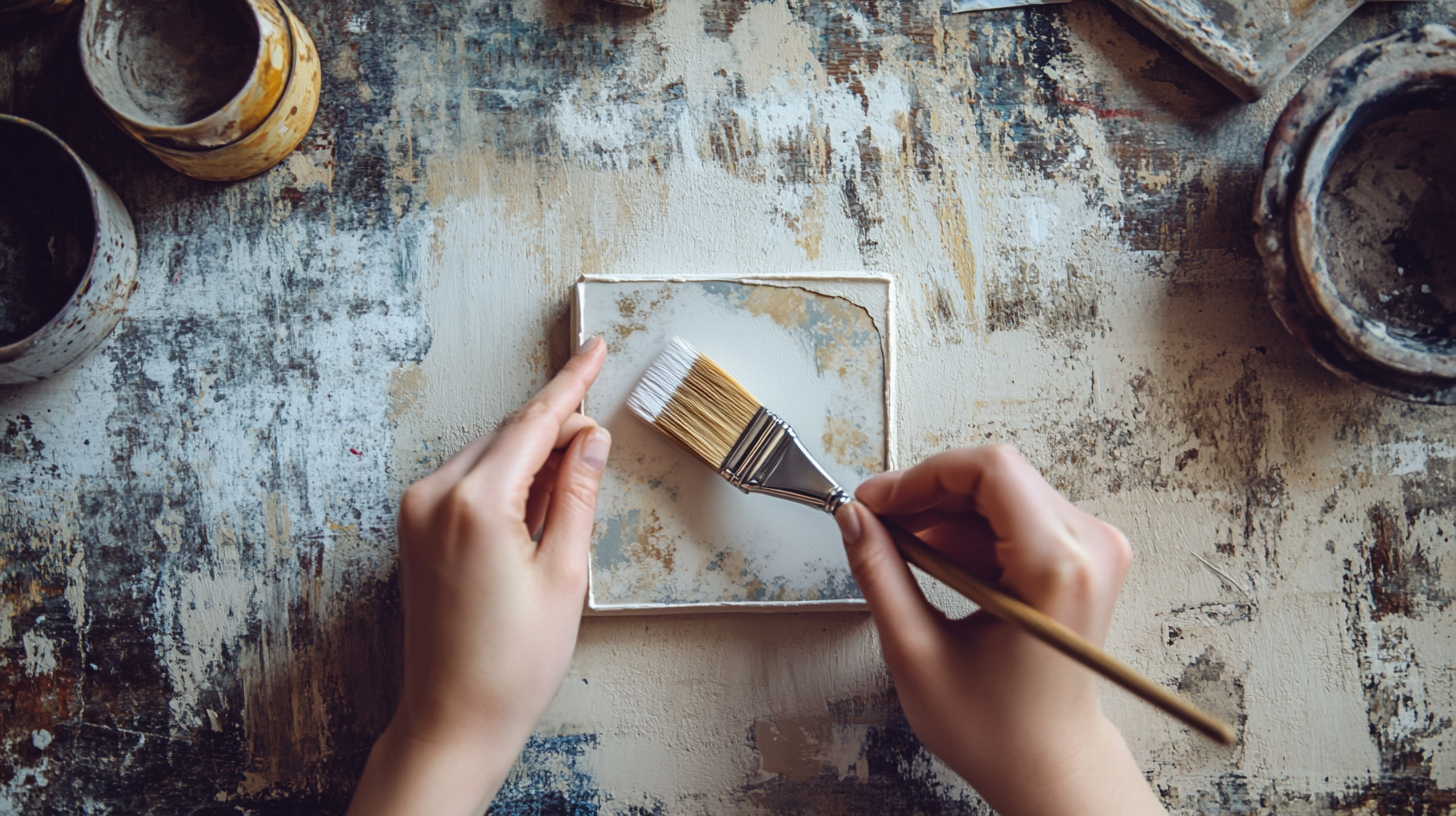
Now, brush a thin layer of Mod Podge onto your tile and carefully place your paper on top. Smooth it out from the center to push any air bubbles toward the edges.
Once it’s in place, let it dry for about 15-20 minutes. Then, brush another layer of Mod Podge over the top of your paper. Do three thin coats, letting each one dry completely between applications. This seals the paper and gives the resin something to grip onto.
Be patient here – rushing through drying times can ruin all your hard work!
Step 3: Apply Envirotex Resin
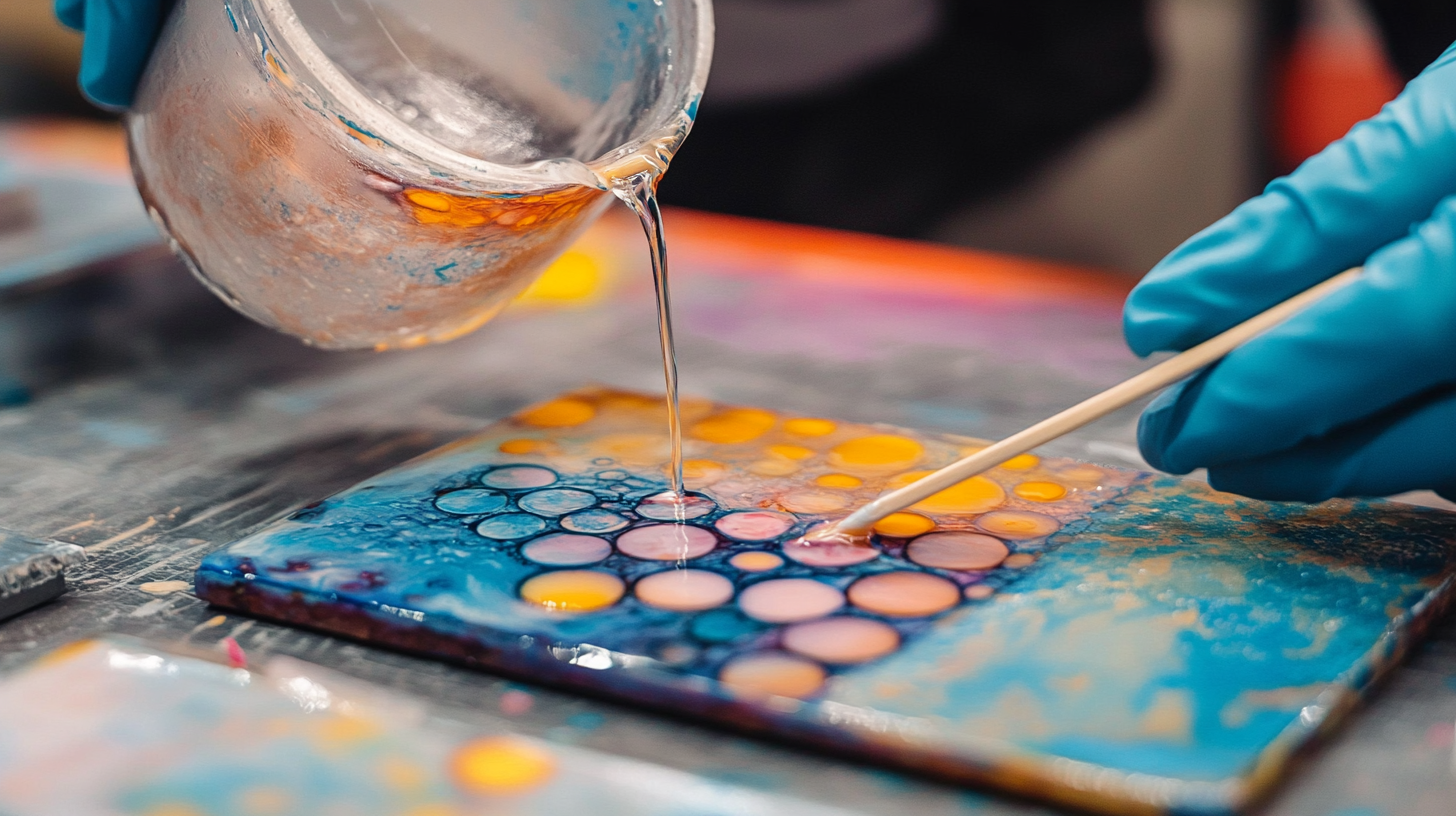
This is where things get serious! Put on those gloves and read the Envirotex instructions carefully.
Mix equal parts of the resin and hardener in a disposable cup, stirring slowly for a full minute. Then pour into a second cup and stir again (this two-cup method ensures proper mixing).
Now, pour a small puddle in the center of your tile and use a popsicle stick or playing card to spread it to the edges. The resin will self-level, creating that amazing glass-like finish that makes these coasters special.
Step 4: Remove Drips and Let Cure
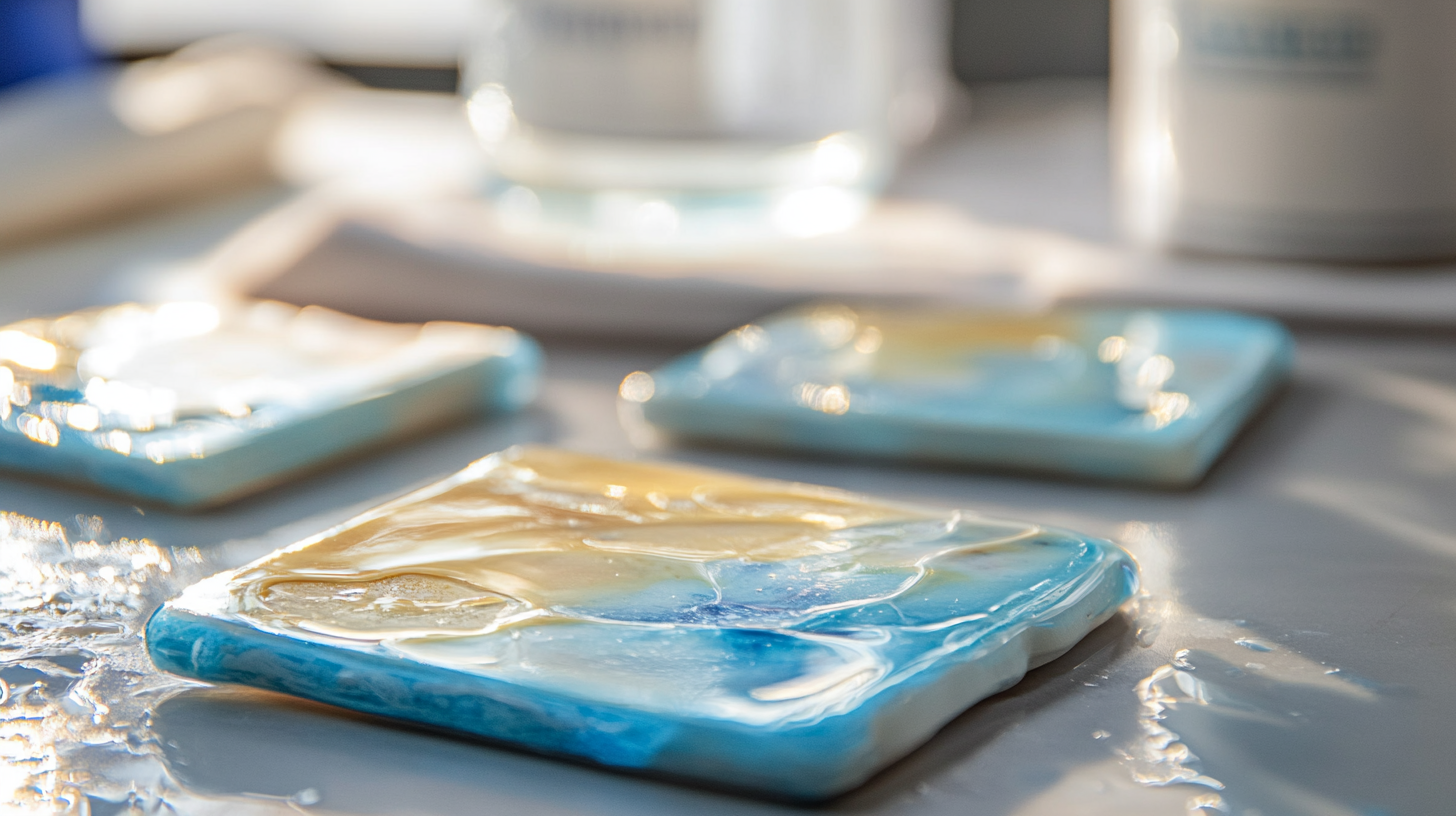
Check the edges of your tiles after about 30 minutes for any drips forming underneath. Wipe these away with a paper towel dipped in rubbing alcohol.
Now comes the hard part – waiting! Let the resin cure undisturbed for at least 24 hours. I know you’ll be tempted to touch it or move the tiles, but resist the urge.
The wait is worth it for perfectly smooth coasters.
Step 5: Add Backing

After your resin has fully cured, flip your tiles over and attach felt or cork to the bottom. This protects your furniture from scratches and makes the coasters easier to pick up.
I use self-adhesive felt squares, but you can also cut cork to size and attach it with strong glue.
Make sure your backing covers the entire tile bottom – partial coverage can make the coasters wobble or scratch surfaces anyway.
Pro Tips
Warm your Envirotex bottles in warm water for about 10 minutes before using them. This makes the resin thinner and easier to mix and pour.
Also, work in a dust-free area if possible. Even tiny dust particles can get stuck in your perfect glossy surface.
I understand your requirements for the blog section. Here’s the content for Method 3:
How to Make Wooden Coasters
Wooden coasters bring a natural, warm feel to any home. There’s something special about the grain and texture of real wood that plastic or ceramic just can’t match.
These coasters make a statement while still being functional for everyday use.
Materials You’ll Need
- Mod Podge or white craft glue
- Scissors or craft knife
- Decorative paper, photos, or artwork
- Paintbrush or sponge applicator
- Hardwood scraps (like chechen wood)
- Sandpaper (120, 180, 220 grit)
- Wipe-on oil and paste wax for finishing
- Saws (band saw, table saw, or hand saw)
Step 1: Cut the Wood

Start with hardwood pieces between 3/8″ and 3/4″ thick – anything thinner might warp with moisture, and thicker pieces can feel bulky. Cut squares about 3 7/8″ on each side.
If you don’t have power tools, don’t worry. A simple hand saw works fine, though it takes more time and arm strength.
The slightly imperfect edges from hand-cutting can add to the handmade charm of your coasters.
Step 2: Smooth the Surface
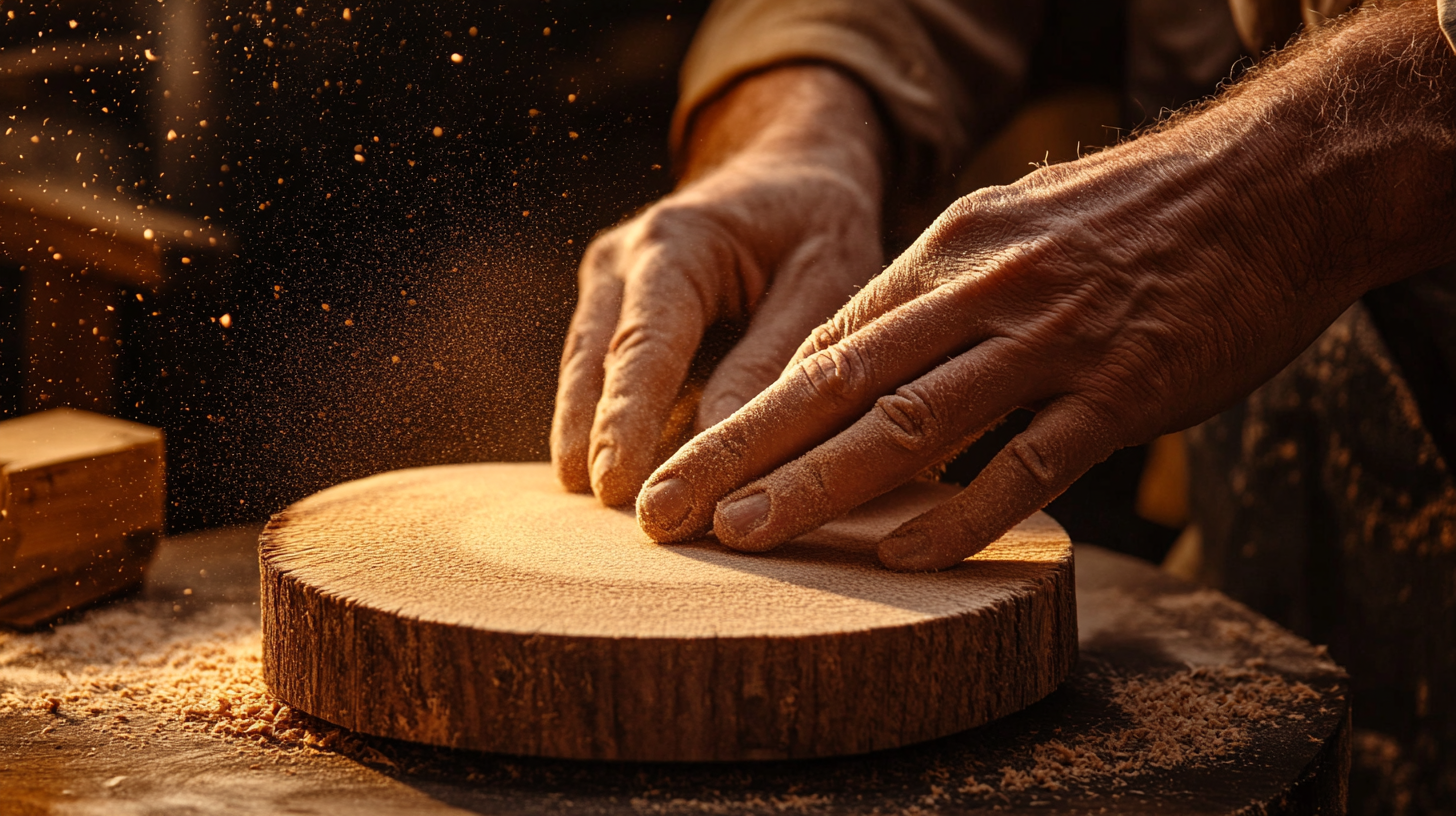
Now comes my favorite part – turning rough wood into something smooth and touchable. If you have access to a planer, run your pieces through to make sure they’re flat and even.
If not, start with 120-grit sandpaper to smooth the faces and edges. Then move to 180-grit and finish with 220-grit for a silky-smooth finish.
Sand in the direction of the grain to avoid scratches. Run your fingers over all surfaces to feel for rough spots you might have missed.
Step 3: Finish the Wood
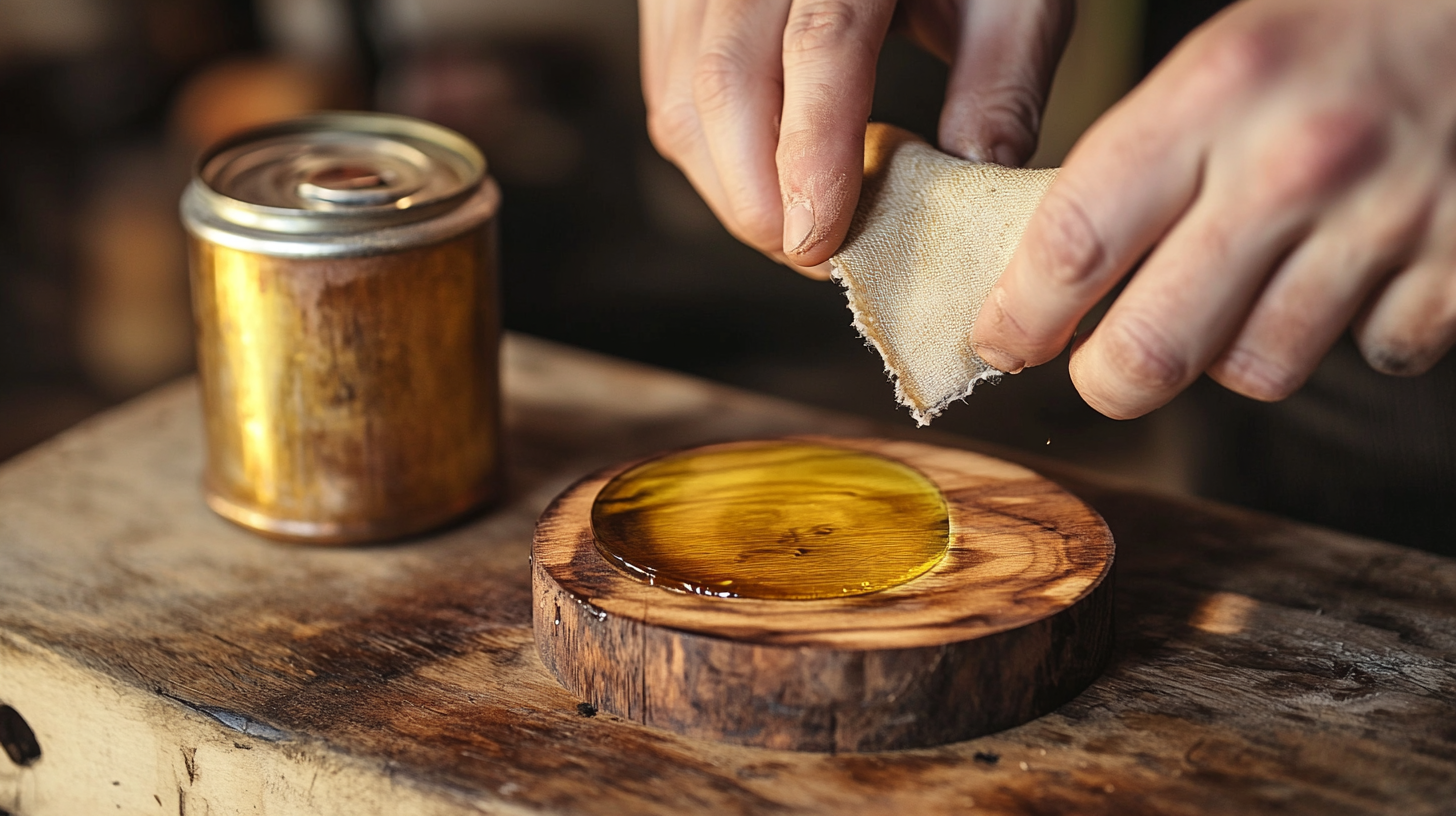
To make your coasters water-resistant (they’ll be holding wet glasses, after all), apply two coats of wipe-on oil. This brings out the natural beauty of the wood grain and creates a warm glow that makes each coaster unique.
After the oil dries completely, apply a thin layer of paste wax for extra protection. This gives the dull wood suddenly came alive with rich color and depth.
The oil and wax will help protect your coasters from water rings, but they’ll still develop character over time.
Step 4: Final Touches
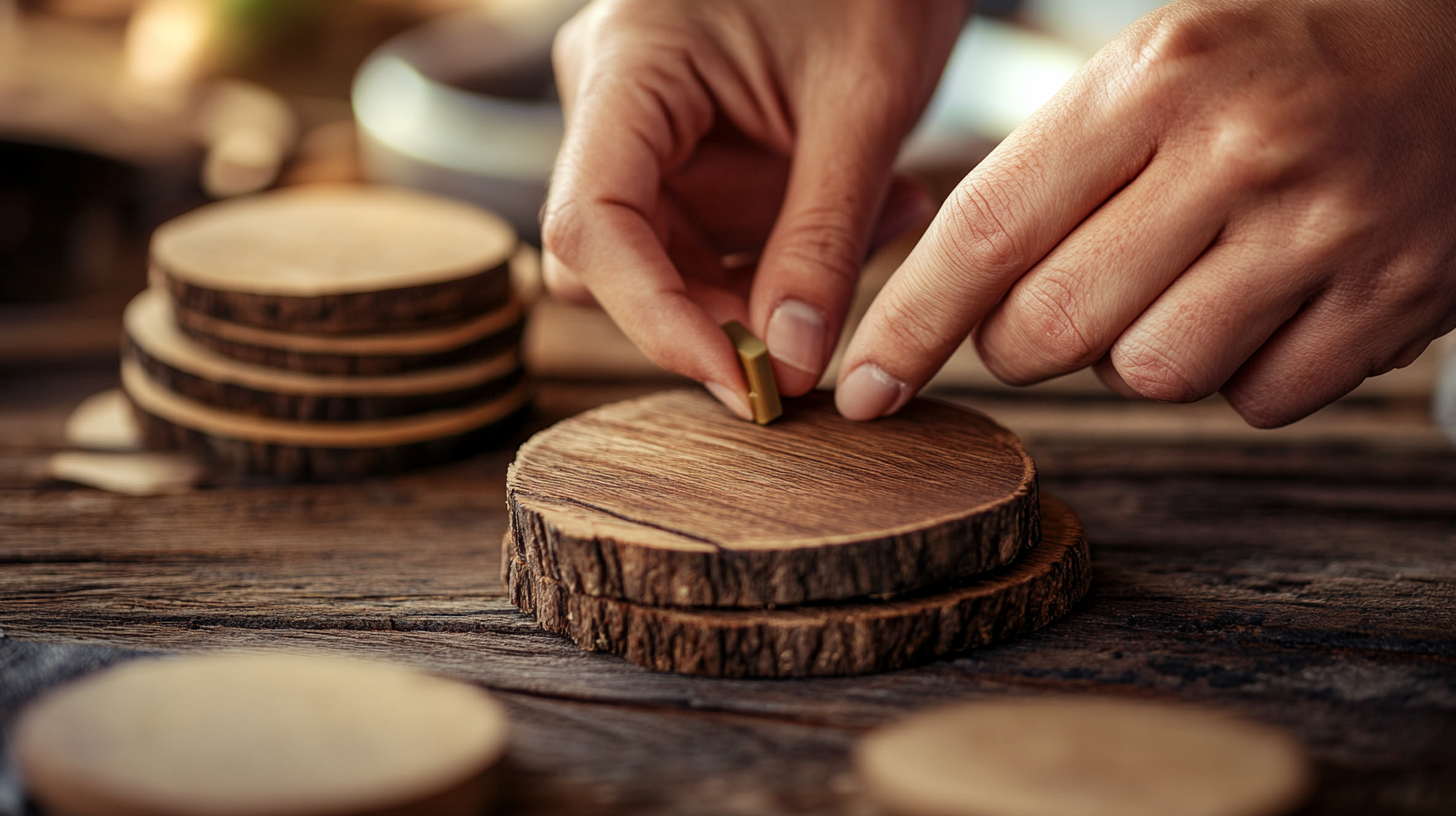
To protect your tables and make your coasters even more functional, consider adding felt backing or small rubber feet to the bottom of each coaster. These simple additions prevent scratches on your furniture and stop the coasters from sliding around.
Use self-adhesive felt circles in each corner, as they’re easy to apply and work perfectly.
If you want to get extra creative, you can also stamp, burn, or carve simple designs into the wood before finishing, making each coaster truly one of a kind.
Helpful Tip
These coasters are perfect for practicing your hand-sawing skills. The small size makes them manageable, and if you mess up one, you haven’t wasted much material.
Plus, there’s real satisfaction in setting your drink on a coaster you made yourself from scratch!
Which Coaster Type is Right for You?
Not all coasters are created equal! Let’s look at how each type matches different needs and skill levels. Finding the perfect fit makes your project more enjoyable and useful.
|
Feature |
Cork Coasters |
Ceramic Tile Coasters |
Wooden Coasters |
|
Durability |
Medium |
High |
High |
|
Water Resistance |
Good |
Excellent |
Good with proper finishing |
|
Heat Resistance |
Low-Medium |
High |
Medium |
|
Look & Feel |
Casual, soft |
Polished, modern |
Warm, natural |
|
Best For |
Quick projects, beginners |
Daily use, high traffic areas |
Natural home decor, woodcraft lovers |
|
Maintenance |
Replace when worn |
Wipe clean, very durable |
May need occasional re-waxing |
Cork coasters are quick and beginner-friendly, while ceramic offers the best durability for daily use.
Wooden coasters, on the other hand, provide natural beauty for those with basic woodworking skills.
Choose whichever one speaks to you.
Things to Keep in Mind for Better Coasters
Making coasters is fairly simple, but a few key tips can take your projects from good to great. Here are some helpful hints I’ve learned through trial and error.
1. Choosing the Right Finish
Different materials need different finishes to work well as coasters. Pick what works best for your project and skill level.
Envirotex gives that glossy, clear finish that looks amazing on tile coasters. It’s completely waterproof, which is perfect for cold drinks that sweat. The first time I used it, I was nervous, but the results were worth it.
For wooden coasters, paste wax keeps the natural look while still protecting from water marks. It feels nice to touch and brings out the wood grain. Plus, you can easily add more later if it starts to wear off.
2. Avoiding Common Mistakes
Don’t rush through the sealing steps. I learned this the hard way when water seeped into my first set of coasters and ruined the paper design. Take time to add enough layers of Mod Podge or sealer.
Watch for tiny air bubbles when using resin. They’ll ruin your smooth finish if you don’t pop them. I use a toothpick to catch them before the resin starts to set.
3. Presentation
When giving coasters as gifts, how you present them matters. I tie sets together with colorful ribbon or twine for a finished look. A simple bow makes your handmade gift feel special.
Try making coasters in different styles but with matching colors. This creates a set that goes together without being boring.
Conclusion
You’re now ready to make beautiful, useful coasters that protect your furniture and show off your creative side!
You can choose the quick cork method, the durable ceramic tiles, or the warm wooden approach; your handmade coasters will add something special to your home.
Don’t worry if your first attempts aren’t perfect; that’s part of the charm of handmade items. Each coaster tells a story and holds your personal touch.
The best part about making your own coasters is seeing them in action. There’s a quiet joy in watching someone actually use something you created with your own hands.
So gather your materials, set aside some time, and enjoy the process of making something both pretty and practical!