How to Grow Kale From Seed to Harvest: Step-by-Step
Growing kale at home is simpler than most people expect.
This blog covered everything you need to get started – from choosing the right variety and gathering your supplies to planting step by step, caring for your crop through the season, and troubleshooting common problems before they affect your harvest.
If you’re working with a garden bed, a raised bed, or a container on your porch, kale fits into almost any setup. Plant it at the right time, give it consistent care, and it will reward you with fresh leaves for weeks on end.
If you follow the steps in this blog, you’ll have everything you need to grow healthy, flavorful kale from the very first seed to the final harvest.
Why Grow Kale in Your Garden?
Kale is one of the most rewarding vegetables to grow at home. It grows well in many parts of the United States, adapts to different garden setups, and continues producing leaves long after many other crops have finished for the season.
Light frost can actually improve the flavor of the leaves, making it an excellent choice for planting. It doesn’t require constant attention, grows from either seeds or transplants, and thrives in garden beds, raised beds, and containers.
Freshly harvested leaves work well in salads, soups, smoothies, and stir-fries – giving you plenty of ways to enjoy your harvest all season long.
When it comes to varieties, the most popular options for home gardeners are Curly Kale for its mild flavor and ruffled leaves, Lacinato Kale for soups and sautéing, and Red Russian Kale for fresh salads.
Dwarf Blue Curled Kale for small spaces and containers, and Redbor Kale for its deep purple color and mild taste.
What You’ll Need to Plant Kale
Before you begin, gather the essential supplies for growing healthy kale plants. Having everything ready will make planting easier and help your crop get off to a strong start.
| Item | Purpose |
|---|---|
| Kale Seeds or Seedlings | Used to start your plants |
| Garden Bed, Raised Bed, or Container | Growing space for kale |
| Well-Draining Soil | Supports healthy root development |
| Compost | Improves soil fertility |
| Gardening Trowel | Helps with planting |
| Watering Can or Garden Hose | Keeps soil moist |
| Mulch | Helps retain moisture and control weeds |
| Vegetable Fertilizer (Optional) | Provides extra nutrients |
How to Plant Kale: Step-by-Step Process
Kale can be planted from seeds or young seedlings. Both methods are simple, but the right steps help your plants grow strong from the start.
Step 1: Prepare the Soil
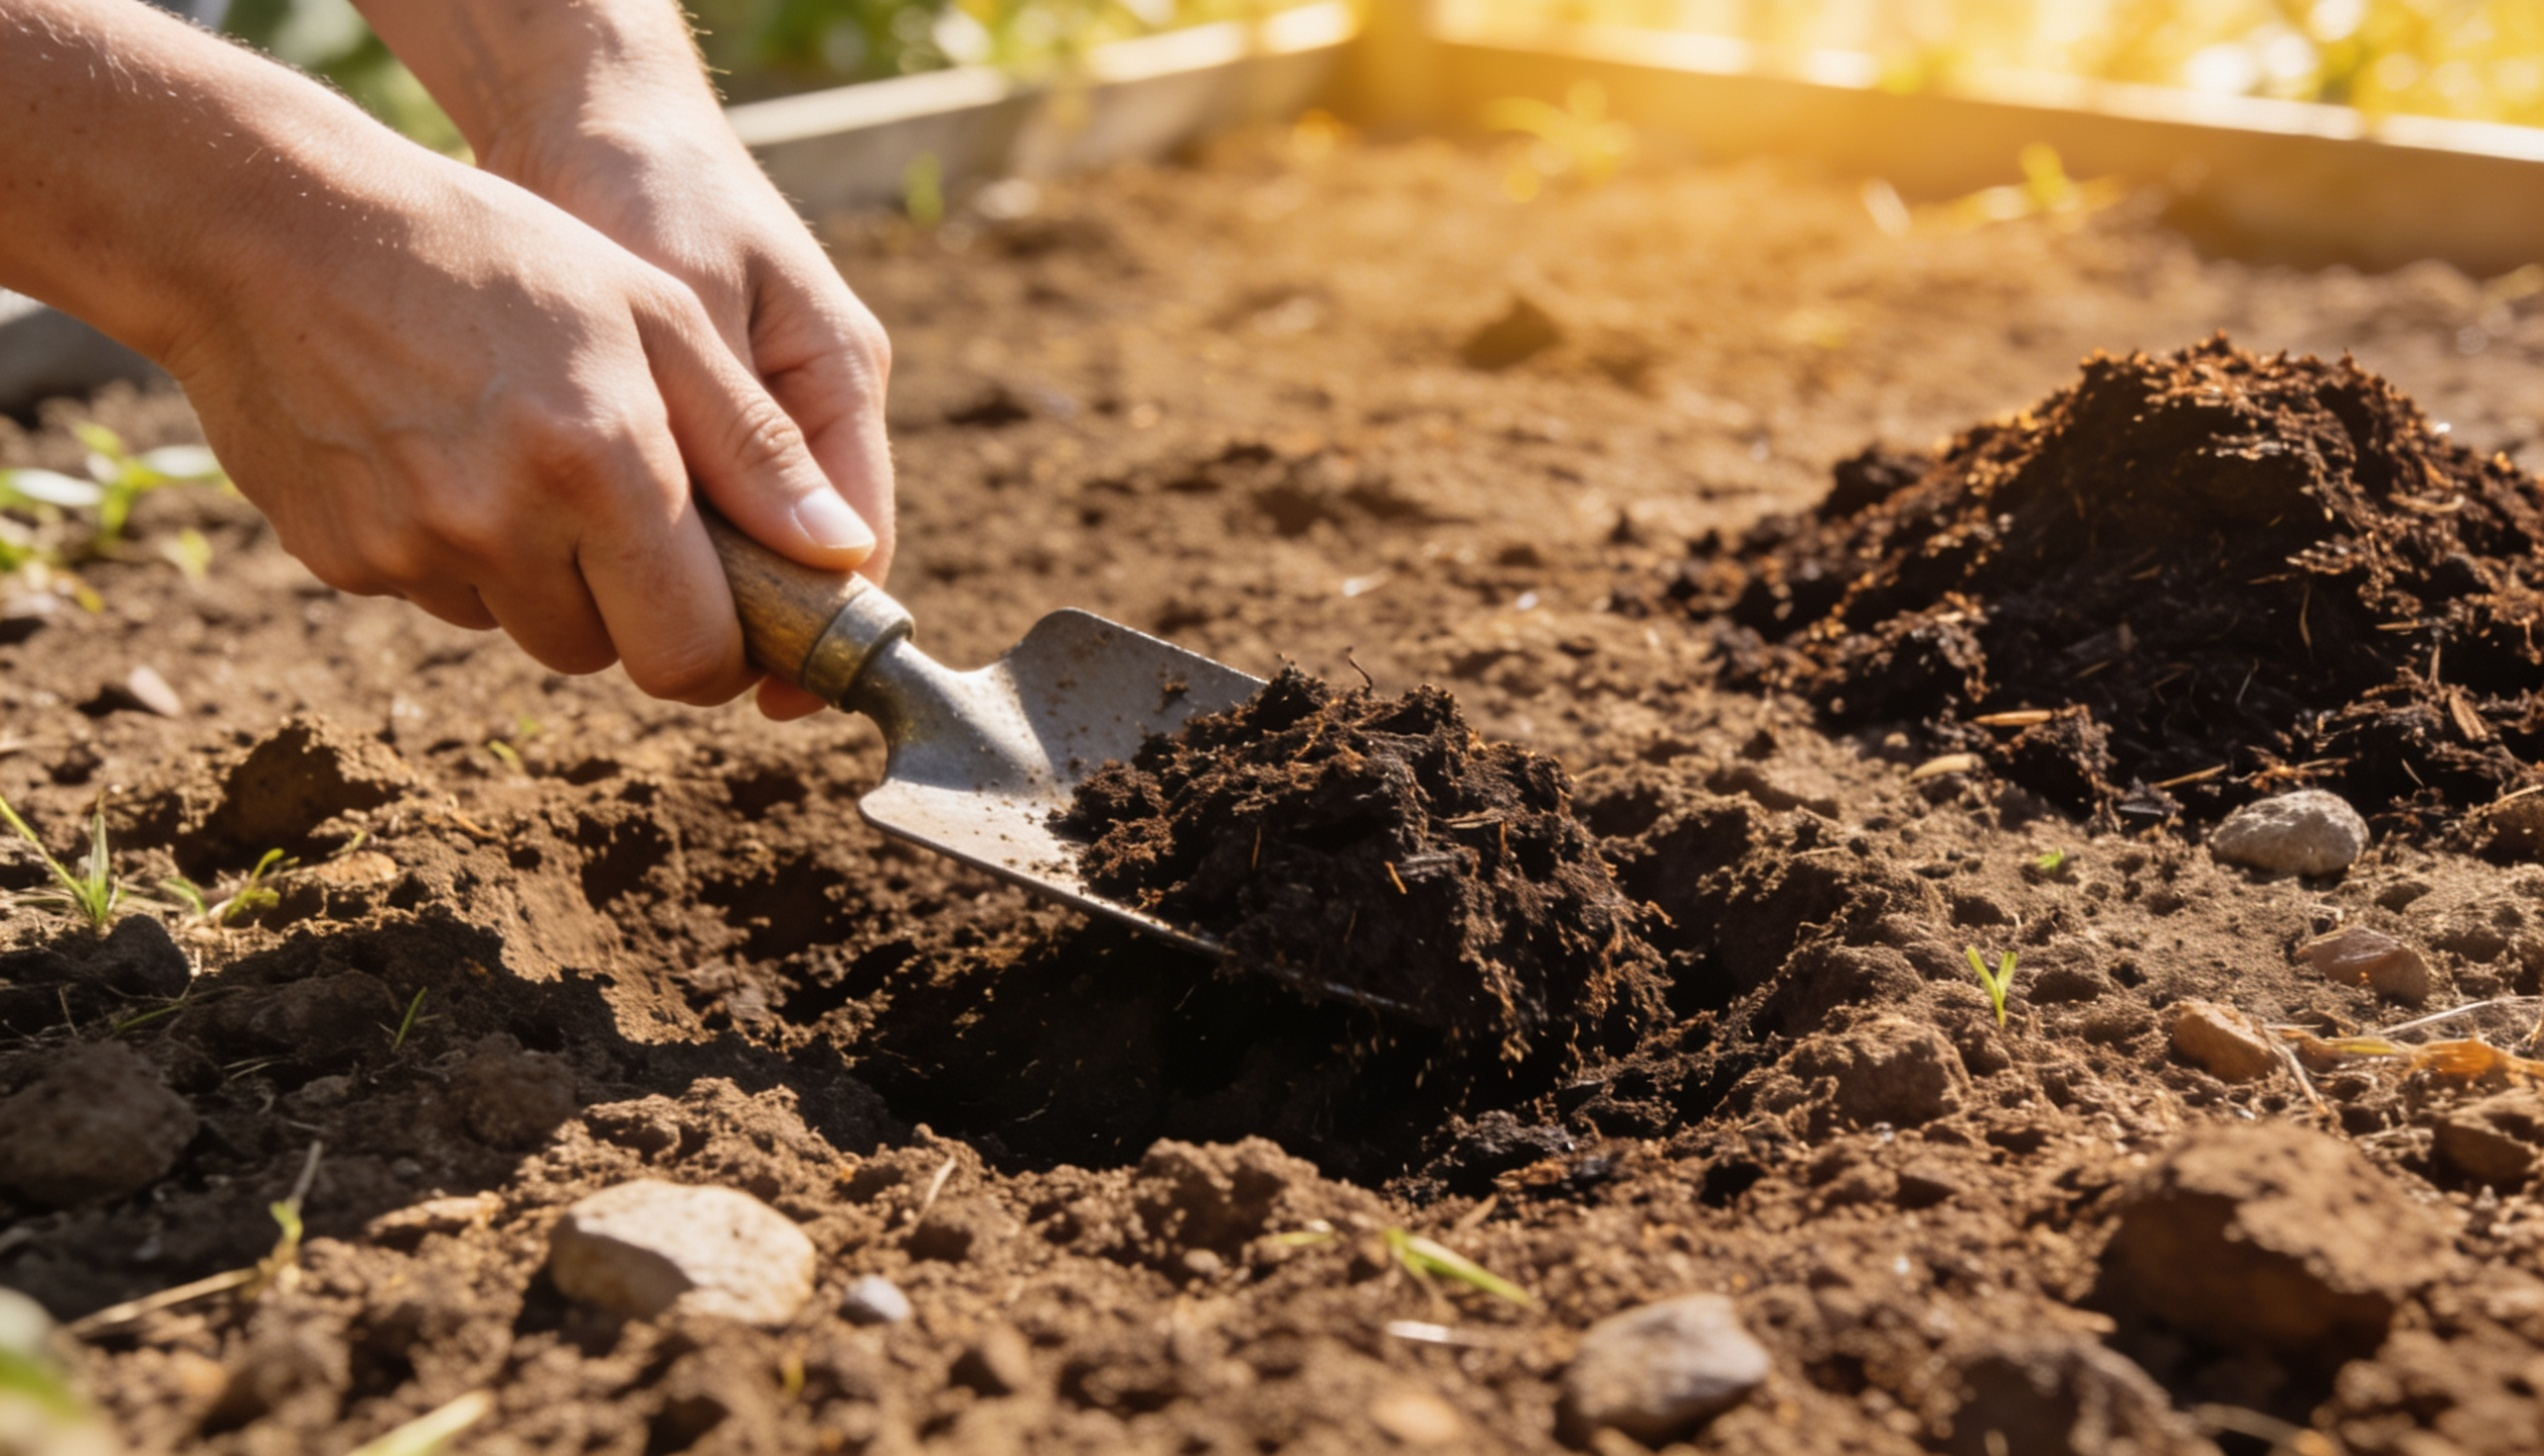
Choose a spot with well-draining soil and plenty of sunlight. Loosen the soil and remove weeds, rocks, or old plant material before planting.
Mix compost into the top few inches of soil. This adds nutrients and helps the soil hold moisture without becoming soggy.
Step 2: Plant the Seeds or Seedlings

For seeds, sow them about ¼ to ½ inch deep in the soil. Cover them lightly and press the soil gently so the seeds stay in place.
For seedlings, dig a small hole and place each plant at the same depth it was growing in its container. Firm the soil around the base and avoid burying the stem too deeply.
Step 3: Space the Plants Properly
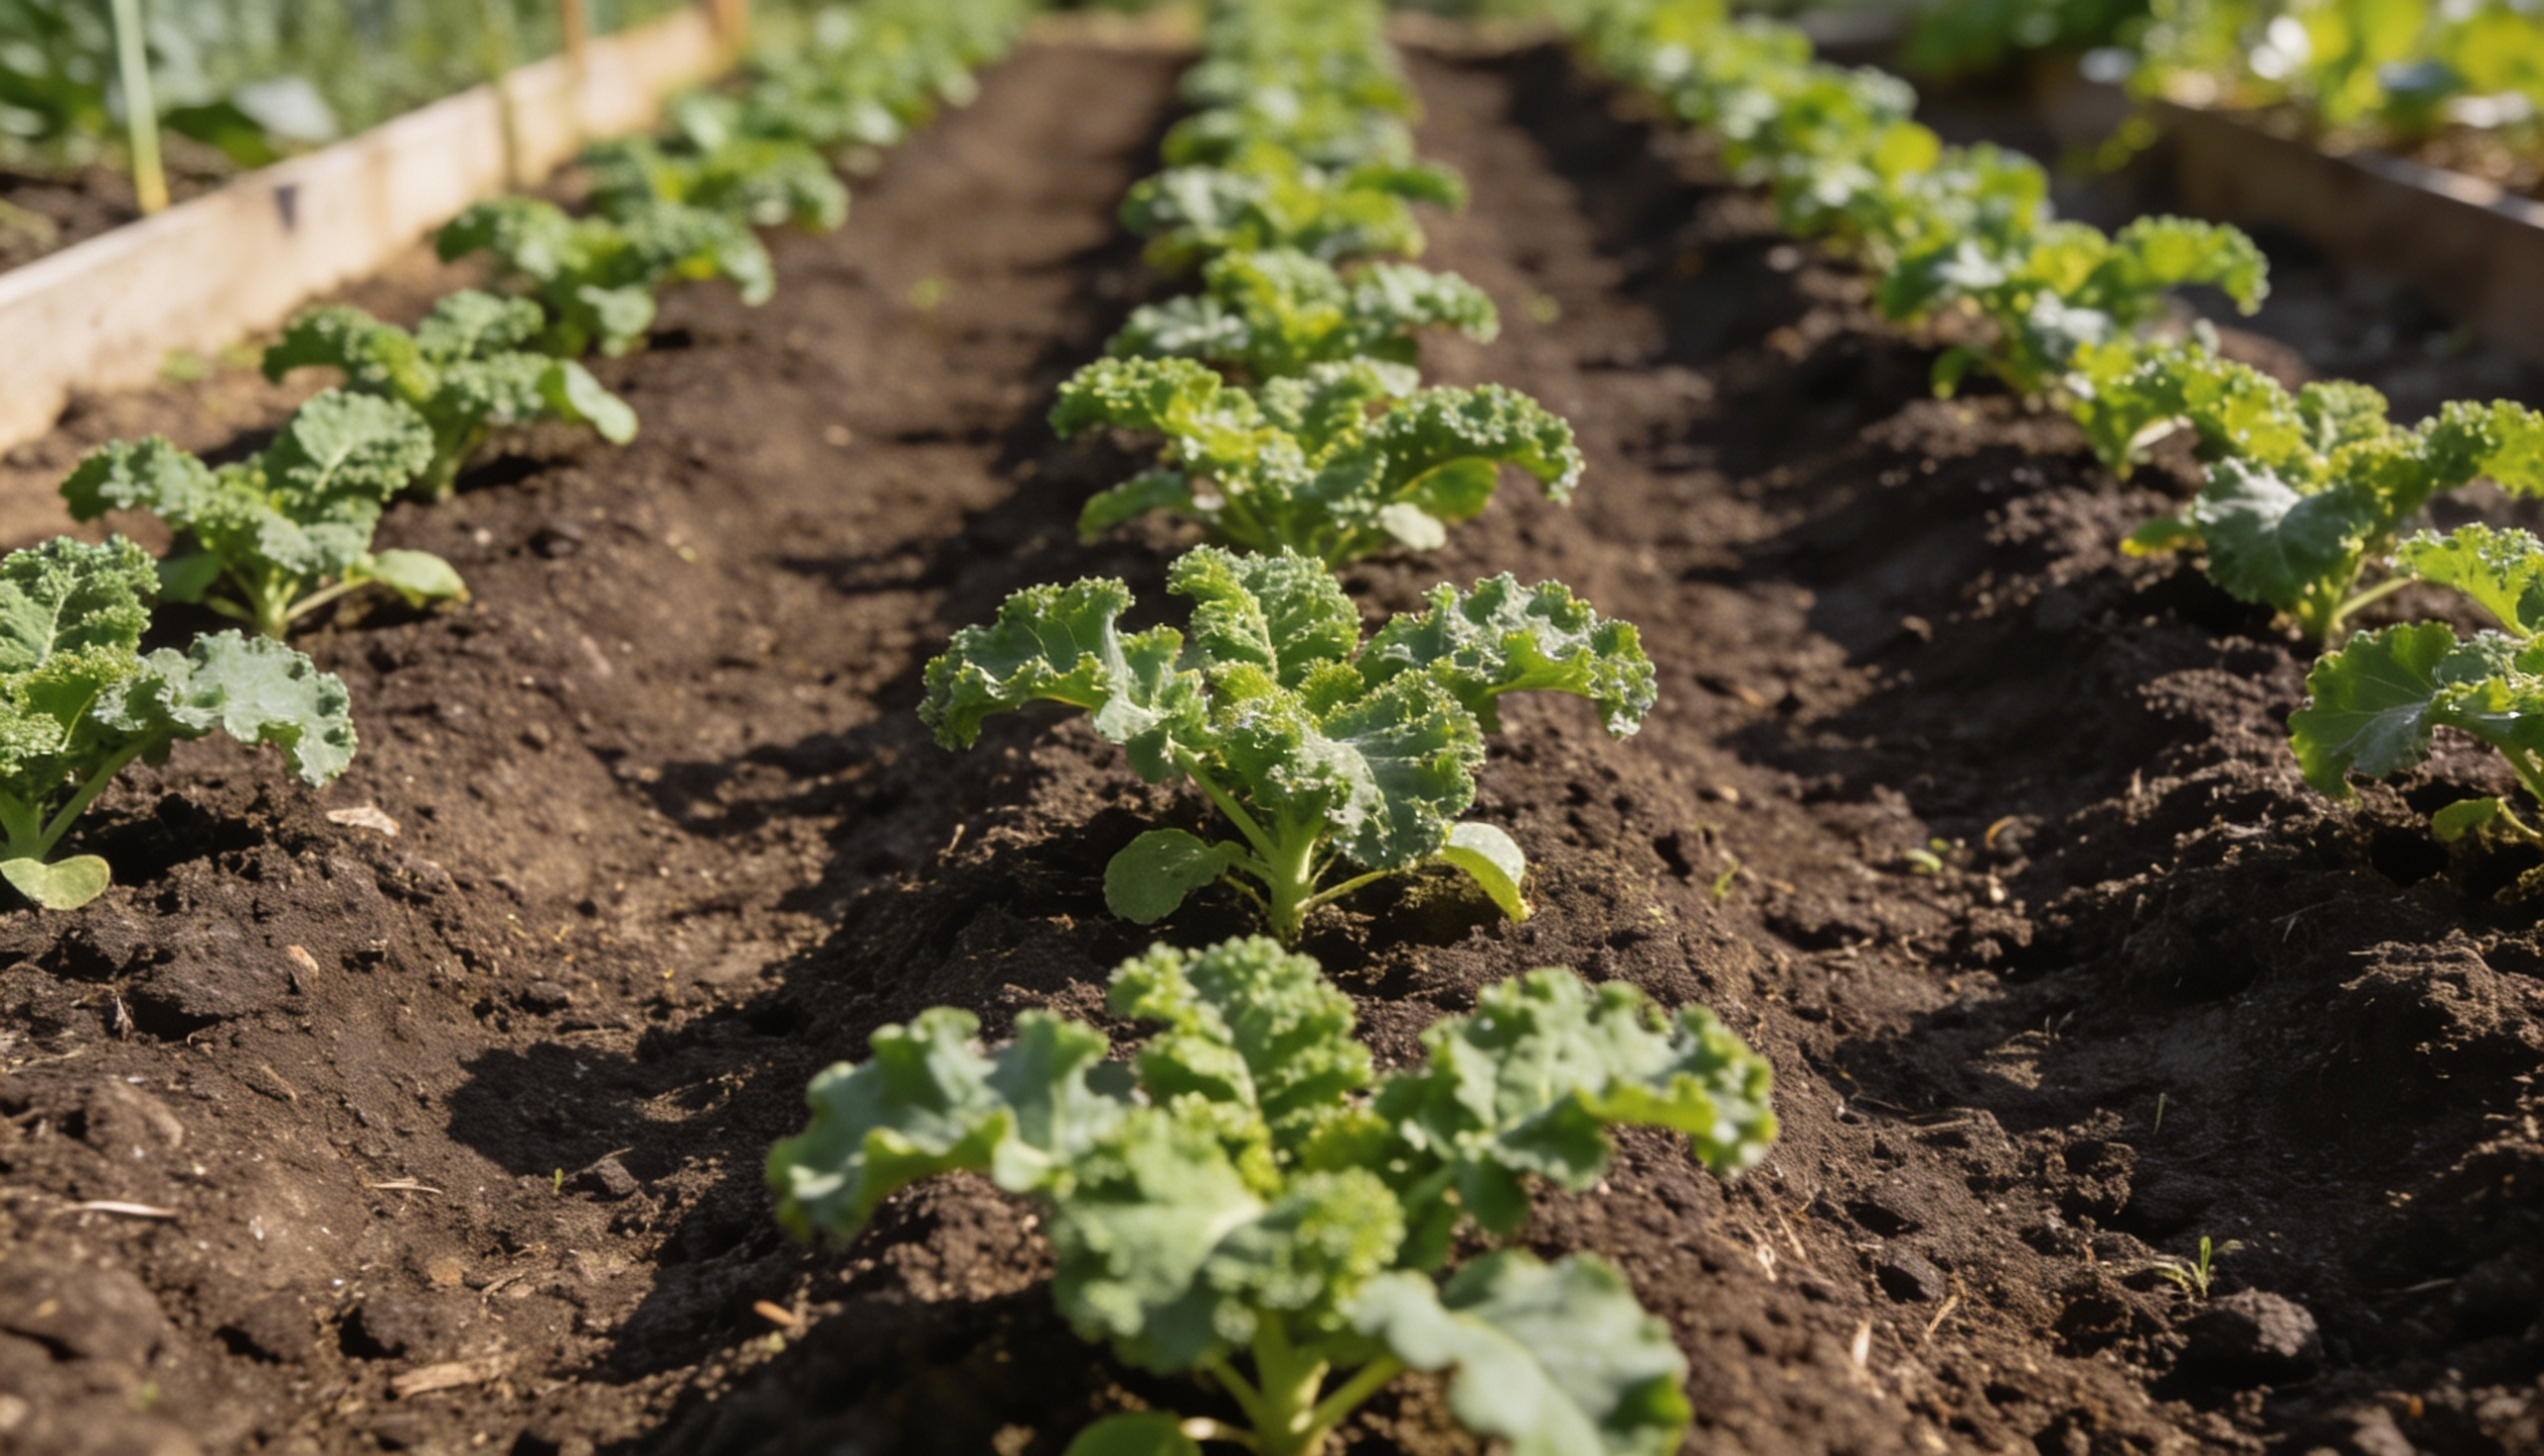
Leave about 12 to 18 inches between kale plants. This gives the leaves enough room to spread as the plants mature.
If you plant in rows, keep rows about 18 to 24 inches apart. Good spacing also improves airflow and helps reduce disease problems.
Step 4: Water After Planting
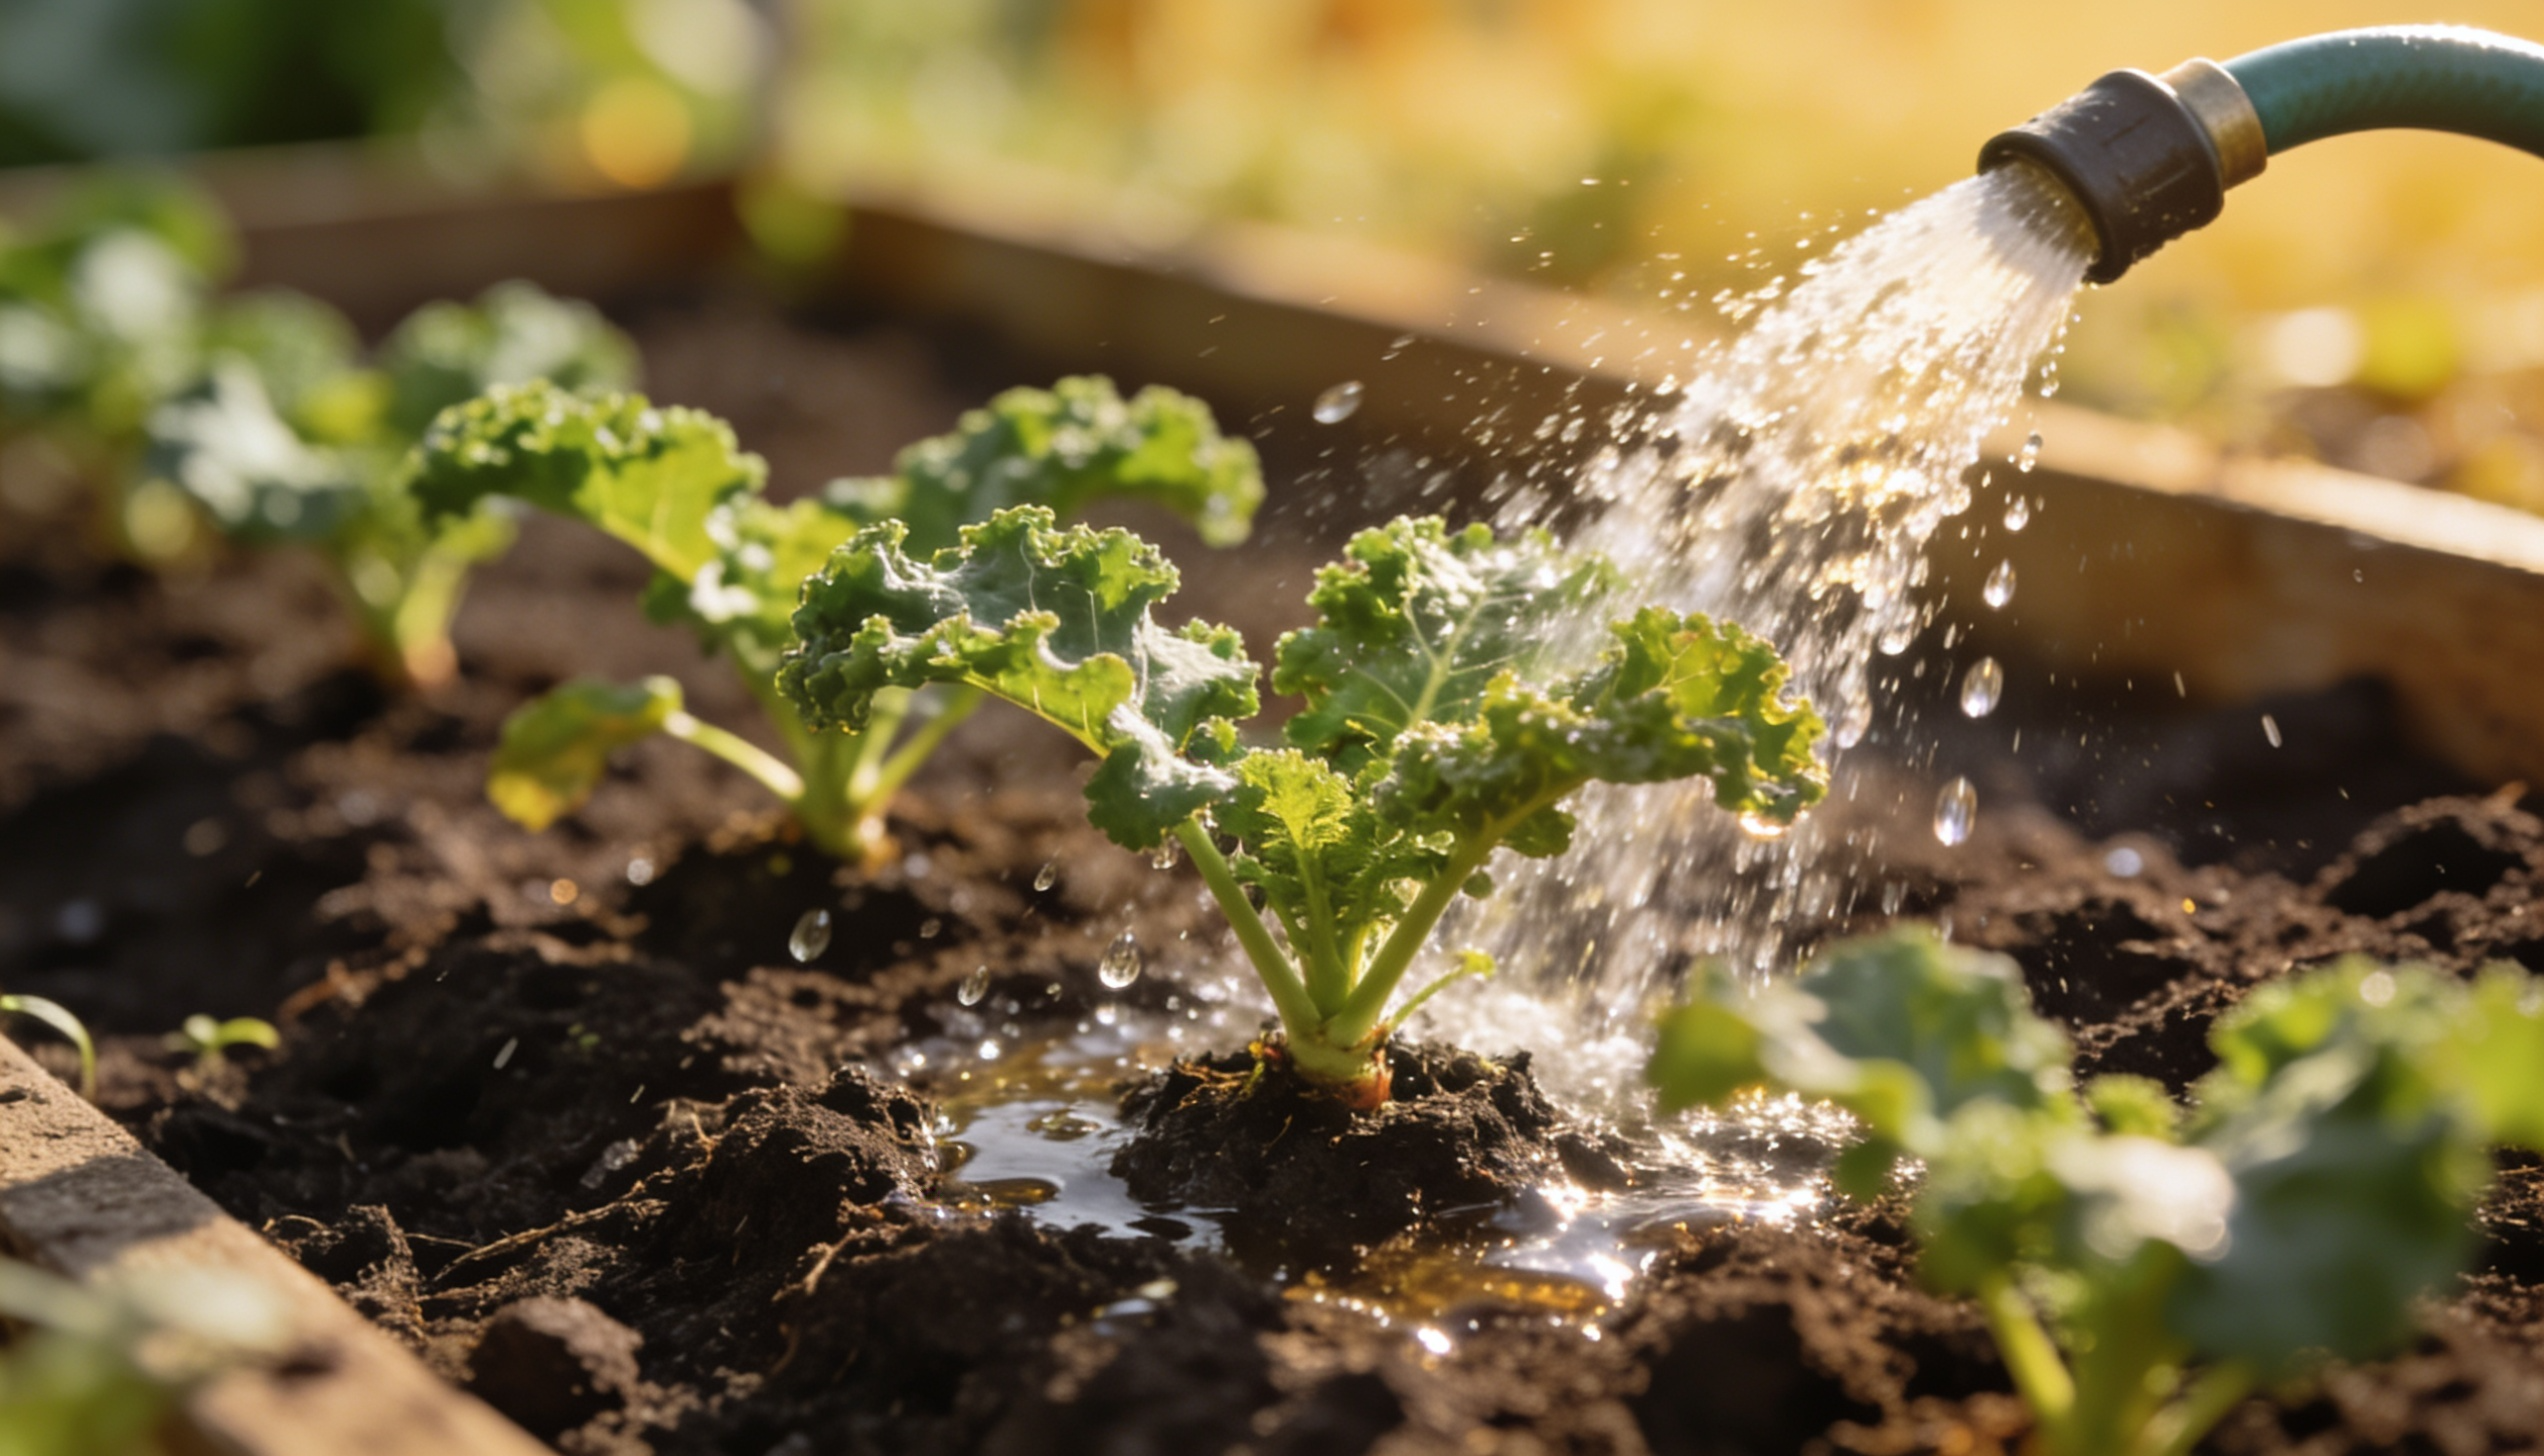
Water the planting area gently right after planting. The goal is to settle the soil around the seeds or roots without washing them away.
Keep the soil evenly moist during germination and early growth. Avoid letting the soil dry out completely, especially during warm or windy weather.
Step 5: Thin Young Seedlings
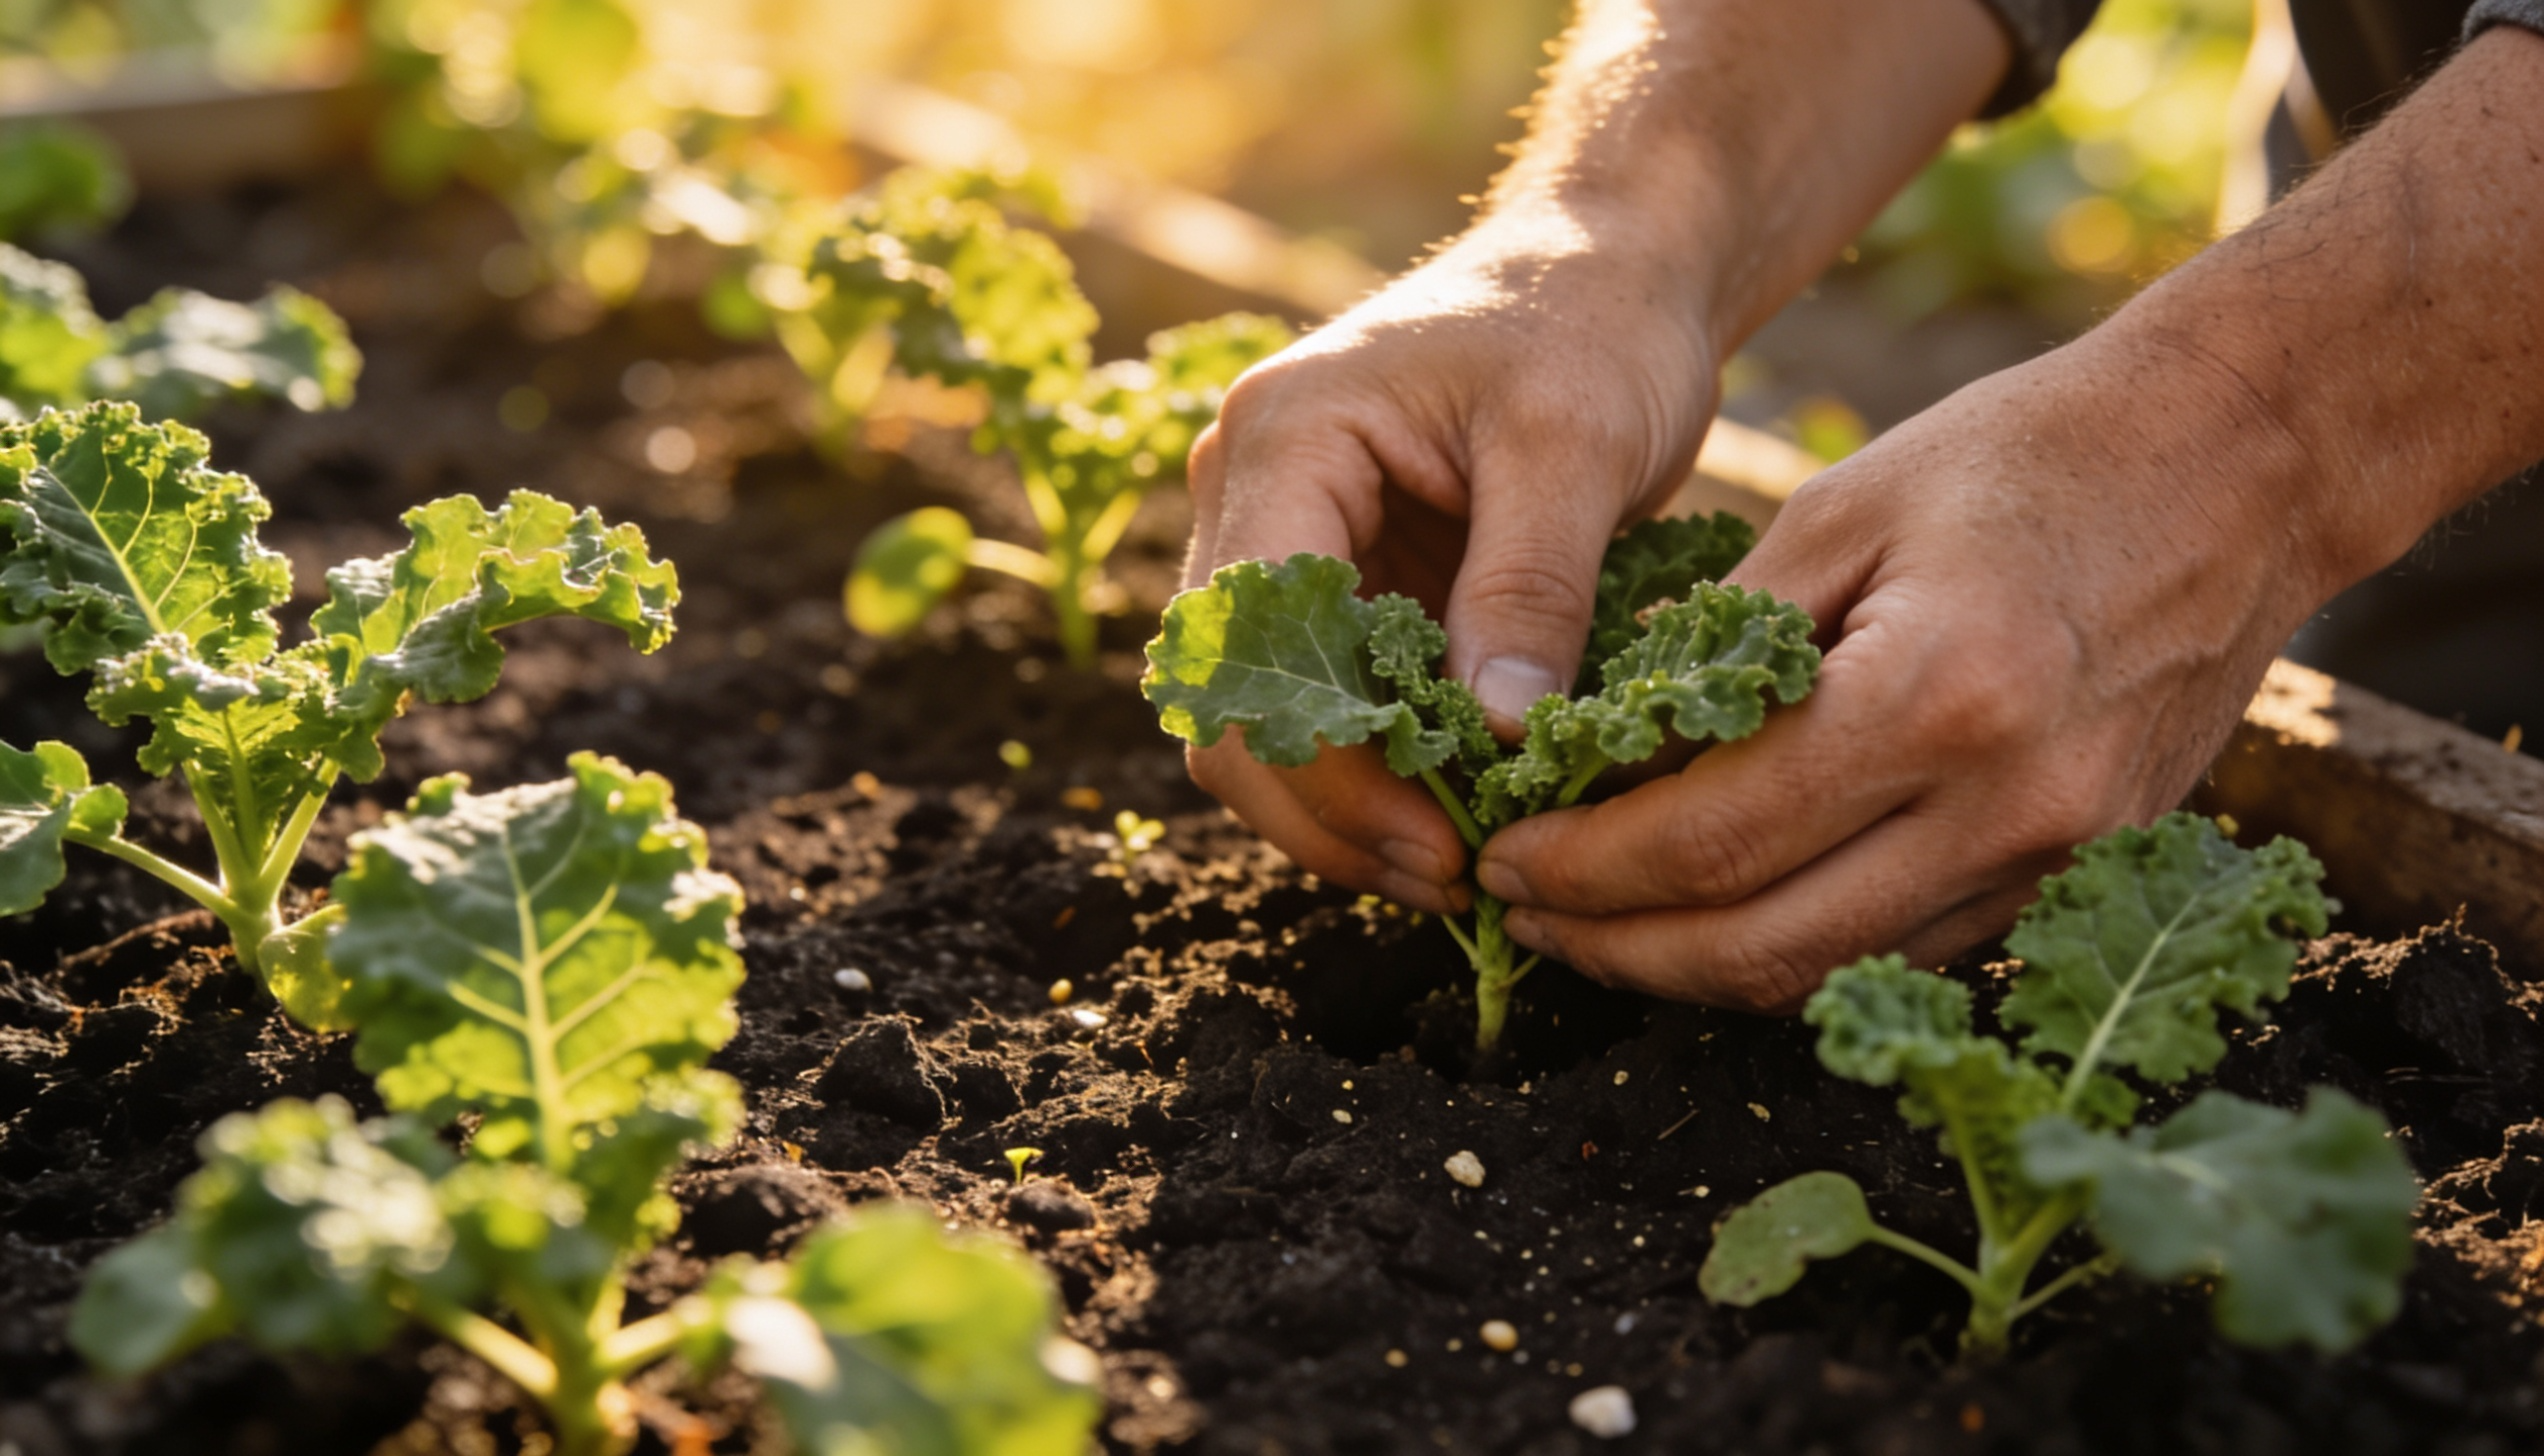
Once seedlings grow a few true leaves, thin them to the proper spacing. Keep the strongest plants and remove the weaker ones.
Thinning may feel wasteful, but it helps the remaining kale plants grow larger and healthier. Crowded plants compete for sunlight, water, and nutrients.
Step 6: Add Mulch Around the Plants
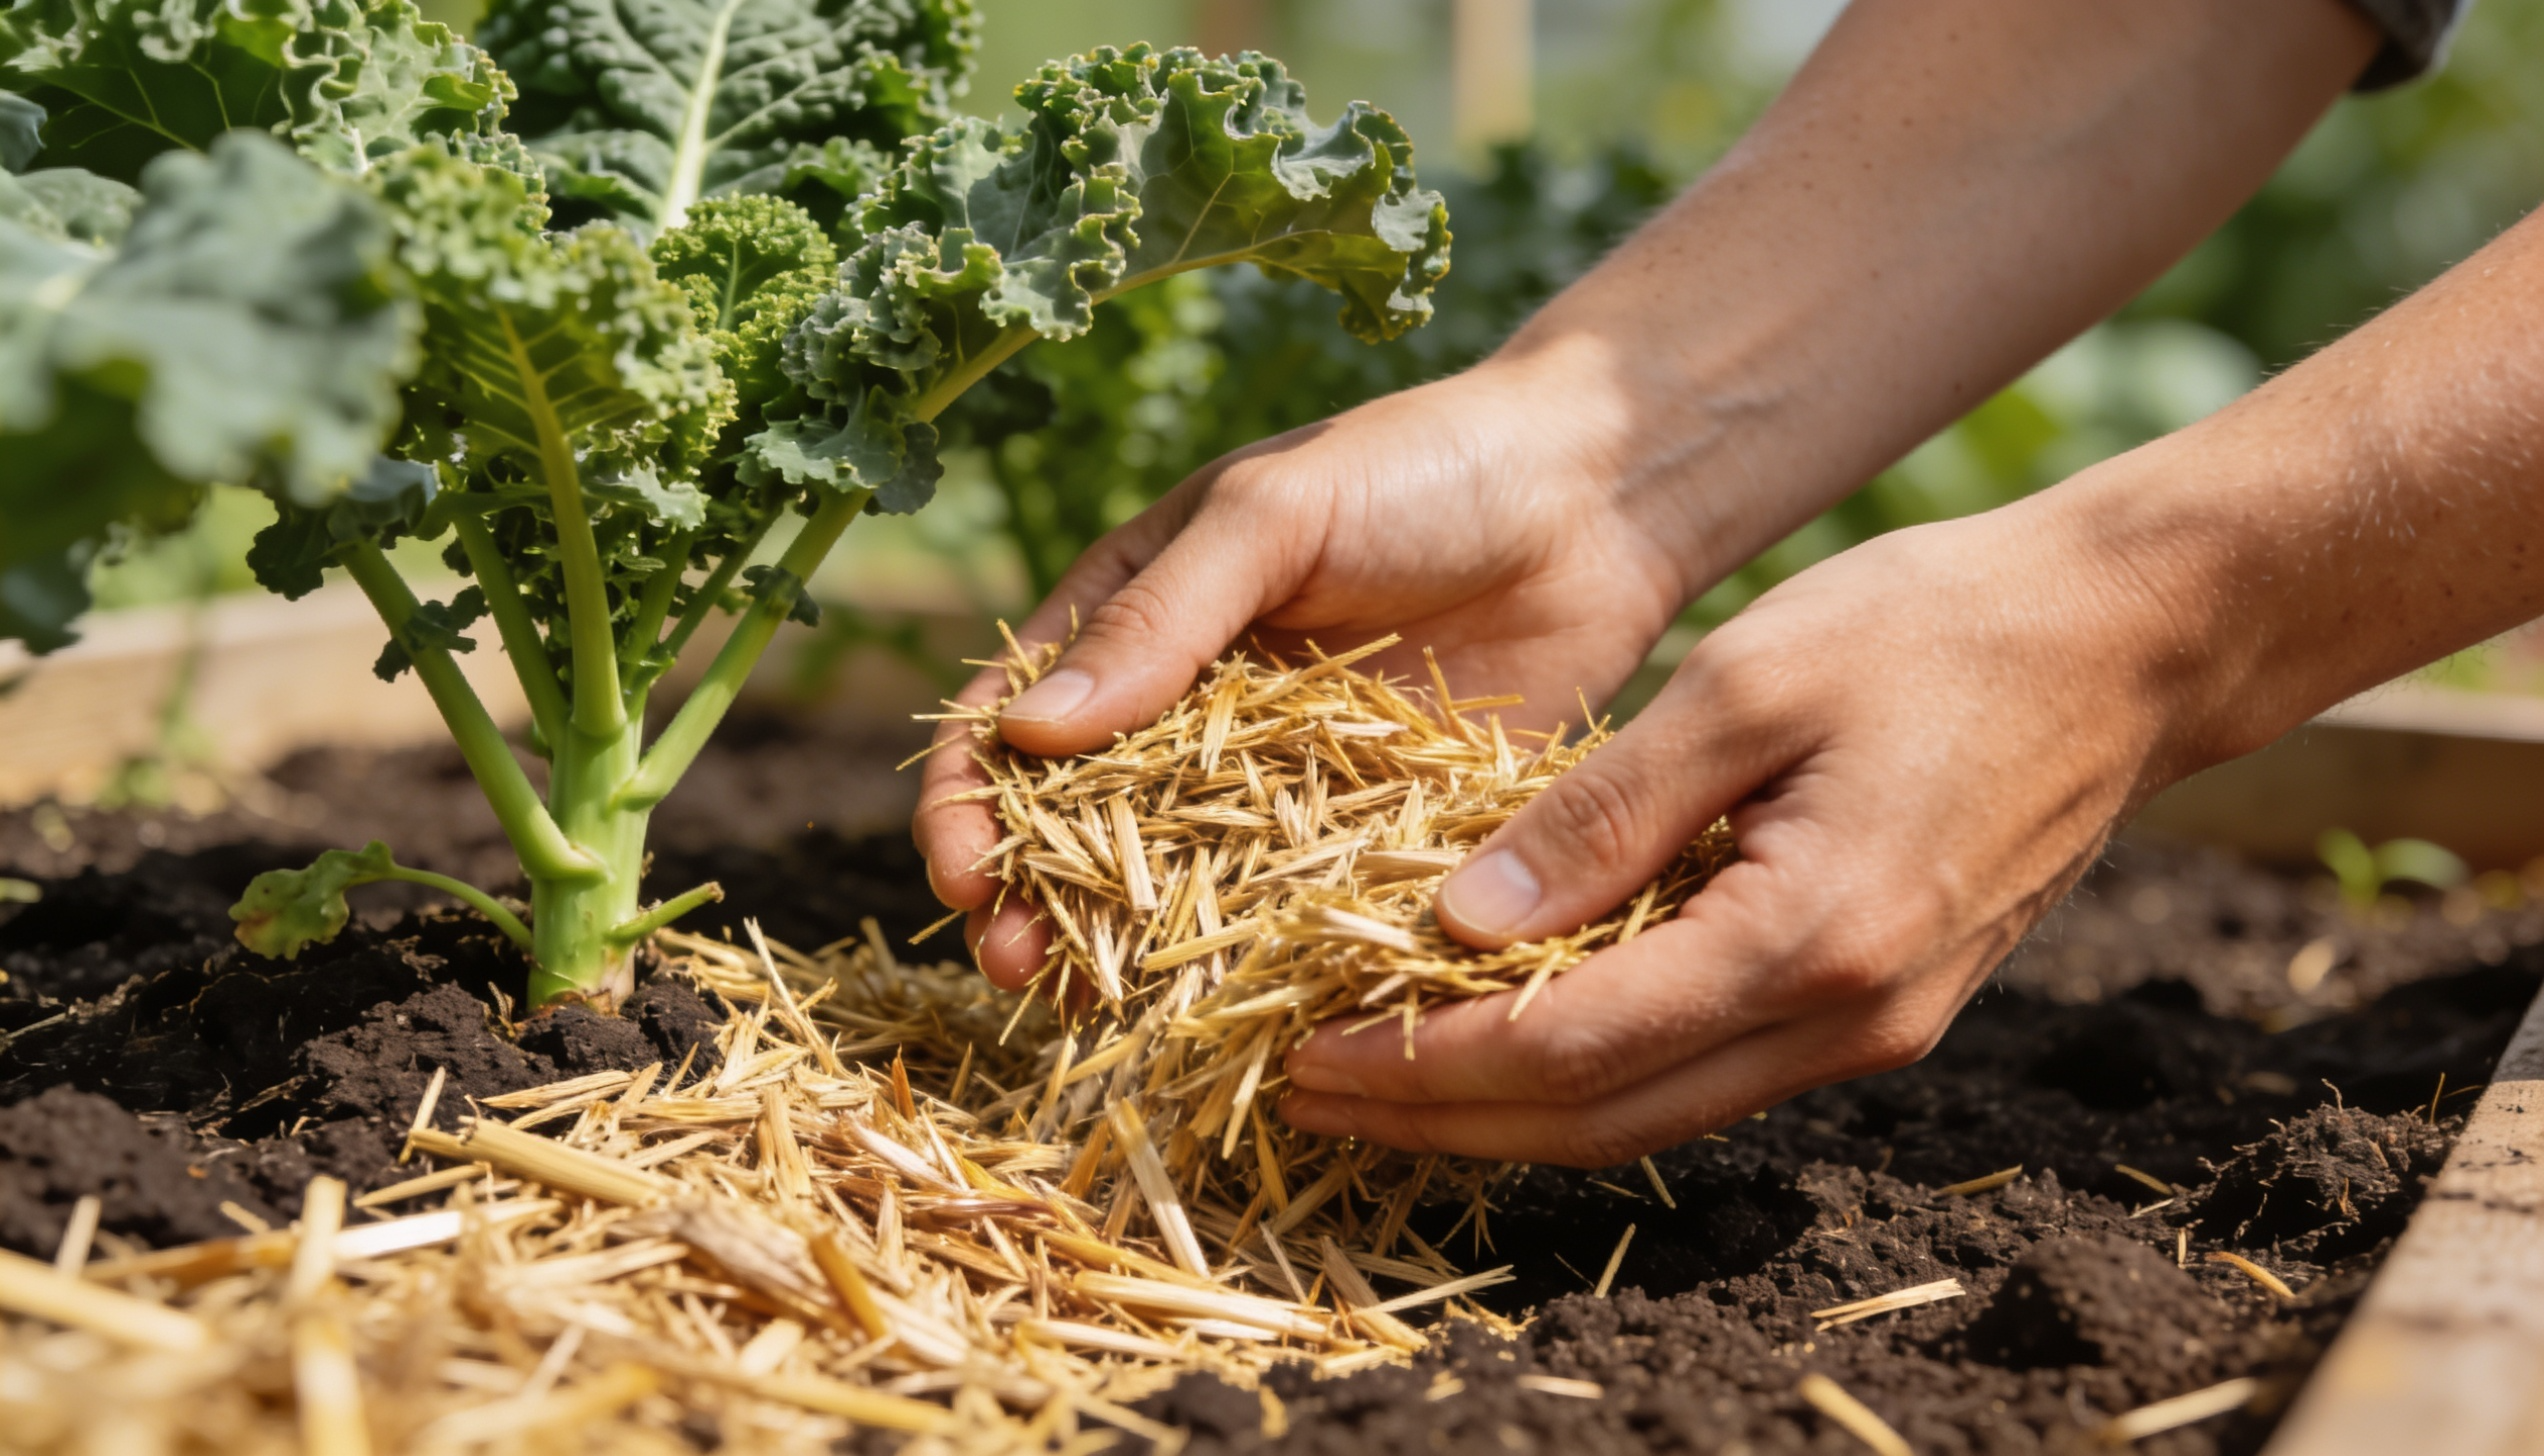
Add a light layer of mulch around the base of the plants once they are established. Keep mulch slightly away from the stems to prevent rot.
Mulch helps hold soil moisture, reduces weeds, and keeps the soil temperature more stable.
When to Plant Kale: The Right Timeline
Kale is a cool-season vegetable that grows best in mild temperatures. For the best results, plan to grow it in spring or fall rather than during the hottest months of the year.
In spring, kale can be planted outdoors about 2–4 weeks before your area’s last expected frost date. The cool weather helps young plants establish strong roots and healthy leaves.
Fall is often the preferred season for growing kale. Plant seeds or transplants 6–8 weeks before the first expected fall frost to give plants enough time to mature before colder weather arrives.
| USDA Zone | Spring Planting | Fall Planting |
|---|---|---|
| Zones 3–5 | April–May | July–August |
| Zones 6–7 | March–April | August–September |
| Zones 8–9 | February–March | September–October |
| Zones 10–11 | October–January | October–January |
Kale typically grows best when temperatures stay between 55°F and 75°F. Planting during cooler periods helps produce tender leaves and supports steady growth throughout the season.
How to Care for Kale?
Proper care helps kale stay healthy and productive throughout the growing season. Keep the soil consistently moist and apply mulch around the plants to retain moisture and reduce weeds.
Feed with compost or a balanced vegetable fertilizer to support steady leaf growth. Check regularly for aphids, cabbage worms, and flea beetles – catching them early prevents serious damage.
Trim yellowing or damaged leaves as they appear to encourage new growth, and remove weeds around the plants to reduce competition for water and nutrients.
Tip: Water kale early in the morning whenever possible. This gives the plants enough moisture for the day while allowing excess water on the leaves to dry before evening.
Common Kale Problems and How to Fix Them
Even though kale is relatively easy to grow, plants can occasionally face a few common problems. Identifying the cause early can help keep your crop healthy and productive.
- Yellow Leaves – Often caused by overwatering, poor drainage, or nutrient deficiencies. Check soil moisture and consider adding compost if the soil lacks nutrients.
- Slow Growth – This can result from insufficient sunlight, poor soil quality, or overcrowded plants. Make sure your kale receives enough light and has adequate space to grow.
- Wilting Plants – Usually linked to watering issues or heat stress. Water consistently and provide some afternoon shade during periods of extreme heat.
- Holes in Leaves – Commonly caused by cabbage worms, flea beetles, or other garden pests. Inspect leaves regularly and remove pests as soon as they appear.
- Stunted Plants – Nutrient deficiencies or compacted soil can limit growth. Adding organic matter and loosening the soil may help improve plant health.
Tip: Inspect your kale plants at least once a week. Catching problems early is often the easiest way to prevent serious damage and maintain a healthy harvest.
Final Thoughts
Kale is a beginner-friendly vegetable that rewards gardeners with a long and productive harvest season. With the right planting time, proper care, and regular harvesting, you can enjoy fresh leaves for weeks or even months.
If you’re growing kale in a garden bed, raised bed, or container, this versatile crop adapts well to a range of growing conditions.
By following the tips in this guide, you’ll be well on your way to growing healthy, flavorful kale from seed to harvest.
Frequently Asked Questions
Can Kale Grow Indoors?
Yes, kale can be grown indoors if it receives enough light. A sunny window or a quality grow light can help plants produce healthy leaves throughout the year.
Is Kale a Perennial or An Annual Plant?
Kale is usually grown as an annual vegetable, but in some mild climates, plants can survive for more than one growing season and continue producing leaves.
Can Kale Be Grown Alongside Other Vegetables?
Yes, kale grows well alongside vegetables such as onions, lettuce, and beets, as well as herbs. Good companion planting can help maximize garden space and support healthy growth.
How Long Do Kale Seeds Remain Viable?
When stored in a cool, dry place, kale seeds can remain viable for about 3–5 years. Proper storage helps maintain better germination rates over time.