How to Clean Hardwood Floors Without Damage
Most hardwood floors don’t get damaged because they are hard to clean, but because they are cleaned in the wrong order or with the wrong assumptions about what the surface can handle.
Learning how to clean hardwood floors properly is less about using more product and more about controlling dust, moisture, and pressure in the right sequence.
In many homes, dull spots, streaks, or even slight damage show up over time, not because cleaning is ignored, but because small mistakes keep repeating, like using too much water or not removing dust first.
What matters most is understanding how the surface reacts during cleaning so the method stays safe and effective.
Tools and Cleaners Needed
Choosing the right tools and cleaners is important because hardwood floors require a balance of gentle cleaning and surface protection, where the goal is to remove dirt without damaging the finish or leaving residue behind.
| Category | Tool / Cleaner | How it works | When to use |
|---|---|---|---|
| Dry tools | Microfiber mop | Uses soft fibers (friction) to trap dust without scratching the surface | Best for regular dusting and light cleaning |
| Vacuum (no beater bar) | Uses suction to remove debris from gaps and edges | Ideal for deeper dust removal and corners | |
| Cleaning solutions | Neutral pH cleaner | Cleans without reacting with or weakening the floor finish | Safest option for regular mopping |
| Mild soap + water | Breaks down light grime with minimal chemical impact | Use occasionally for light dirt with controlled moisture | |
| What to avoid | Steam mop | Uses heat and moisture that can damage the finish | Avoid completely |
| Harsh chemical cleaners | Can strip finish or leave residue | Avoid to prevent dullness and surface wear |
A simple setup using a microfiber mop, a vacuum, and a mild cleaner is enough for most hardwood floor cleaning, as stronger tools or chemicals often cause more harm than benefit.
Step-by-Step Process to Clean Hardwood Floors
Cleaning hardwood floors correctly depends on following a clear order, because each step reduces risk and prepares the surface for the next without causing damage.
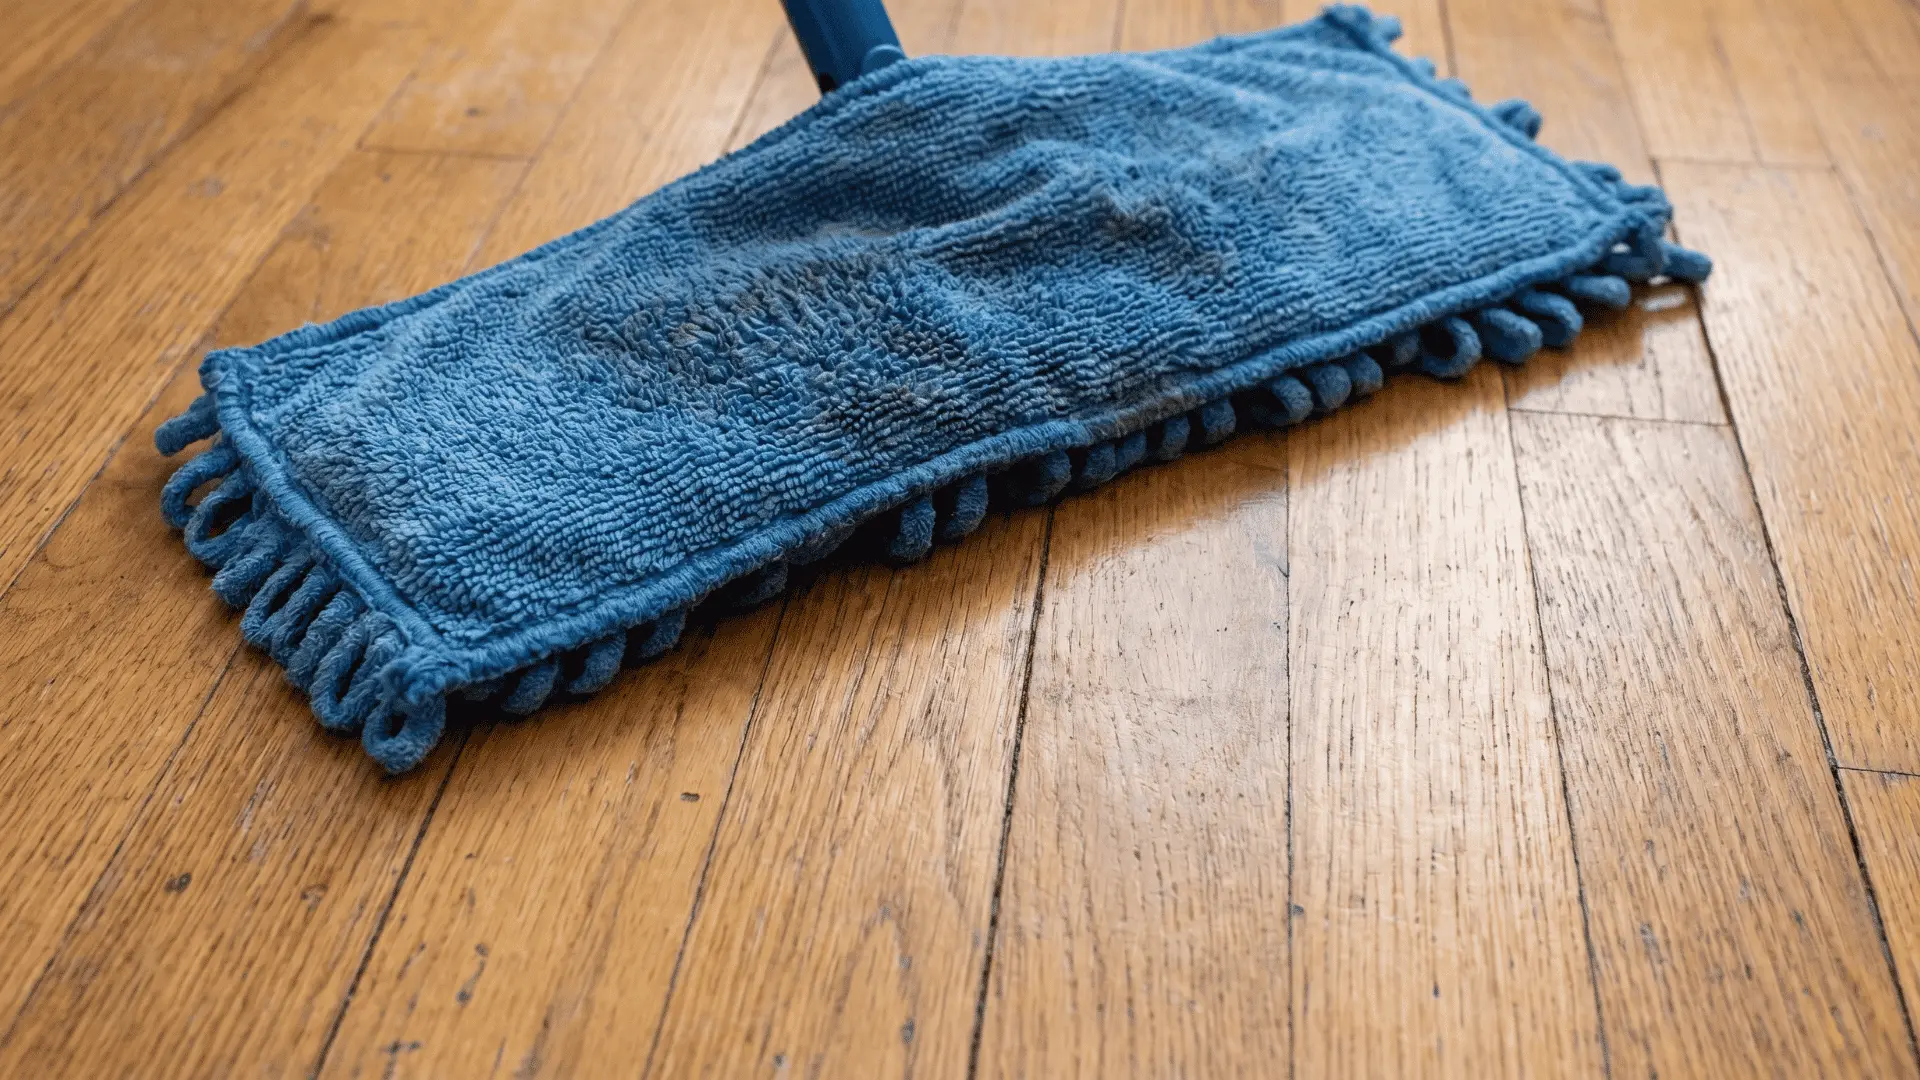
Step 1 – Remove Loose Debris Safely
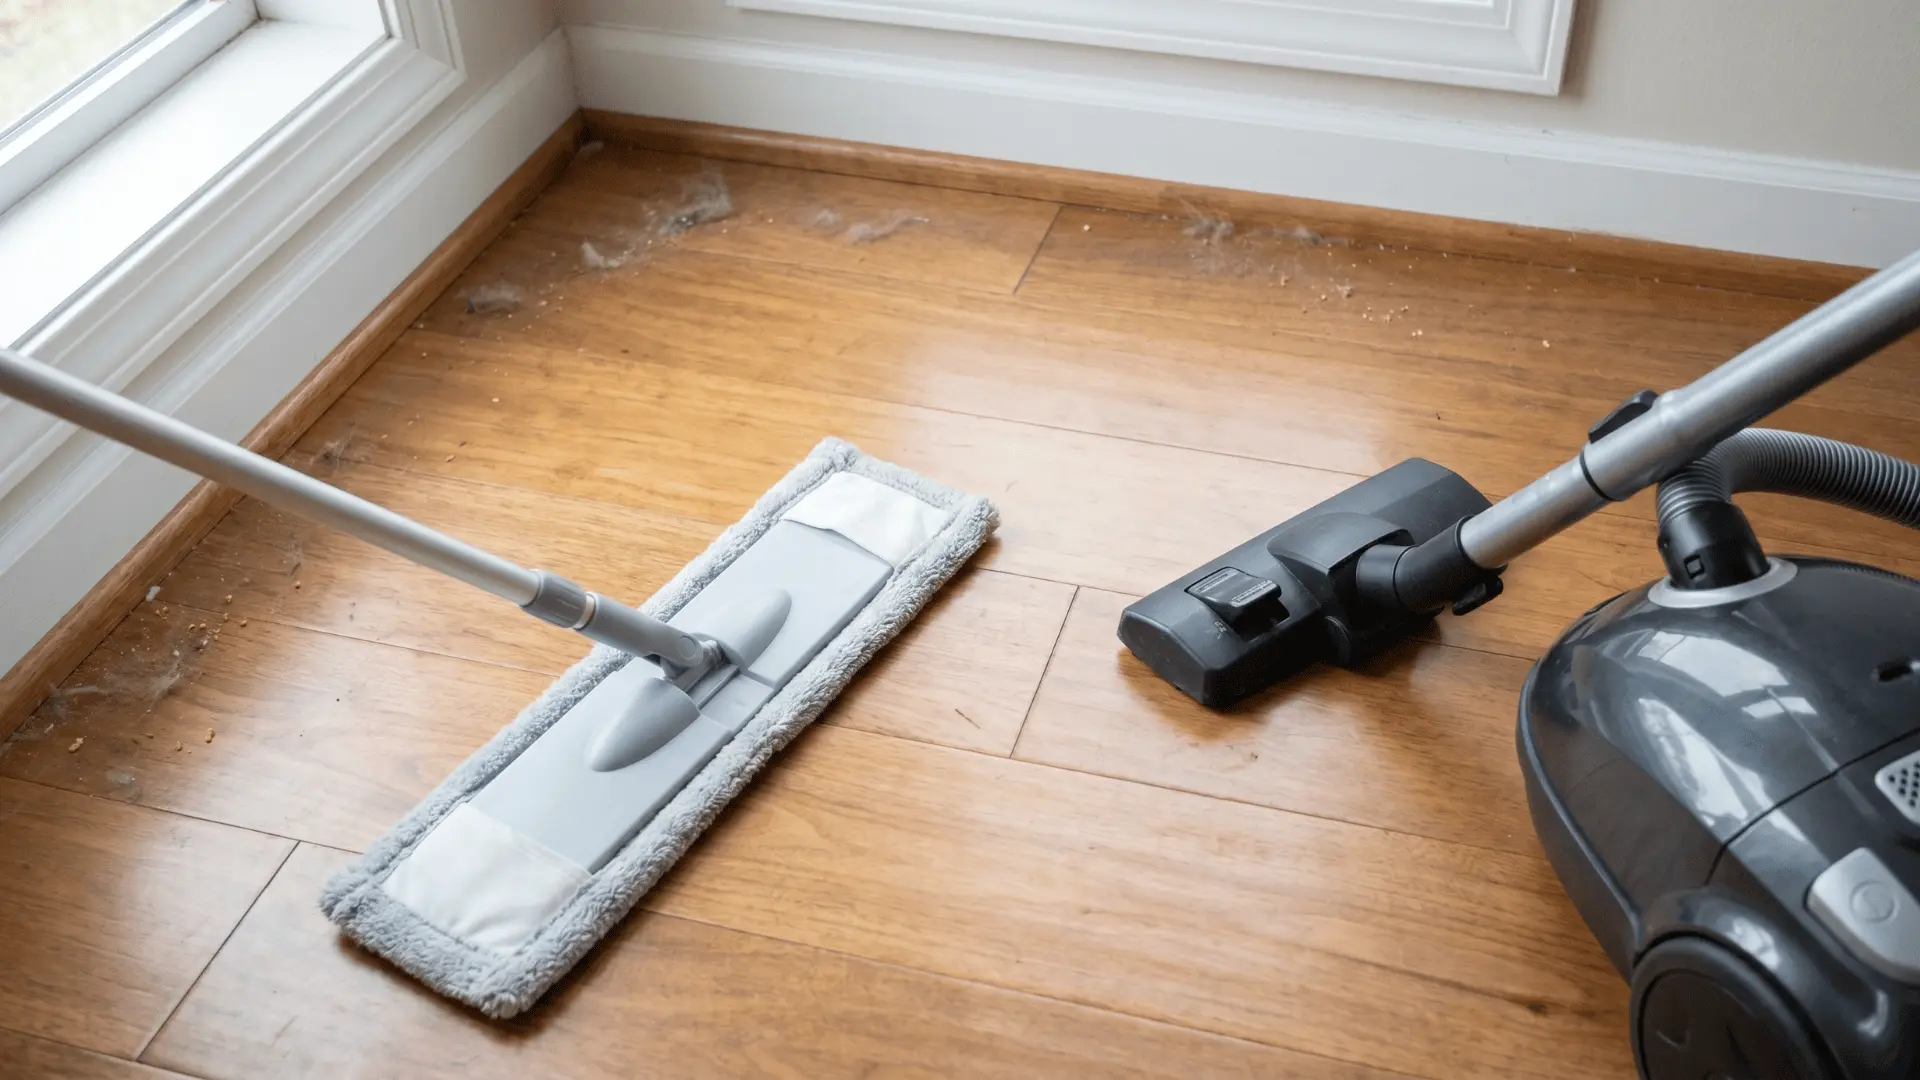
Start by removing dust and dirt using a vacuum with no beater bar or a microfiber mop, because these lift particles without scratching the surface.
Work in the direction of the wood grain and cover edges and corners where debris collects most.
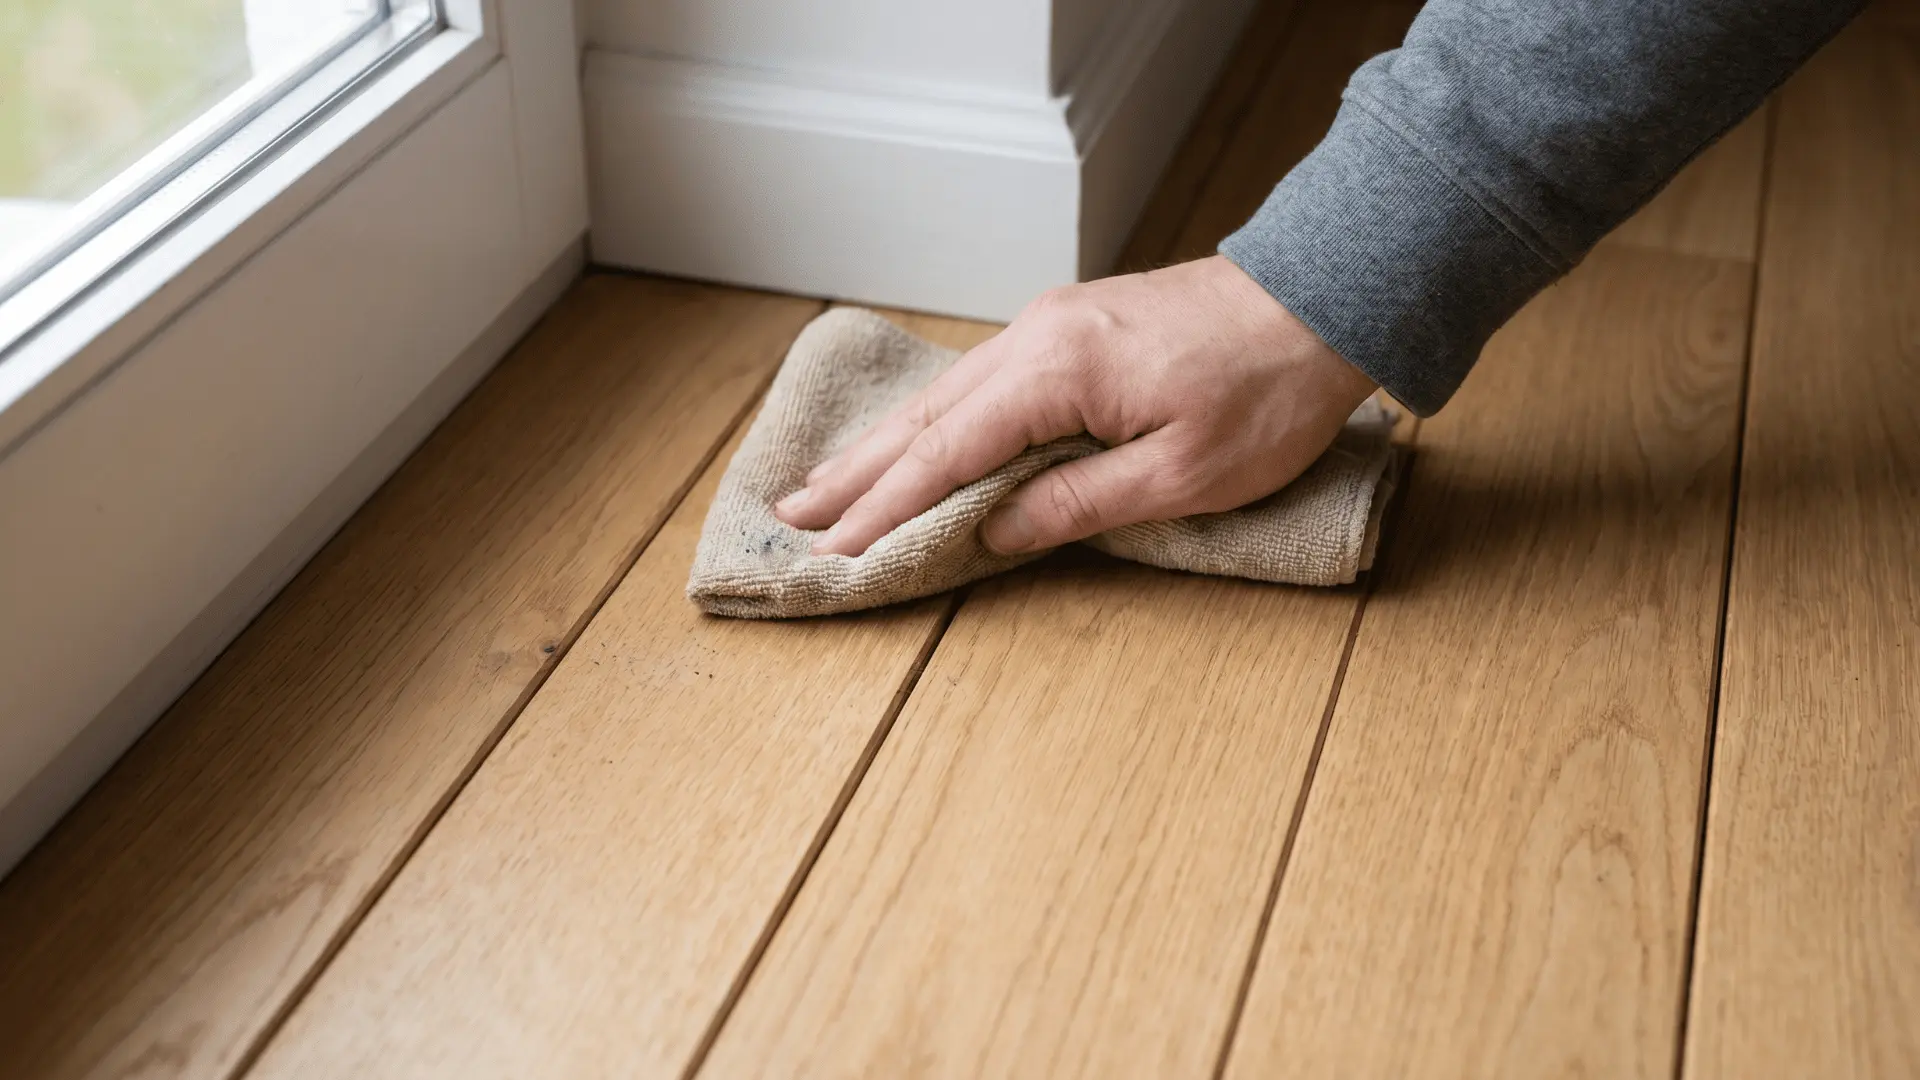
Step 2 – Spot Clean Problem Areas First
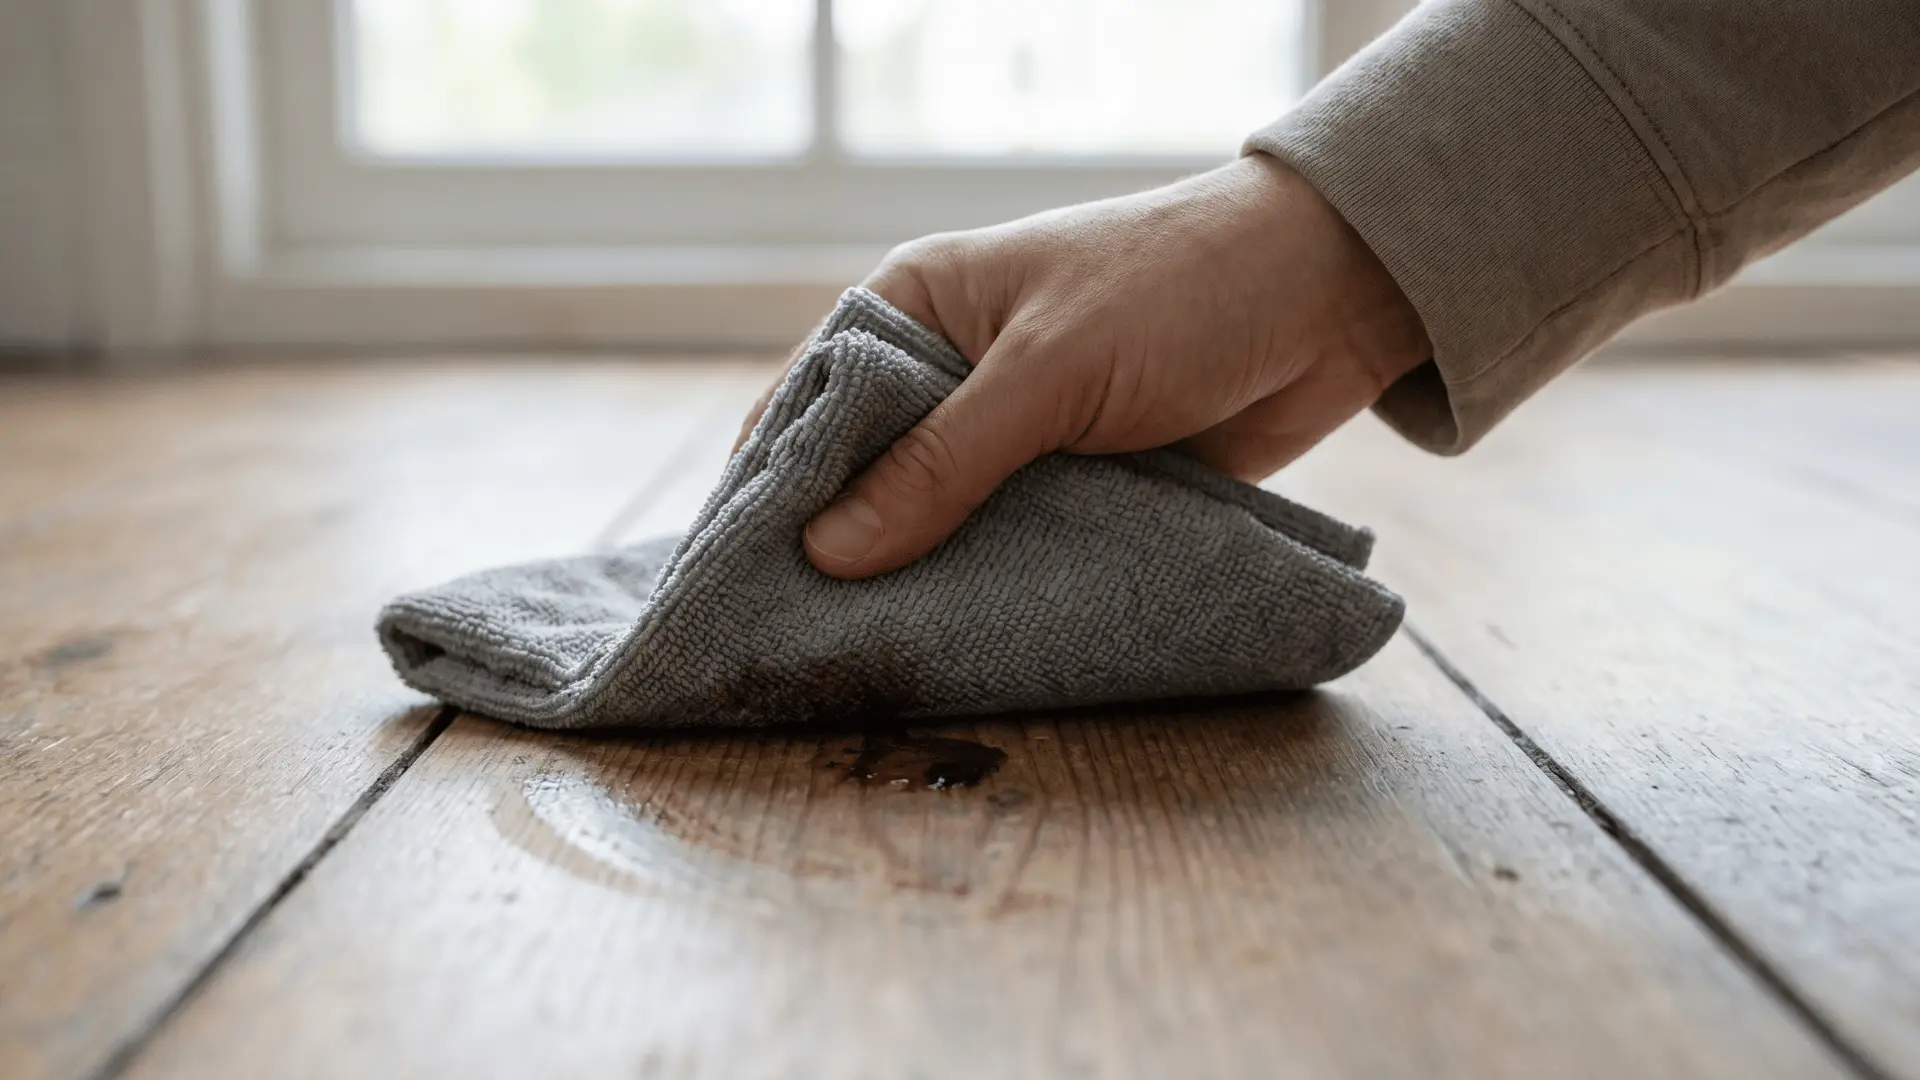
Before mopping the entire floor, wipe visible spots or sticky patches with a lightly damp cloth, because this prevents spreading grime across a larger area during mopping.
This step is especially useful for spills, grease, or tracked-in dirt.
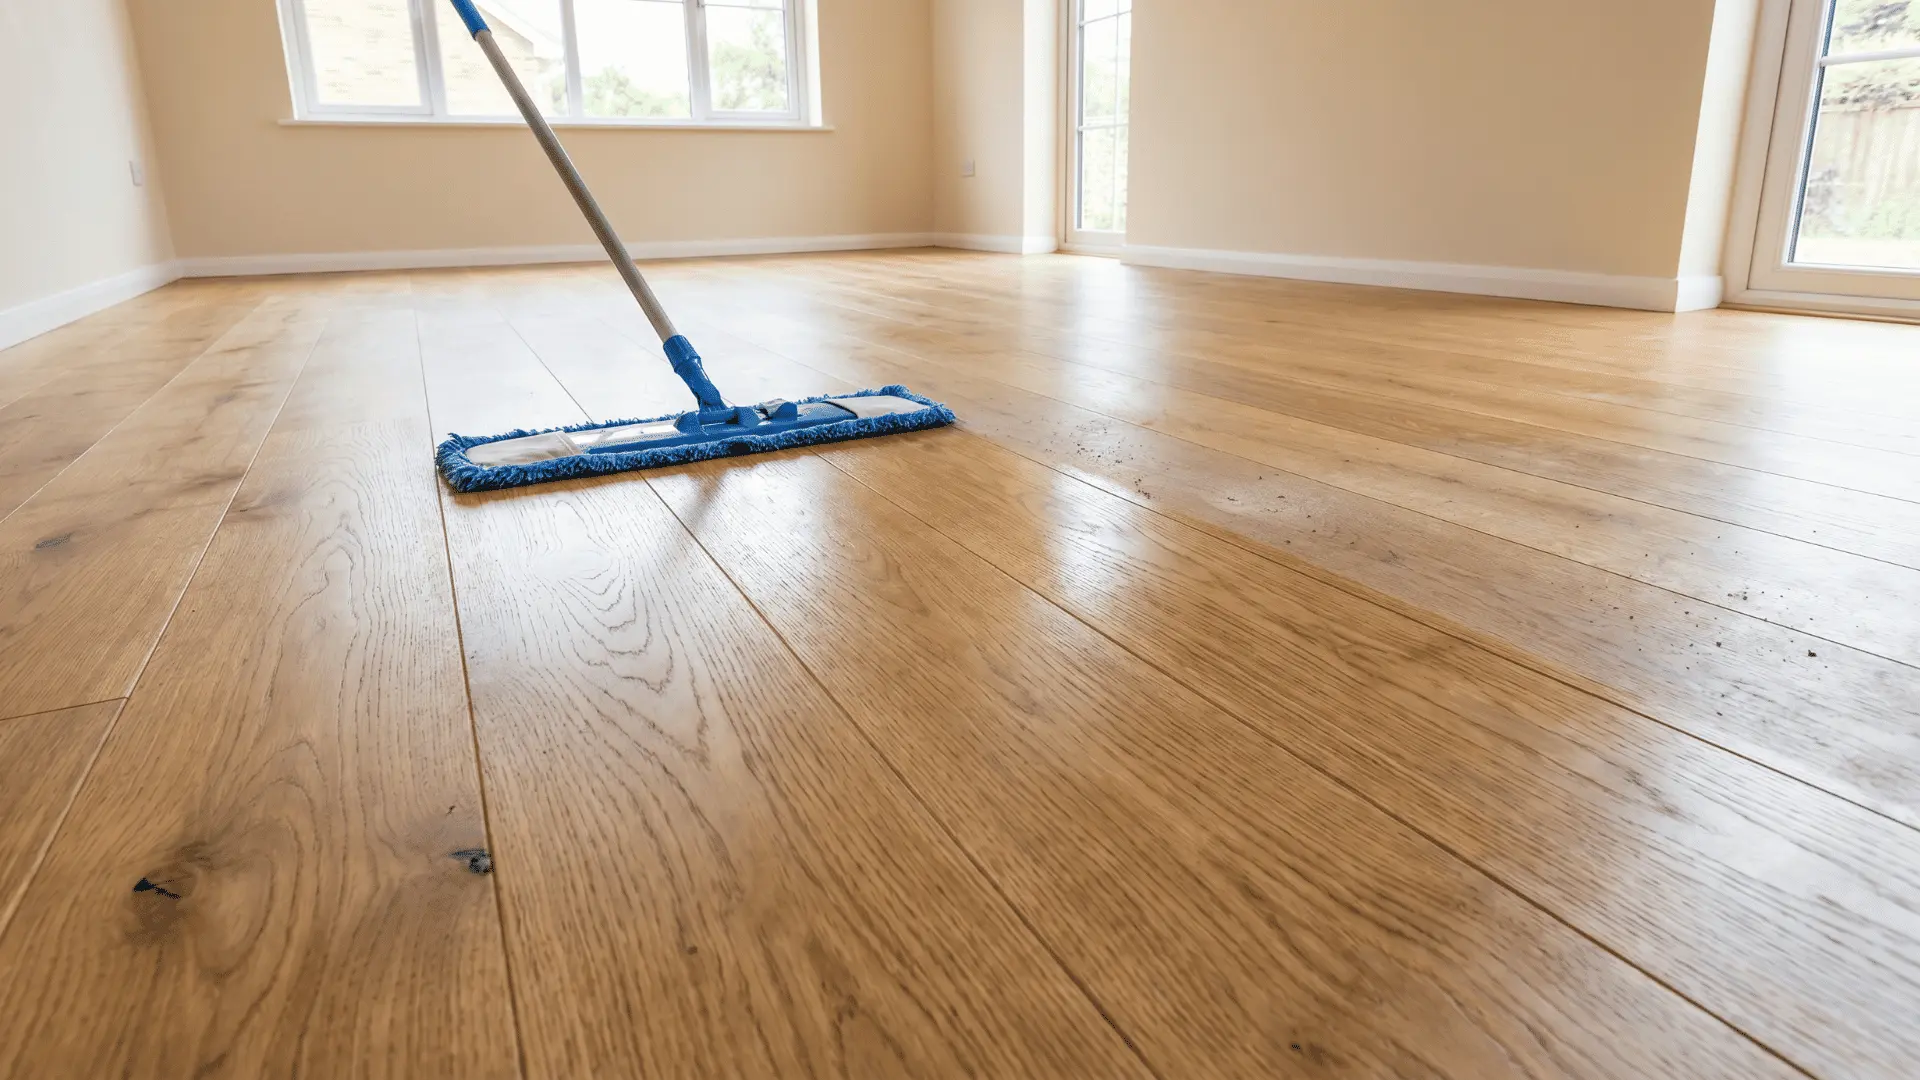
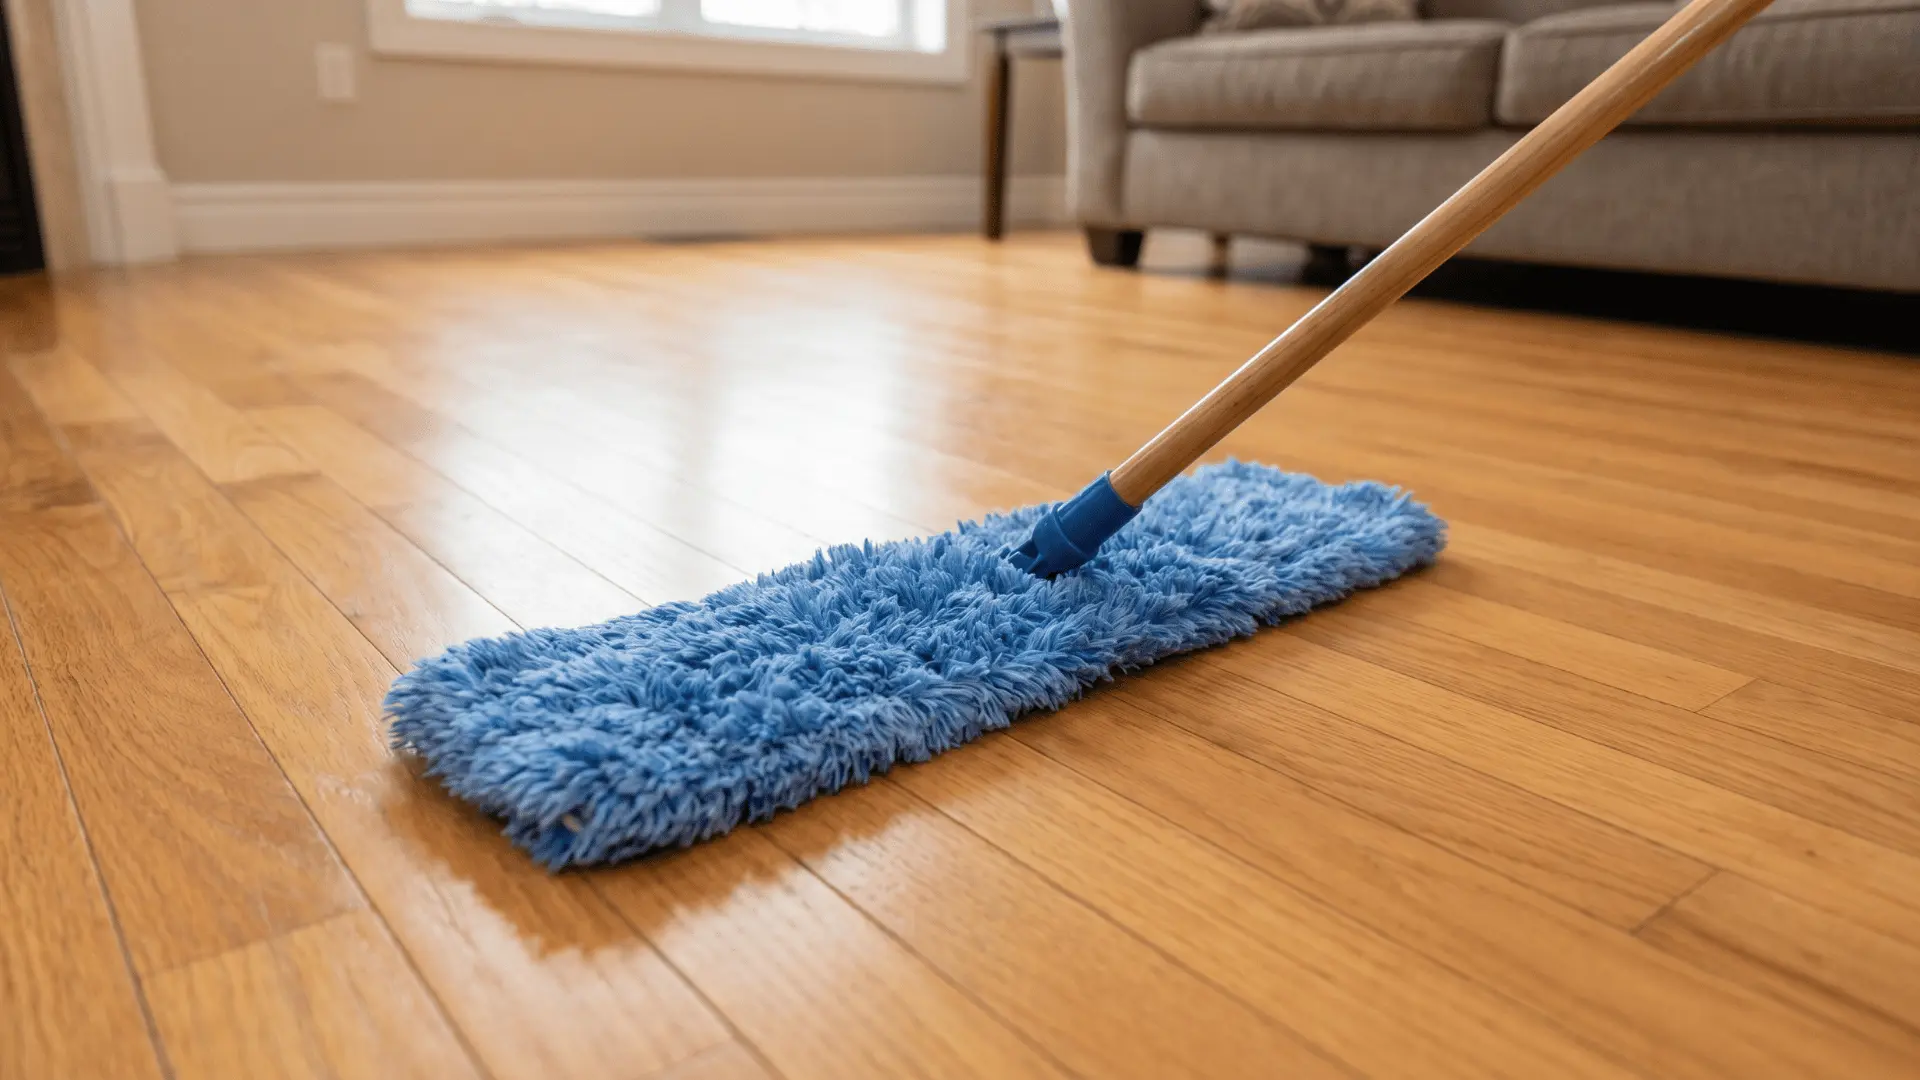
Step 3 – Prepare a Controlled Cleaning Setup
Use a microfiber mop with a small amount of hardwood-safe cleaner, making sure the mop is only slightly damp and not wet.
Avoid pouring liquid directly onto the floor, as this increases the risk of moisture settling into seams.
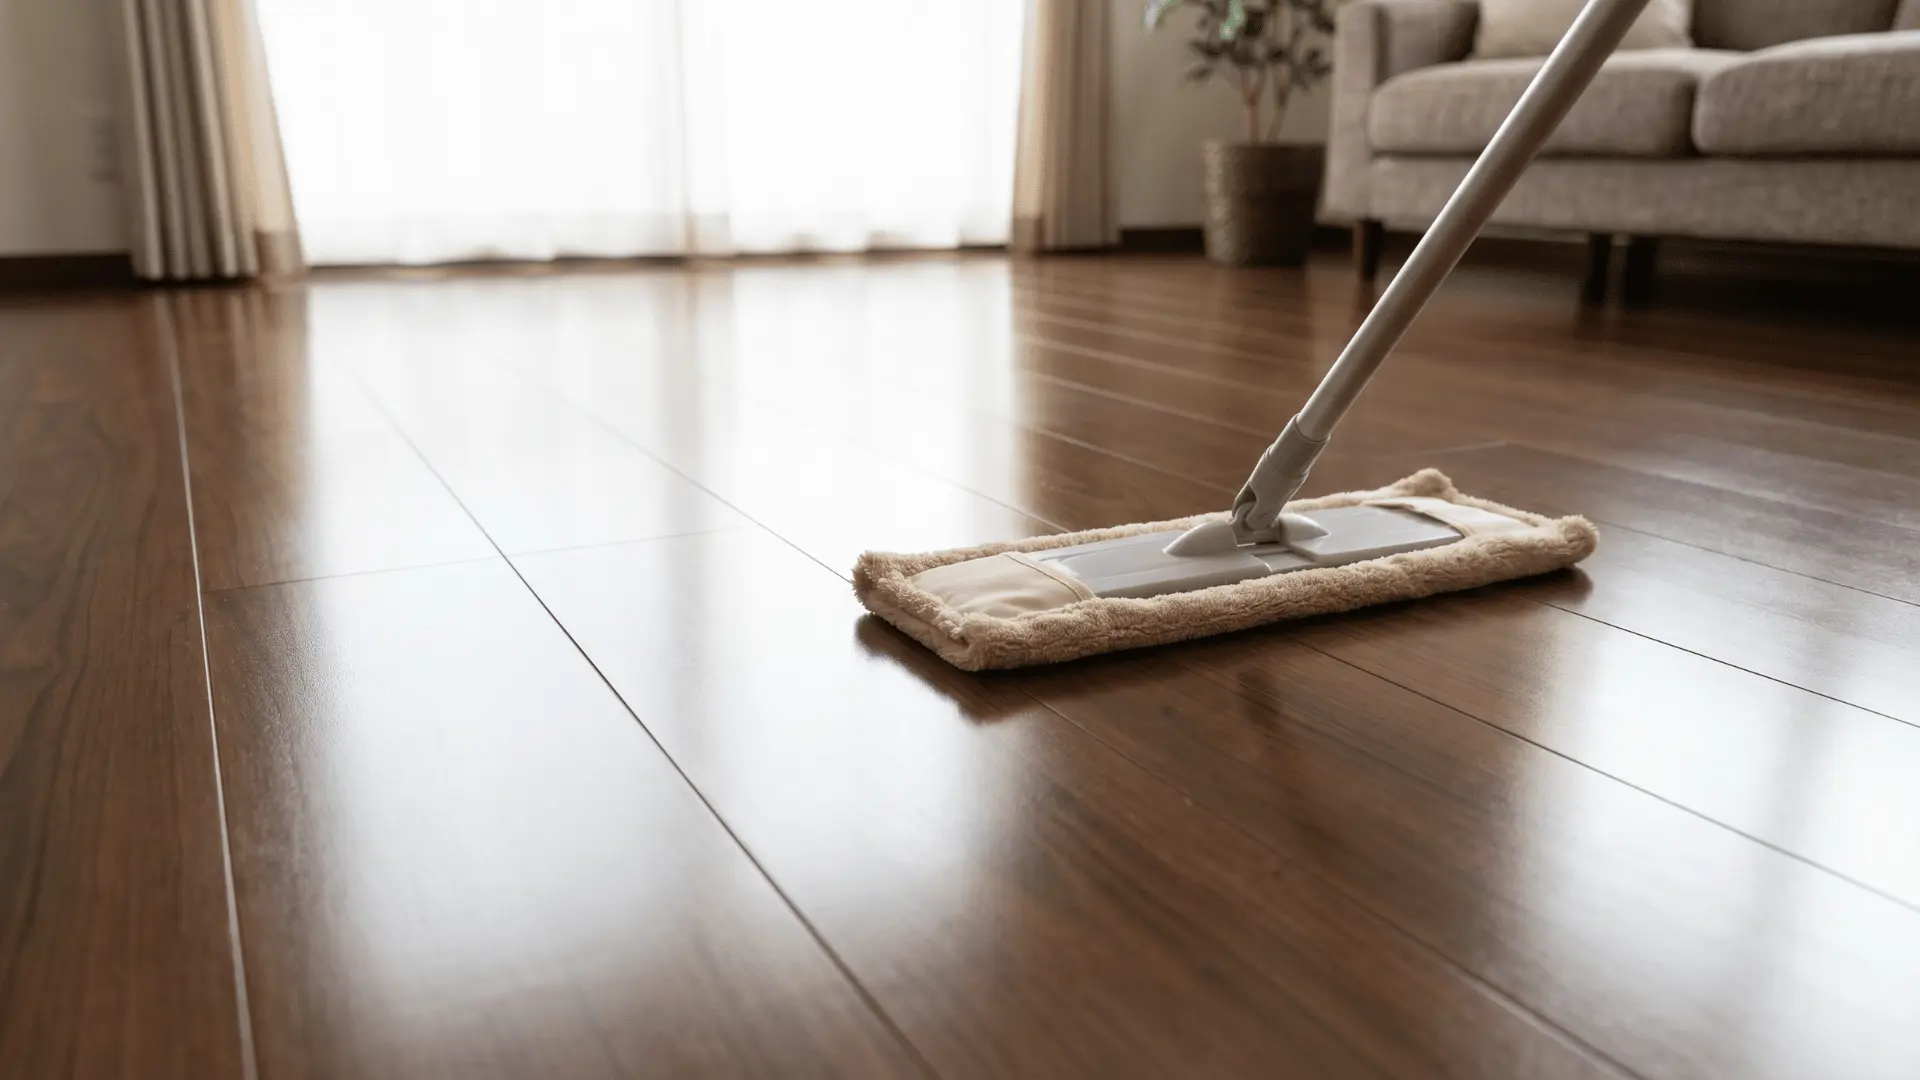
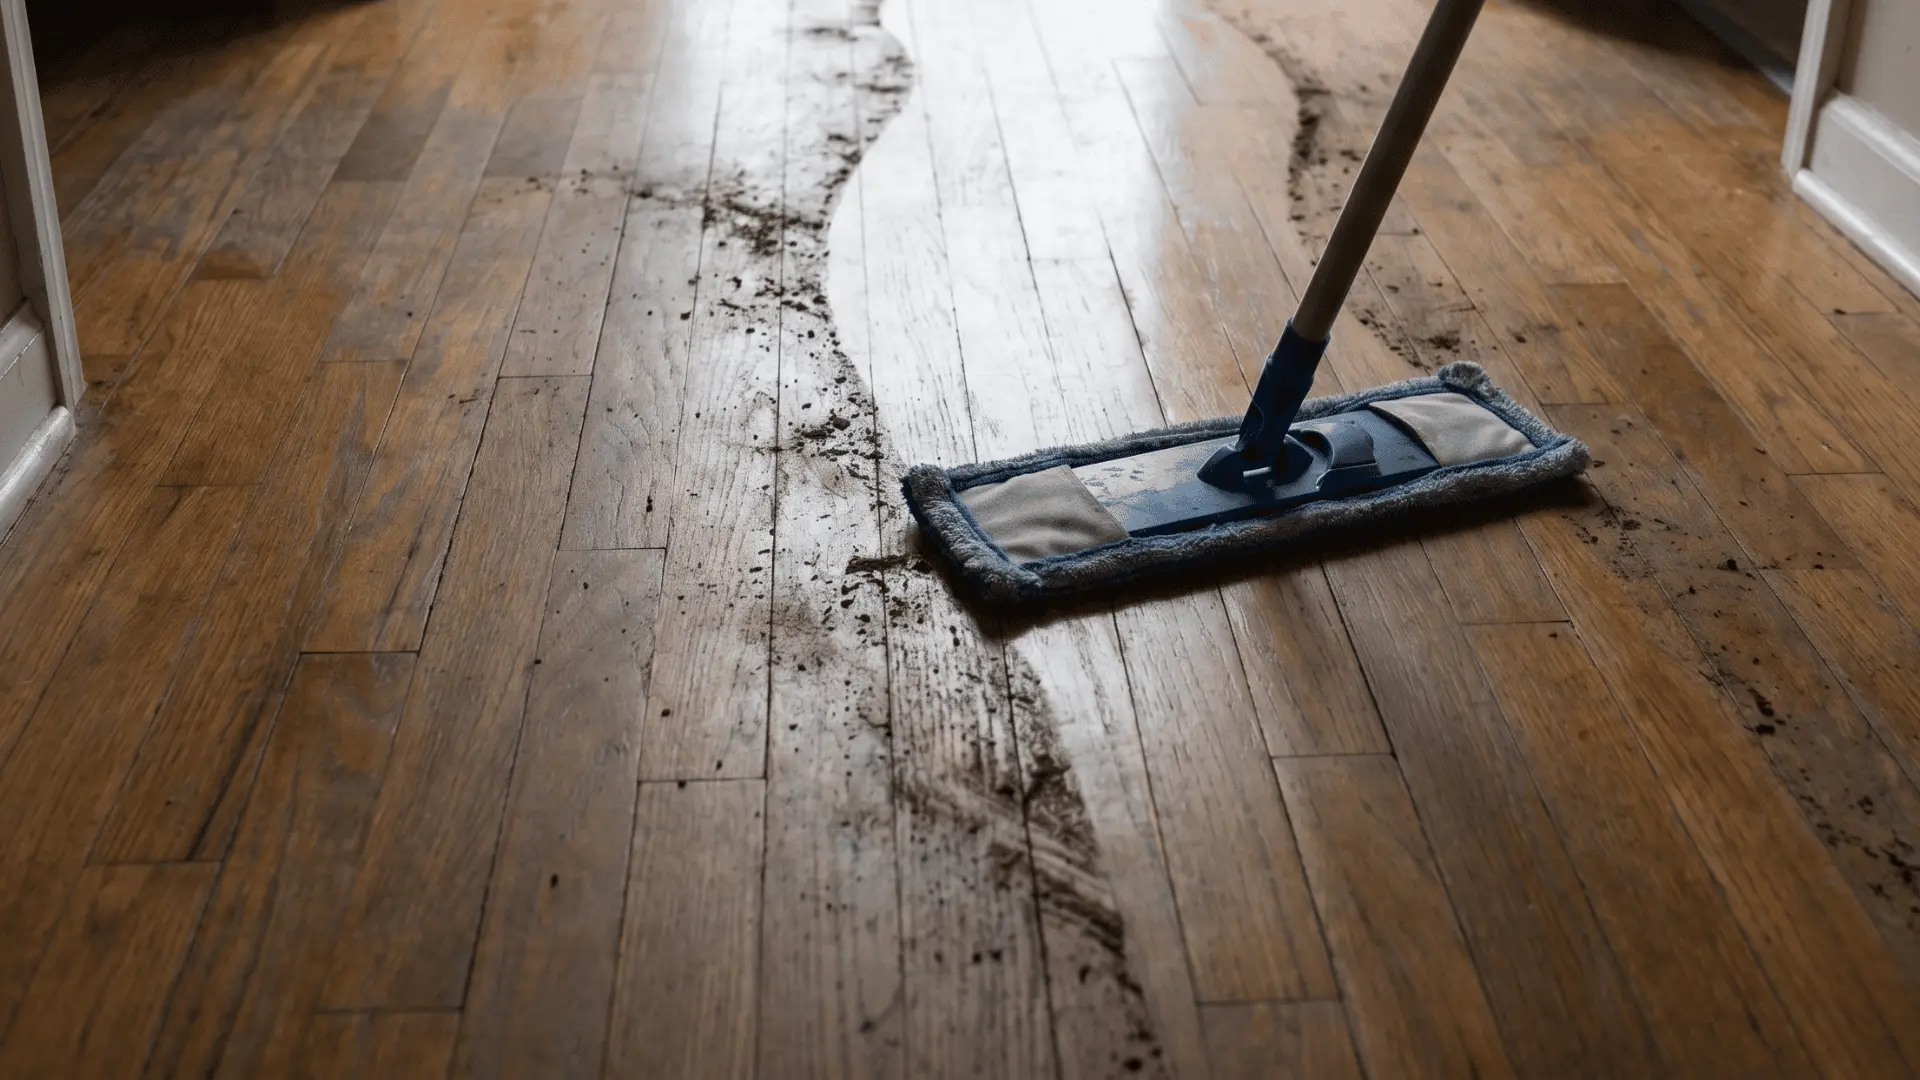
Step 4 – Clean in Sections with Minimal Moisture

Work in small sections and move the mop along the wood grain to remove remaining grime without leaving streaks.
Keep passes controlled and avoid repeated wiping over the same area, since that can spread loosened dirt.
Step 5 – Check Edges and Joints for Moisture Buildup
After mopping, inspect edges, corners, and gaps between boards where moisture tends to collect, because these areas are more prone to long-term damage if left damp.
Wipe them dry immediately if needed.
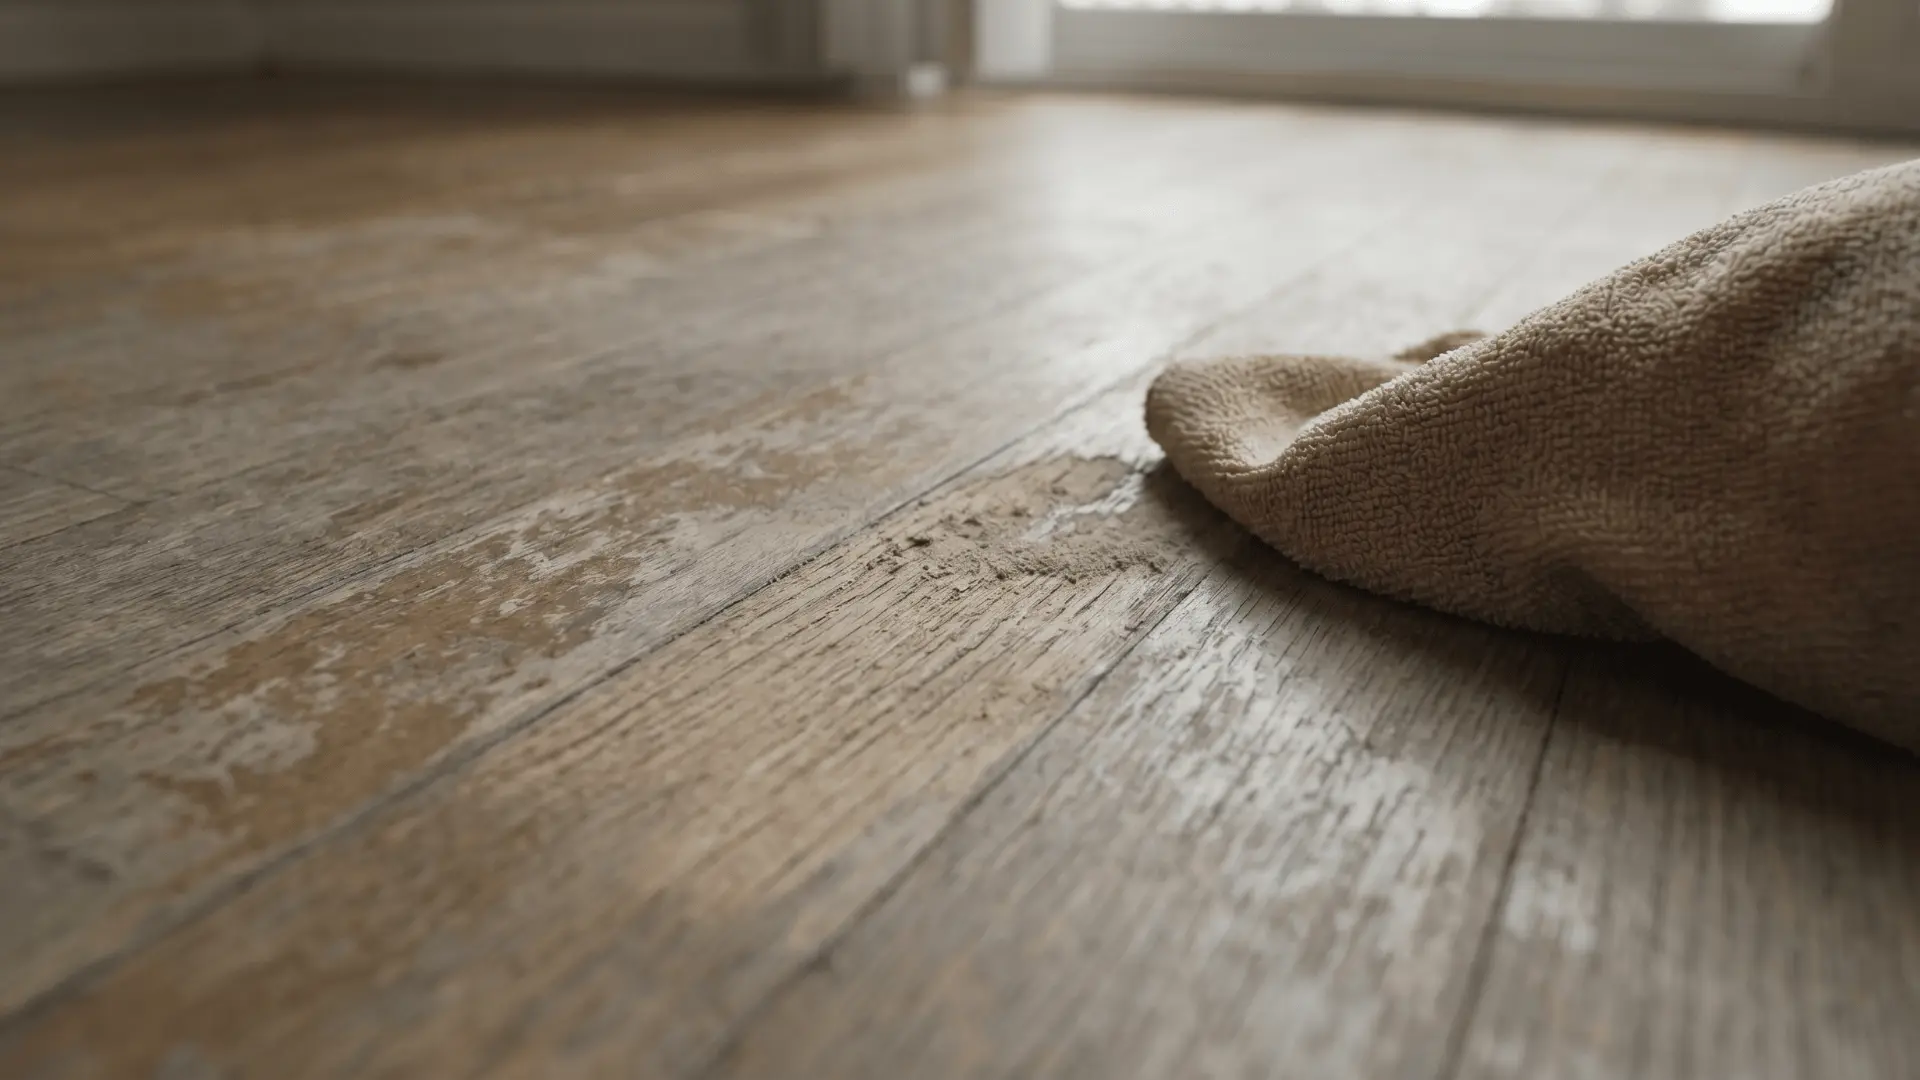
Step 6 – Dry the Surface Immediately
Use a dry microfiber mop or cloth to remove any remaining moisture, since even small amounts left behind can lead to marks, residue, or gradual damage over time.
Drying also helps maintain the finish and prevents dust from sticking back quickly.
For quick cleaning, sweeping followed by a light damp mop is enough when there is only light dust, which keeps the process fast without overcleaning.
Cleaning Hardwood Floors Based on Floor Condition
Cleaning hardwood floors depends on the condition of the surface, because the protective finish layer acts as a barrier, and once it wears down, the wood underneath becomes more vulnerable to moisture and damage.
Sealed Floors: Standard Cleaning
Sealed hardwood floors have a protective finish layer that prevents moisture from reaching the wood, which allows safe cleaning using a microfiber mop and a slightly damp method with a neutral cleaner.
Since the finish blocks absorption, dirt stays on the surface and can be removed without risk, as long as moisture is kept controlled and not excessive.
Worn or Unsealed Floors: Extra Caution
Worn or unsealed floors have areas where the finish has thinned or broken down, which exposes the wood directly and allows moisture to seep in more easily.
In these cases, even small amounts of water can penetrate the surface and lead to swelling, discoloration, or long-term damage, so cleaning should rely mostly on dry methods with only minimal, carefully controlled moisture if needed.
High-Traffic Areas: Buildup Control
High-traffic areas often experience faster finish breakdown due to constant friction, which means dirt and grime can settle more deeply and become harder to remove over time.
These areas need more frequent light cleaning to prevent buildup, because once the protective layer weakens, aggressive cleaning can worsen the damage instead of fixing it.
Not all hardwood floors should be cleaned the same way, because the condition of the finish directly affects how much moisture and cleaning pressure the surface can handle safely.
When to Deep Clean Hardwood Floors?
Hardwood floors need deep cleaning when surface dust turns into a thin residue layer that regular sweeping or light mopping cannot remove, because over time, dirt mixes with moisture and forms a dull film that sits on top of the finish.
Signs of Buildup
- The floor looks dull even after cleaning
- Surface feels slightly sticky to the touch
- Streaks appear after mopping
- Visible patches in high-use areas like entrances or kitchens
Frequency by Usage
- High-traffic or kitchen areas may need deep cleaning every few weeks
- Low-use rooms can go longer with only regular maintenance
- Over-cleaning should be avoided, as frequent deep cleaning can wear down the finish layer and reduce durability over time
A floor may appear clean on the surface, but hidden residue buildup often develops gradually, which is why occasional deep cleaning is needed.
Safest Way to Deep Clean Hardwood Floors
Deep cleaning hardwood floors is less about using more water and more about controlling moisture carefully. The right method removes dirt and buildup while protecting the wood finish from warping, swelling, and long-term damage.
| Cleaning Method | How It Works | Best Used For |
|---|---|---|
| Standard Deep Cleaning | Uses a slightly damp microfiber mop with hardwood-safe cleaner in small sections. | Full floor cleaning and regular maintenance. |
| Spray-and-Wipe Method | Sprays cleaner directly onto a small area before wiping immediately. | Better moisture control and lighter deep cleaning. |
| Spot Deep Cleaning | Cleans only sticky or dirty areas using a damp microfiber cloth. | Stubborn spots and residue buildup. |
| Quick Alternative Method | Uses minimal cleaner on high-traffic sections only. | Fast touch-ups between full deep cleans. |
| Drying Step | Follows cleaning with a dry microfiber cloth or mop. | Preventing moisture from settling into seams and edges. |
Common Mistakes That Damage Hardwood Floors
Hardwood floors can last for decades, but small cleaning mistakes often cause damage much faster than people realize.
- Using Too Much Water: Excess moisture can seep into seams and cause swelling, cupping, or warping over time.
- Using Steam Mops: Heat and steam force moisture deep into the wood and may weaken the finish or adhesive layers.
- Skipping Regular Dust Removal: Dirt and grit act like sandpaper under foot traffic and slowly scratch the surface.
- Using Harsh Cleaners: Ammonia, bleach, and abrasive chemicals can strip the protective coating and dull the floor.
- Letting Spills Sit Too Long: Standing liquid can stain wood and seep into joints if not cleaned quickly.
- Using Rough Brushes or Pads: Abrasive tools leave scratches and wear down the finish faster.
- Dragging Furniture Across the Floor: Heavy furniture can leave deep scratches and dents without protective pads underneath.
Conclusion
Hardwood floors don’t need constant cleaning, but they do need the right approach at the right time, because small habits like how you handle dust or moisture end up making a big difference over time.
Most long-term issues don’t happen suddenly; they build slowly from repeated small mistakes that are easy to overlook. Once the surface starts wearing down or dirt settles into patterns, fixing it takes more effort than preventing it early on.
Knowing how to clean hardwood floors properly keeps things simple and avoids unnecessary damage. Use the right method consistently so your floors stay in good shape without extra work later.
Frequently Asked Questions
Can You Use a Robot Vacuum on Hardwood Floors?
Yes, as long as it has soft wheels, no harsh beater bar, and is kept free of trapped grit
How Do You Remove Pet Hair From Hardwood Floors?
Use a microfiber dust mop or vacuum with a hardwood floor attachment to trap hair without scratching.
When Should Hardwood Floors Be Refinished?
Refinishing may be needed when cleaning no longer fixes dullness, deep scratches, or worn finish areas.