How to Caulk a Bathtub the Right Way
Knowing how to caulk a bathtub the right way can save you from leaks, mold, and costly repairs down the line. A bad caulk job peels fast. A good one can last for years with no touch-ups needed.
Most people rush through the process or skip a step or two. That leads to a seal that looks fine at first but starts lifting or cracking within weeks
Here, I’ll walk you through every step in the right order, from pulling out the old caulk to letting the new one cure fully. Take it one step at a time and you will get a clean, lasting result.
What Type of Caulk Should You Use for a Bathtub?
Not all caulk works well in a wet bathroom. Using the wrong type leads to cracking, mold, or a seal that lifts within weeks.
For bathtubs, use 100% silicone or a silicone-latex blend. Here is why each one works:
- 100% silicone: The most waterproof option. It stays flexible, bonds strongly to tub and tile surfaces, and resists mold. It is harder to smooth but lasts the longest.
- Silicone-latex blend (kitchen and bath caulk): Easier to apply and clean up with water. Still water-resistant and mold-resistant. A good choice if this is your first time caulking.
Avoid basic paintable caulk. It is not designed for high-moisture areas and will break down quickly around a tub.
Whatever you pick, make sure the label says mold and mildew resistant. This matters in a damp bathroom environment.
How to Caulk a Bathtub Properly: Step-by-Step Guide
Here’s a walkthrough of each step in the right order. Follow them closely and you will get a clean, watertight seal that holds up long-term.
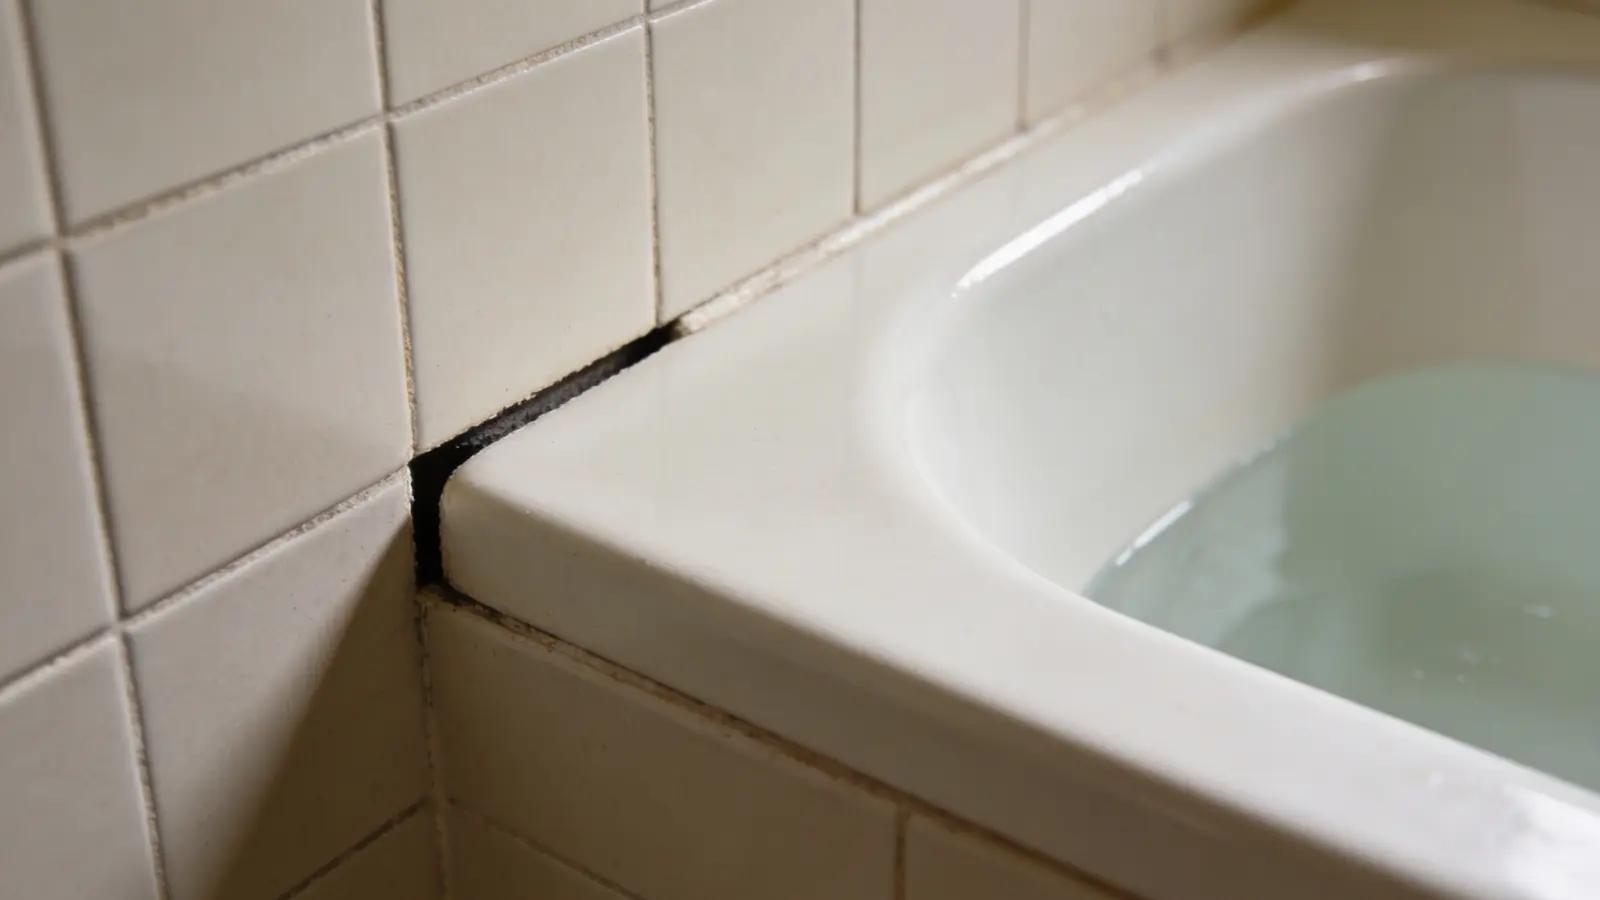
Step 1: Remove All Old Caulk Completely
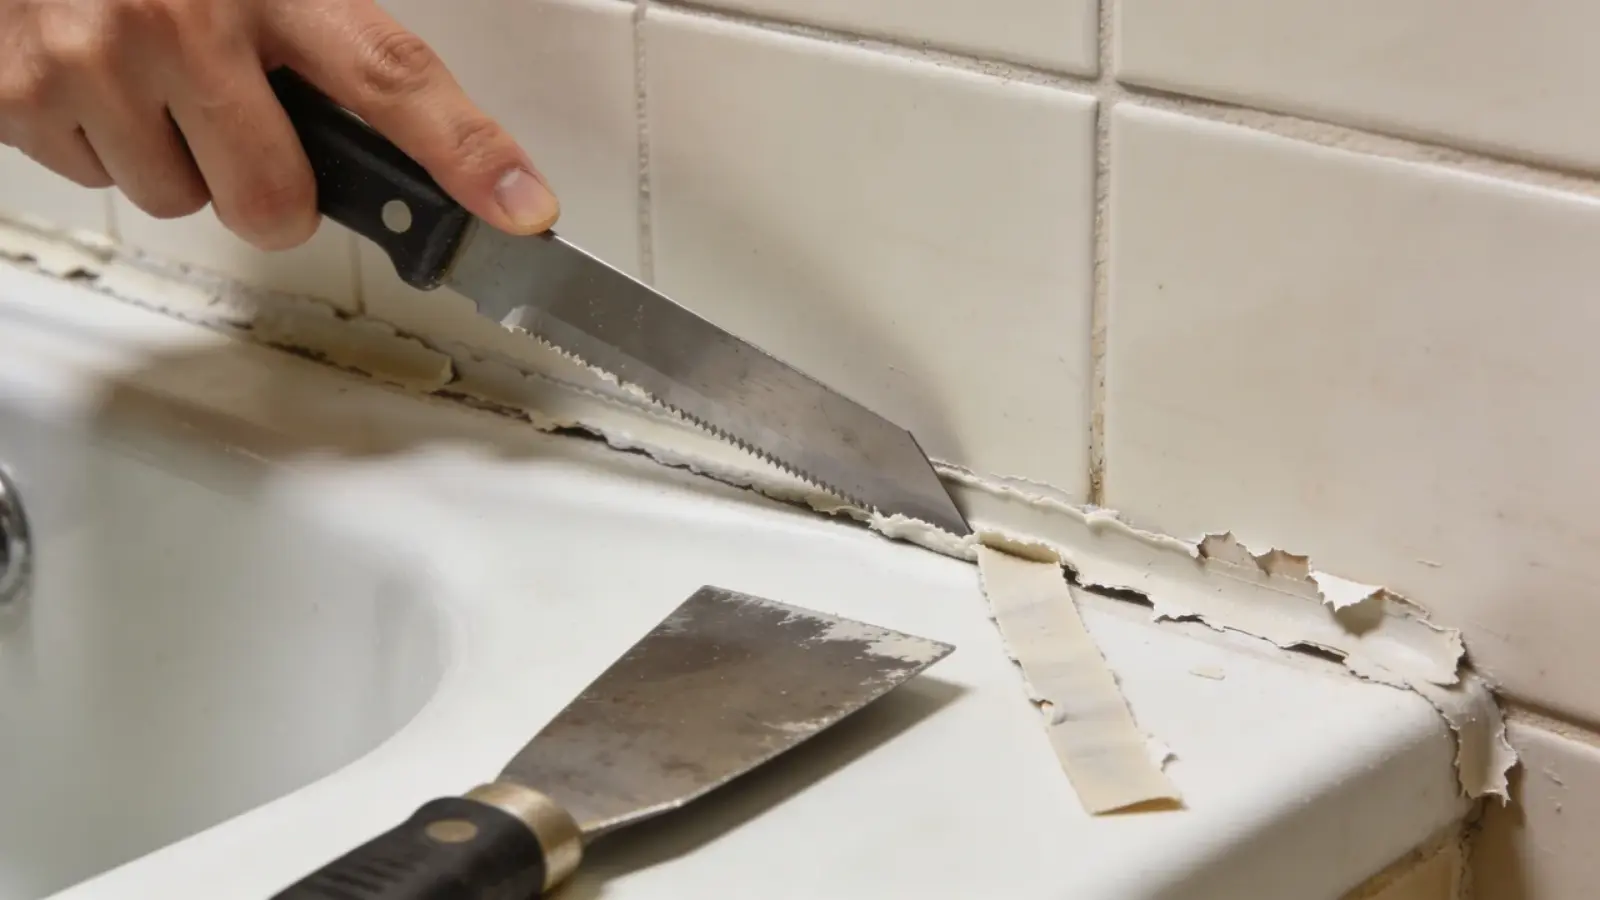
Start by cutting along the top and bottom edges of the old caulk using a utility knife. Lift and pull it out carefully with a scraper.
Go over the area again to remove any thin leftover pieces. Do not leave behind any residue.
Old caulk stops the new caulk from sticking properly. Even a thin layer can stop the new caulk from sticking and cause it to peel or lift within a few days after application.
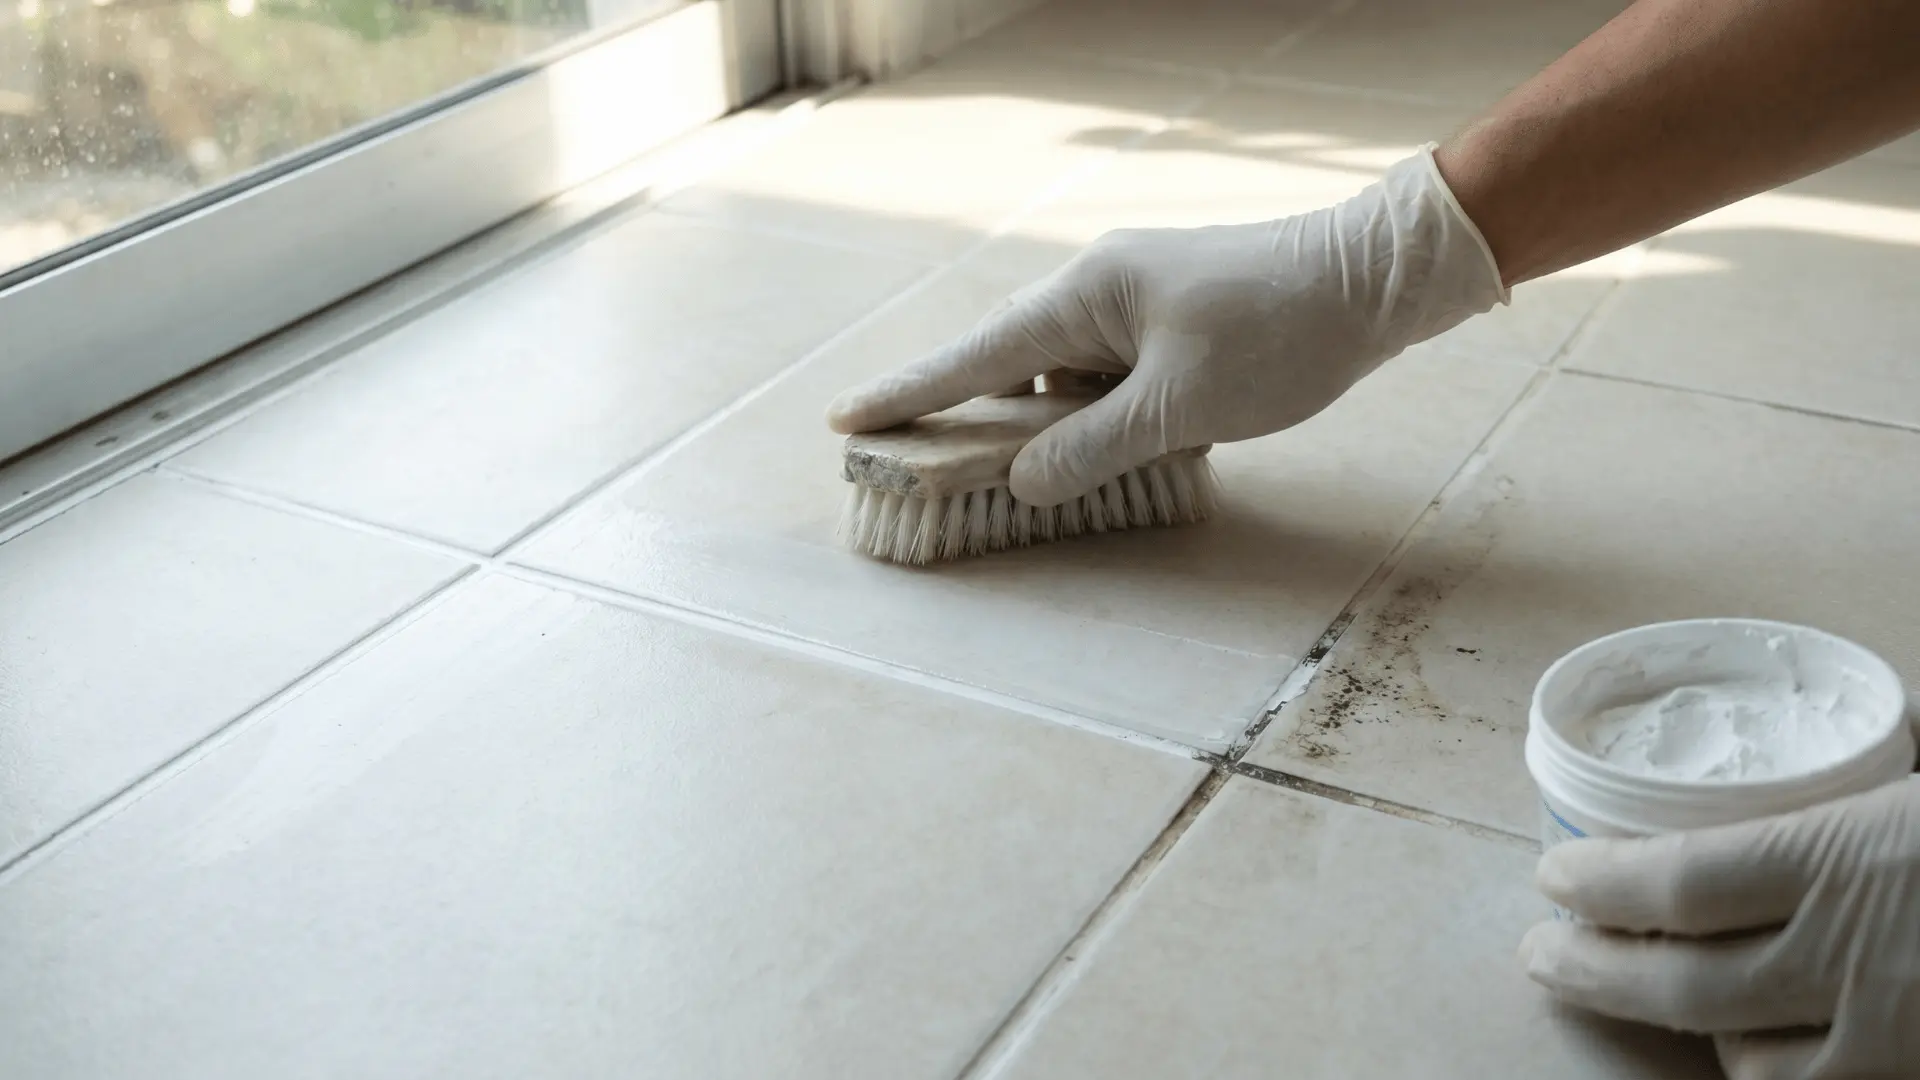
Step 2: Clean and Dry the Surface Fully
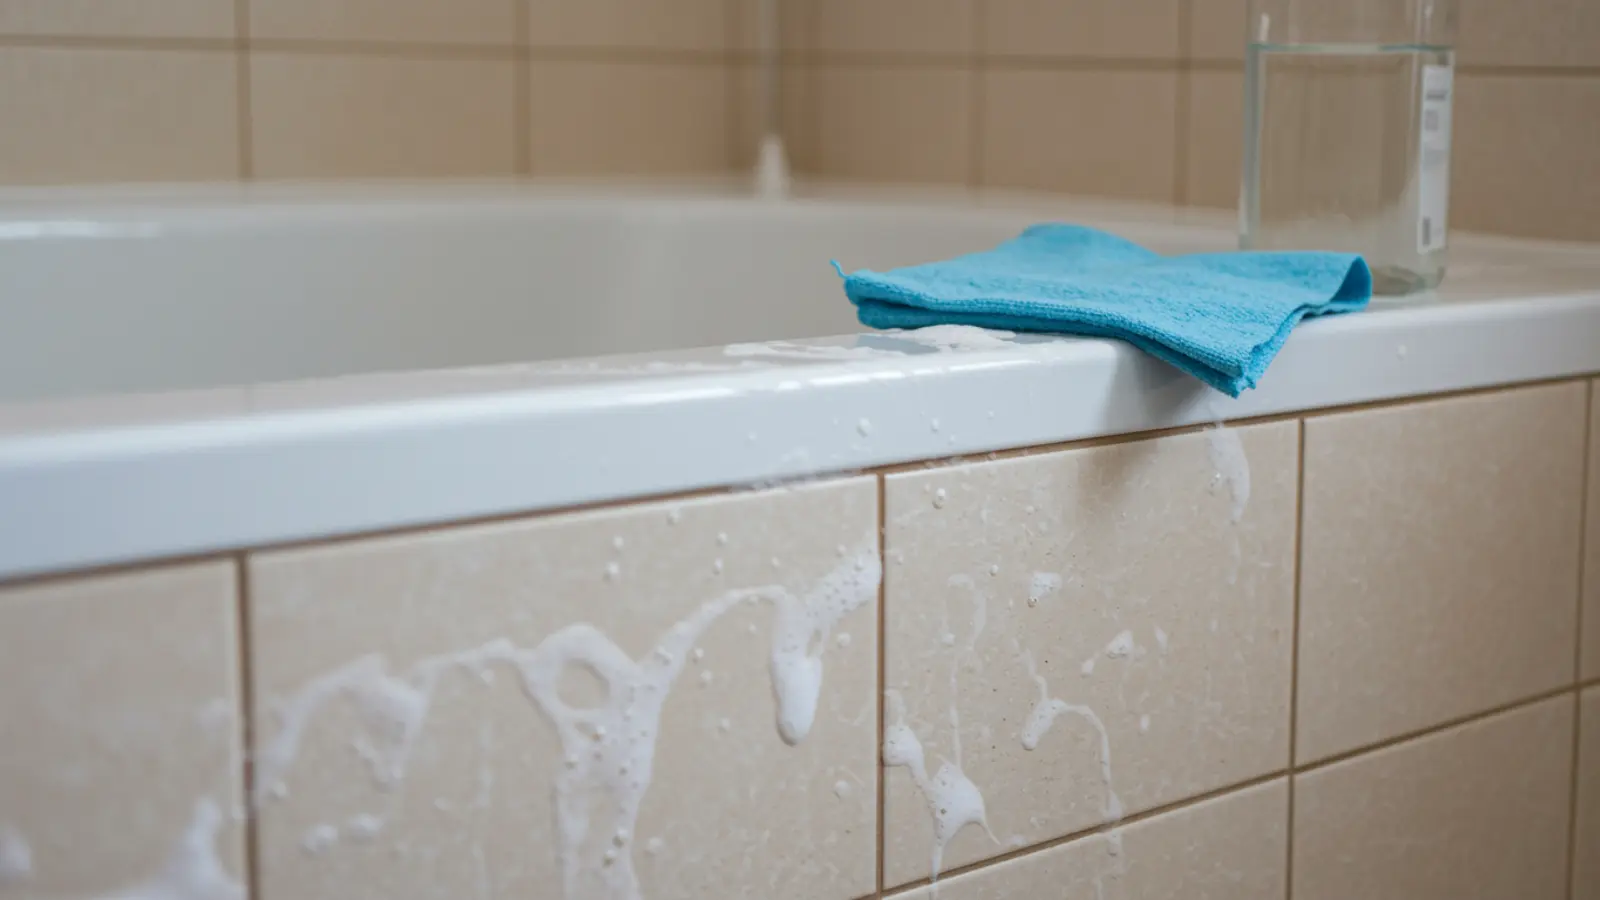
Before applying new caulk, the surface must be fully clean and dry. This step decides how well the caulk will stick and how long it will last.
- Scrub the joint to remove soap scum, dirt, and mold build-up
- Rinse thoroughly and wipe the area with rubbing alcohol
- Let the surface dry completely before moving ahead
A clean surface helps the caulk stick properly and stay in place. Moisture or residue prevents the caulk from sticking well and reduces its durability.
Step 3: Fill the Bathtub with Water
Before applying caulk, fill the bathtub at least halfway with water to add weight. This step pulls the tub slightly downward and expands the gap between the tub and wall.
Caulking in this position helps the seal set correctly based on real-use conditions. When the tub is later used, the gap will not stretch the caulk.
If you skip this step, the caulk may pull apart or crack after a few uses, leading to early damage and leaks.
Step 4: Apply Painter’s Tape Along Both Edges
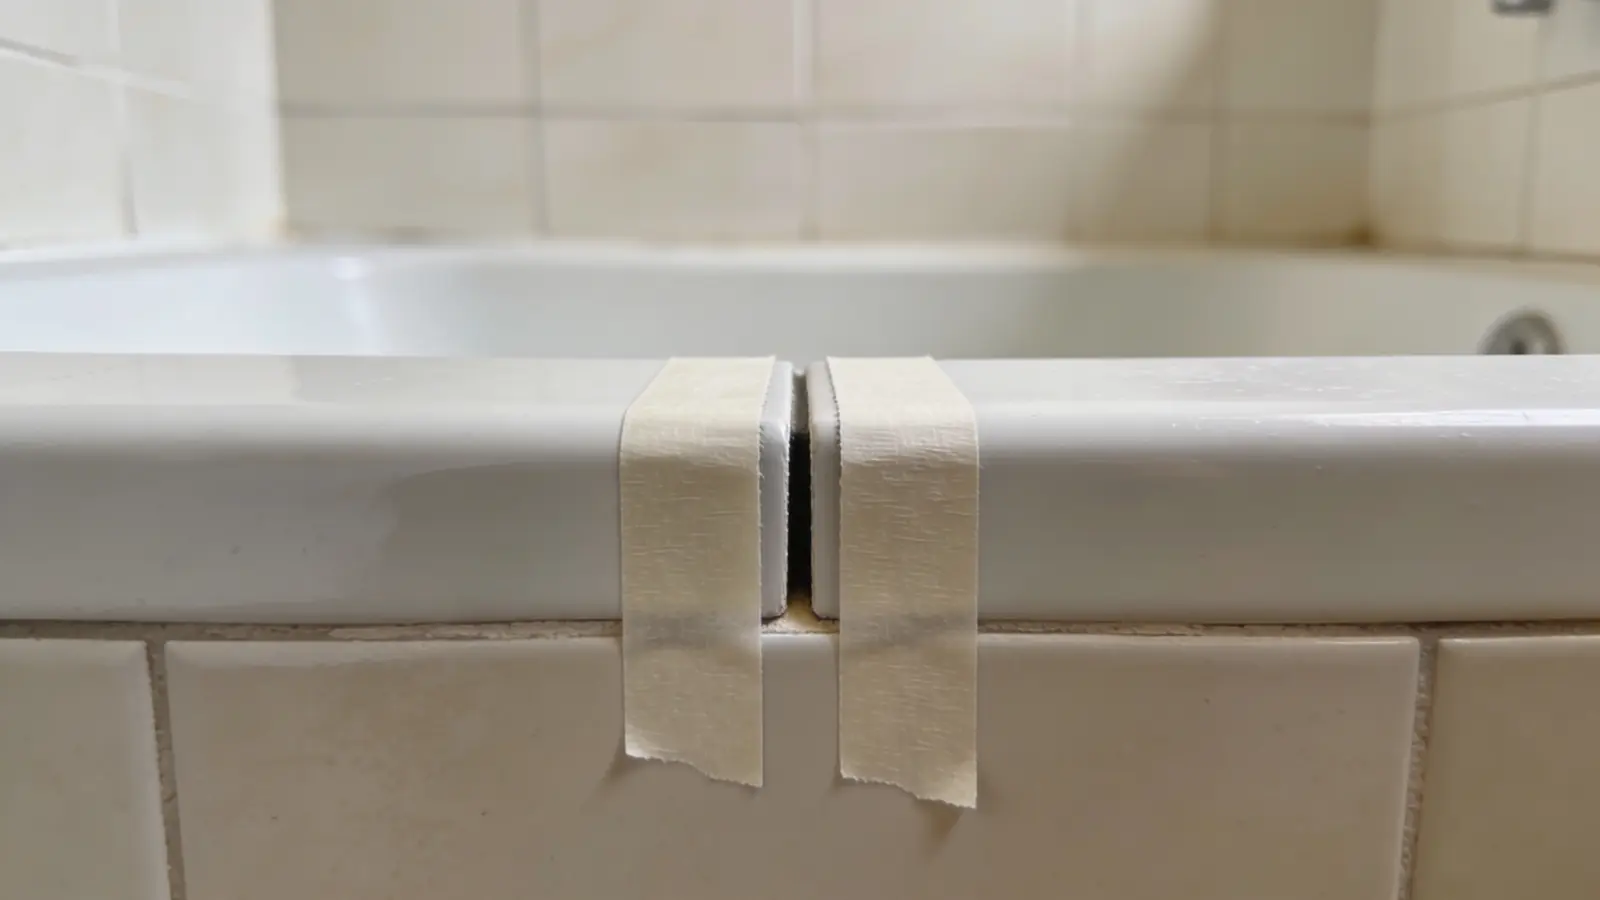
Before opening the caulk tube, apply painter’s tape on both sides of the joint. Place one strip just above the seam and one just below it.
Leave a gap of about ⅛ inch between the two strips. This is where the caulk will go.
The tape keeps your lines straight and clean. Without it, the caulk tends to spread unevenly and leave rough edges that are hard to fix later.
Once the caulk is applied and smoothed, peel the tape off immediately before it dries. Pull it back at a steep angle for the cleanest edge.
Step 5: Prepare the Caulk Tube Correctly
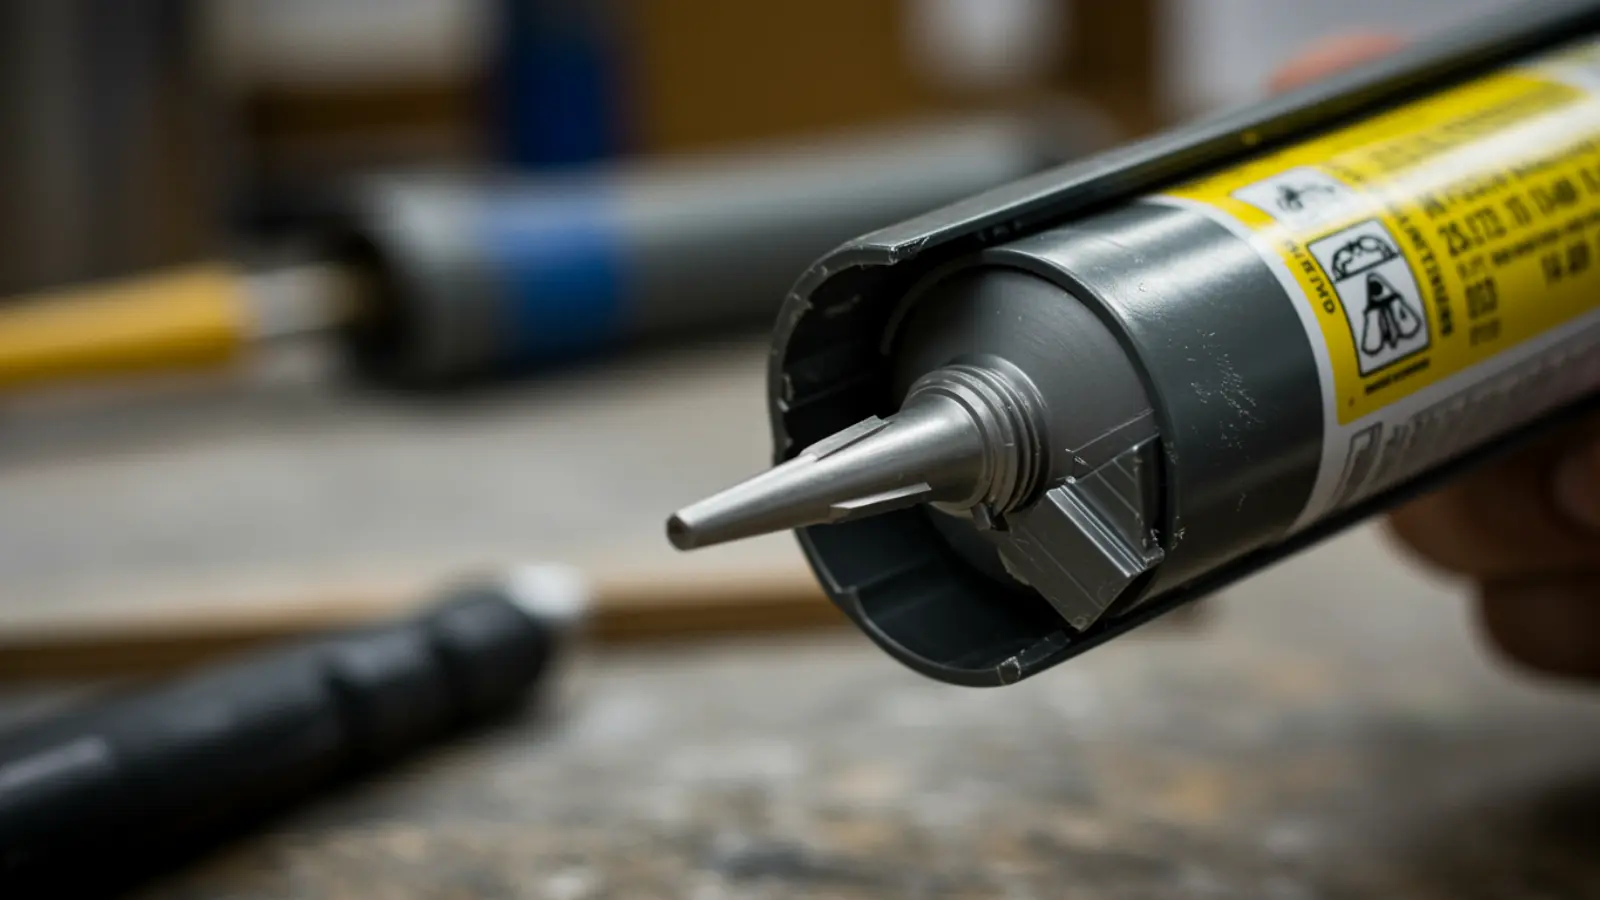
Getting the tube ready the right way makes the application much easier and cleaner.
- Cut the tip of the caulk tube at a 45-degree angle
- Keep the opening small for better control over the flow
- Insert the tube into the caulk gun properly
- Gently press the trigger to test the flow before starting
A smaller opening helps you apply a smooth and even bead. This step keeps the flow controlled and helps you create a neat, easy-to-manage line.
Step 6: Apply a Steady, Continuous Bead
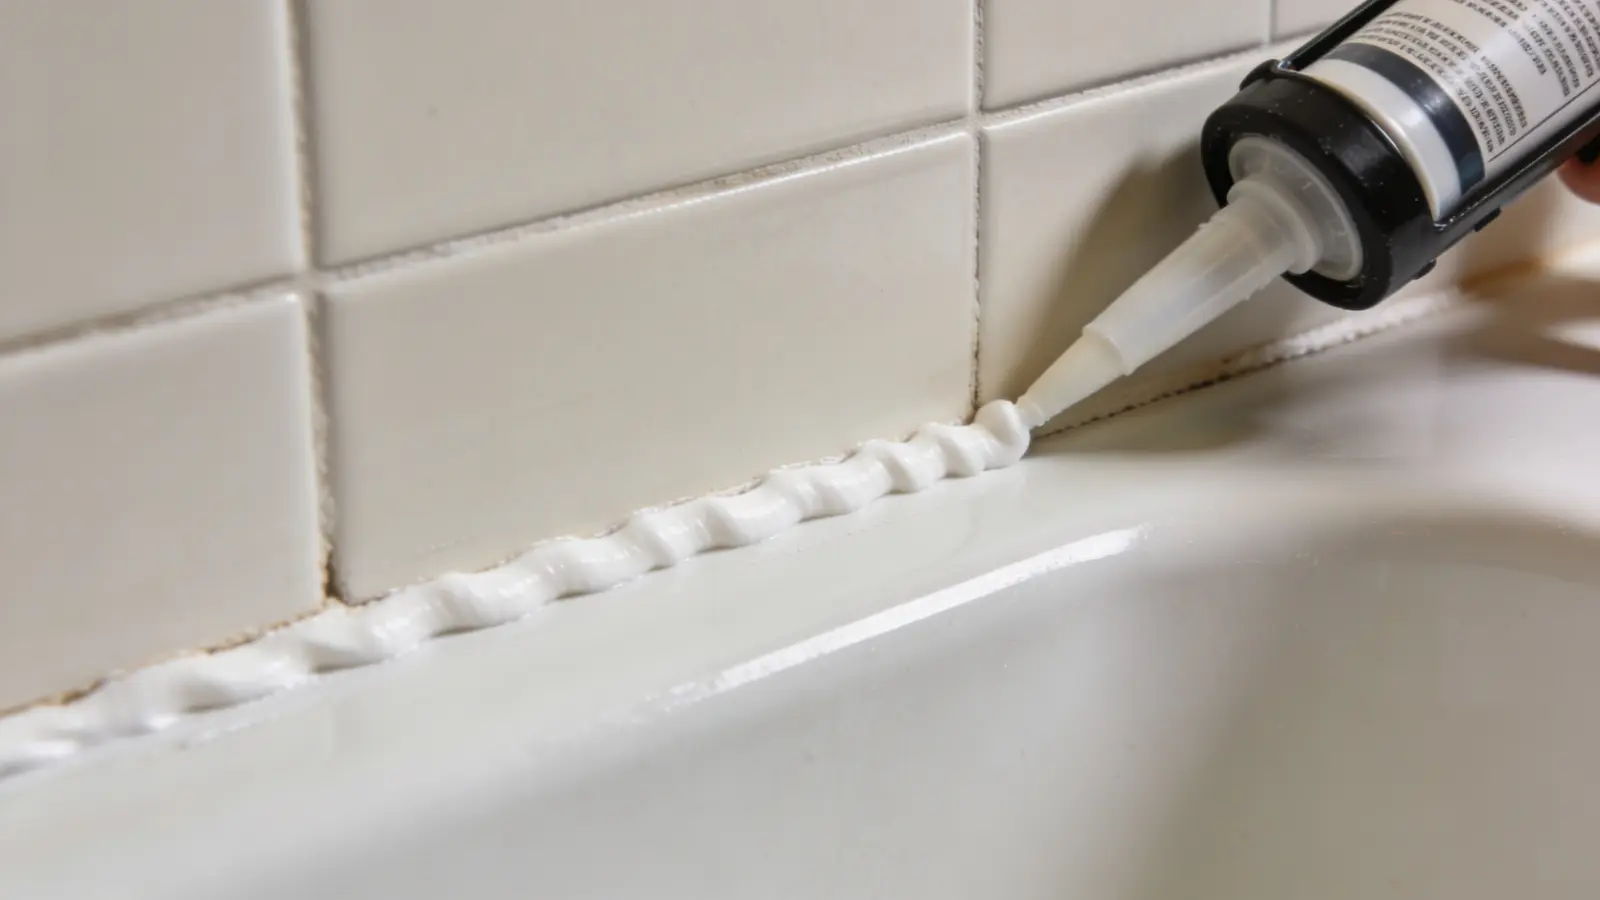
Now apply the caulk along the joint in one smooth motion. Keep your hand steady and move at a consistent speed.
- Hold the caulk gun at a slight angle
- Press the trigger evenly while moving forward
- Follow the seam without stopping midway
A continuous bead creates a proper seal that blocks water entry. If you stop and restart, it leaves gaps or uneven spots that can weaken the seal and cause leaks over time.
Step 7: Smooth and Press the Caulk Into the Joint
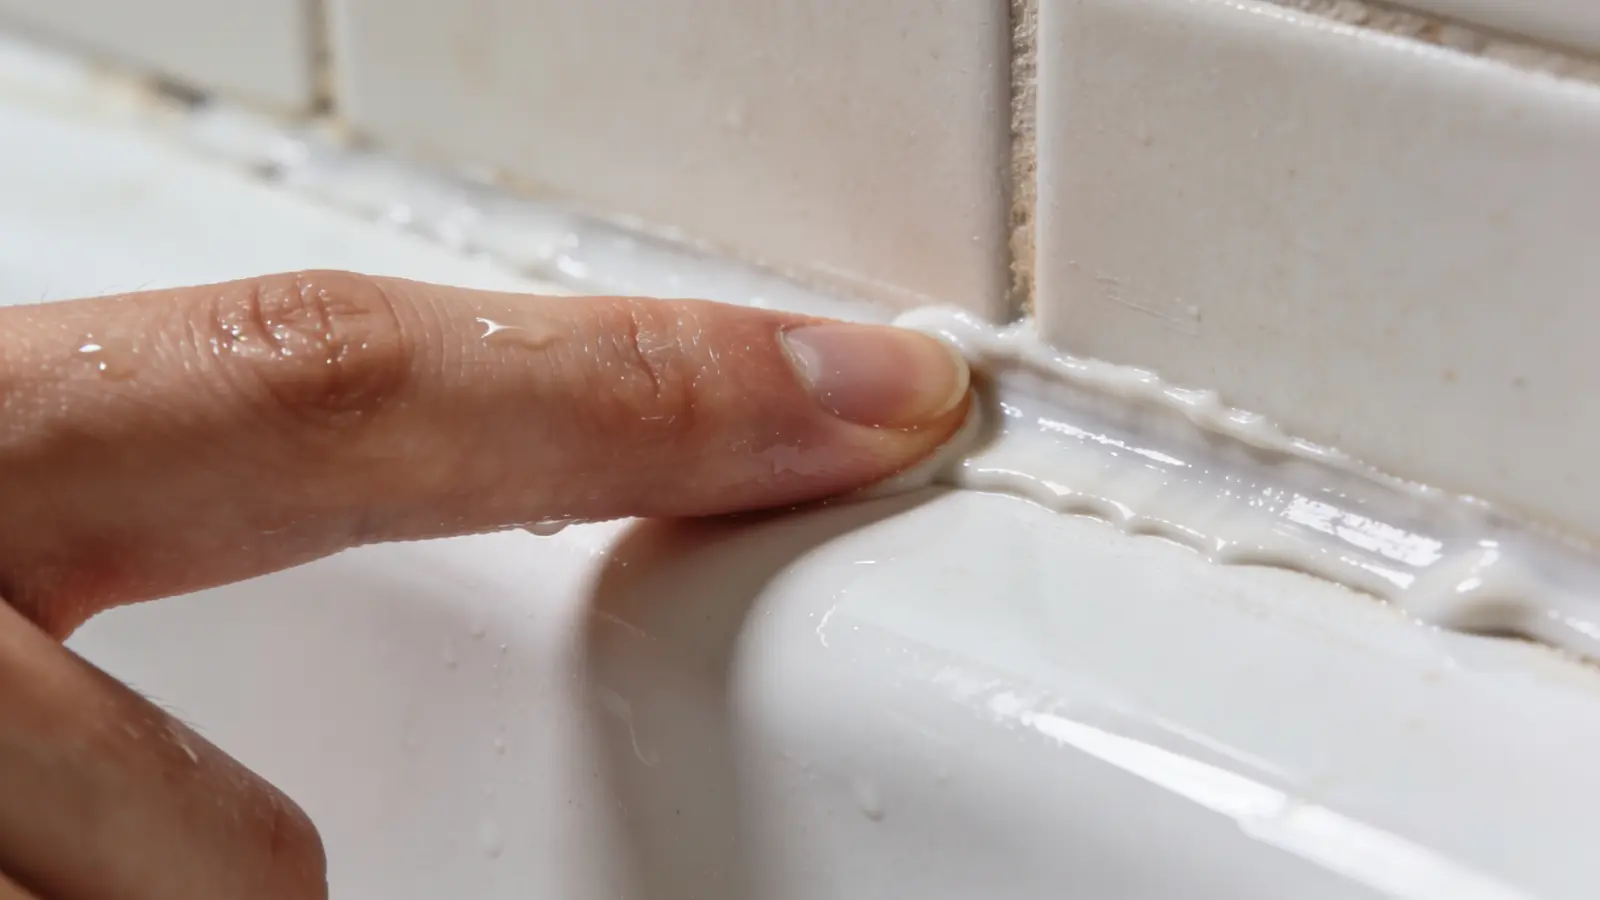
Once the bead is applied, shape it immediately to seal the joint properly. This step pushes the caulk into the gap so it bonds well instead of sitting on the surface.
Start by using a wet finger or a smoothing tool. Run it along the bead with light and steady pressure in one clean motion.
Keep the movement consistent from start to end. Do not go over the same area multiple times, as this can pull the caulk out and leave an uneven and weak finish.
Step 8: Let the Caulk Cure Fully
After applying the caulk, leave it undisturbed so it can set properly. This step allows the seal to become strong and fully water-resistant.
Do not use the bathtub during this time. Follow the curing time mentioned on the product, which is usually 12 to 24 hours.
Avoid any contact with water before it fully cures. If the caulk gets wet too soon, it can weaken the seal and cause peeling or the caulk to come loose.
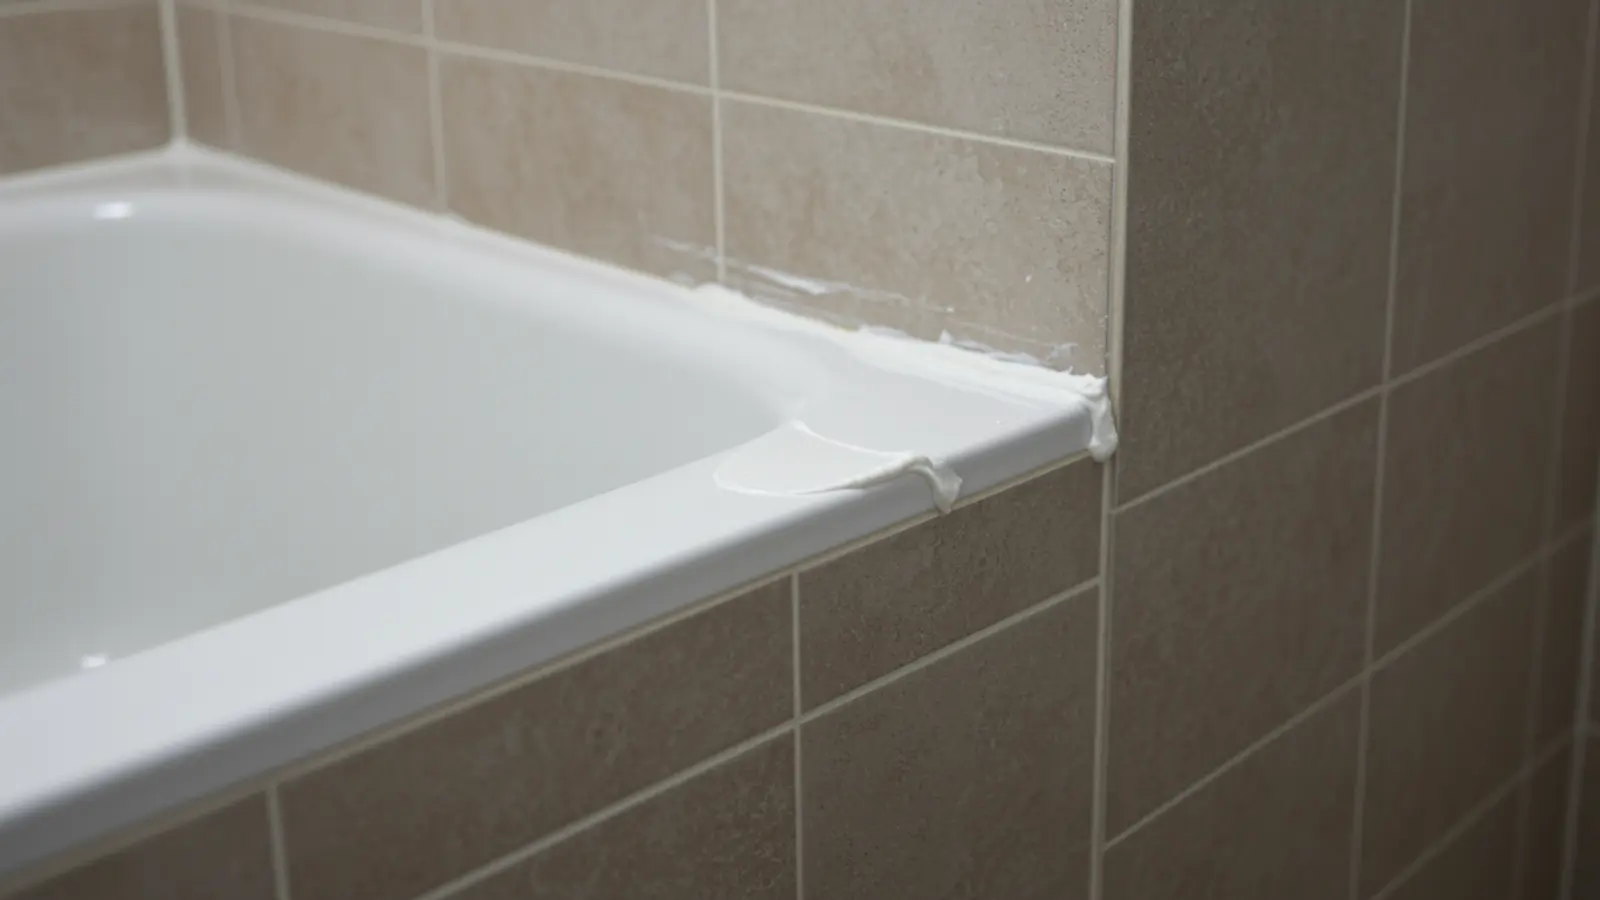
Common Mistakes that Ruin Bathtub Caulking
Small mistakes during caulking can lead to early failure or a messy finish. Avoid these to ensure a clean and long-lasting seal.
- Applying over old caulk: prevents proper bonding and causes peeling. Always remove old caulk completely using a caulk remover tool before applying a fresh bead.
- Skipping cleaning or drying: makes the caulk not hold well and allows mold to grow. Clean the surface with rubbing alcohol and let it dry fully, at least 30 minutes, before starting.
- Not filling the tub: puts stress on the seal once the tub is used. Fill the tub with water before caulking so the surface is in its expanded state, then drain it after the caulk cures.
- Using too much caulk: creates thick, uneven, hard-to-smooth lines. Apply a thin, steady bead by keeping the gun at a consistent angle and moving at an even pace without stopping.
- Over-smoothing: pulls caulk out and weakens the seal. Run a damp finger or smoothing tool along the bead once in a single pass, and do not go back over the same spot.
Avoiding these mistakes helps the caulk stick properly and last longer. A careful approach at each step gives you a clean finish and prevents rework.
How to Handle Gaps and Problem Areas
Some situations need a slightly different approach to avoid failure. Fixing these early helps the caulk hold properly and last longer.
- Large gaps: Insert a backer rod before applying caulk to provide support. This prevents the caulk from sinking and helps it hold its shape over time.
- Deep joints: Avoid filling the entire space with caulk alone. Thick layers do not cure properly and can weaken from the inside.
- Mold present: Remove all mold completely before sealing the joint. If left behind, it will grow again under the new caulk.
Handling these issues the right way ensures the caulk stays stable, cures properly, and does not break down over time.
Quick Checklist Before You Finish
Before wrapping up, quickly inspect your work to ensure everything is set properly. This final check helps confirm the caulk will hold up over time.
- The bead is straight and consistent along the entire seam
- Both edges are firmly attached with no lifting
- The surface looks uniform without dents or irregular spots
- No visible gaps along corners or joints
- The area has been left untouched for full curing
A careful check at this stage helps avoid rework and ensures a clean, lasting result.
Conclusion
Caulking a bathtub is not complicated, but it does require patience and the right order of steps. Skip the prep and the seal fails early. Rush the cure time and the whole job needs redoing.
Follow each step: clean surface, right caulk, steady hand, full cure, and the result will speak for itself. A tight seal, clean lines, and no water getting where it should not.
Take your time with it once and you will not have to deal with it again for years.
Frequently Asked Questions
What is the Best Way to Caulk a Bathtub?
Remove all old caulk first. Clean and dry the surface well. Apply painter’s tape for straight lines. Fill the tub with water, then apply a steady bead of 100% silicone caulk. Smooth it in one pass and let it cure for at least 24 hours before using the tub.
Do You Need to Remove Old Caulk Before Applying New Caulk?
Yes, you should always remove old caulk completely. New caulk will not stick well over old material. This can lead to gaps, peeling, and water leaks behind the tub.
How Long Should Caulk Dry Before Using the Bathtub?
Most caulk dries to the touch within a few hours. It usually takes about 24 hours to fully cure. Avoid using the tub until it is fully cured to prevent damage and moisture problems.
Should You Fill the Tub with Water Before Caulking?
Yes, filling the tub before caulking helps prevent cracks later. The weight pulls the tub down slightly, so the caulk sets in place and does not stretch after it dries.
Is It Okay to Smooth Caulk with Your Finger?
Yes, you can use a wet finger or a damp tool to smooth caulk. Use light pressure and go over it only once for a clean and even finish.
What are Common Mistakes when Caulking a Bathtub?
Common mistakes include skipping cleaning, applying caulk over old material, using too much product, and not letting it cure fully. These can cause uneven lines, cracks, and early failure.