How to Apply Cabinet Paint
Has your well-designed cabinetry started losing its aesthetic touch? Do they look torn out? If yes, then you need to get them renovated. However, to renovate, one cannot always change the whole cabinet section for a makeover; simply painting the old ones can also give it a new, refined look.
Plus, painting your cabinets is an easy and economically cheaper alternative. However, painting the cabinets the right way is also important to ensure the results look good and desirable. In this article, we help you with the same. Let’s talk about how to apply the best cabinet paint step-by-step.
Tools Needed to Paint the Cabinets
Painting the cabinets isn’t much of a difficult task, and one can do it easily. However, having the right tools to paint the surface properly is super important. So, before going any further, let’s have a look at the tools that you need to gather before proceeding with the painting procedure.
- Paint
- Screwdriver
- Safety gloves and glasses
- Scrappers
- Paint Rollers and brushes
- Microfiber or cotton cloth
- Sandpapers
How to Apply Cabinet Paint
1. Prepare the Surface
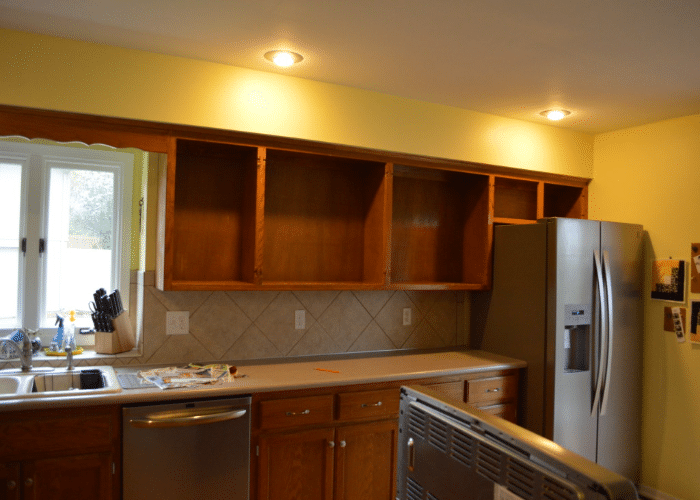
Before you begin your DIY cabinet painting project, ensure the surface is properly prepared. Start by removing all items stored inside the cabinets. The counters and appliances near these cabinets shall also be cleared and removed if possible to avoid any stains on them.
One can also use tapes and papers to cover the surfaces and appliances that aren’t removable but need to be protected from paint stains and dust.
2. Detach the Cabinet Accessories
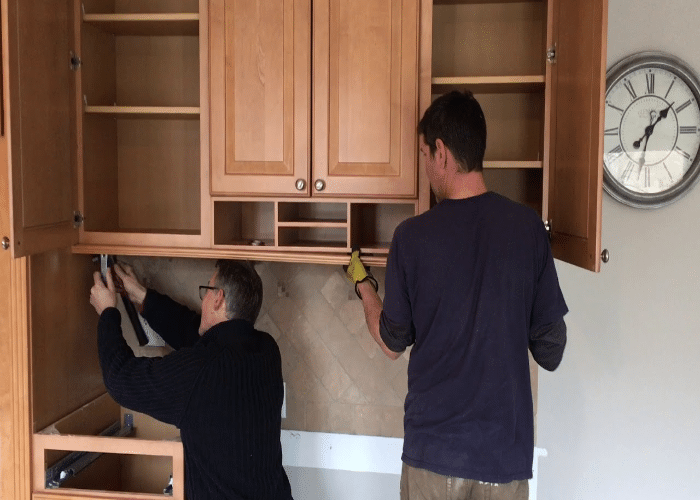
After getting the surface ready and nearby appliances removed, consider detaching the cabinet accessories like doors, shelves, drawers, and so on.
One may use screwdrivers or other tools to loosen the screws and nuts to unfasten these cabinet accessories.
Consider marking accessories based on their positioning to fasten them once cabinet painting is done easily. Also, separate reusable items and eliminate what’s unusable now.
3. Thoroughly Clean the Surface
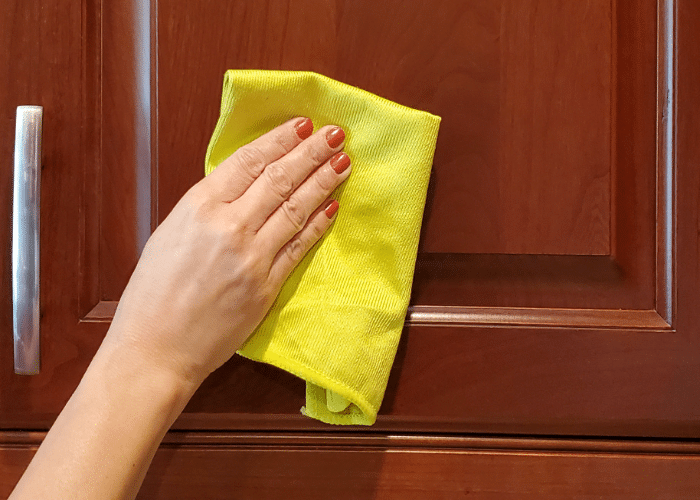
The next step after detaching shall be cleaning the cabinets properly. This is one crucial step to ensure you get the best cabinet paints.
Not removing the grease or dust properly can hinder the way your new paint looks, and surely one won’t want that. So, it is suggested to use a robust cleaner to wash off the stains and everything. Rinse and wash with water.
4. Ready the Boxes to Sand
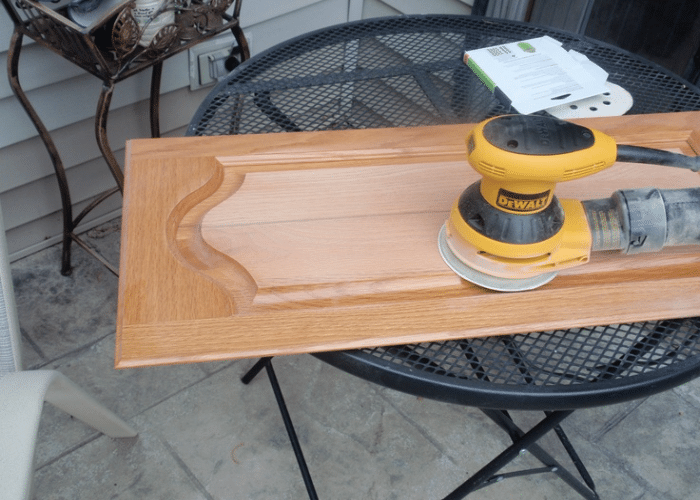
This is a bit of a hectic step. So before going ahead, make sure to wear your safety gear to prevent any accidents and allow proper ventilation.
Now, consider scrubbing the surface using sandpaper. While cleaning, make sure to remove all the produced dust and dirt with a clean cotton cloth. Also, check if you’re using the old hardware or new ones. If there is any repair needed, do it immediately and try covering the old marks and holes.
Properly sand the cabinets and all their parts to ensure the next step of putting the primer succeeds. This sanding helps the primer to be absorbed by the surface.
5. Put the Primer
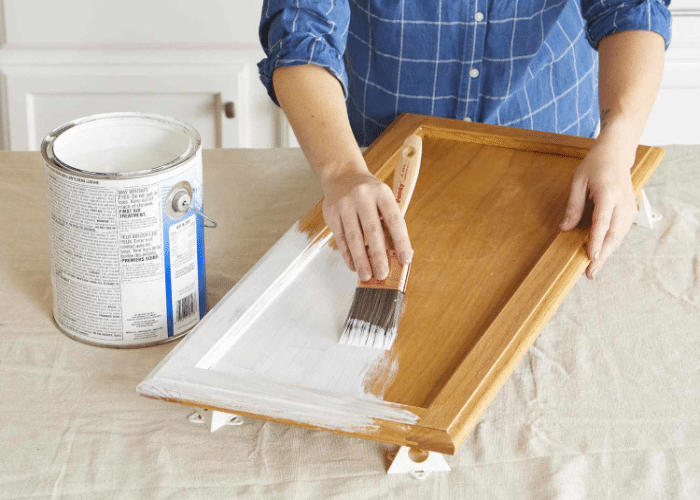
The next step in getting the cabinet paint shall be using the primer. One can use any kind of primer. However, if you feel like the cabinets have a lot of stains and unwanted marks that still aren’t removed, it is suggested to use stain-blocking primers.
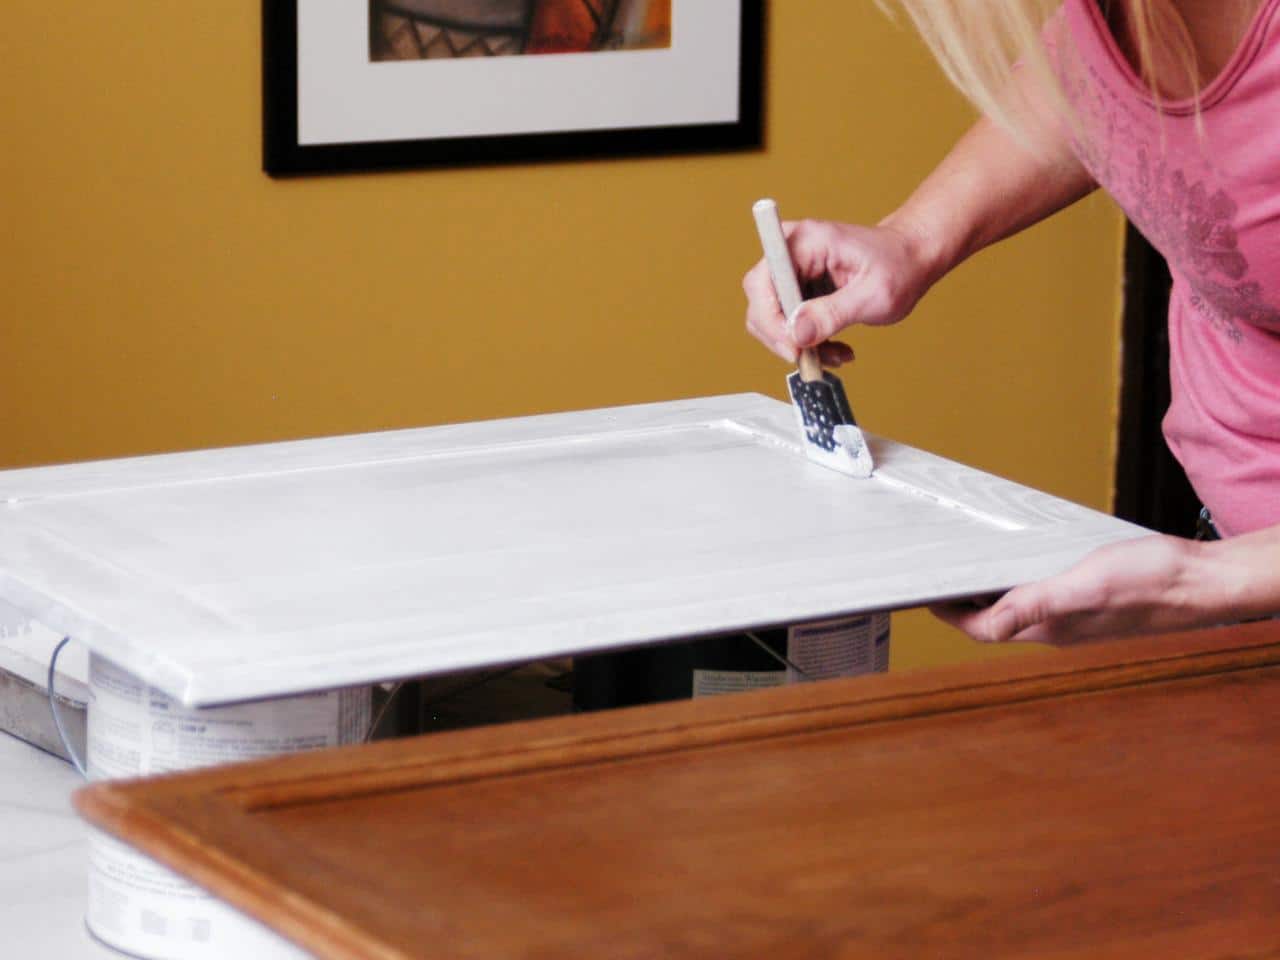
Now apply the primer on the cabinets and their parts using the tools like rollers and brushes. One can use rollers for wide areas and tips and edges; a brush will work perfectly fine. After you’re done, let the primer dry.
6. Sanding Again
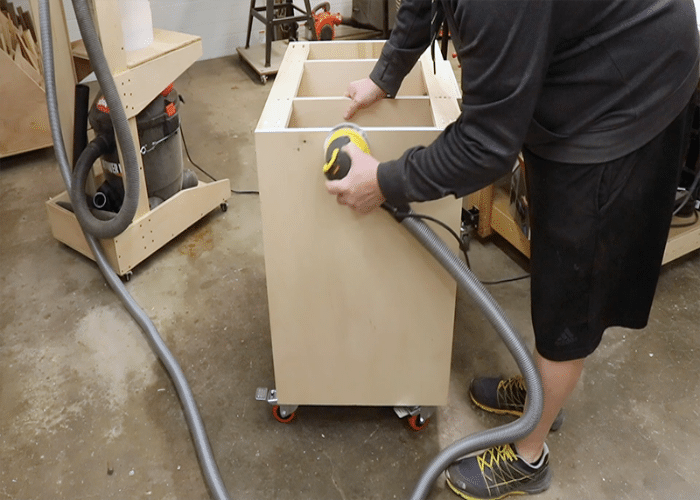
Once the primer is dry, try the sanding process again. However, this is not a mandatory step, yet it is suggested to sand again after applying the primer to ensure your wooden cabinets have a nice finish. Thus, one gets desirable results regarding the best cabin
et paints.
This step looks additional, but trust us; this makes your paint look the finest and last longer as well. And just like earlier, remove the produced dust using a cloth. One can also vacuum the area for a smooth cleaning.
7. Painting the Cabinets and Its Accessories
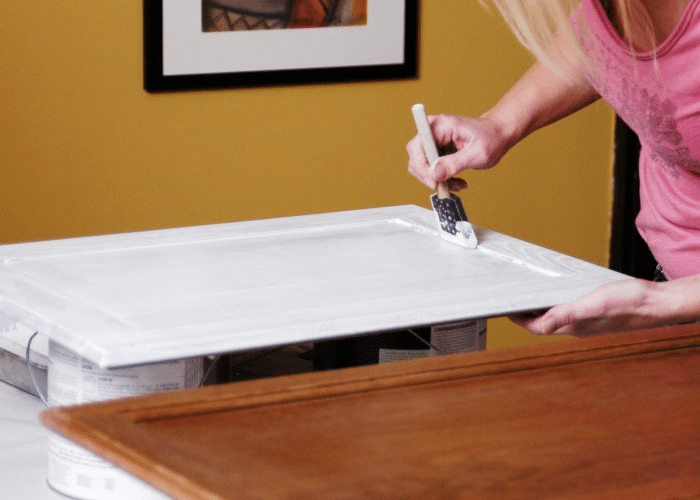
All this preparation to finally reach the stage of painting. To get the cabinet paint, first, decide what colors you are trying to put onto these cabinets. The colors can be decided following the space setting and the vibe one is trying to create.
If the newly selected color is of the same or lighter shade than your earlier paint, then multiple coats are suggested for the best results. Alternatively, if the newly selected color is a bit darker side than the prior one, then double coats could be done as well.
Try using rollers and brushes of different sizes following the surface’s demands.
After painting the cabinet, paint its doors, shelves, and other accessories carefully in the same way as cabinets.
8. Putting Everything Back Together
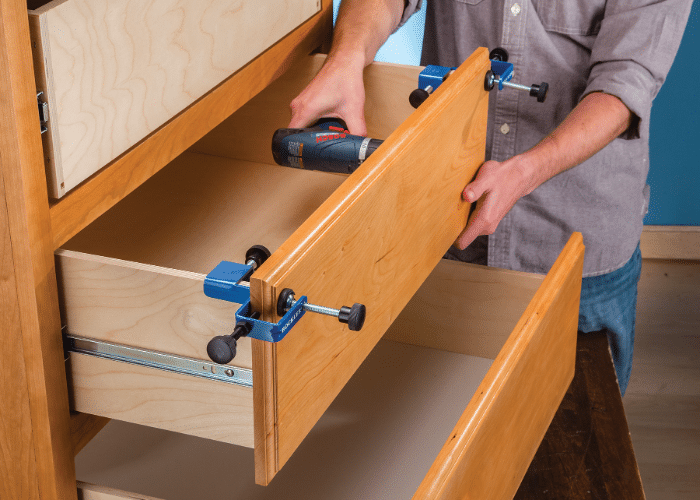
Once you’re done with painting and feel like the paint coats have dried, it’s time to fasten the accessories and put them back where they were.
Try reading the markings that you’ve done while removing the parts and arranging them accordingly. This can make the arrangement fast and easy. And with this, your little makeover of the cabinets is done, and one can see the efforts they’ve put into getting the best cabinet paints.
Conclusion
Cabinets surely are used for enhancing the space and making it look more neat and organized. However, their importance in boosting the aesthetics of a space cannot be overstated. Thus, a worn-out cabinetry section can take a toll on the whole look of your house interiors, so why compromise?
All of this can be ignored by simply knowing how to apply the cabinet paints. So wait no more; put on your creative shoes, gather the essential tools, and give an easy and quick renovation to the cabinets with these.
We hope this step-by-step guide has helped you to understand the best way to paint your cabinets. Thank you for reading.

