DIY Shiplap Walls: Budget-Friendly Installation Tutorial
Shiplap walls are special interior design elements that have interlocked wooden panels which are quite easy to install. From modern styles to rustic, shiplap walls are good for almost all interiors. Ever since Joanna Gaines first stepped onto HGTV, Shiplap walls have been in trend. They are easy to pull off, inexpensive, and makeup to be a great DIY project.
While you might think that shiplap is a great farmhouse-style decor, you can customize it as per your desire, and it will look great. Adding to the goodness is the fact that you can do this by yourself too. It is easy, almost fuss-free, and takes very little time. With little prep, you can pull off a DIY Shiplap Wall very easily. This will give your room a quick makeover, and your space will look refreshed.
Here is how to DIY Shiplap Walls For Cheap.
Shiplap Wall Pre-Execution Process
Before you start anything, it is very important to do some math. The first thing to do is, make a floor map. Understand what parts of walls you want to shiplap and what size of strips you would want. Accordingly, get your ply or MDF board and slabs. While you might find slabs readily available, you will save a lot of money if you go to a local building and find thin plywood sheets. You can get them cut from there depending on the size of slabs you want, and it will save you a love of time and money.
1. Preparing the Shiplap Wall
There are a few things that you will have to do before you you start decking up those walls. Initial things include removing any existing wall treatments, filling up the holes, and smoothing the wall to make sure that your planks sit just right. If your walls are already in good shape, you might skip this step, but in other cases, you might have to pay little attention to this.
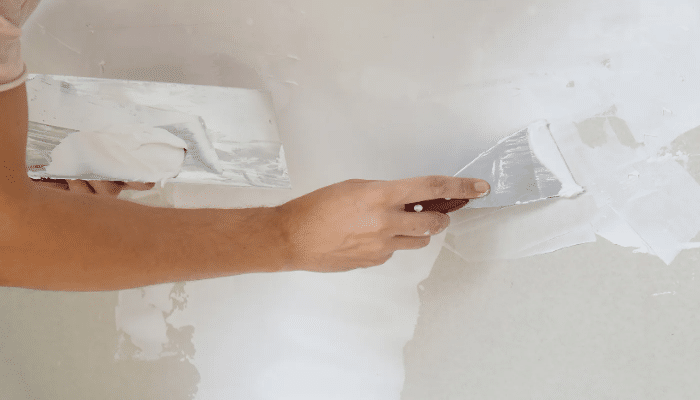
Next, if you want to perfectly shiplap your walls, you will have to prep a little beforehand. The key is to make sure that everything is prepared and you are good to go. Once you have the slabs, paint the walls in the color you plan to paint your boards. This is because there are small gaps between the boards that are generally visible. So, if you don’t want a different color to show through these gaps, make sure you have painted the walls in a color that matches your wooden slabs. This will give it a more finished look.
If you are a perfectionist and cannot stand even a little bit of imperfection showing, we would suggest you paint the top and bottom edges of the shiplap board before you put them up too. Yes, it takes a little bit longer to do so, but it gives a more refined look, and this step will save you from feeling anxious about it later.
2. Make the Markings for Shiplap Wall
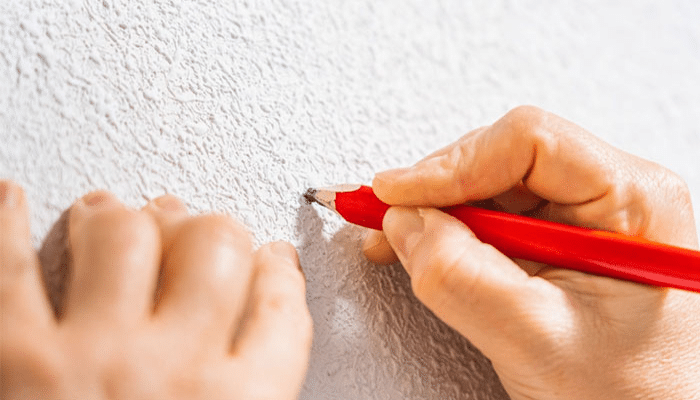
The second step is, using a stud finder and a pencil to mark your wall. Mark across the walls what height you want your studs to be, and once you have all the markings, it will get easier for you to shiplap the wall. If your wall is not square, you might want to use a leveler to carry on with the marking. That will give you a roadmap to installing all the slabs just right without losing the angle or the spacing.
3. Installing the Shiplap Wall
Now, it is time to install the shiplap. To do this, get a construction adhesive and apply it to the slabs. This takes some time, but adhesive makes sure your slabs stay in place. While you can coat the whole slab, you can also put dots on the length and width of them to make sure they stay attached to the wall.
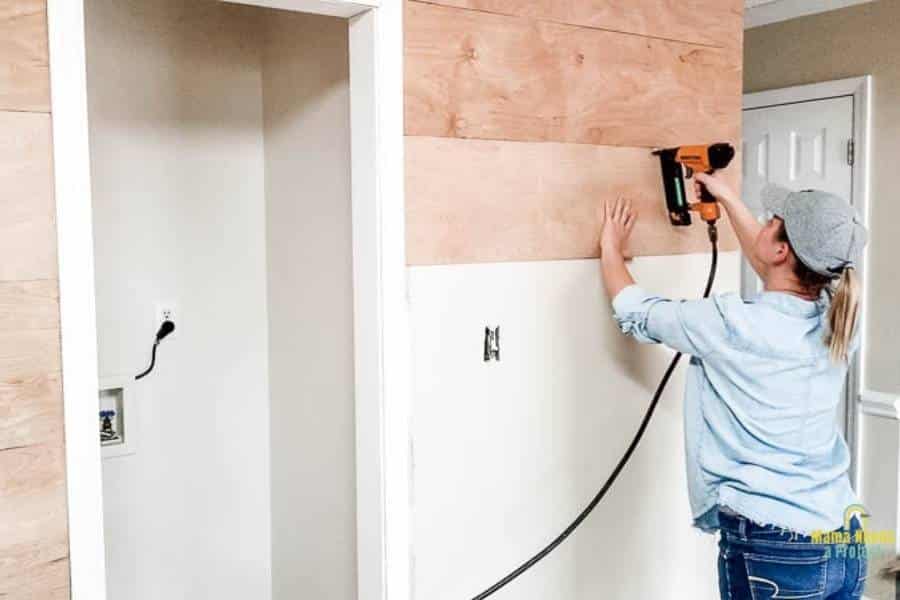
From the top left corner of the wall, place these slabs one after another. Put them in a line and at right angles. Keep checking every now and then to make sure you are putting it on the right angles, and they are just correctly placed. Work across the whole length and width of the wall and put all these pieces up. Once the slabs are in place, use a Brad nailer and nails to attach them to the wall in a way to secure them well.
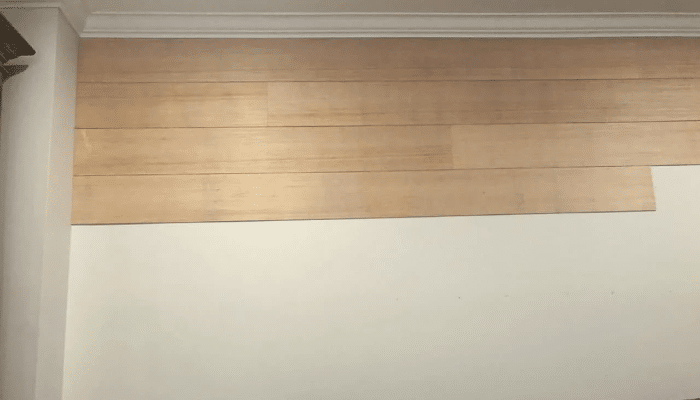
Tip 1: If you want any spacing between these wooden boards, you will have to make sure that the slabs are at a uniform distance. To ensure this, use tile spacers on the plants so you get uniform spacing and it does not feel shabby. You can also use the nickel method.
Another great spacing method is the one using nickels. The amount of space that you want between your wooden slabs is a personal choice, and you can use nickels to make sure that the spacing is uniform. If you want less spacing, you can use pennies.
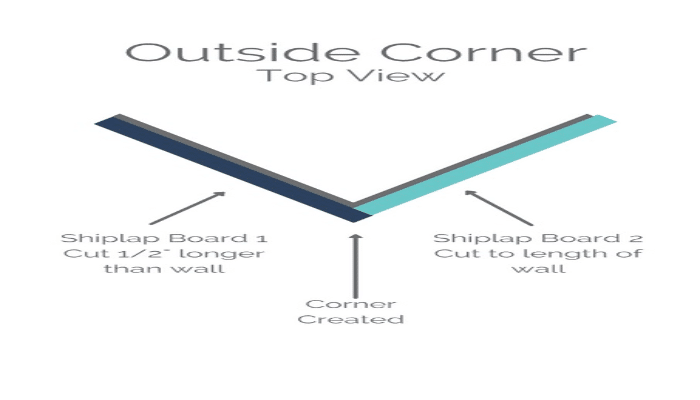
Tip 2: When shiplap the whole wall, be very cautious of the corners. The best way to cover the corner is to cut the shiplap boards for the left wall ½ inch shorter than the measured wall length. That way, it would overlap the boards put up on the back of the wall creating a clean corner.
4. Put Up a Top Trim Board
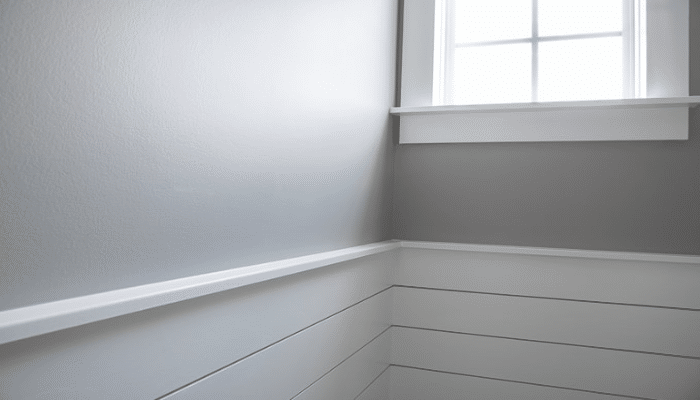
After you are done putting up all the shiplap, the last thing to do is install some trim boards. This will give your walls a finished look. However, this step is only necessary if you are doing a certain part of the wall. If you are doing the full wall, just install the final board, and you will be done with the installation.
5. Fill All the Holes
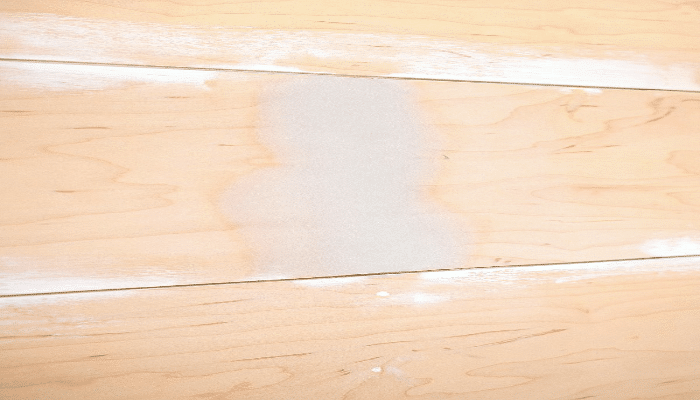
To give a more finished look to your shiplap wall, fill any nail holes or gaps with a wood filler using a putty knife. Then, using a caulk, fill the seams of the boards and just give them a smooth look with sandpaper. You can also use wood putty to fill in any mistaken cuts that you might have made. It will make the whole shiplap wall look finished and seamless.
Once everything dries, it is important to sand the whole wall. Use sandpaper for this, and make sure everything is very smooth.
6. Paint The Wall
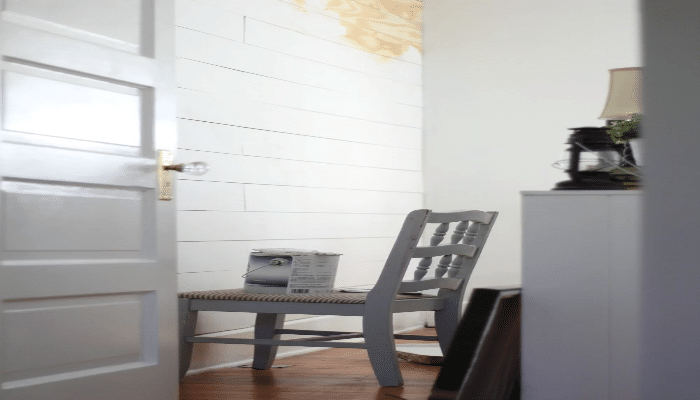
The last step is to paint the whole wall. Before throwing some paint there, apply primer to the shiplap wall and let it dry. Follow up with 2-3 coats of paint of the color of your choice. Use can use a roller or a paintbrush to paint. Make sure each coat is completely dry before you go ahead and put another one for a finished look. Now, your wall will be ready.
The Last Word
There you have it; the shiplap wall is easy, budget-friendly, and a great way to give your space a whole new look. You don’t have to do much, and you get the best-looking wall ever.
While the shiplap wall is a great makeover design, you just have to keep a few things in mind. These include prepping the walls right, keeping all your tools ready, and being a little patient.
With proper execution, you will create great crisp, clean lines on your walls, and they will look beautiful.
With that said, after you shiplap the wall, make sure you vacuum the whole room and get rid of any dust. By the end of the whole DIY project, your space will be given an incredible makeover along with great satisfaction as well. Happy decorating!

