Making a Fairy Garden: 27 Ideas for Any Space
Looking to add something fun and creative to your space? I’ve found that making a fairy garden is a great way to do it.
A lot of people want to decorate their home or yard but don’t know where to begin, or how to make it feel different. That’s where fairy gardens come in. They’re easy to start, fun to build, and bring a little magic wherever you put them.
In this blog, I’ll walk you through how to plan, build, and decorate your own fairy garden. You’ll get simple steps, ideas for materials, and plenty of inspiration for both indoor and outdoor spaces.
Whether it’s for kids or adults, this tiny garden can make a big impact. Let’s get started.
Start with a Style That Matches You
Before you jump into the ideas, think about the kind of vibe you want your fairy garden to have.
Do you like rustic, playful, or modern? Natural and earthy? Maybe something seasonal or themed around a favorite story? Picking a style helps guide your layout, colors, and decorations. It’s also a fun way to make the whole thing feel more personal.
Once you’ve got that in mind, check out these creative fairy garden setups for every kind of space and season.
Tools and Materials You’ll Need
Before you start building your fairy garden, gather these basic materials. Having everything ready will make the process smoother and more fun.
- Container or garden space: Use a flowerpot, wooden box, glass bowl, drawer, or even a small corner in your yard.
- Drainage layer: Small pebbles or gravel to help keep water from sitting at the bottom.
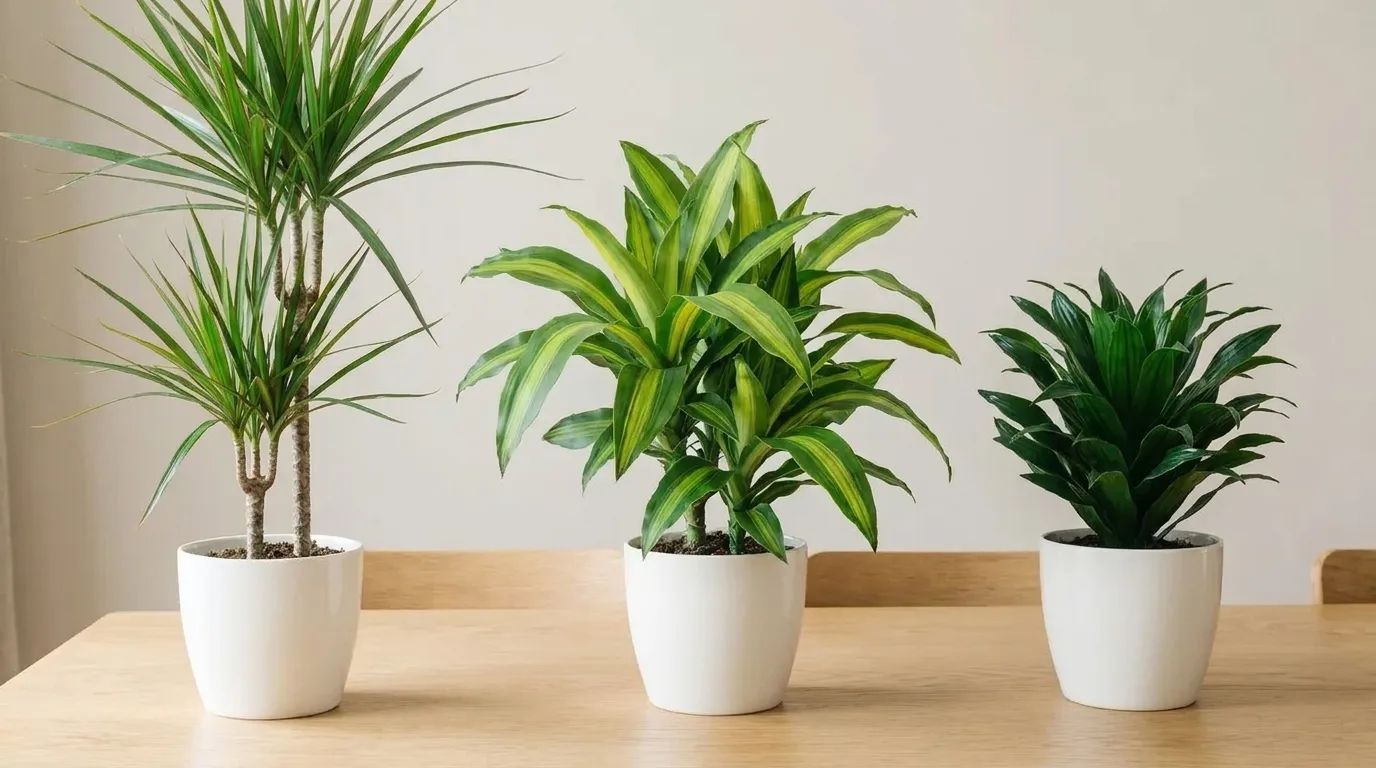
- Potting soil: Choose well-draining soil. If you’re using succulents, cactus mix works best.
- Plants: Moss, succulents, tiny flowers, or even herbs like mint or thyme.
- Accessories: Fairy figurines, tiny doors, benches, animals, glow stones, or string lights.
- Decor pieces (optional): Twigs, bark, smooth stones, mini signs, or anything fun you want to include.
Making a Fairy Garden: Step-By-Step Instructions
Creating a fairy garden is simple and fun when you follow a straightforward process. Here’s how you can start from scratch and build your magical mini space.
Step 1: Choose Your Container
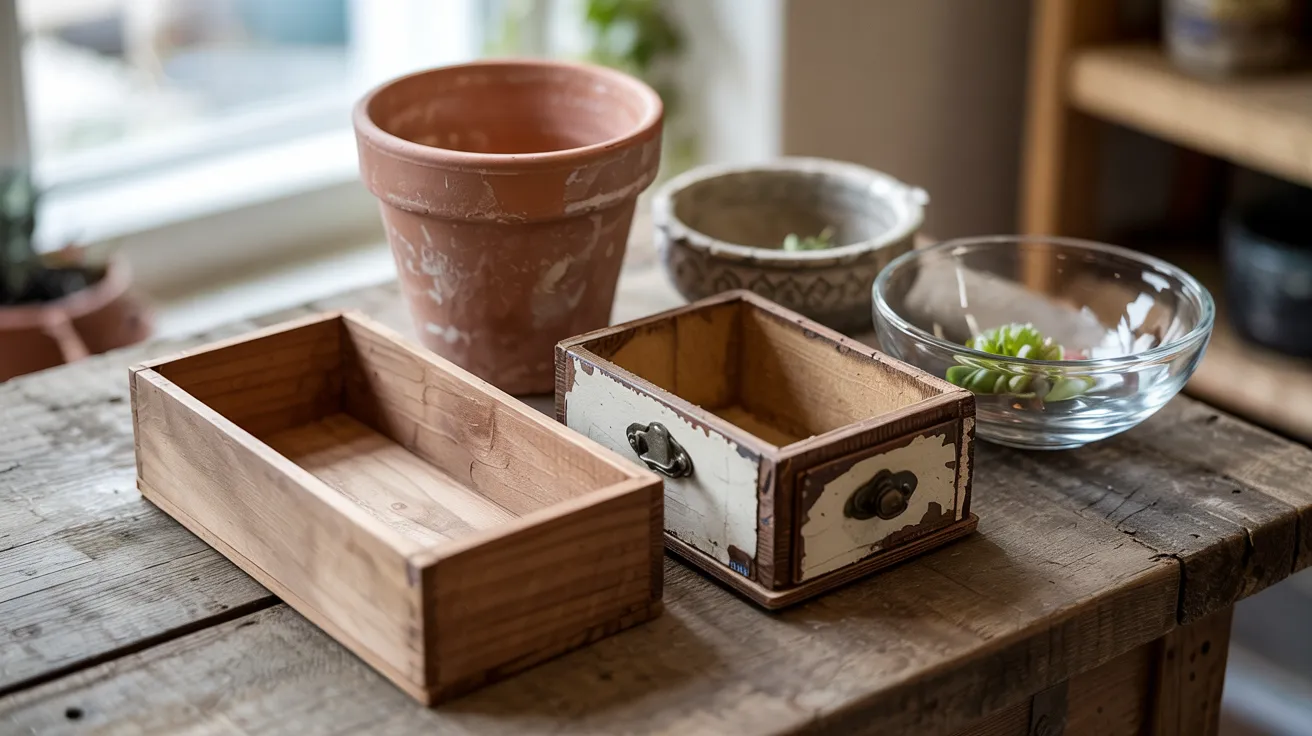
Pick a base that fits your space, like a large flowerpot, wooden box, glass bowl, or even an old drawer.
Ensure it has sufficient space for plants and decorations. For outdoor gardens, choose a durable material. For indoors, a shallow tray works well.
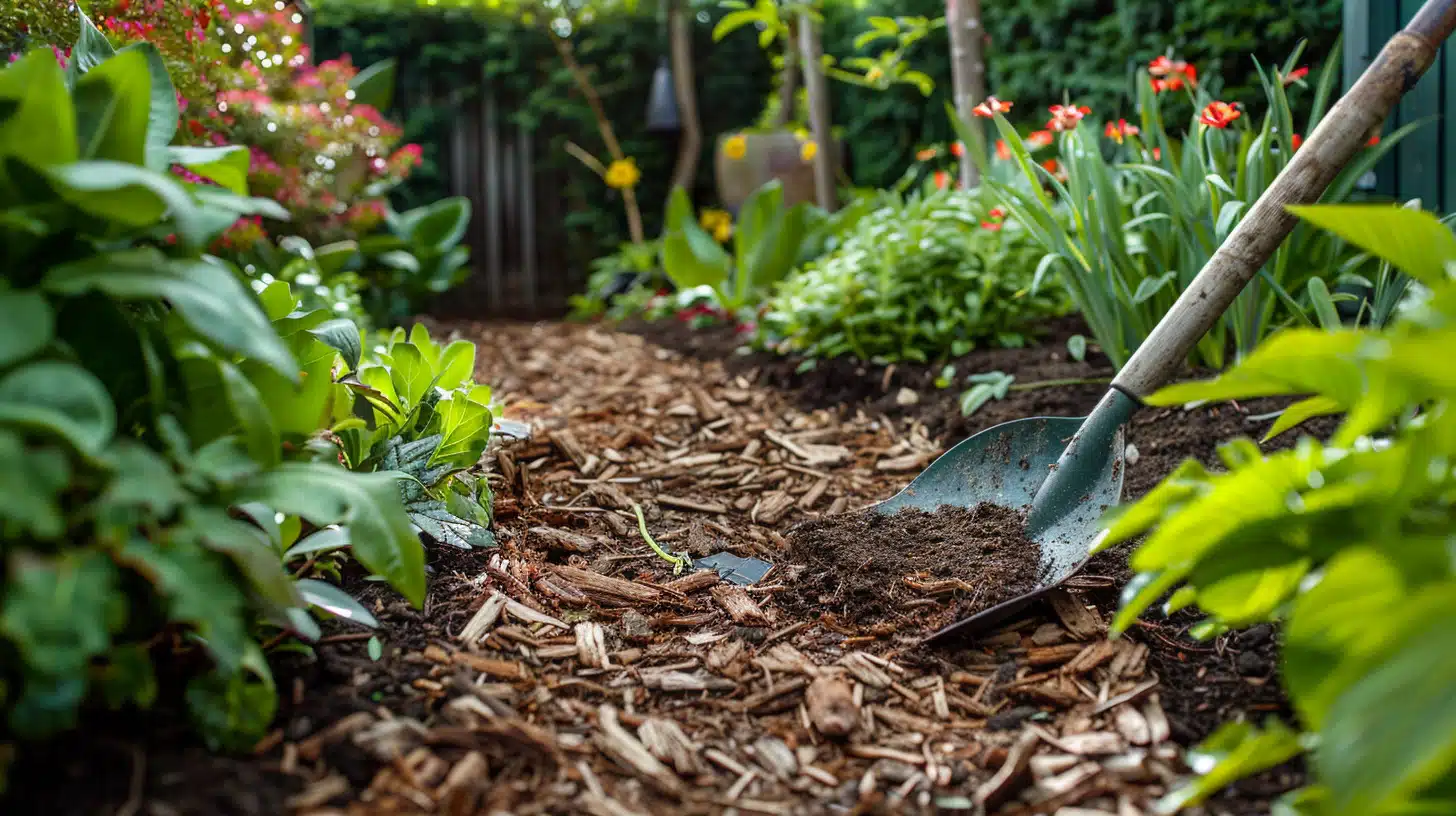
Step 2: Add Soil and Drainage

Layer the bottom with small pebbles or gravel for drainage. Then, fill the container with well-draining potting soil. If you’re using succulents, cactus mix is a great choice.
Step 3: Plan Your Layout

Before placing anything, take a moment to think about the look you want. Sketch a rough plan or arrange items loosely in the container. Leave space for plants, paths, and a few decorations.
Step 4: Add Plants
Start with moss, tiny flowers, or succulents. Place taller plants toward the back and shorter ones in front. Make sure the plants you choose match the light conditions of your space.
Step 5: Build Paths and Features
Use small pebbles, twigs, or popsicle sticks to create paths. Add fairy doors, mini fences, or stairs using bark or recycled items. Lay these out naturally, as if fairies really live there.
Step 6: Place Decorations
Add small fairy figurines, benches, signs, or animals. Use glow-in-the-dark stones or LED lights for extra fun at night.
Mix store-bought items with homemade accessories for a personal touch.
Step 7: Final Touches
Tuck in any moss or filler materials to cover soil patches. Check that every piece feels balanced and cozy. Once you’re happy with the setup, please give it a light watering.
Unique Fairy Garden Ideas
Unique fairy garden ideas include creating themed gardens like a woodland retreat, beachside paradise, or enchanted castle.
1. Beach-Themed Fairy Garden
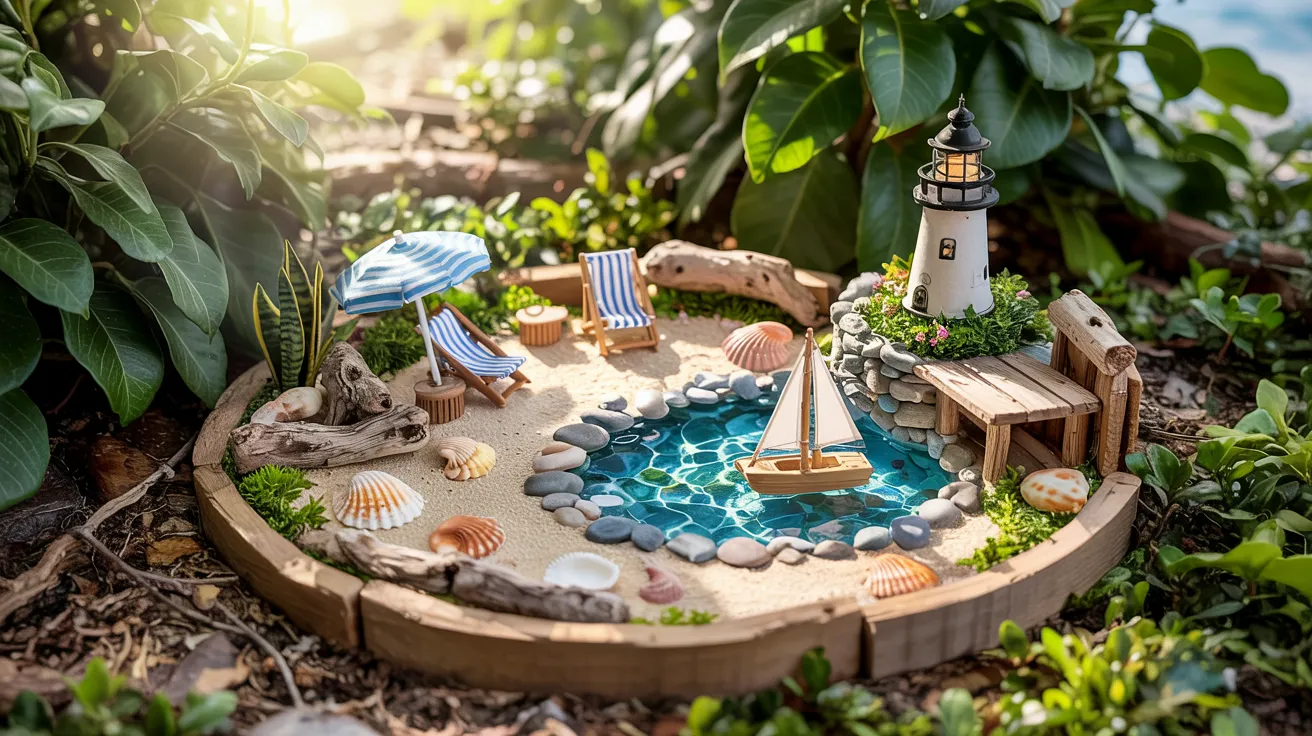
Use white sand, shells, and driftwood. Add a tiny beach chair or mini umbrella. You can even place it in a shallow bowl or tray.
Use blue stones to make a small water area. This works well indoors near sunlight. Kids can add plastic fish or sea creatures for fun. A small lighthouse or boat adds more detail.
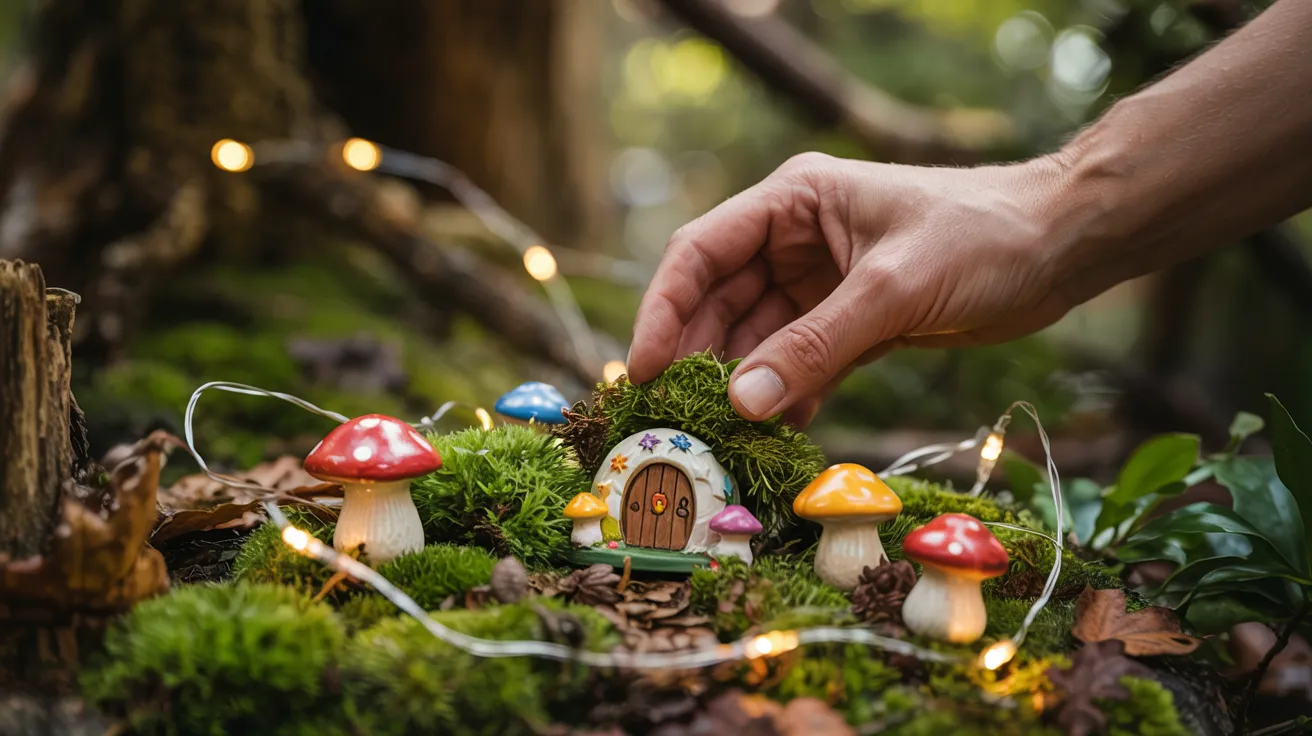
2. Woodland Fairy Garden

Pick a shady spot under a tree. Use moss, twigs, and bark. Add tiny animal figures like deer or owls. Little mushrooms make it feel like a forest.
You can use an old log as a base. A small wooden door or bridge makes it look like fairies really live there. Great for outdoor backyards.
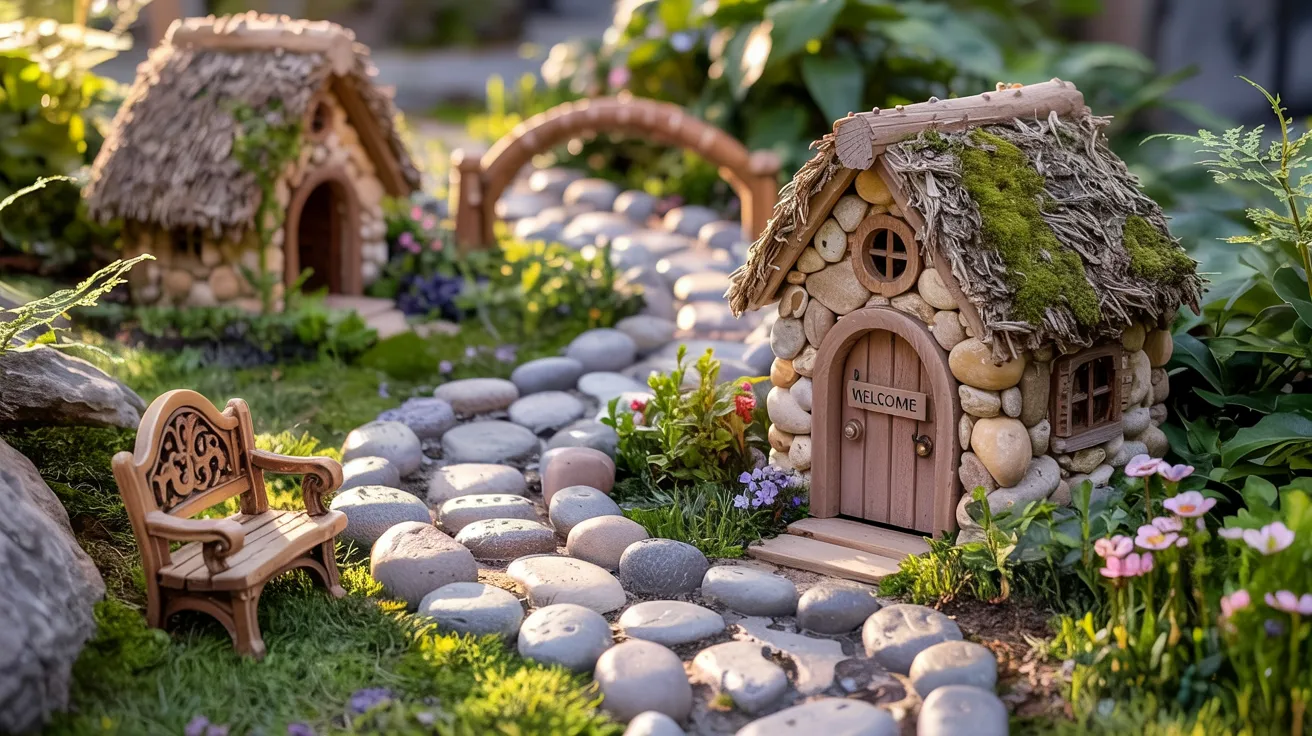
3. Miniature Village Fairy Garden

Make a whole little town. Use tiny homes, paths, and mini fences. Each part can be a “neighborhood” for fairies.
Add fairy lights or glow rocks. You can place it in a big planter or shallow tub. It’s perfect for indoor corners or porches. Change decorations based on seasons for even more fun.
4. Fairy Garden in a Teacup

Pick a big teacup or mug. Add small pebbles, moss, and a tiny fairy. Use small twigs or buttons for decor. Great for desks or window ledges.
Easy to move and care for. These are nice gifts too! You can even theme them like holidays, using red and green for Christmas or pink and hearts for Valentine’s Day.
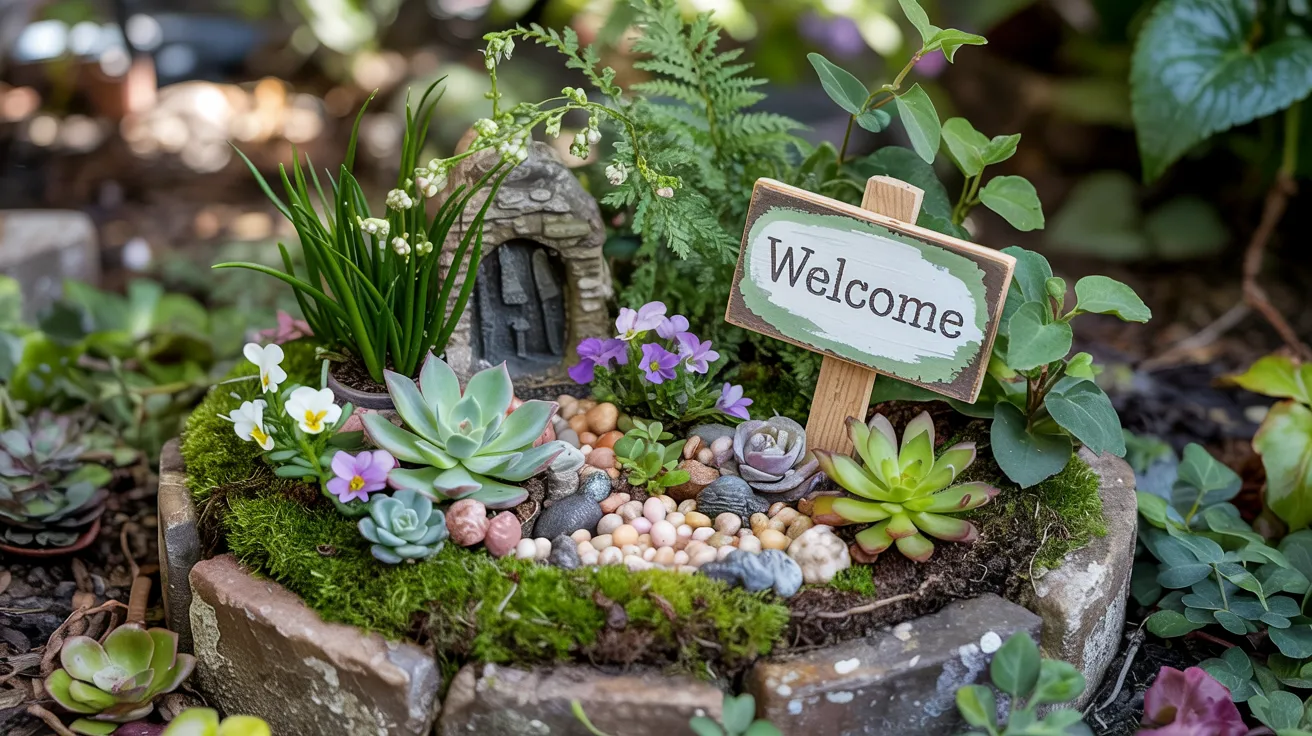
5. Succulent Fairy Garden

Succulents are easy to grow and need little water. Use a shallow dish or a wide pot. Add sand or gravel. Include a small fairy chair or door.
Use a mix of green, purple, and blue succulents. These last long and look cool indoors or outside. Great choice for beginners or people who forget to water plants often.
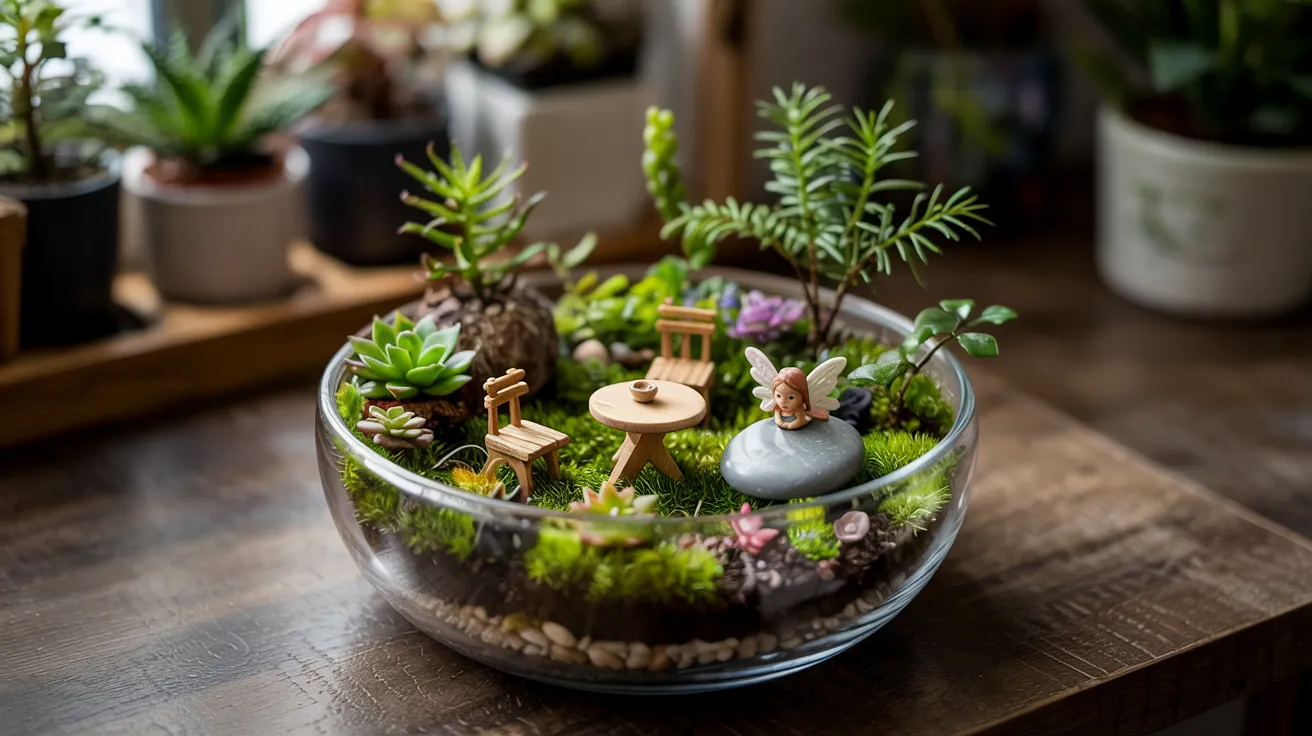
6. Terrarium Fairy Garden

Use a glass jar or bowl. Add layers: stones, soil, moss, then tiny plants. Include a small fairy or animal figure. These look nice on bookshelves or coffee tables.
Pick low-light plants like ferns or baby’s tears. Add small pebbles and fun touches like a swing or ladder. Keep the glass clean for the best look.
7. Fairy Garden in a Broken Pot

Don’t throw away that cracked pot! Lay it sideways. Use broken parts to make stairs or walls. Fill with soil, moss, and tiny plants.
Add a fairy house at the top. This style looks like a mini fairy world inside a mountain. Great for porches or patios. Each one will look different, which makes it special.
8. Winter Wonderland Fairy Garden

Use fake snow or cotton, white stones, and pine branches. Add tiny sleds, snowmen, or a fairy in a scarf. White LED lights make it glow.
Use a shallow tray or pot. Keep it indoors where it’s warm. This is perfect during December. You can even add a little reindeer or penguin figure for fun.
9. Halloween-Themed Fairy Garden

Use black soil, orange pebbles, and spooky fairy homes. Add pumpkins, bats, or tiny ghosts. A black cat figure or a mini witch hat makes it extra fun.
Keep it on a porch or windowsill. Great for October fun and holiday spirit. Use glow paint or mini lights to make it shine at night.
10. Fairy Garden in a Lantern

Use an old lantern with the glass removed. Add moss, tiny stones, and a small fairy. Works great indoors or on patios.
These are easy to move and can be hung too. Add little signs or paper flags. Great for people with little space. You can also theme it with the seasons.
11. Fairy Garden for Kids

Use plastic figures and big pots. Let kids choose their favorite themes like dinosaurs, robots, or animals. Use bright colors and big decorations.
Add a simple fairy house and small toys. Let them help water it and move parts around. It becomes their own little world. Use materials that don’t break easily.
12. Zen Fairy Garden

Keep it calm and peaceful. Use sand, small stones, and soft moss. Add a tiny rake, smooth rocks, and a small fairy sitting quietly.
You can also place a mini bamboo piece or a tiny pond. This looks great on desks. Helps you feel relaxed when you look at it. Easy to make and keep clean.
13. Fairy Garden in a Birdcage
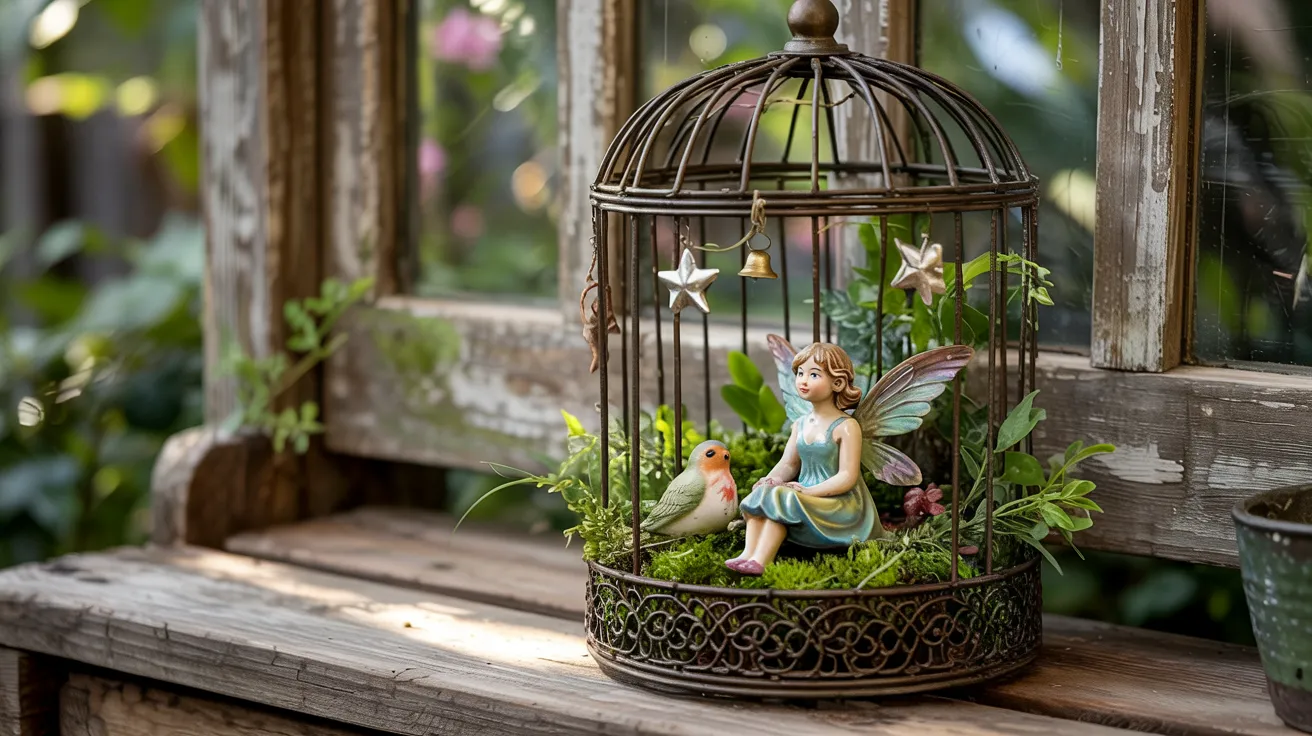
Find an old birdcage from a thrift store. Fill the bottom with moss and plants. Hang little pieces like stars or bells. Add a fairy or bird figure inside.
These can hang from ceilings or hooks. Great for indoors or covered porches. Use dried flowers if you don’t want to water them.
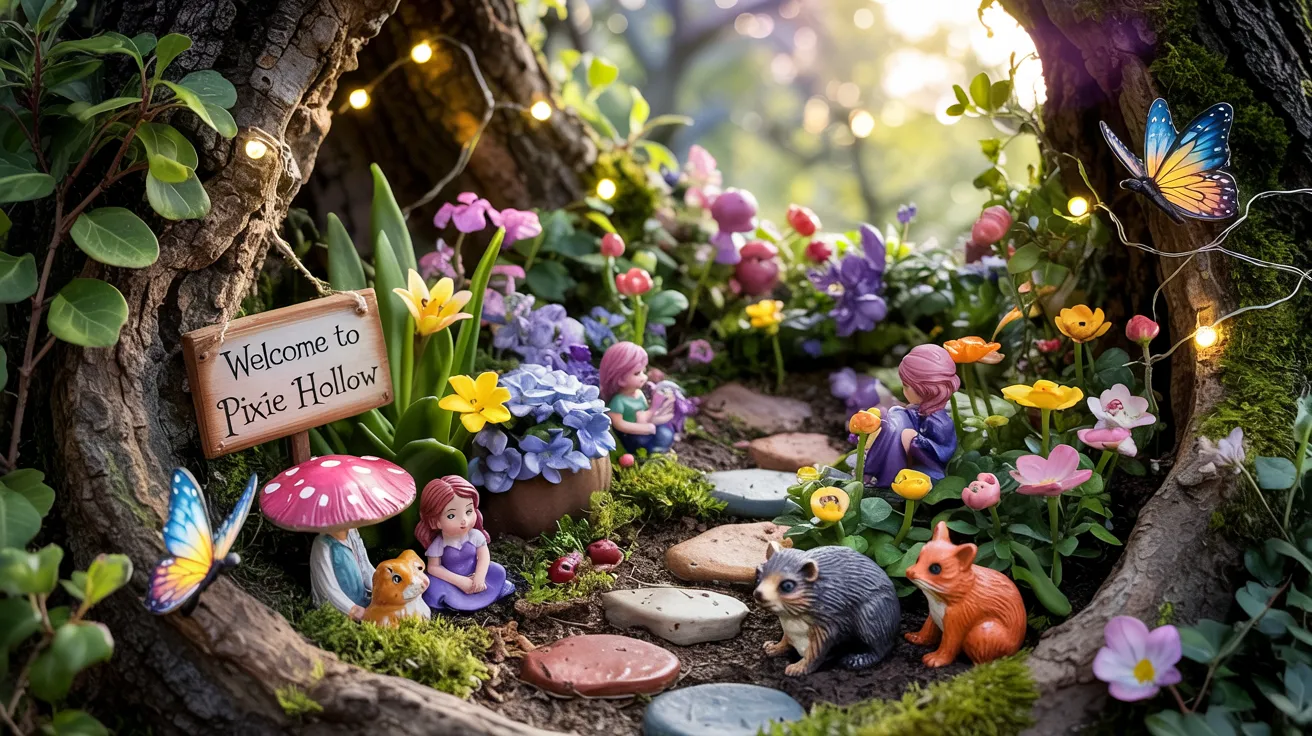
14. Tree Stump Fairy Garden

Use a hollow stump or an old log. Fill it with soil and moss. Add little ladders, windows, and fairy houses. It feels like the fairies live right in the tree.
You can also plant flowers around it. It blends into your garden naturally. Kids love spotting tiny fairies in surprise spots.
15. Fairy Garden with a Water Feature

Use a small dish or a mini fountain. Add tiny bridges, water plants, and fairy boats. A pump can make moving water. Add fish or pebbles.
This is great for the outdoors. Pick waterproof fairy figures. Water sounds are calming, and it looks beautiful at night with small lights around it.
16. Herb Fairy Garden

Grow mint, thyme, or parsley with fairy touches. Use small pots or a planter box. Add a fairy door, gnome, or tiny table.
You can pick herbs and still enjoy the fairy theme. Great for kitchen windows or patios. It smells nice too! Easy for beginners and people who love to cook.
17. Indoor Shelf Fairy Garden
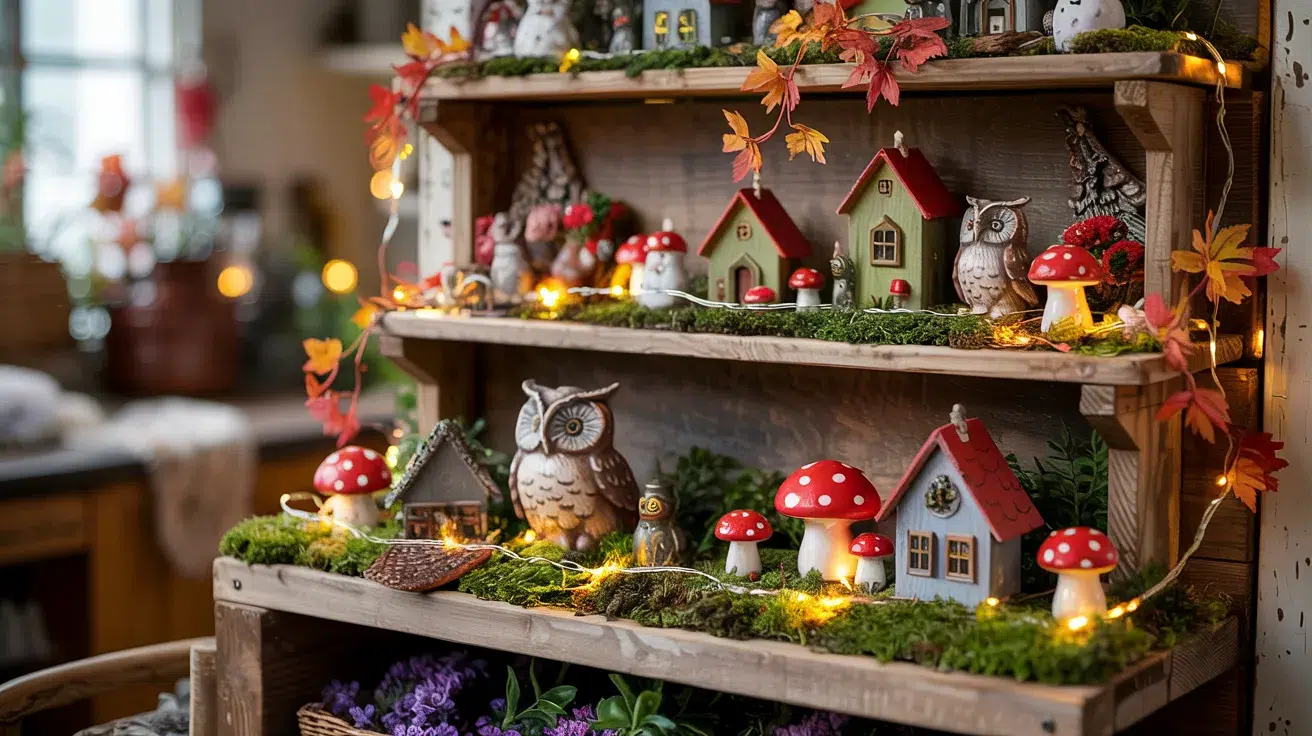
Use a bookshelf or side table. Place a tray or basket filled with moss, stones, and mini homes. Add figures like fairies, owls, or mushrooms.
Change the setup with seasons. You can even make different levels on the shelf. It’s easy to clean and makes your space feel playful without needing a yard.
18. Windowsill Fairy Garden
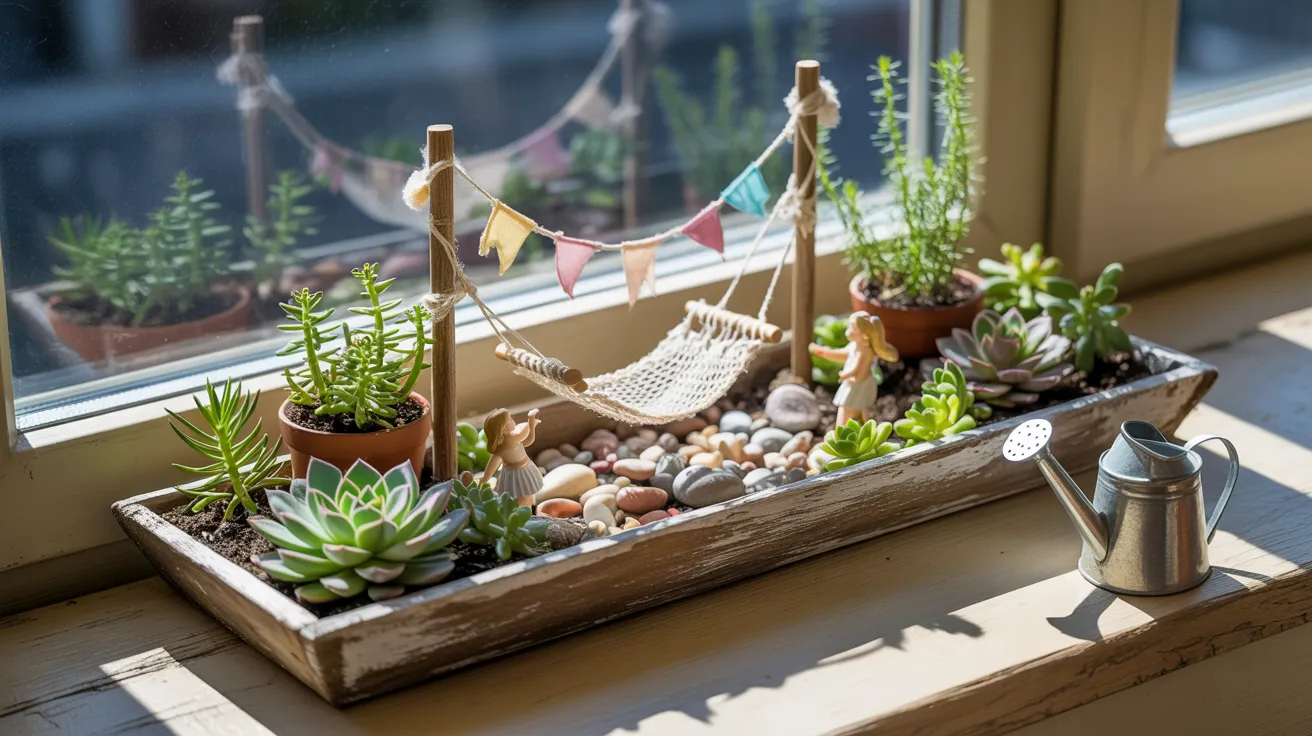
Pick a long, narrow tray. Add small potted plants, fairy pieces, and fun stones. Use the sunlight to grow simple plants.
Great for apartments or places without a yard. Add small flags or a fairy hammock. Easy to care for and fun to look at every morning. Perfect for small spaces.
19. Fairy Garden with Glow-in-the-Dark Elements

Use glow paint on stones, stars, or tiny signs. Add them to a fairy garden with dark colors. These glow at night and make it feel magical.
Use battery lights for extra shine. This works well in bedrooms or patios. Kids love the glowing pieces and can even help paint them.
20. Storybook-Themed Fairy Garden
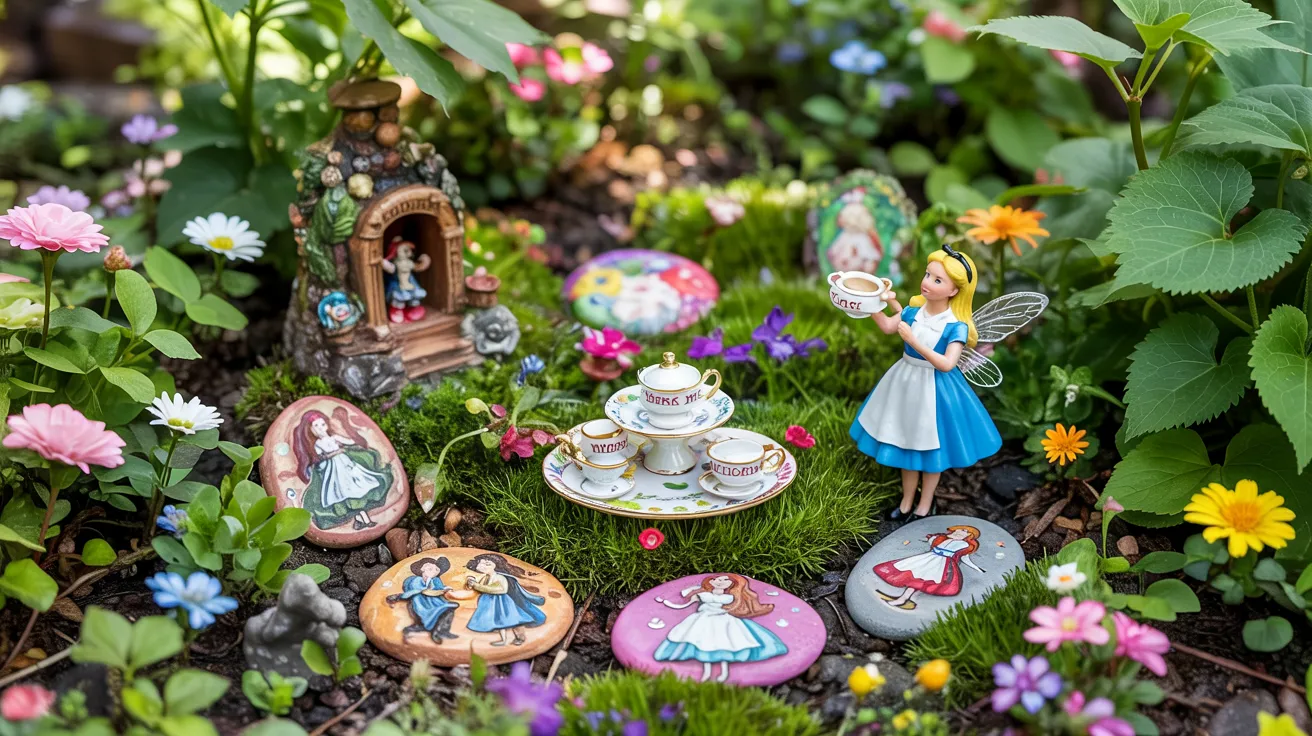
Pick your favorite story, like Alice in Wonderland or Peter Pan. Make small scenes from the book using figures, signs, and props.
This is great for book lovers and works indoors or outdoors. Add some painted pebbles with scenes from the book to make it personal.
21. Desert Fairy Garden

Use sand, gravel, and cactus plants. Add a tiny fairy tent or wagon. Place it in a wide, shallow pot. Pick figures like desert animals, lizards, foxes, or snakes.
Great for dry places and hot weather. Needs little water. Use clay or stone fairy homes to match the desert feel.
22. Tropical Fairy Garden

Use bright flowers, palm leaves, and seashells. Add a fairy in a hammock or near a surfboard. You can use a large planter or even a small kiddie pool.
Great for summer setups. Works well with hibiscus or mini palm plants. Add fake pineapples or coconuts for a fun touch.
23. Fairy Garden in a Drawer
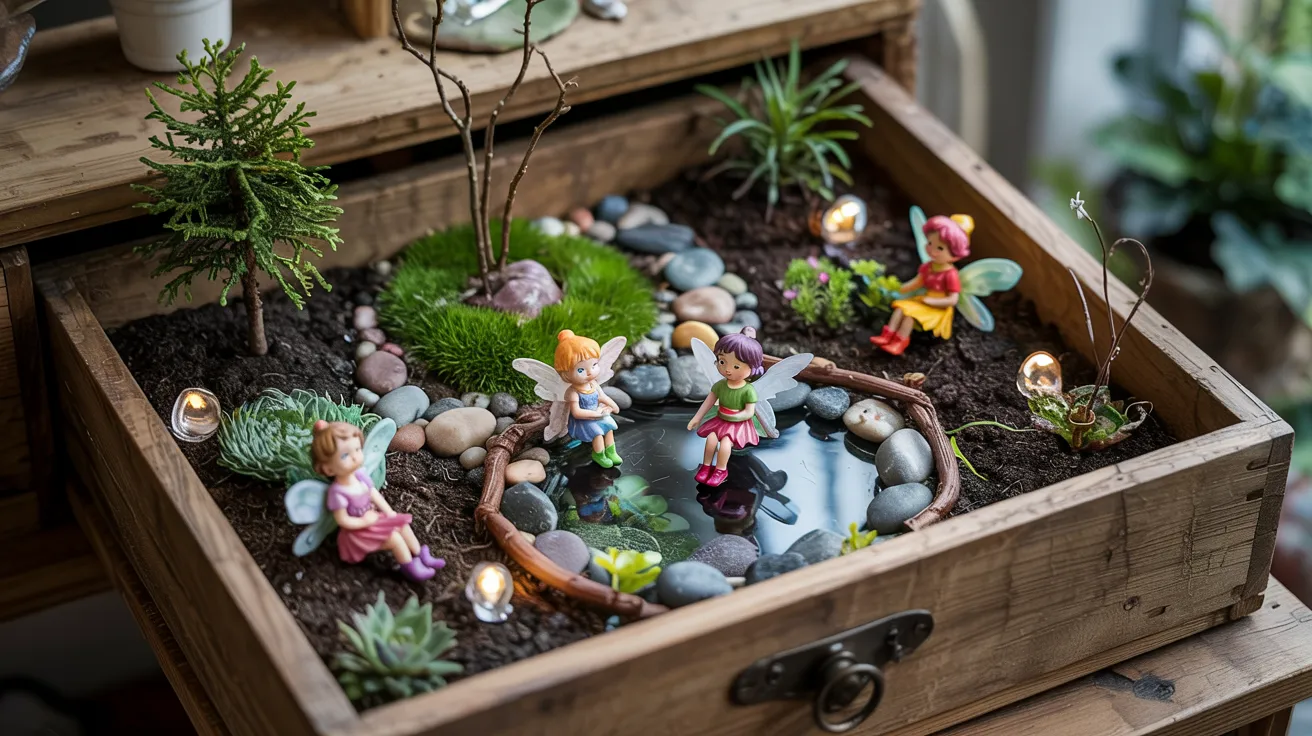
Find an old wooden drawer. Line it with plastic, then add soil, moss, and plants. Create small rooms with stones or sticks.
Place fairies in each “room.” It’s like a tiny house inside a box. Keep it on a porch or indoors. Great way to reuse old furniture parts.
24. Fairy Garden in Hanging Baskets

Use wire or plastic hanging baskets. Fill with moss, dirt, and flowers. Add fairy doors and mini chairs. Hang them at different heights.
Great for balconies or porches. These swing in the wind, which makes them look alive. You can even add wind chimes or bells for sound.
25. Fairy Garden for Small Apartments
Use small containers like bowls or mugs. Place them on shelves, desks, or windowsills. Add mini plants and fairy items.
Use materials that are light and safe. Great for people with no outdoor space. You can move them around easily. These also make fun gifts for friends or roommates.
26. Seasonal Fairy Garden (Spring Focus)

Use bright flowers, pastel stones, and butterflies. Add baby animals like chicks or lambs. A fairy holding a flower or an umbrella fits well.
Works great outdoors or in windows. You can switch the parts with each new season. Add pink, yellow, or light blue items to match the spring feel.
27. Camping-Themed Fairy Garden

Make a tiny campsite! Add a tent made from fabric, a fake campfire, and fairy-sized logs. Use a small tray or shallow box. Great for summer displays.
Add pinecones, tiny marshmallows, and sleeping bags. This works both indoors and outside. Kids love the camping feel, and it’s fun to build with family.
Fairy Garden Layout Tips
Designing your layout helps your fairy garden feel balanced and magical from every angle.
- Sketch your layout first: Before placing anything, draw a simple plan or arrange pieces loosely in the container. This helps you see where everything will go.
- Layer plant heights: Put taller plants or items like fairy houses in the back. Add medium-height pieces in the middle and the shortest ones in the front.
- Create focal points: Use a fairy door, path, or light as the center of your design. Build around that to make it feel like a real, tiny world.
- Add paths for flow: Use pebbles, bark, or gravel to make winding paths. They guide the eye and make the garden feel more alive.
- Think vertically: Add small fences, fairy ladders, or hang decorations to use the space above your plants. It adds depth and makes the garden feel more 3D.
Maintenance and Upkeep
Fairy gardens don’t take a lot of work, but a bit of care now and then helps keep them looking their best.
Water gently, just enough to keep the soil damp. A spray bottle or small cup works well, allowing you to avoid disturbing any decorations or plants.
If your plants start growing too wild, give them a gentle trim. Keep leaves and moss neat to maintain a tidy overall design. For indoor setups, take time to wipe down figurines and houses. A soft cloth or small brush is perfect for clearing off dust.
Watch for bugs, mold, or any signs of damage, especially in shaded or damp corners. If anything looks off, remove it and freshen up the space.
Broken accessories can be replaced or repaired to keep the charm alive. With just a few small efforts, your fairy garden will stay magical for a long time.
Final Thoughts
Making a fairy garden can be more than just a weekend project; it’s your chance to mix nature, creativity, and a little magic in one tiny space.
You’ve got all the steps now, from picking the correct container to adding those final, personal touches. I hope you feel inspired to start your own version that reflects your style and brings joy to your home.
Don’t worry about being perfect, enjoy the process, and make it yours. When you’re done, share your creation in the comments section below and inspire someone else, too.
Be sure to check out other blogs on the website for more fun tips and fresh ideas to keep your fairy garden looking its best.