How to Layer a Raised Garden Bed the Right Way
Filling a raised bed with bagged soil alone can cost a fortune, and it doesn’t have to. The right layering method cuts costs, builds healthier soil, and keeps your plants thriving season after season.
But most gardeners skip key steps or use the wrong materials, and that slows everything down.
Today, I’ll show you exactly how to layer a raised garden bed the right way, from the base all the way to the top. Each layer has a job, and once you understand that, the whole system just works.
Why Layering a Raised Bed Saves You Money
Filling a raised bed entirely with bagged soil gets expensive fast. A single 4×8 bed can take 20 or more large bags to fill completely. That adds up quickly, especially if you’re building more than one.
Layering fixes that. You fill the bottom two-thirds with organic materials you likely already have: logs, branches, leaves, straw, and compost scraps. Only the top 6–12 inches need quality planting soil.
This can cut your soil costs by half or more. And as the lower layers break down over time, they keep improving your soil for years, so the bed gets better on its own without added expense.
Tools and Supplies You’ll Need
Before you start, gather the basics. Each item has a clear role, so the system works properly.
| Material/Tool | Purpose (Why It Matters) | If Skipped |
|---|---|---|
| Cardboard or newspaper | Blocks weeds and breaks down over time | Weeds may grow through the bed |
| Logs and thick branches | Improve airflow and store moisture | Bed can compact and drain poorly |
| Small sticks and twigs | Fill gaps and support structure | Uneven settling of layers |
| Dry leaves or straw | Add carbon and balance decomposition | Slower breakdown process |
| Compost or manure | Feeds microbes and speeds decomposition | Decomposition becomes slow |
| Topsoil (with compost) | Creates a stable root zone | Weak plant growth if too thin |
| Mulch (straw or wood chips) | Retains moisture and blocks weeds | Soil dries out faster |
| Water source | Keeps layers moist to activate decomposition | Dry layers break down slowly |
| Basic tools (shovel, rake) | Help spread and level materials | Uneven layering and settling |
With these tools and materials ready, you can build each layer correctly and avoid problems later.
How to Layer a Raised Garden Bed: Step-By-Step Guide
Start building from the base and move upward in a fixed order. Each layer supports structure, moisture, and nutrient flow for the next. The correct sequence helps the bed settle properly and prevents future issues like poor drainage or weak plant growth.
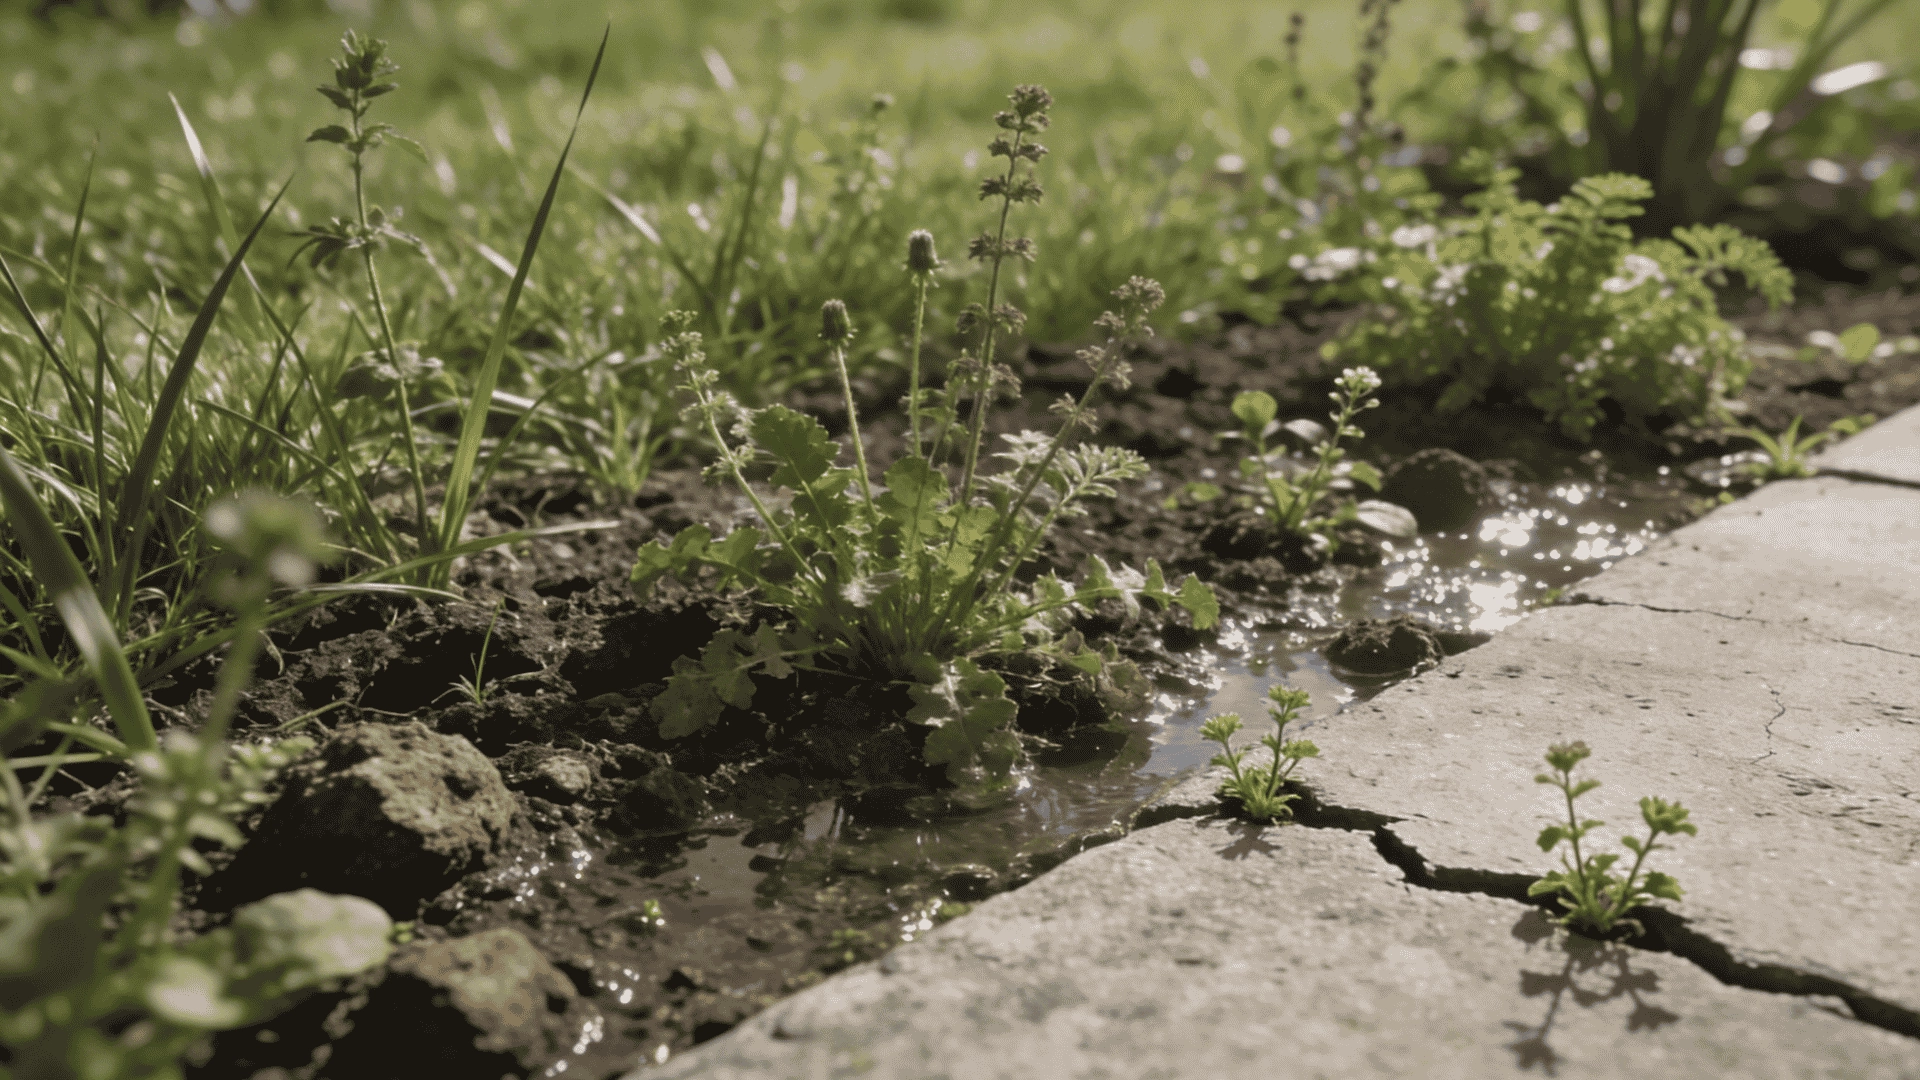
Step 1: Preventing Weeds and Ground Separation
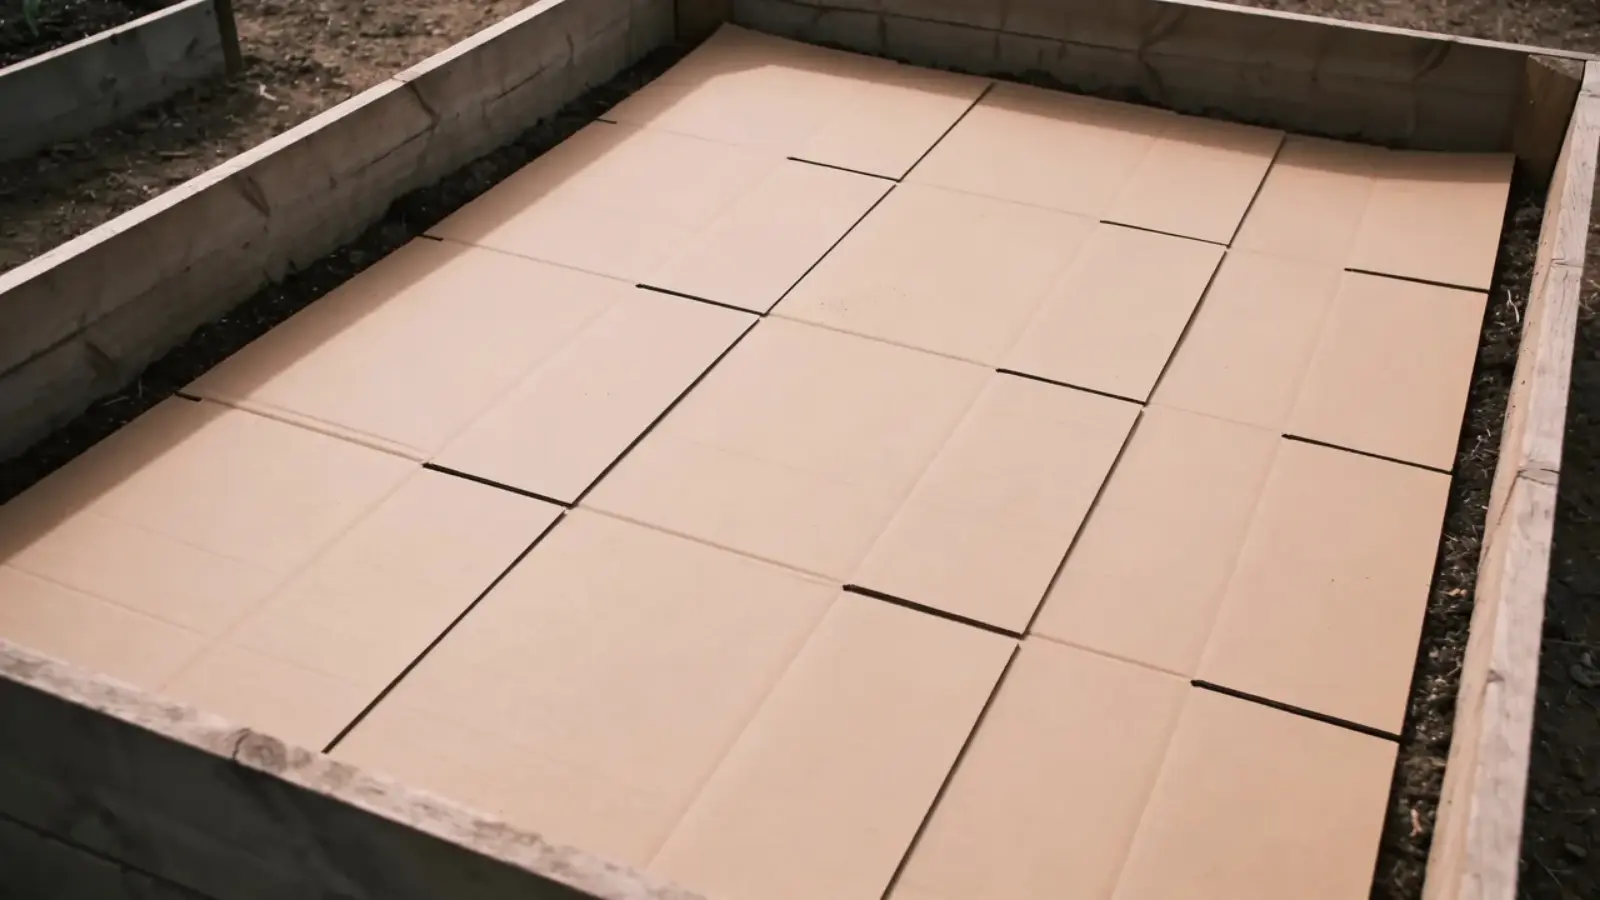
To stop weeds from growing through your raised bed, start with a layer of cardboard or landscape fabric.
Cardboard decomposes slowly, while landscape fabric doesn’t break down but can block soil life over time. If your bed is on concrete or weed-free ground, you can skip this step.
Step 2: Creating Air Pockets with Large Organic Materials
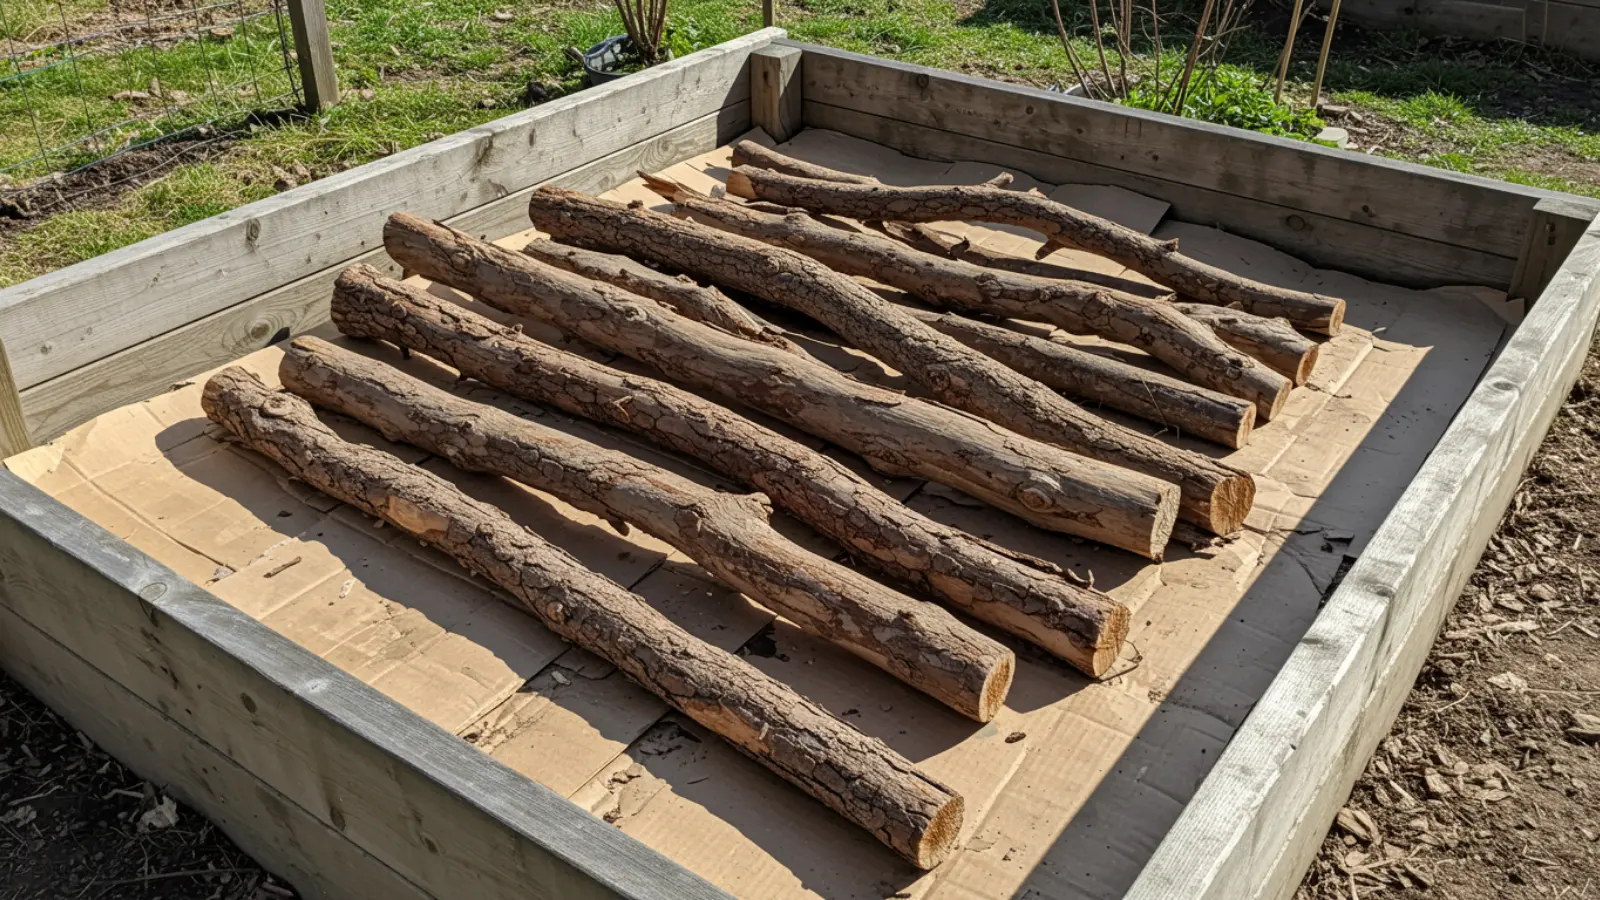
Add large materials like logs, branches, and sticks as the base layer. These materials break down slowly and create air pockets that retain moisture.
Over time, they help improve the soil structure. Be sure to use dry, old wood and space it out to avoid issues like pests or poor drainage.
This approach is sometimes called Hugelkultur, a German word for “mound garden.” It’s also known as lasagna gardening because you’re stacking layers like a lasagna.
Both names describe the same idea: use what you already have, stack it in the right order, and let nature do the work. Many raised bed gardeners swear by this method because it builds healthy soil over time without buying expensive materials.
Step 3: Filling Gaps with Yard Waste and Fillers
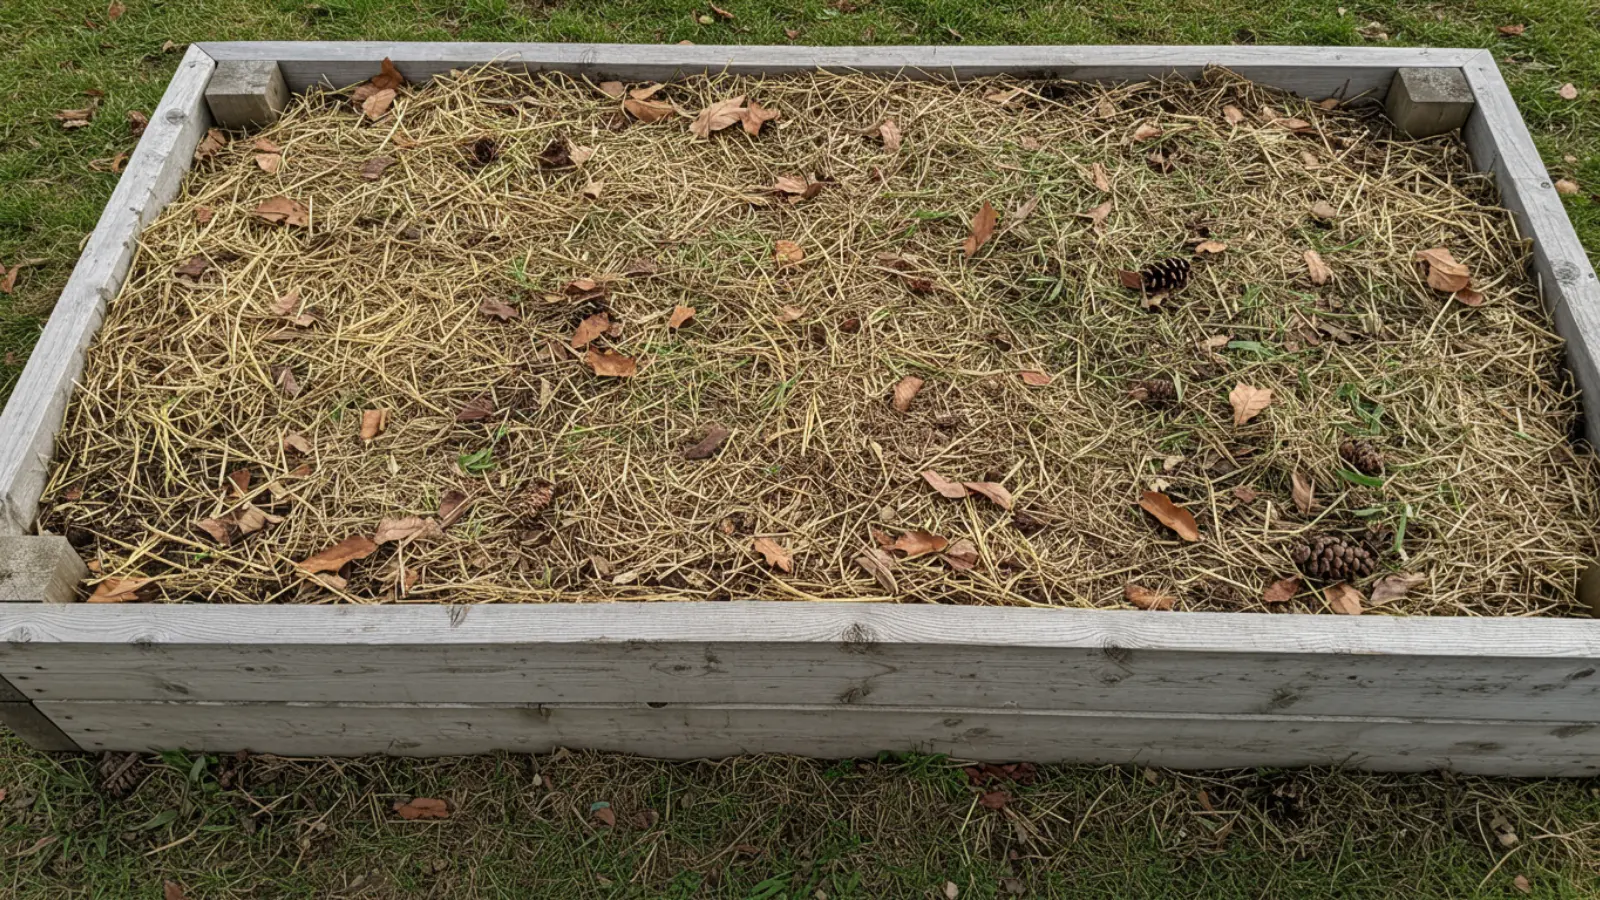
Use lighter materials like leaves, grass clippings, and straw to fill the middle layer. These materials decompose faster and help fill gaps.
It’s important to balance green (grass) and brown (dry leaves) materials to avoid smells or slow decomposition. Lightly water the layer to help it settle, but don’t pack it too tightly.
Step 4: Providing Nutrients with Compost and Aged Organic Matter
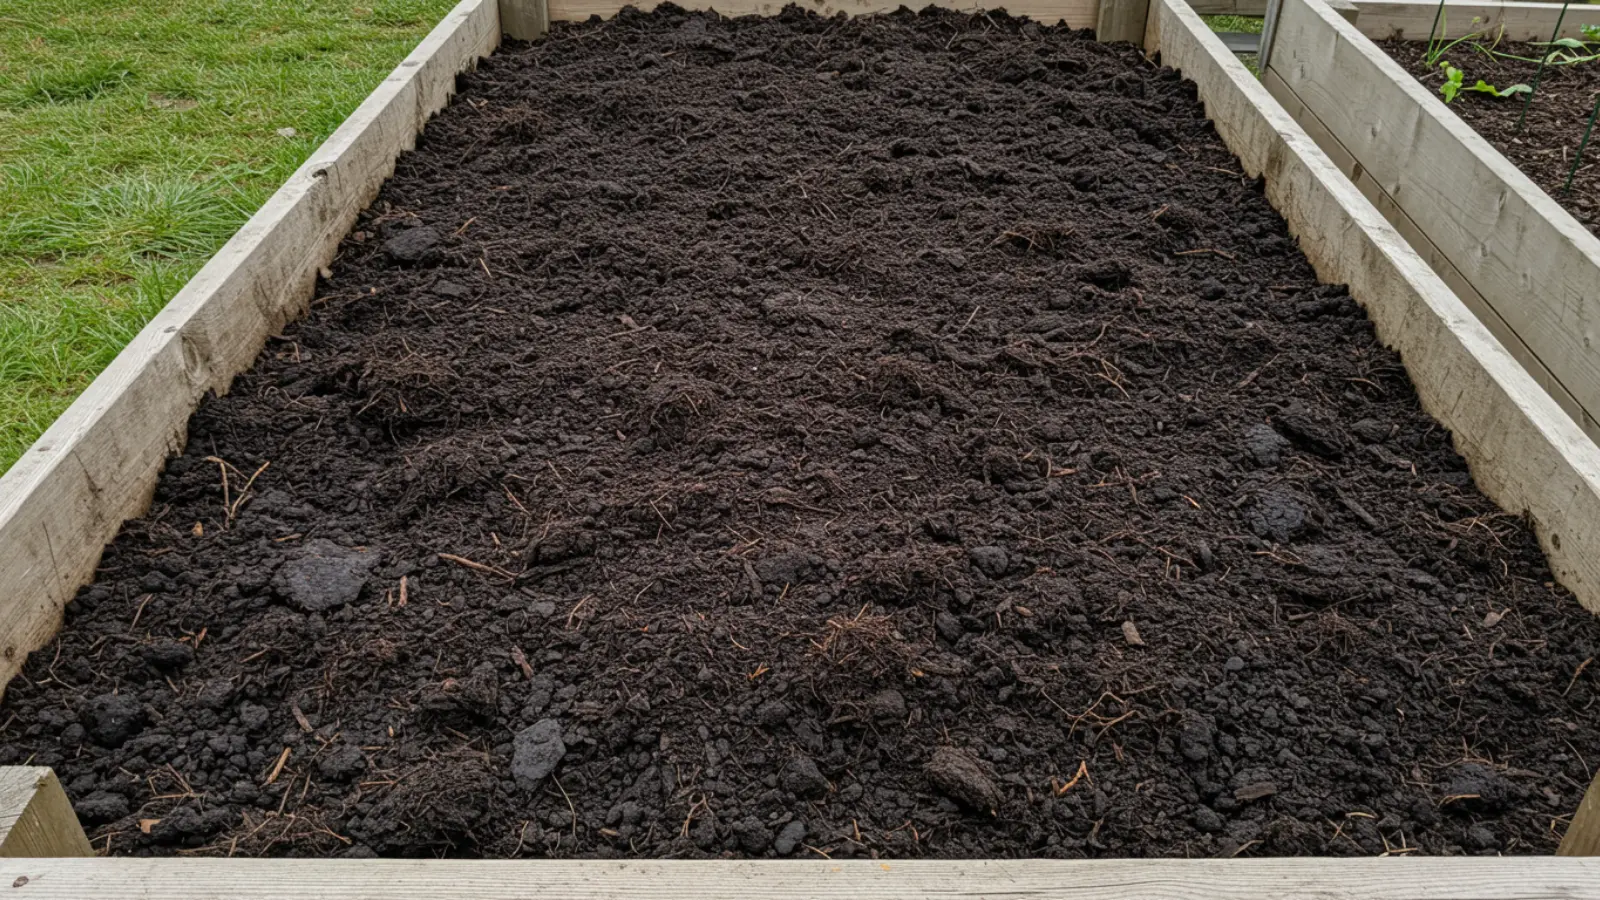
For the nutrient layer, use compost or aged manure to enrich the soil. This layer should be 4–6 inches deep for effective nutrient absorption.
Compost made from kitchen scraps or yard waste works well. If using manure, ensure it’s fully rotted to avoid burning your plants’ roots.
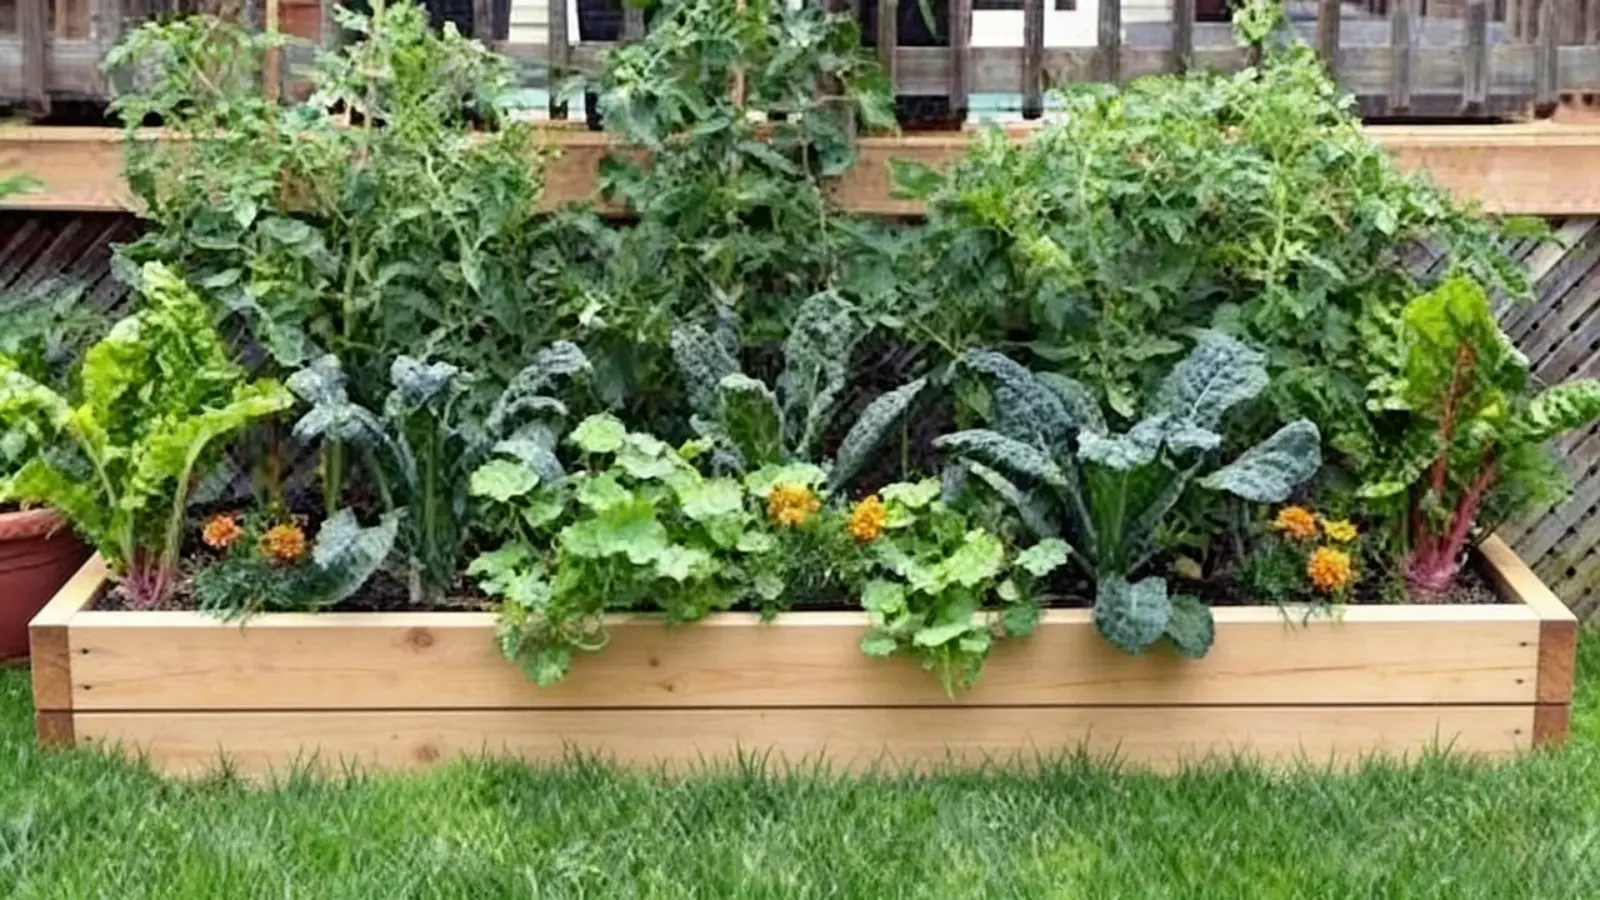
Step 5: Preparing the Planting Soil Layer
The top layer should be soft, rich, and deep enough for root growth, around 6–12 inches. Use a raised bed mix or create your own by combining compost, topsoil, and sand or perlite for better drainage.
This layer holds the essential nutrients and moisture your plants need to thrive. It’s crucial to get the right balance to create a fertile, well-draining environment that promotes strong root growth, ensuring healthy plants throughout the growing season.
How Layering Works Inside the Bed
Once layered, the bed starts working as a system. The bottom wood creates air pockets that keep oxygen moving, which microbes need for decomposition. Without airflow, the bed can become compact and slow to break down.
As water moves through the layers, the wood absorbs and stores it, then releases it slowly. This helps maintain moisture for plant roots over time.
The middle layers break down first. Microbes use carbon from dry materials and nitrogen from compost to create nutrients. This process also releases mild heat, which speeds up decomposition.
The top soil layer stays stable for roots, while nutrients from below move upward as materials break down. Over time, everything turns into rich soil, improving structure, moisture retention, and fertility naturally.
Adjust Layering Based on Bed Depth
Not all raised beds should be layered the same way. The depth of your bed changes how roots grow and how materials break down.
Shallow Beds (Under 12 Inches)
In shallow beds, focus mainly on topsoil mixed with compost, and avoid adding large logs or thick woody layers at the bottom. Since the total depth is limited, plant roots will quickly reach the lower layers.
If bulky materials are used, they reduce usable root space and may not break down fast enough. This can lead to weak plant growth and uneven moisture distribution.
Medium Beds (12–24 Inches)
Medium-depth beds allow a balanced approach. You can add a light base of small branches or sticks, followed by organic layers and a proper topsoil mix. This setup improves airflow and moisture retention without restricting root growth.
The decomposition process happens at a steady pace, supporting nutrient release over time while still maintaining a stable growing zone for plants.
Deep Beds (24+ Inches)
Deep beds benefit the most from full layering. Start with large logs and branches at the base, then build up through organic layers before adding topsoil. The extra depth gives enough room for roots to grow while the lower layers break down slowly.
This setup improves long-term soil health, stores water efficiently, and reduces the need for frequent soil replacement or heavy fertilization.
Common Mistakes that Ruin Raised Bed Layers
Even if you follow the steps, a few common mistakes can reduce results. Avoiding these helps the system work as intended from the start.
- Using rocks for drainage: Many think rocks improve drainage, but they create a barrier where water collects above instead of flowing through. This can lead to soggy soil and root rot.
- Skipping the nitrogen layer: Without compost or green material, decomposition slows down. The lower layers stay inactive longer, delaying nutrient release and reducing soil quality early on.
- Overpacking the layers: Pressing materials down too much removes air pockets. This limits oxygen flow, slows microbial activity, and leads to compact, poorly draining soil.
- Using only soil: Filling the entire bed with soil increases cost and misses the benefits of layering. You lose moisture retention, airflow, and long-term soil improvement.
- Not watering during setup: Dry layers take longer to activate. Without moisture, microbes cannot start breaking down materials efficiently.
Avoiding these mistakes keeps the bed balanced, active, and ready for healthy plant growth.
Quick Layering Checklist (Bottom To Top)
- Cardboard or newspaper: Optional base layer to block weeds and protect the bed early on.
- Logs and branches: Form the foundation for airflow and long-term moisture storage.
- Small sticks and dry leaves: Fill gaps and improve structure for even decomposition.
- Compost or nitrogen layer: Activates microbial activity and speeds up breakdown.
- Topsoil (6–8 inches): Provides a stable and nutrient-rich space for plant roots.
- Mulch layer: Locks in moisture, reduces weeds, and protects the soil surface.
Conclusion
The right layering method sets the foundation for healthy soil, better moisture control, and strong plant growth. By following the correct order and understanding each layer’s role, you build a system that improves over time.
You now know how to layer a raised garden bed step by step, adjust it based on depth, and avoid common mistakes that slow results. This gives you a clear path to start planting with confidence.
If you’re ready, gather your materials and build your first bed today. The sooner you start, the sooner your soil begins working for you. And if you have any questions or tips from your own setup, drop them in the comments.