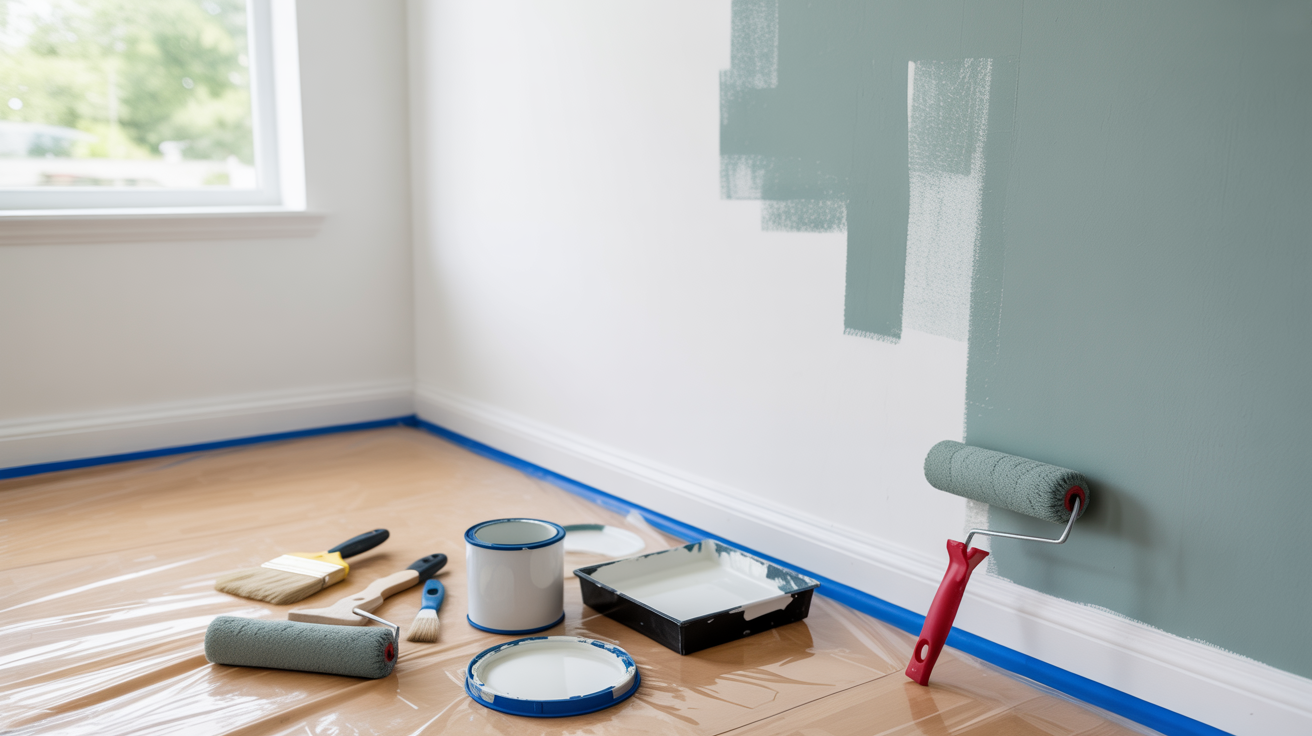
How to Paint a Popcorn Ceiling Without Damage
Painting a textured ceiling is not just about getting paint onto the surface. The real challenge is keeping the texture attached while you work.
Learning how to paint a popcorn ceiling matters because this surface reacts differently from flat drywall.
In real rooms, too much roller pressure or a heavy wet coat can pull down soft texture, leave patchy spots, or make old stains show again.
Not every ceiling should be handled the same way. Unpainted, damaged, stained, or pre-1978 ceilings need extra checks before paint is opened.
This guide covers the prep steps, painting methods, and common mistakes to avoid when painting a popcorn ceiling.
What Is a Popcorn Ceiling?
A popcorn ceiling is a textured ceiling made from drywall compound mixed with materials like perlite or polystyrene beads. It is sprayed on wet and dries into a lightweight, porous surface.
It is also called an acoustic ceiling, stipple ceiling, or cottage cheese ceiling. The texture is not as hard as plaster and can soften when exposed to too much moisture.
Because of this, painting a popcorn ceiling needs care. Light coats and gentle pressure help protect the texture while giving the ceiling even coverage.
If the texture is loose, stained, or very old, check the surface before painting. A stable ceiling is easier to paint without peeling, flaking, or damaging the texture.
What to Do Before You Start Painting a Popcorn Ceiling?

Proper prep helps prevent peeling, loose texture, and uneven paint coverage later. Before painting, check the condition of the ceiling so you can choose the safest painting method.
Start by covering furniture and floors, then tape around walls, vents, fixtures, and trim. Rub the ceiling lightly to check for chalky residue, since unpainted popcorn ceilings should only be spray-painted.
Look for cracks, loose texture, stains, and other damaged spots before you start. Treat water stains with Kilz or Zinsser before painting, since water-based primers can cause stains to bleed through later.
Careful prep makes the painting process smoother and helps protect the popcorn texture during application.
Inspect Your Ceiling and Prepare the Room Before You Paint
Before painting a popcorn ceiling, check the ceiling age, surface type, stains, damage, and room setup. Popcorn texture can soften when moisture hits it, so prep helps protect the surface.
- Asbestos Safety: Ceilings installed before 1978 should be tested. If asbestos is found, stop and call a licensed professional.
- Check the Surface: Rub lightly; chalky residue means it’s unpainted and should be spray-painted only.
- Inspect for Damage: Look for stains, cracks, and loose texture. Seal stains with an oil-based primer.
- Protect the Room: Cover furniture, floors, walls, vents, and fixtures. Hang plastic on upper walls if spraying and turn off fans/HVAC.
- Clean the Ceiling: Use a vacuum with a soft or dry brush attachment. Avoid wet cleaning to prevent softening the texture.
How to Paint a Popcorn Ceiling?
To paint a popcorn ceiling, apply light, even coats with minimal pressure to avoid loosening the texture.
Too much moisture or repeated passes can soften the drywall compound and pull the texture away from the ceiling.
1. Cut In Around the Edges First

Use an angled sash brush to paint a narrow strip around the ceiling edges first. This creates a clean boundary before rolling or spraying the larger sections.
Load the brush lightly with flat ceiling paint. Too much paint at the edges can cause drips and moisture buildup.
2. Rolling Technique; Loading, Motion, Pressure

Use a slit-foam roller or a thick ¾”–1″ nap roller with an extension pole. Apply paint using a W or X motion to spread moisture more evenly.
Do not press down on the roller while painting. Work in small sections and avoid rolling back over wet areas.
3. Spraying Technique; Distance, Speed, Overlap

Hold the airless sprayer about 12–18 inches from the ceiling. Keep the sprayer moving steadily to avoid over-saturating one spot.
Overlap spray passes by about 50 percent for even coverage. After the first pass, spray again in the opposite direction for better coverage.
4. Drying, Second Coat, and Tape Removal

Let the first coat dry fully before adding the second coat. Most ceiling paints require 2–4 hours to dry, depending on the manufacturer.
Apply the second coat at a 90-degree angle to the first coat. Remove painter’s tape when the paint is about 80 percent dry.
Common Popcorn Ceiling Mistakes
Small mistakes can damage the popcorn texture quickly during painting. Most problems occur when too much moisture or pressure acts on the surface at once.
- Pressing the roller too hard can pull the texture loose; let the roller glide lightly.
- Holding the sprayer too close can over-soak the surface; keep it 12–18 inches away.
- Skipping oil-based primer can cause stains to bleed through later; use Kilz or Zinsser first.
- Removing tape too early can tear wet paint edges; wait until the paint is mostly dry.
- Ignoring asbestos testing on pre-1978 ceilings can release harmful fibers during painting.
Taking extra time during setup is usually much easier than repairing damaged texture later.
Conclusion
Painting a popcorn ceiling takes more care than painting a flat surface because the texture reacts quickly to moisture and pressure.
Using the right prep steps, paint type, and application method helps keep the texture intact and prevents peeling or patchy coverage. Small details like light roller pressure, proper drying time, and stain treatment also make a big difference in the final result.
If you follow the correct steps, painting a popcorn ceiling can look clean, even, and long-lasting without damaging the texture.
Have questions or tips from your own project? Share them in the comments below.
Frequently Askes Questions
How Long Should Popcorn Ceiling Paint Dry Between Coats?
Most ceiling paints need 2–4 hours to dry before applying a second coat. Drying time can increase with high humidity or poor airflow, so always check the paint label instructions.
Can You Paint Over An Already Painted Popcorn Ceiling?
Yes, you can paint over a painted popcorn ceiling if the texture is firm and clean. Apply paint with light pressure, avoiding repeated rolling over wet areas to prevent damage.
How Do You Prevent Paint From Flaking Off A Popcorn Ceiling?
To prevent flaking, ensure the surface is clean, dry, and properly primed. Apply light, even coats with minimal pressure, avoiding heavy rollers or brushes that can loosen the texture.