How to Make DIY Summer-Themed Throw Pillow Covers or Cushions?
Are you the one who loves to have too many cushions around you to get that extra layer of comfort? Well, then, we understand your love for these comfy and soft cushions.
However, cushions play a crucial role in the home decor. As summer’s warm and sunny days approach, it’s the perfect time to infuse your living space with a vibrant and joyful atmosphere.
Crafting your summer-themed throw pillow covers or cushions is an easy and cost-effective way to do this. Thus, a DIY summer room decorations project should certainly have a space for a DIY summer-themed pillow cover or cushion idea.
So here we are with a step-by-step guide to creating DIY summer pillow covers or cushions.
Materials Required for DIY Summer Pillows
You will need some basic materials to create this home DIY summer room decorations item. Below is the list of necessary things that you will need.
- Plain Pillow Covers: Choose pillow covers in light colors like white, cream, or pastels. These will provide a neutral base for your summer designs.
- Fabric Paints: Opt for fabric-safe acrylic or fabric paints in various vibrant summer colors. These paints will adhere well to the fabric and won’t fade easily.
- Paintbrushes: Different brush sizes will allow you to create various patterns and details on your pillow covers.
- Stencils: Stencils make it easier to create intricate designs, even if you’re not confident in your freehand painting skills.
- Painter’s Tape: This is handy for creating clean lines and separating different sections of your design.
- Sponges: Sponges can be used to create textured effects and blend colors seamlessly.
- Pencil and Eraser: These will be used to sketch out your design before you start painting lightly.
- Old Newspapers or Cardboard: Place these inside the pillow covers while painting to prevent paint from bleeding through to the other side.
- Iron: This will help set the paint after you’ve finished your design.
- Drop Cloth or Plastic Sheet: Lay this down to protect your work surface from any accidental paint splatters.
Step-By-Step Guide to Creating DIY Summer Pillow Cover
Below, we have mentioned all the necessary steps that are required to create these beautiful and artistic pillow covers. However, before you begin, wash and iron your pillow cover to have a clean surface for painting. This will also help the paint to dry off easily.
Step 1: Choose Your Design

Think about the summer motifs you want to include on your pillow covers. Popular options include tropical leaves, sunsets, beach scenes, watermelons, and pineapples. You can draw inspiration from nature, your favorite summer activities, or even your travel memories.
Step 2: Plan Your Design
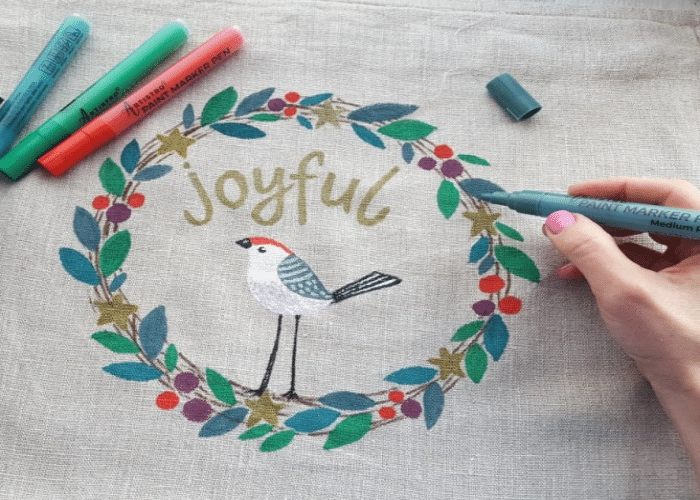
Use a pencil to sketch your chosen design onto the pillow cover. If you’re not confident in your drawing skills, consider using stencils to achieve more intricate patterns. You can also mark off sections using painter’s tape to create clean lines and separate different colors.
Step 3: Start Painting
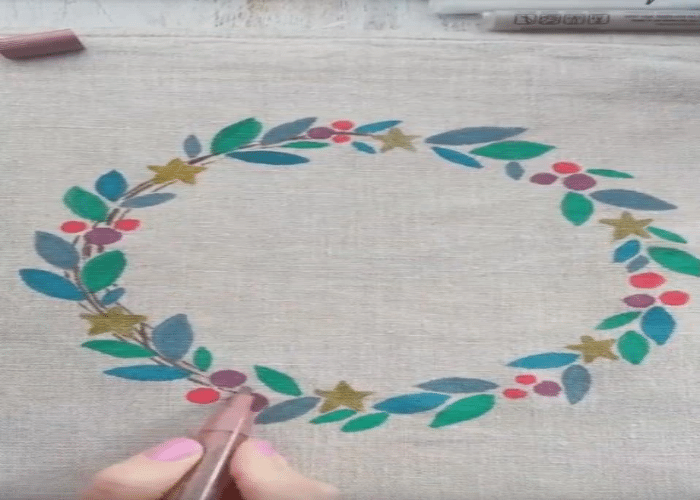
Dip your paintbrush into the fabric paint and start filling in your design. Remember to use different brush sizes for different details. If you’re using multiple colors, start with the lighter shades and work your way to the darker ones. This prevents accidentally smudging lighter colors with darker paint.
Step 4: Blend and Texture
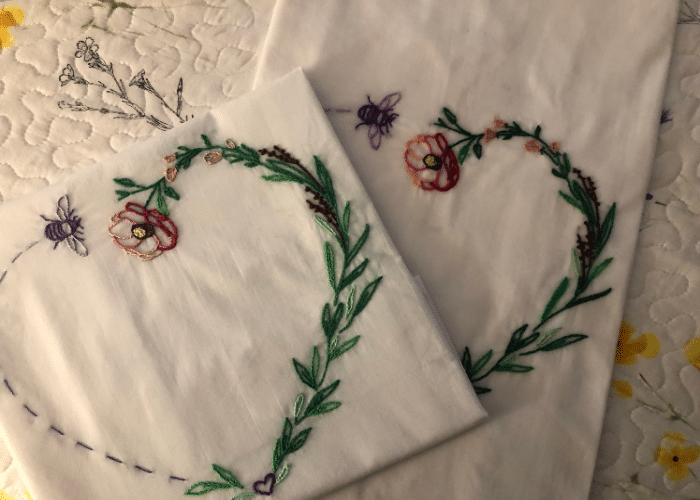
For a more professional look, experiment with blending colors using sponges. This can create a lovely gradient effect, especially for backgrounds like skies or oceans. You can also use the sponge to add texture to elements like sand or tree bark.
Step 5: Stenciling
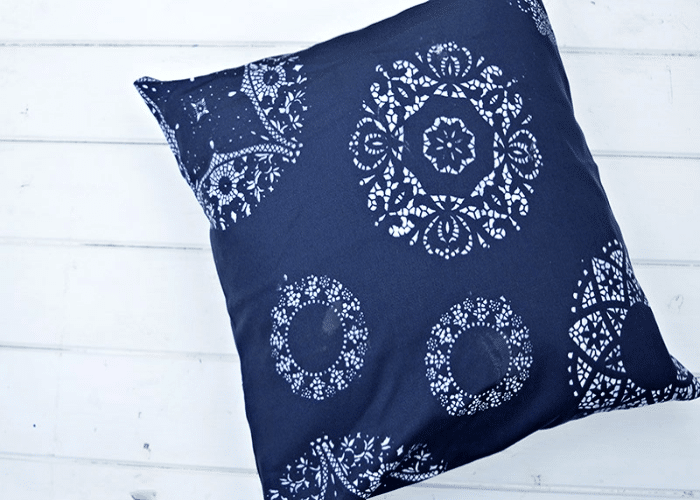
If you’re using stencils, carefully secure them to the pillow cover with painter’s tape. Then, dab the paint onto the stencil using a sponge or a different brush. Ensure not to use too much paint, which can cause bleeding under the stencil.
Step 6: Allow to Dry
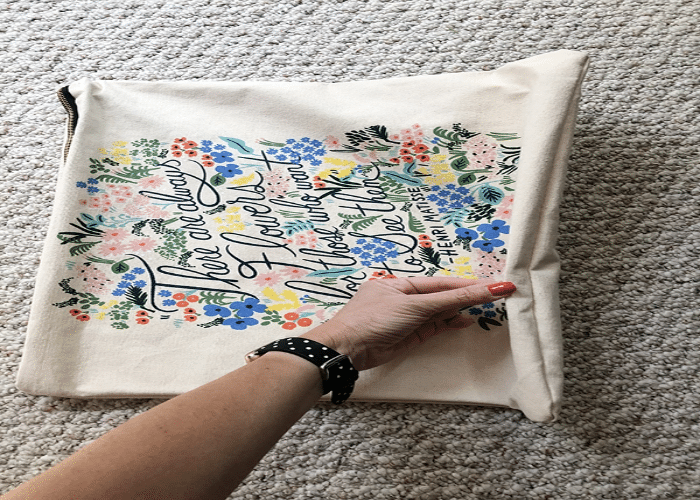
Once you’ve completed your design, set the pillow cover aside to dry. Follow the paint manufacturer’s instructions for drying time. This is usually around 24 hours, but it’s best to be patient to avoid smudging.
Step 7: Heat Set the Paint
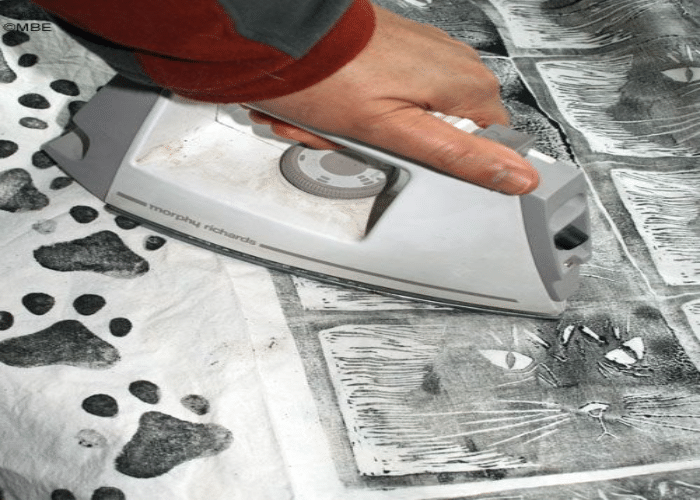
To ensure the longevity of your design, place a thin cloth over the painted area and iron it on a low-heat setting. This heat-setting process helps the paint bond with the fabric and resist washing out.
Step 8: Insert the Pillow
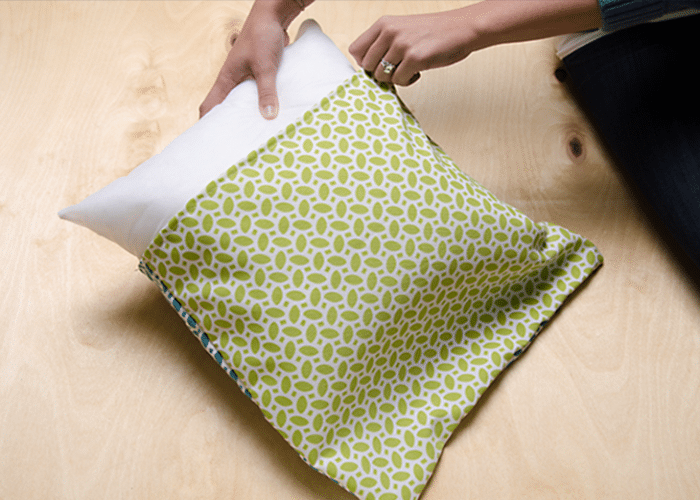
After ensuring that the paint is completely dry and set, remove any cardboard or newspapers from inside the pillow cover. Then, insert your pillow or cushion into the cover.
Step 9: Decorate and Enjoy!
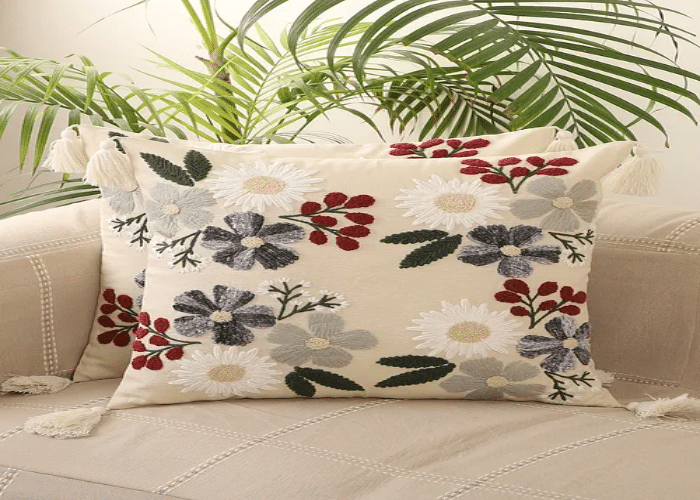
Place your newly crafted summer-themed throw pillows on your couch, bed, or outdoor seating area. Admire your handiwork and the refreshing change they bring to your space. You can mix and match different designs to create a playful and lively atmosphere that captures the essence of summer.
Conclusion
If you create something on your own and flaunt it in your home, then you will feel extremely proud and also will attract a lot of attention from your guests.
A simple handcrafted DIY pillow cover adds a lot of personality to your space as well. It also shows your efforts and your taste.
Whatever the occasion, you can always flaunt these summer-themed cushions, as these personalized pillow covers will add a touch of sunshine to every corner of your home.
So, roll up your sleeves, gather your supplies, and let your artistic flair bloom as you embark on this simple and enjoyable DIY project.

