Easy DIY Lunch Bag Snowflake Crafting Guide
Looking for a simple, cheap way to make your winter decor shine? Paper bag snowflakes are the answer.
They’re easy to make, cost almost nothing, and instantly turn any room into a cozy winter wonderland.
In this blog, you’ll learn how to create 3D snowflakes using just lunch bags, glue, and scissors. We’ll also show you fun ways to add lights or customize them for different seasons.
If you’re decorating for the holidays or just adding some winter charm, these snowflakes are a great choice.
Keep reading to discover how to make them and bring a little winter magic to your home!
Choosing the Best Materials for Your Snowflakes
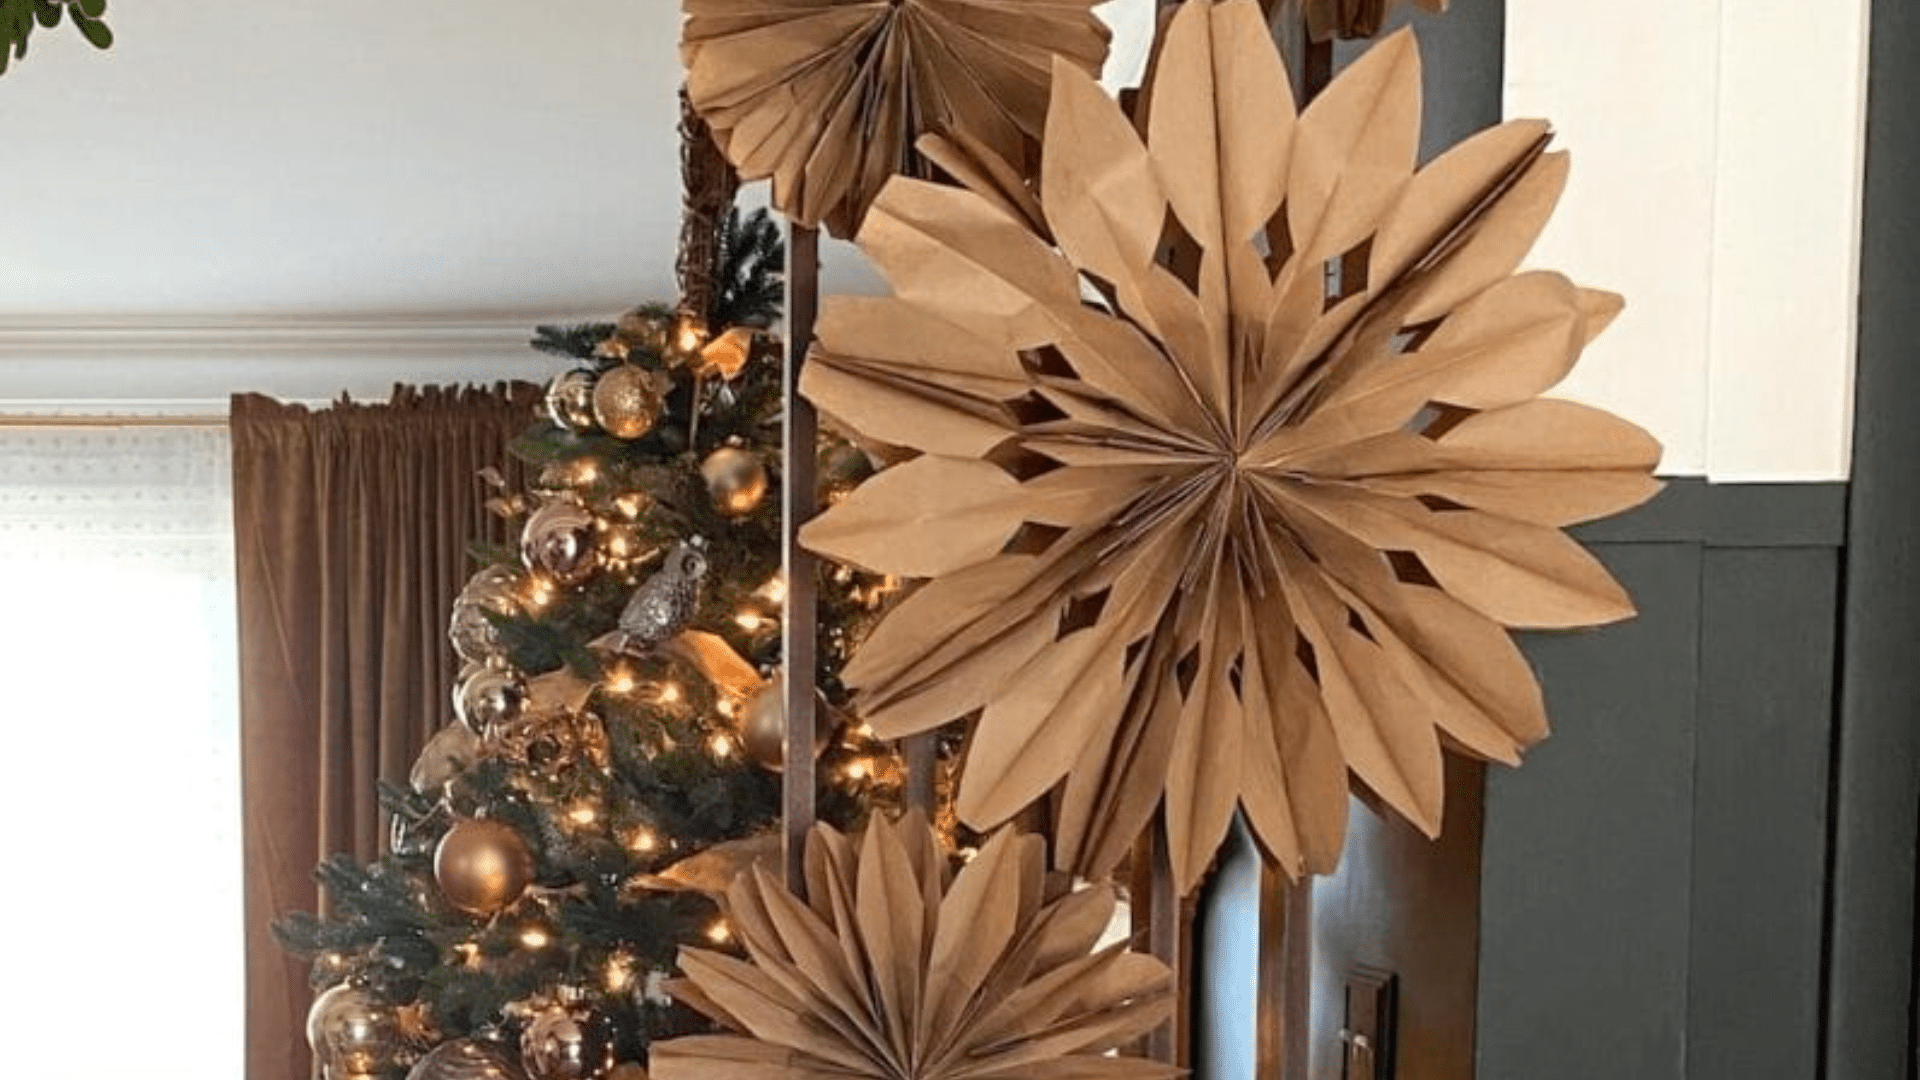
Brown paper lunch bags work best for a natural look. White bags create a classic winter feel.
For tools, you’ll need:
- Strong scissors (heavy-duty ones cut through multiple bags better)
- Glue (hot glue gun or white craft glue like Elmers)
- Clear tape
- Stapler (helpful for securing edges)
For hanging your snowflakes, gather:
- Fishing line
- Clear tape
- Hole punch
- Optional: battery-operated twinkle lights
The basic supplies are all you need, but adding small lights can make your snowflakes glow at night for extra winter charm.
Step-by-Step Guide to Making DIY Lunch Bag Snowflakes
Create these beautiful decorations by stacking bags with glue in a T-shape pattern, cutting innovative designs along the edges, and then opening them into a circular shape.
Proper technique ensures they hold their form and look professional.
Step 1: Gather Your Materials
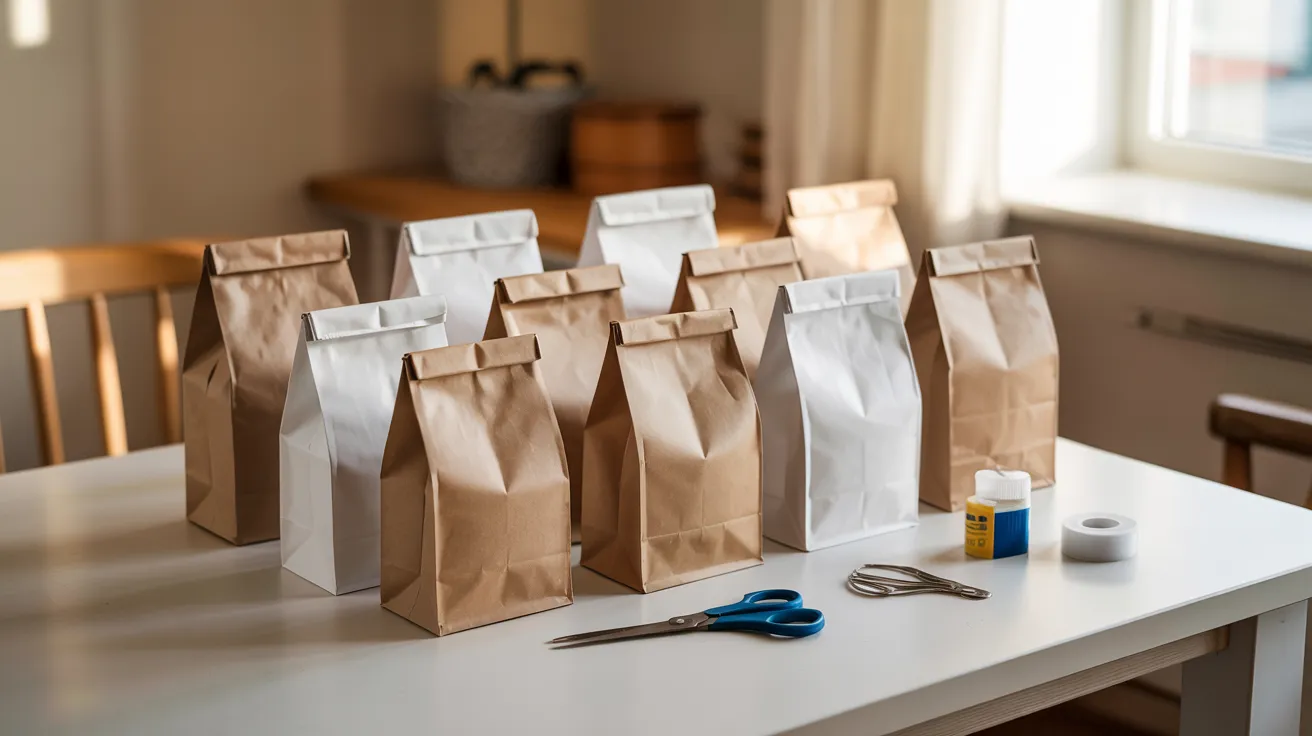
Collect 9-12 lunch bags for each snowflake you plan to make. The standard brown kraft bags create a rustic, natural look that fits many home styles.
White bags offer a more classic winter appearance. Make sure all bags are the same size and type for best results.
Check that your scissors are sharp enough to cut through multiple layers of paper. Dull scissors will tear the bags and ruin your design.
Keep your glue, tape, and other supplies within easy reach to make the process smooth and enjoyable.
Step 2: Create Your Bag Stack

Lay the first lunch bag flat on your work surface with the opening facing up.
Apply glue in a “T” shape – one line down the center of the bag and another across the bottom folded edge. This pattern ensures the bags stay aligned properly when opened.
Place the second bag directly on top, making sure all edges line up exactly. Press firmly to secure the glue.
Continue this pattern with each bag, keeping the same orientation, until you have a stack of 9-12 bags. For younger crafters, white craft glue works better than hot glue for safety.
Step 3: Cut Your Snowflake Design
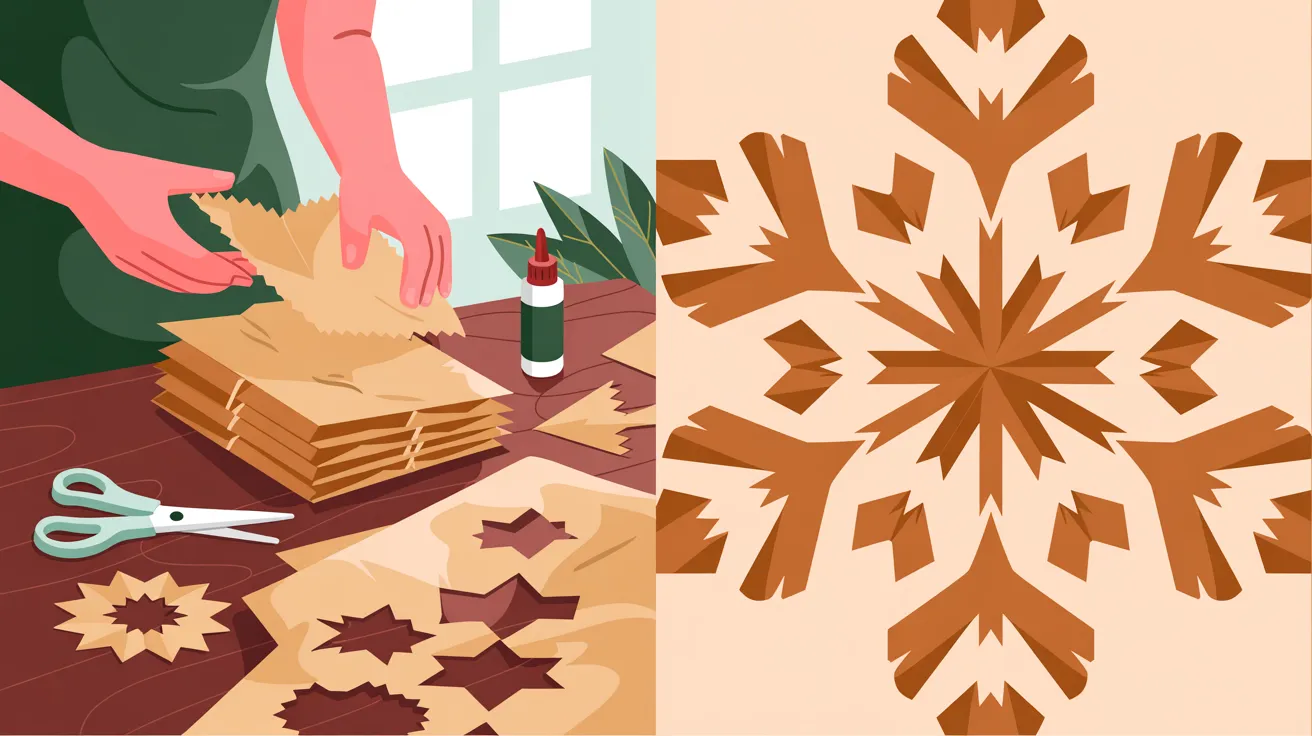
If using craft glue, wait for the glue to dry completely. Hold the stack firmly and begin cutting shapes along the open edge of the bags. Try different patterns, such as triangles, half-circles, or zigzags.
The key is to leave some of the side edges intact to keep the bags connected. Make deeper cuts toward the center for more points on your final snowflake.
For a fuller appearance, make smaller, more numerous cuts. Don’t worry about perfect symmetry – natural snowflakes are all unique! Try cutting one side first, then use that as a pattern for the other side.
Step 4: Open and Shape Your Snowflake
Grab the top bag on one end and the bottom bag on the other. Gently pull them toward each other to form a circle. As you do this, all the cut sections will fan out to create your 3D snowflake.
The design you cut will now become visible as the bags spread open. This step requires some patience. Move slowly to avoid tearing the paper where the glue might not have fully secured the bags.
Once you have a full circle, secure the ends together with tape or staples where they meet to hold the shape permanently.
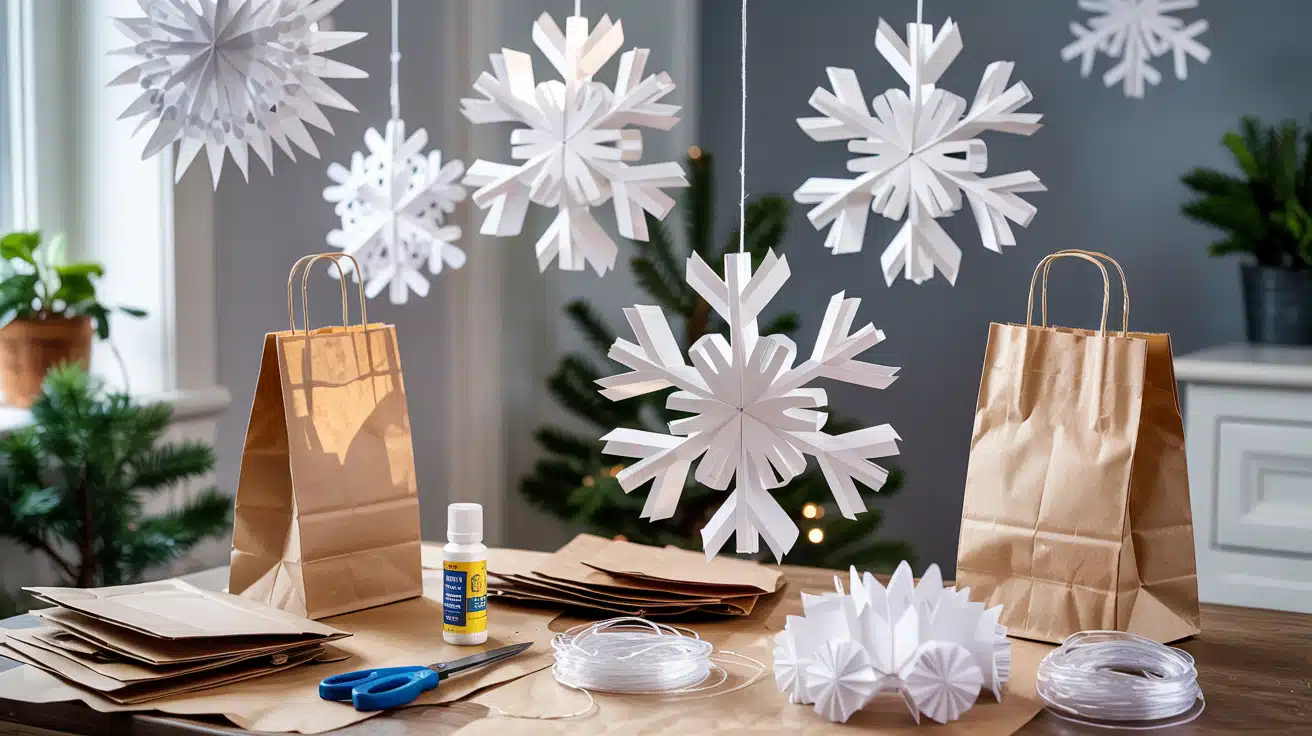
Step 5: Hang and Display Your Creation
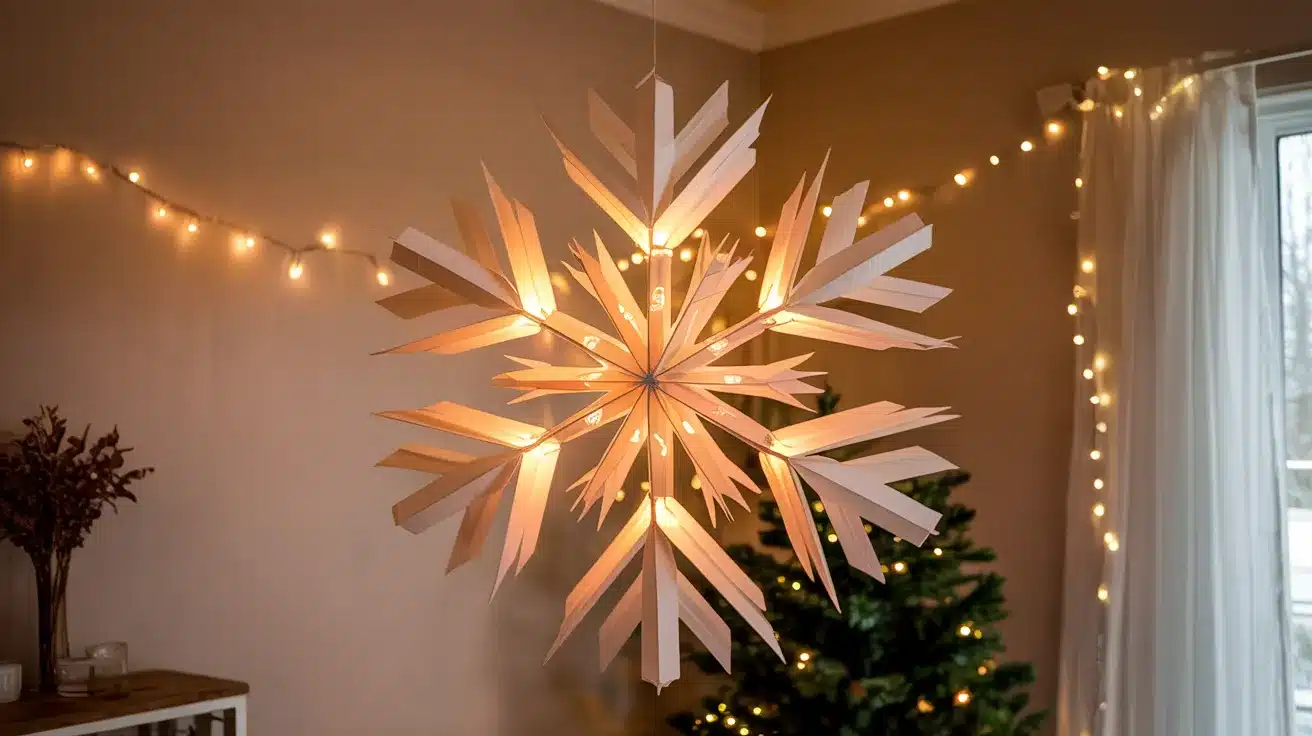
Punch a small hole in your snowflake and thread fishing line or string through it, tying a secure knot. The clear fishing line creates a floating effect, while clear tape can help secure it to the wall or ceiling.
Hang snowflakes at different heights for a dramatic look, and add small battery-operated LED lights for a magical glow at night.
These simple 3D snowflakes turn rooms into winter wonderlands, catching light and shadow in ways flat decorations can’t.
The project is budget-friendly yet delivers professional-looking results. You can create different sizes by trimming bags or mixing white and brown bags for a two-tone effect.
Innovative Designs: Finding the Perfect Shape
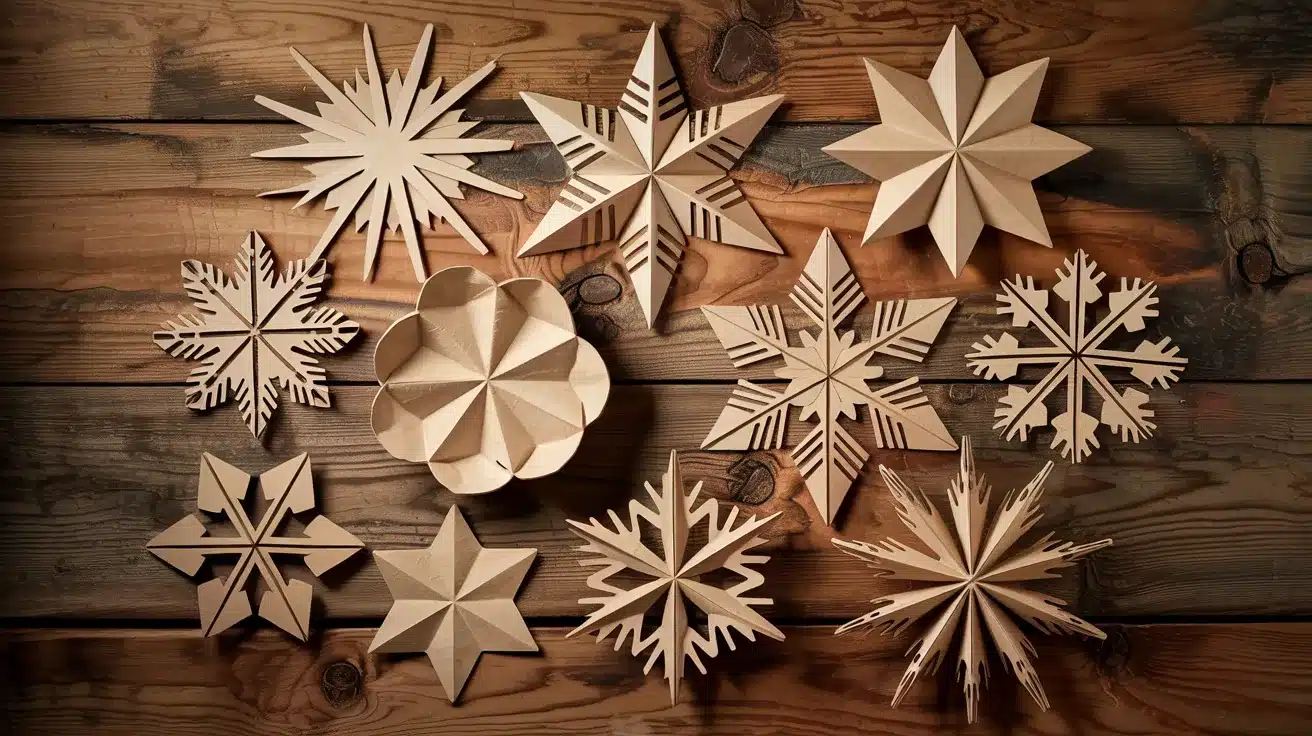
Find out about various cutting styles from classic pointed stars to gentle rounded edges.
Mix different cut patterns for unique looks, or try geometric shapes for modern spaces. Combine sizes and colors for visual interest.
Classic Pointy Snowflake
Cut deep triangles into the open edge of your bag stack to create sharp, star-like points. Make triangles of different sizes for a more natural look.
The deeper your cuts, the more dramatic the points will be when opened. This design looks most like traditional paper snowflakes and creates a classic winter feel.
Try cutting small triangles between the larger ones for extra detail. This style works well in groups of three, hung at different heights for maximum visual impact.
Rounded Gentle Snowflake
For a softer look, cut half-circle shapes along the edge instead of sharp points. These curved cuts create a gentler, cloud-like snowflake that feels more modern.
The rounded edges catch light differently, creating subtle shadows on your walls. This design pairs perfectly with minimalist home styles and looks great when made with white bags.
Add small round cutouts throughout the body for a lacy effect that enhances the soft appearance.
Mixed-Shape Snowflake
Combine different cut styles on the same snowflake for an interesting mix. Along the edge, alternate between pointed triangles and rounded scallops.
Add diamond shapes between them for more texture. This approach creates rich visual interest and mimics the complex patterns of real snowflakes.
The varied edges catch light at different angles, making the snowflake seem to change appearance as you move around it. This design works well as a standalone statement piece.
Geometric Snowflake
Create a more modern look with clean lines and geometric shapes. Cut rectangles, squares, and straight lines instead of the typical curved shapes. This contemporary approach fits well with modern décor styles.
The structured look creates bold shadows and stands out against busy backgrounds.
Try cutting some shapes completely through both sides of the bags while leaving others intact for a layered effect that adds depth to your finished snowflake.
Mini Mixed-Size Cluster
Make several snowflakes in different sizes and hang them in a tight group. Before starting, cut lunch bags in half to create tiny ones.
Medium sizes can use the full bag, while larger ones might combine two bags taped together before gluing them into a stack.
The varied sizes create a natural, organic feel similar to real snowfall patterns. This approach works well in corner spaces or above furniture where a single snowflake might get lost.
Two-Tone Snowflake
Alternate white and brown bags in your stack for a striped effect when opened. This creates a catchy visual contrast that draws attention.
The two-tone effect adds dimension and makes the cut patterns stand out more clearly. This technique works best with simpler cut designs so the color pattern remains the focus.
The contrast helps highlight the layers and folds of the finished snowflake, showing off its three-dimensional quality.
Window Silhouette Snowflake
Design snowflakes specifically for window display by cutting less elaborate patterns. Simple shapes allow more light to shine through when hung in a window.
The paper creates a warm glow when backlit by natural daylight.
Try hanging several at different heights across a window for a winter scene effect. This approach works especially well with white bags, which let through more light than the brown kraft ones.
Extra Decorations for Your Snowflakes
Improve your creations with string lights, glitter, or natural elements. For contrast, try using both white and brown bags together.
Proper hanging techniques create the illusion of floating snowflakes for maximum impact.
Snowflakes That Light Up
Small battery-operated string lights transform basic paper snowflakes into magical evening decor. When forming the final circular shape, tuck the thin wire lights between the paper layers.
- Make sure the battery pack hangs hidden behind or is taped to the wall.
- The warm glow creates a cozy feeling as light filters through the cut patterns, casting pretty shadows on nearby walls.
- This works best with snowflakes made from 10-12 bags to provide more space between layers for hiding the light strand.
Sparkle and Shine
Add a touch of sparkle by brushing the edges of your cut shapes with school glue and sprinkling them with fine glitter. Apply this after cutting but before opening your snowflake for easier handling.
- The glitter catches light beautifully and adds a frosty appearance to your creation.
- You can also use a metallic paint pen to trace some edges for a more subtle shine.
This works well in entryways or dining areas where the sparkle will be noticed during gatherings.
Two-Tone Beauty
Mix white and brown bags in patterns for stunning visual interest. Try using four white bags followed by five brown ones for a striped effect, or alternate them one by one for a more blended look.
- The contrast highlights the cut patterns and creates depth.
- For a gradient effect, arrange bags from darkest to lightest when gluing your stack. This technique makes your snowflakes stand out against both light and dark walls.
Perfect Hanging
When hung from the ceiling, clear fishing lines create the illusion of floating snowflakes. Punch a small hole in one point of your snowflake, thread the line through, and tie a secure knot.
- For wall hanging, place clear tape just below the knot for better hold.
- Hang multiple snowflakes at varying heights for a falling snow effect.
- In windows, use suction cup hooks to avoid damage to glass or frames. For a rustic look, try natural twine instead of fishing line.
Nature-Inspired Additions
Bring the outdoors in by adding small sprigs of artificial greenery tucked between layers of your snowflake. Small pinecones glued to the center point add natural texture.
- For holiday themes, attach cinnamon sticks or dried orange slices to the points for a wonderful scent that fills the room.
- These natural elements pair especially well with the kraft brown paper bags and create a warm, inviting atmosphere.
Color Washes
Before cutting, lightly brush the edges of your stacked bags with watercolor paint in soft blues, silvers, or purples. The color will seep slightly into the paper, creating a gentle tint that enhances the winter theme.
- Keep the color application light so the paper doesn’t warp.
- This technique works best on white bags, where the colors show up more clearly. Try ombre effects by gradually increasing color intensity across the points.
Seasonal Switching
Create bases for different seasons by using colored paper bags or adding seasonal elements.
- Spring versions might include tiny silk flowers, summer ones could feature small seashells, and fall designs might incorporate mini artificial leaves.
- This lets you keep the same basic snowflake structure but change its appearance throughout the year. The basic technique becomes a foundation for innovative seasonal displays that keep your decor fresh.
Personalizing Your Snowflakes
Create custom designs with planned cutting patterns, decorative hole punches, and size variations.
Match your decor by adapting shapes and colors to specific rooms or holidays. You can also add photos or scents for multi-sensory appeal.
1. Custom Cut Patterns
- Draw your pattern with a pencil before cutting to plan your design.
- Try adding names or simple words by cutting out letters along the edge.
- For kids’ rooms, cut out small hearts, stars, or animal shapes that appear around the edge when opened.
- Test your pattern on a single folded paper first to see how it looks before committing to your full stack of bags. This saves time and materials
2. Hole Punch Magic
Use standard hole punches to add circular details throughout your snowflake. These small, perfectly round holes create a lacy, delicate look when the snowflake is opened.
- For more interest, try decorative hole punches in shapes like stars, hearts, or flowers.
- Space the punched holes evenly around your design or create specific patterns.
- This technique works best when you punch through just 3-4 bags at a time rather than the whole stack at once.
3. Size Matters
Adjust the size of your snowflakes based on where you’ll display them.
- Tiny versions made from bags cut in half work perfectly as tree ornaments or window decorations.
- Standard lunch bag snowflakes (9-12 bags) create medium-sized decorations perfect for walls and doors.
- For statement pieces in large rooms, try using bigger grocery bags for snowflakes that measure 18-24 inches across.
The different sizes create visual interest when grouped, mimicking the varied sizes of real snowflakes.
4. Room-Specific Themes
Create custom snowflakes for specific rooms:
- Bathroom: Blue and white tones to match typical bathroom colors.
- Dining Room: Incorporate metallic accents that catch candlelight during meals.
- Kids’ Rooms: Feature brighter colors or patterns that match their interests.
- Kitchen: Choose simpler patterns that won’t collect dust or be damaged by cooking steam.
- Bedroom: Soft, rounded shapes for a calming effect.
5. Holiday Adaptations
For Christmas, Easter, Halloween, and other holidays, adjust your cut patterns and colors to match the theme.
- Christmas: Cut small tree shapes into the edges of your bags.
- Easter: Feature bunny or egg cutouts.
- Halloween: Incorporate simple pumpkin or ghost shapes along the edges.
This versatility makes the craft budget-friendly, as the same technique works year-round.
6. Photo Frame Snowflakes
Create a special central opening in your snowflake design to frame a small photo. This personalized touch makes wonderful gifts or memory displays.
- Cut a circle or square in the center of your bag stack before opening the snowflake.
- Once opened, the center space becomes a perfect frame for a small picture.
- Secure the photo with small dots of glue to the back layers.
7. Scented Snowflakes
Add a sensory element by lightly spraying your finished snowflakes with room spray or essential oils. Peppermint, pine, or cinnamon scents work well for winter themes.
- The paper absorbs the scent and slowly releases it, creating a subtle fragrance in the room.
- This technique works especially well near heating vents, where the warm air helps disperse the scent.
Lightly mist again to replace the scent every few weeks. This multi-sensory approach makes your decorations more immersive and memorable.
Maintenance Tips for Long-Lasting Paper Snowflakes
To keep your paper bag snowflakes looking fresh year after year, follow these simple care tips:
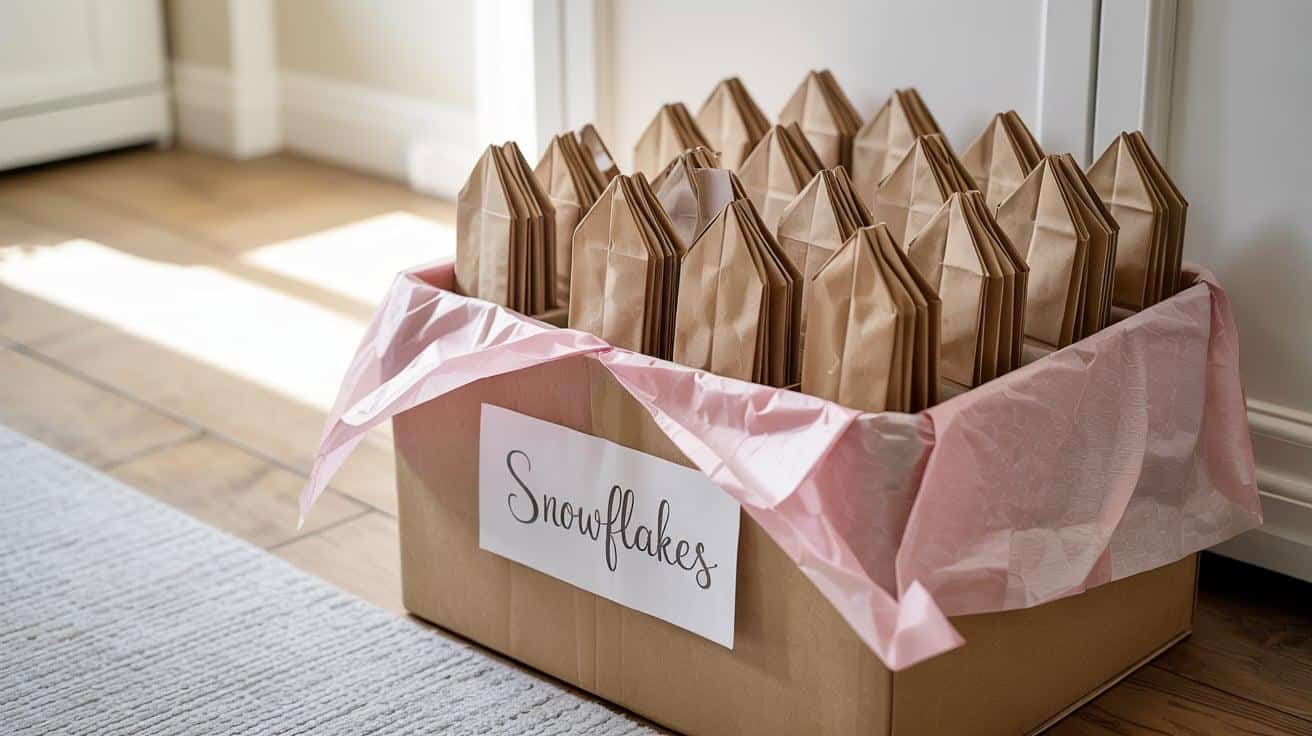
- Store Flat and Protected: Keep snowflakes flat in sturdy boxes with tissue paper between each one to prevent bending or crushing.
- Avoid Sunlight: Store your snowflakes in a cool, dry place away from direct sunlight to prevent fading.
- Dust Regularly: Gently dust snowflakes with a soft, dry paintbrush to remove dirt and keep them looking pristine.
- Spray for Durability: To protect your snowflakes from moisture and wear, consider spraying them with a light coat of clear acrylic sealer.
- Repair Minor Damage: Before storing, use a small dot of white glue to fix any tears or loose sections.
- Rest Before Hanging: When taking snowflakes out of storage, allow them to “rest” flat for a day to help them regain their shape before hanging.
Common Mistakes to Avoid
To ensure your paper bag snowflakes turn out beautifully, avoid these common errors:
- Use Glue Sparingly: Too much glue can cause the bags to stick together in unwanted places or cause warping as they dry.
- Leave Enough Connected Areas: Cutting designs too deeply can cause snowflakes to fall apart when opened. Be sure to leave some edges intact.
- Allow Adequate Drying Time: Rushing through the drying time of craft glue can cause layers to separate later, ruining the structure.
- Avoid Over-Cutting: Cutting too many shapes too close together weakens the snowflake and creates fragile points that tear easily.
- Secure the Shape: Don’t skip the final securing step with tape or staples, as this ensures the snowflake holds its shape.
- Use Strong Hanging Materials: Hanging decorations with weak materials can cause them to fall, leading to damage.
Conclusion
Paper bag snowflakes bring winter magic to your home without breaking the bank. With just a few dollars’ worth of supplies, you can create decorations that look far more expensive than they are.
The simple steps we’ve covered make this an accessible project for crafters of all skill levels.
These decorations work in any space, from bathrooms to living rooms, and can be customized in endless ways with different cuts, colors, and additions. With proper storage, they’ll last for many seasons to come.
Why not gather your supplies today and start creating your winter wonderland? Your guests will never guess these beautiful decorations began as simple paper lunch bags.
Read other blogs and DIY guides on our website for ideas to add even more style to your home.