
How to Make a DIY Faux Beam: A Step-by-Step Guide
Tired of staring at boring ceilings or blank walls that feel like they’re missing something? You’re not alone.
Many people want the look of real wood beams but don’t want the cost, weight, or headache that comes with them.
That’s where DIY faux beams come in. This simple guide shows you exactly how to make your own, even if you’ve never picked up a nail gun before.
We’ll walk through all the steps, what tools you need, how to cut the boards, assemble the beam, and mount it securely. You’ll also learn how to stain, distress, or finish it to match your style.
By the end, you’ll have the skills to give any space a fresh, custom look for less. Curious how it all comes together? Let’s get started!
What are Faux Beams?
Faux beams are decorative boards that look like real wood beams but are much lighter and easier to install. They don’t hold any weight; they’re just for looks.
People use faux beams to add warmth, style, or character to ceilings and walls. They’re often seen in living rooms, kitchens, or over doorways to make a space feel more finished or cozy.
Why Not Use Real Beams?
- Lighter: Faux beams can be made from pine, MDF, or even foam, so there is no need for heavy lifting.
- Easier to install: No need for extra framing or structural support.
- Cheaper: Real wood beams can be expensive. Faux beams offer the same look for a fraction of the cost.
Common Styles to Choose From
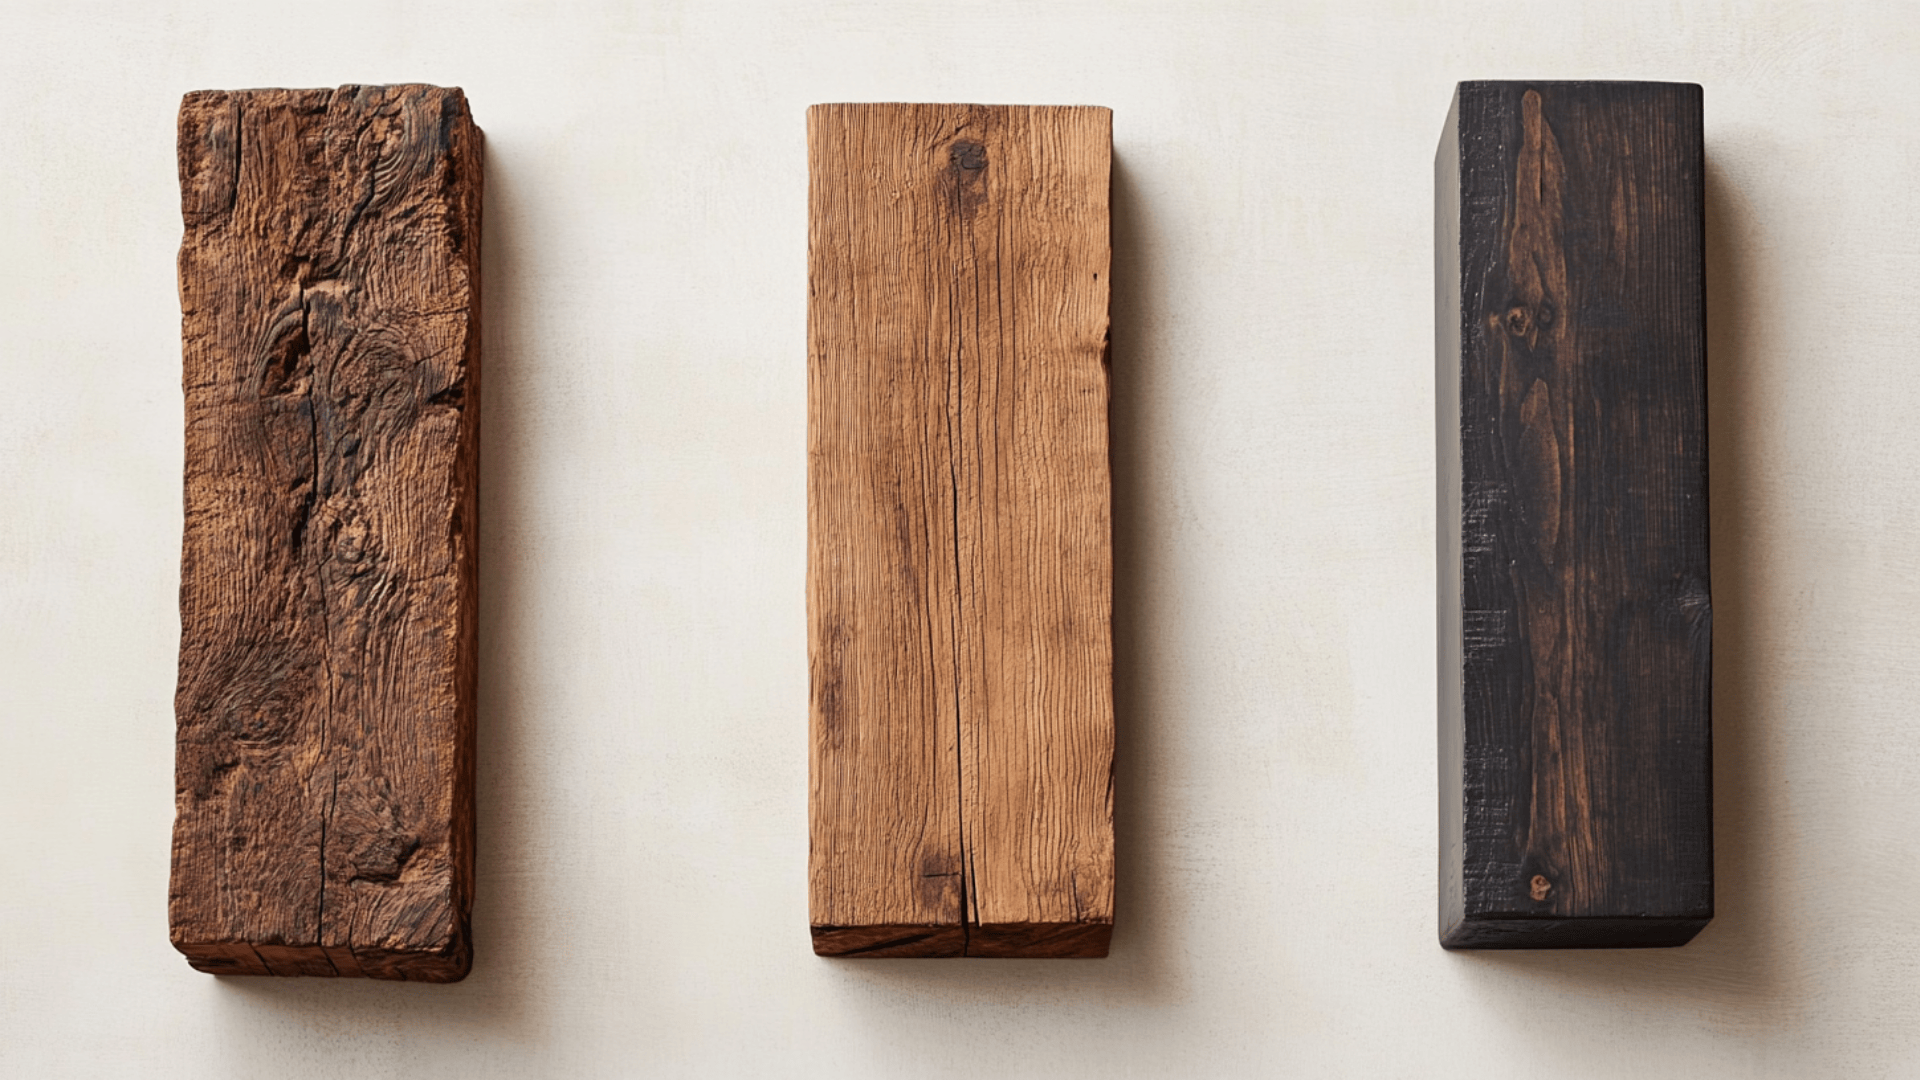
- Rustic: A Rough, distressed, or hand-hewn look.
- Farmhouse: Clean but weathered, often whitewashed or gray.
- Modern: Smooth lines with minimal texture, stained in darker tones.
Faux beams work with all kinds of styles. You just need the right shape, finish, and color to match your space.
Choosing the Right Material
Before you start building your faux beam, it’s important to choose the right material. The look, feel, and ease of installation all depend on what you work with.
The two main options are wood and foam, and each has its own strengths.
Wood Faux Beams
Wood is the most popular choice for DIY faux beams. Because you’re using real wood, it gives the most realistic look.
Common options include pine, cedar, MDF, and even reclaimed wood. Pine is affordable and easy to find, cedar offers a beautiful natural grain, MDF gives you a smooth surface for painting, and reclaimed wood adds a worn, rustic vibe.
Wood beams are sturdy, long-lasting, and easy to customize. You can distress them, stain them in any color, or even add texture with tools for a hand-hewn finish. If you want something that looks and feels like a real beam, wood is the way to go.
Foam Faux Beams
Foam beams are a lightweight alternative that still gives you the wood look, just without the heavy lifting.
They’re made from high-density foam and are much easier to cut and install, especially if you’re working alone or mounting them on a ceiling.
You can buy pre-made foam beams that already have the shape and wood grain or make your own using rigid foam boards. With a little paint and texturing, foam can look surprisingly realistic.
It’s a great option for beginners or anyone who wants a quick, low-mess project that doesn’t need power tools or strong supports.
Tools & Materials You’ll Need
Here’s a list of everything you’ll need to build and install a DIY faux beam. Most of these tools are easy to find at your local hardware store. A few extras are optional but can help you get a more custom or detailed finish.
Main materials:
- Boards (pine, cedar, MDF, or reclaimed wood)
- Wood glue
- Screws (1¼”–2” wood screws)
- Wood filler or wood plugs (optional)
- Wood stain or paint
- Polycrylic or polyurethane finish
- French cleat mounting hardware (or L-brackets)
Tools:
- Table saw or circular saw
- Miter saw
- Brad nailer or finish nails (18-gauge)
- Drill and drill bits
- Power sander or sandpaper
- Measuring tape and pencil
- Level
Optional extras:
- Chains, screws, or other tools for distressing
- Paint can opener or screwdriver (for aging marks)
- Beam straps or metal brackets for a finished look
Gathering everything ahead of time will help the project go smoothly from start to finish.
Step-by-Step: DIY Faux Beam (Wood Version)
Faux beams offer the look of solid wood without the weight or cost. You can go for a rustic look or keep it clean and modern.
This guide walks you through every step, from cutting boards to mounting the finished beam.
Step 1: Cut Your Boards to Size
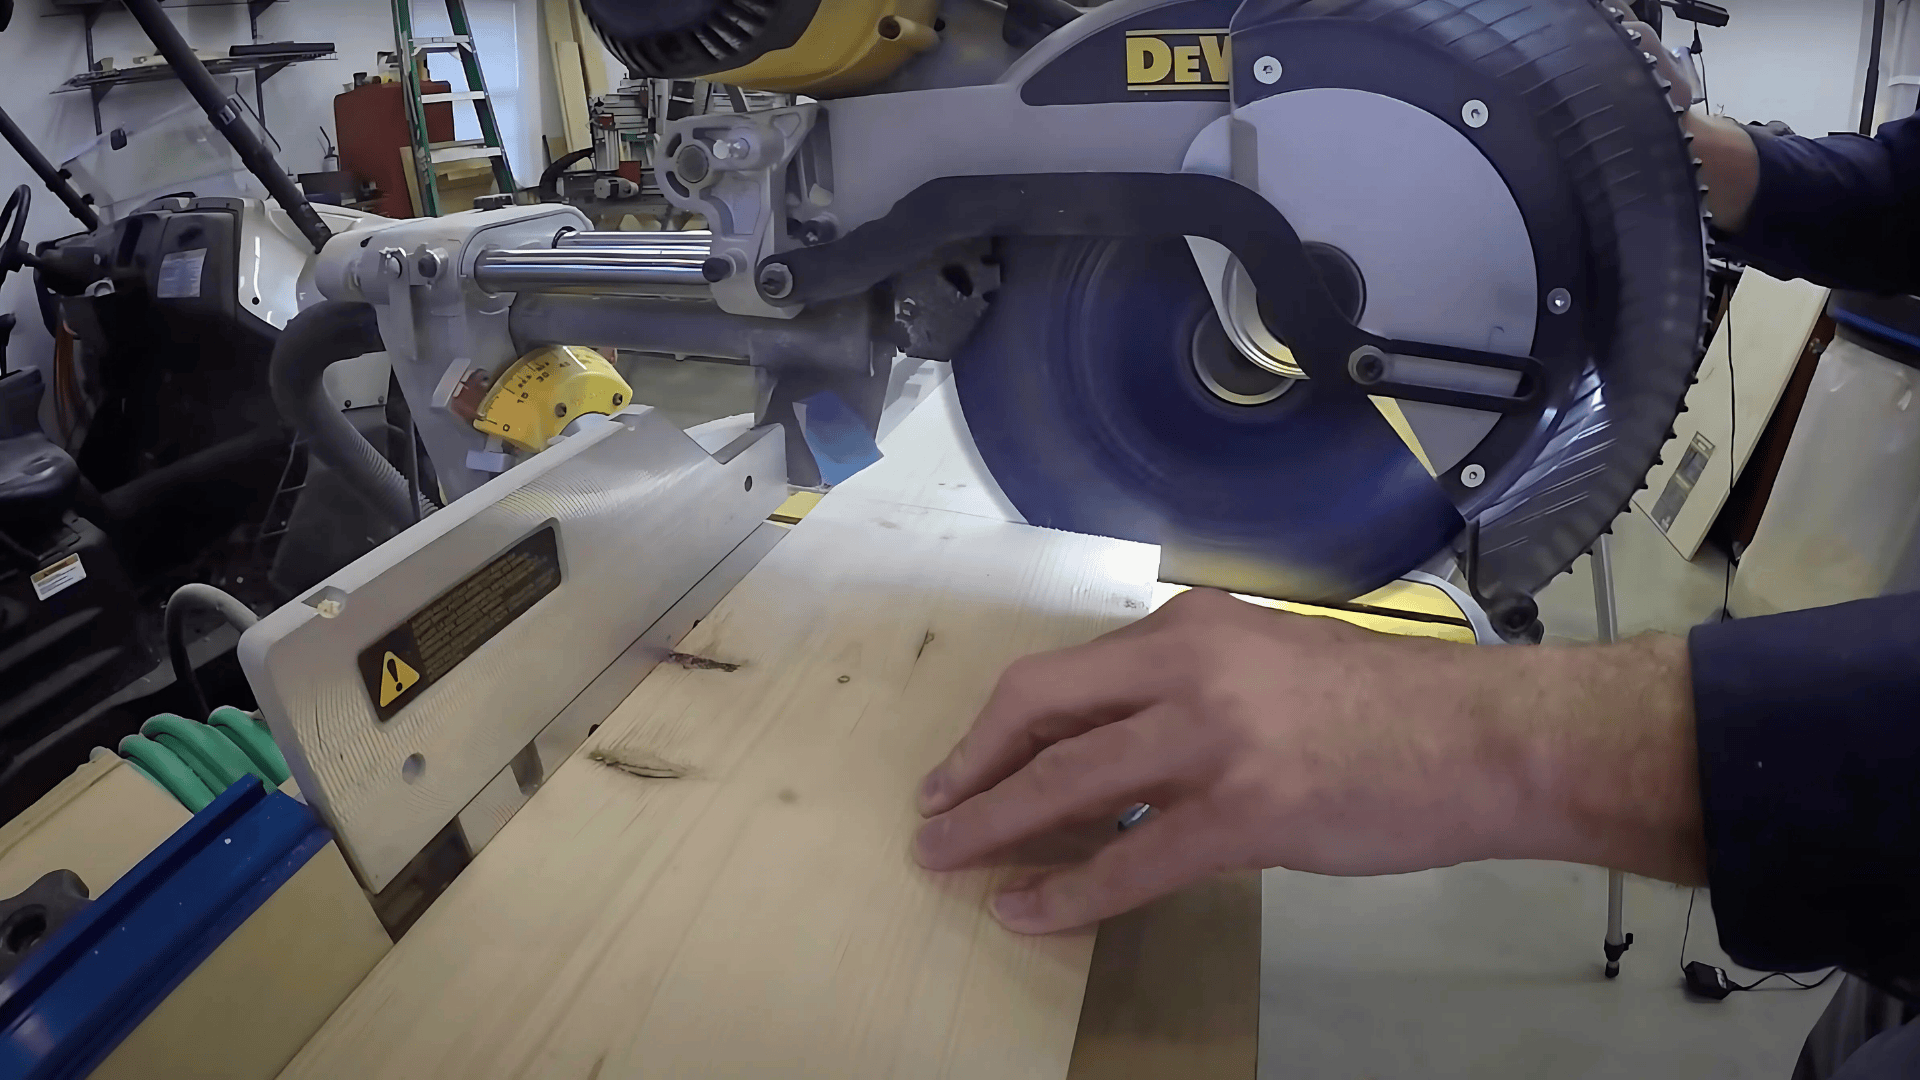
Start by deciding how long and wide you want your faux beam to be. A common size is 6 inches tall, 6 inches deep, and 48 inches long, but you can adjust it based on your space.
Cut three main boards:
- One for the front face
- One for the top
- One for the bottom
Each board should be the same length. The width will depend on your beam size—most people rip them to about 6 inches wide.
Optional: If you want a fully enclosed beam, cut two small end cap pieces from leftover wood. These will close off the sides for a finished look.
Once everything is cut, lay it out to make sure it fits the design you want.
Step 2: Miter the Edges (for Clean Seams)
To make the beam look like solid wood, you’ll need to miter some edges. Mitering means cutting the edge at a 45-degree angle so the pieces join smoothly.
Here’s how to miter:
- Front board: Miter both long edges.
- Top and bottom boards: Miter one long edge each.
- End caps (if using): Miter all four edges for a snug fit.
Mitering helps the corners blend together without visible seams. This gives your beam a clean, finished look, like it was cut from one solid piece of wood.
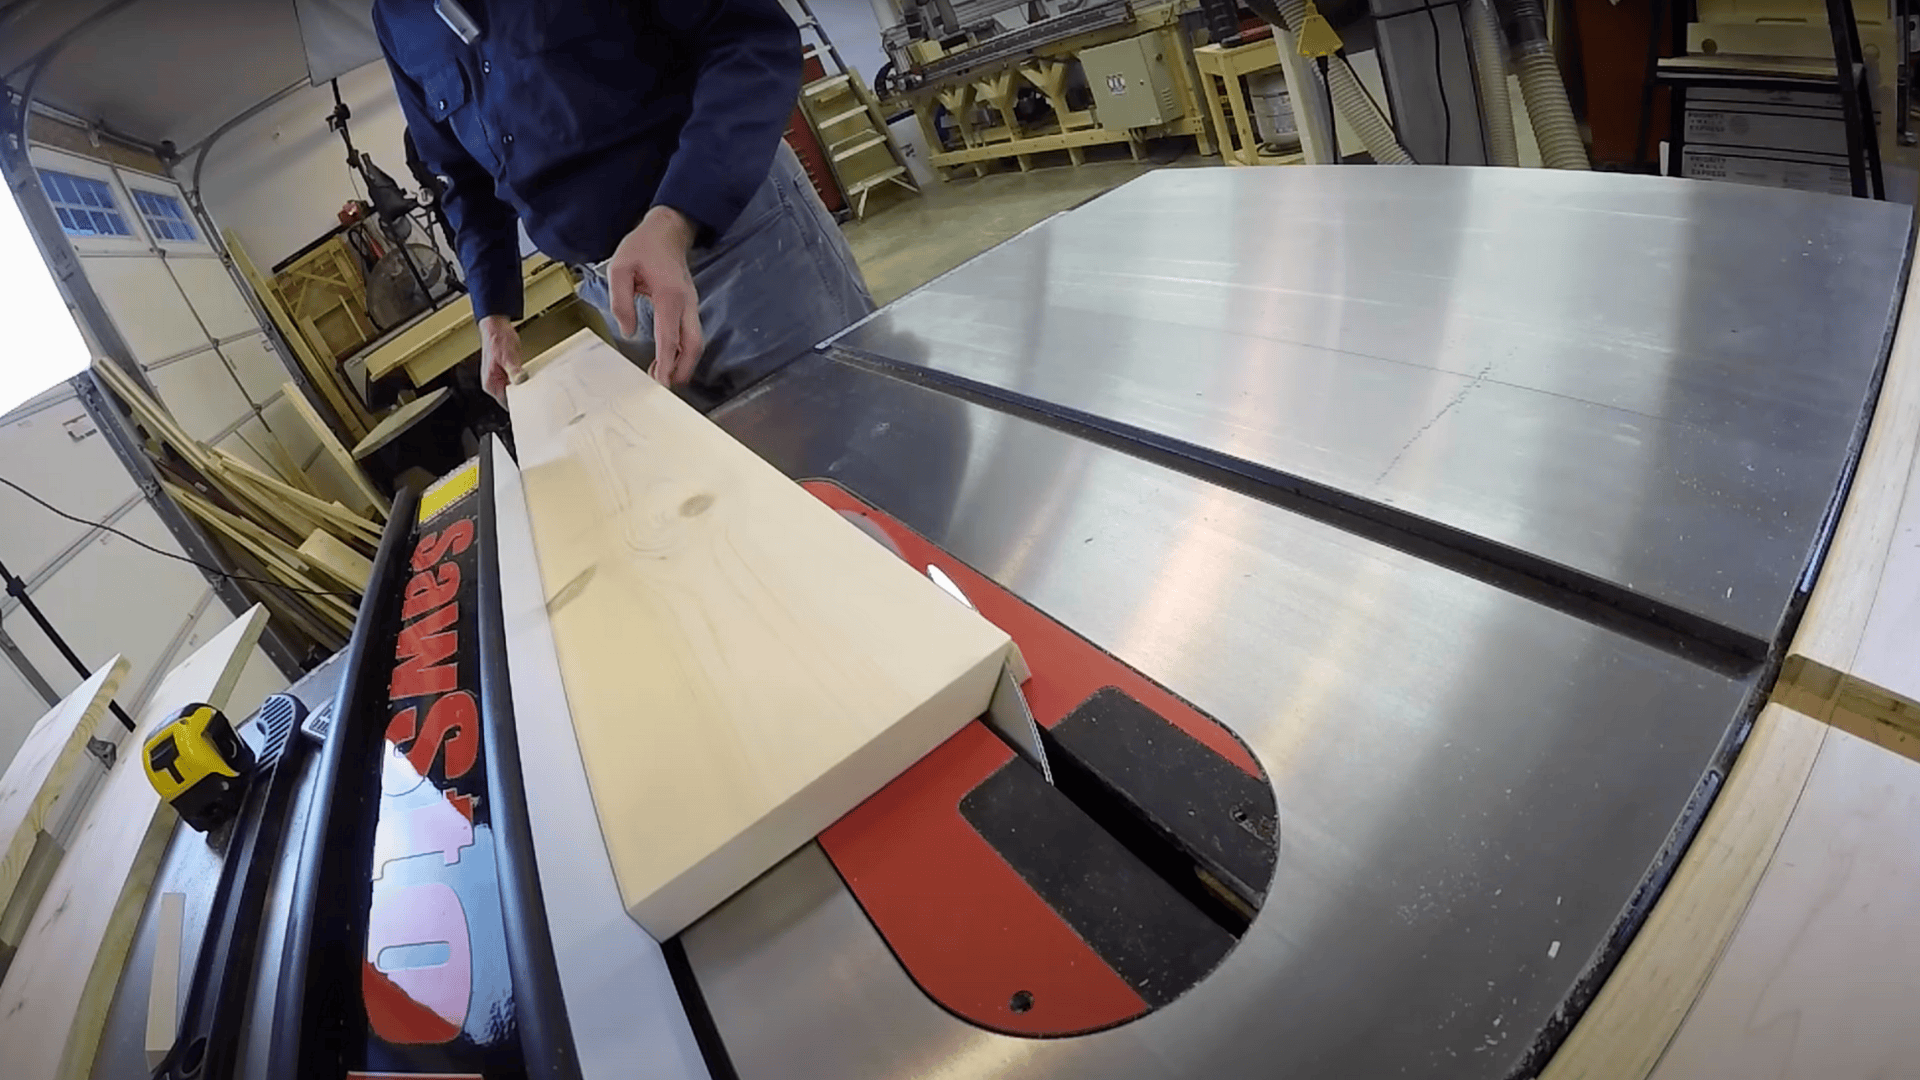
Step 3: Build and Attach the French Cleat
A French cleat is a two-part system that locks together to hold the faux beam in place. It makes it easy to hang your faux beam securely on the wall.
Here’s how to make one:
- Start with a board that’s a few inches shorter than your beam.
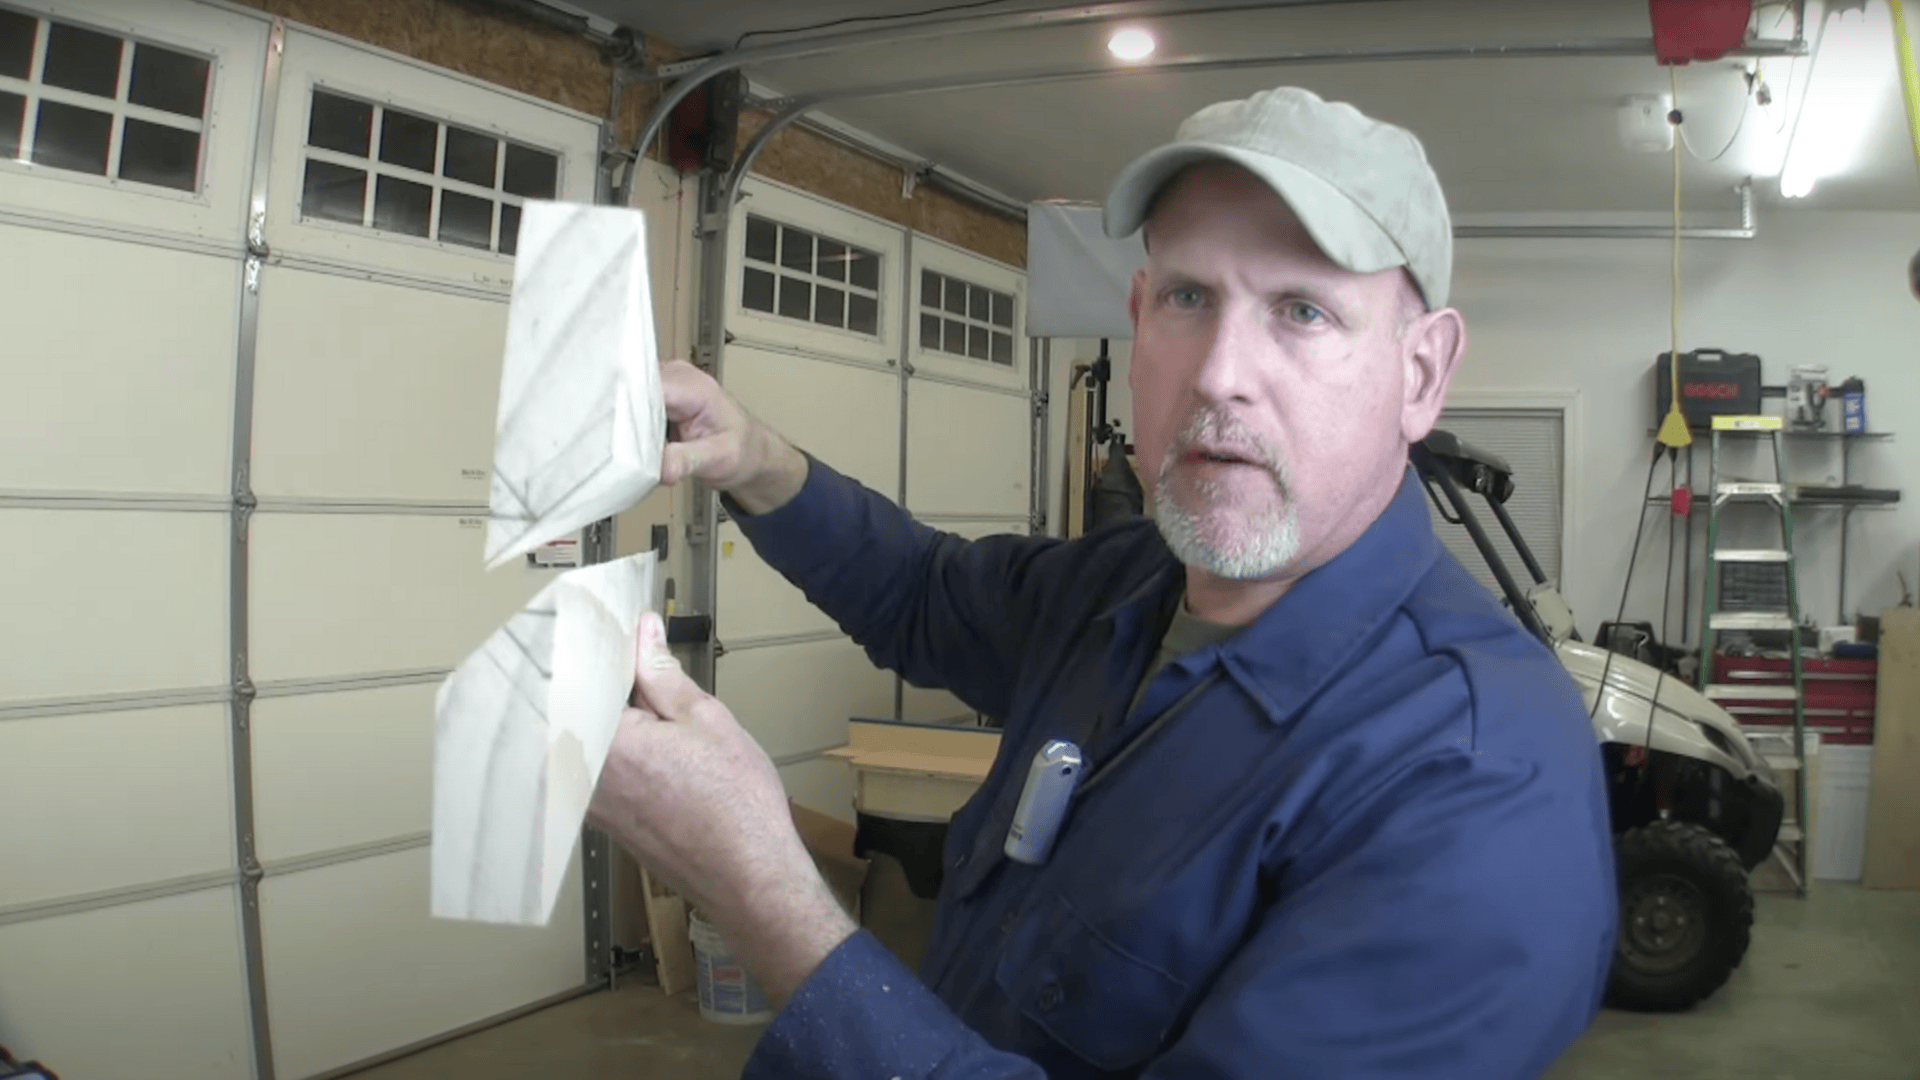
- Rip it down the middle at a 45-degree angle using a table saw.
- You’ll end up with two matching pieces—one goes on the beam, and one goes on the wall.
Attach the cleat to the top inside edge of the beam:
- Mark the placement, usually about 4 inches in from each end.
- Apply wood glue to the back of the cleat.
- Nail it in place with a brad nailer.
- Flip the board over and drive screws through from the top for extra hold.
Optional: Cover the screw holes with wood plugs or filler for a cleaner look.
Step 4: Assemble the Beam Box
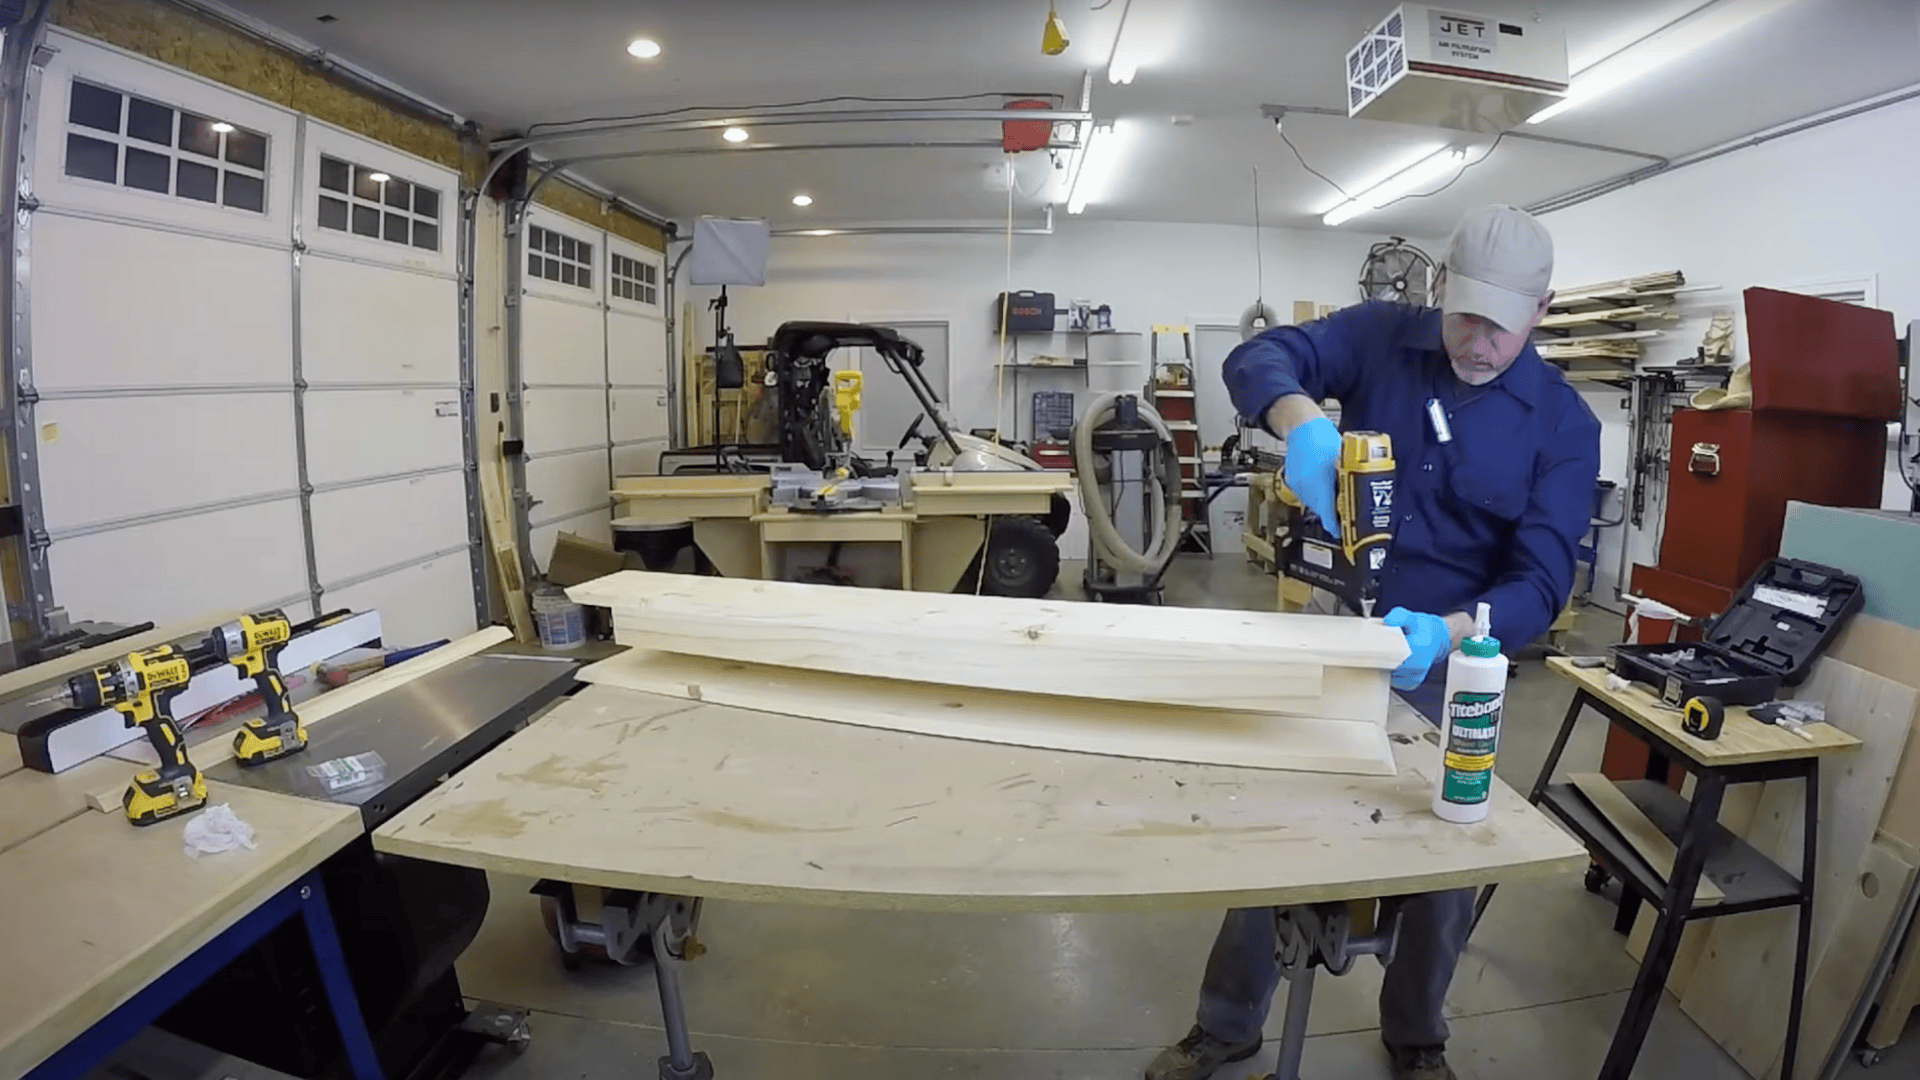
Now it’s time to put your beam together. This step creates the hollow box shape.
Follow these steps:
- Lay the front board flat.
- Apply wood glue along the mitered edges.
- Attach the top and bottom boards to the front to form a “U” shape.
- Use a brad nailer to pin everything in place while the glue dries.
Once it’s tacked together, stand it up and check that everything is lined up evenly. Adjust it if needed before the glue sets.
Step 5: Add the End Caps (Optional)
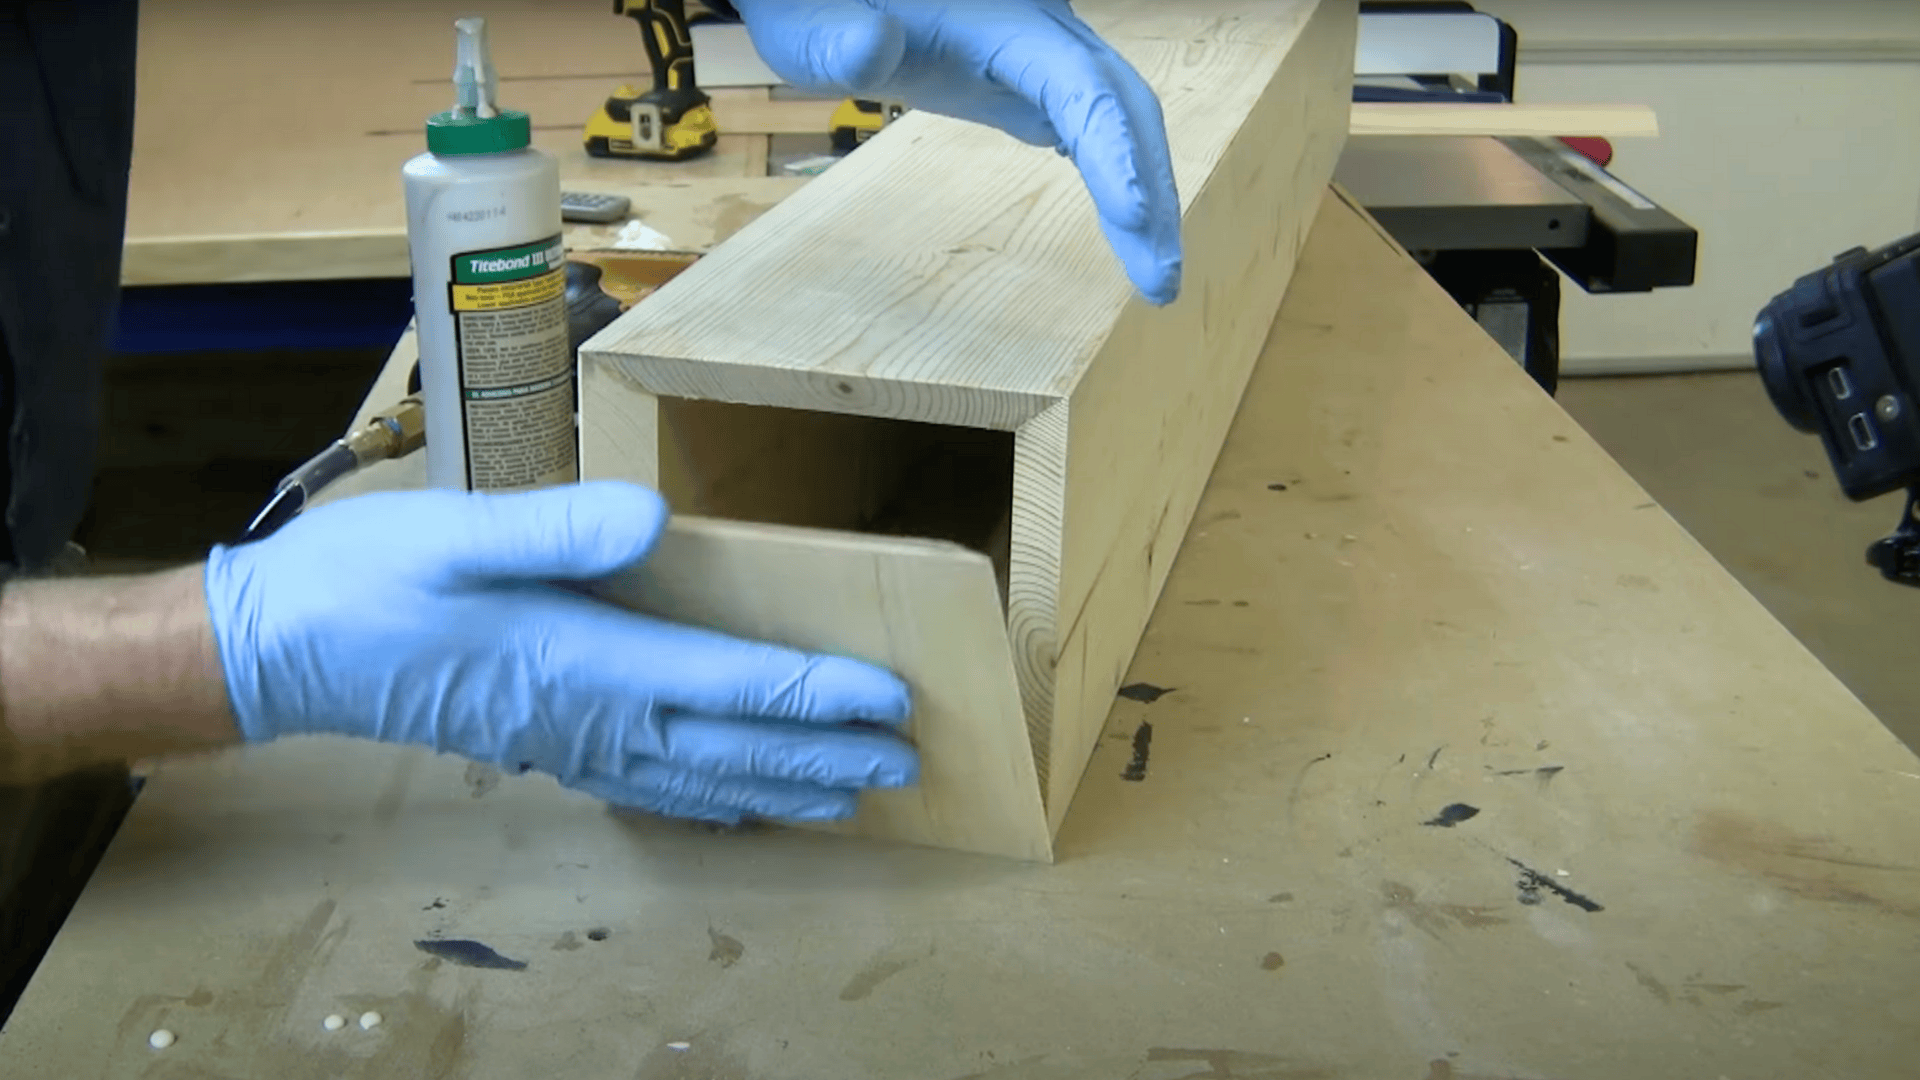
If your beam ends are visible, you’ll want to close them off with end caps. These help the beam look more realistic and finished.
Here’s what to do:
- Take your two small pieces cut earlier.
- Apply wood glue along the mitered edges.
- Slide each piece into the end of the beam.
- Tap gently to fit and secure with brad nails if needed.
The fit might not be perfect, and that’s okay. You’ll distress and sand it later, so small gaps won’t matter.
Step 6: Sand the Beam Smooth
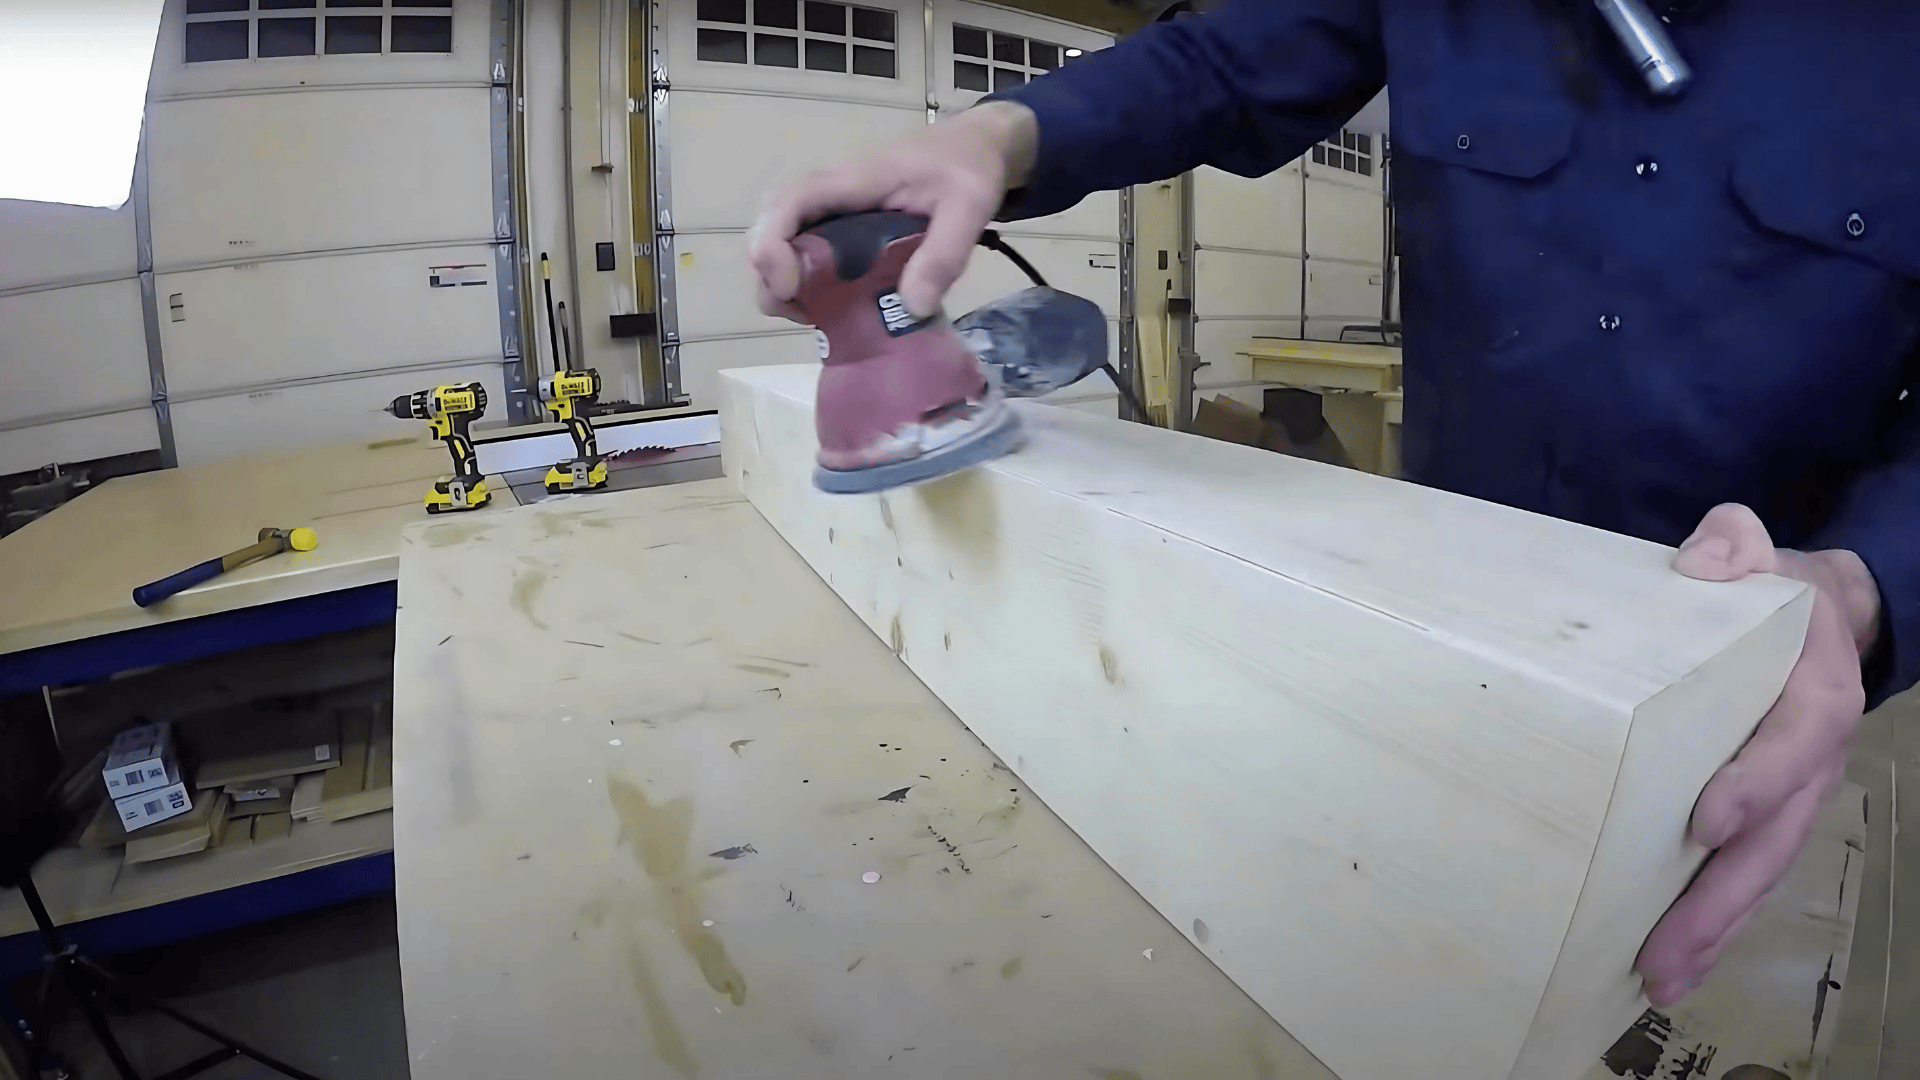
Before you stain or finish the beam, give it a good sanding. This helps smooth out any rough edges and prepares the surface.
Use a power sander or sanding block to:
- Soften sharp corners
- Smooth over joints and seams
- Level any uneven spots
If you used wood filler or plugs, sand those areas flush with the rest of the beam. This step also helps the stain go on more evenly in the next part.
Step 7: Distress the Beam (Optional)
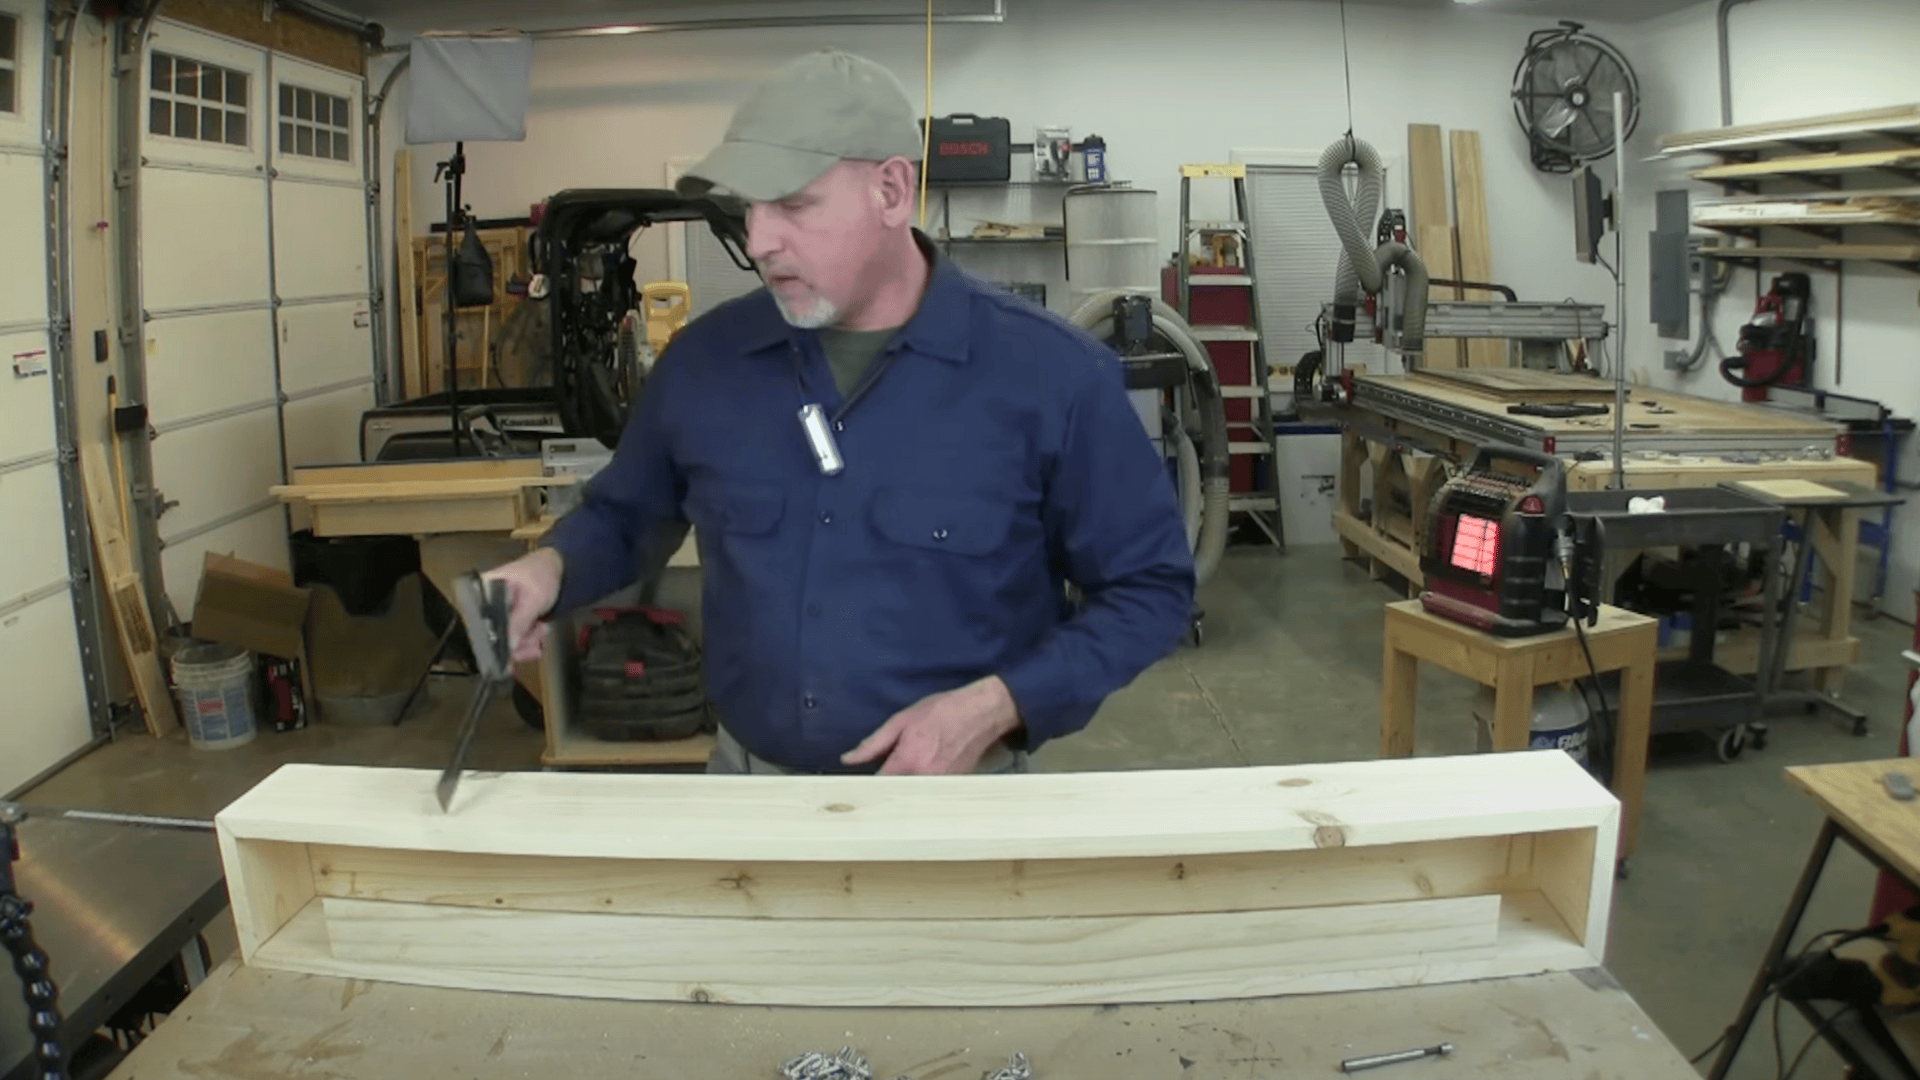
This is the fun part if you want a rustic, aged look. Distressing makes your beam look like it’s been around for years.
Here are a few simple ways to do it:
- Tap it with a hammer or chain to create dents.
- Use a screwdriver or paint can opener to scrape or gouge the surface.
- Drill small holes with a Forstner bit to mimic wormholes.
- Drag screws or nails across the wood to add texture.
Work across the whole beam, focusing on edges and corners. There’s no right way; just make it look naturally worn.
Step 8: Apply Wood Stain
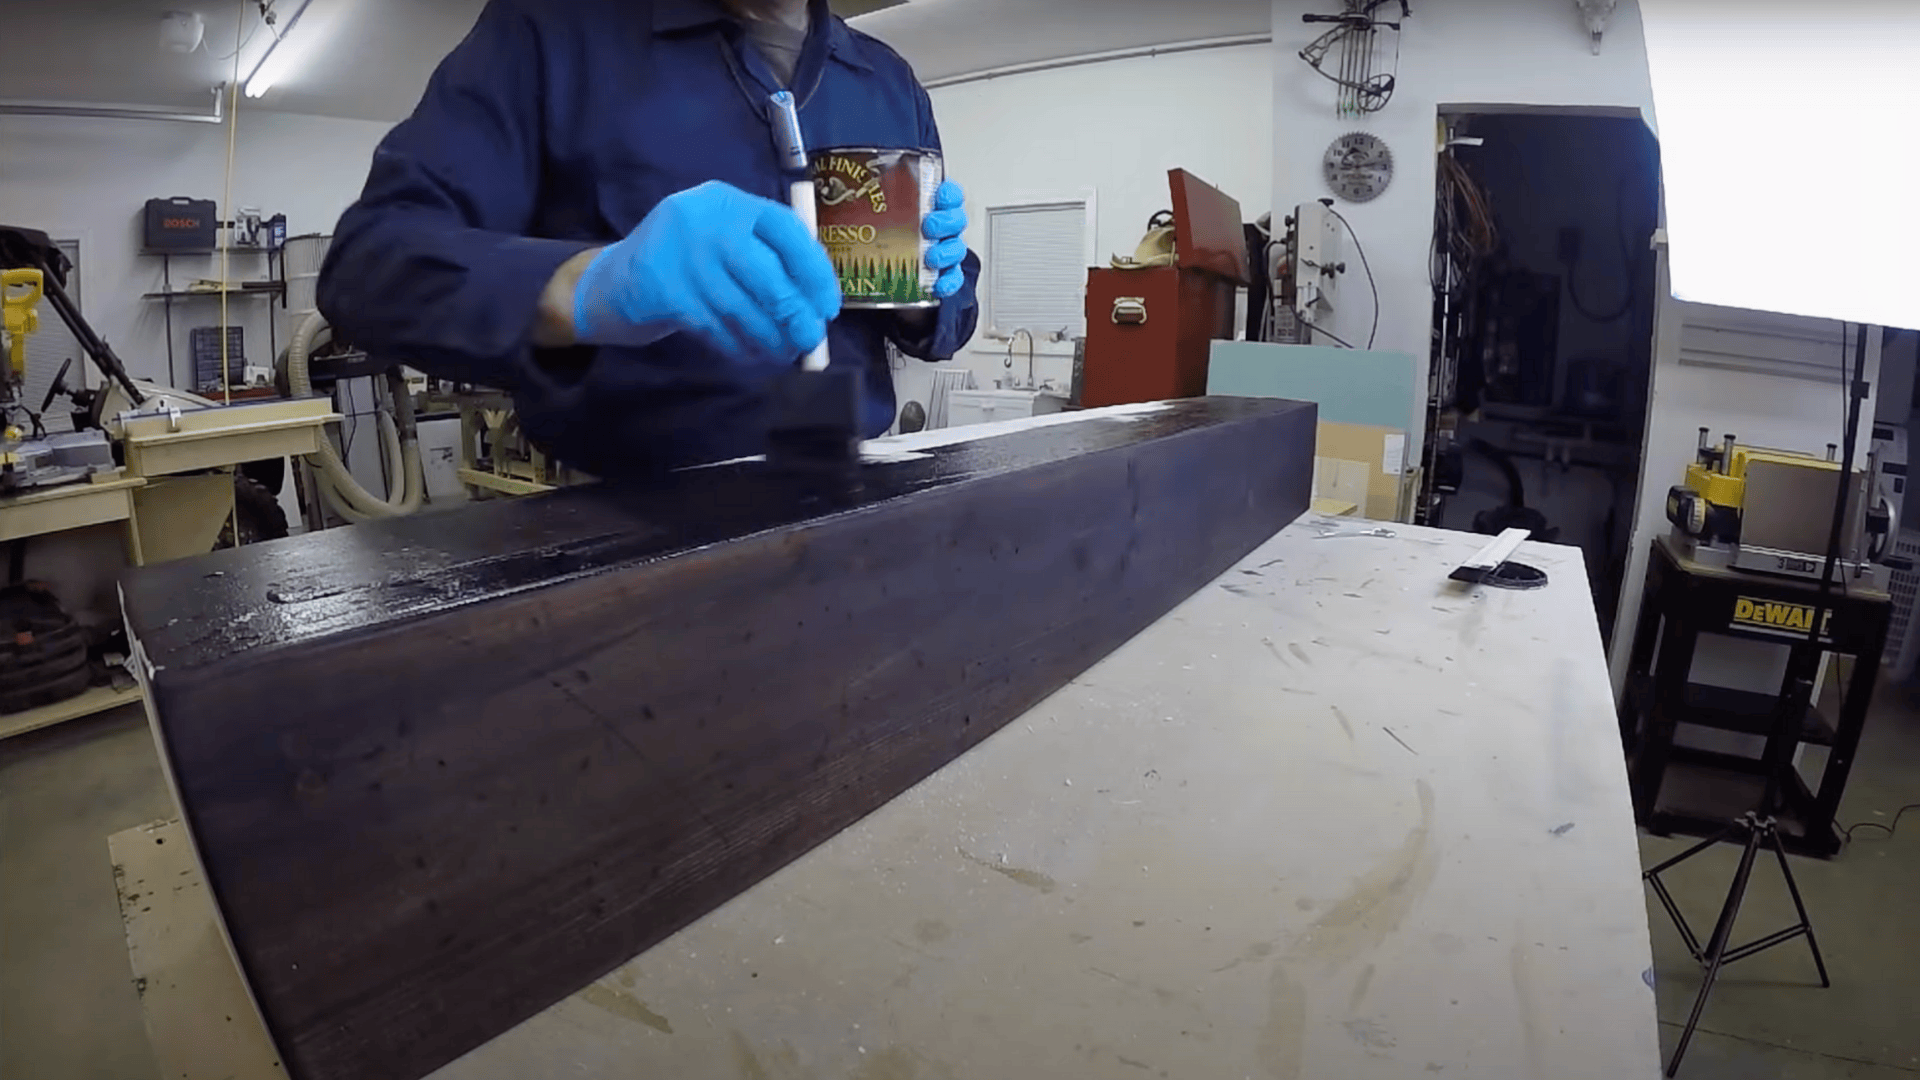
Now, it’s time to add color and bring the beam to life. Staining highlights the grain and gives it that finished wood look.
Here’s how to do it:
- Brush or wipe on your wood stain of choice.
- Let it sit for a few minutes.
- Wipe off the excess with a clean, dry cloth.
If it looks too dark, dampen a cloth and wipe again to lighten it up. Water-based stains are great for easier cleanup and better control. Let the beam dry fully; overnight is best.
Step 9: Apply a Protective Finish
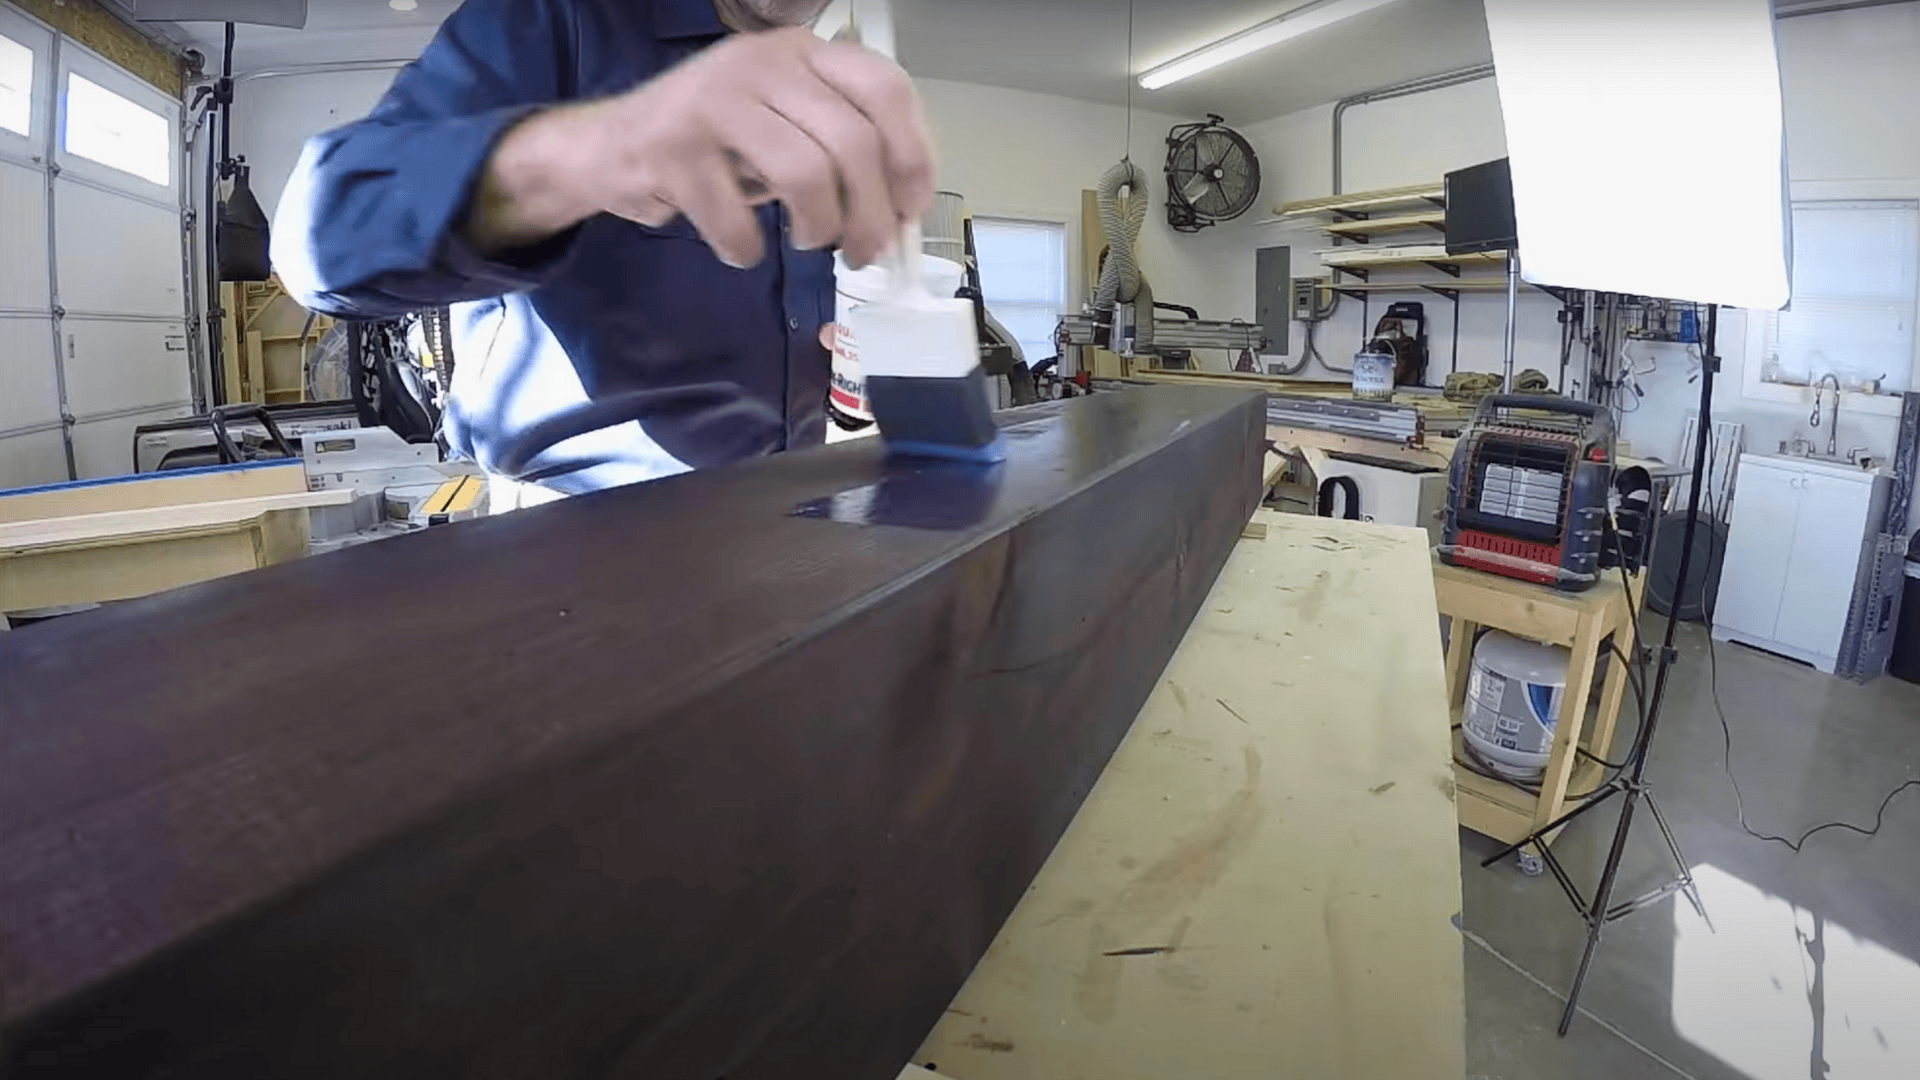
A clear topcoat protects your faux beam from scratches, dust, and wear over time. You can use polycrylic or polyurethane for this step.
How to apply:
- Use a foam brush or a clean bristle brush.
- Apply a thin, even coat over the entire surface.
- Let it dry fully before adding another coat.
Optional: Lightly sand between coats using fine-grit sandpaper. This smooths out the finish and helps the next coat stick better.
Apply 2–3 coats for best protection, letting each one dry completely.
Step 10: Mount the Beam
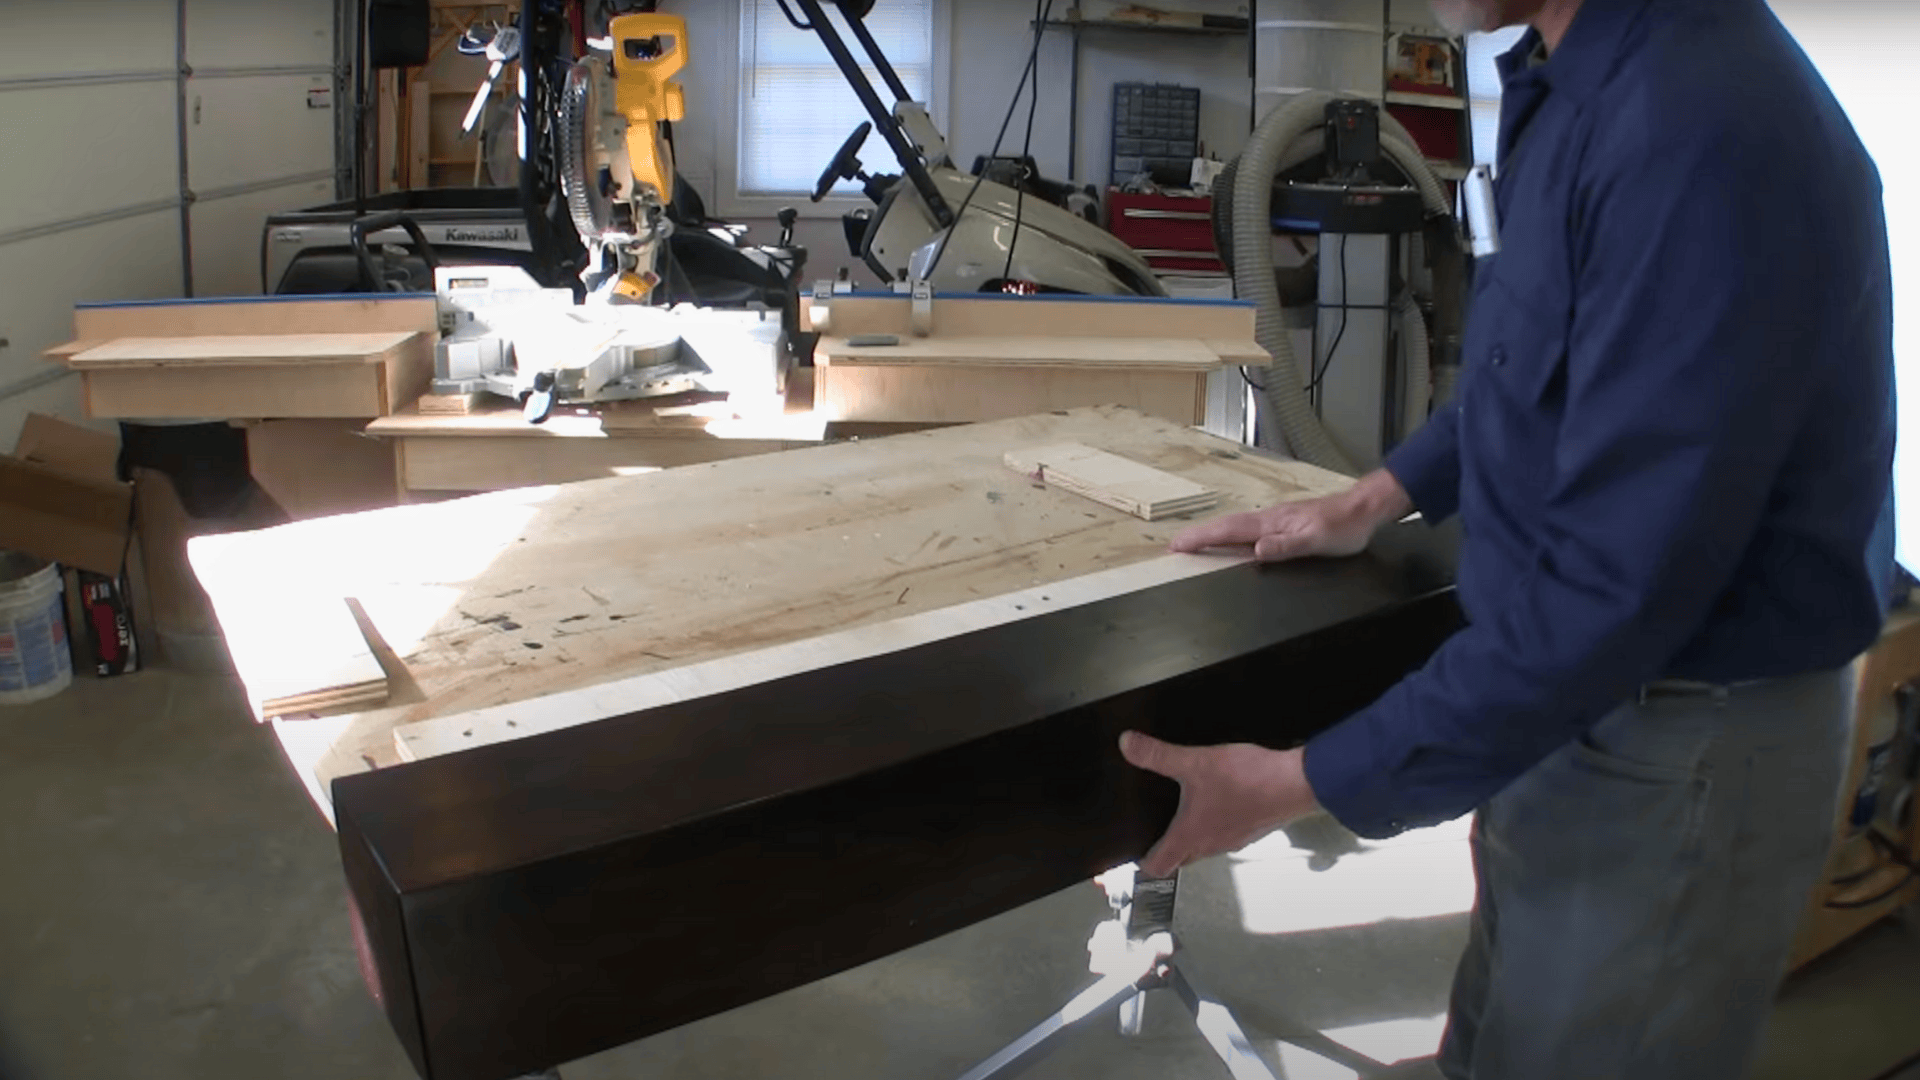
Now you’re ready to install your beam. If you built it with a French cleat, mounting is quick and sturdy.
To mount with a cleat:
- Attach one cleat piece to the wall using screws and wall anchors or studs.
- Line up the beam and slide it onto the cleat. It should lock in place snugly.
Other mounting options:
- Use L-brackets under the beam for visible support.
- Try floating shelf mounts if you want a cleaner, hidden look.
Make sure your wall-mounting hardware is strong enough to support the weight of the beam, especially if you plan to place objects on top.
Watch the full video tutorial here for a closer look at each step:
How to Make Faux Beams Using Foam (Quick Overview)
Foam faux beams are a lightweight, budget-friendly way to get the wood beam look without heavy lifting.
This method uses pink insulation foam, which is not covered with wood but is just foam-shaped and finished to look real.
Start by cutting the foam boards into a U-shape. Use a wire brush to scratch the wood grain texture and create faux knots.
For coloring, apply a lighter base coat followed by a darker stain or paint. Semi-transparent stains work best for a natural wood effect.
To assemble, glue the panels together using construction adhesive or spray glue. Fill seams with joint compound, sand smooth, and re-texture as needed.
Mount the beam by sliding it over wood blocks secured to the ceiling studs. Foam is best for ceilings, vaulted rooms, or if you’re working solo.
For a full foam beam tutorial, check out this helpful video: Foam to Faux Ceiling Beams: DIY.
Where to Use Faux Beams
Faux beams can be added in several areas around the home to create warmth, depth, or a custom look. Here are some common places to use them:
- Mantels: Use as a fireplace mantel to add rustic or modern charm.
- Doorways: Frame open entries for a more defined, finished appearance.
- Ceilings: Run beams across flat or vaulted ceilings to add texture and interest.
- Shelves: Cut and mount as floating shelves for a stylish, functional touch.
- Trusses: Trusses create the look of structural support on tall or angled ceilings.
Each of these adds character without needing major construction or heavy materials.
Common Mistakes to Avoid
Even simple DIY projects can run into trouble if you’re not careful. Here are a few common mistakes to watch out for when building faux beams:
- Warped boards: Make sure your boards are straight before cutting. Warped wood can throw off the whole beam and make it hard to mount.
- Loose mounts: Always secure your mounting cleat or blocks to studs. If the beam isn’t solidly attached, it may sag or shift over time.
- Visible seams: Mitered edges help hide seams. If you’re using foam, use joint compound and re-texture the area to blend it in.
- Skipping distressing: If you’re going for a rustic look, don’t forget to rough up the surface. A smooth finish can look fake.
- Not sealing properly: Use polycrylic or polyurethane to seal the stain. This helps prevent dust buildup and protects the finish.
Taking the time to avoid these issues will help your beam look more professional and last longer.
Conclusion
Now you know how to build DIY faux beams using either wood or foam. These are two smart options that can totally change the look of a room without breaking the bank.
If you’re thinking about adding a rustic mantel, ceiling detail, or custom shelf, you’ve got the steps to make it happen.
This guide gave you everything from tools and materials to tips for mounting and finishing. Faux beams are not only budget-friendly but also easy to customize for your style and space.
Remember, small details like texture and sealing make a big difference.
If you try this project, share a photo or drop a question in the comments. We’d love to see what you build! Want more ideas? Check out our other DIY and home project blogs next.


