How to Build a DIY Pea Gravel Patio in a Weekend
Want a new patio but worried about the cost? A DIY pea gravel patio might be your answer!
You can make one in a weekend for a fraction of what pros charge for concrete or pavers. This simple project needs just a few basic tools and materials.
In this guide, we’ll walk through each step to creating your own backyard spot, from clearing the ground to adding the final touches.
You’ll learn how to pick the right spot, set up proper borders, block weeds, and lay gravel correctly.
By Sunday evening, you could be sitting on your new patio with a cold drink, proud of what you built with your own two hands!
Why Pea Gravel Patio is a Great Addition
Pea gravel makes a great choice for your outdoor space because it’s both good-looking and practical. Unlike larger stones that can hurt your feet, pea gravel feels nice to walk on due to its smooth, rounded shape.
Pea gravel costs much less than concrete or pavers, making it a budget-friendly option for homeowners. It also drains water better than solid surfaces, reducing puddles and runoff.
Compare this with crushed stone or river rock, which are harder to walk on and often cost more. For a mix of comfort, price, and looks, pea gravel is hard to beat.
Steps for a DIY Pea Gravel Patio
Before you begin, gather all the materials you’ll need for the project. Once you have everything ready, follow the simple steps below to create your DIY pea gravel patio.
Materials Required
Here’s the list of materials required for building a pea gravel patio:
- Pea Gravel (4 cubic yards)
- Fieldstone (2 cubic yards) – Optional
- Landscape Fabric (Weed Barrier)
- Landscape Pins (Staples)
- Stones for Perimeter
- Shovel or Rake
- Measuring Tape
- Wheelbarrow
- Gloves and Safety Gear
Now, let’s begin with the steps.
1. Preparation of the Area
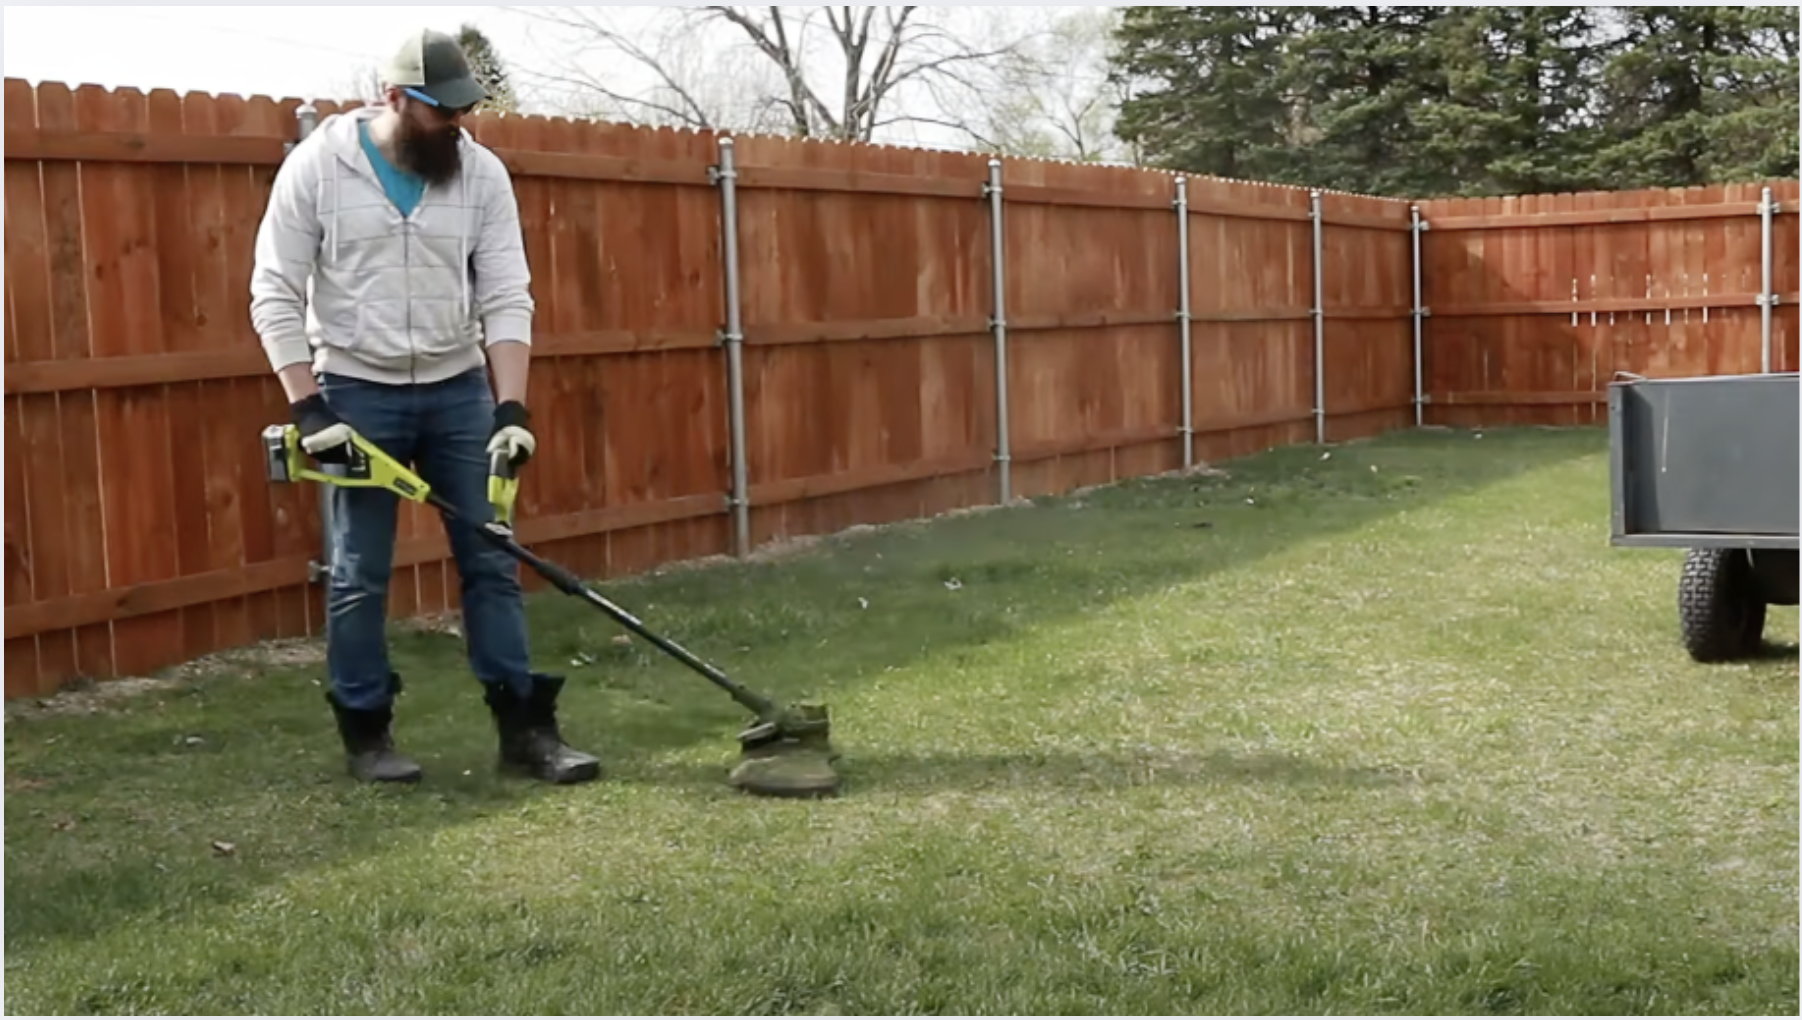
Before you start, you need to clear the area completely. Get your weed whip and cut down all tall grass and weeds. Check that the ground is fairly level as you go.
If you find any bumps or holes, smooth them out now. Take your tape measure and mark out your patio size.
Measure 12 feet out from the fence and 20 feet along the other side. Use stakes or spray paint to mark the corners. This gives you a clear outline to work with.
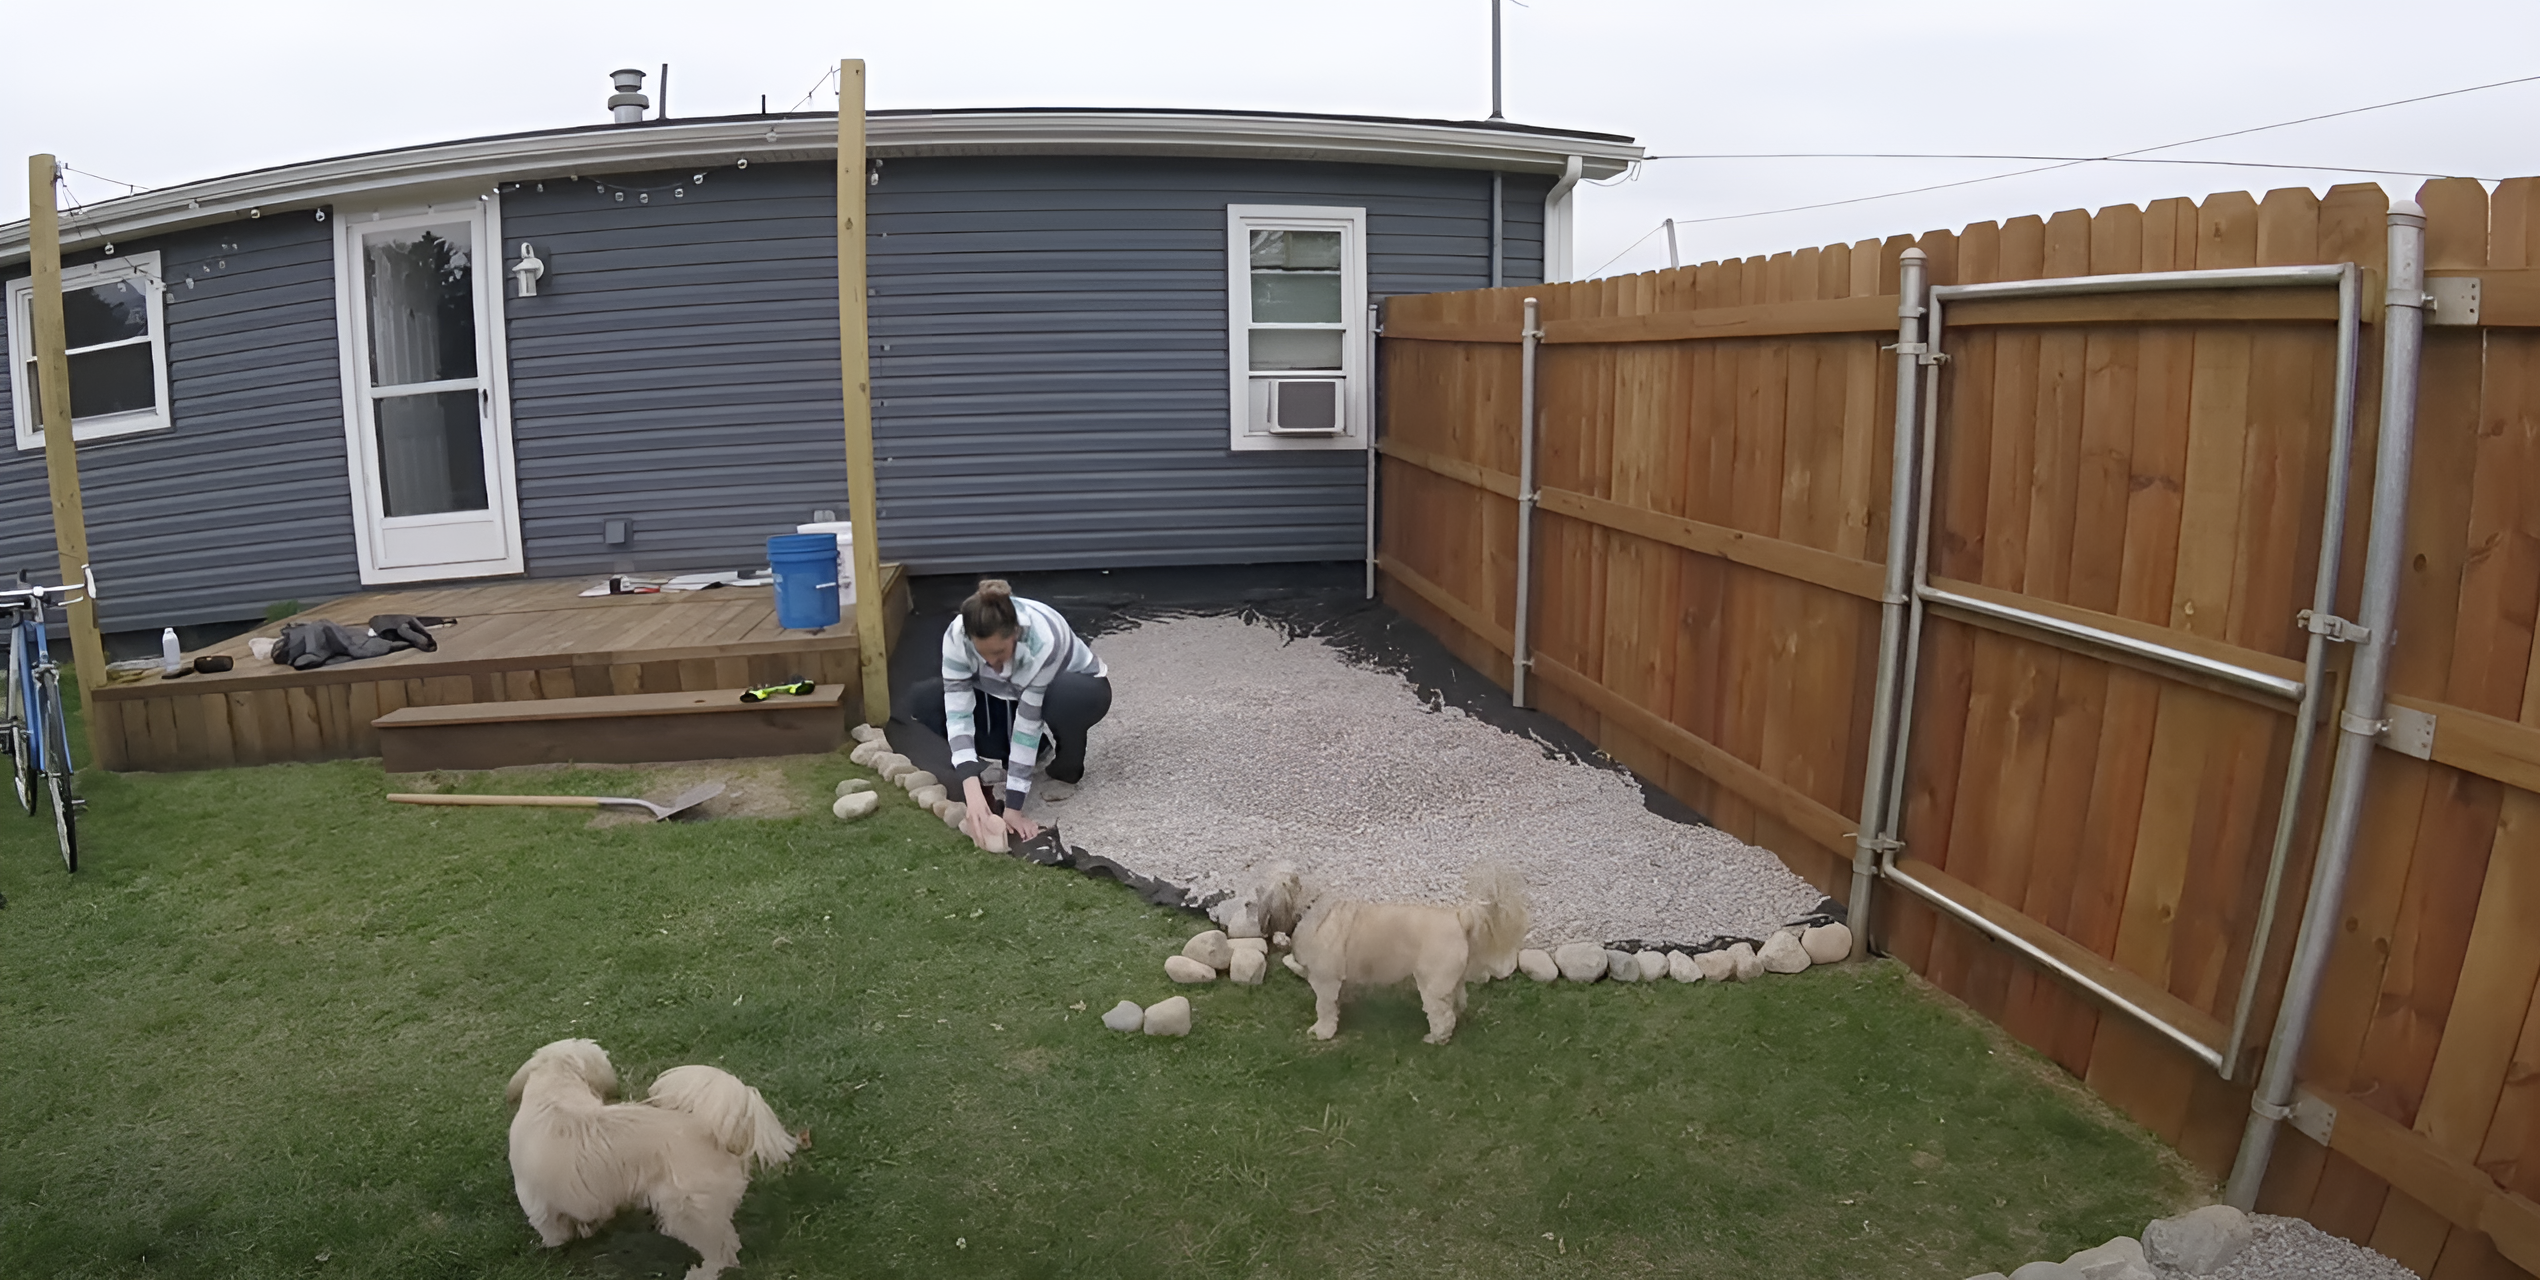
2. Setting the Perimeter
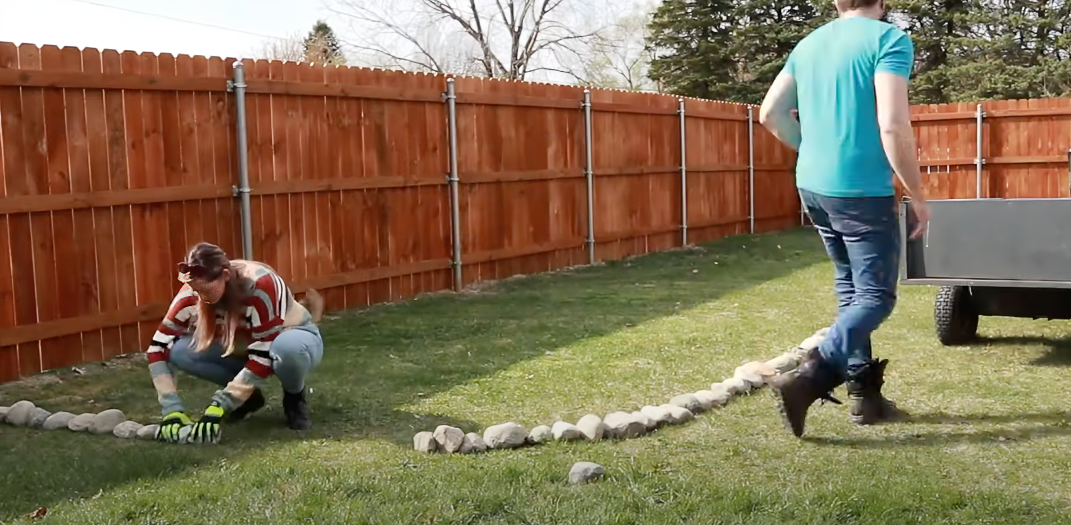
Once you’ve marked your area, set up stones around the edges. These stones create a solid border for your gravel patio.
Place them close together so they form a tight line. You might need to push them slightly into the soil to keep them stable.
This border will keep your gravel from spilling onto your lawn and give your patio a clean, finished look when you’re done.
3. Landscape Fabric Installation
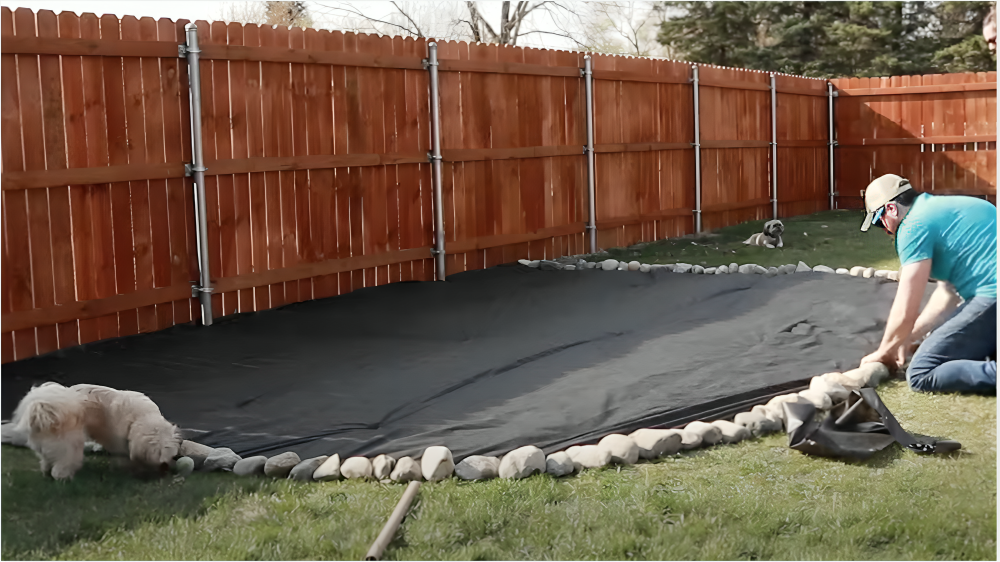
Roll out landscape fabric to cover the whole patio area. This black material is your secret weapon against future weeds.
Make sure the fabric overlaps by about 6 inches at any seams. Tuck the edges under the perimeter stones to hold it down.
Then, use landscape pins every few feet to keep the middle from moving. Push the pins all the way into the ground. Loose fabric can bunch up under your gravel and create an uneven surface.
4. Laying the Gravel
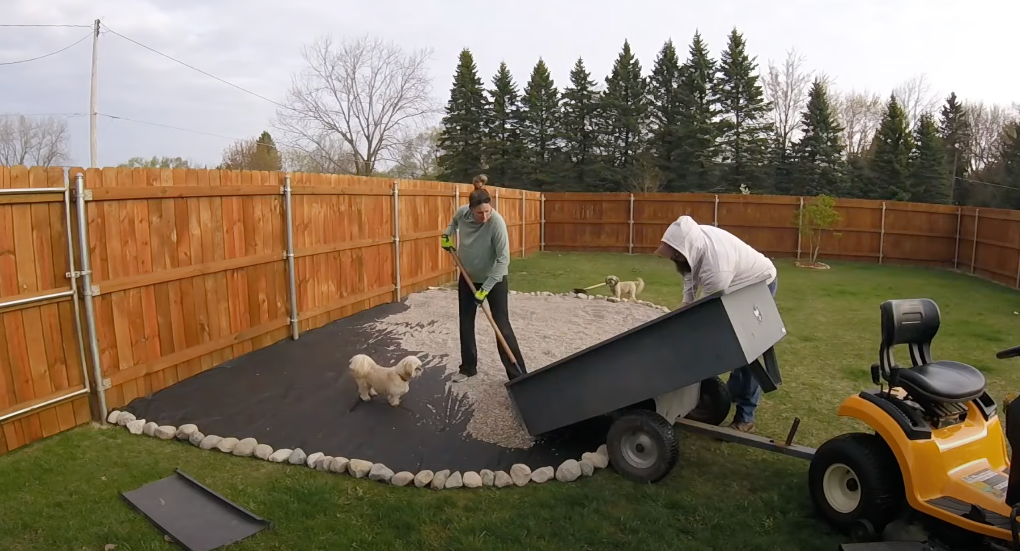
Now for the fun part – pour your pea gravel over the landscape fabric. Start at one corner and work across in sections.
Aim for about 2 inches of depth all over. Walk across your new gravel and feel for any low spots. Add more gravel to these areas until the whole patio has an even surface.
Spread the gravel with a rake. This final leveling makes your patio look good and prevents puddles.
5. Finish the Look
Extending the gravel can create paths leading from your main patio. Follow the same steps: clear, lay fabric, add gravel.
These paths can lead to your garden, grill area, or gate. To create extra spots like a grill area or corner patio, repeat all the steps above.
Using the same kind of gravel will keep the look the same. These smaller areas add useful space to your yard.
You can go through the video posted by The Inexperienced Adventures on their YouTube channel for a more detailed breakthrough of the process:
Maintenance Tips
Taking care of your gravel patio is not hard, but it’s important. Regular upkeep keeps it looking good and working well for years.
A few minutes of care each month saves you hours of work later. Here are some simple ways to keep your patio in top shape:
- Replenishing Gravel: Add fresh gravel once a year, usually in spring. You’ll lose about 10% yearly through scattering and settling. One new bag per 20 square feet is often enough.
- Dealing with Low Spots: Check for dips after heavy rain. Use a rake to move gravel from high spots to fill in low areas. This prevents puddles and keeps your patio level.
- Weed Control: Pull any weeds as soon as you see them. Spray vinegar solution on stubborn spots. Small weeds are much easier to remove than big ones.
- Raking Technique: To keep your gravel even, lightly rake it every few weeks using short, gentle strokes rather than deep digging. This will protect the fabric underneath.
- Cleaning Spills: Clean food and drink spills quickly by scooping up affected gravel. Rinse with water, let dry, then return to the patio.
Common Mistakes to Avoid
Even simple projects can go wrong if you make key mistakes. Knowing what to watch for helps you finish your patio without problems.
These five common errors can cost you time and money, but they’re easy to avoid with a bit of planning.
- Skipping the Landscape Fabric: Never place gravel directly on soil. Without fabric, weeds will grow through, and soil will mix with your gravel, creating a muddy mess within months.
- Too Little Gravel: Using less than 2 inches of gravel makes for an unstable surface. Thin spots will form quickly, exposing the fabric beneath. Buy more than you think you need.
- Poor Drainage Planning: Failing to slope your patio slightly (about 1 inch per 8 feet) away from your house causes water to pool or flow toward your foundation.
- Weak Borders: Using small or lightweight stones for your border won’t hold the gravel in place. Choose heavy, stable border materials that won’t shift when walked on.
- Wrong Gravel Type: Using angular gravel instead of smooth pea gravel makes your patio uncomfortable to walk on, especially barefoot. Stick with rounded pea gravel for comfort.
Wrapping Up
Building your own DIY pea gravel patio isn’t just easy – it’s also fun and saves you money. By following these steps, you’ve learned how to create a lovely outdoor space that will last for years with just a bit of care.
Remember to check for low spots after rain and add new gravel once a year. Your friends might be so impressed that they’ll ask you to help with their yards, too!
Ready to try more outdoor projects? You could add solar lights around your new patio, build a simple fire pit in the center, or create gravel paths to connect different parts of your yard.
Your DIY pea gravel patio is just the start of making your outdoor space truly yours. Your patio is just the beginning. Grab your tools and start your next backyard project today!