DIY Vegetable Garden: Guide, Ideas and Tips
Growing your own food at home changes how you see what’s on your plate. Each bite connects you to the work of your own hands, and there’s real joy in eating vegetables you grew yourself.
Starting a vegetable garden saves money on groceries and gives you the freshest food possible.
Plus, working in your garden is good for your body and mind. It’s a break from screens and a chance to get outside.
In this guide, you’ll learn how to build a garden from scratch, choose the right plants, and keep them healthy.
If you have a big yard or just a few pots, you can grow food at home. Are you ready to get your hands dirty? Let’s get started.
Why Make a DIY Vegetable Garden?
Growing your own vegetables at home gives you many benefits that make it worth the effort.
First, it helps cut down your grocery costs, especially during seasons when produce prices go up. You can grow lots of food in a small space for just the cost of seeds and basic supplies.
The taste of fresh vegetables picked right from your own garden is much better than store-bought options.
These homegrown foods are also usually more nutritious since you can eat them right after picking, when their vitamin content is highest.
Many people find that working in a garden is calming and satisfying. Watching plants grow from seeds into food you can eat gives a sense of success and joy.
It’s also a good way to get outside, move your body, and spend time in nature. For families, a garden can be a great project to work on together.
DIY Vegetable Garden: Step-by-Step Guide
Growing your own vegetables at home is a rewarding project that gives you fresh produce and creates a beautiful outdoor space.
Based on the step-by-step process from the “Max & Occy” YouTube channel, here’s how to build a custom wood DIY entry table with a beautiful finish.
By following these steps, you’ll create a garden that’s not only productive but also a place you’ll want to spend time in.
Materials Needed:
- Road base for leveling the ground
- Weed mat to prevent weed growth
- Pavers for the central area
- River rocks for borders
- IBC tanks (food-grade) for planting beds
- Hardwood fence palings for cladding the beds
- Screws and drill
- Soil for filling the beds
- Optional: lighting for nighttime use
Step 1: Prepare the Ground
Clear the area where you want to build your vegetable garden. Make sure it’s in a spot that gets good sunlight and has some protection from harsh elements. Remove any debris, rocks, or existing vegetation.
If your ground is uneven, consider using a string line to help you visualize the slope you want to maintain for proper water drainage.
Step 2: Add a Base Layer
Add road base to level the ground while maintaining a slight slope for water runoff. Use a string line as a guide to ensure a proper drainage angle. Spread the road base evenly across the entire area.
This provides a solid foundation that will prevent your pavers from shifting over time. Once spread, use a compactor to firmly pack down the road base.
Step 3: Install Weed Barrier
Roll out weed mat across the prepared area to prevent weeds from growing up through your garden space. Make sure to overlap the edges slightly to ensure complete coverage.
The weed mat helps keep the space low maintenance while still allowing water to drain through. Small gaps in coverage can serve as “control” areas to test how effective the mat is.
Step 4: Lay Pavers
Place pavers on top of the weed mat to create a clean, stable surface for walking and placing furniture. Arrange them in your desired pattern, making sure to leave spaces for your planting beds.
Take your time with this step to get the layout right, as this forms the foundation of your garden’s design and usability.
Step 5: Prepare Planting Containers
If using IBC tanks like in the transcript, clean them thoroughly, especially if they previously contained food products like honey. Cut the tops off to create deep planting beds.
These large containers provide excellent depth for root growth while being portable if you need to move them in the future.
Step 6: Add Decorative Cladding
Attach hardwood fence palings to the outside of your planting containers to improve their appearance. Create a picture frame-style top edge that provides a flat surface to lean on when tending to plants.
This cladding not only makes the beds look better but also creates a practical surface for setting down tools or pots while working.
Step 7: Position the Beds
Arrange your planting beds around the paved area, creating a balanced layout that allows easy access to all parts of each bed.
Consider how tall your beds are – taller beds mean less bending and kneeling, making gardening more comfortable and accessible for everyone. Ensure there’s enough space between beds to move around comfortably.
Step 8: Add Finishing Touches
Place river rocks around the edges of the paved area to create a clean border and help with drainage. Consider adding lighting for evening access to your garden.
If you have a fence nearby, plan to use it as a trellis for climbing plants. These finishing details make the space more functional and visually appealing.
Step 9: Fill Beds with Soil
Add quality soil to your planting beds. Consider using a mix specifically formulated for vegetable gardens.
You might want to research whether wicking beds (self-watering) are necessary for your climate, especially if you live in an area with frequent rainfall.
The right soil mix will give your vegetables the best start.
Step 10: Create a Relaxation Space
Add a table and chairs to your central paved area. This transforms your vegetable garden from a purely functional space to a place where you can relax and enjoy being surrounded by your growing food.
Having seating nearby means you’ll spend more time in your garden, making it easier to notice when plants need attention.
Maintenance Tips and Common Issues
Keeping your vegetable garden healthy takes regular care. Here are some simple maintenance tips and natural ways to handle common issues.
- Sprays: Use natural mixtures like garlic, hot pepper, or neem oil with water and dish soap. Spray plants every few days to deter pests.
- Predators: Attract helpful insects like ladybugs, lacewings, and praying mantises by planting marigolds, dill, and sunflowers nearby.
- Weeding: Pull weeds by hand regularly, especially after rain when the soil is soft and roots come out more easily.
- Mulch: Apply 2–3 inches of mulch around plants to prevent weed growth and help the soil retain moisture.
Troubleshooting Issues
Even with regular care, problems can still pop up. Here are a few common garden issues and how to handle them without harsh chemicals:
- Yellow leaves indicate nutrient deficiencies or improper watering practices.
- Wilting plants may result from underwatering, overwatering, or root disease.
- Holes in leaves typically signal insect damage from caterpillars or beetles.
- Stunted growth occurs when soil lacks essential nutrients for plant development.
- Cracked fruits develop from inconsistent watering patterns during the growing season.
DIY Vegetable Garden Ideas
Creating your own garden accessories and solutions using recycled materials can save money while adding unique character to your garden space. These simple projects require minimal tools and expertise.
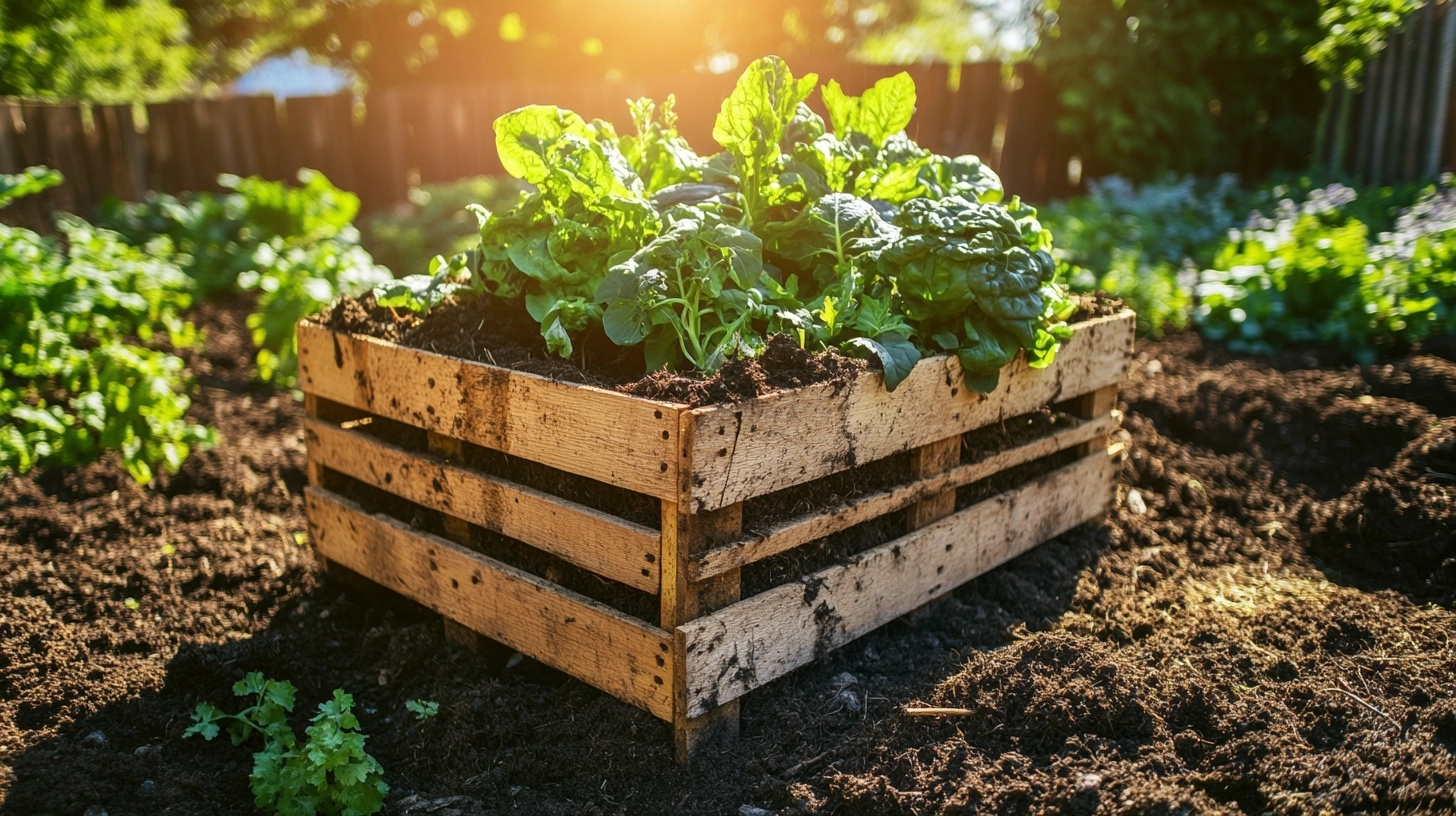
1. DIY Raised Beds from Recycled Materials
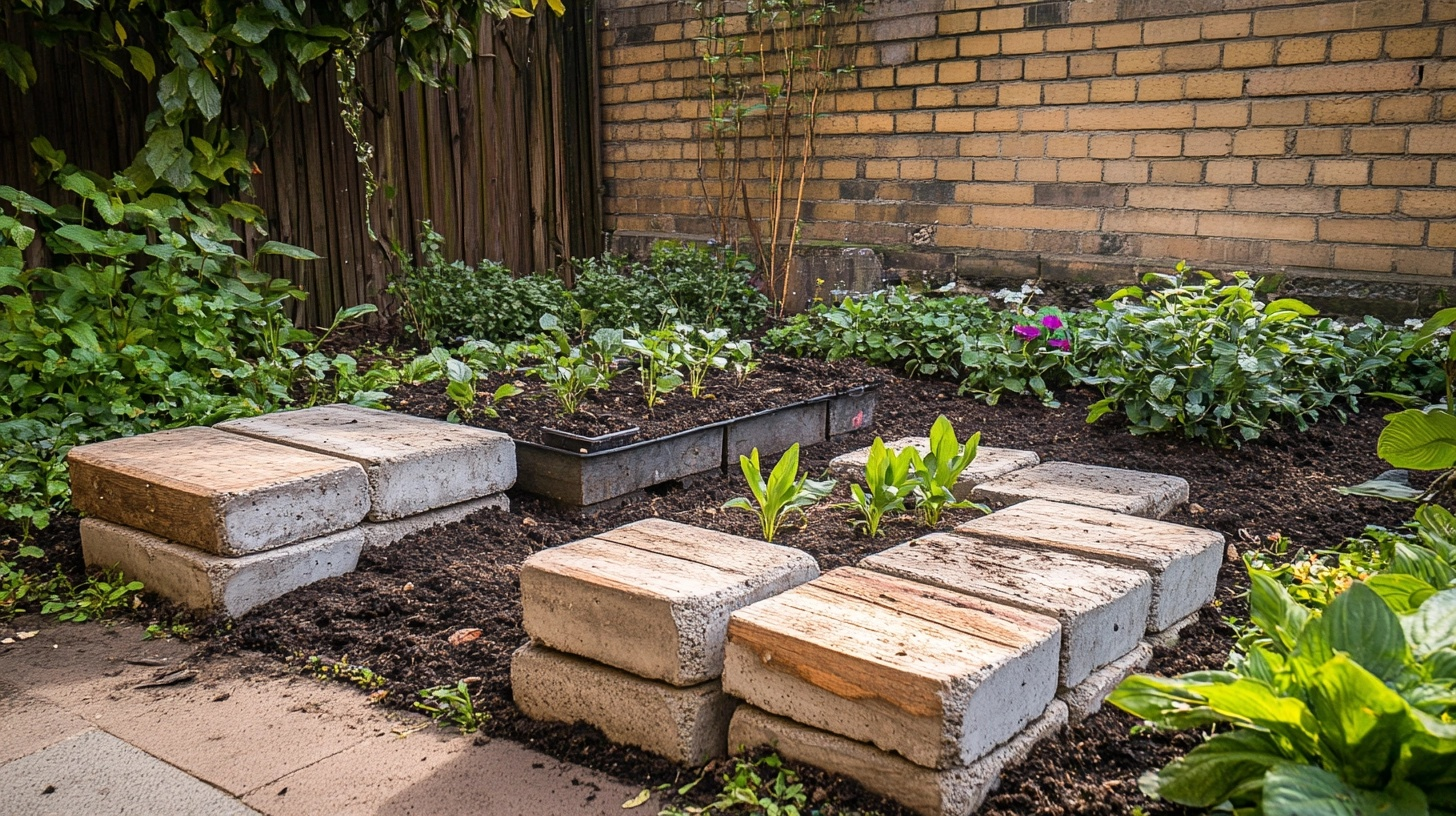
Turn old wooden pallets into sturdy raised beds by disassembling them and reassembling them as boxes.
Line the inside with landscape fabric to prevent soil contact with treated wood. After drilling drainage holes, old bathtubs, sinks, and metal containers can become unique planters.
Concrete blocks stacked in a rectangle create instant raised beds with bonus planting pockets in the block holes. For a no-cost option, use fallen logs or branches arranged in a rectangle and filled with soil.
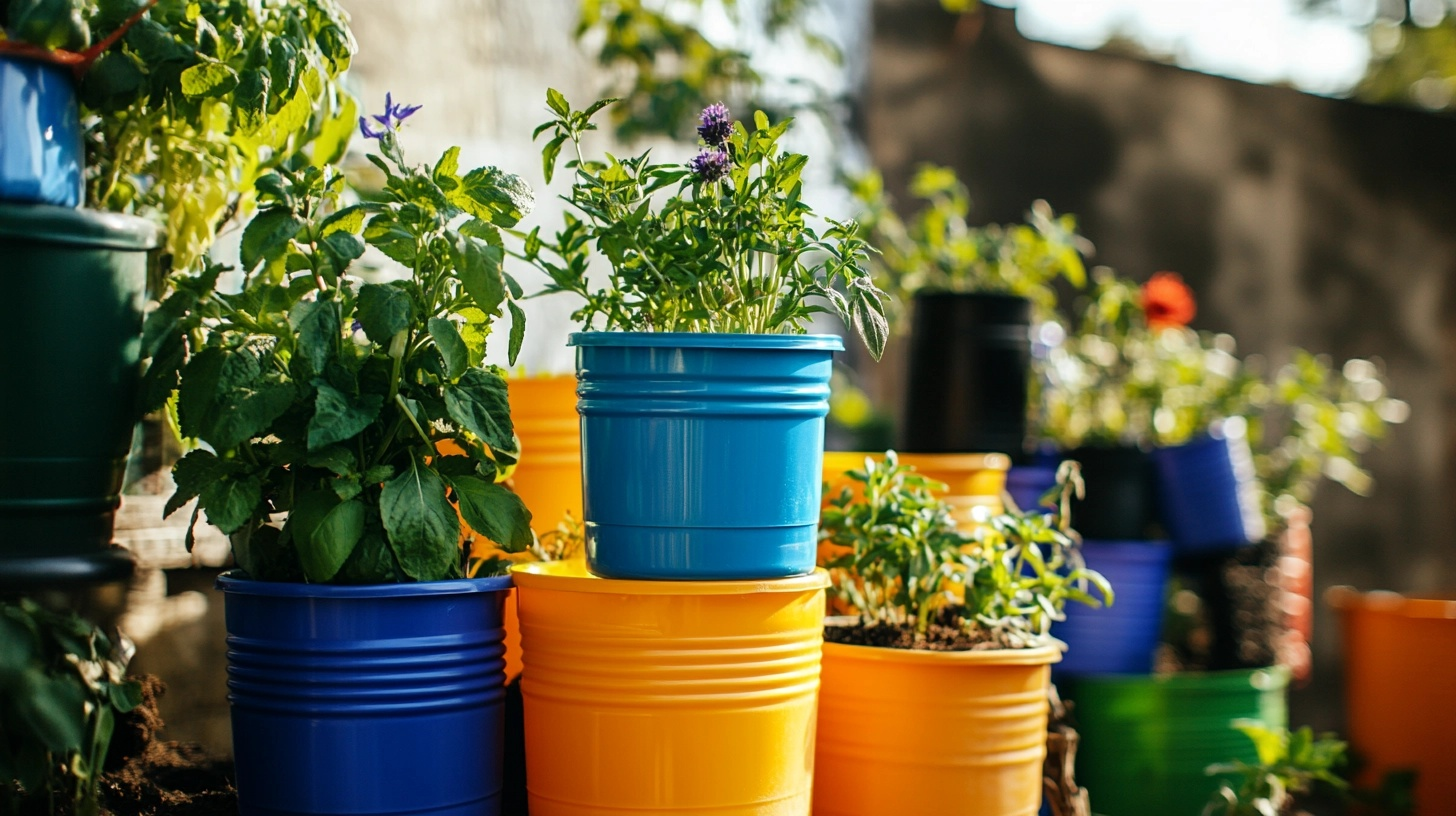
2. Container Gardening Hacks
Turn plastic milk jugs into self-watering planters by cutting off the top, poking holes in the cap, inverting it, and placing it back inside the bottom half filled with water.
Grow potatoes in old tires stacked on top of each other as plants grow taller.
Repurpose plastic food containers like yogurt tubs for starting seeds—just add drainage holes. Use coffee cans for growing herbs on windowsills.
Paint plastic buckets in bright colors for an attractive container garden that costs almost nothing.
3. Composting for Free Fertilizer
Build a simple compost bin using wooden pallets wired together at the corners for easy assembly and disassembly. Create a tumbling composter from an old plastic barrel mounted on a frame that allows rotation.
For apartment dwellers, try a worm bin made from stacked plastic containers with air holes and bedding material.
Save kitchen scraps in a countertop container before adding them to your main compost. Shredding materials and balancing green (nitrogen-rich) and brown (carbon-rich) ingredients speed up decomposition.
4. Vertical Gardening for Small Spaces
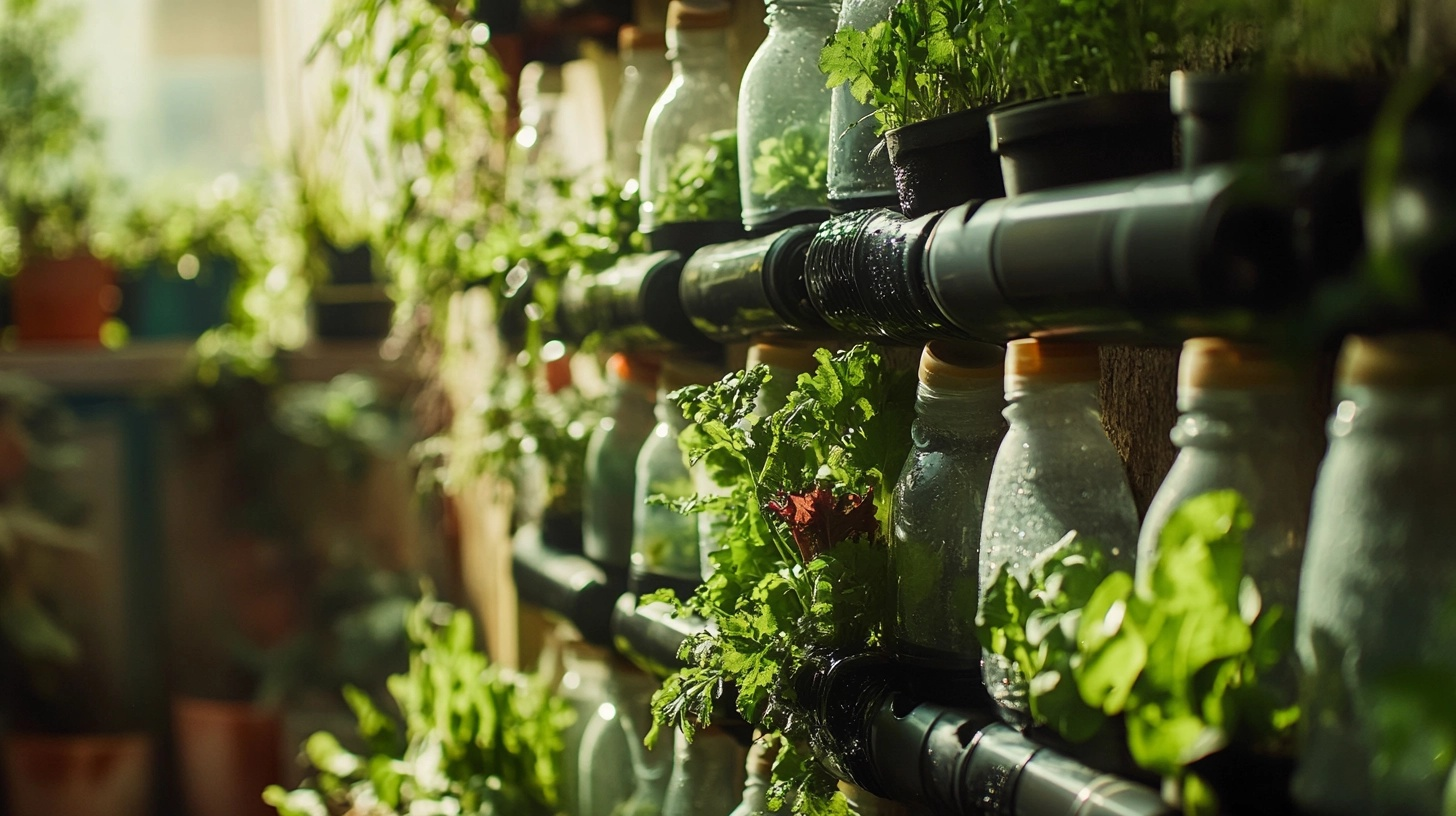
Attach rain gutters to fences or walls at different heights to create a tiered planting system for shallow-rooted plants like lettuce and herbs. Hang shoe organizers on sunny walls and fill each pocket with soil and small plants.
Create a bottle tower garden by cutting openings in plastic bottles, stacking them, and running a watering tube through the center.
Build a trellis from bamboo poles or fallen branches tied together with garden twine for climbing vegetables. Repurpose wooden ladders as plant stands—each step holds different pots or planters.
5. Garden Tool Organization

Convert an old mailbox into a garden tool station mounted near your garden for quick access to hand tools. Paint an old rake head and mount it on a fence to hang small garden tools.
To store long-handled tools, use PVC pipes cut and mounted horizontally. On your potting bench, repurpose kitchen utensil holders for small garden tools.
Paint tool handles brightly to create custom handles that prevent loss and are easy to spot among garden growth.
Conclusion
Starting a vegetable garden can be simple and fun. You don’t need to go big right away – even a few pots on a patio can give you fresh tomatoes or herbs. The most important thing is to begin and learn as you go.
Gardens get better each season as you figure out what works in your space. Don’t worry about making mistakes – they happen to everyone and help you improve.
We’d love to see what you create! Take a photo of your garden and share it in the comments below. Let us know what you’re growing and any tips you’ve learned along the way.