How to Install a Ceiling Fan: Step-by-Step Guide for Safety
Installing a ceiling fan might seem like a simple task, but one wrong move could leave you with a wobbly fan or worse, an electrical hazard.
Many DIYers dive in without fully preparing, only to run into problems halfway through. The key to a smooth installation is careful planning and attention to detail.
From securing the right tools to ensuring everything is connected properly, getting it right from the start will save you time, effort, and frustration.
Let’s walk through the essential steps to install your ceiling fan securely and safely, ensuring it runs smoothly for years to come.
What You Need to Prepare Before Installing a Ceiling Fan?
Getting the preparation right eliminates most problems that show up during or after installation. Run through these checks before you pick up a single tool.
| Preparation Area | What to Check |
|---|---|
| Electrical box | Must be fan-rated, not a standard light fixture box |
| Mounting bracket | Secured to a ceiling joist or supported by a retrofit brace |
| Fan size | Matched to room dimensions for proper airflow |
| Wiring compatibility | Confirmed for remote-control or smart fan setups if applicable |
| Parts inspection | All blades, hardware, and accessories present and undamaged |
Tip: Hold the mounting bracket and give it a firm tug before attaching anything to it. If it moves even slightly, the bracket is not secure enough to hold a spinning fan long-term. Reinforce it before going any further
Tools and Materials Needed
Having everything laid out before you start means no mid-installation trips to the hardware store with wires hanging loose.
Tools:
- Screwdrivers (both flathead and Phillips)
- Pliers
- Drill with bits
- Wire stripper/cutter
- Voltage tester
- Ladder
Safety Gear:
- Electrical gloves
- Safety goggles
- Work gloves
How to Install the Ceiling Fan Step-by-Step?
Installing a ceiling fan can be a straightforward DIY project with the right preparation.
Follow these simple steps to ensure a secure and safe installation, providing reliable comfort for years to come:
Step 1: Turn Off Power
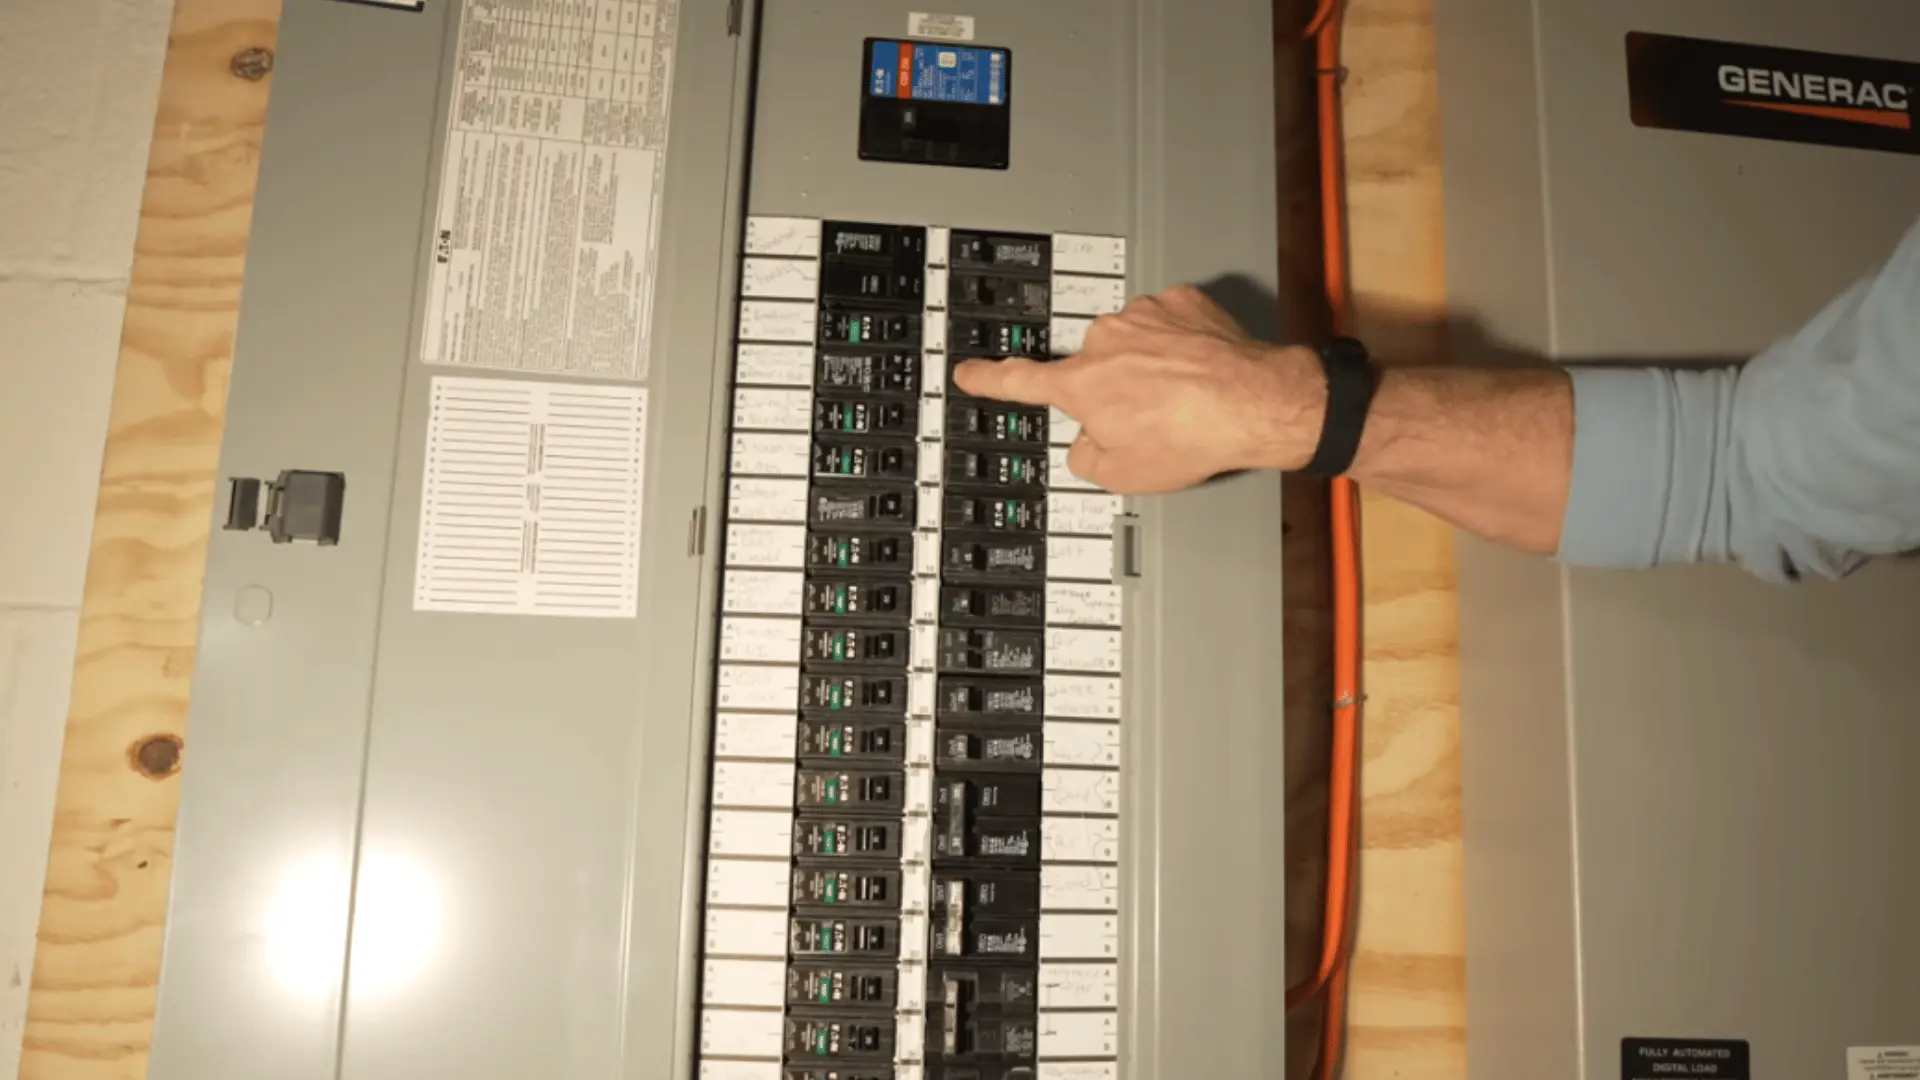
Before starting, always cut the power at the breaker to avoid electrical accidents. Confirm that the power is off using a voltage tester.
Step 2: Remove the Old Fan or Light Fixture
If you’re replacing an old fan, carefully unscrew and remove it from the ceiling. For light fixture replacements, remove the existing fixture and ensure the mounting bracket is appropriate for the new fan.
Step 3: Install the Fan-Rated Electrical Box and Bracket
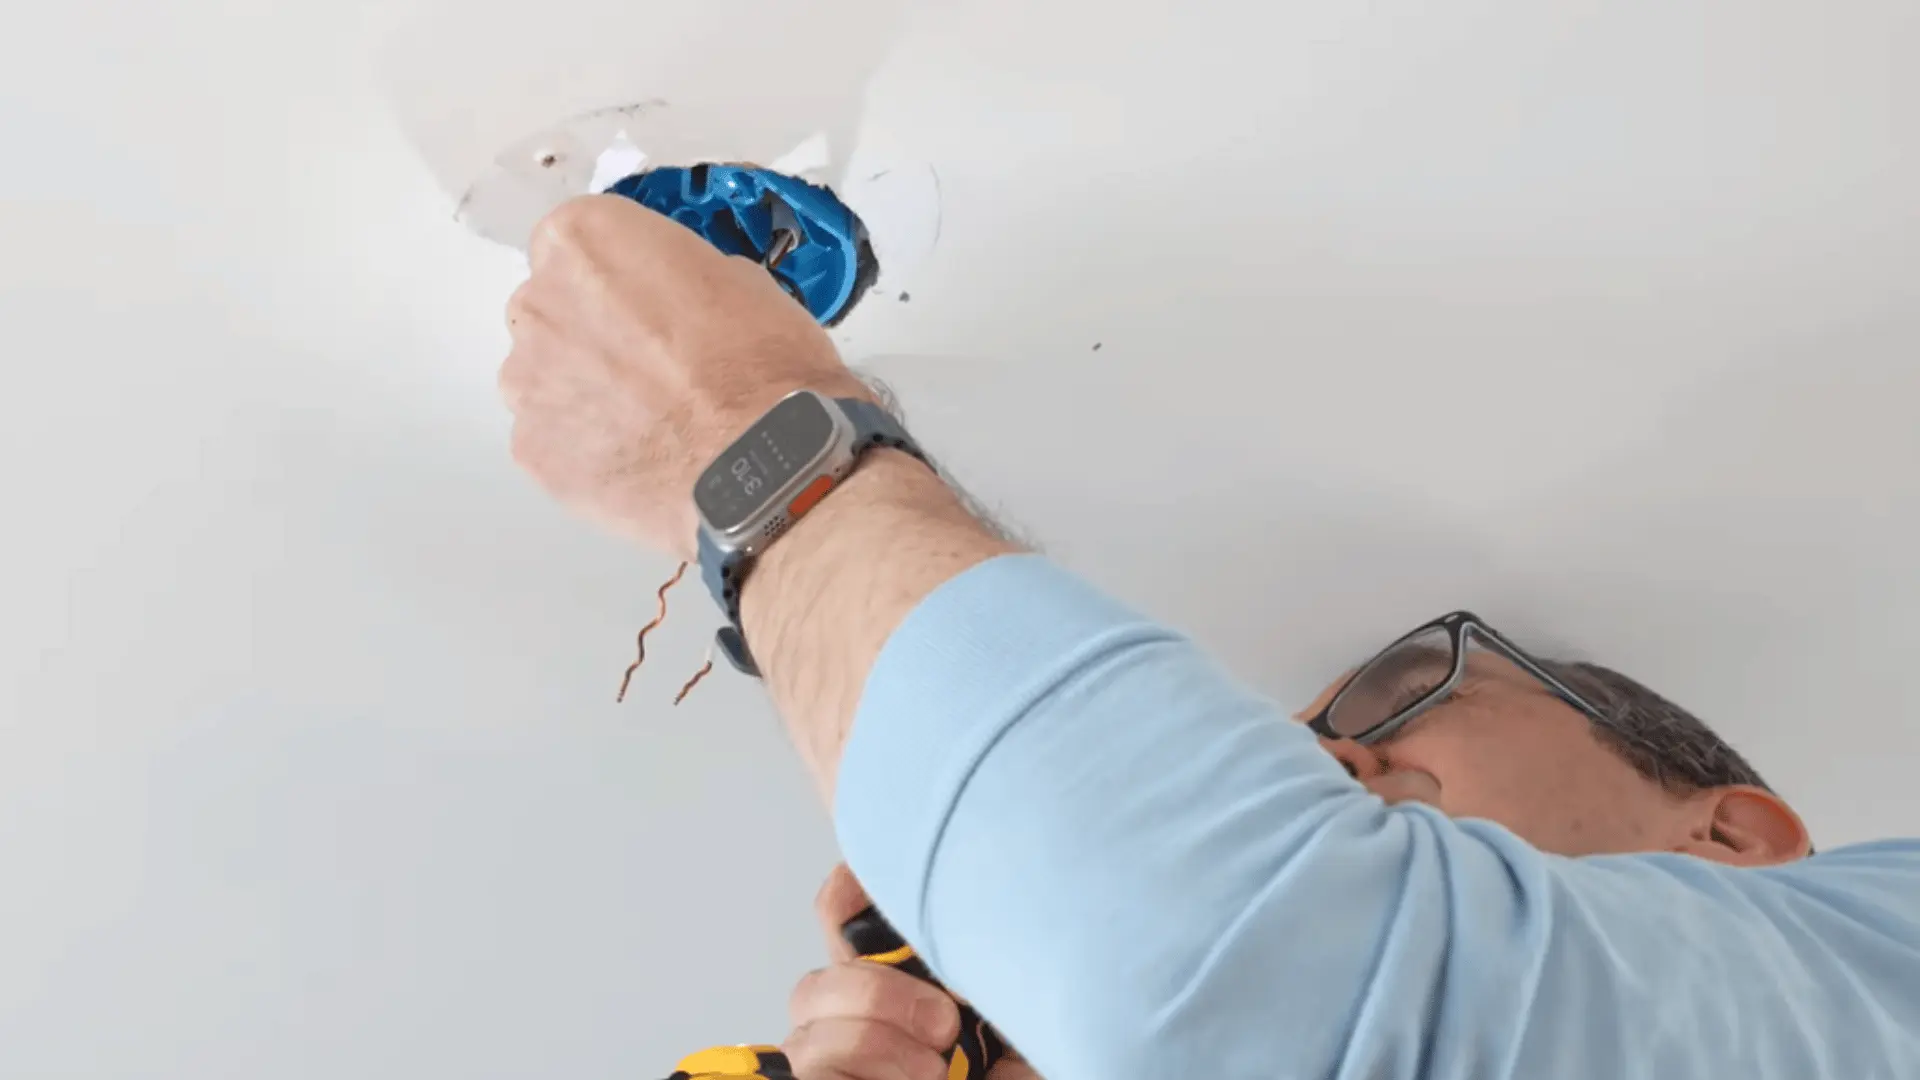
Ensure that the ceiling has a fan-rated electrical box that can support the weight of the fan. Use a secure mounting bracket, and double-check that it is properly aligned.
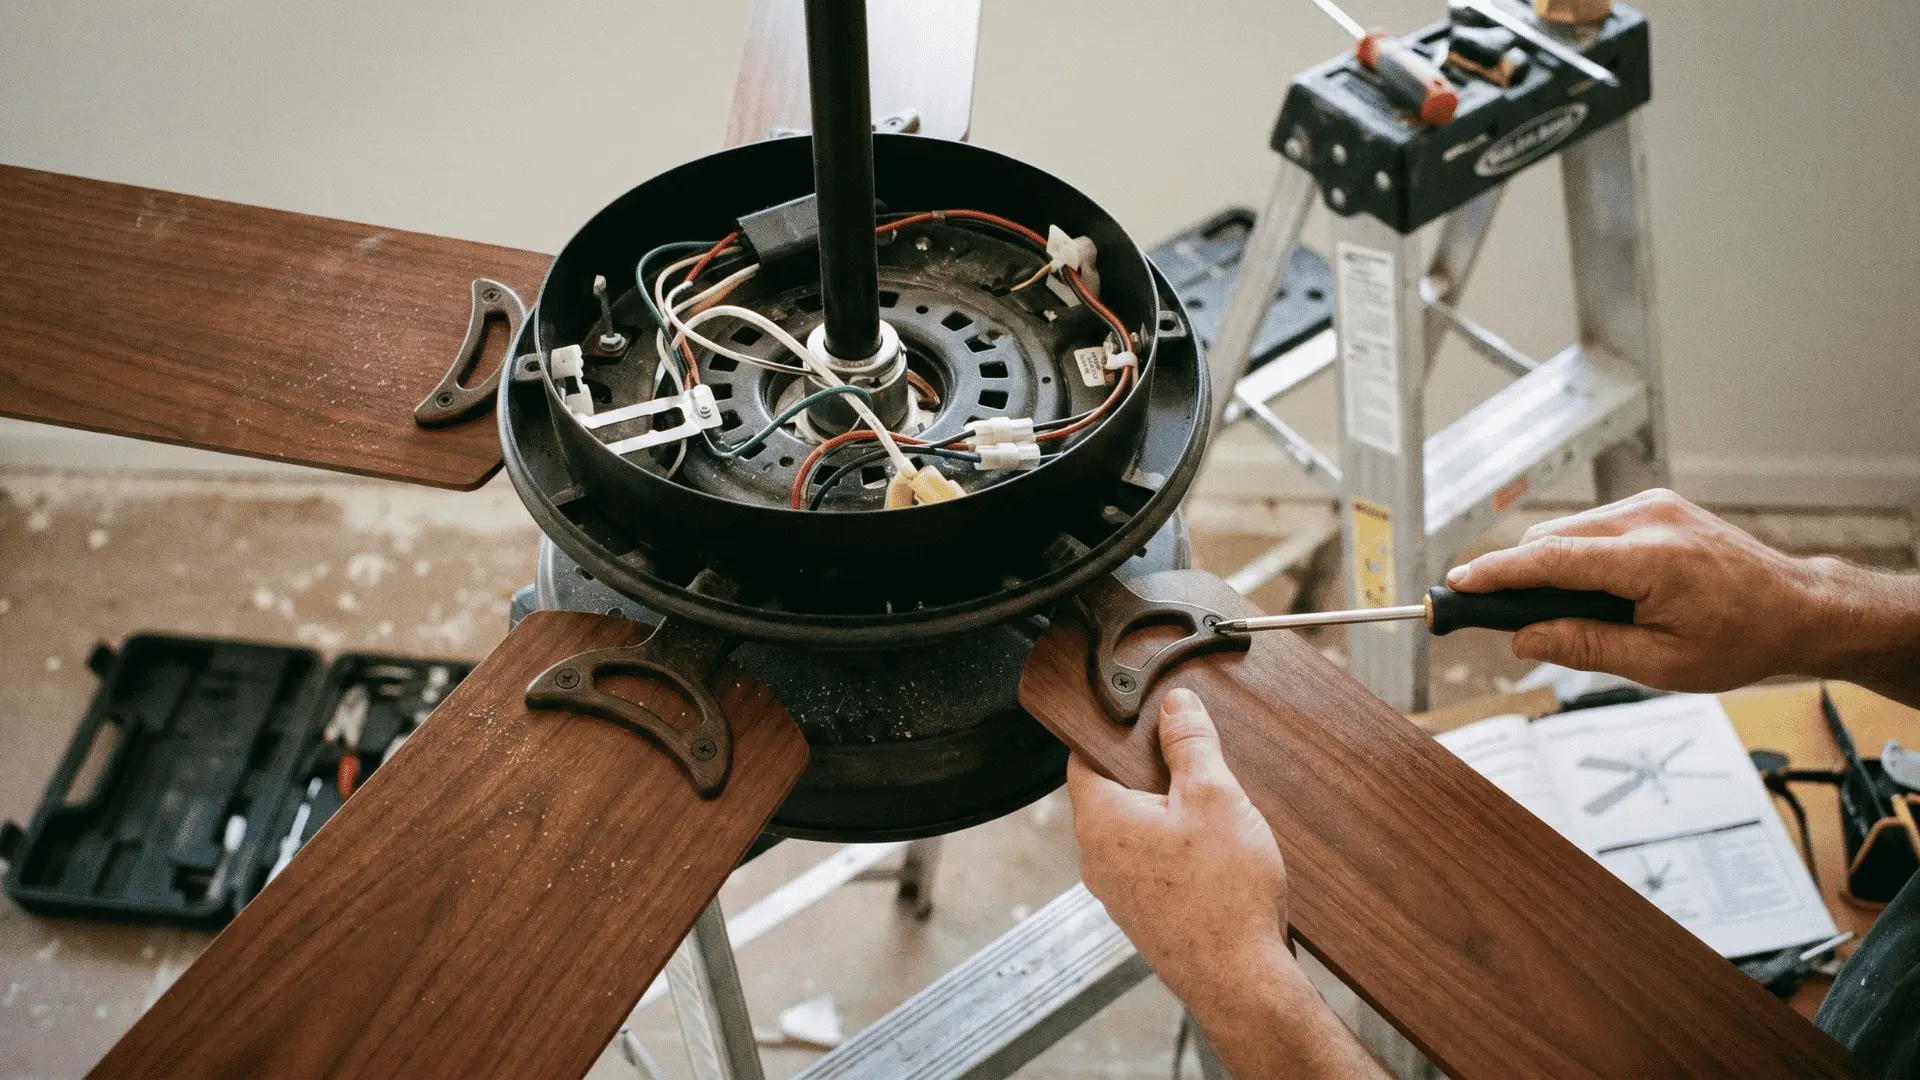
Step 4: Wire the Fan
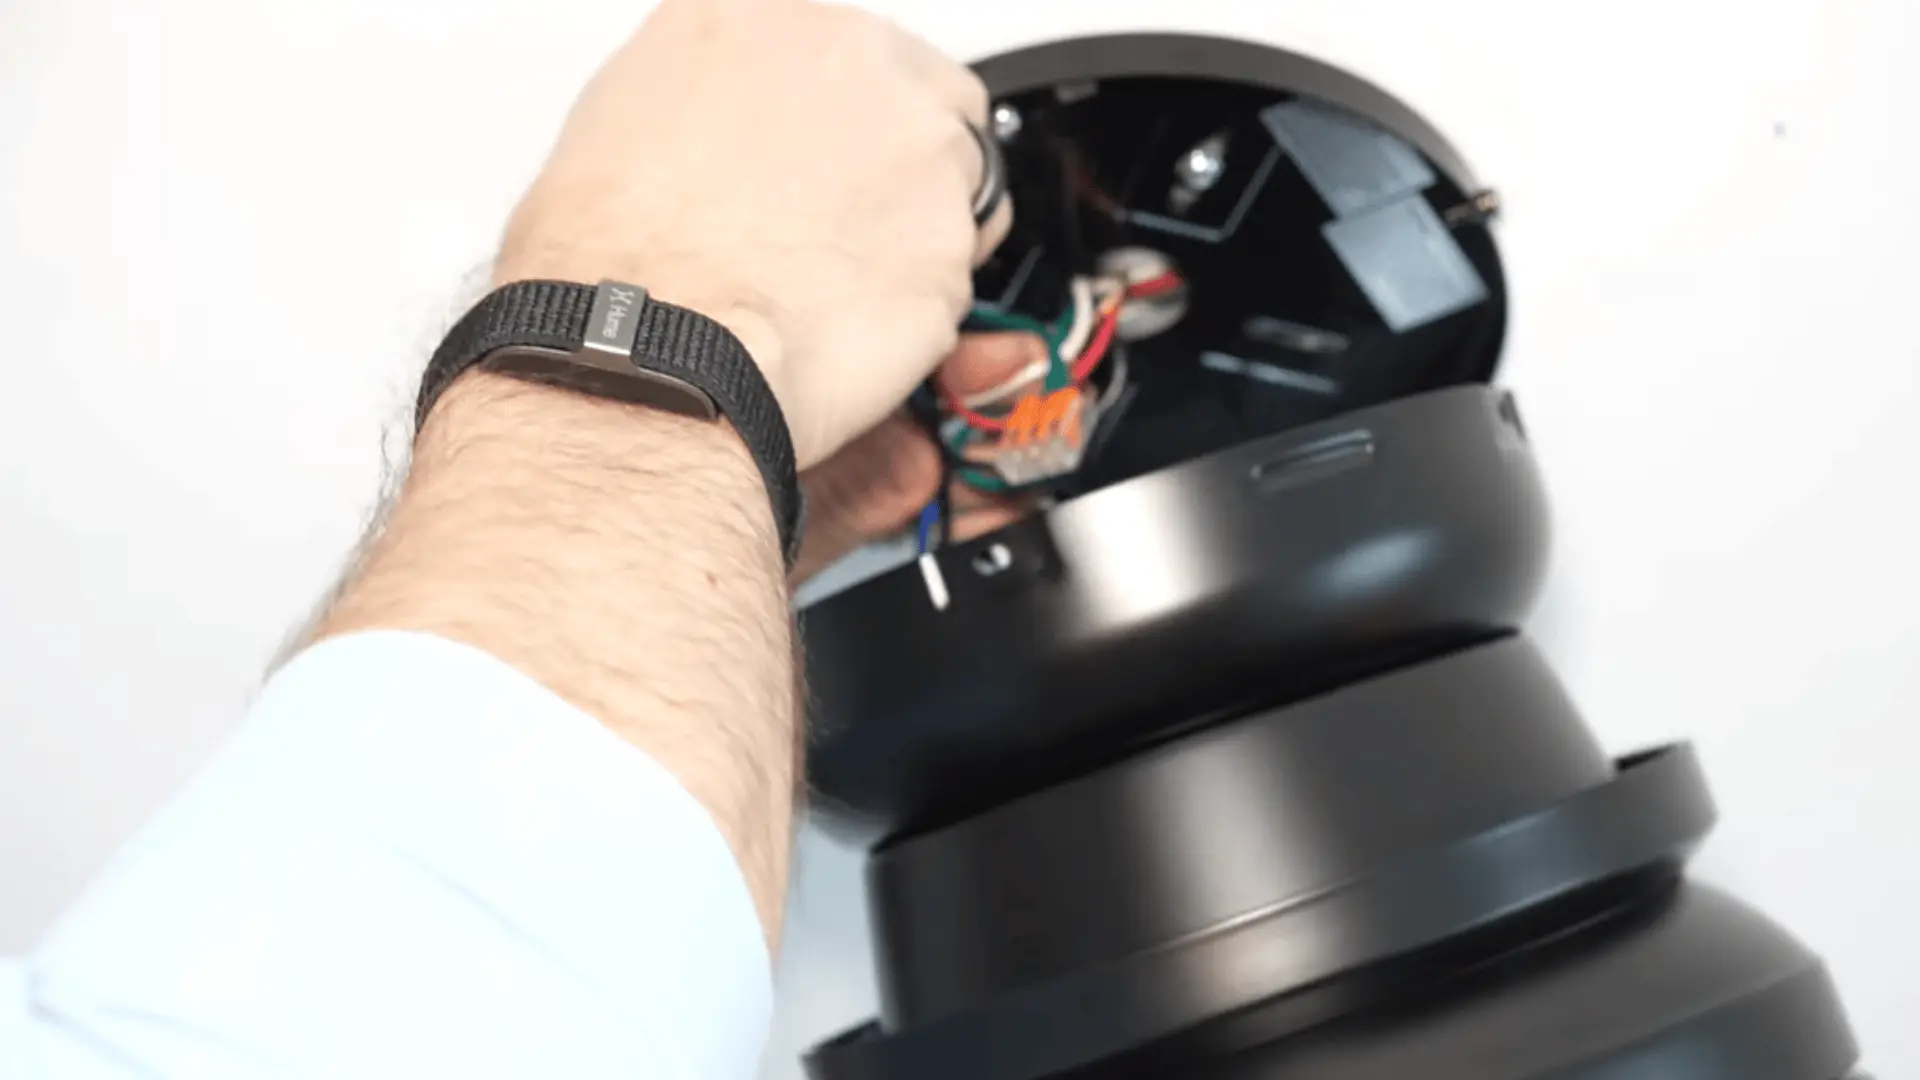
Connect the fan’s wires to the corresponding wires in the ceiling. Follow the manufacturer’s instructions carefully for wiring, especially if your fan includes a remote control or specialized features.
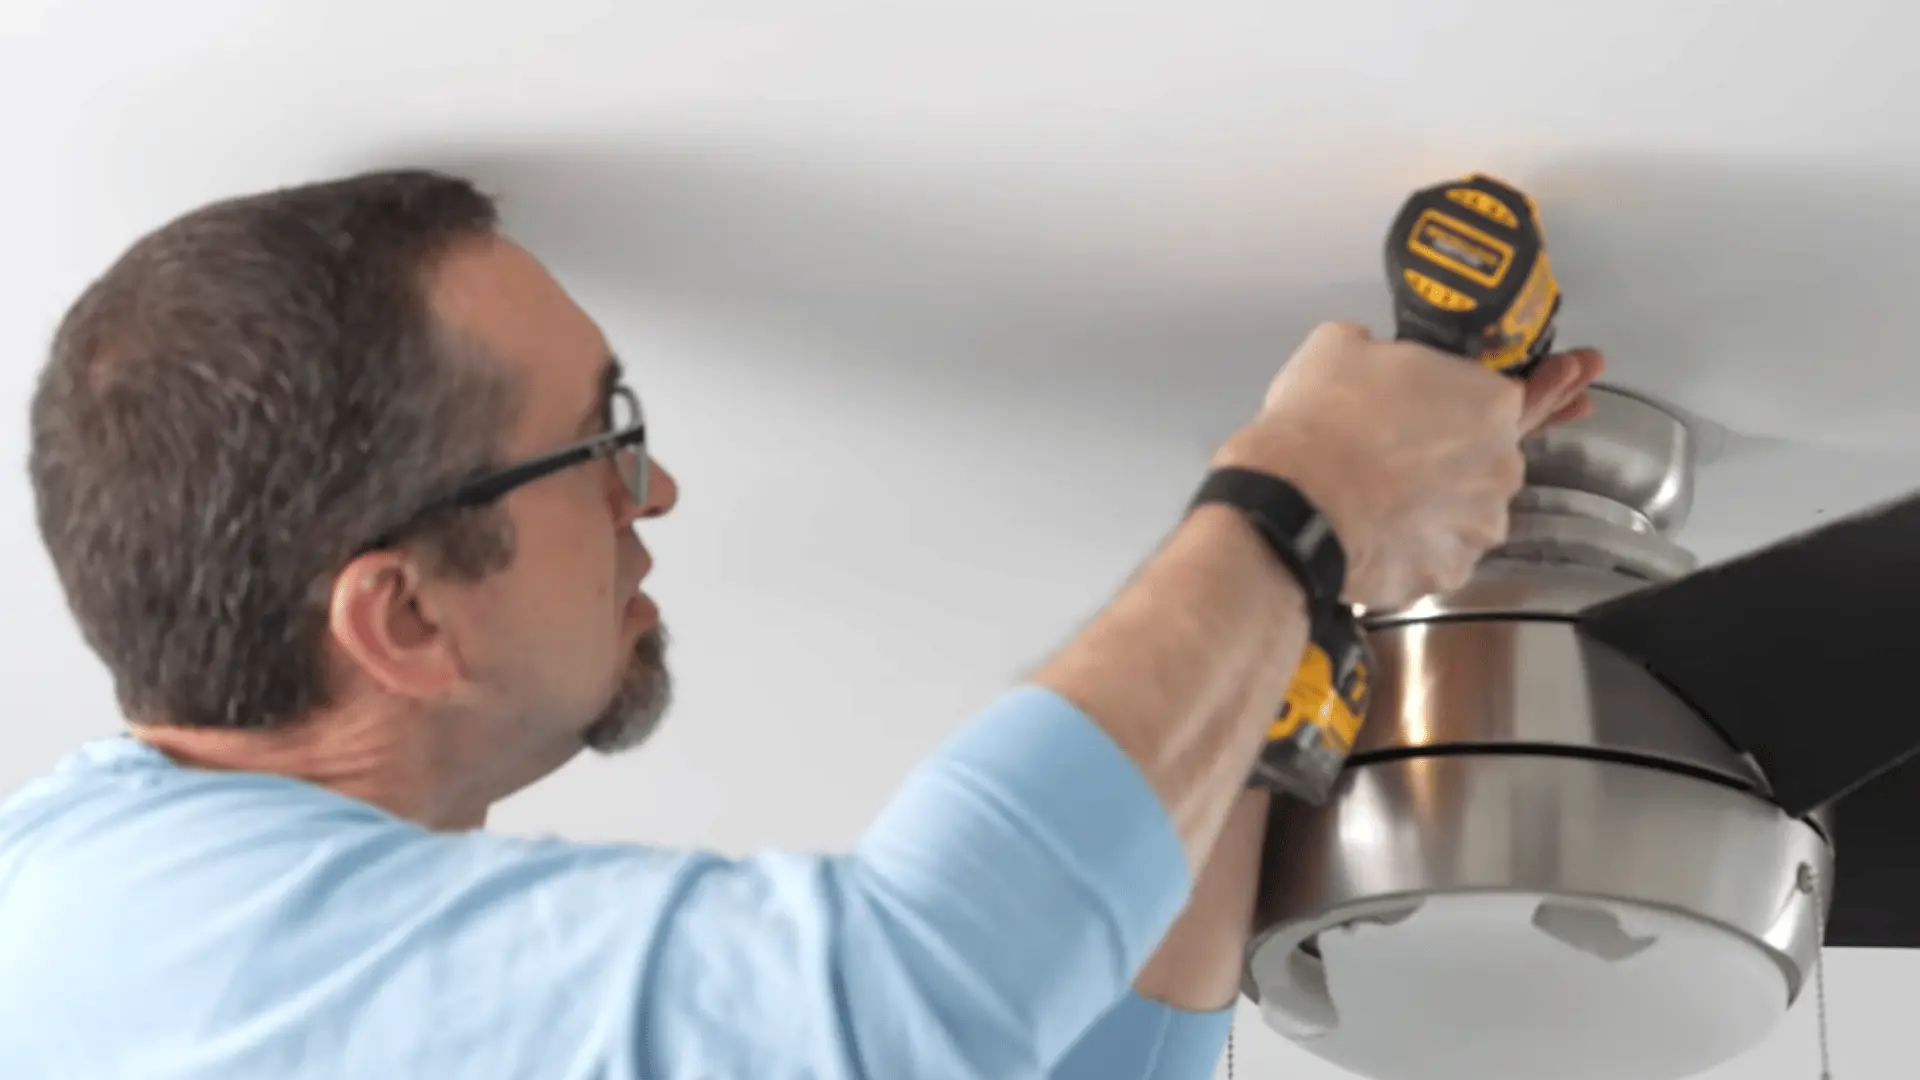
Step 5: Mount the Fan and Test
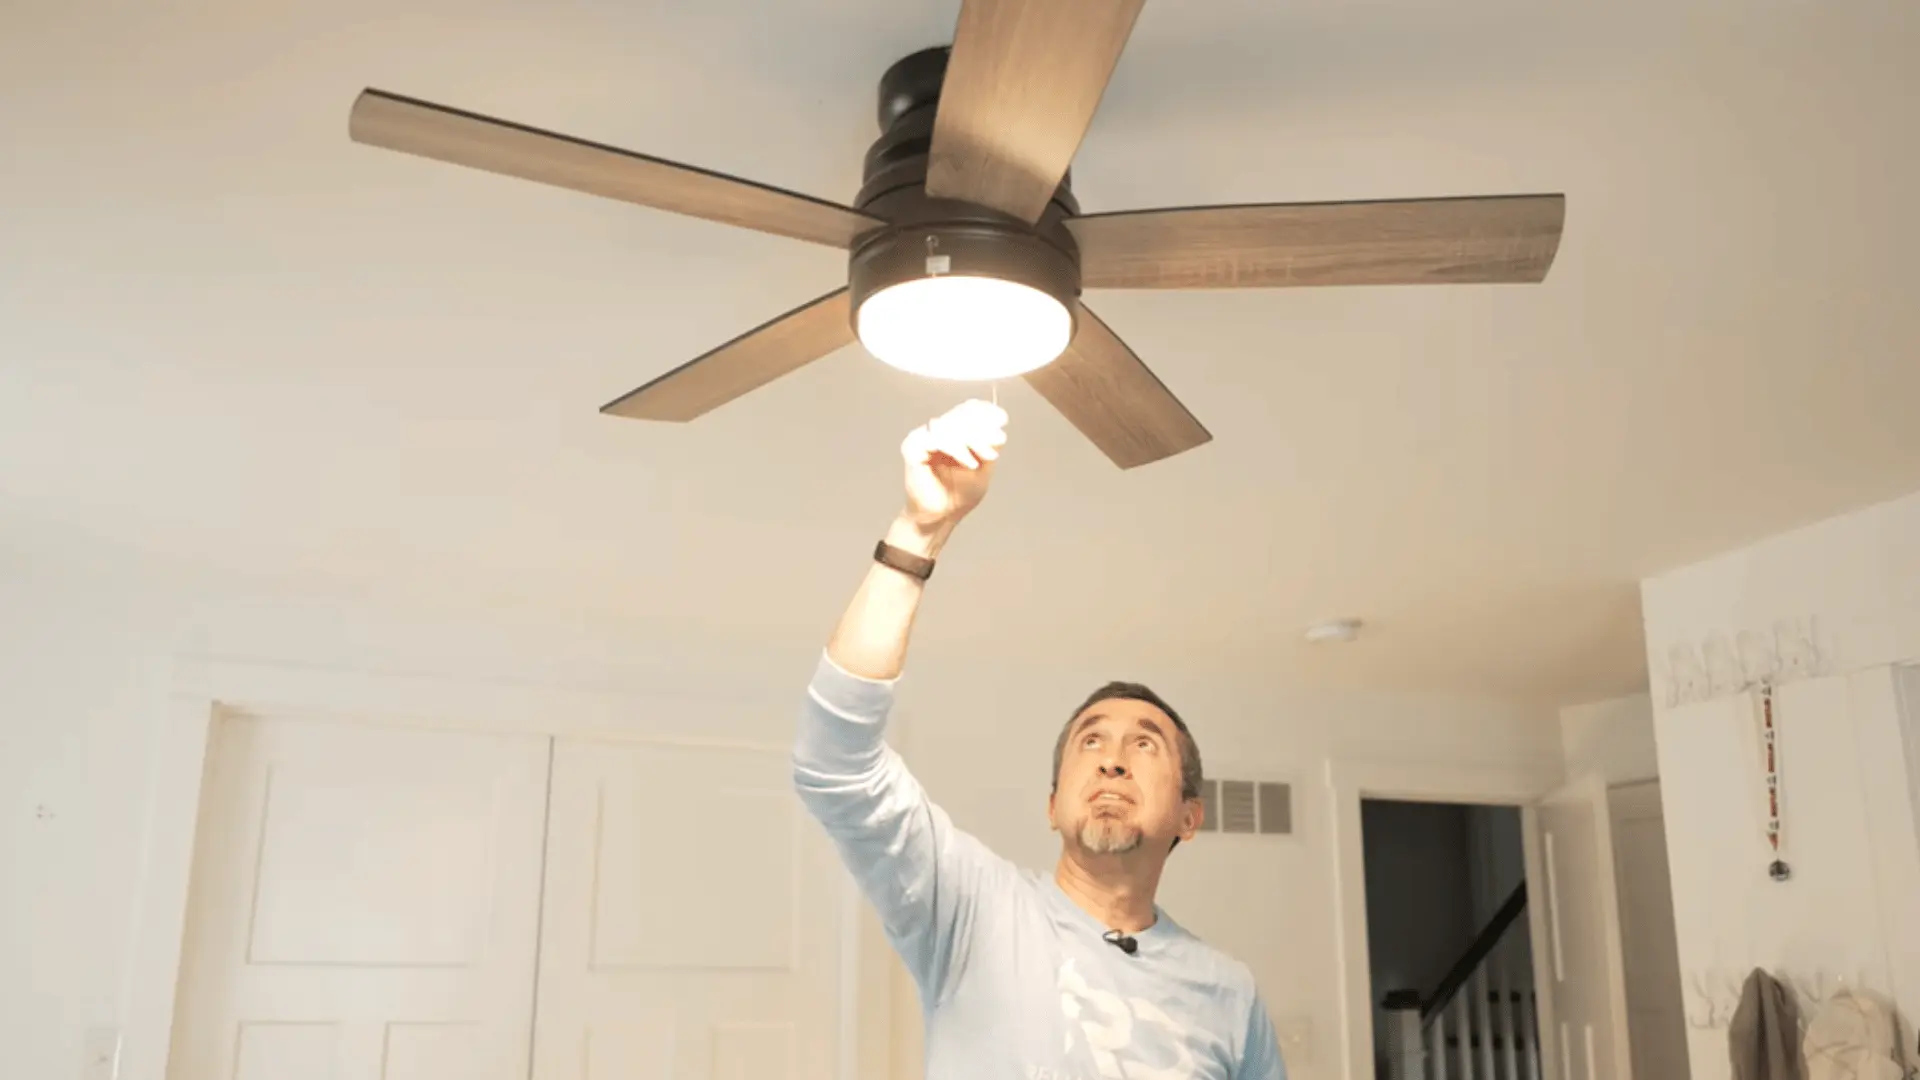
Secure the fan motor housing to the bracket and attach the blades. Once assembled, flip the breaker and test the fan to ensure proper functionality.
Watch this detailed video below by Reluctant DIYers for a step-by-step guide on installing your ceiling fan:
How Much Does It Cost to Install a Ceiling Fan?
Cost depends on whether you handle it yourself or hire a professional, and how much prep work the ceiling needs beforehand.
| Installation Type | Estimated Cost (USD) |
|---|---|
| DIY (fan + tools only) | $50 – $300 |
| Basic professional install (existing wiring) | $100 – $300 |
| New wiring + professional install | $250 – $500 |
| Sloped or high ceiling install | $200 – $600 |
| Old fan removal + new install | $150 – $400 |
These figures are general estimates. Actual costs vary depending on your location, ceiling type, wiring condition, and the electrician you hire.
How to Ensure the Fan is Securely Installed?
A fan that passes these checks right after installation is unlikely to give you problems later. Catching issues now is far easier than fixing them once the fan has been running for weeks.
Testing Fan Movement and Stability
- Push test: Gently push the blades; the fan should move smoothly without any wobble.
- Mounting bracket: Confirm it sits flush against the ceiling with zero tilt.
- Blade tightness: Each blade should feel firm with no play when pressed.
- Downrod connection: Ensure it locks fully into place with no looseness at either end.
Correcting Loose Mounts or Wires
- Mounting plate: Verify it grips the joist or retrofit brace without any shift.
- Wiring: Inspect every connection for exposed or loosely capped wires.
- Hardware sweep: Go through every screw on the motor, canopy, and blades once more.
Tip: Turn the fan to its highest speed and let it run for a full minute before calling the job done. Some wobbles and noises only show up at top speed and are invisible on low settings.
Wrapping Up
Installing a ceiling fan doesn’t have to be a daunting task if you approach it with the right tools and preparation.
Ensuring your fan is securely mounted and properly wired is crucial for both safety and performance.
Taking the time to check connections and stability can save you from future issues like wobbling or malfunction.
With careful attention to each step, your ceiling fan will provide reliable, efficient cooling for years to come.
Ready to get started? Gather your tools, follow the steps, and enjoy the comfort of your new ceiling fan!
Frequently Asked Questions
Can I Install a Ceiling Fan Without Existing Wiring?
Yes, you can install a ceiling fan without existing wiring, but you’ll need to run electrical wiring through the ceiling. This task may require professional help, especially if you’re not familiar with electrical work.
How Do I Balance a Wobbling Ceiling Fan?
A wobbling ceiling fan can often be fixed by balancing the blades. Check for loose screws or uneven blade placement. You can also use a ceiling fan balancing kit to correct minor imbalances for smooth operation.
Can a Ceiling Fan Be Installed on a Sloped Ceiling?
Yes, ceiling fans can be installed on sloped ceilings, but you will need an adapter or angled mounting bracket designed for this purpose. This ensures the fan is installed securely and hangs at the correct angle for optimal performance.