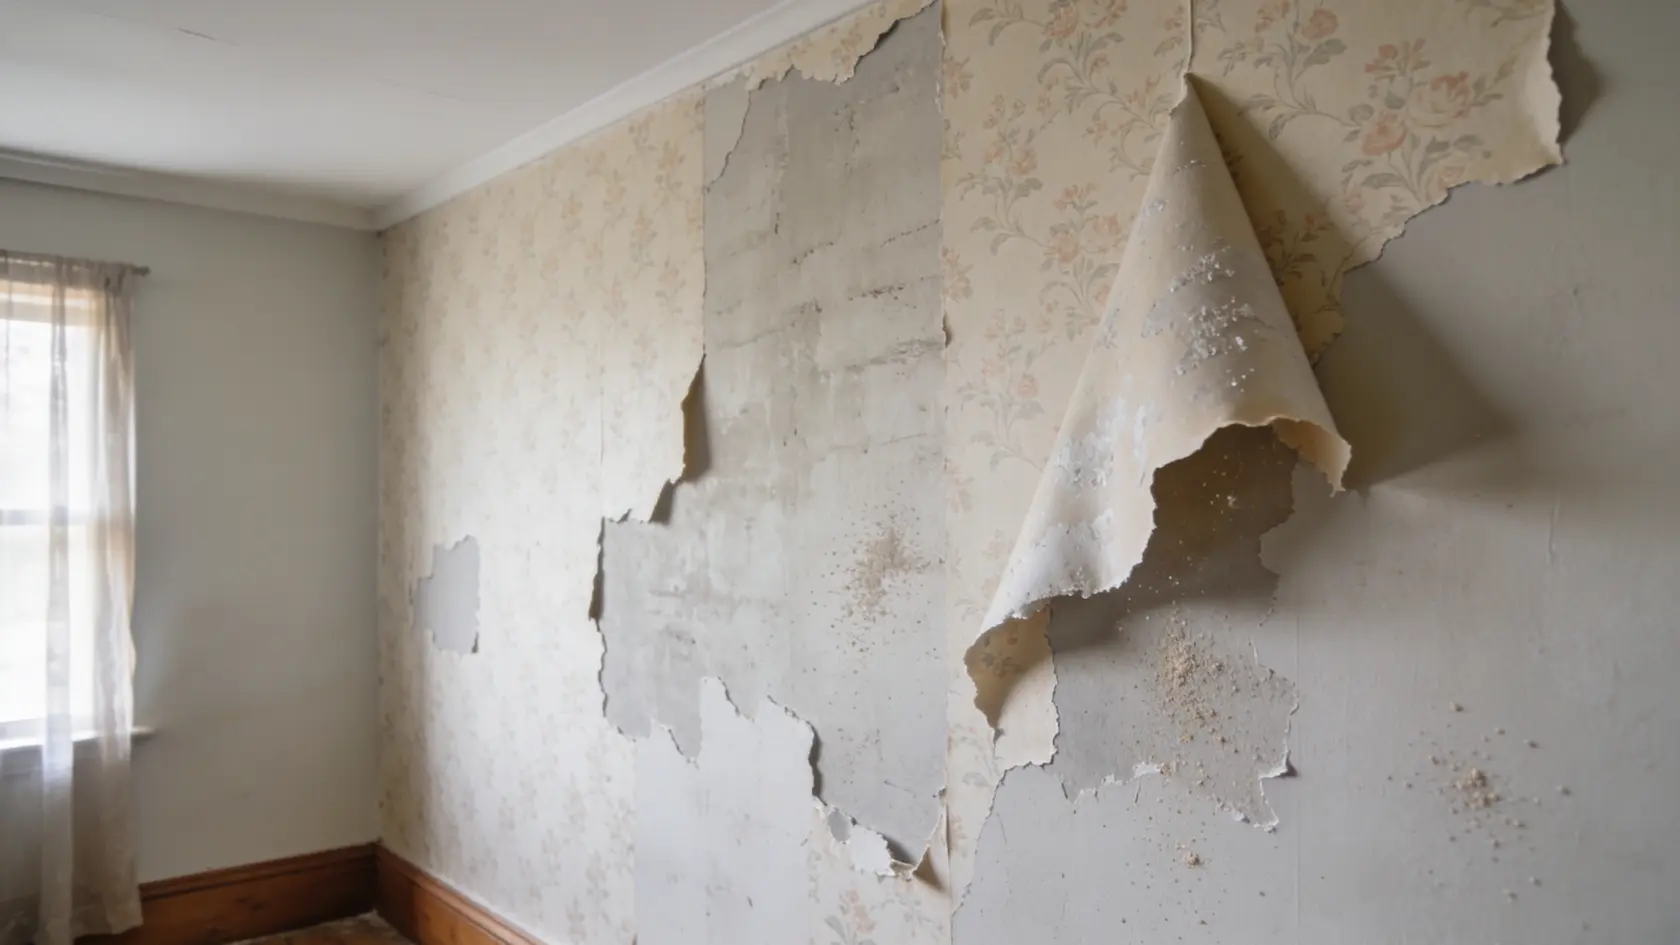
How to Remove Wallpaper Without Damaging Your Walls
Most people assume the hard part is the scraping. It is not. The real work in knowing how to remove wallpaper lies in what happens before and after.
The prep that protects your floors and walls, and the cleaning step that determines whether your paint job lasts. Skip either one, and the damage shows up weeks later, long after the job feels done.
Results also vary depending on how old the wallpaper is, what it is bonded to, and whether the walls were properly primed before it went up.
Here is what the process actually involves, step by step.
Tools & Materials Required
Before you start pulling at seams, make sure you have everything within arm’s reach; running out mid-job means dried paper and wasted effort.
- 5-Inch Rigid Putty Knife or Scraper
- Wallpaper Scoring Tool
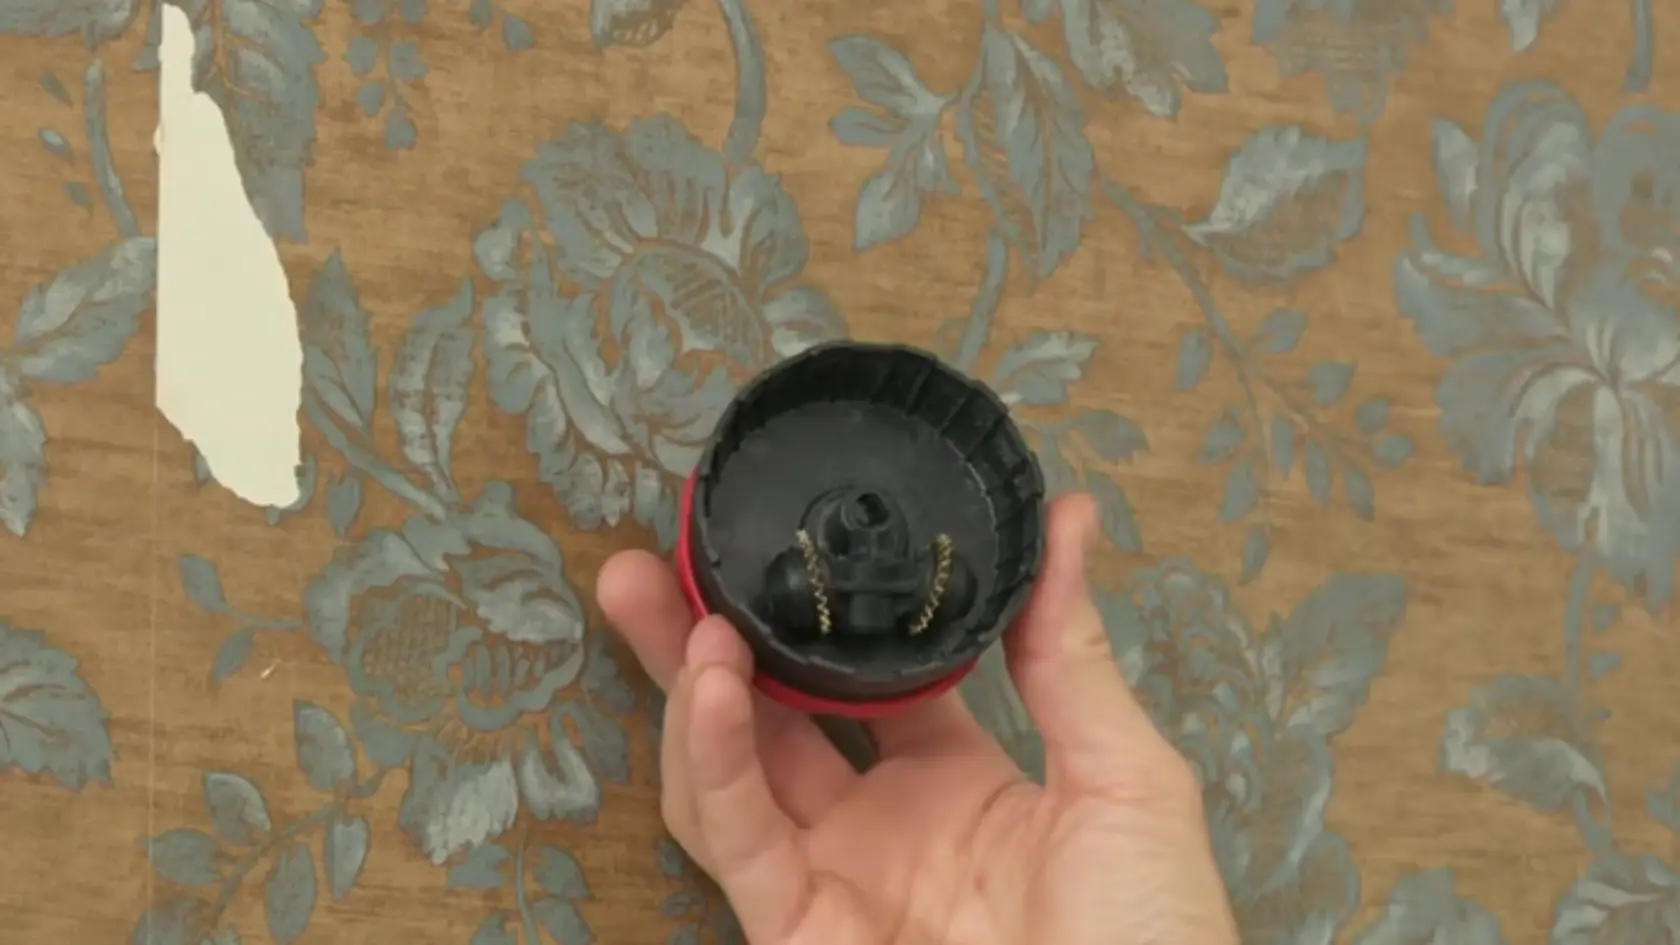
- Pressure or Pump Sprayer
- Fabric Softener or White Vinegar
- Hot Water
- Painter’s Plastic Tarp and Painter’s Tape
- Safety Goggles and Gloves
- Screwdriver and Clean Rags
How to Remove Wallpaper: Step-by-Step Process
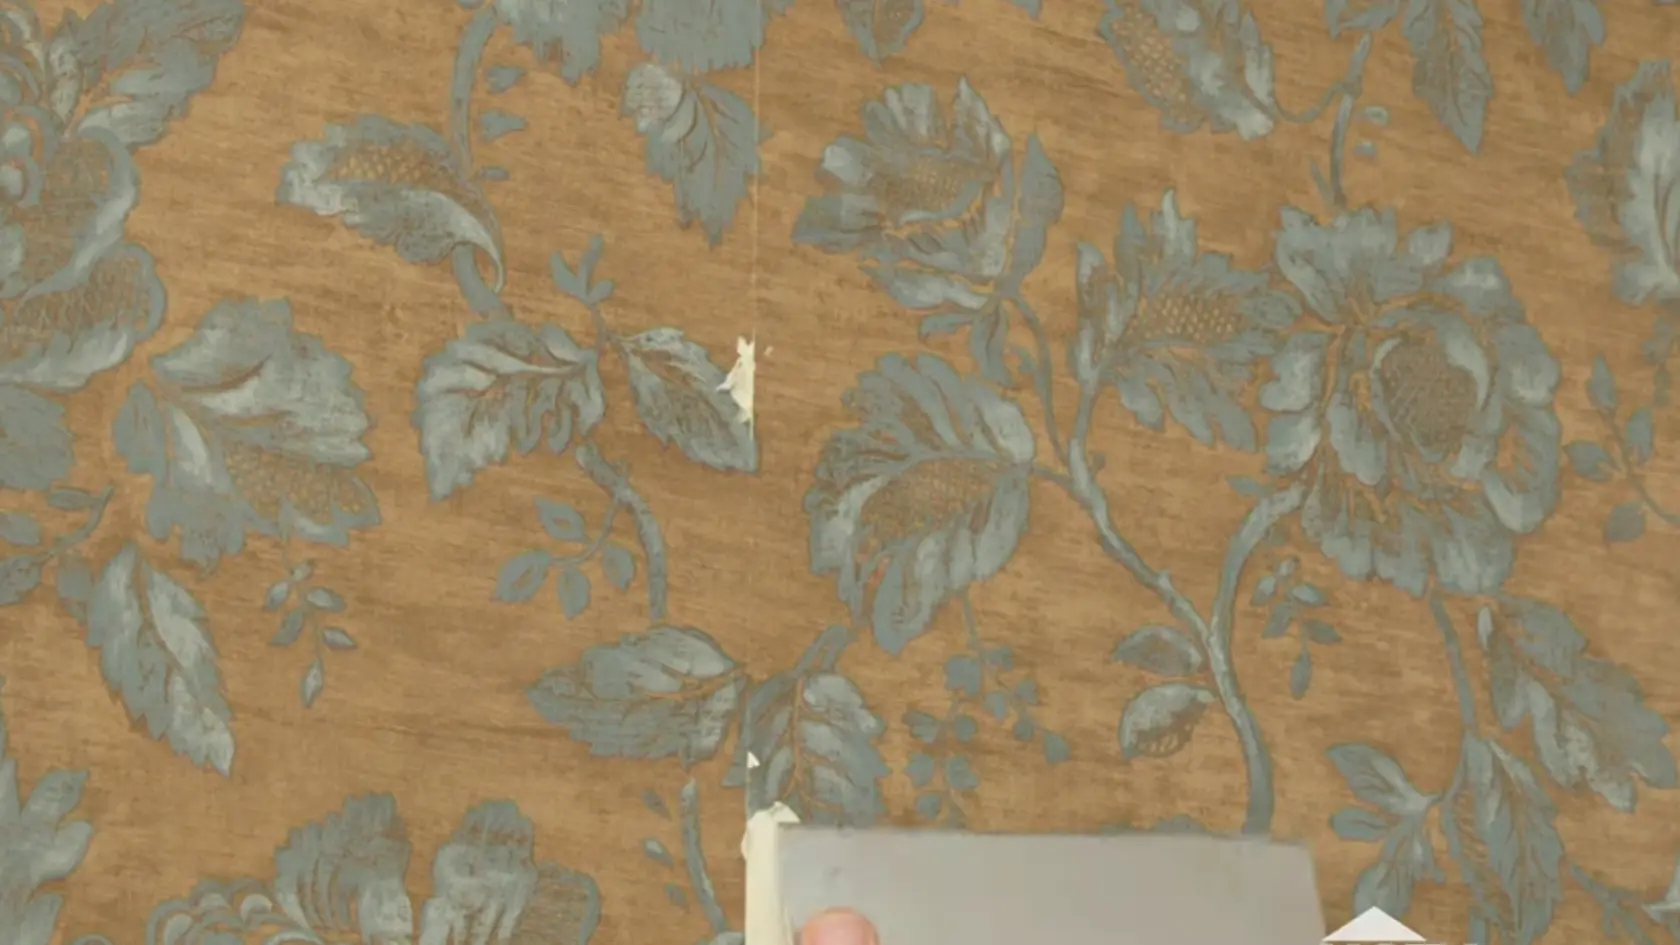
Old wallpaper can make even a well-furnished room feel dated, but getting it off cleanly is easier than most people expect.
Follow these steps to remove it without damaging your walls and have a paint-ready surface by the end of the day.
Step 1: Prepare the Room

Start by laying a plastic painter’s tarp across the floor and securing the edges with painter’s tape so it does not shift during the job.
Cut the power at the breaker box and tape over every outlet cover to keep moisture away from live terminals. Clear the room of furniture and wall art to give yourself space to move freely and work safely.
Step 2: Dry-Peel the Outer Layer
Find a loose edge or seam and slide your putty knife underneath to lift a corner, then pull the sheet downward slowly at a low angle, keeping it almost parallel to the wall. Keep tension steady and even as you pull to avoid tearing the paper into small fragments.
If large sheets come away cleanly, work across the full wall this way before reaching for any liquid or solution.
Step 3: Score the Remaining Backing
Run the scoring tool across the remaining backing using overlapping circular strokes with light pressure. The small perforations allow your removal solution to reach the dried adhesive beneath.
Avoid pressing too hard as gouging the drywall or plaster will leave uneven patches that need filling and sanding before you can paint.
Step 4: Mix and Apply Your Removal Solution
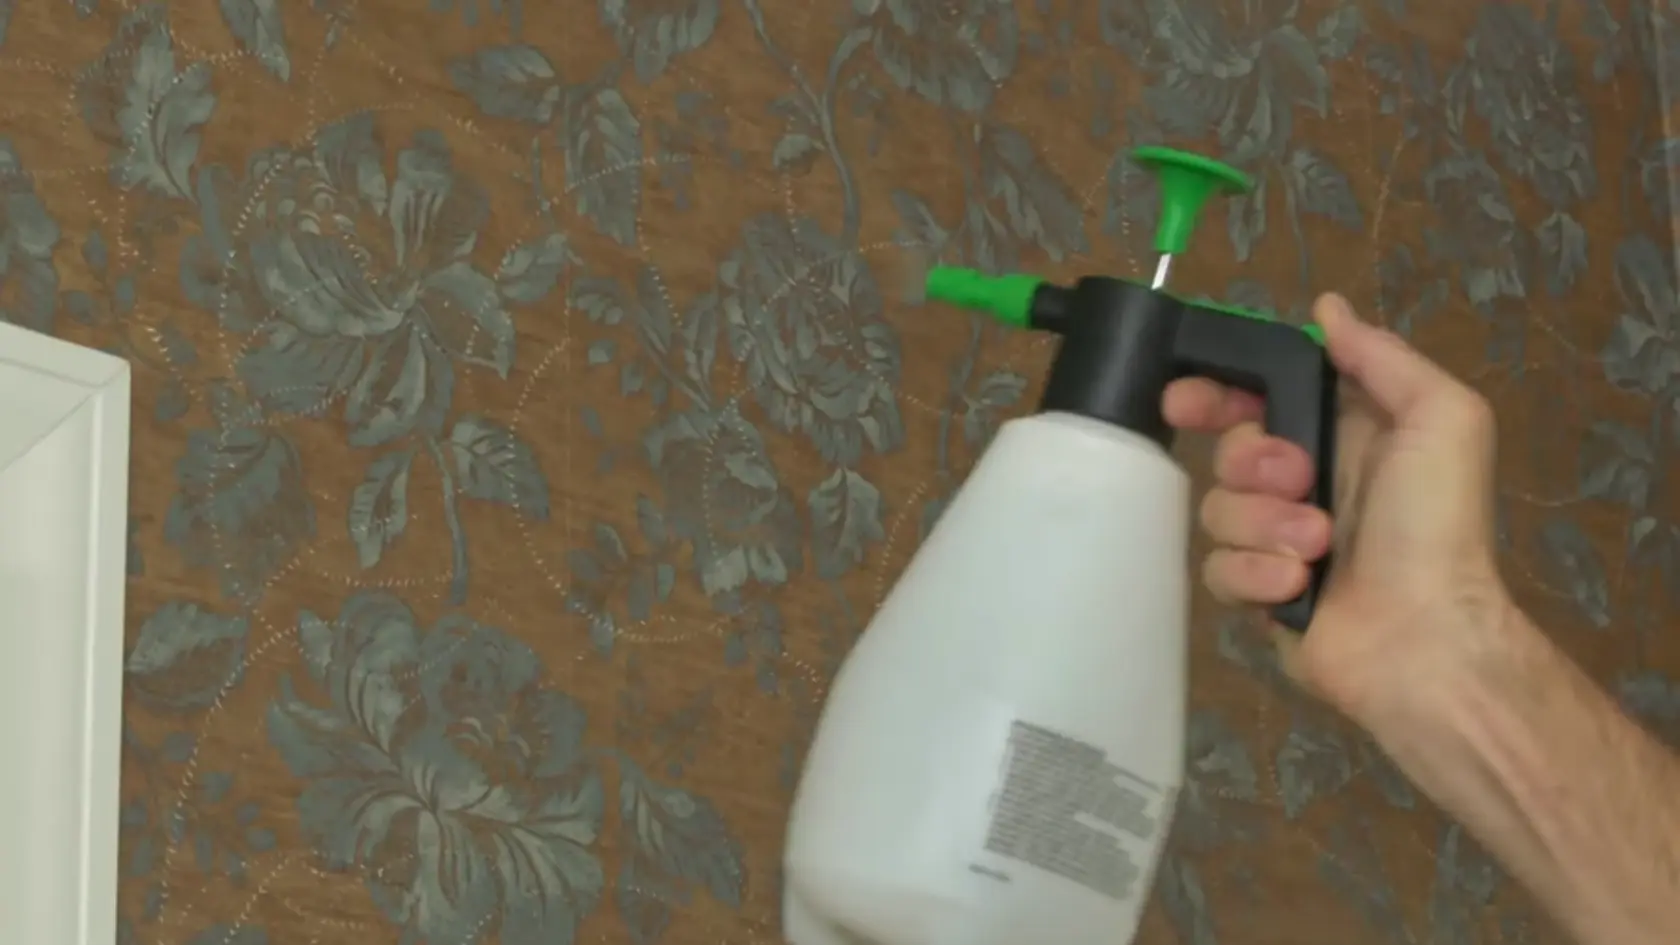
Fill your pressure sprayer with either one part fabric softener to three parts hot water or one part white vinegar to two parts hot water. Put on your safety goggles and spray a four-foot-wide section until it looks visibly damp but not dripping.
Wait two to three minutes, then use your scraper to peel the softened paper away in sheets from top to bottom.
Step 5: Remove the Adhesive Backing Layer

With all visible paper gone, re-spray each section with your hot water solution and wait a few minutes for the adhesive to soften.
Use your scraper in the same top-to-bottom motion to lift the glue away, then follow up immediately with a clean wet rag to wipe off any remaining residue. Run your hand across the wall, and if it still feels tacky, repeat the process.
Step 6: Prime the Wall Before Painting

Allow the wall to dry completely for at least 24 hours before doing anything else. Inspect the surface for any gouges or uneven patches left behind from scraping, fill them with joint compound, and sand smooth once dry.
Apply an oil-based primer across the entire wall before painting, as it seals any invisible adhesive residue that would otherwise cause your paint to bubble and peel.
For an in-depth walkthrough of the whole process, check out the complete video tutorial below:
Types of Wallpaper and How They Affect Removal
Different wallpaper types come off differently because the material and adhesive strength are not the same. Knowing what type you have first can save time, prevent wall damage, and help you choose the right removal method.
| Wallpaper Type | Removal Difficulty | What to Expect During Removal |
|---|---|---|
| Traditional Paper Wallpaper | Moderate | Usually needs soaking to loosen the adhesive properly. |
| Vinyl Wallpaper | Difficult | The waterproof surface blocks moisture, so scoring is often required first. |
| Peel-and-Stick Wallpaper | Easy | Pulls away without water if installed correctly. |
| Fabric Wallpaper | Difficult | Often uses strong adhesive and may leave residue behind. |
| Painted-Over Wallpaper | Very Difficult | Paint seals the surface and makes moisture penetration harder. |
| Non-Woven Wallpaper | Easy to Moderate | Many types peel off in large strips without much scraping. |
Common Mistakes to Avoid
Rushing into the job without the right preparation almost always leads to bigger problems down the line.
- Skipping the scoring step: Applying the solution directly to non-porous or vinyl-coated wallpaper without scoring first means the liquid never reaches the adhesive underneath.
- Over-soaking the wall: Using too much solution or leaving it on too long pushes moisture into the drywall and causes the facing to tear when you scrape. Work in small sections and keep the surface damp rather than wet.
- Using a metal scraper on drywall: A metal blade on drywall is too aggressive and easily gouges the surface. Switch to a plastic scraper on drywall and reserve the metal blade for plaster walls only.
- Skipping the adhesive cleaning step: Leftover adhesive residue will reactivate under water-based paint and cause bubbling within days of painting. Once the paper is off, re-spray the wall and wipe it down thoroughly with a wet rag
- Painting without priming: Going straight to paint after cleaning skips the most important protective step. Always apply an oil-based primer first to seal the surface and ensure the paint bonds properly and lasts.
Conclusion
Removing wallpaper is one of those DIY jobs that feels intimidating before you start, but becomes oddly satisfying once you get into a rhythm.
The walls that felt like a problem an hour ago start looking like a blank canvas, and that is a good feeling.
Take your time, do not skip the priming step, and your paint job will thank you for it. If you have tackled a wallpaper removal project of your own or have a tip that made the job easier, drop it in the comments below.
Frequently Asked Questions
What is the Easiest Way to Remove Wallpaper?
Start by dry peeling as much of the top layer as possible, then apply a hot water and fabric softener solution, wait a few minutes and scrape the softened paper away with a plastic putty knife.
Can I Remove Wallpaper without a Scoring Tool?
You can attempt it, but without scoring, the solution never fully reaches the adhesive layer underneath, making the job much slower. A scoring tool is inexpensive and widely available at any hardware store.
How Long Do I Need to Let the Solution Soak Before Scraping?
Two to three minutes is enough for most wallpaper types. The paper should feel soft and slightly slippery when pressed rather than firm and resistant before you begin scraping.
Will Removing Wallpaper Damage My Walls?
It can if the process is rushed. Using a plastic scraper on drywall, keeping the surface damp rather than saturated and working patiently in small sections will protect the wall throughout.