How to Clean Grout Lines Easily and Effectively
Grout lines can make a clean floor look dirty, even right after mopping. That thin space between tiles holds more grime than most people expect, and it only gets worse with time.
If you’ve tried to clean grout lines and still see stains, the problem usually goes deeper than the surface.
The good news is that the right method can fix it without damaging your tiles.From why grout traps dirt to simple ways to clean and maintain it, the steps ahead make the process clear and practical.
Why Do Grout Lines Get Dirty so Easily?
Grout lines get dirty quickly because grout is porous and absorbs moisture, dirt, and oils below the surface. These trapped particles build up over time, leading to visible staining.
Grout is made from cement and sand, which harden but do not fully seal. This leaves tiny grout pores that allow moisture and dirt to pass through.
Unlike smooth tile, grout absorbs what comes into contact with it. This makes it prone to staining. Dirt enters grout along with water, oil, or soap residue. Moisture helps bind these particles inside the pores.
In kitchens, grease mixes with dust and settles into grout. In bathrooms, moisture carries soap scum and mold into the surface.
The surface may dry, but the residue stays trapped underneath. New buildup layers over old, making stains deeper over time.
Grout turns dark as dirt accumulates in its pores over time. Moisture can also cause mold, adding darker stains.
Surface cleaning removes only loose dirt. Most stains are embedded, which is why grout becomes harder to clean.
What You Need Before You Start
Start with the right tools to make grout cleaning easier and safer. Using proper items helps remove dirt without damaging the surface or weakening the grout.
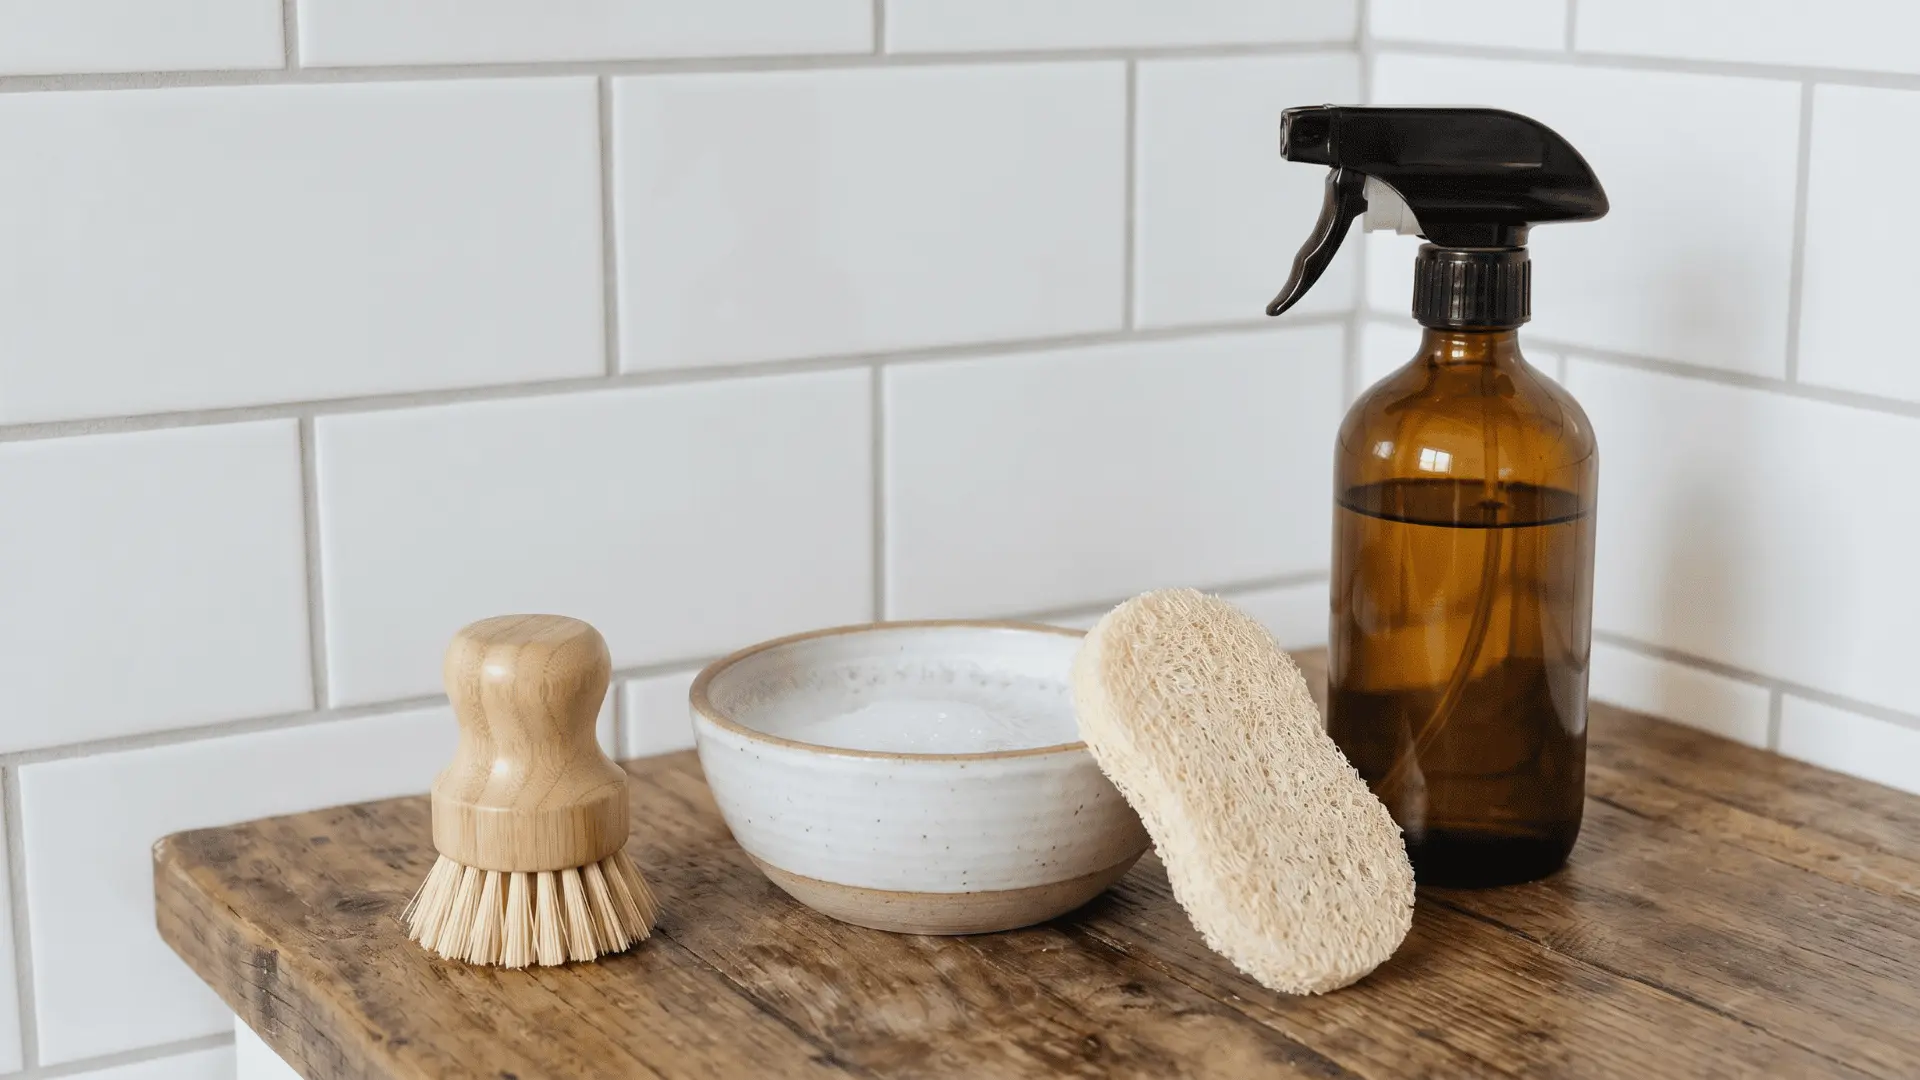
Tools You Need
Use simple, non-abrasive tools that clean effectively while protecting grout:
- Stiff nylon brush or toothbrush: Helps scrub dirt out of grout lines without scratching them
- Mixing bowl: Used to prepare cleaning solutions easily
- Water: Helps activate cleaners and rinse away residue
- Sponge or cloth: Useful for wiping loosened dirt and drying the surface
These tools are enough for most grout-cleaning tasks and help keep the process under control.
What to Avoid?
Some tools and cleaners can do more harm than good:
- Metal brushes that scratch grout
- Acidic cleaners on natural stone
- Bleach on colored grout
- Steam on unsealed or damaged grout
Using the right tools and avoiding harsh methods sets a strong base for effective grout cleaning.
Know Your Grout, Stain, and Tile Type
Before choosing a cleaner, check the grout type, stain type, and tile surface so you do not use the wrong method.
Type of Grout
| Grout Type | Key Traits | What It Means for Cleaning |
|---|---|---|
| Cement-based grout | Porous, absorbs water, oils, and dirt | Stains easily, needs sealing after cleaning |
| Epoxy grout | Non-porous, stain-resistant | Only surface cleaning needed, no sealing |
Type of Stain
| Stain Type | How It Looks | What It Needs |
|---|---|---|
| Surface dirt and grime | Light to moderate darkening | Basic cleaning methods |
| Deep organic stains | Yellow, brown, or dull patches | Oxidation-based cleaning |
| Mold and mildew | Black, gray, or pink marks | Moisture-targeted cleaning |
| Mineral deposits | White or chalky buildup | Acid-based cleaning (tile-safe only) |
Type of Tile
| Tile Type | Cleaning Notes |
|---|---|
| Natural Stone | Avoid Acidic Cleaners, as They Can Cause Permanent Damage |
| Ceramic or Porcelain | More Durable, Supports a Wider Range of Cleaners |
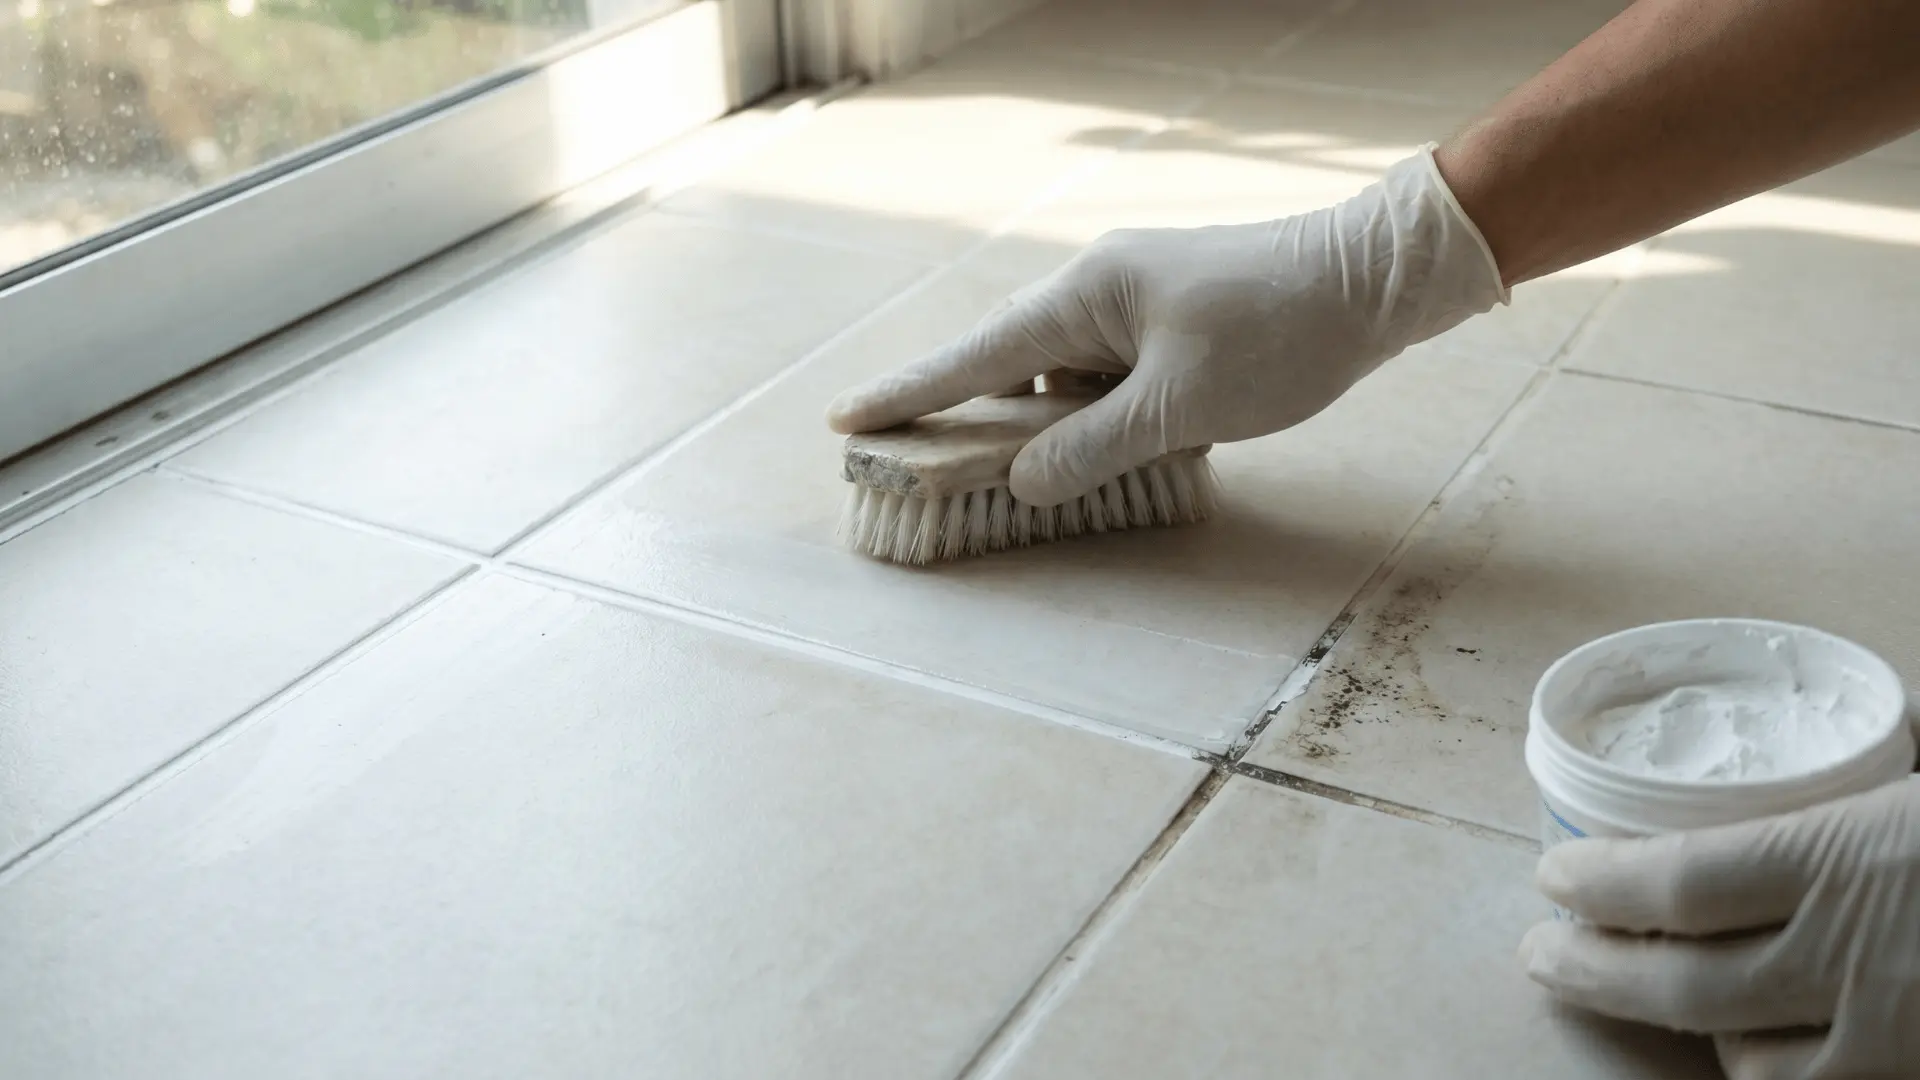
How to Clean Grout Lines: Step-by-Step
Grout cleaning works when the method matches how stains behave. Most household stains are organic and need oxidation to break down before scrubbing removes them.
1. Baking Soda + Hydrogen Peroxide (Standard Method)
Best for general grime, soap residue, light mold, and body oils. Works by breaking down organic stains first, then lifting them with light scrubbing.
Key Steps:
- Mix equal parts of baking soda and 3% hydrogen peroxide into a paste.
- Apply directly onto grout lines and press for full contact.
- Let it sit for 15 minutes without scrubbing.
- Scrub with a stiff nylon brush.
- Rinse thoroughly before moving to the next section.
This method works for most household stains but loses effectiveness if the paste dries or the area is too large. It also struggles with deep or mineral-based stains.
2. Steam Cleaning (No-Chemical Option)
Best for maintenance cleaning, mold in damp areas, or when avoiding chemicals. Uses heat and pressure to loosen and lift dirt from grout pores.
Key Steps:
- Use a narrow brush attachment.
- Hold slightly away from the grout surface.
- Move slowly along each grout line.
- Wipe loosened dirt immediately with a cloth.
Steam removes buildup but does not chemically break down stains. It is not suitable for cracked, unsealed, or newly installed grout.
3. Oxygen Bleach (Deep Stains)
Best for deep stains, mold, and long-term buildup. Works by releasing oxygen that penetrates deeper into grout and breaks down embedded organic matter.
Key Steps:
- Mix oxygen bleach with warm water.
- Apply it to the grout and work it into the surface.
- Let it sit for 5–20 minutes, depending on stain severity.
- Scrub with a nylon brush.
- Rinse thoroughly.
This method is stronger than standard cleaning but less effective on mineral deposits. Test first on natural stone to avoid surface damage.
When to Use a Commercial Grout Cleaner?
Best when Diy Methods Fail or For Heavily Stained, Degraded Grout. These Cleaners Are Designed for Specific Stain Types and Stronger Buildup.
Key Steps:
- Choose Based on Stain Type and Tile Material
- Check if The Cleaner Is Acidic, Alkaline, or Neutral
- Follow Label Instructions for Dwell Time
- Apply, Scrub if Needed, and Rinse Thoroughly
Using the Wrong Cleaner Can Damage Grout or Tile Surfaces. Effectiveness Depends on Matching the Product to The Stain Type.
How to Keep Grout Clean Afterward
Proper aftercare prevents stains from returning and keeps grout easier to maintain. Sealing and simple maintenance reduce how quickly dirt builds up again.
- Seal Grout After Cleaning: Apply a penetrating sealer once grout is fully dry, at least 24 hours after cleaning. It fills grout pores, preventing dirt and moisture from bonding and making future cleaning easier.
- Use the Right Sealer Type: Penetrating, or impregnating, sealers absorb into grout and last longer. Topical sealers sit on the surface and wear off quickly, especially on floors.
- Ensure Grout is Completely Dry Before Sealing: Sealing damp grout traps moisture inside. This can cause discoloration, mold, or sealer failure.
- Apply Sealer Correctly: Apply directly to grout lines using a brush or applicator. Wipe excess from tiles quickly to avoid residue buildup.
- Check Sealer Effectiveness Regularly: Drop water on grout. If it beads, the sealer is working; if it absorbs, reapply.
- Maintain with Simple Cleaning: Wipe grout weekly with water or a pH-neutral cleaner. Avoid soap residue, as it attracts dirt and speeds up staining.
Consistent sealing and light maintenance keep grout cleaner for longer and reduce the need for deep cleaning.
Conclusion
Clean grout comes down to using the right method for the right type of stain and avoiding habits that worsen buildup. Simple steps like proper rinsing, gentle scrubbing, and sealing can make a big difference over time.
One thing many people miss is that moisture control matters just as much as cleaning, since damp grout attracts more dirt. Also, small, regular touch-ups are far easier than waiting for heavy staining.
Start with one section today, follow the proper method, and build a routine that keeps your grout cleaner, longer.