
How to Choose the Right Wood Oil Finish for Home Interiors
You’ve spent weeks picking the perfect hardwood floors. Maybe months. The species is right, the grain pattern is gorgeous, and the color sits exactly where you want it. Now comes the part most people rush through: choosing the finish. And honestly, this decision matters just as much as the wood itself.
A wood oil finish does more than protect. It defines how your floors feel underfoot, how they age over the years, and how much weekend maintenance you’re signing up for. Get it right, and your interiors look effortlessly polished for a decade. Get it wrong, and you’re refinishing in three years.
Why Oil Finishes Over Polyurethane?
Polyurethane has dominated American homes for decades. It creates a hard plastic shell on top of the wood, and for high-traffic rentals or commercial spaces, that makes sense. But for a home where you actually care about how the wood looks and feels? Oil finishes are a different experience entirely.
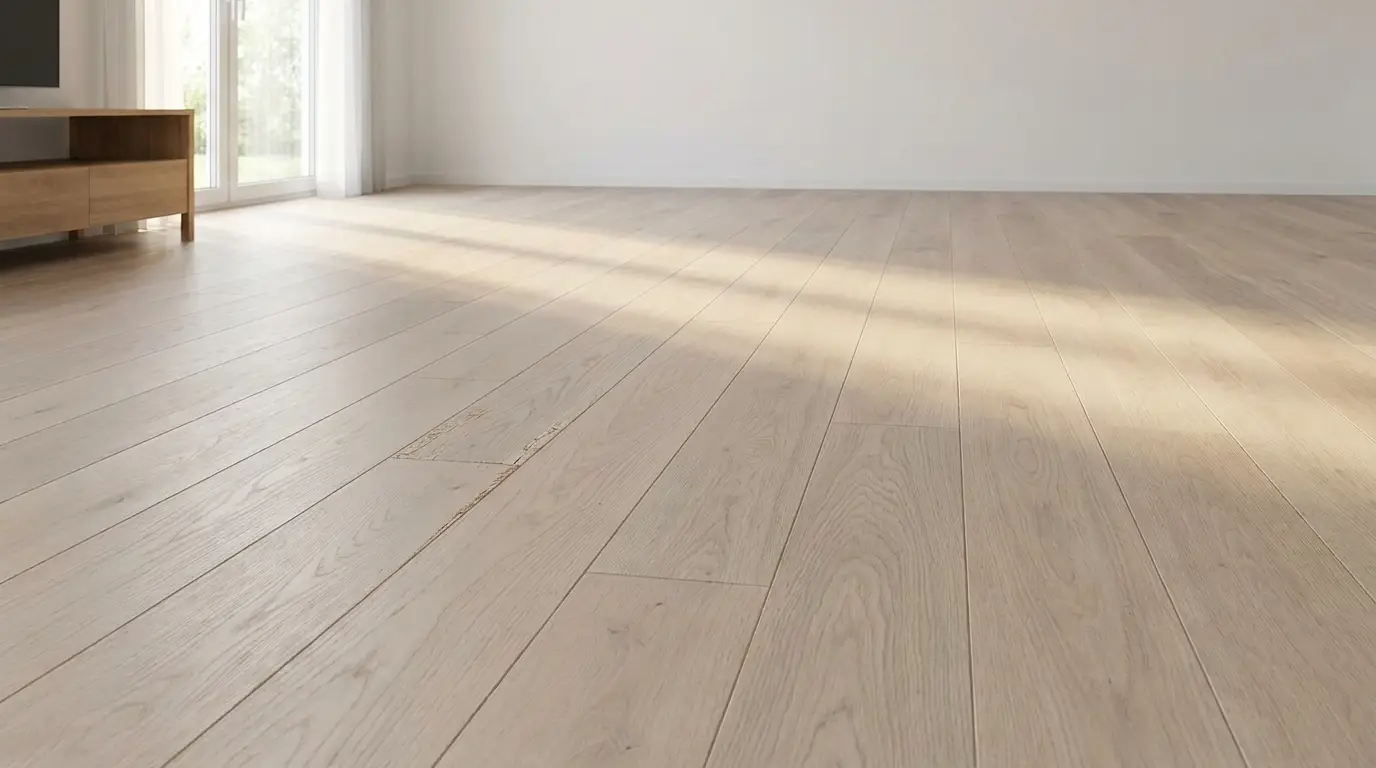
Oil penetrates the wood fibers instead of sitting on the surface. The result is a matte, natural look that lets you feel the actual texture of the grain. White oak treated with a quality oil finish looks alive. The same plank under three coats of polyurethane looks like it’s trapped behind glass.
Repairability Is the Real Advantage
Scratch a polyurethane floor and you’ll see a white mark where the coating cracked. Fixing it means sanding the entire room. Scratch an oiled floor and you can spot-repair it in fifteen minutes with a rag and some fresh oil. For families with kids, dogs, or both, this alone is worth the switch.
Understanding the Main Types of Wood Oil Finishes
Not all wood oils perform the same way. The differences come down to composition, durability, and the look they produce.
Pure Tung Oil
Derived from the seeds of the tung tree, this is one of the oldest wood finishes in existence. It cures to a hard, water-resistant film and produces a warm, slightly amber tone. The downside? Pure tung oil requires multiple coats, sometimes five or six, with 24 to 48 hours of drying time between each. Beautiful results, but patience is mandatory.
Hardwax Oil Blends
This is where the modern market has really evolved. Hardwax oils combine natural plant oils with waxes like carnauba or candelilla to create a finish that penetrates deeply while leaving a thin protective wax layer on the surface. Osmo Polyx Oil is one of the most respected products in this category, known for its durability and the natural matte finish it produces. Two coats are typically enough, and the application process is straightforward for DIY homeowners.
Danish Oil
A blend of tung oil, varnish, and mineral spirits, Danish oil is easy to apply and forgiving for beginners. It soaks in fast and builds a subtle sheen. However, it’s better suited for furniture and trim work than for floors that take heavy daily traffic.
Matching the Finish to Your Interior Style
The aesthetic question matters more than most guides admit. A Scandinavian-inspired living room with white walls and light oak floors calls for a clear, matte oil that preserves the wood’s pale tone. Go with something amber-toned and you’ll shift the whole mood of the space.
Darker woods like walnut or smoked oak benefit from finishes that enhance depth without adding gloss. A satin hardwax oil brings out the chocolate tones without making the surface look wet or shiny. For mid-century modern interiors, that low-luster warmth is exactly right.
Kitchens and bathrooms need extra consideration. These spaces see water, grease, and constant cleaning. A hardwax oil with strong water-repellent properties will outperform a pure tung oil here. Check the manufacturer’s specs for water resistance ratings before committing.
Application Tips That Actually Matter
Sand to the right grit. Most oil finishes perform best on wood sanded to 120 or 150 grit. Go finer than that and the wood surface becomes too smooth for proper oil absorption.
Apply thin coats. Thick coats don’t cure properly and leave sticky patches. Two thin, even coats will always outperform one heavy one.
Wipe off the excess. After allowing the oil to penetrate for 20 to 30 minutes, buff away anything sitting on the surface. Leftover oil becomes a tacky mess overnight.
Control your environment. Oil finishes cure best between 60 and 75 degrees Fahrenheit with moderate humidity. A cold garage in January is not the place for this project.
Maintenance and Long-Term Care
Oiled floors need refreshing every two to three years in high-traffic areas. Hallways and kitchen paths will show wear first. The refresh process is simple: clean the floor, apply a thin maintenance coat, and buff it in. No sanding required. No fumes filling the house for days.
Regular cleaning should involve a pH-neutral soap designed for oiled wood. Standard household cleaners can strip the oil and leave the wood unprotected. A microfiber mop and the right soap will keep things looking sharp between maintenance coats.
Choosing a wood oil finish isn’t complicated, but it does require you to think about how you live in your home. Consider your traffic patterns, your tolerance for maintenance, and the look you’re after. The right oil will reward you with floors that feel real, age gracefully, and still look stunning years from now.


