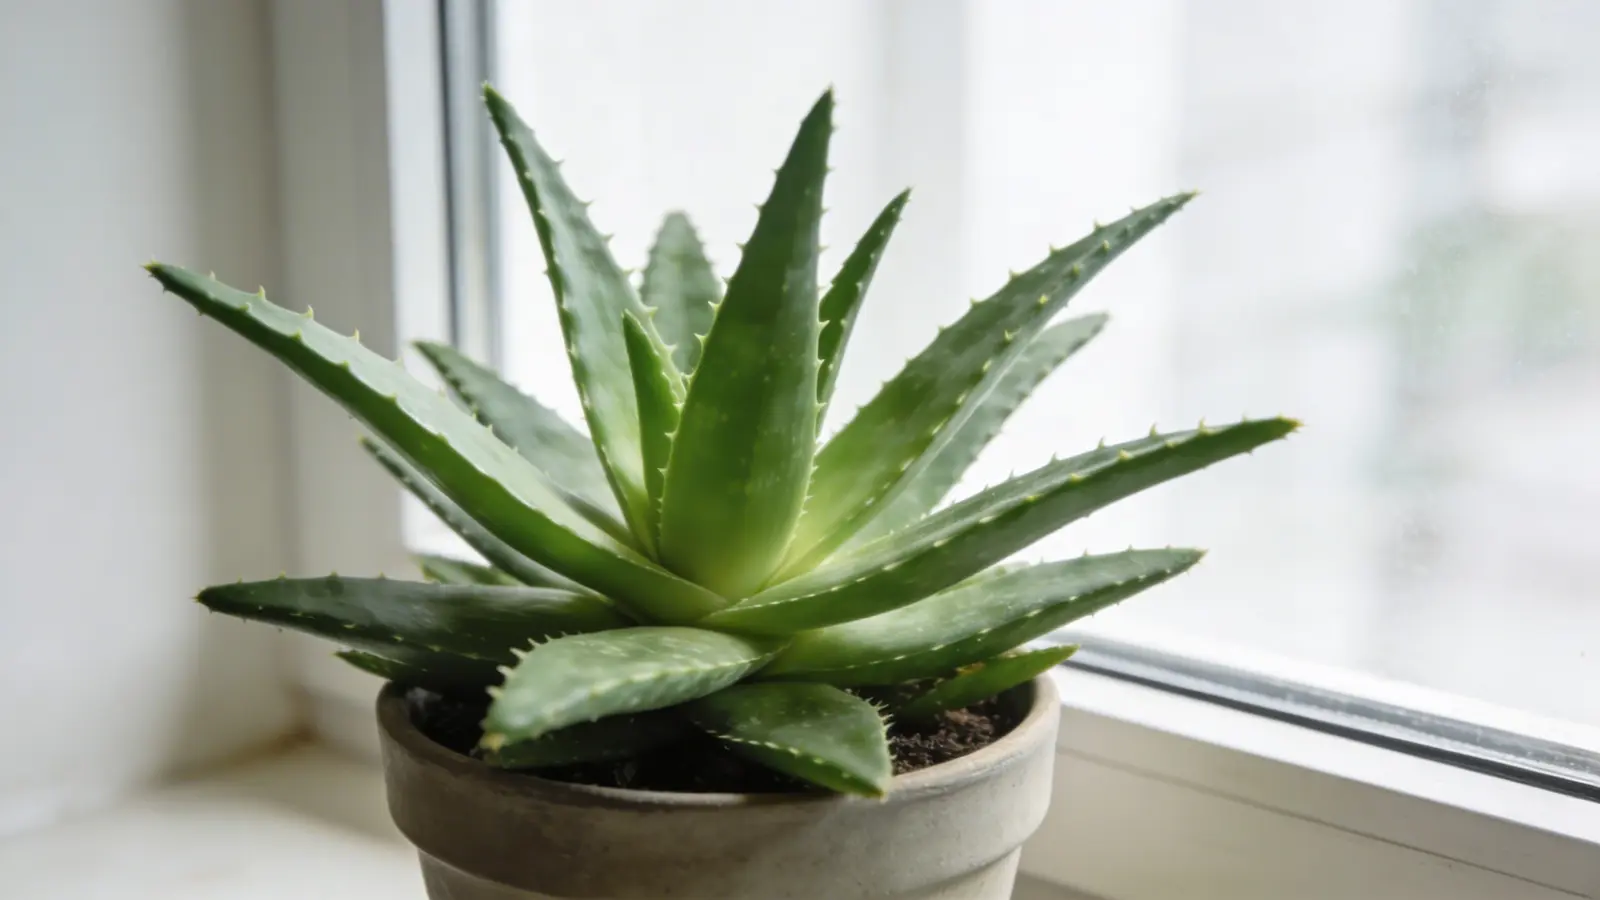
How To Care For An Aloe Vera Plant
Aloe vera looks tough, and it is, but only when you care for it the right way. Most people kill it with kindness, usually by watering too much or placing it in the wrong spot.
The good news is that once you understand how this plant actually works, keeping it alive becomes simple.
This blog walks you through everything you need to know, from the right soil and light setup to reading your plant’s signals and fixing problems before they get worse.
Understanding How Aloe Vera Plants Work
Before diving into care steps, it helps to understand what makes aloe different from other houseplants. Aloe is a succulent. That means it stores water directly inside its leaves, not in the soil.
This built-in water reserve is why it can survive neglect, but it’s also why too much water kills it fast. Its roots need both moisture and oxygen to stay healthy.
When soil stays wet too long, oxygen can’t reach the roots. They suffocate, rot sets in, and the plant collapses from the bottom up, often before you notice anything is wrong.
Aloe also grows slowly and needs very few nutrients. It evolved in nutrient-poor, arid environments. This is important to keep in mind when you’re tempted to feed or water it more.
How to Care for An Aloe Vera Plant Step by Step
Follow these steps in order when setting up your plant for the first time:
1. Get The Light Right
Place your aloe in bright, indirect light. A spot near a window, but not in direct afternoon sun, is ideal.
- Too much direct sun damages the water-storing tissue inside the leaves, causing brown scorch marks
- Too little light forces the plant to stretch toward the light source, making it leggy and structurally weak
An east-facing window is often the safest choice for indoor plants.
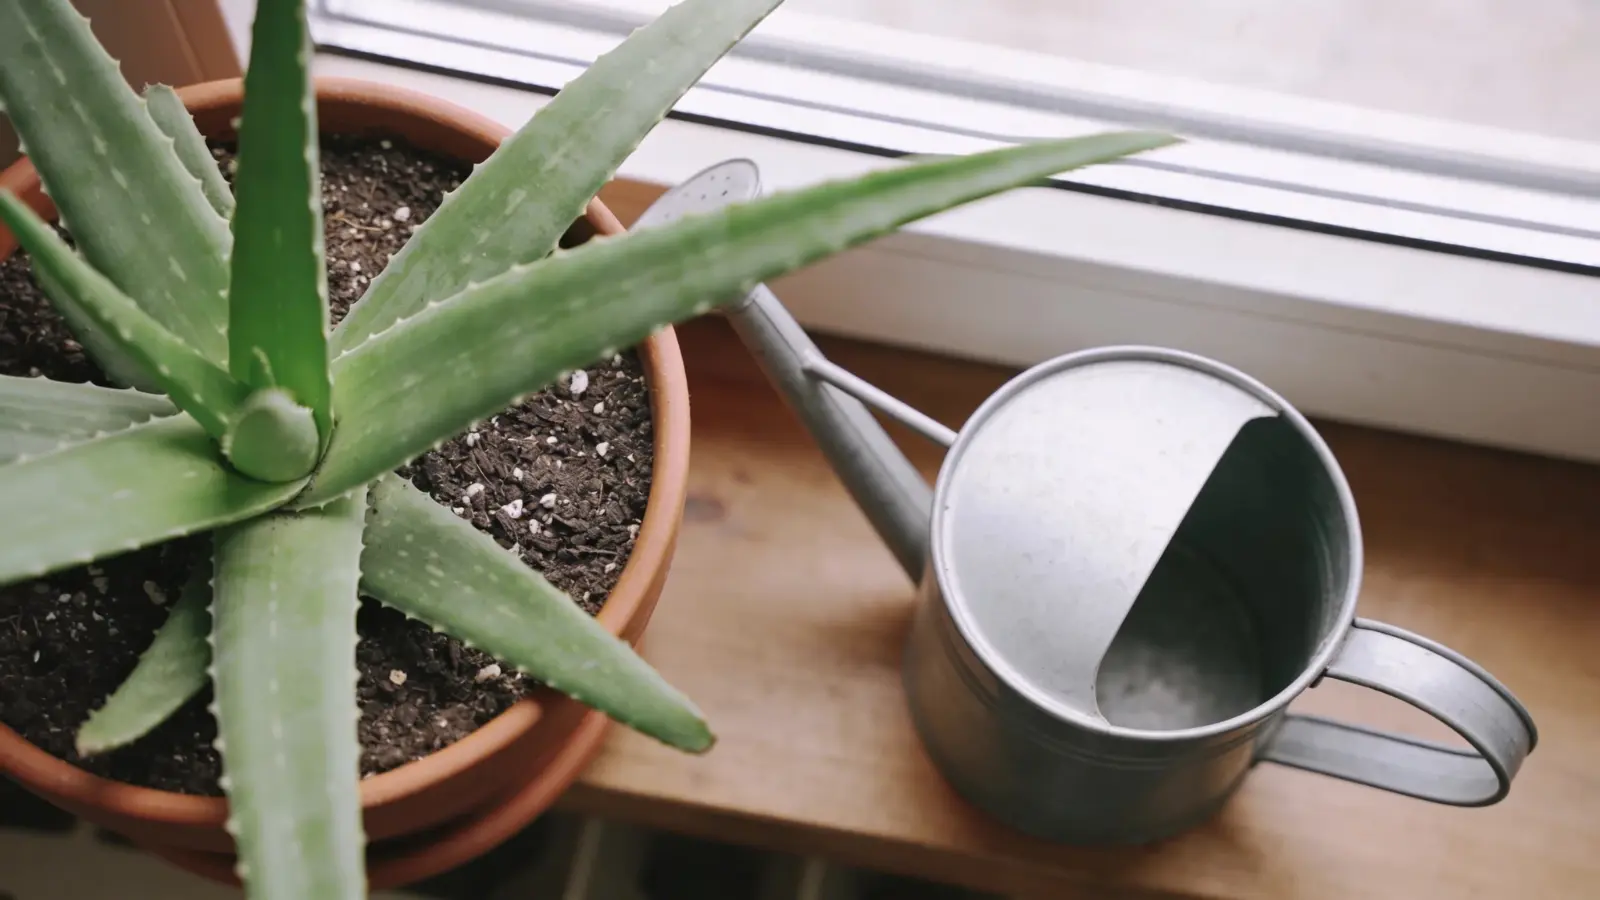
2. Use The Right Soil And Pot
Use a cactus or succulent mix. These drain fast and allow air to reach the roots.
- Standard potting soil holds too much moisture and will slowly suffocate the roots
- Add perlite or coarse sand to improve drainage further if needed
- Always use a pot with a drainage hole, no exceptions
Terracotta pots are better than plastic because they absorb excess moisture from the soil, reducing the risk of root rot.
3. Water Correctly
Water deeply, then wait until the soil is completely dry before watering again. There is no fixed schedule; frequency depends on the season and your environment.
Signs you’re doing it right: the leaves stay firm and plump.
4. Keep It In The Right Temperature
Aloe does best between 13°C and 29°C (55°F–85°F). Cold damages the cells inside the leaves, and the damage is permanent.
Keep it away from drafts, air conditioning vents, and frost. If you move it outdoors in summer, bring it back inside before temperatures drop.
5. Feed Sparingly
Aloe doesn’t need much fertilizer. Feed it once in spring and once in summer at most, using a diluted cactus fertilizer.
Over-fertilizing causes salt buildup in the soil, which burns the roots and stresses the plant.
How to Water Aloe Vera the Right Way?
Watering is where most people go wrong. Getting this right makes everything else easier.
When to Water
Stick your finger 2–3 inches into the soil. If it still feels damp, wait. Only water when the soil is completely dry at that depth.
- In summer, this might mean watering every 1–2 weeks
- In winter, the plant goes semi-dormant and may only need water once a month
Watering on a fixed schedule, regardless of what the soil feels like, is one of the most common mistakes.
How to Water Properly
Water slowly and thoroughly until it drains out of the bottom of the pot. Then empty the saucer so the pot isn’t sitting in standing water.
Shallow watering (just a splash on top) trains roots to stay near the surface, making the plant weaker and more vulnerable to stress.
Signs You Are Watering Wrong
Your plant will tell you when something is off. Here’s what to look for:
Overwatering:
- Leaves turn soft, mushy, or dark at the base
- The stem near the soil feels slimy
- This happens because waterlogged roots rot and can no longer support the plant
Underwatering:
- Leaves become thin, slightly curled, or dry at the tips
- The whole plant looks deflated
- The leaves are drawing on stored water because none is available from the roots
Light Requirements and Placement Strategy
Aloe needs at least 6 hours of bright, indirect light daily.
Best window positions:
- East-facing: gentle morning light, safe for most setups
- South-facing: stronger light, good if filtered through a sheer curtain
- West-facing: intense afternoon sun can cause leaf scorch without a buffer
If you’re moving a plant that’s been indoors for a while to a brighter spot or outdoors, do it gradually over 1–2 weeks. A sudden increase in light intensity stresses the plant and can cause the same brown patches as sunburn.
Soil, Pot, and Repotting Explained
The right setup from the start prevents most root problems.
Best Soil Type
Use a pre-made cactus or succulent mix. If you want to improve it further, mix in perlite at about a 1:1 ratio. This increases airflow around the roots and prevents moisture from sitting too long.
Choosing the Right Pot
Beyond drainage holes and terracotta, size matters too. A pot that’s too large holds more soil than the roots can dry out quickly, which leads to overwatering risk, even if your watering habits are good.
Choose a pot that’s only slightly larger than the root ball.
When and How to Repot
Repot every 2–3 years, or when you notice:
- Roots growing out of the drainage hole
- The plant is tipping over due to top-heavy growth
- Growth is slowing despite good care
When repotting, let the plant sit in the new dry soil for a few days before watering. This lets any damaged roots heal before they’re exposed to moisture.
Common Aloe Vera Problems and How to Fix Them
Here’s a quick breakdown of the most common aloe issues, what causes them, and exactly how to fix each one.
| Problem | Cause | Fix |
|---|---|---|
| Root Rot | Overwatering + poor drainage | Trim dead roots, repot in dry cactus soil |
| Brown Tips | Dry stress | Water slightly more often |
| Brown Patches | Sunburn | Move away from direct sun |
| Thin, Curled Leaves | Underwatering | Water deeply, check the soil more regularly |
| Droopy or Pale Leaves | Low light | Gradually move to a brighter spot |
Catch these early, and they’re all easy to fix. The longer you wait, the harder recovery gets.
Indoor Vs. Outdoor Aloe Care Differences
Both setups can work well, but the care adjustments are different.
Indoors:
- More stable temperature, but usually lower light
- Growth will be slower
- Water less frequently since evaporation is slower
Outdoors:
- Higher light and airflow mean the soil dries faster, so water more often
- Great for summer growth
- Must be brought inside before frost or when temperatures drop below 10°C (50°F)
Transition slowly when moving the plant between environments to avoid shock.
Seasonal Care Adjustments
Aloe’s metabolism slows significantly in winter. This changes what it needs.
Summer:
- Longer days and higher temperatures increase water evaporation
- Water slightly more frequently
- Growth is most active, the best time to repot or propagate
Winter:
- The plant enters a semi-dormant state
- Watering the same amount as in summer will lead to root rot because the plant isn’t absorbing water at the same rate
- Reduce watering dramatically and stop fertilizing entirely
The number one winter mistake: continuing the summer watering schedule.
Conclusion
Aloe vera is one of the easiest plants to keep alive once you understand how it works. It doesn’t need constant attention; it needs the right attention.
Bright indirect light, well-draining soil, and deep but infrequent watering are the three pillars of a healthy plant. Respect its dormancy in winter, watch what the leaves are telling you, and fix problems early before they spread.
Most issues come down to overwatering or poor placement, and both are easy to correct once you know the signs. Start with the basics, stay consistent, and your aloe will thrive for years to come.
Have a question about your aloe or something that’s worked well for you? Drop it in the comments below. We’d love to hear from you.
Frequently Asked Questions
What Does an Overwatered Aloe Look Like?
The leaves turn soft, mushy, and may darken near the base. The stem close to the soil may feel wet or slimy. This is caused by root rot from waterlogged soil.
Do Aloe Plants Need Direct Sunlight?
No. Direct sun, especially harsh afternoon sun, can scorch the leaves. Bright, indirect light is safer and still gives the plant enough energy to thrive.
How Do I Know if My Aloe Plant Is Healthy?
A healthy aloe has thick, firm, upright leaves with a consistent green color. The leaves should feel plump and sturdy, not soft, wrinkled, or limp.


