How to Build DIY Window Shutters Easily
Do plain window frames make your house look empty? I know the feeling. When I moved into my new home, the bare windows needed something extra.
Store-bought shutters were too costly, and the sizes never matched my windows perfectly.
Here’s the good news – you can make custom window shutters that fit your home’s style. I’ll show you how to build them using basic tools and materials from your local hardware store.
In this guide, I’ll share my step-by-step method for making window shutters. You’ll learn how to measure, cut, assemble, and install them.
I’ve kept the process simple so you can finish this project in a weekend.
How to Plan Your DIY Shutter Project
- First, I want to help you organize before cutting wood. Let me share what I learned from my own shutter-making experience. Getting the planning right makes the whole project run smoothly.
- Start by measuring your windows. I take three measurements for each window—at the top, middle, and bottom—to see if it isn’t perfectly square. I use the smallest measurement to make sure my shutters will fit properly.
Next, I make a list of all the tools I’ll need:
- Measuring tape
- Pencil and paper
- Saw (hand saw or power saw)
- Drill with drill bits
- Screwdriver
- Level
- Safety glasses
- Work gloves
- Dust mask
For materials, here’s what you should get:
- Wood boards (pine works well for beginners)
- Wood screws
- Hinges
- Weather-resistant paint or stain
- Sandpaper
- Wood primer
- Shutter hardware (holds or pins)
I like to draw my shutter design on paper first. This helps me figure out how much wood I need to buy. Each shutter needs a frame and panels. I make sure to write down all the measurements for each piece.
Consider the weather in your area, too. If you get lots of rain or sun, pick wood that can handle these conditions. I suggest using outdoor-rated screws and hinges to prevent rust.
Plan your work area as well. You need a flat surface to work on, like a workbench or sturdy table. Make sure you have good lighting and enough space to move around your pieces.
How to Measure Your Windows Accurately
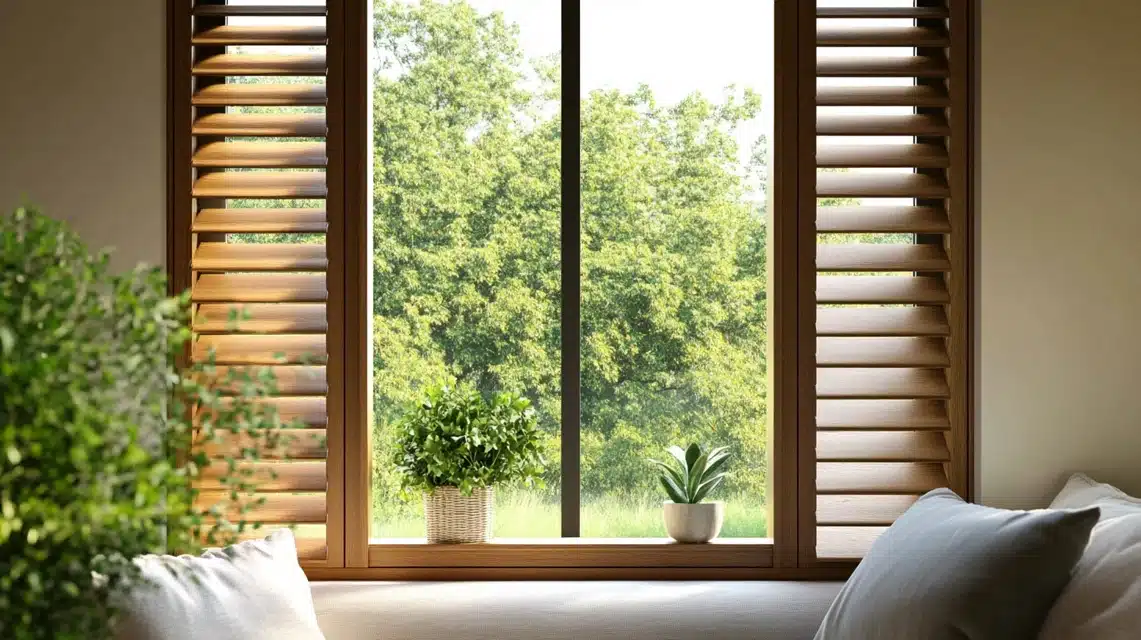
Getting the right measurements is key to making shutters that fit your windows.
Let me walk you through my tested method, which works every time.
- Start with the window height. I always measure in three spots – the left side, middle, and right side of the window. Write down all three numbers.
- Here’s a tip I learned: use the smallest height measurement when making your shutters. This way, they’ll fit even if your window frame isn’t perfectly straight.
- For the width, follow the same three-point method. Measure the top, middle, and bottom of your window. Again, keep all these numbers handy. You’ll want each shutter to be about half the width of your window opening for a balanced look.
Here’s my method for marking measurements:
- Use a metal tape measure, not a cloth one
- Write down every number right away
- Double-check each measurement
- Add labels like “top width” or “left height.”
- Keep your notes in a safe place
I learned to add a small gap around the shutters. Leave about 1/4 inch of space between the shutter and the window frame. This stops the wood from sticking when it gets damp or warm.
Make a simple sketch of each window. I put all my measurements on this drawing. It helps me spot any odd numbers that might be mistaken. Plus, it’s easier to plan your cuts when you can see the whole picture.
Don’t forget to measure where your hinges will go. I mark spots on the window frame about 6 inches from the top and bottom. These marks help me line up the shutters when it’s time to hang them.
Step-by-Step Guide for Building Window Shutters
Tools & Materials Required
| Tools | Materials |
|---|---|
| Measuring tape | Cedar fence pickets |
| Speed square | Outdoor-rated wood glue (like Titebond 3) |
| Circular saw with finished blade | 1-inch nails |
| Drill and impact driver | 1.5-inch nails |
| Sandpaper (120 grit and 150/180 grit) | Wood filler |
| Drill bits | Tapcon screws |
| Step stool or ladder | Short finish screws |
| Level | Exterior wood stain |
| Safety equipment (gloves, goggles) | Rags for staining |
Stepwise DIY Process for Window Shutter
1. Cutting the Horizontal Slats
- Cut 18 slats (9 per shutter)
- Make each slat 11.5 inches long
- Use a speed square for 90-degree cuts
- Use a finish blade to prevent tear-out
2. Making Vertical Supports
- Cut pickets into three equal pieces (about 1.75 inches each)
- Cut these to 50.5 inches in length
- These form the backing support structure
3. Assembly of Main Panel
- Flip slats face down
- Apply outdoor wood glue
- Nail vertical supports to horizontal slats
- Use spacers (about 1/8 inch) between slats
- Keep everything square during assembly
4. Building the Frame
- Cut pieces 1.5 inches wide
- Make miter cuts for corners
- Sand inside edges before installation
- Apply glue on joints
- Nail frame to panel assembly
5. Finishing Steps
- Countersink any protruding nails
- Fill holes with wood filler
- Sand the entire shutter (150/180 grit)
- Apply wood stain with a rag
- Let stain set for 5-10 minutes
- Wipe excess stain
6. Installation
- Install cleats at the top and bottom
- Pre-drill holes in brick
- Use tap con screws to secure cleats
- Attach shutters to cleats using finish screws
- Check level during installation
Cost Analysis for Building DIY Window Shutters
| Item | Cost Range |
|---|---|
| Basic Materials | |
| Cedar fence pickets | $10-12 per shutter |
| Wood glue (outdoor rated) | $8-10 per bottle |
| Nails and screws set | $15-20 |
| Wood filler | $5-7 |
| Sandpaper pack | $8-10 |
| Exterior wood stain | $20-25 per quart |
| Tapcon screws | $12-15 per pack |
| Optional Hardware | |
| Hinges (if making working shutters) | $8-10 per pair |
| Shutter holds | $5-7 per pair |
| Total Cost Range | |
| Fixed decorative shutters | $75-90 per pair |
| Working shutters with hardware | $90-110 per pair |
| Store-Bought Shutters | |
| Typical cost for store-bought shutters | $150-200 per pair |
| Savings | |
| The cost saved by DIY | About half the cost |
Best Techniques for Finishing Look
I learned that the final touches make a big difference in how your shutters look. Let me share my tested finishing steps that give shutters a clean, lasting look.
- Surface Preparation: I always start with careful sanding. Use 120-grit sandpaper first to smooth out any rough spots. Pay special attention to the edges of each slat. Next, switch to 180-grit sandpaper for a finer finish. I sand in the direction of the wood grain to avoid scratches.
- Cleaning Process: Before staining or painting, I wipe down every part with a clean cloth. Remove all dust and tiny wood particles. This step seems small, but it makes a huge difference in the final look. I like to use a tack cloth for this – it picks up even the smallest bits of dust.
- Staining Steps: I put on rubber gloves and stir the stain well. Using a clean cloth, I apply the stain in thin, even coats. Work in small sections. Let the stain sit for 5-10 minutes. Then, wipe off the extra stain with a clean cloth. This method gives the best color.
- Paint Application (If You Choose Paint): If you pick paint instead of stain, start with a good wood primer. I apply thin coats using a foam brush. This stops drips and runs. Let each coat dry fully. I usually put on two coats of exterior paint for the best cover.
- Final Touches: Check all edges for drips. Fix them while the finish is wet. Look at your work in good light. Touch up any spots you missed. Make sure all corners look clean and neat.
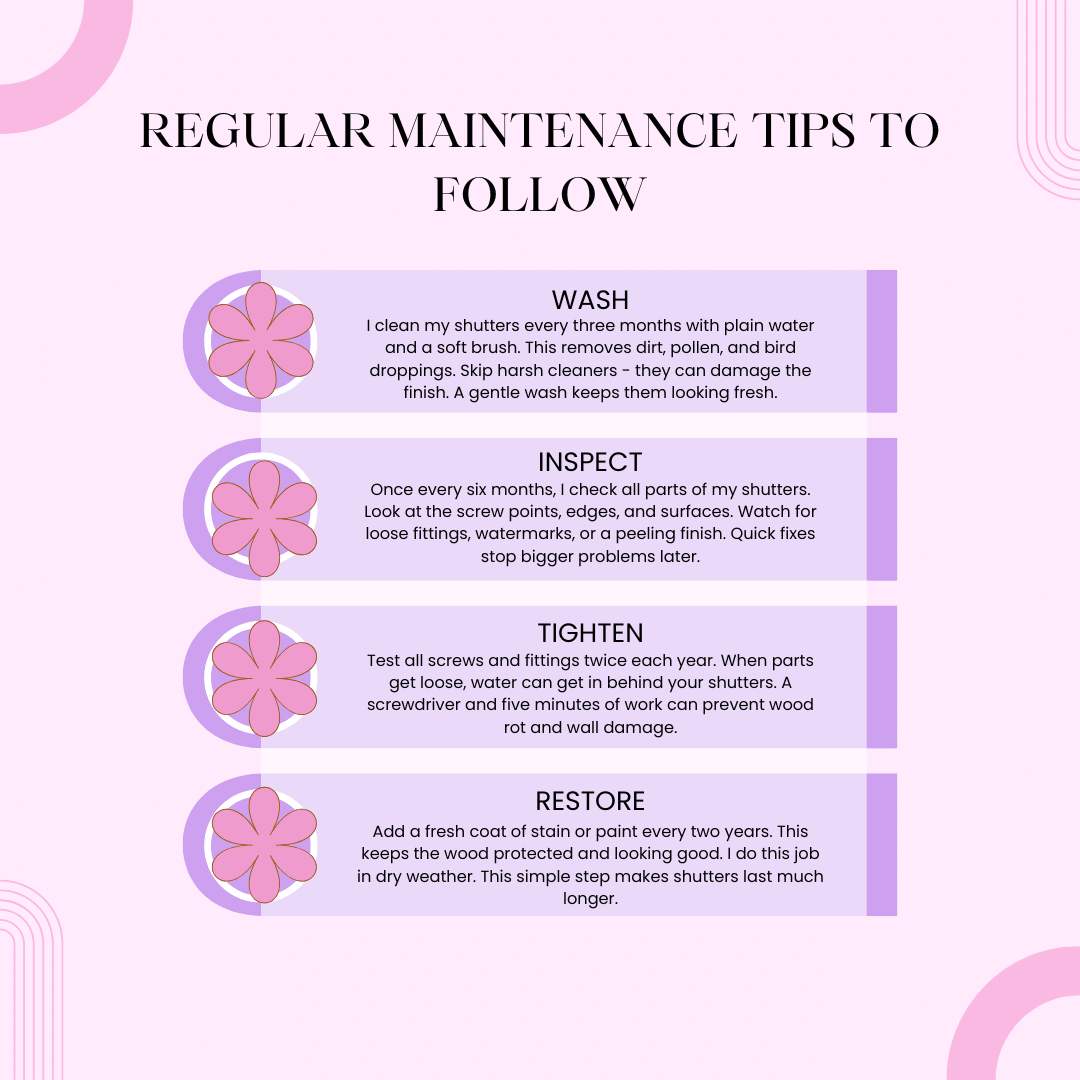
- Protection Tips: Let the shutters dry for 24 hours before hanging them. If you live in a wet area, add a clear top coat for extra protection. This helps your work last longer.
Conclusion
Building your own window shutters is easier than you might think. I made mine on a weekend, and they still look great after months of sun and rain.
By using cedar wood and the right finish, you’ll create shutters that last for years.
Remember to take your time with measurements and stay patient during assembly. Each step builds on the last one, leading to shutters that fit your home perfectly.
Ready to start your shutter project? Pick up your materials this weekend. If you make these shutters, I’d love to hear how it went. Leave a comment below sharing your experience or questions.
You might also want to check out my guide on making your own window boxes – they pair wonderfully with custom shutters.
Frequently Asked Questions
Is It Cheaper to Make My Own Shutters or Buy Them?
Making your own shutters costs about $75-90 per pair, while store-bought ones run $150-200. You save money and get custom sizes that fit your windows perfectly.
Are There Simple Designs Suitable for Beginners?
Simple board-and-batten designs need basic cuts and straight assembly. Start with fixed shutters using cedar fence pickets. You’ll need just a saw, drill, and basic measuring tools.
How Long Will the Project Take, and What are the Potential Challenges?
A first-time builder can finish one pair in a weekend. The main challenges include getting exact measurements, keeping cuts straight, and making sure the frame stays square during assembly.

