How to Build a Wine Rack: A Complete Guide
Are you looking to make something useful and personal with your hands? A wine rack is a good place to start.
It gives you a chance to build something simple that fits your space and your style. You don’t need to be an expert. Just a few tools, some basic wood, and a little time will get you there.
This guide walks you through each step in a way that’s easy to follow. You’ll learn how to plan, build, and finish a rack that holds your bottles with care.
It’s not just a task—it’s a small project that gives you something real. And you’ll feel good every time you see what you made.
Materials Required to Build a Wine Rack
If you’re just starting out, softwoods like pine or poplar are a solid choice. They’re easy to work with and don’t put up much resistance when cutting or drilling.
These woods also take glue and screws well, which helps when you’re learning how to line things up.
On the other hand, hardwoods such as oak or maple are stronger and can last longer. But they’re harder to cut and might feel a bit tricky if you haven’t worked with wood much before.
No matter what wood you use, safety always comes first. Protect your eyes when cutting or drilling, especially if using power tools.
If you’re sanding indoors, wear a dust mask. And if your tools are loud, ear protection is a good idea.
Quick safety and material tips:
- Softwoods are easier to cut and handle
- Hardwoods are stronger but tougher to work with
- Use safety glasses every time you cut or drill
- Wear a dust mask while sanding
- Ear protection helps with loud tools like saws and drills
Tools Required for Building a Wine Rack
Before you get started, it’s a good idea to gather all your tools in one place. This helps you move through each step without stopping to look for something.
The tools don’t have to be fancy; just basic ones that most people already have or can borrow. Having everything ready also makes the process safer and more comfortable.
Basic tools
- Saw (hand saw or circular saw)
- Power drill with drill bits
- Wood glue
- Clamps
- Sandpaper or a sanding block
- Measuring tape
- Pencil
- Screwdriver or screw gun
Optional tools:
- Kreg Jig (makes strong joints using pocket holes)
- Miter saw (for precise angled cuts)
- Wood filler
Planning Your Wine Rack
Before you start cutting or drilling, it helps to plan out your wine rack. Some people like a small countertop rack, while others want one that can hang on the wall or stand on the floor.
You’ll also want to figure out how much you plan to store so you can size everything just right.
Choose Your Style and Placement
Think about where the rack will go. If space is tight, a wall-mounted or floating design might work better. If you have room on the floor or counter, a freestanding rack could be ideal.
Also, think about your room’s style—do you want something modern, rustic, or simple?
Determine Size and Bottle Capacity
A standard wine bottle is about 12 inches tall and 3 inches wide. Make sure your rack gives each bottle enough space to sit safely.
Count how many bottles you usually keep on hand. Build with that number in mind, and maybe leave a little room to grow.
Wine Rack Angle and Spacing
Wine bottles are usually stored at a slight angle, with the neck tipped down. This keeps the cork moist, which helps prevent air from getting in.
Aim for an angle between 10 to 15 degrees. You’ll also want at least 3.5 to 4 inches between supports to fit the bottle width.
Step-by-Step Guide for Building a Wine Rack
Building a wine rack step by step helps keep the project simple and stress-free. You’ll start with measuring and cutting your wood pieces, then move on to joining them together.
Each part builds on the last, so taking your time makes a big difference. It’s all about keeping things steady, safe, and in the right order.
Step 1: Measure and Cut Your Wood
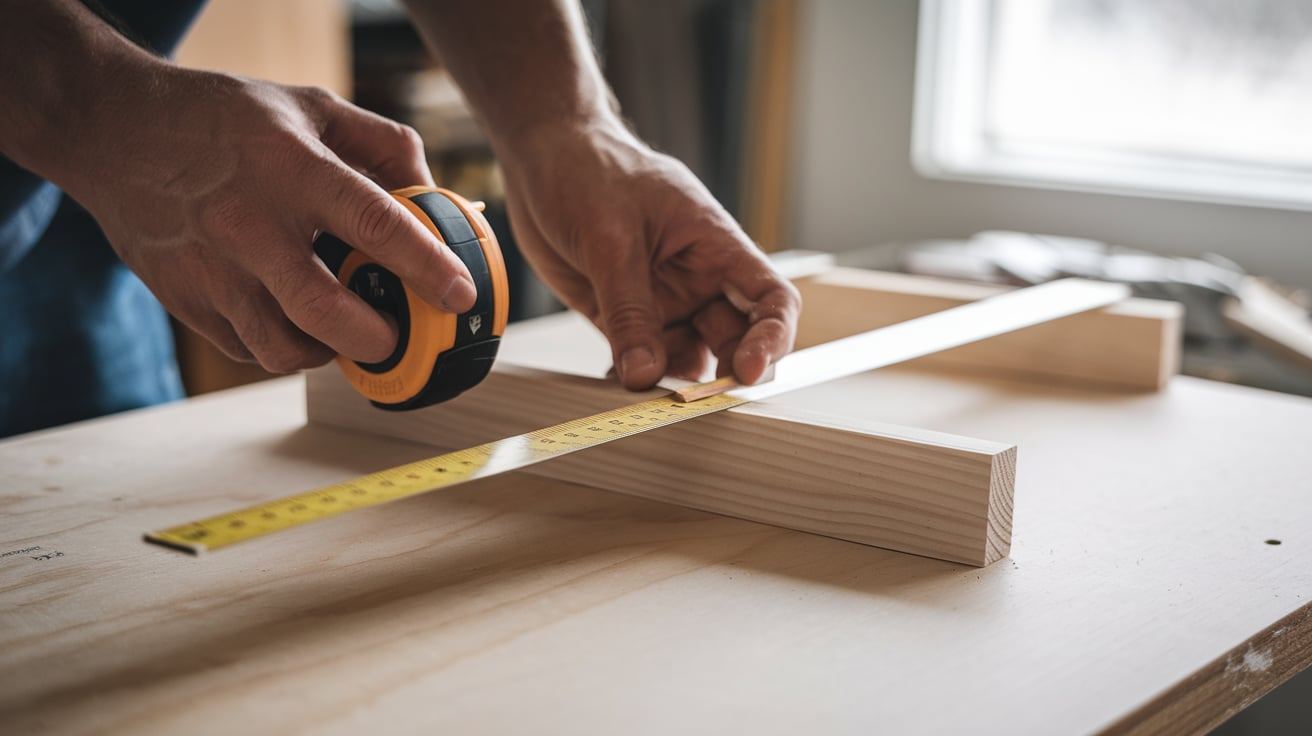
Start by deciding how many bottles you want your rack to hold. This will guide the size of the pieces you need. Use a tape measure and mark each cut with a pencil.
Keeping your marks clear helps reduce mistakes. Take your time and measure each piece twice before cutting.
If you’re using a handsaw, go slow and steady for more control. A miter box can help keep your cuts straight.
Lay your pieces out before cutting all of them so you can make adjustments if needed. This helps the rest of the build go smoother.
Step 2: Drill and Prepare Joints
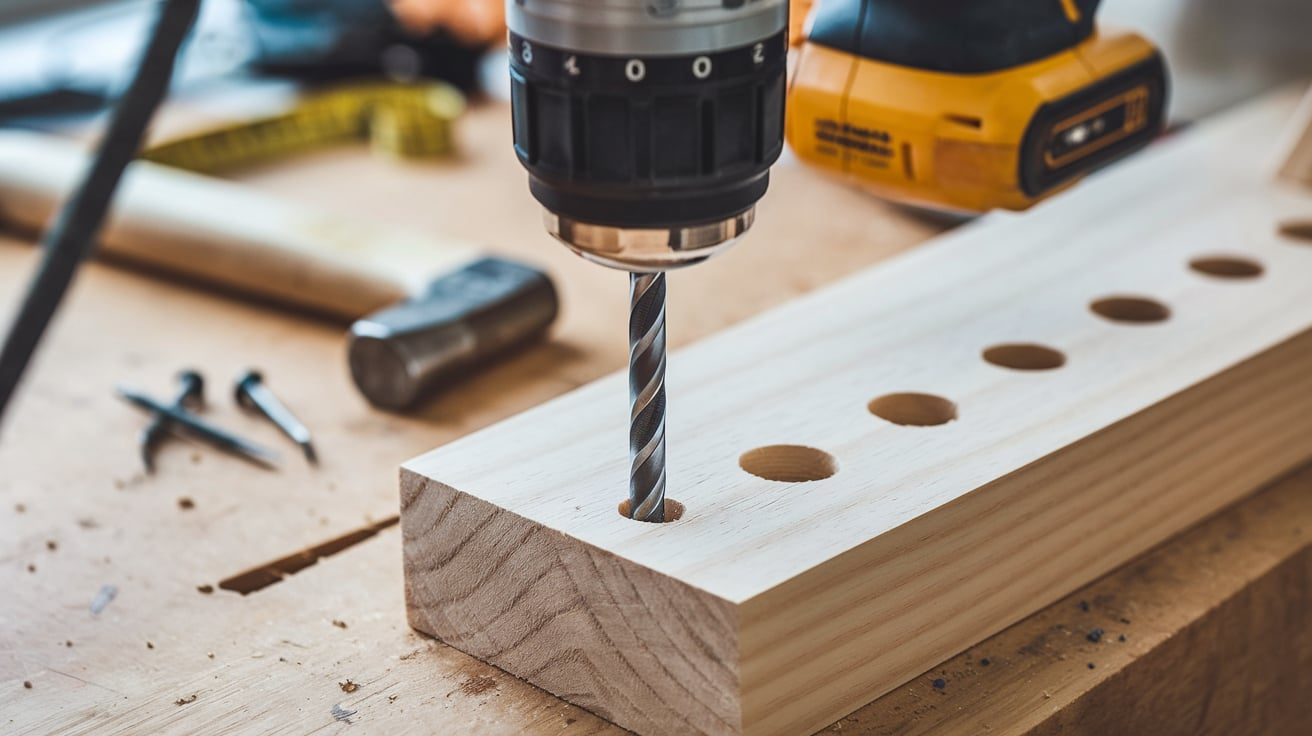
Drilling your holes is a key step to making sure the wood fits together well. For stronger connections, you can use pocket holes, but glue and screws are also good.
If you’re working without special tools, a basic drill and wood glue will still give you good results.
Pre-drilling helps avoid splitting the wood and gives your screws a clear path. Try to keep each hole aligned so the pieces stay straight when joined.
Wipe away any extra glue before it dries. If you’re not sure something fits, do a quick dry-fit before making it permanent.
Step 3: Assembly
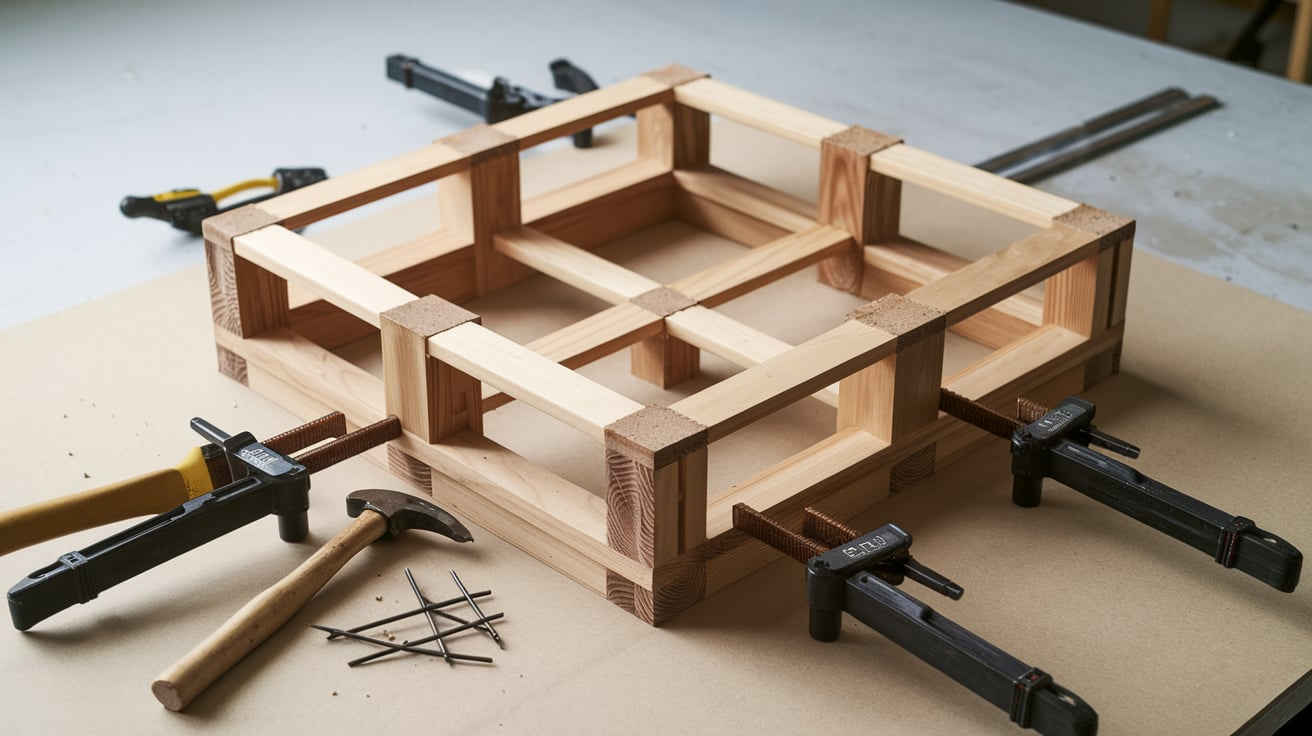
Now that your pieces are ready, start with the outside frame. Lay the parts on a level surface and make sure everything lines up.
Use clamps to hold the frame steady while the glue sets. Don’t rush—give it time to dry before moving on.
Add the inner rails or supports one at a time. Check your spacing as you go to keep everything even.
A square or ruler can help you stay consistent. Step back and look at the shape every now and then. A small adjustment early on can save you time later.
Step 4: Sanding and Finishing

Sanding smooths out the surface and helps prevent splinters. Focus on the edges and corners where two pieces meet.
Use a sanding block or electric sander if you have one, but hand sanding works fine, too. Wipe the dust away with a clean cloth when you’re done.
When choosing a finish, you can go with a light stain, dark stain, or just a clear coat. Stain gives the wood more color, while sealant helps protect the surface.
Always follow the directions on the product label and let everything dry fully before using the rack.
Step 5: Mounting or Placing the Rack
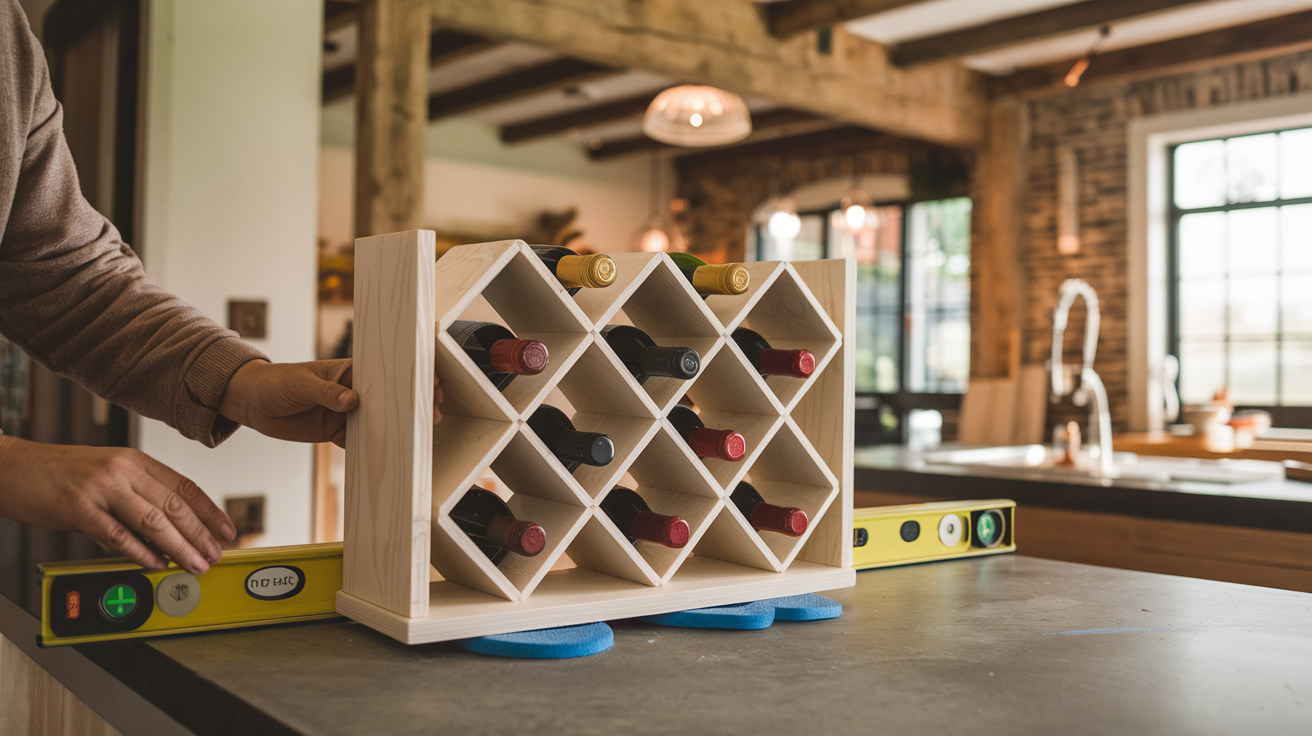
Decide if your rack will sit on a counter or hang on the wall. If it’s wall-mounted, make sure to drill into a stud for strength.
A level helps keep the rack straight, and wall anchors can give extra support. If the rack is freestanding, place it on a flat surface and check that it doesn’t wobble.
Add rubber feet or felt pads underneath to keep it steady and protect your surface.
Test the rack with one or two bottles first. If everything feels solid, you’re ready to use it.
Design Ideas and Customizations
You don’t have to stick to one style when building a wine rack. There are many ways to change the look and feel based on the materials you choose and how much space you have.
Some designs are better for smaller homes, while others can be built to stand out or blend in.
Think about what matches your home and how you use your space. These ideas can help you shape the rack into something that feels more personal.
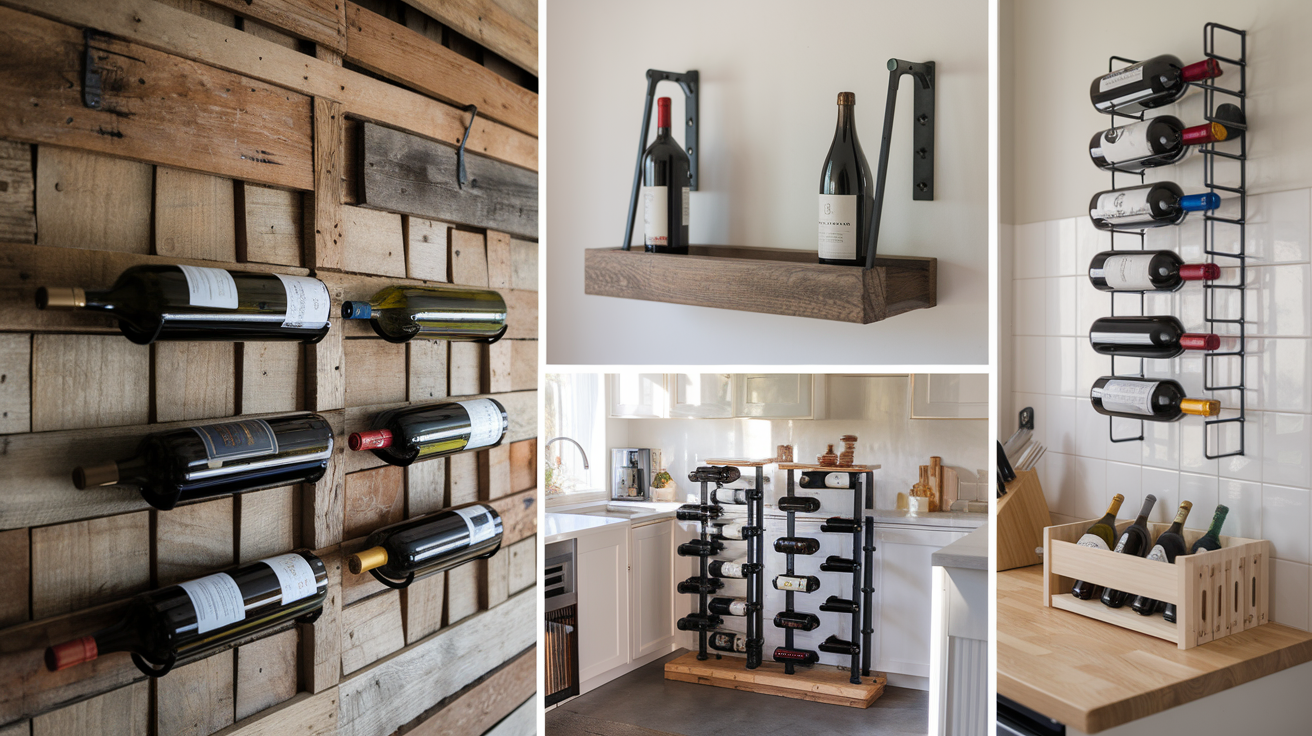
- Pallet wood wine rack: Great for a rustic feel, and you can often find pallets for free.
- Floating shelf rack: This keeps the rack off the counter and can double as wall art.
- Industrial pipe and wood rack: Mixes wood with black iron pipe for a modern touch.
- Compact designs: Ideal for small kitchens or apartments, and can hold 3–6 bottles easily.
Final Tips for First-Time Builders
Before you start fastening pieces together, it’s a good idea to test how they fit. Dry fitting means placing the parts where they’ll go without glue or screws.
This gives you a clear view of what needs to be adjusted. It also helps you avoid mistakes that are harder to fix later.
Keeping a square nearby helps check that your corners are lined up properly. Even small shifts can affect how sturdy the rack feels, so checking as you go makes things easier.
Don’t try to finish it all in one go. If something doesn’t look right or you feel tired, take a break. Coming back with a clear head can help you spot things you might miss when rushing.
Conclusion
You now have everything you need to build a simple wine rack that suits your space and taste.
From picking your wood to applying the final coat, each part was explained step by step so you can get it done without confusion.
This project isn’t just useful. It’s also a chance to make something with your hands. It’s about trying, learning, and seeing it come together.
If this got you into the DIY mood, check out more of our build ideas. There’s plenty you can make out there with the same tools and time. You might even surprise yourself with what you can do next.