
DIY Media Console: A Complete Guide
Building your own media console is a simple and budget-friendly way to add useful storage for your TV, games, and media gear.
You can shape the design to match your space and needs using basic tools and easy-to-find materials.
This guide is for anyone, from first-time builders to those with some experience. You’ll find helpful plans, a full list of tools and materials, and ideas for different looks, such as modern, rustic, or industrial.
Each plan is explained clearly so you can follow along at your own pace. From floating shelves to freestanding builds, there’s something here for every room.
By the end, you’ll have everything you need to start building your own media console with confidence.
Choosing the Right Media Console Design
Choosing the right media console design comes down to how you want it to look and work in your space.
Some builds mount on the wall, while others rest on the floor and are easier to move around. You’ll also find different styles, such as clean-lined modern, raw wood rustic, or builds that mix wood with metal.
Think about the size of your room, how much storage you need, and what kind of setup best suits your daily needs.
Floating vs. Freestanding
A floating console mounts to the wall. It gives the room a clean look and makes it easy to sweep underneath. But you’ll need solid wall support and a way to hide cables.
Freestanding consoles sit on the floor. They’re easy to move and come in all shapes and sizes. You don’t have to drill into the wall, which is helpful if you rent your home.
Modern, Rustic, or Industrial Styles
Modern style brings a clean and simple look, rustic style adds warmth with natural materials like wood, and industrial style.
It gives a raw, bold feel, with metal and dark tones, all of which create very different moods in a space.
- Modern: Clean lines, flat surfaces, and simple drawer fronts.
- Rustic: Rough or natural wood, often with visible grain or knots.
- Industrial: Uses metal pipes, reclaimed wood, or dark finishes.
Think about the other furniture in your room so the console doesn’t feel out of place.
Built-in vs. Standalone Units
Built-in units stay in one spot and match the room’s size and shape. Standalone units are easier to move and update over time.
| Feature | Built-in Units | Standalone Units |
|---|---|---|
| Placement | Fixed in one spot | Can be moved to different spots |
| Best for | Bigger rooms or open spaces | Small spaces or changing setups |
| Style Changes | Harder to update once installed | Easy to paint, move, or change handles |
| Setup | Needs planning and custom fitting | Ready to use, no major setup needed |
| Look | Blends into the room | Stands out as its own piece |
Tools and Materials Checklist
Having the right tools and supplies makes the work smoother and faster. This list helps you stay ready and avoid delays once you begin.
Common Materials Used
- Plywood: Strong, flat, and easy to cut. Good for beginners.
- MDF (Medium-Density Fiberboard): Smooth surface, takes paint well, but can sag under heavy weight.
- Hardwood: Durable and heavy. A great choice for long-lasting pieces.
- Reclaimed Wood: Low-cost and full of character, but it often needs more sanding.
Essential Tools
- Measuring tape
- Pencil and straightedge
- Circular saw (or a hand saw if needed)
- Drill with bits
- Kreg jig (or use wood glue and corner clamps as an alternative)
- Sander or sanding block
You don’t need everything on day one. Start simple and build from there.
Optional Add-Ons
Some extra items can make your furniture work better or look nicer. These add-ons aren’t required, but they can help with comfort, style, or ease of use.
Here are a few you might want to think about:
- Hinges and handles for doors: These help doors open and close smoothly and can match your style.
- Drawer slides: These make drawers open more easily and stay steady.
- Legs or wheels: Add height, movement, or a new look to furniture.
- Cord management grommets or clips: These help keep wires neat and out of the way.
DIY Media Console: Step-by-Step Guide
Building your own media console can save money and help you create something that fits your space just right. With a clear plan and some simple tools, the job becomes easier.
These steps will guide you from start to finish, even if it’s your first time working on a project like this.
Step 1: Measure and Plan Your Design
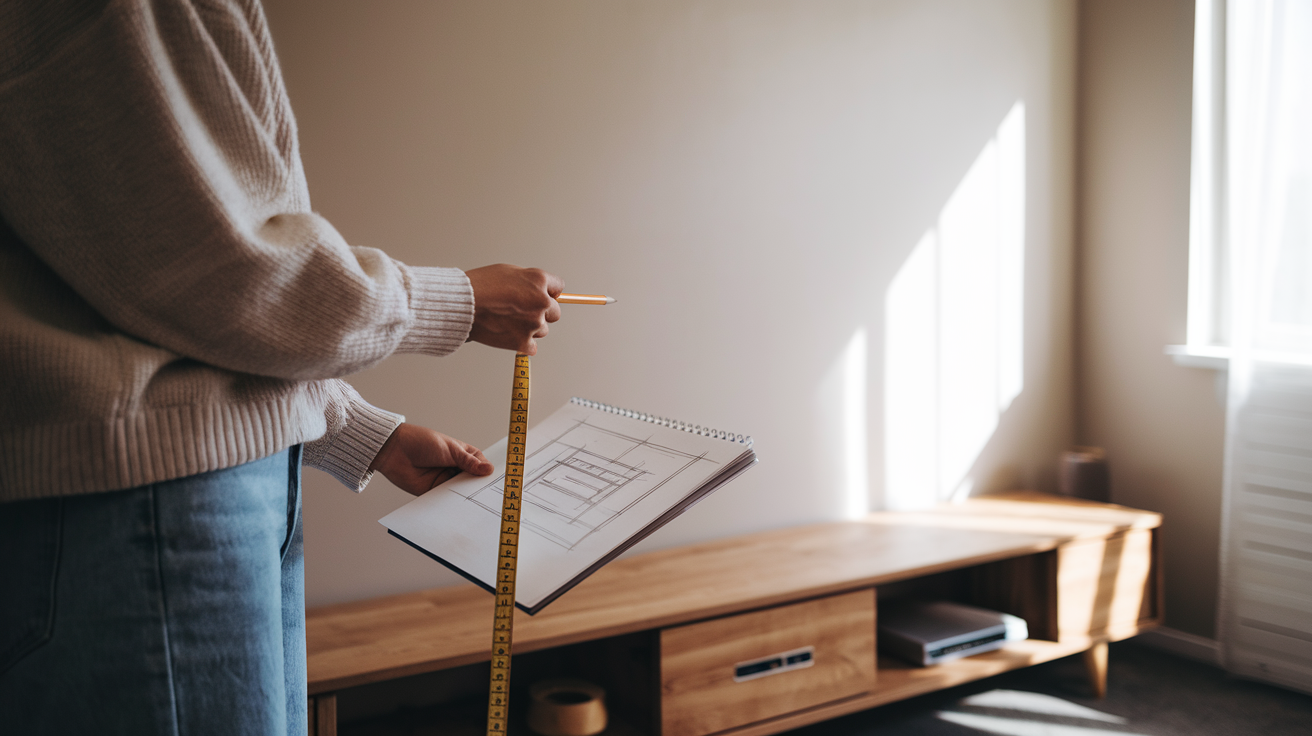
Start by checking the space where you want your media console. Use a measuring tape to get the width, height, and depth.
This helps you figure out what size console works best. Think about what you’ll keep in or on it—TV, speakers, game systems, or baskets.
Sketch a simple idea on paper. Include shelves, open areas, and possible doors. This early step helps make the rest of your project go more smoothly.
Step 2: Cut the Wood to Size
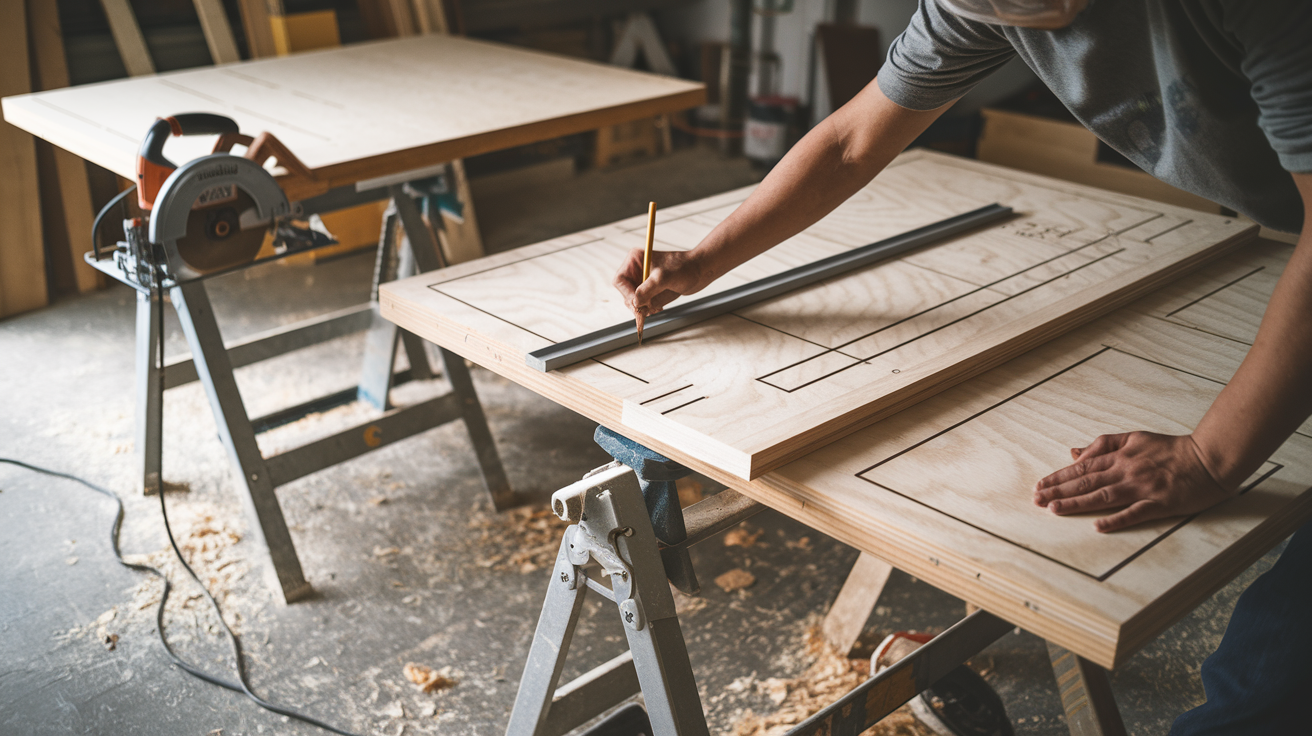
Place your wood or plywood sheets on a flat surface. Mark your cuts with a pencil and a straight edge.
A circular saw works well, but a hand saw can also do the job. Cut the top, bottom, side panels, and any shelves or dividers.
Lay each piece aside after cutting to keep your workspace neat. Always wear proper safety gear when cutting.
Step 3: Assemble the Console Frame

Begin by attaching the sides to the bottom panel using wood glue and screws. Drill small guide holes before inserting screws to keep the wood from splitting.
Add the top panel next, followed by the shelves or middle dividers. Use clamps to hold the pieces while they dry, if needed.
Make sure your frame is even and sturdy. If you’re planning to hang the console on the wall, leave space on the back for brackets or cleats.
Step 4: Sand and Finish the Surfaces

Use sandpaper or a sanding block to smooth out sharp edges and rough spots. Focus on corners and areas where boards connect.
Wipe the dust away with a clean cloth. Then, brush on your choice of paint or wood finish.
This step helps protect the surface and gives the console a clean look. Let it dry completely before you move on to the next part.
Step 5: Add Features and Secure It
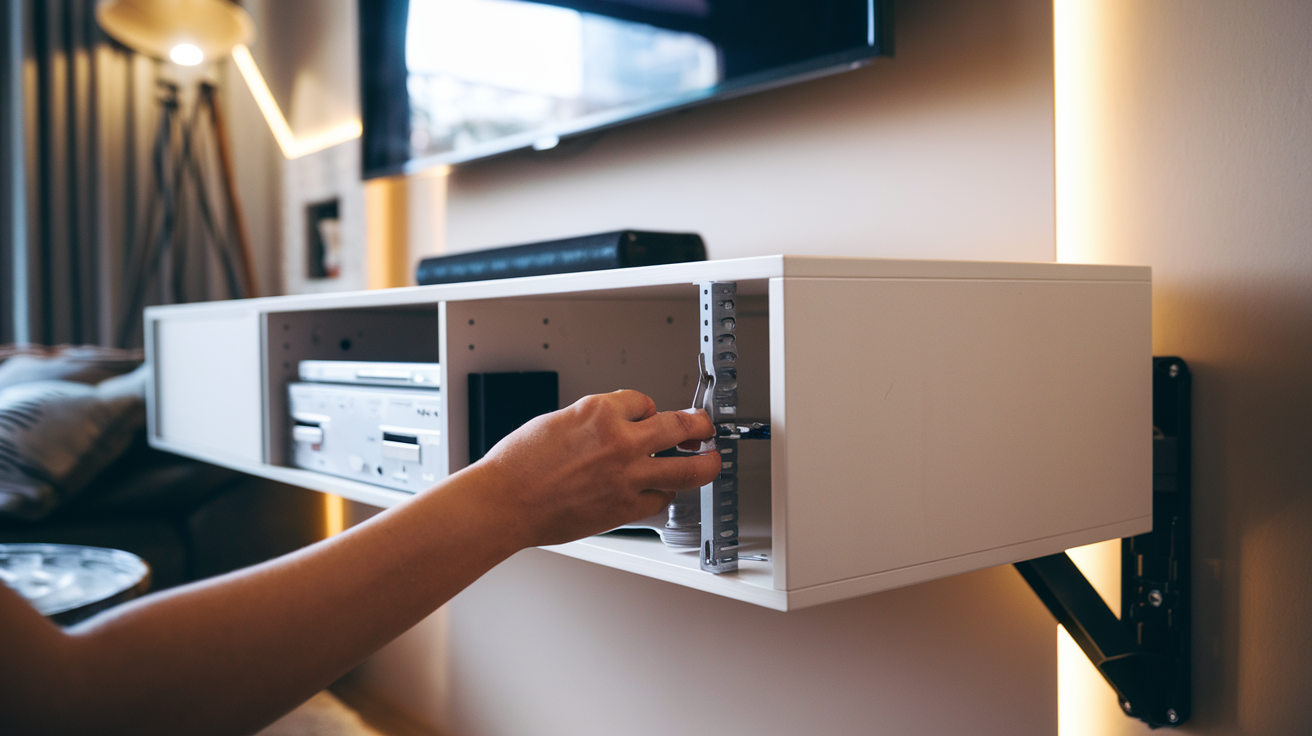
Now, you can attach hardware like handles, hinges, legs, or wheels. If you made a floating console, use a stud finder to locate strong points in your wall, then screw the cleat in firmly.
Place the console on the cleat and check for balance. If it’s a floor-standing unit, check that it sits level.
You can also drill small holes in the back panel for cable management and use clips to hold wires in place.
Customizing Your Console
Once your console is built, you can adjust the look and function to suit your space.
Adding paint or stain changes the feel and helps match your other furniture. You might also include extras like doors, drawers, or shelves if you need more storage.
Simple details like handles or cord openings can also make a big difference in how it works day to day.
Finishing Options: Paint, Stain, Edge Banding
Paint gives your console a solid color and works well for a clean, smooth look. Use primer if you’re painting over MDF.
Staining keeps the wood grain visible and adds warmth. Try it on a scrap piece first to see how it looks.
Edge banding covers the raw plywood edges. You can apply it with a regular iron to make the console look more complete.
Adding Doors, Drawers, or Shelving
Doors are good for hiding clutter and keeping dust off electronics. You can choose from basic or soft-close hinges.
Drawers help with organizing smaller items like remotes and chargers. They need more time to install but add useful storage.
Open shelves are simple to build and make it easy to access things you use often.
Cable Management and Ventilation Tips
Drill small holes in the back of the console to run your cables through. This keeps wires from piling up. Use cord clips or sleeves to hold wires in place and out of sight.
Leave some space around devices like game systems or speakers so air can flow and they don’t overheat.
Troubleshooting and Safety Tips
To keep your media console strong, use thicker boards for shelves and tops. If your design is wide, add a center leg or divider to help support the weight.
Place heavier electronics near the sides or directly over solid frame parts to avoid bending.
Use this basic safety gear when building:
- Eye protection for cutting and drilling
- Use earplugs if using loud power tools
- Dust mask when sanding wood or using MDF
Quick fixes for common build problems:
- Wobbly frame: Add more screws or use small corner brackets
- Crooked doors: Adjust the hinges or sand one side carefully
- Gaps in joints: Fill with wood filler, let it dry, then sand smooth
Conclusion
You’ve now got all the steps, tips, and ideas to build a media console that works for your space. From planning to finishing, each part was made to help you feel more confident with your project.
You’ve seen different styles, learned how to avoid common mistakes, and picked up ways to make your console both useful and clean-looking.
Take your time, enjoy the process, and trust your hands. If you ever decide to build it, don’t forget to share your progress. It might give someone else the nudge they need to start, too.
Want more DIY ideas? Check out our other project guides for practical builds and helpful tips to make creating easier and more fun.


