How to Build a DIY Fire Pit Table: Easy Step-by-Step Guide
On cold nights, nothing beats sitting around a warm fire with friends. A fire pit table can turn your boring backyard into a cozy spot everyone loves. But store-bought ones can cost hundreds or even thousands of dollars!
The good news? You can build one yourself for much less money.
This blog will show you how to make your own firepit table step by step. We’ll cover the materials you need, simple building steps, cool design ideas, and how to keep your table in good shape.
By the end, you’ll have all the know-how to create a firepit table that fits your style and budget.
Ready to make your outdoor space more fun and useful?
Why Build a DIY Fire Pit Table?
Making your firepit table has clear benefits. You can create it exactly how you want it to fit your yard or patio space perfectly.
It often costs much less than buying one from a store. There’s a great feeling that comes when you finish a project with your own hands.
The warm glow from your fire pit will be extra special knowing you built it yourself. Your friends and family will enjoy gathering around it on cool evenings, making memories together under the stars.
How to Build a Fire Pit Table
Let’s go through the steps and get all your materials ready first. Good planning makes the building process much smoother and faster.
Material Required
Here’s the list of materials required to build a fire pit table.
- Three-Quarter Inch Melamine
- Concrete Mix (e.g., Quikrete Countertop Mix)
- Mesh Reinforcement
- Silicone Sealant
- Cedar Wood (4x4s)
- Pocket Hole Screws
- Outdoor Defense Oil
- Gas Fire Pit Insert
- Propane Tank
- Fire Glass
Now, let’s begin with the steps.
1. Build the Concrete Table Top Form

To create your mold, you’ll need to cut three-quarter-inch melamine boards. Make the bottom and four sides, then put them together to form a box shape.
Use a good amount of seam tape on all inside edges to make them watertight. This step is key because any leaks will show up as bumps on your finished table top.
2. Prepare and Mix the Concrete
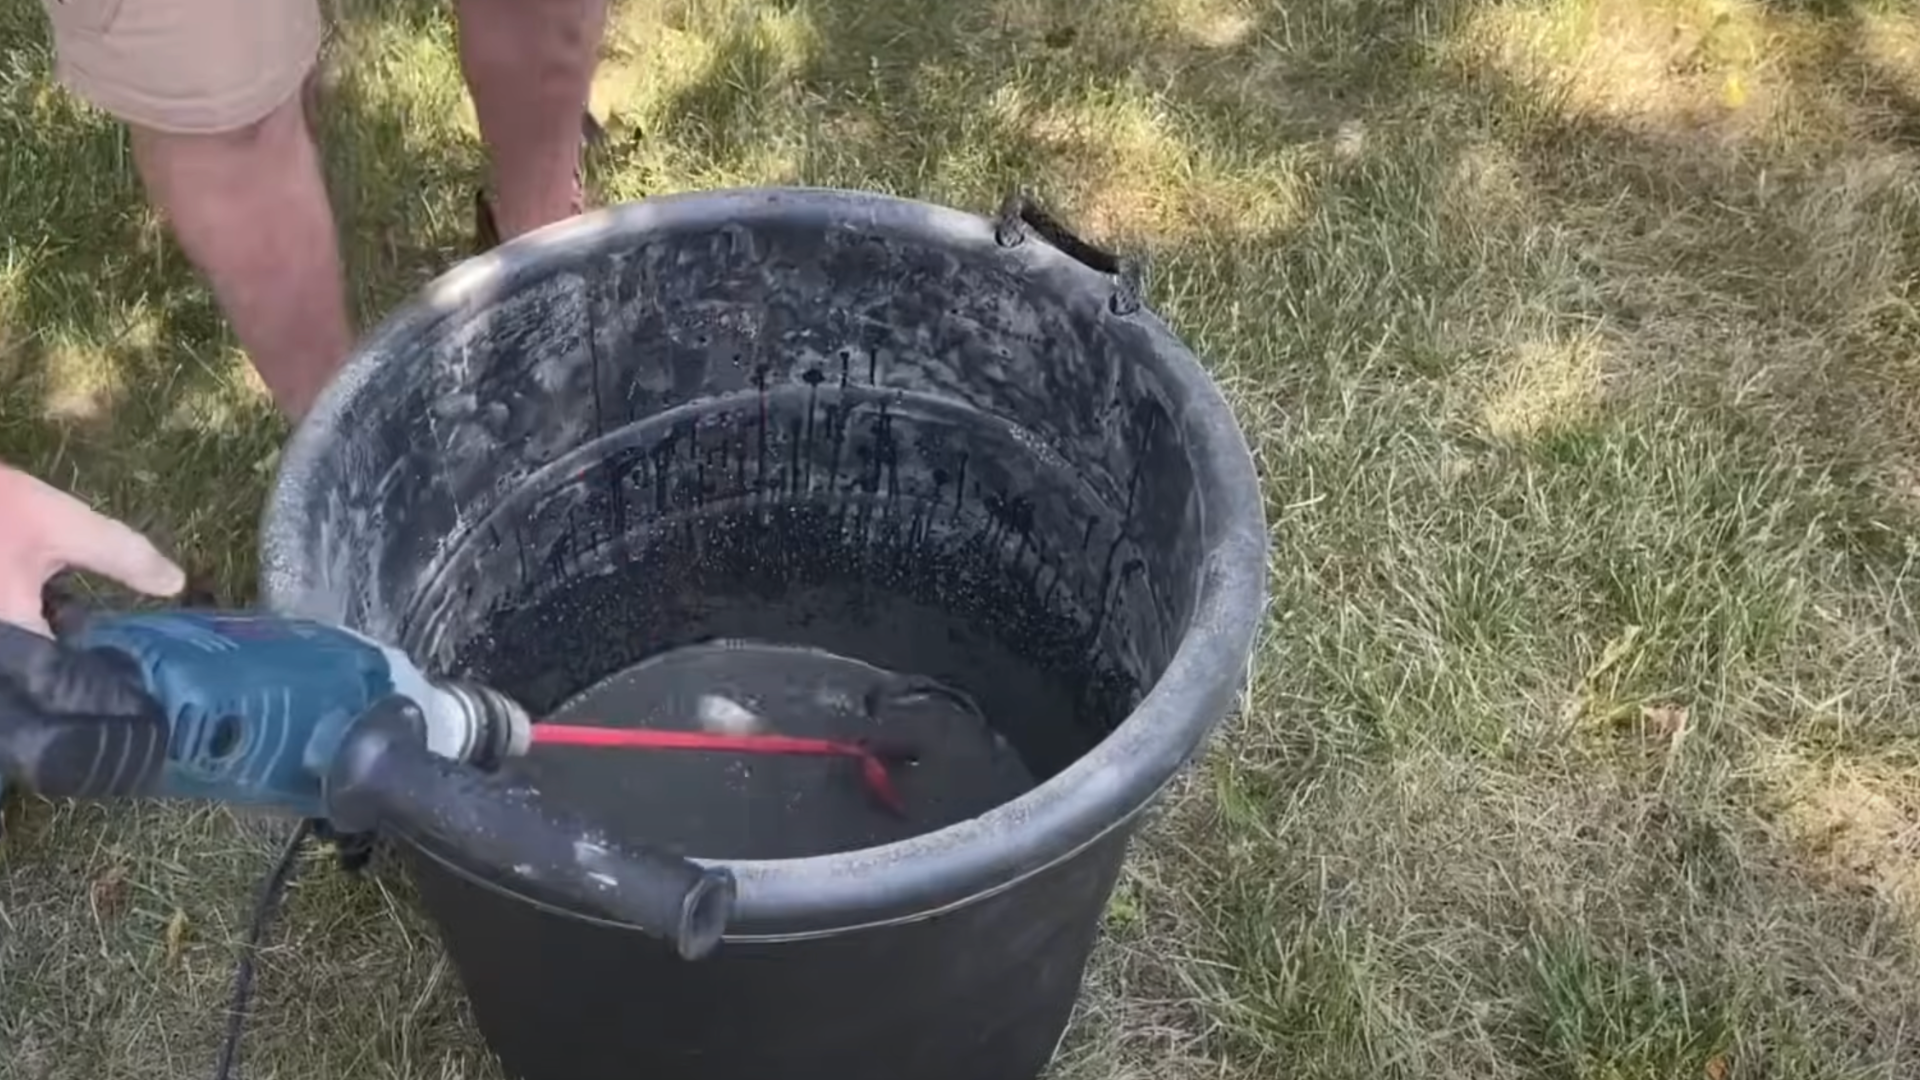
Get your concrete mix ready in a large bucket or wheelbarrow. Add water slowly while mixing until you get a thick, smooth mix like cake batter.
Keep stirring to break up any clumps. Mix everything well to avoid spots with different colors in your final product. Good mixing now means a better-looking table later.
3. Pour and Vibrate the Concrete
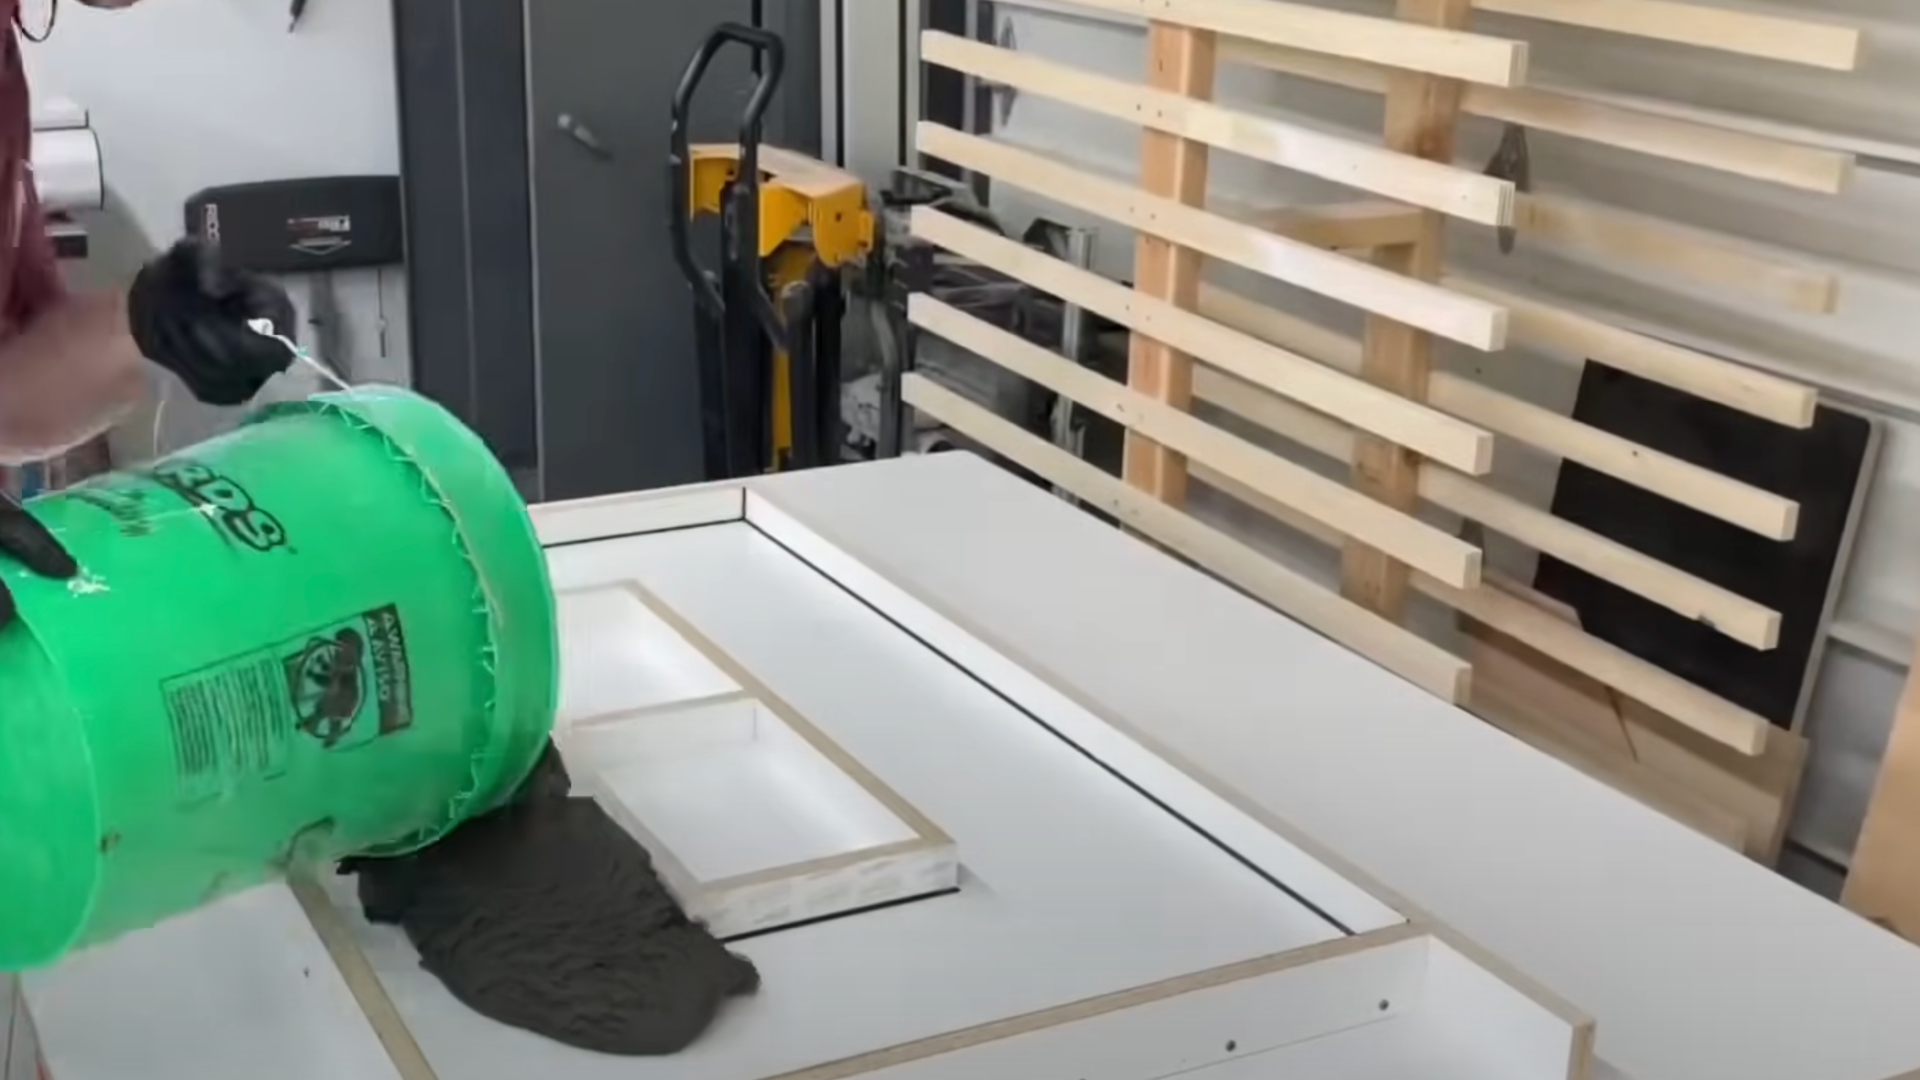
Pour your mixed concrete into the form until it’s about half full. Then, place a sheet of metal mesh on top for added strength and pour the rest of the concrete on top.
Tap the sides of the form with a rubber mallet or shake the table gently to help air bubbles rise to the top. This makes your concrete strong and smooth.
4. Create the Void for the Fire Pit Insert
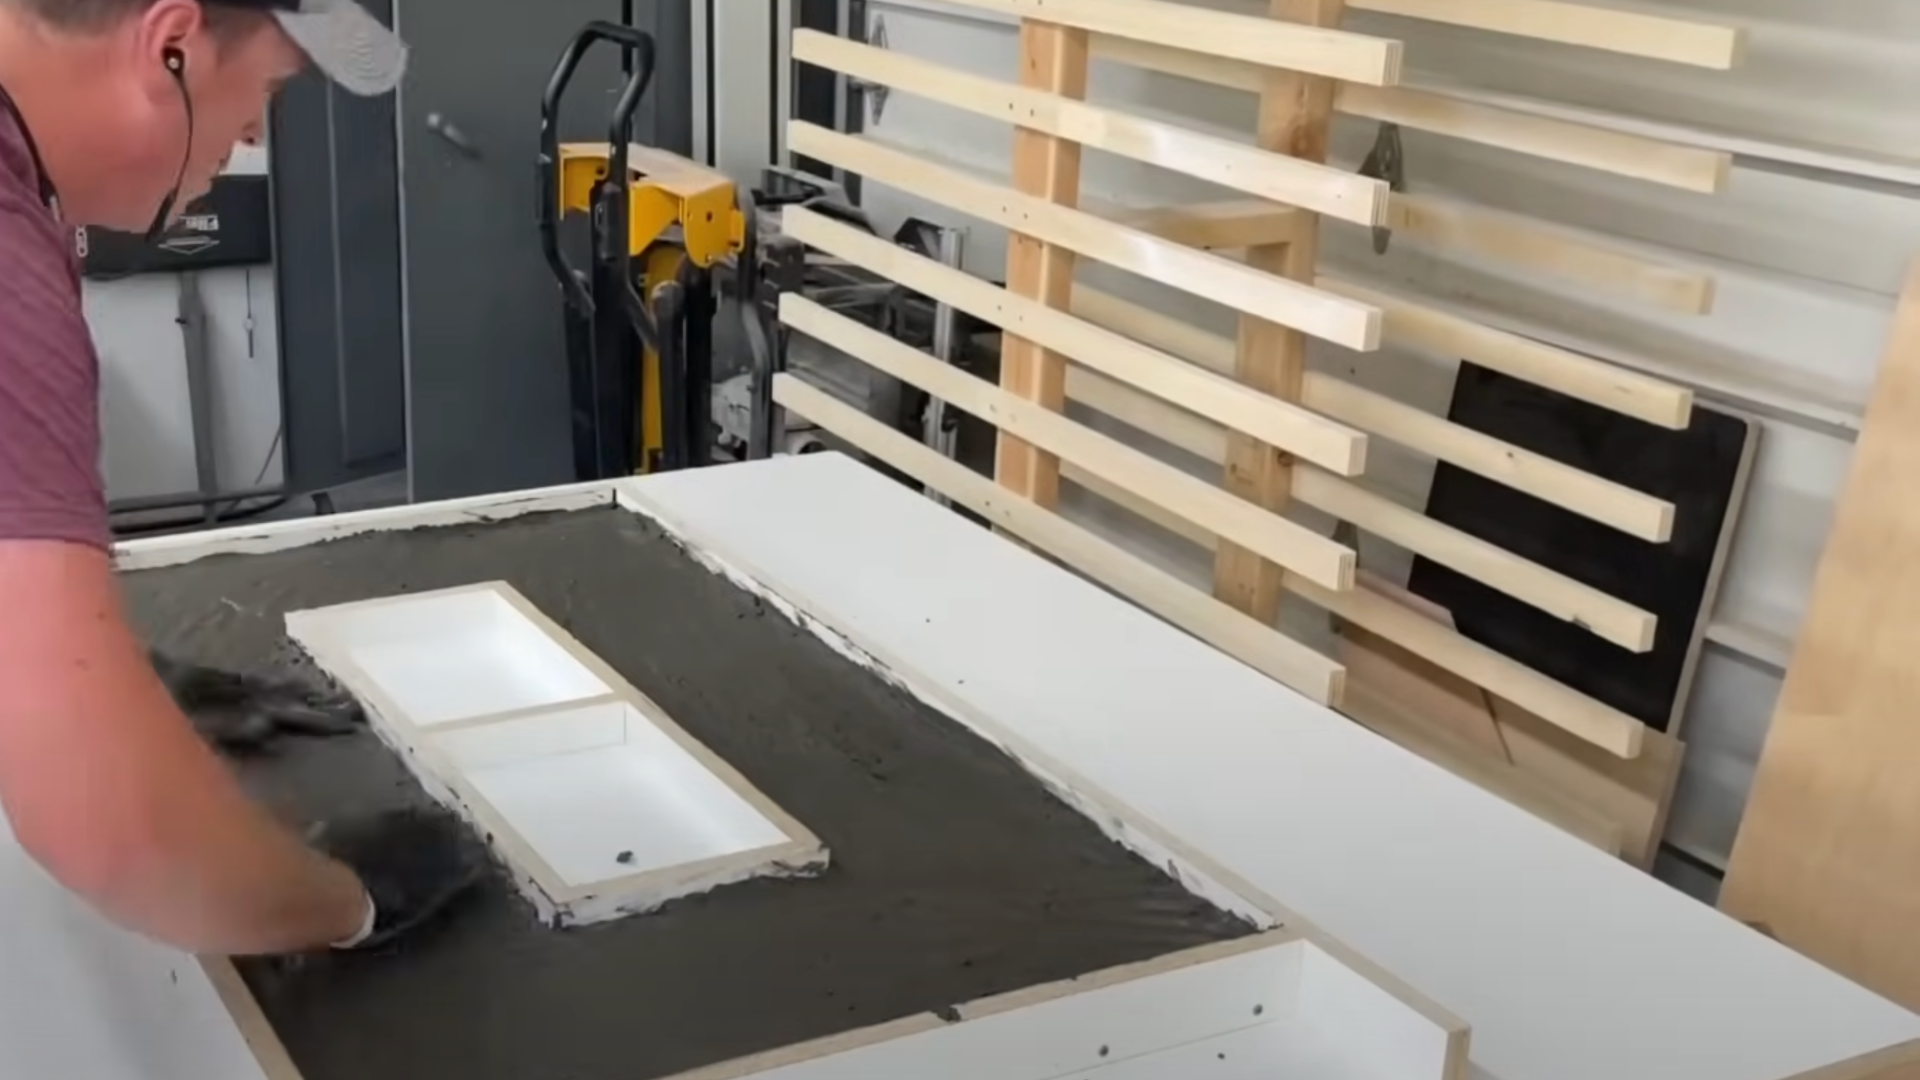
Take your fire pit insert and place it upside down in the middle of your wet concrete. Press it down to the depth you want.
Run a bead of silicone around where the insert meets the concrete to stop any leaks. The insert will leave a perfect hole for when you flip the top over later.
5. Allow Concrete to Cure
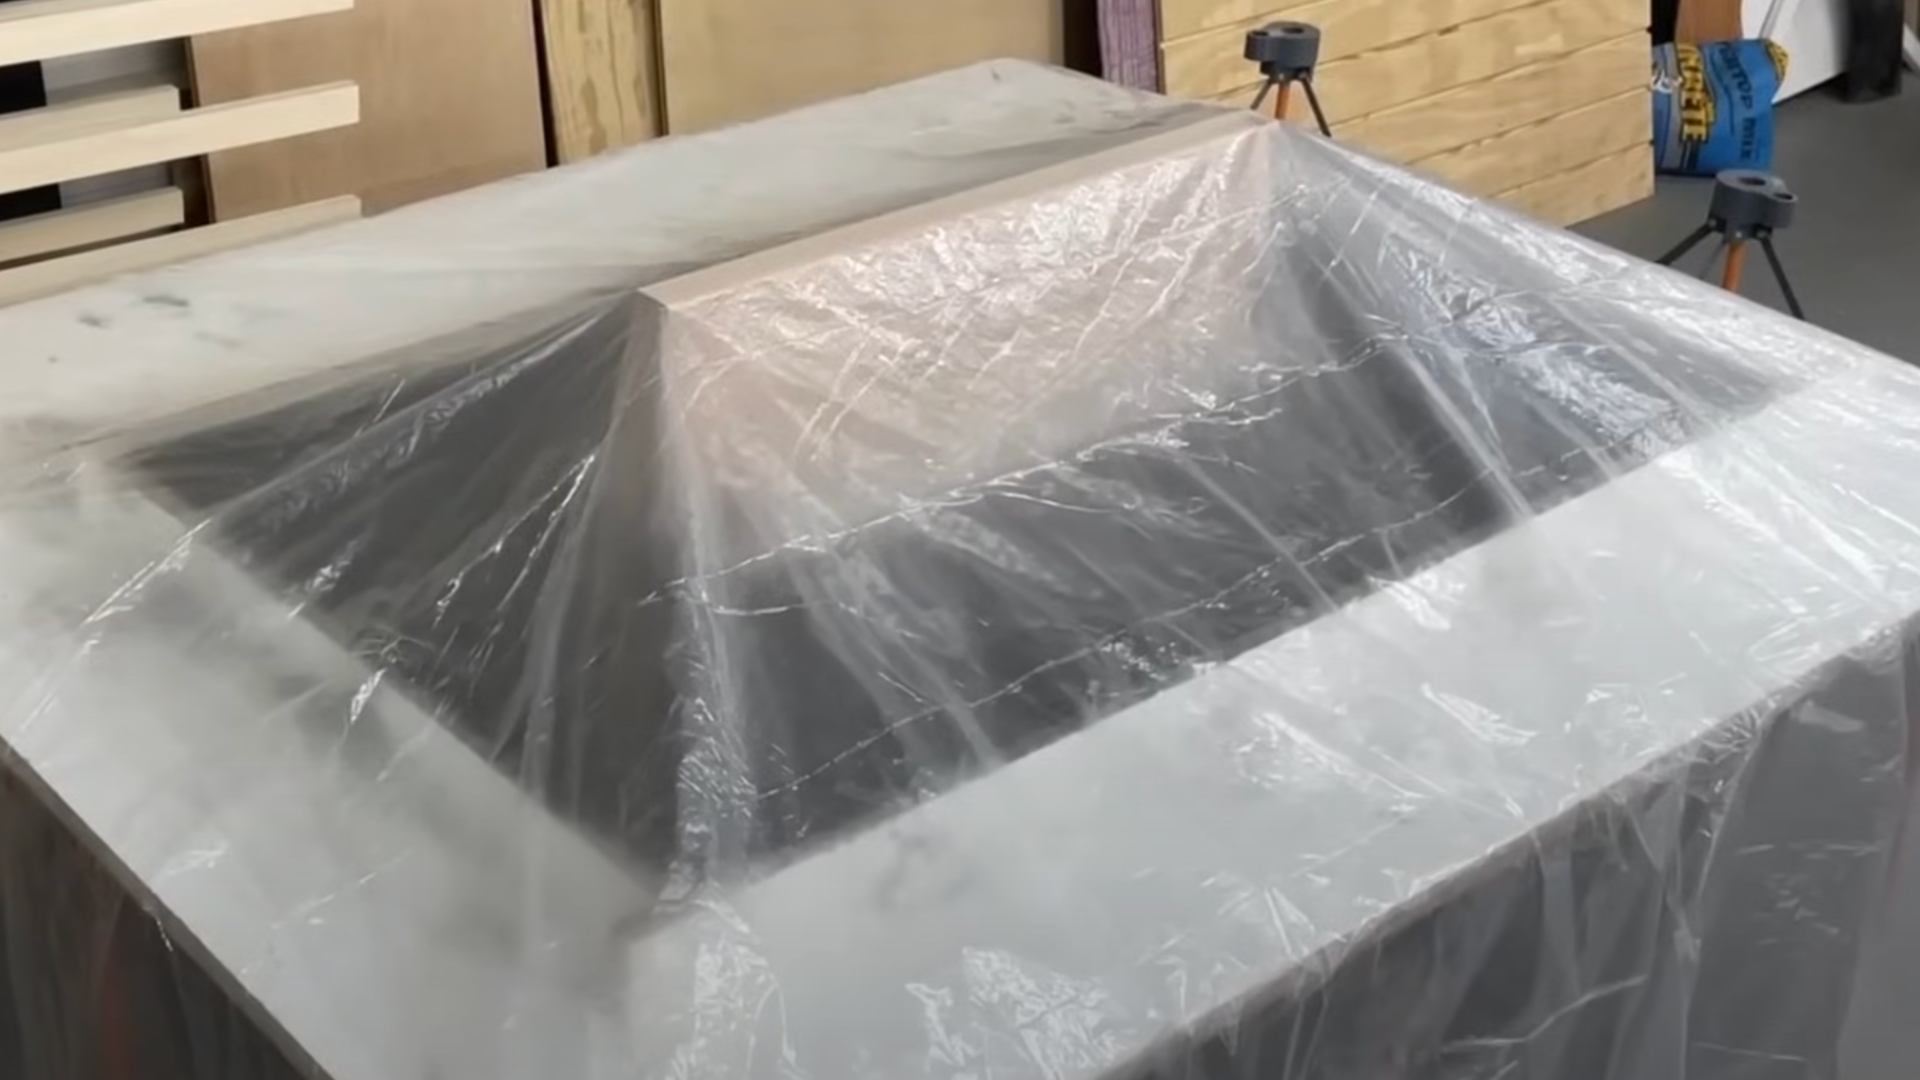
Cover your concrete with plastic wrap to keep moisture in. Let it sit for at least 24 hours, or better yet, 48 hours.
Don’t rush this step—good curing means your tabletop won’t crack later. Keep it in a spot where the temperature stays steady, not too hot or cold, while it hardens.
6. Build the Table Base Frame

Cut cedar boards to make the legs and support frame for your table. Cedar works well outside because it fights rot.
Make sure to add extra framing where your propane tank will sit. Use a square tool to check that your corners are at right angles for a steady table base.
7. Assemble the Table Base
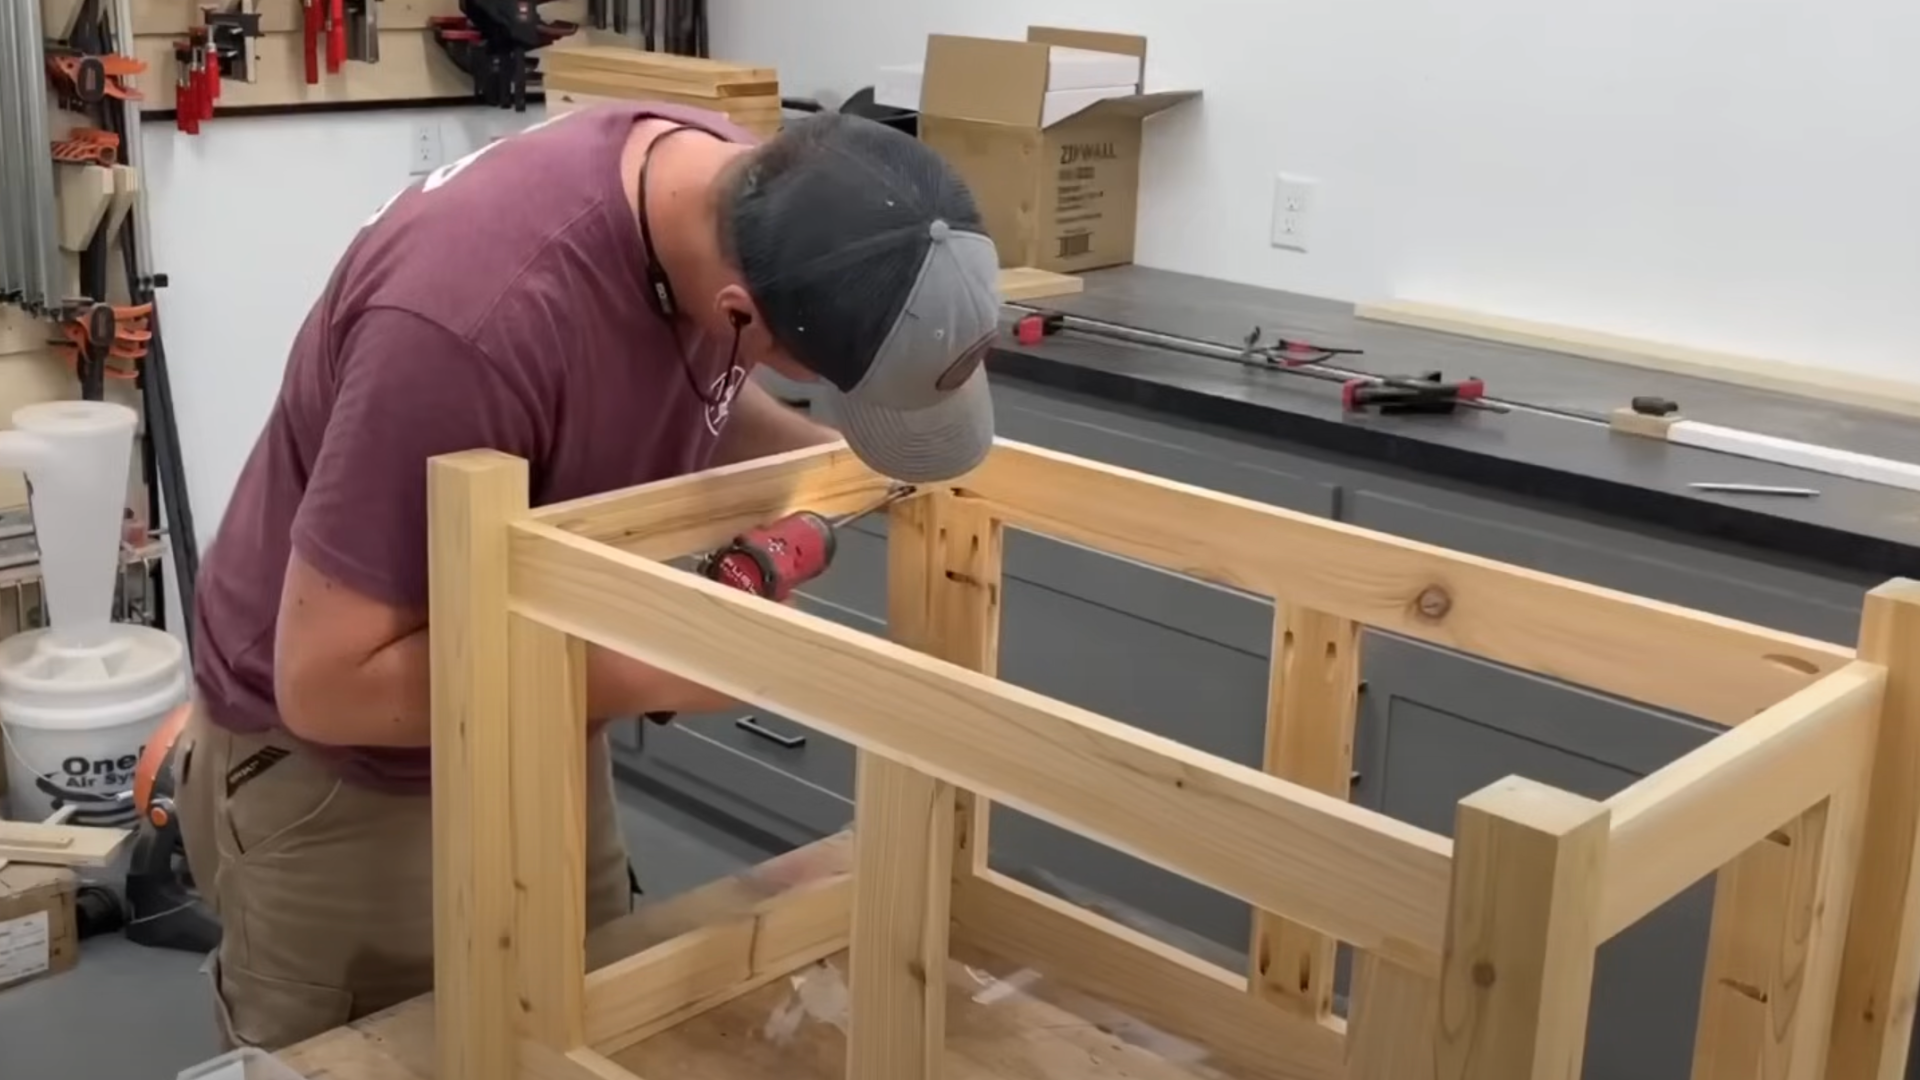
Attach the side slats to your frame using wood glue and screws. Start from the bottom and work your way up, keeping spaces even between boards.
Make sure to drill pilot holes first to stop the wood from splitting. The slats not only look good but also hide your propane tank while letting air flow through.
8. Sand and Protect the Concrete Top
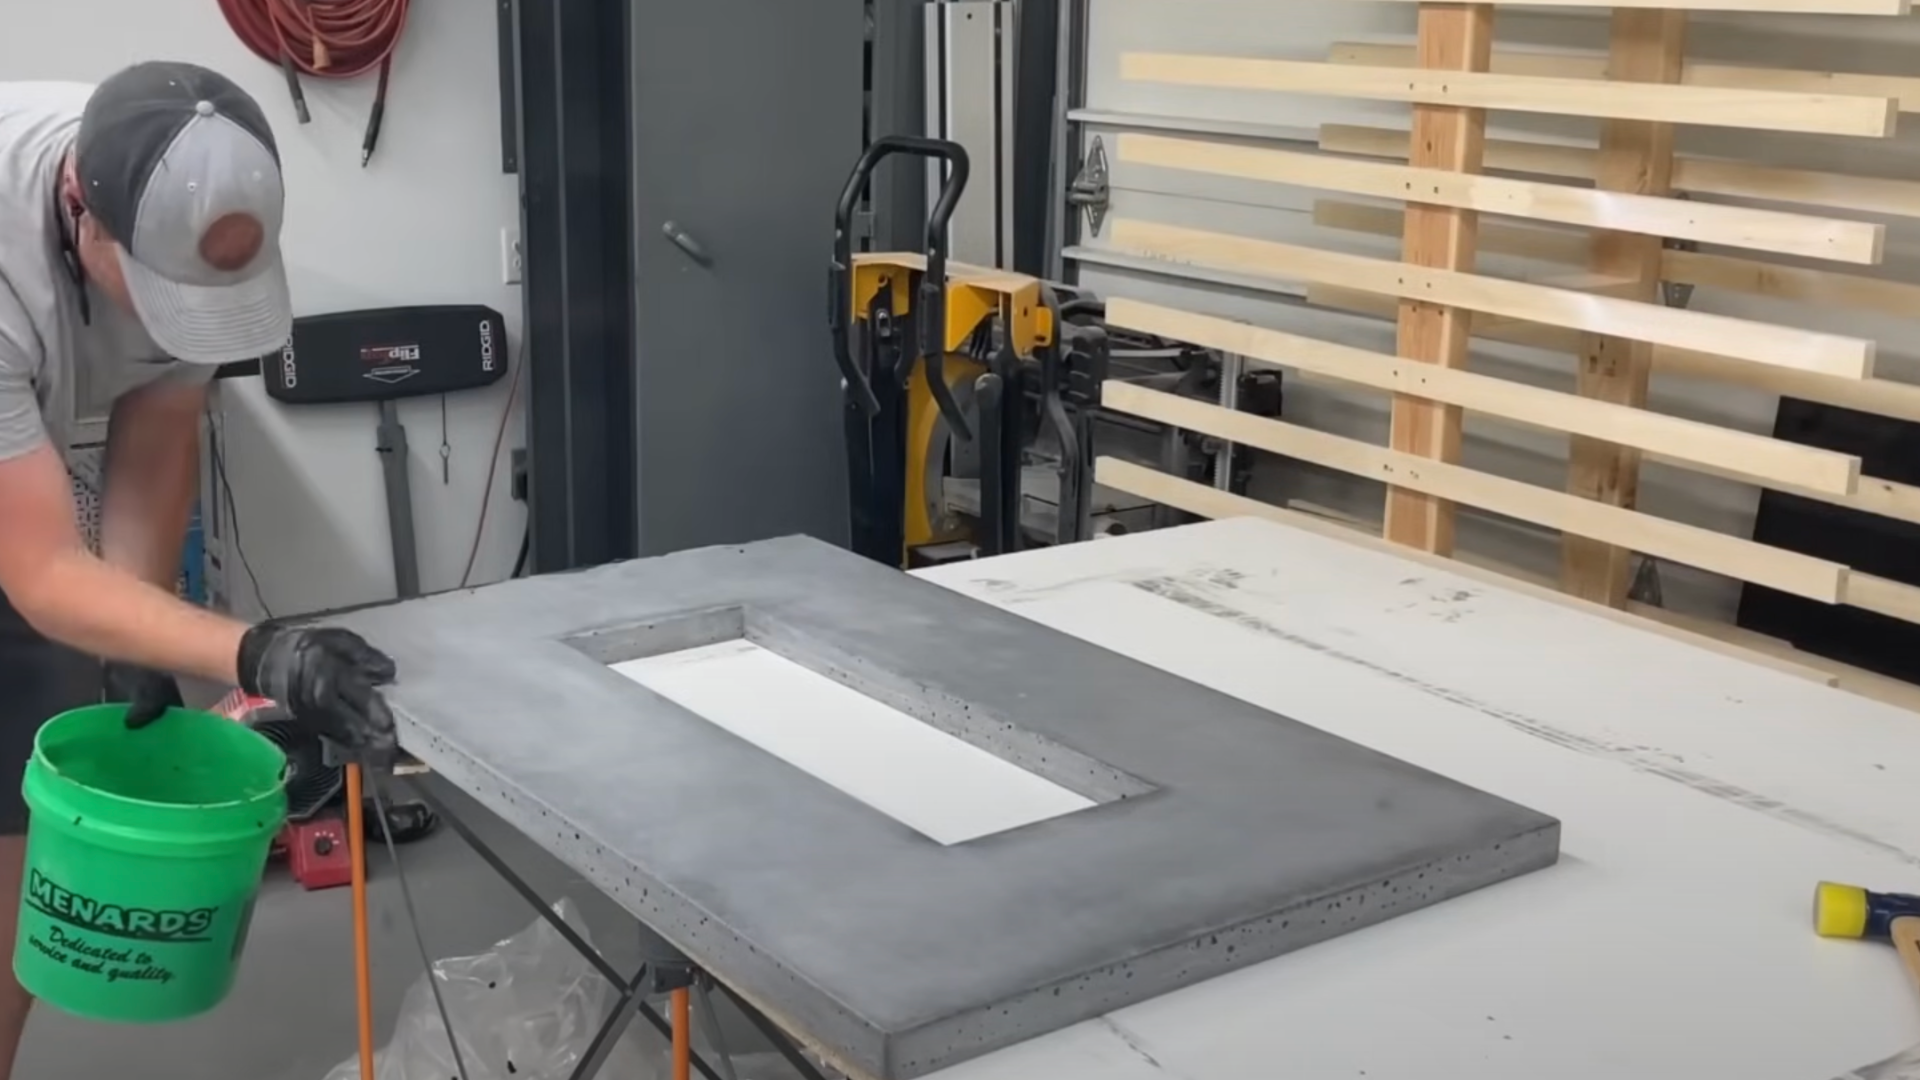
Use sandpaper to smooth any rough spots on your concrete top. Mix a bit of concrete with water to make a slurry, then rub it into any small holes or cracks.
Once dry, apply a concrete sealer to protect from stains. For the wood base, use outdoor oil to help it last through rain and sun.
9. Install the Gas Fire Pit Insert
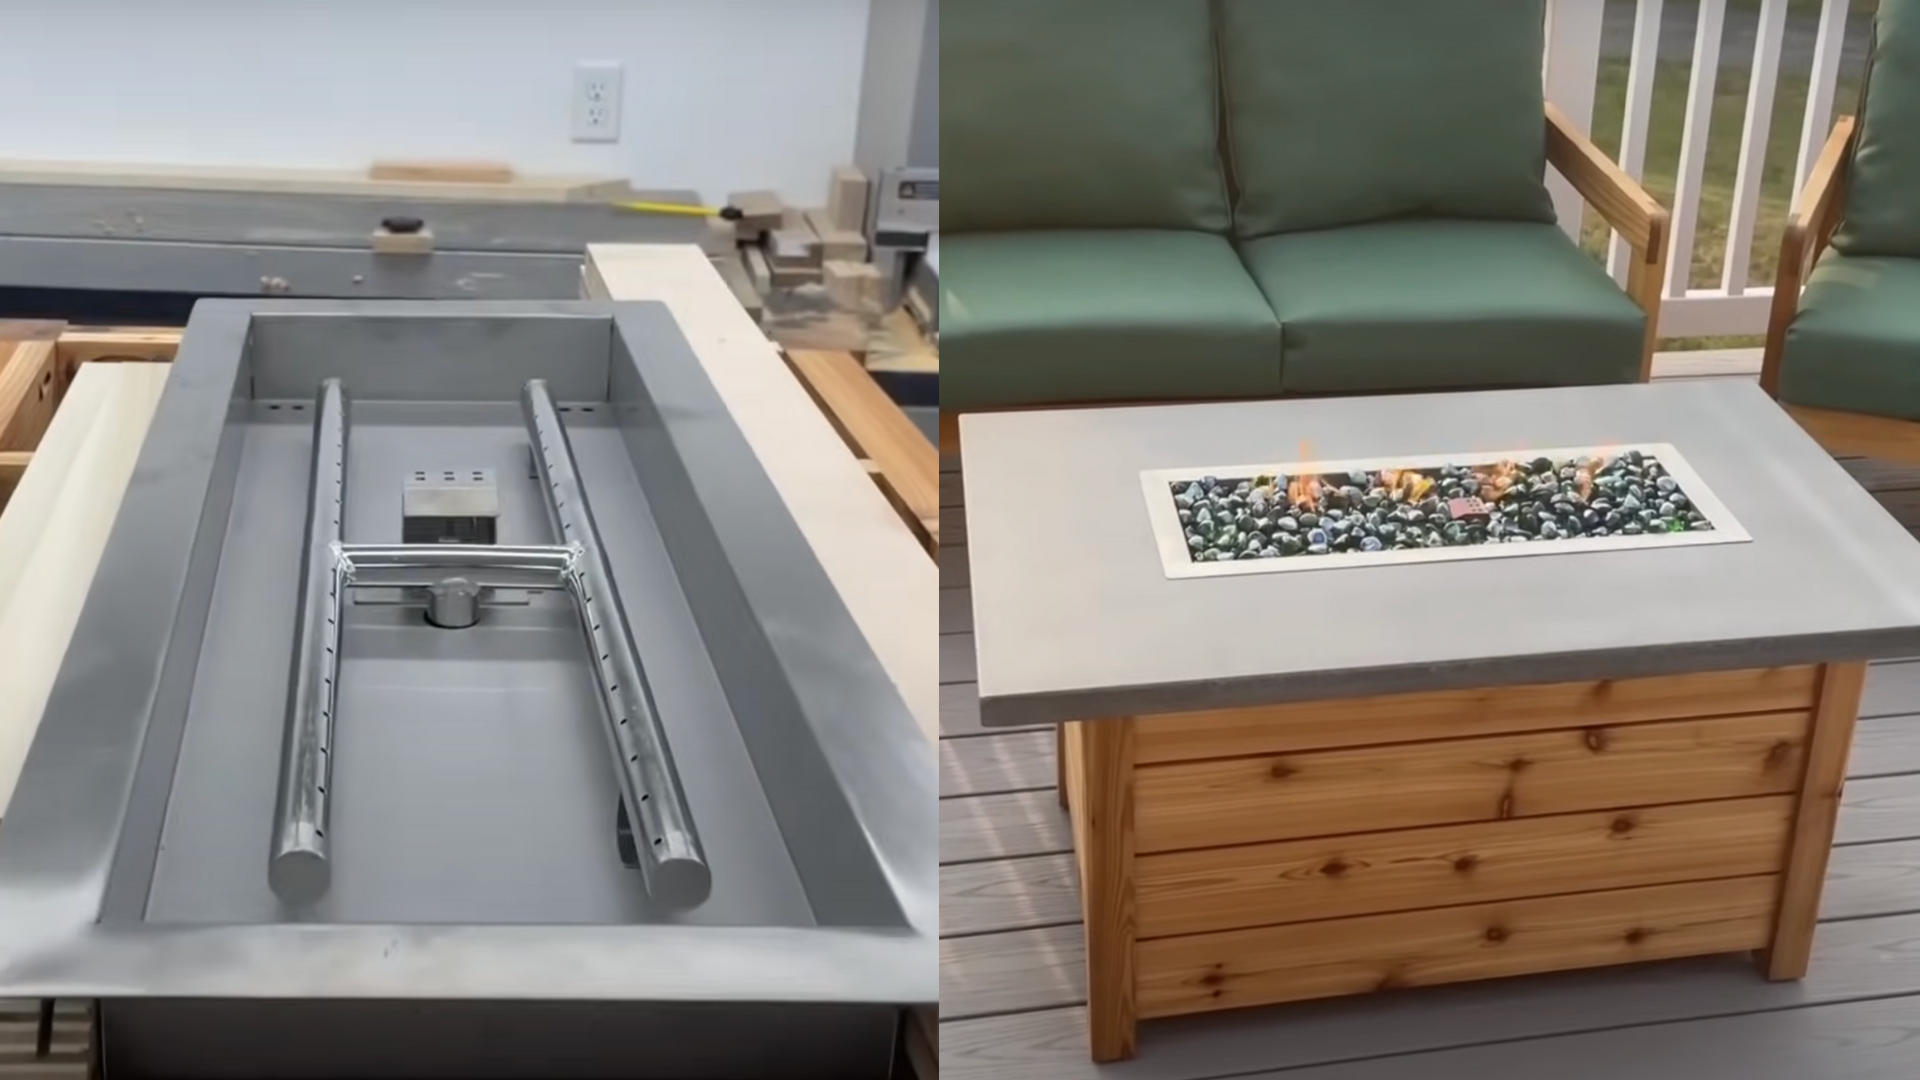
Connect your gas line from the propane tank to the fire pit insert. Test the igniter to ensure it sparks well.
Fill the fire pit with fire glass in your chosen color. Try lighting it a few times to ensure everything works right. Now you’re all set to enjoy warm nights around your new fire pit table!
You can watch John Builds It’s YouTube video below for a more detailed explanation.
Design Ideas for Your Fire Pit Table
Are you looking for ways to make your firepit table stand out? Here are some styles and designs to consider for your next project.
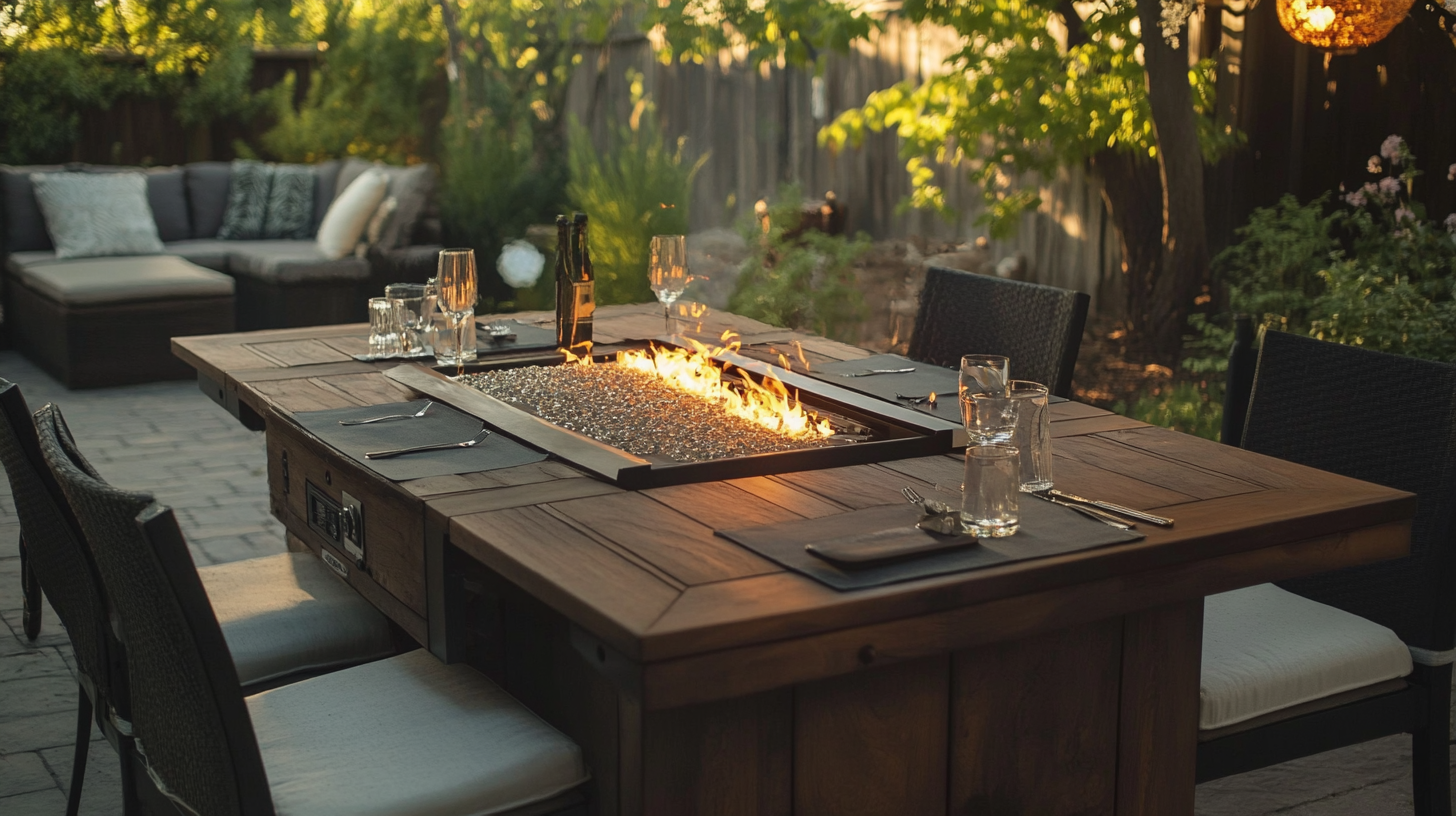
Outdoor Dining Fire Pit Tables

These tables allow you to eat and stay warm at the same time. You can build one with a fire pit in the middle and a wide rim around it for plates and drinks.
Some designs include spots to store wood below. For the top surface, choose heat-safe materials like stone, concrete, or metal.
This type works well for patios where you want to host dinner parties even when it gets cool outside.
Tabletop Fire Pit Designs
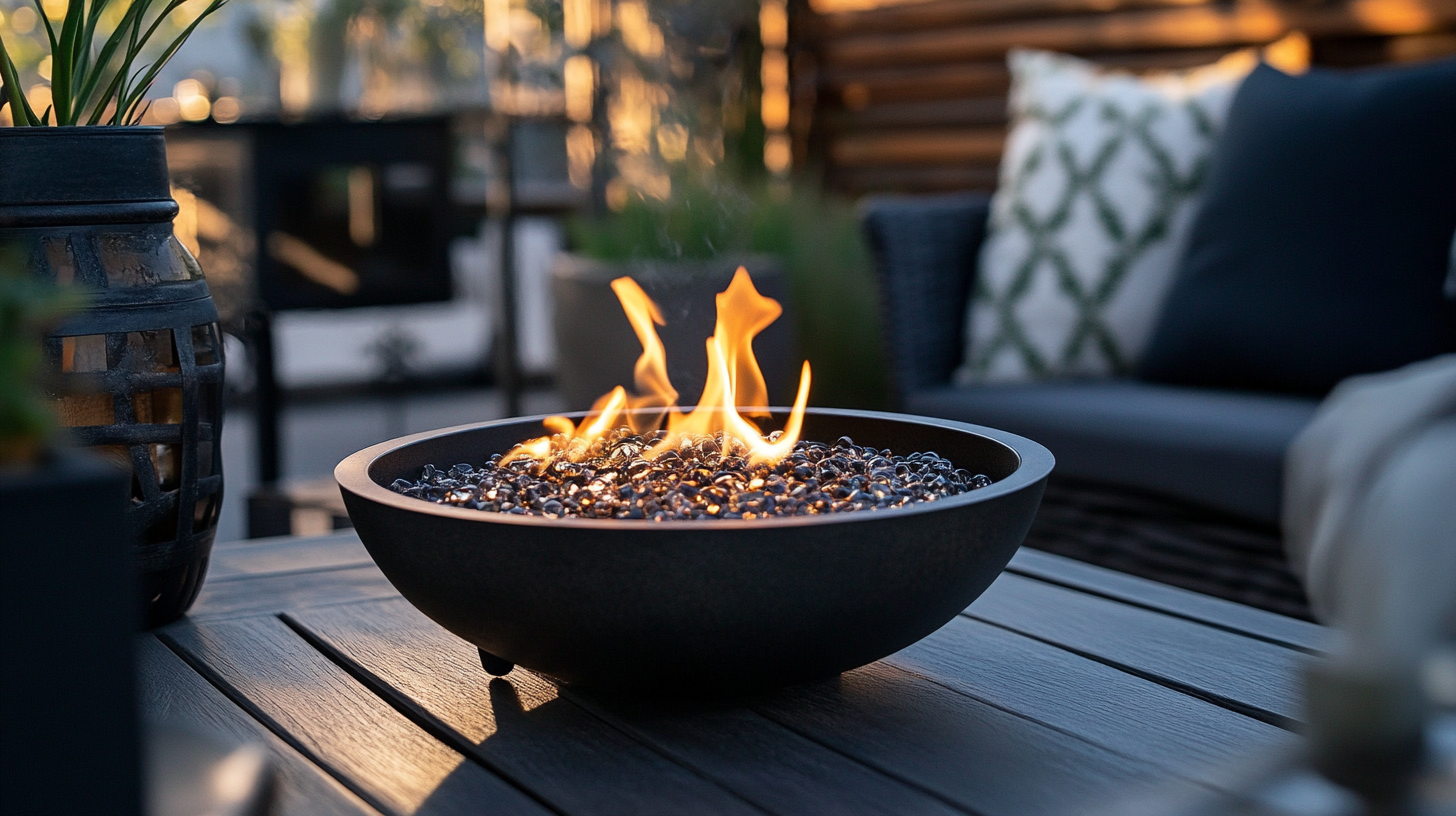
These smaller fire pits sit on top of an existing table. They’re easy to build and perfect if you don’t have much space. You can use a metal bowl, some fire glass, and a small gas burner.
Some people make these with concrete in old salad bowls as molds. The good thing about these is that you can move them around or store them when not in use. They’re also great for small balconies or tiny yards.
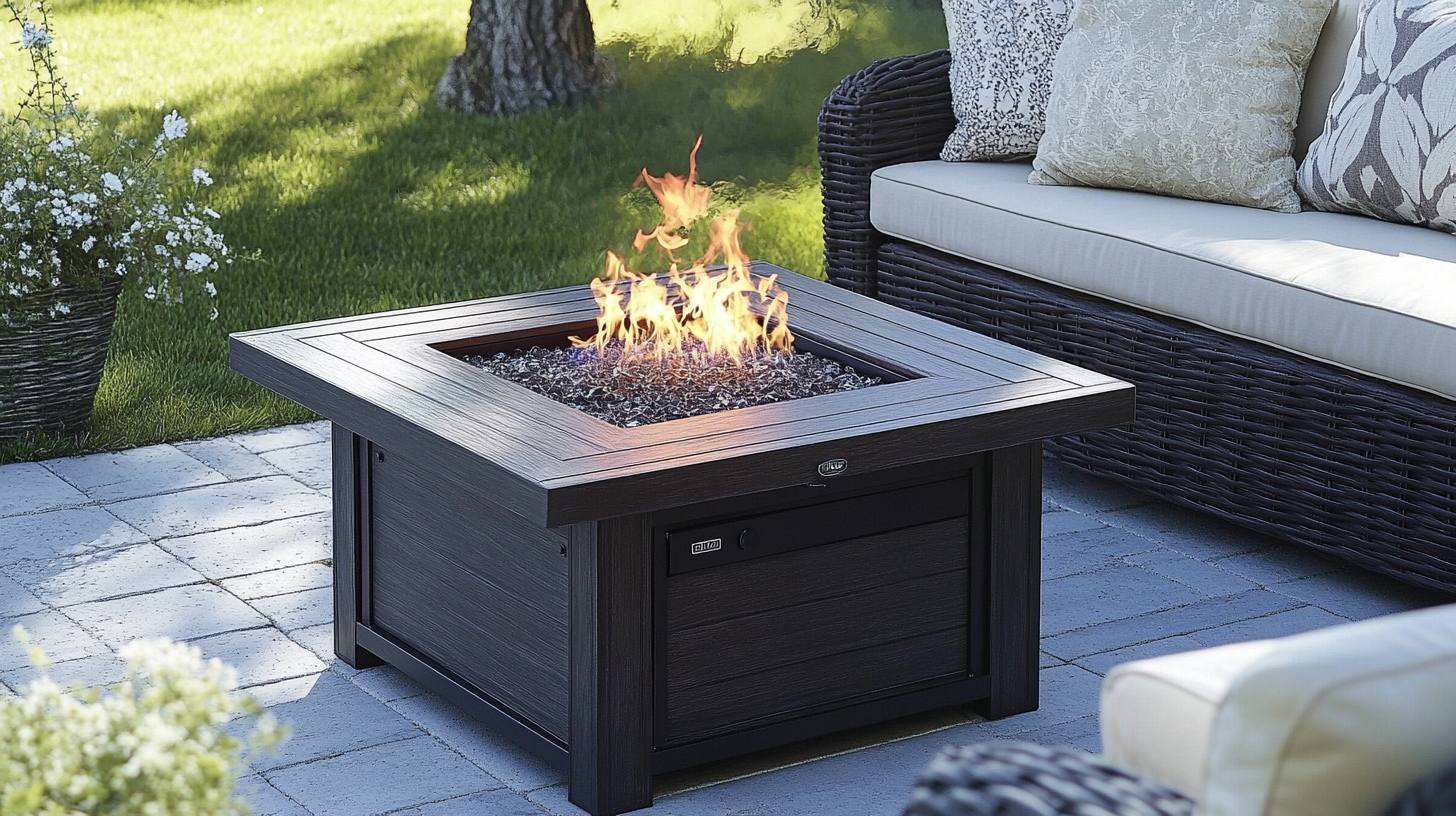
Unique Styles: Modern, Rustic, Minimalist
Your fire pit table can match your taste. A modern design might have clean lines, metal parts, and a simple look. Rustic styles could use rough wood, stone, and natural colors.
A minimalist table would be basic but useful, with no extra parts. Think about what fits with your other outdoor items.
The style you pick should make you happy when you see it in your yard.
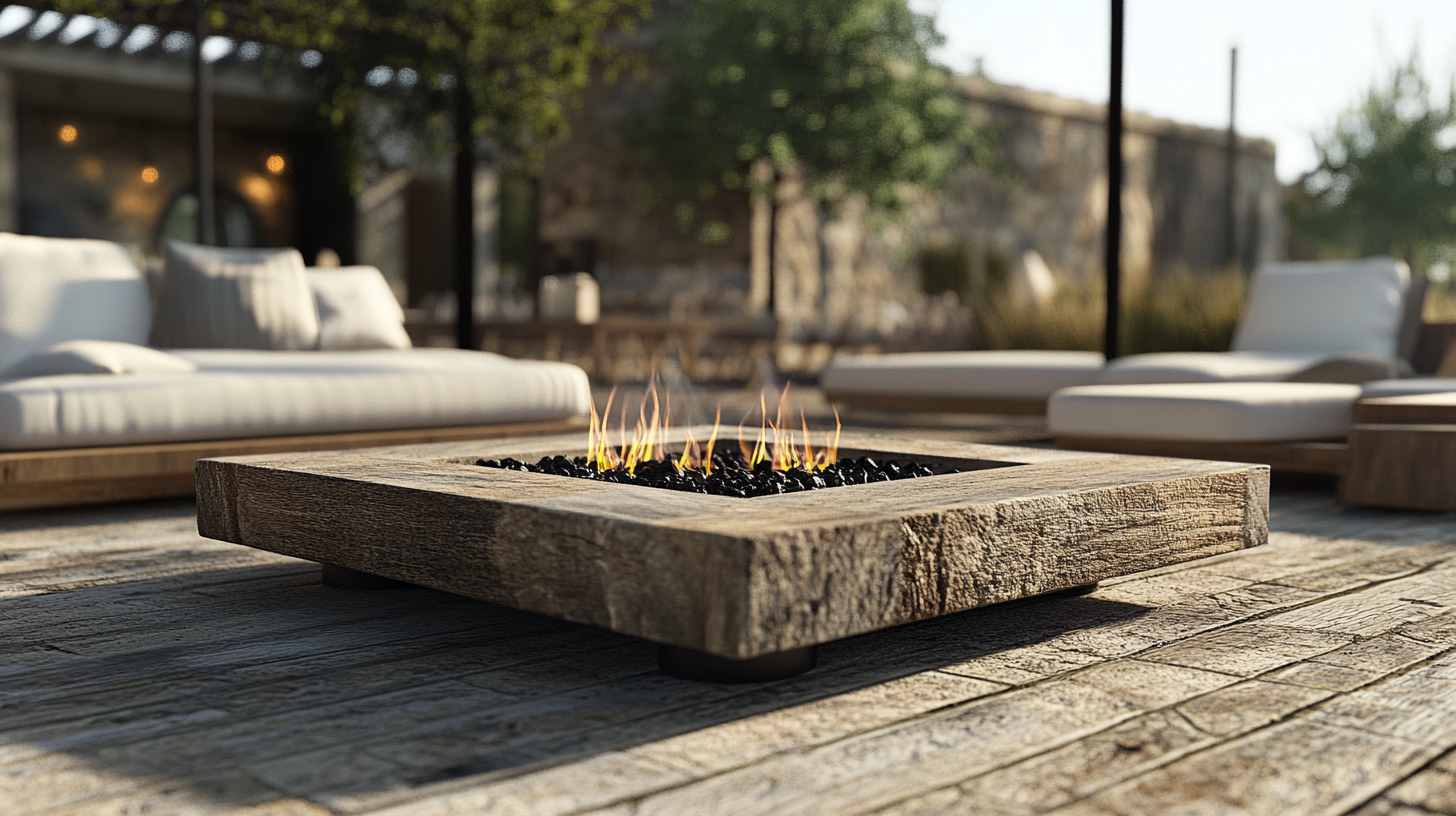
Coffee Table Fire Pit Designs
These fire pits are built lower to the ground, perfect for setting next to your outdoor sofa. They work as a normal coffee table when not lit, giving you a spot for drinks and snacks.
The smaller size makes them good for tight spaces like small decks or patios.
You can build these with storage space for the gas tank hidden inside the base, keeping everything neat and tidy.
Convertible Fire Pit Tables
These smart designs let you use your table in many ways. When you want to eat, just put a cover over the fire pit area to create a full table surface.
Then, remove it later when you want warmth. You can make this cover from the same material as your table top for a good match.
This type of table is great if you have limited space but want both a dining area and a fire pit.
Maintenance Tips for Your Fire Pit Table
Taking care of your new fire pit table helps it last longer and stay safe to use. Regular upkeep keeps it looking good for years to come.
A well-maintained fire pit table also works better and creates less smoke when you’re enjoying time with friends and family.
Here are some tips for your fire pit table:
- Clean the fire glass with warm water and mild soap once a month to remove soot buildup
- Check gas lines and fittings for leaks by applying soapy water and looking for bubbles
- Keep the concrete top sealed yearly with a fresh coat of concrete sealer
- Cover your table when not in use to protect it from rain, snow, and UV damage
- Inspect wood parts for signs of rot or damage, and apply new outdoor oil as needed
Wrapping Up
Now you know how to build your own fire pit table! This project might take a weekend or two, but the result is worth it.
Your new fire pit table will be a spot where good times happen year after year. Think about which design fits your yard best, and don’t forget to check local rules about outdoor fires before you start.
The steps are simple enough for most people who like DIY projects. Once done, your fire pit table will be something you can be proud of that didn’t break the bank.
Why not start gathering your materials this weekend? Soon, you could be sitting by your very own fire, making memories with the people who matter most to you.