DIY Floating Nightstand: A Step-By-Step Guide
Have you ever bumped your toe on a bulky nightstand while trying to navigate your tiny bedroom? I feel your pain. That’s why I love floating nightstands – they’re perfect for small spaces.
These wall-mounted bedside tables free up your floor while still giving you a spot for your phone, water, and that book you’re trying to finish.
In this guide, we’ll go through everything from choosing the right wood to mounting your finished project safely on the wall. You’ll learn how to build a sleek, modern nightstand that looks store-bought but costs much less.
Even if you’ve never built furniture before, these step-by-step instructions and troubleshooting tips will help you create a piece you’ll be proud to show off.
So, let’s get started!
Why DIY a Floating Nightstand?
People often ask why they should pick a floating nightstand instead of a regular one. The answer is simple – these wall-mounted bedside tables offer practical benefits while looking good in your bedroom.
They make your space feel more open and can fit in places where normal nightstands just won’t work.
Space-Saving Design
Floating nightstands are perfect for small bedrooms where every inch matters. By attaching to your wall instead of sitting on the floor, they free up valuable floor space.
You can use this extra space for storage baskets, your favorite books, or just to make cleaning easier. If you hate bumping into furniture legs when vacuuming, you’ll love how these wall-mounted tables make cleaning a breeze.
Modern, Clean Look
These wall-mounted tables add a simple, clean style to any bedroom. Their straight lines and lack of bulky legs give them a light, open feel that many people love.
They look great next to platform beds or IKEA storage beds. The clean design helps make your room feel less crowded and more put-together, even in tight spaces.
Budget-Friendly
You don’t need to spend a lot to get a good floating nightstand. If you enjoy making things, DIY versions cost much less than buying one from a store.
With basic materials costing between $60-$100 (depending on what wood you choose), you can create a custom bedside table that fits your exact needs and matches your space perfectly.
Choosing the Right Wood
Picking the right wood for your floating nightstand makes all the difference in how it looks and how long it lasts. I’ve tried different types myself, and each has its good points depending on what you want.
Solid Wood vs. Plywood
Red oak gives your nightstand a professional look that you’ll be proud to show off. The grain pattern is beautiful and takes stain very well. It feels sturdy, but it will cost you more than other options.
Pine is the go-to when you’re watching your wallet. It’s soft and easy to work with, especially if you’re new to DIY projects. Light stains look amazing on pine, bringing out its natural charm without breaking the bank.
If you want the most value for your money, plywood with edge banding is hard to beat. You can get a clean, finished look by covering the exposed edges with wood banding.
Wood Quality Matters
Always look for straight, flat boards without lots of knots or cracks. These flaws can make your project harder and might weaken your nightstand.
Run your hand along the board and look down its length to spot any warping. Check for cupping (when the edges curve up or down) by placing the board on a flat surface. If it rocks or doesn’t sit flat, put it back and grab another one.
You’ll thank yourself when your nightstand hangs perfectly level on the wall.
Step-by-Step Guide to DIY Floating Nightstand
Making your own floating nightstand might seem tough at first, but I promise it’s simpler than you think! We’ve broken down the process into manageable steps so you can create a beautiful wall-mounted table that fits your exact needs.
Follow along, take your time, and you’ll have a custom piece you’ll be proud to show off.
Tools and Materials You’ll Need
It’s important that you gather everything you’ll need ahead of starting your DIY. This will prevent you from running around everywhere looking for something in the middle of your project.
Tools
- Circular saw or table saw
- Miter saw
- Drill
- Power sander or sandpaper
- Nail gun or hammer and nails
- Level
- Screwdriver
- Angle finder or speed square
Materials
- Wood: Pine, Red Oak, or Walnut (depends on your budget and style)
- Drawer slides (push-to-open or standard)
- Wood glue and wood filler
- Screws, nails, and wall anchors
- Corner braces
- Optional: Door pulls, polyurethane, stain, or paint
Step 1: Plan and Measure
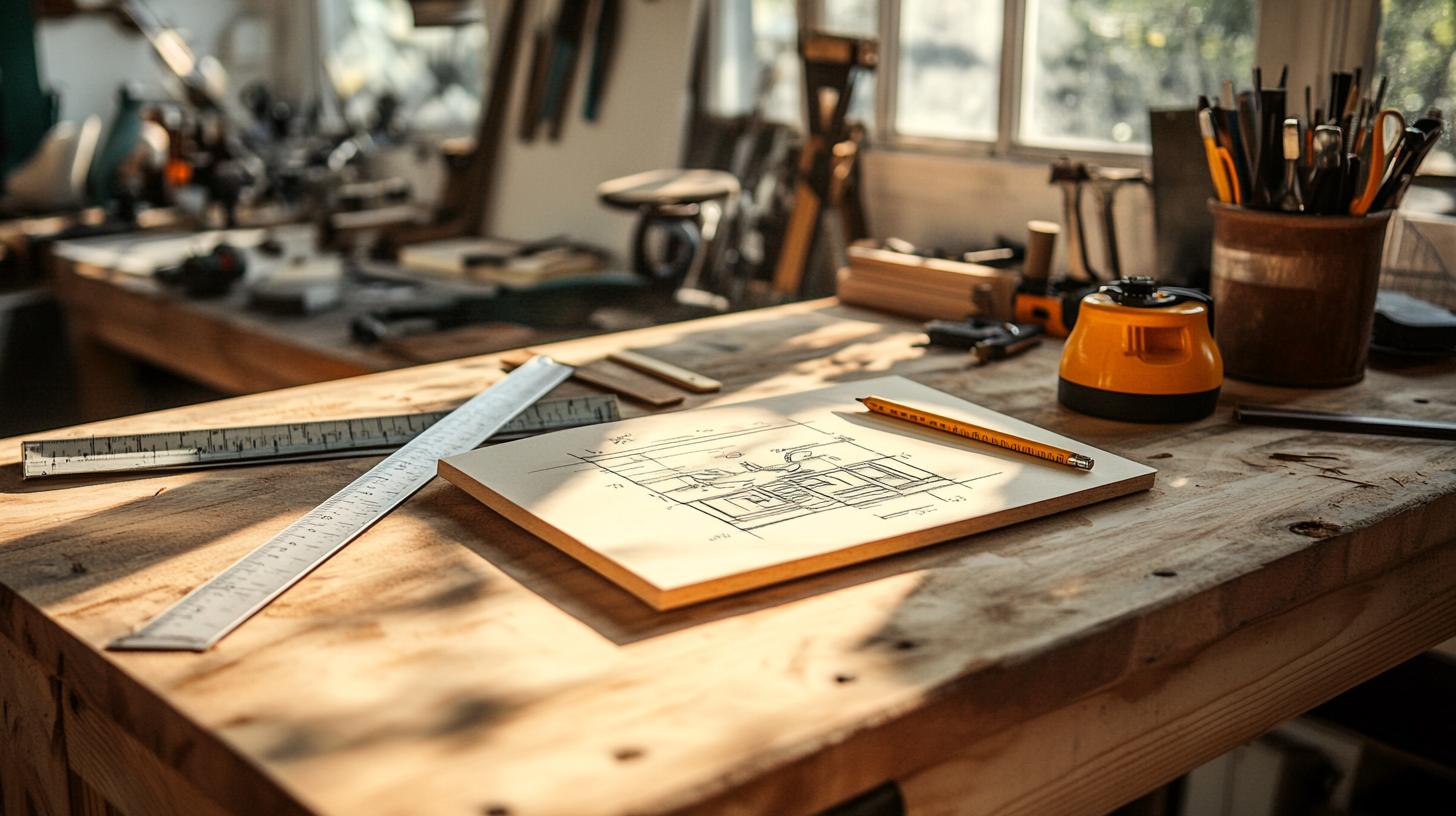
Before cutting any wood, grab some paper and sketch what you want. How big should your nightstand be? How high should it hang? Will it fit next to your bed?
Take time to check for wall outlets that might get blocked. If your bed has drawers, make sure they can still open fully. Measure twice, cut once – lest you want to remake a piece that was too short!
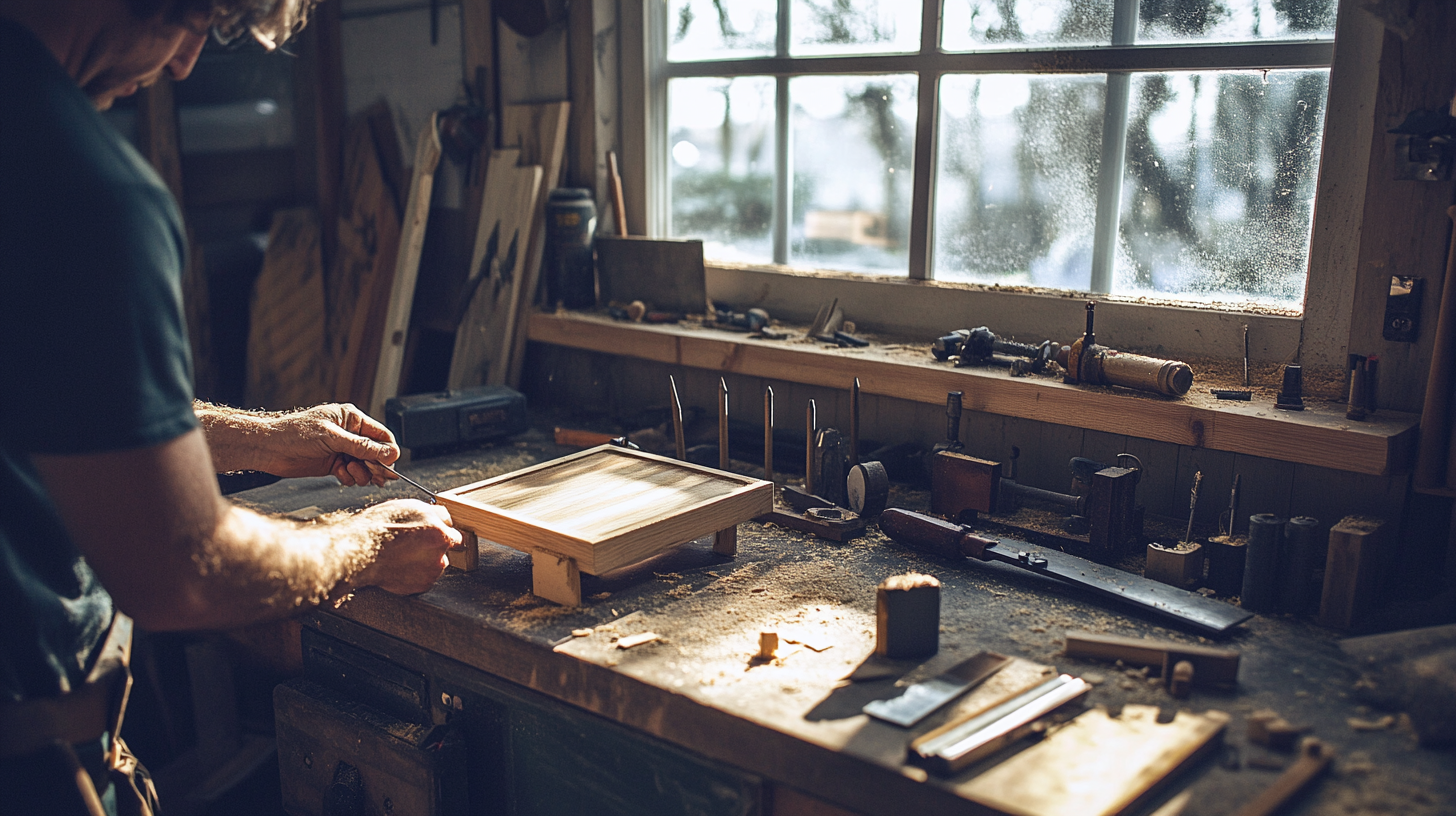
Step 2: Cut the Wood

This is where your project really starts taking shape. Those 45-degree cuts for mitered corners might seem scary, but they make your nightstand look store-bought instead of homemade.
Take it slow with each cut and use your angle finder to check your work. I once rushed this step and ended up with gaps in my corners that were hard to fix. Your future self will thank you for being careful now.
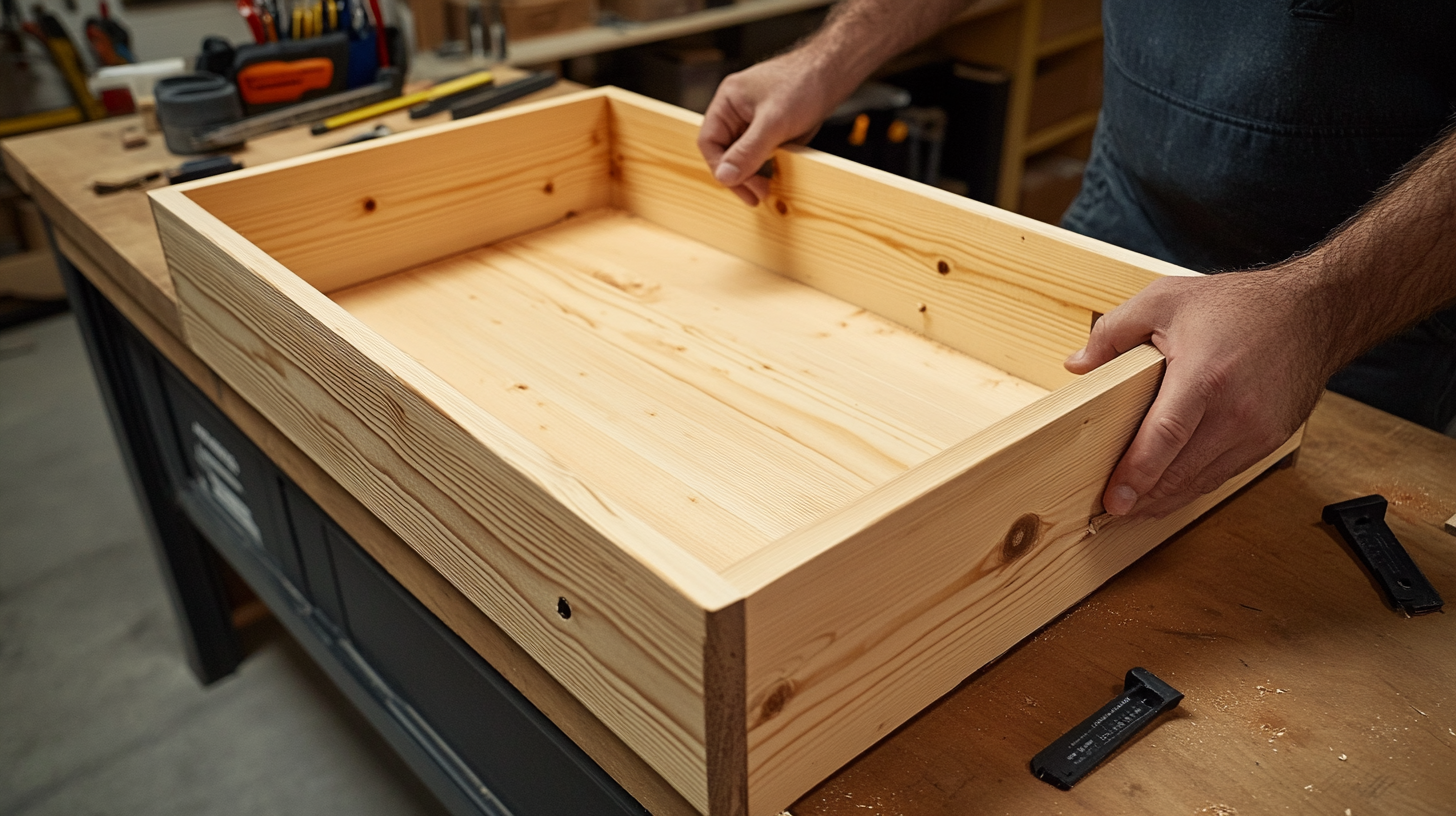
Step 3: Build the Box Frame
Putting the frame together is like solving a puzzle. Apply wood glue to those mitered edges, then clamp everything tight while it dries. Use tie straps if you run out of clamps.
Once the glue gets tacky, add some nails from the bottom where they won’t show. This gives your frame extra strength without ruining the look. Those little corner braces on the inside make a huge difference in keeping everything square and solid.
Step 4: Add the Wall Mount (Back Brace)

This hidden piece is what actually attaches to your wall, so it needs to be strong. MDF works great, or you can use leftover wood from earlier cuts to save money.
You’ll need to cut notches where your drawer slides will go. Take your time with this – getting it wrong means your drawer won’t open smoothly. Make a template with cardboard first to test the fit before cutting the actual wood.
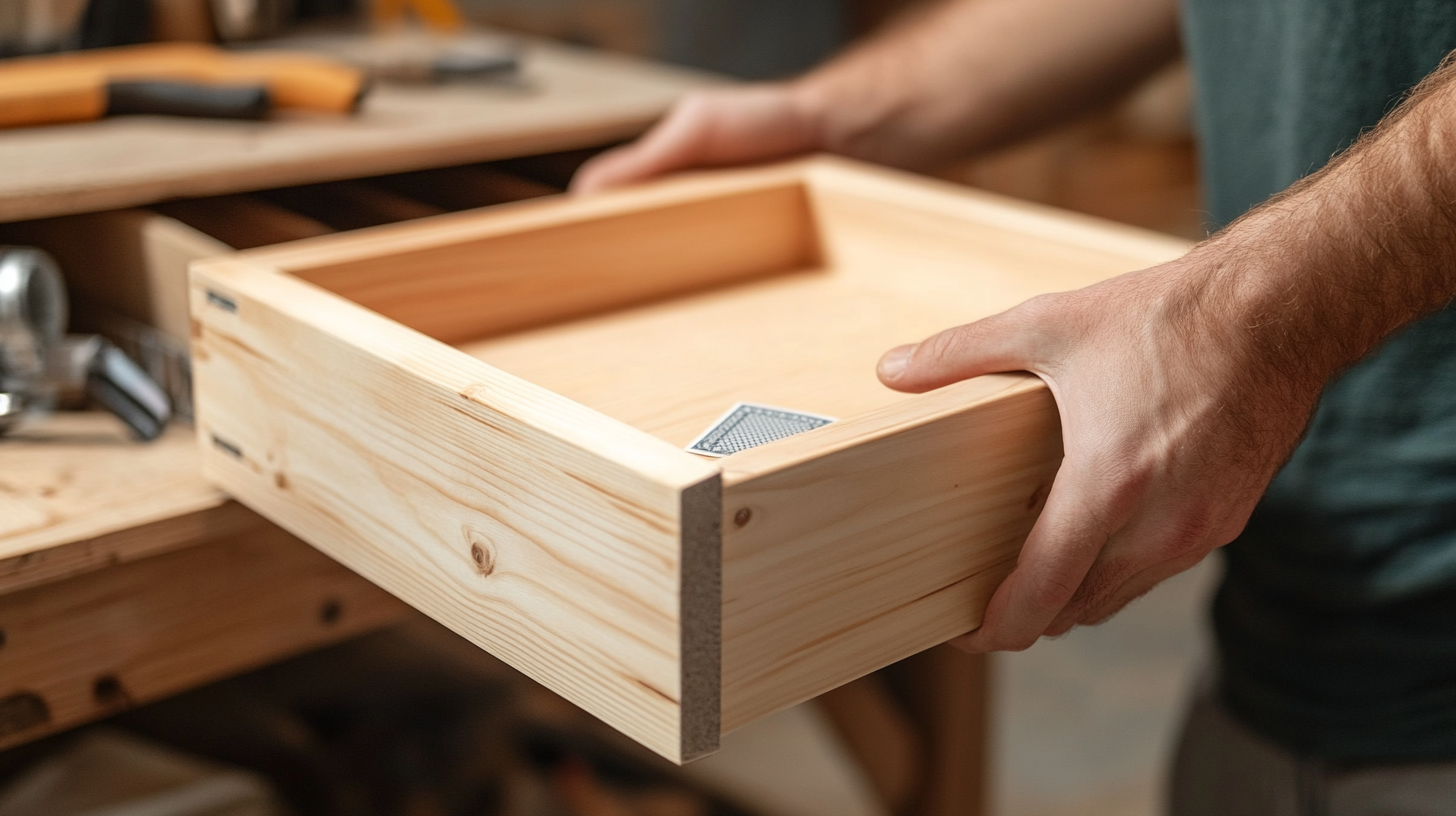
Step 5: Build and Install the Drawer
Making a drawer feels like a project all by itself! Cut all your pieces first, then assemble them with glue and nails. The bottom panel should slide into grooves if possible, but nailing it from below works too.
Installing those drawer slides can test your patience. Make sure they’re perfectly level and at the same height on both sides. I find it helpful to use scrap wood as spacers to keep everything aligned while I’m working.
Step 6: Sand and Finish
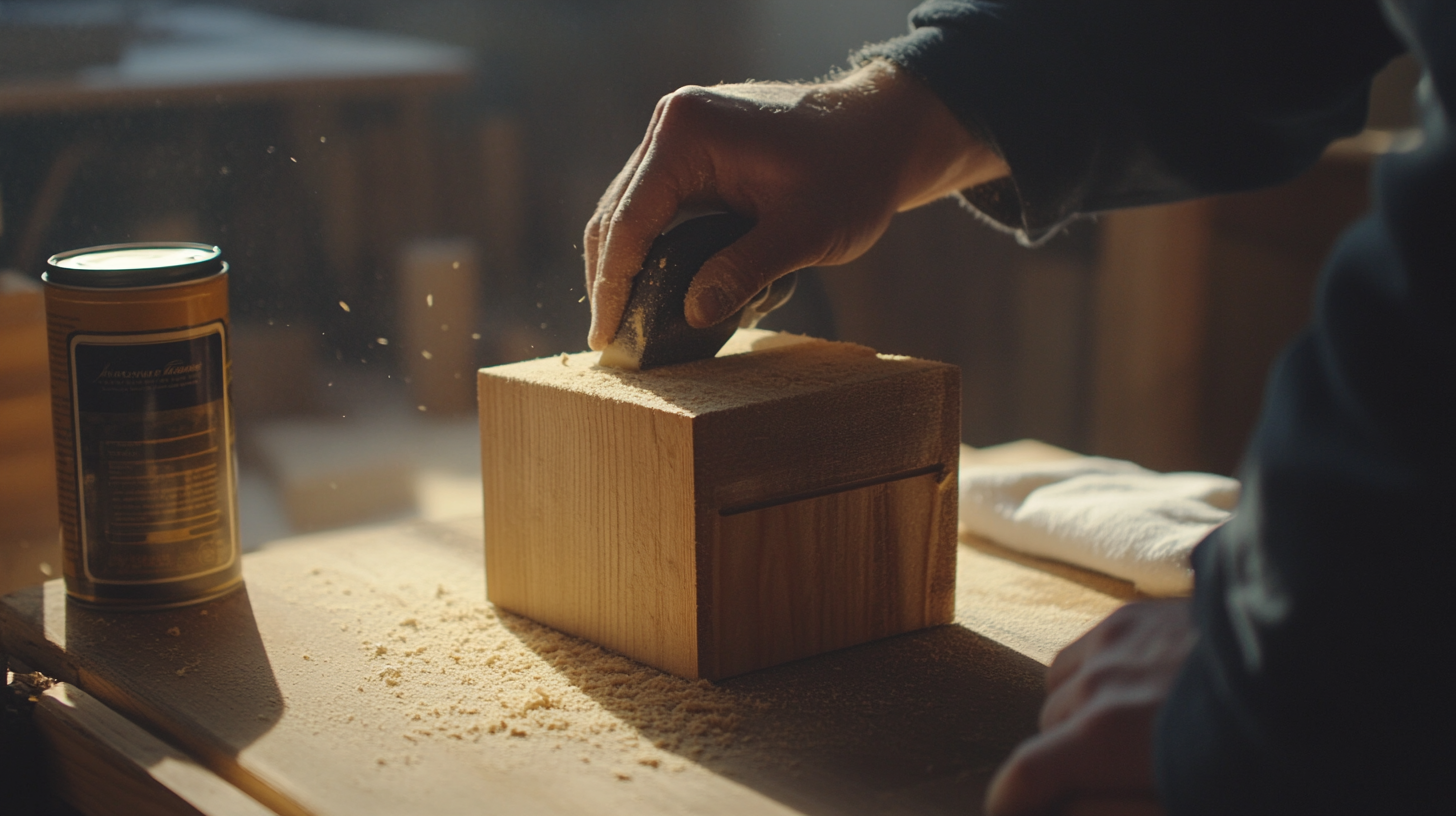
Don’t rush the sanding step! Your fingers will notice every rough spot when you use your nightstand. Start with rough sandpaper and work your way to finer grits for a silky-smooth finish.
You could choose stain to show off the wood grain or paint to match your room, apply thin coats, and let them dry fully. Use clear polyurethane for protection: your nightstand will look great even after years of use.
Step 7: Mount to the Wall
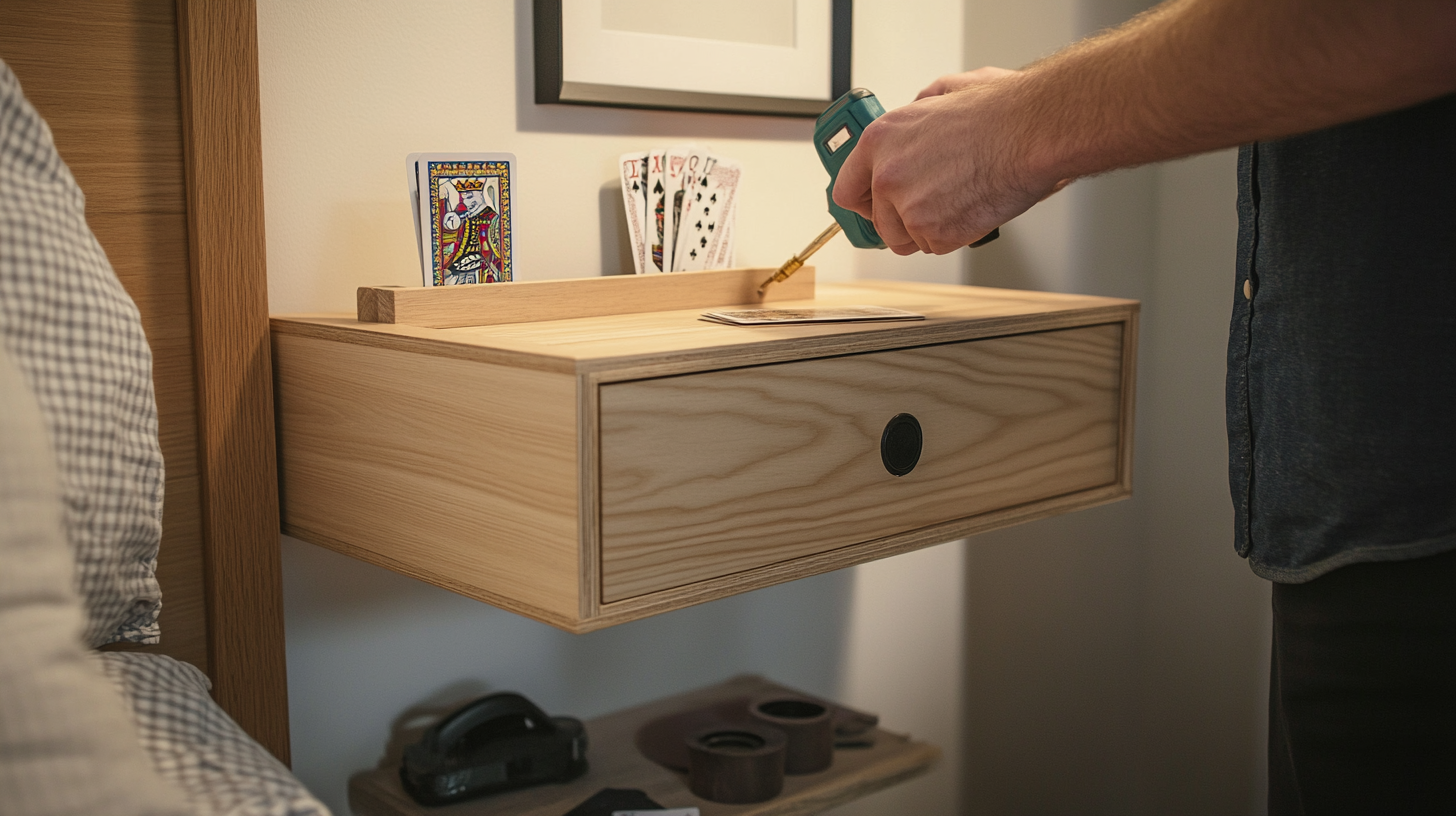
Find the wall studs if possible, they provide the strongest support. If you can’t hit a stud, use heavy-duty wall anchors rated for more weight than you plan to put on the nightstand.
Use your level obsessively here. A crooked nightstand will drive you crazy every time you look at it. Have someone help hold it while you mark screw locations and during the actual mounting.
Step 8: Install Drawer
You’re almost done! Slide your drawer onto the tracks and check that it moves smoothly. If the drawer front isn’t perfectly aligned with the frame, playing cards make perfect shims to adjust it.
Step back and admire your work! You’ve created a beautiful, useful piece of furniture that’s exactly what you wanted. That feeling of accomplishment when you place your book and phone on your new nightstand for the first time is totally worth all the effort.
Styling Your DIY Floating Nightstand
Now that you’ve built your beautiful floating nightstand, let’s make it look amazing in your bedroom! Here are some ideas to make your nightstand both useful and good-looking.
Practical Styling Tips
Always start by thinking about what you actually need next to your bed. Your phone, a glass of water, maybe a book you’re reading – these should get priority on the top.
A clip-on lamp is perfect for these wall-mounted tables since it doesn’t take up precious surface space. Small plants or a tiny photo frame can add warmth without cluttering the area.
Remember, you need room to set down your glasses or that late-night cup of tea!
Pairing with Bedroom Furniture
When I built my first floating nightstand, I made sure to match it with my wooden bed frame. The similar tones made my bedroom feel more put-together without any extra effort.
If you’re not sure what finish to choose, go with something neutral. Light oak or simple white works with almost any bedroom style. This way, you won’t need to rebuild if you change your bedding or wall color next year!
Troubleshooting Common DIY Problems
Let’s be real – even the best DIY projects hit some bumps along the way. I’ve made plenty of mistakes with my floating nightstands, and I bet you might, too.
Don’t worry! Here are some simple fixes for common problems you might face.
- Gaps between mitered corners: Apply wood filler to hide gaps, then sand smooth when dry.
- Rough or splintered cuts: Position these cuts at the back or bottom, where they won’t be seen.
- Nail tips protruding from the surface: Use a nail setter tool to push them below the wood surface.
- Visible nail holes: Fill holes with wood filler and sand until smooth before finishing.
- The Drawer slides are not aligned: Add thin strips of scrap wood to fix gaps between slides and drawer box.
- The Drawer front sits crooked: Use playing cards as shims to adjust alignment until even.
- The Stain color doesn’t match expectations: Always test stains on scrap wood from your project first.
- Wood looks too dull after finishing: Try furniture butter (oil and wax mix) for a warm, natural glow.
Conclusion
You did it! By now, you should have all the know-how to create your own floating nightstand that looks amazing and works perfectly for your space. Remember that your first try might not be perfect but each small mistake teaches you something valuable for your next project.
These wall-mounted tables grow with you. As your style changes, you can simply refinish or repaint them without buying all new furniture. Plus, the money you saved by building it yourself can go toward other things that make your bedroom special.
Take photos of your finished nightstand and share them with friends – you’ve earned those bragging rights! Who knows? You might inspire someone else to pick up a saw and start their DIY project.