How to Build a Beautiful Wooden Tabletop: A Complete Guide
Ready to build a tabletop? This guide walks you through the entire process, from selecting the right materials to maintaining your finished piece.
The basic steps remain similar whether you’re creating a dining table, desk, or coffee table. Many people feel overwhelmed when starting woodworking projects, but breaking them down into simple steps makes them manageable.
This post covers everything from wood selection to finishing techniques, with creative style options to make your project unique. Follow these straightforward instructions to create a tabletop that will serve you well for years to come.
Choosing the Right Wood for Your Tabletop
Picking the right wood for your tabletop affects how it looks, lasts, and fits your budget. The wood you select sets the tone for your entire project and impacts maintenance needs.
Solid Wood Options
Oak, maple, and walnut are great choices for strength and appearance. Each brings its qualities to your project.
Walnut adds warmth and character to your space with its rich, deep color that stands out in most settings.
Oak is known for its durability and is widely available at most lumber stores, making it a practical option for beginners.
Maple gives a smooth surface, perfect if you plan to paint. Its tight grain pattern resists warping and takes stain very well, though it may need more careful sanding to achieve that perfect finish. These solid woods cost more but last for many years.
Plywood for Budget Projects
Plywood is affordable and works well for casual or rustic tables. It comes in various thicknesses and grades, so you can select what matches your needs. The layered construction helps prevent the warping that can happen with solid wood.
You can finish plywood with veneer or paint for a polished look. Adding edge banding hides the layers and gives the appearance of solid wood. Plywood is also lighter than solid wood, making it easier to move your finished table when needed.
Reclaimed Wood
Using reclaimed wood adds charm and history to your table. Each piece tells a story through its marks, nail holes, and aged patina that new lumber can’t match. This option is also good for the environment since you’re giving old materials new life.
Look for clean, dry boards from old furniture or pallets. Make sure to clean them well and check for nails or other metal pieces. While working with reclaimed wood takes more time and effort, the unique character it brings to your table makes it worth considering.
Step-by-Step Guide to Building a Tabletop
Let me walk you through building a basic wooden tabletop. I’ll keep it simple, focusing on easy methods that work for many DIYers.
Step 1: Measure and Plan
Decide the length and width of your tabletop based on your space and needs. This is where getting exact is important – measure twice, cut once, as woodworkers say. Add extra inches for any overhang you want around the edges, which both looks good and makes the table more useful.
Sketch your plan and list your cuts on paper. This helps catch problems before you start cutting wood. It’s also helpful to mark which boards will go where, especially if you’re using wood with distinct grain patterns that you want to match up nicely.
Step 2: Prepare the Boards
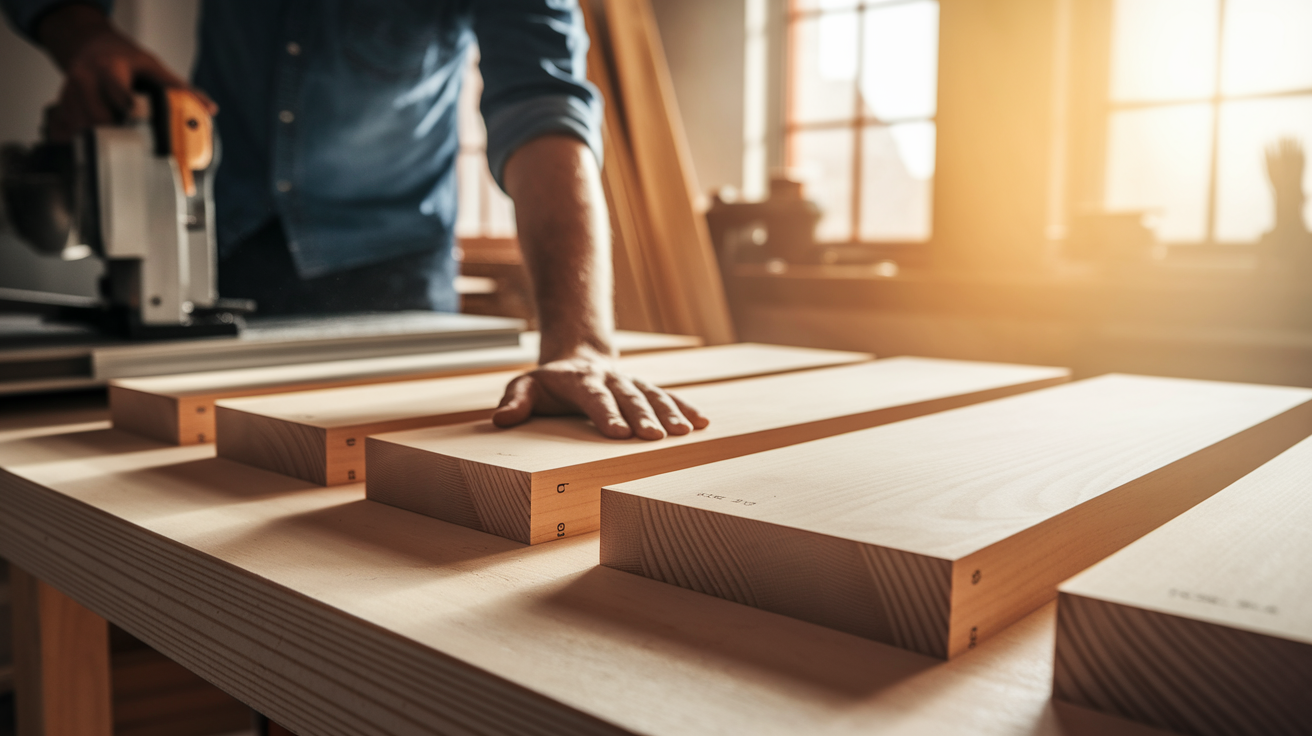
Cut your wood to size using a table saw or circular saw. If you don’t have these tools, many hardware stores can cut boards for you. Set up a stop block when making repeated cuts to ensure all pieces end up the same length.
Use a jointer or sandpaper to smooth the edges for tight seams. The goal is straight, square edges that fit together without gaps. Lay out your boards to check the fit before gluing. This “dry fit” step saves trouble later by showing any issues while fixes are still easy.
Step 3: Glue and Clamp
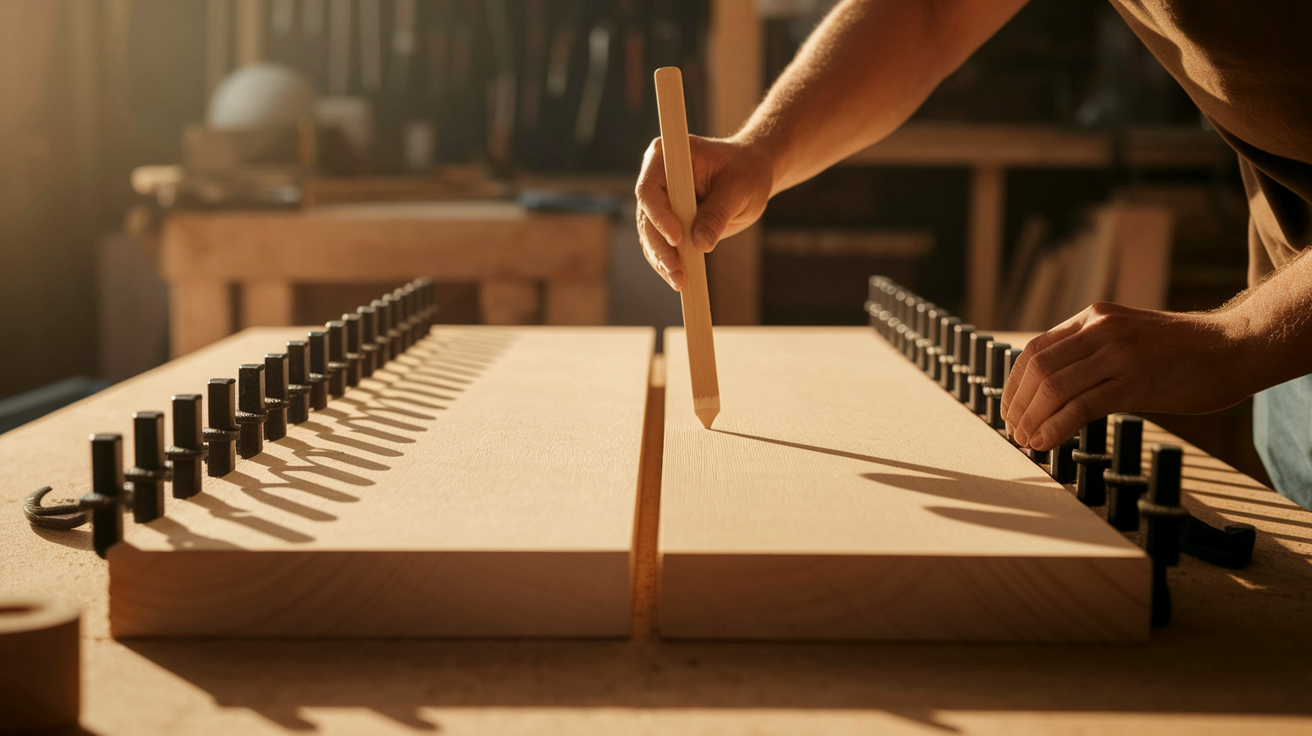
Apply wood glue along the edges where boards will meet. Don’t use too much – a thin, even layer works best. Spread it with a small piece of scrap wood for consistent coverage.
Clamp the boards together tightly, using even pressure across the surface. Place clamps about every 12 inches for good results. Wipe off any glue squeeze-out with a damp cloth right away, as dried glue can block stain from soaking in later.
Let it dry overnight for best results. While some glues claim faster drying times, giving it extra time ensures the strongest bond possible.
Step 4: Sand the Surface
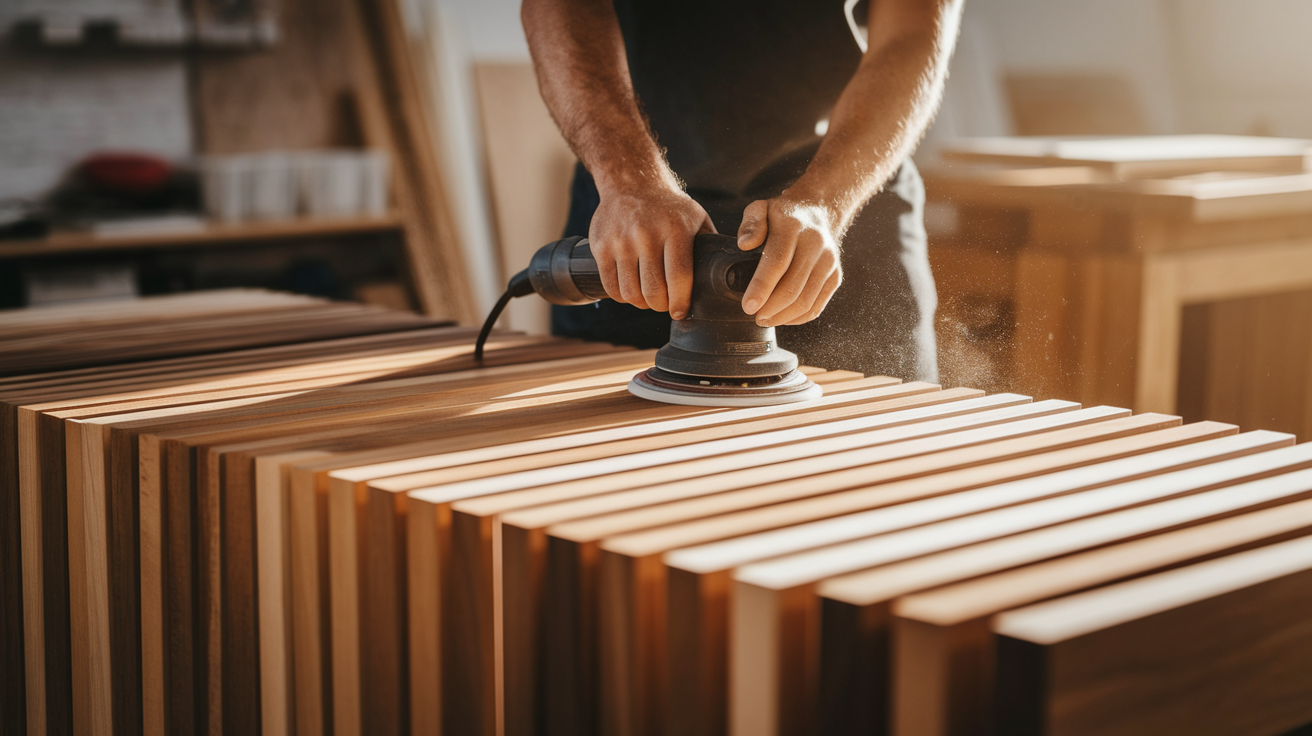
Start with coarse sandpaper (around 80 grit) to remove rough spots and level any slight height differences between boards. When possible, work in the direction of the wood grain.
Move to finer grits (up to 220) for a smooth finish. Each step removes the scratches left by the previous grit. Sand the edges and corners to soften them for a more comfortable and finished look. A random orbital sander makes this job much faster, but hand sanding works, too.
Step 5: Finish with Style
Apply wood conditioner if your wood is soft, like pine. This helps prevent blotchy stain absorption and gives a more even color. Allow it to soak in according to the product instructions.
Stain or paint your tabletop to match your decor. Apply in thin coats, wiping off excess for stain or using smooth strokes for paint. Seal with polyurethane or a food-safe oil, depending on use. For dining tables, use a durable finish that can handle heat and moisture.
Innovative Tabletop Styles to Try
Looking for something beyond a basic tabletop? These creative styles can help you make a piece that stands out in your home. Each option brings its own character and can match different room styles.
1. Butcher Block Look
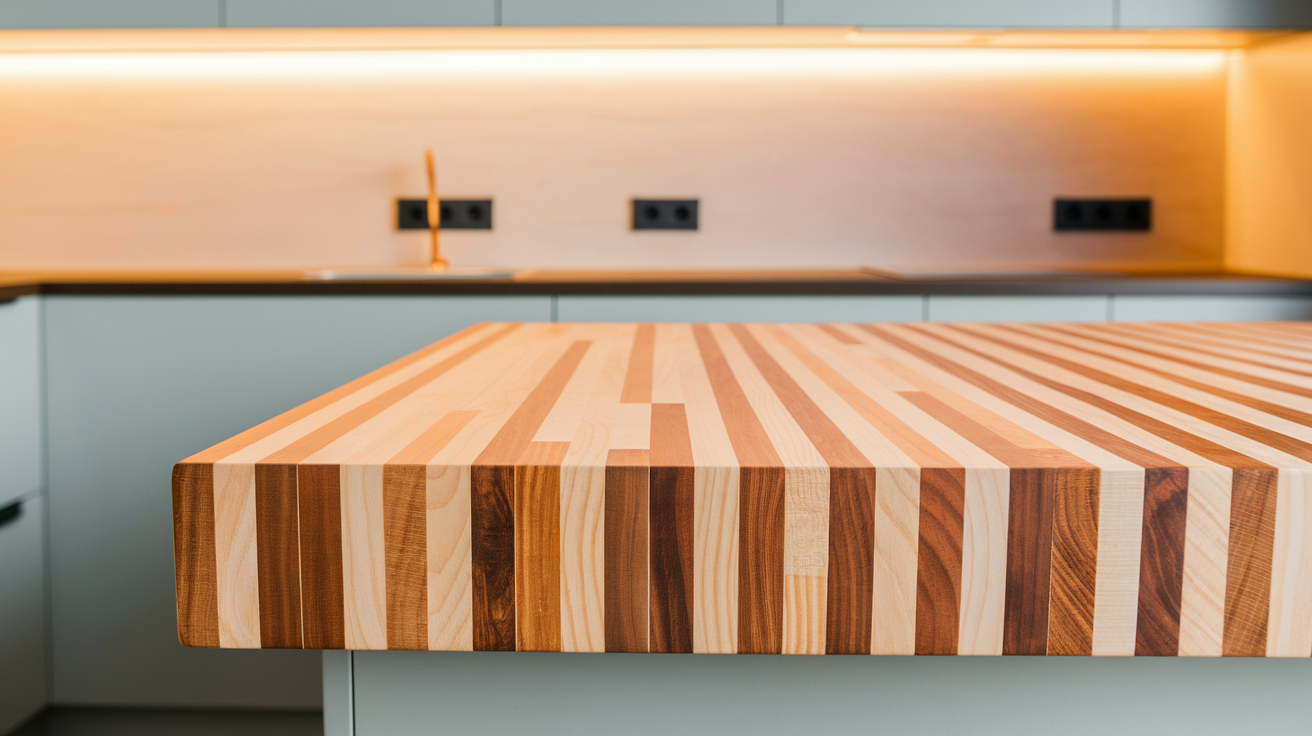
For this classic kitchen look, use narrow strips of wood glued side by side. The end-grain or edge-grain layout creates a strong surface that can handle daily use. This style works with many wood types, but maple is often used for its hardness.
Great for kitchens or rustic spaces, butcher blocks also bring warmth to modern homes. The thickness of these tops gives them a solid, sturdy feel that many people love. If you plan to cut directly on the surface, finish with food-safe oil.
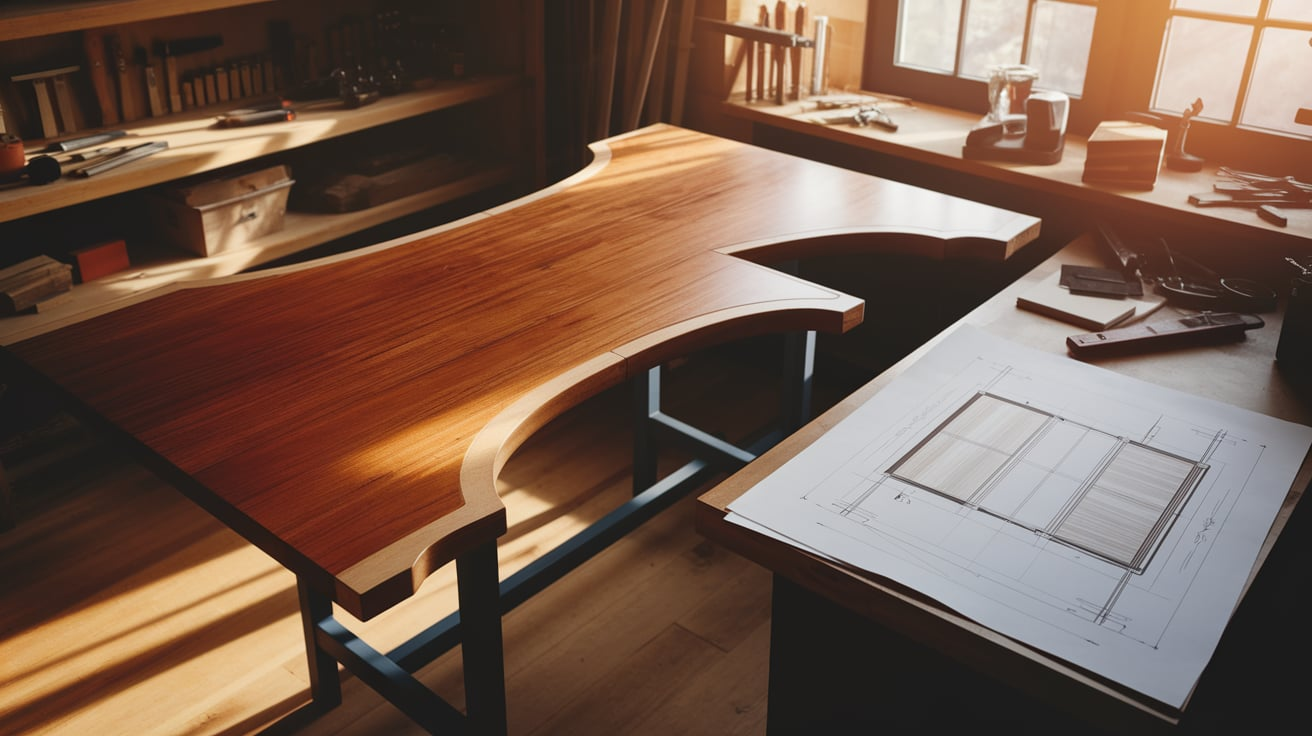
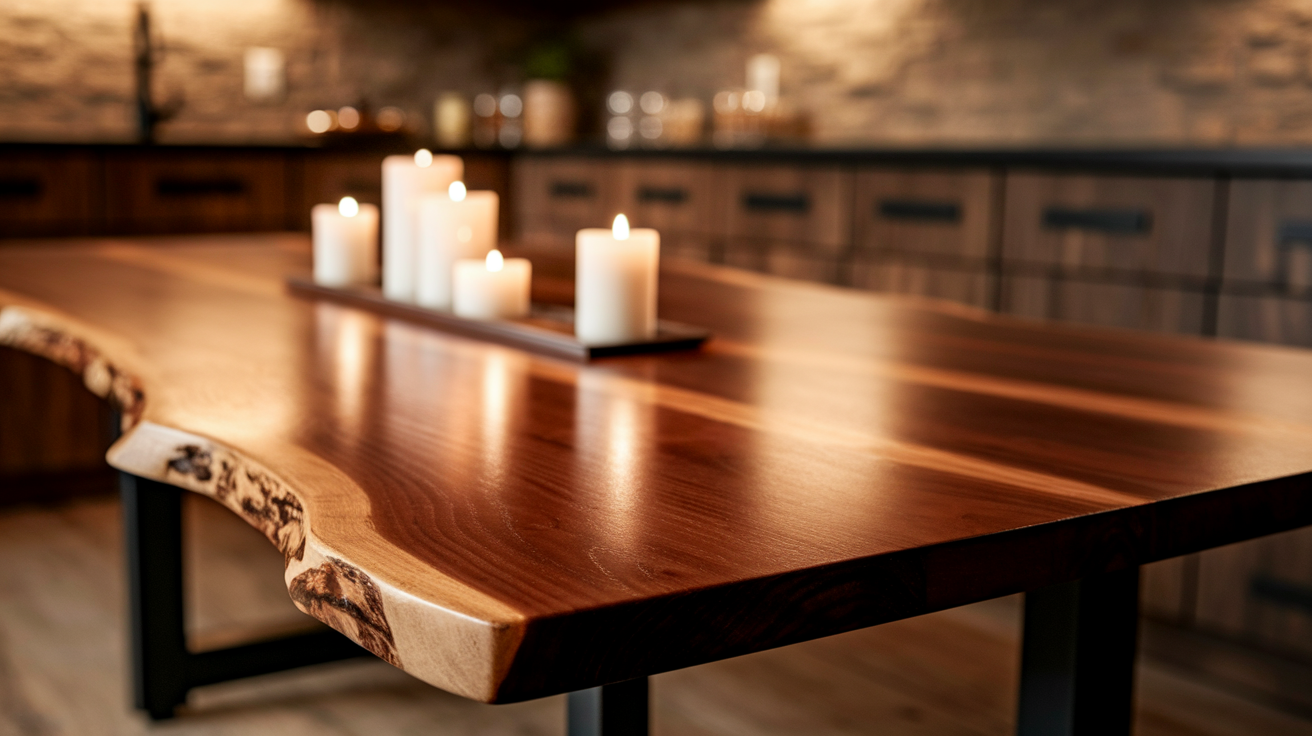
2. Live Edge Tabletop
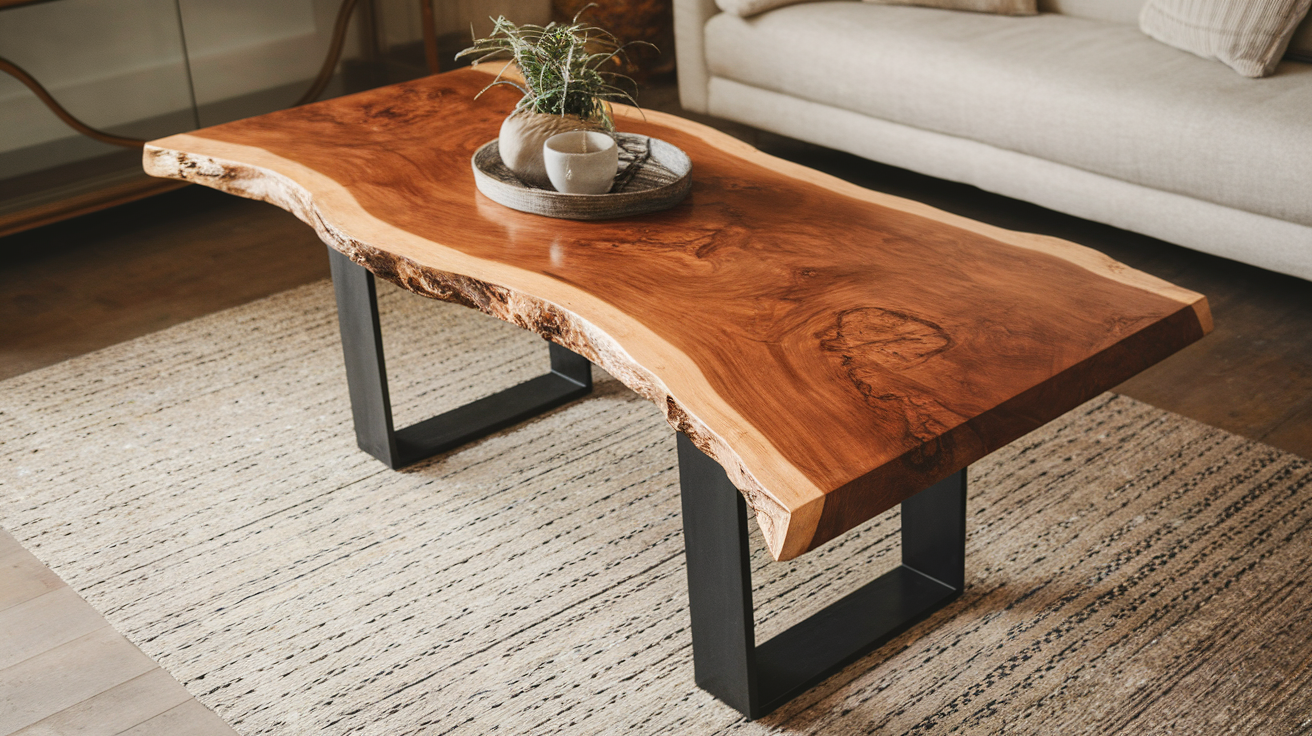
Keep the natural edge of the wood for a bold, organic look that brings nature indoors. Each piece is one of a kind, with curves and marks that tell the story of the tree it came from. This style pairs well with metal legs for a mix of natural and industrial.
Works well for dining or coffee tables where the unique edges can be seen and touched. Sealing these edges takes extra care, but the result is worth it. This style has become very popular for those wanting something unique.
3. Herringbone Pattern
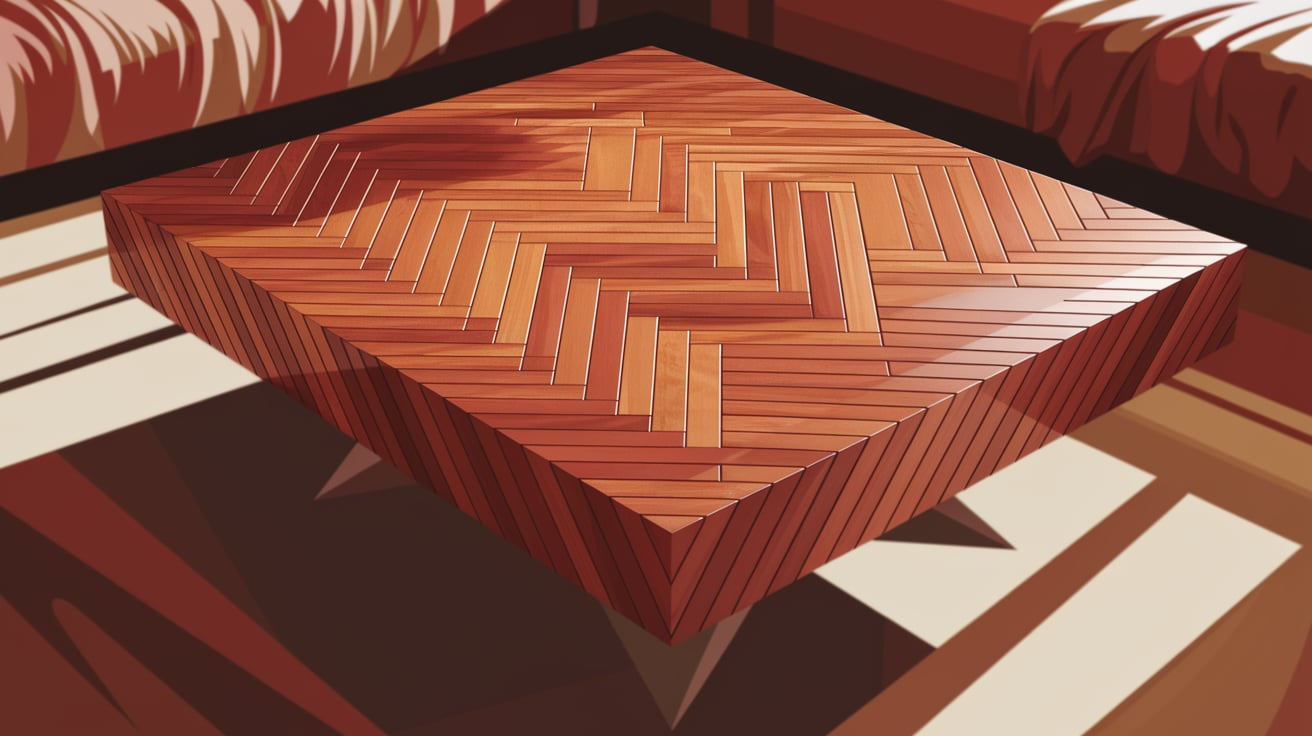
Arrange small boards in a herringbone layout for visual interest that catches the eye. This pattern uses short pieces set at angles, creating a zigzag effect across the surface. The design takes more planning and cutting than straight boards.
It is best for smaller tabletops or statement pieces like coffee tables or desktops. The pattern works with similar wood tones for subtlety or mixed tones for more contrast. This technique takes more time but creates a truly special piece.
4. Painted Tabletop
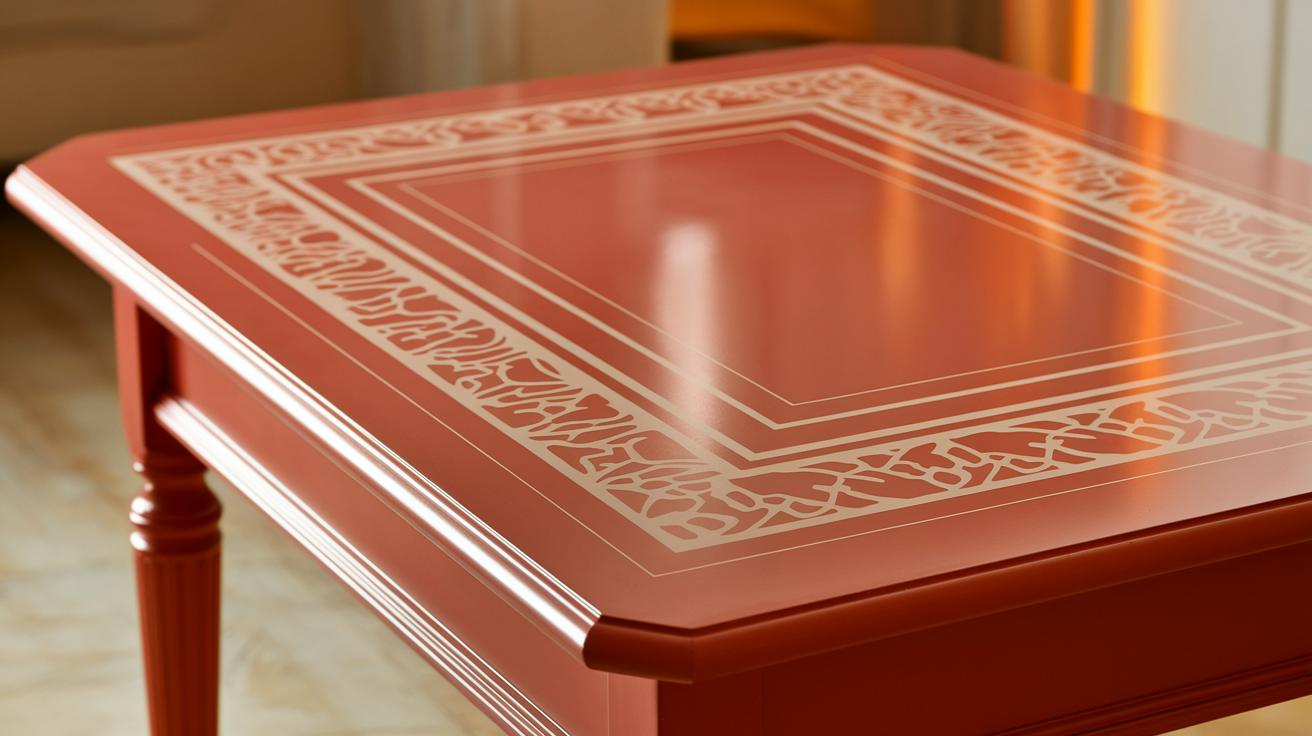
Add color with a solid paint finish to match your space exactly. This option lets you bring in shades that might not exist in natural wood. It’s also a good way to give new life to an old table that has surface damage.
Seal well to protect from scratches and use a paint made for furniture. Consider adding stenciled patterns or borders for extra detail. This style works well for casual spaces and can be updated easily when you want a change.
5. Reclaimed Wood Style
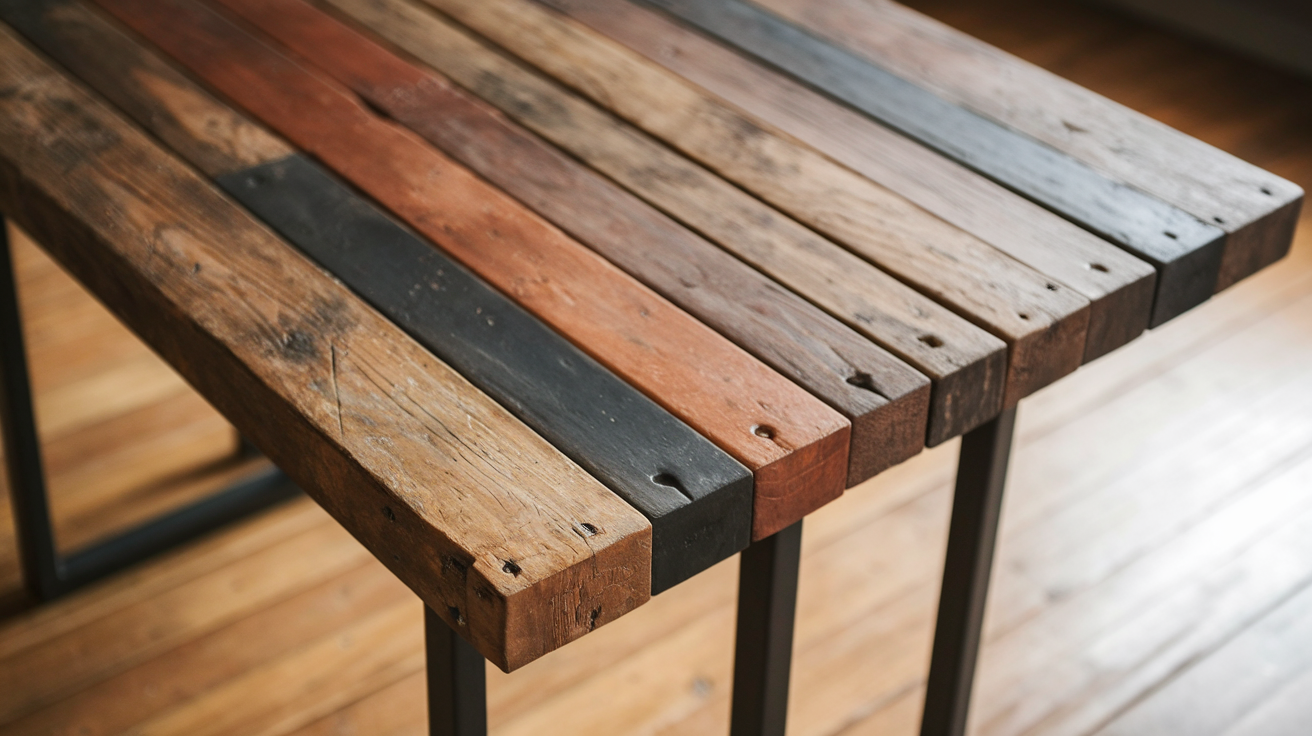
Mix boards of different shades and grains for a tabletop with depth and story. Each board brings its color and texture, creating a surface full of character. Look for old barn wood, flooring, or even wooden pallets as source material.
Adds a vintage feel to your room while being good for the planet. This style pairs well with simple metal or wooden legs that don’t compete with the busy top. The worn marks and nail holes in reclaimed wood become features rather than flaws.
Comfort and Durability Tips
Your tabletop will see a lot of use, so let’s make sure it lasts. These practical tips will help you build a table that stays strong and looks good for years.
1. Use Strong Glue and Clamps
When applied correctly, wood glue creates bonds that can be stronger than the wood itself. The right application can make all the difference between a table that stays solid and one that comes apart over time.
- Good quality wood glue holds better than screws alone.
- Apply even clamping pressure to avoid gaps.
2. Protect the Surface
Proper sealing keeps liquids from soaking into the wood and causing warping or staining. This step takes extra time but saves you from having to refinish or replace your table later.
- Use several coats of sealant.
- Lightly sand between coats for smoothness.
3. Reinforce with Biscuits or Dowels
These hidden supports add significant strength to your tabletop without being visible from the outside. They work by creating more surface area for the glue to bond.
- Adds extra strength to the joints.
- Helpful for larger tables.
4. Test Before Final Finish
Different woods take stain differently, and colors often look different on the actual wood than on the sample card. Taking the time to test saves you from having to sand everything down and start over.
- Test your stain or finish on scrap wood.
- This prevents surprises with the final color.
Common Mistakes to Avoid
Many DIYers make the same errors when building tabletops, leading to frustration and sometimes having to start over. These mistakes are easy to avoid once you know what to watch for. Being aware of these common pitfalls will save you time, money, and disappointment.
- Rushing through the planning stage and ending up with mismatched pieces
- Skipping proper wood preparation, which leads to uneven glue joints
- Using boards with too much moisture content that will warp later
- Applying too much glue, creating a mess, and weakening the bond
- Not allowing enough drying time between steps
- Sanding against the grain, leaving visible scratches
- Applying finish in dusty conditions or extreme temperatures
- Forgetting to seal the underside of the tabletop, causing uneven moisture absorption
Conclusion
Building a wooden tabletop is a rewarding project that combines practical skills with innovative expression. The right wood choice forms the foundation, while proper construction techniques ensure longevity.
Innovative styles like butcher block, live edge, or herringbone patterns can change a basic tabletop into a standout piece. Regular maintenance keeps the finished table looking its best for years.
With these guidelines, anyone can create a beautiful, functional tabletop that becomes a centerpiece in any room. The effort put into planning, building, and finishing will result in a piece of furniture that brings satisfaction every time it’s used.