DIY TV Lift Cabinet: Easy Step-by-Step Guide
Ever wanted to hide your TV when you’re not watching it? A DIY TV lift cabinet is your answer! This simple project can turn an empty corner into something useful and cool.
Many people think these cabinets cost too much or are hard to make, but that’s not true. With basic tools and materials from your local store, you can build one yourself in just a few days.
In this guide, we’ll show you everything from picking the right lift system to adding the final touches.
You’ll learn what materials you need, how to put it all together step by step, and even how to keep it working well for years.
Ready to make your room look better and protect your TV at the same time?
What is a TV Lift Cabinet?
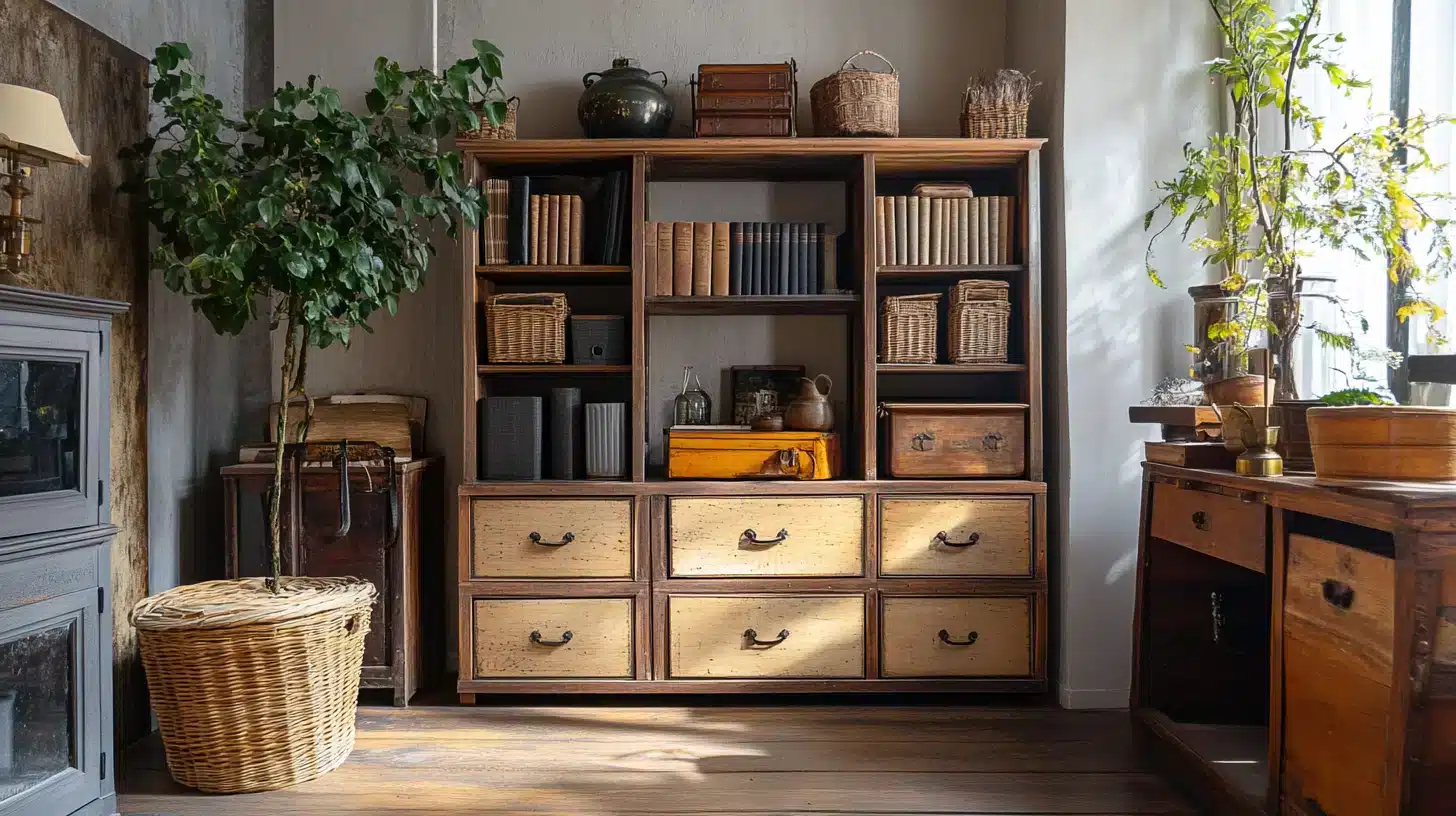
A TV lift cabinet is a piece of furniture that hides your TV when not in use. It keeps your room looking neat while protecting your TV from dust and damage. The TV rises when you want to watch and hides away when you’re done.
Types of TV Lift Mechanisms
TV lift cabinets use either manual or motorized systems to raise and lower your TV. Each type has its own advantages and disadvantages, so consider these when choosing what works best for your home.
| Feature | Manual Lifts | Motorized Lifts |
|---|---|---|
| Cost | Lower price | Higher price |
| Power needed | No electricity required | Needs power outlet |
| Ease of use | Requires physical effort | Works with button press |
| Reliability | Fewer parts to break | More complex with more parts |
| Remote control | Not available | Often included |
Step-by-Step Guide to DIY TV Lift Cabinet
Building your TV lift cabinet saves money and gives you a custom piece that fits your space perfectly. This project uses basic tools and materials you can find at any home store. Follow these steps to create a cabinet that hides your TV when not in use.
Materials Needed
Let’s gather your materials first. Here’s the list, and once you have everything, we’ll walk through the steps to build your DIY TV lift cabinet:
- ¾ inch plywood
- 2x3s (for the frame)
- Pine boards (for trim)
- Luan panels
- TV lift mechanism
- Interior-grade screws (2.5 to 3 inches)
- Wood glue
- Brad nails
- Sandpaper (220 grit)
- Paint or stain (semigloss latex recommended)
Now, let’s begin with the steps.
Step 1: Cut the Materials
Grab your tools and get ready to cut. Use a track saw to slice the ¾ inch plywood for the base of your cabinet.
Next, take your chop saw and cut the 2x3s to the right size for your frame and trim. Make sure to measure twice before cutting.
This way, all your pieces will fit together nicely when you start building. Mark your cutting lines with a pencil to stay on track.
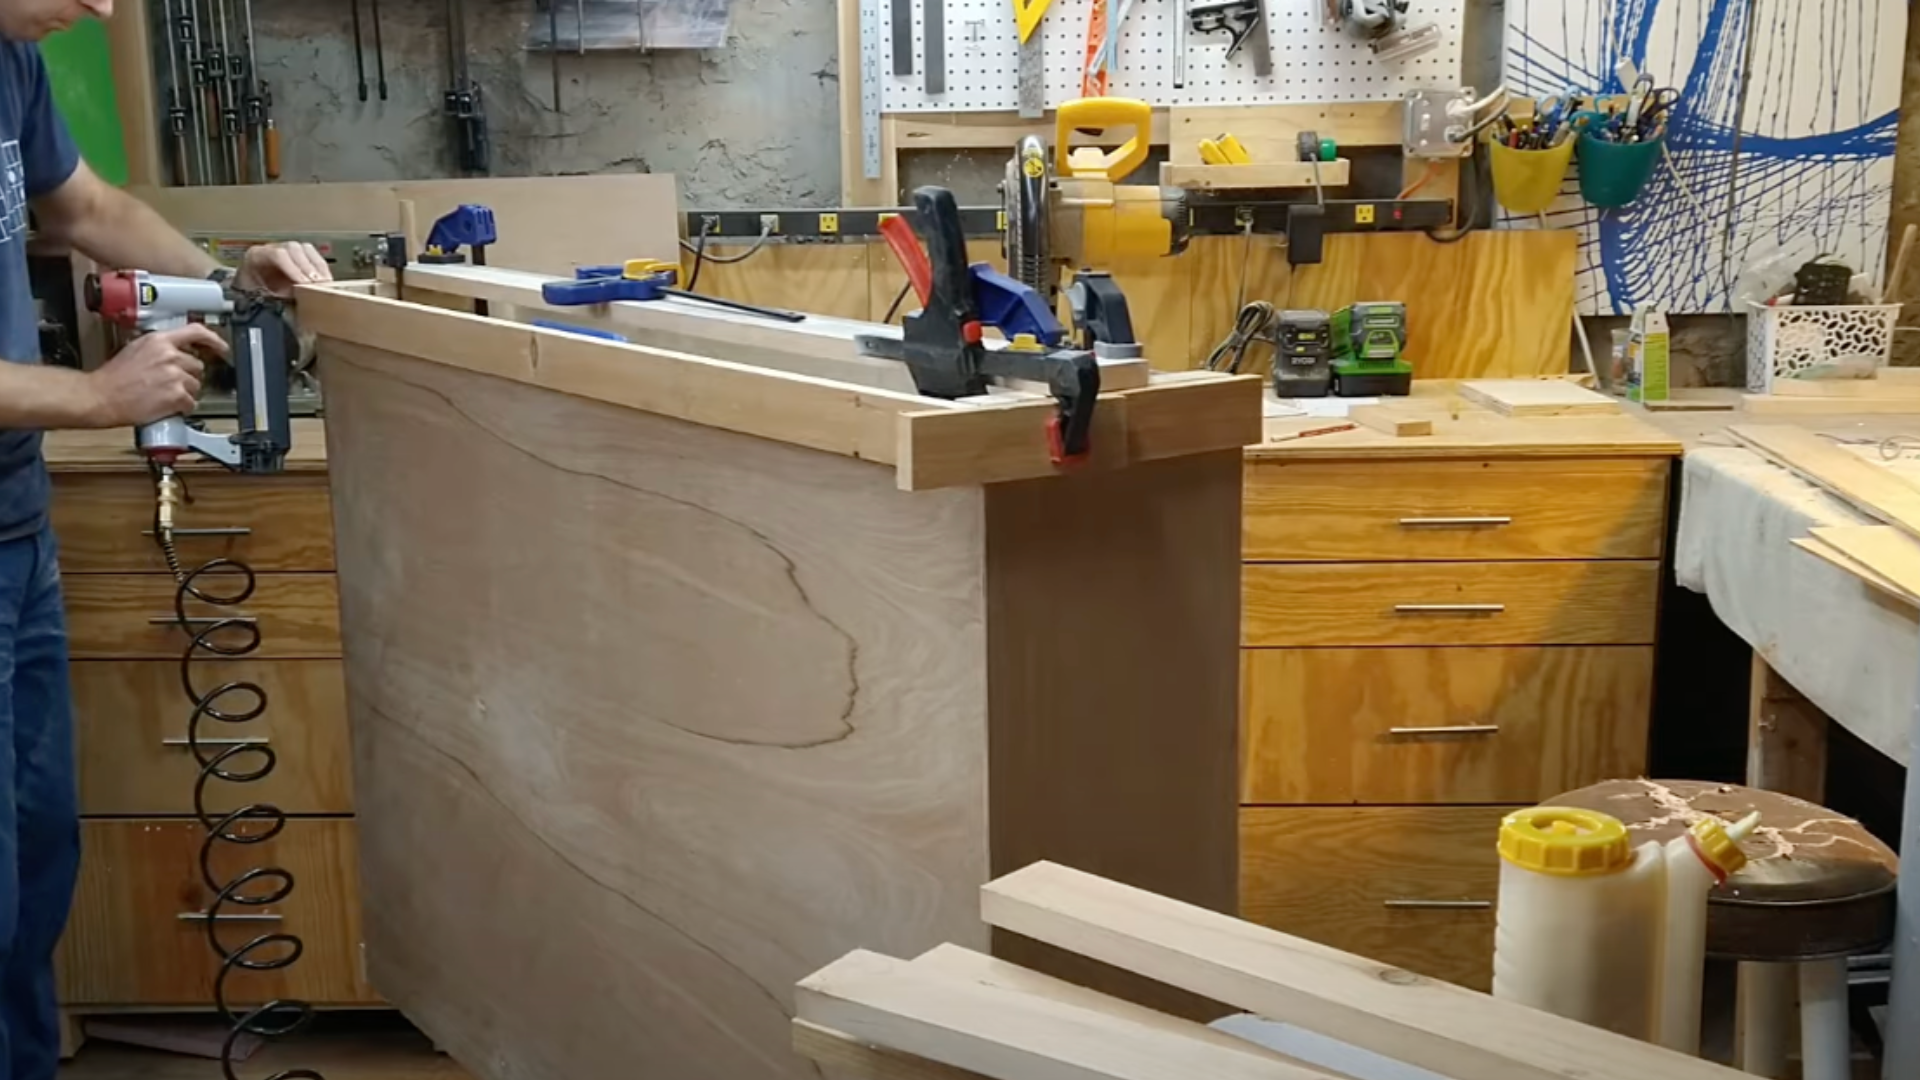
Step 2: Assemble the Cabinet Frame

Put together your frame using the cut 2x3s. Connect them with screws to form a rectangle. Check if it’s square by measuring from corner to corner.
The numbers should match. Use clamps to hold everything in place while you work. Then, stick and nail the thin luan panels to the outside of your frame.
This gives your cabinet shape and looks good, too. Double-check your work as you go to catch any issues early.
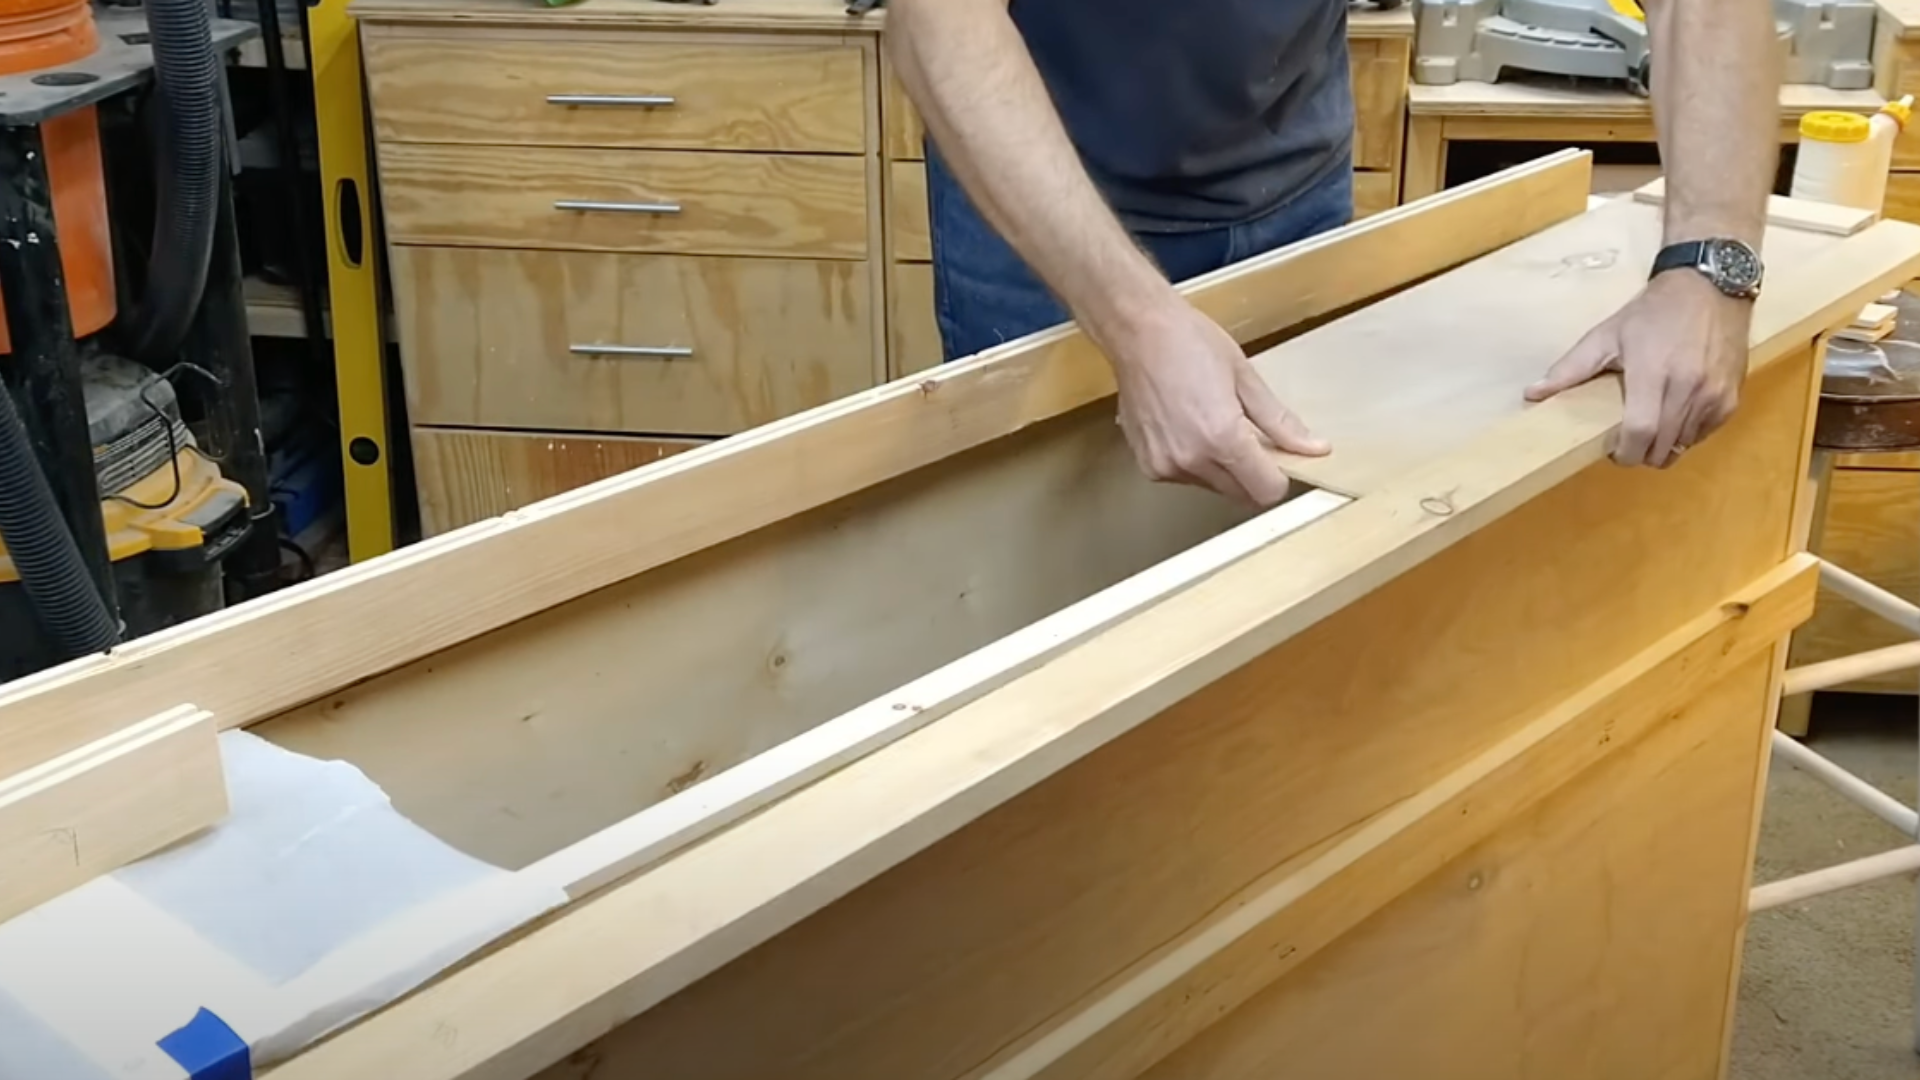
Step 3: Attach Trim for Style and Stability
Now it’s time to add the trim. Cut pine boards to the right length and put them on the outside edges of your cabinet.
This step does two jobs at once: it improves the appearance of your cabinet and strengthens it. Use glue and nails to fix the trim in place.
Make sure the corners meet up neatly. A good fit at the corners will make your cabinet look more professional.
Step 4: Build the Cabinet Lid
Make channels in pine blocks to hold your plywood lid. Put glue on the parts that will touch and press them together firmly. Keep the lid flat while the glue dries.
You can put heavy books on top to help. Then, add small trim pieces around the edges of the lid. This hides the rough edges and makes the lid look neat and complete.
Test the lid to make sure it fits well on the cabinet.
Step 5: Sand and Paint the Cabinet
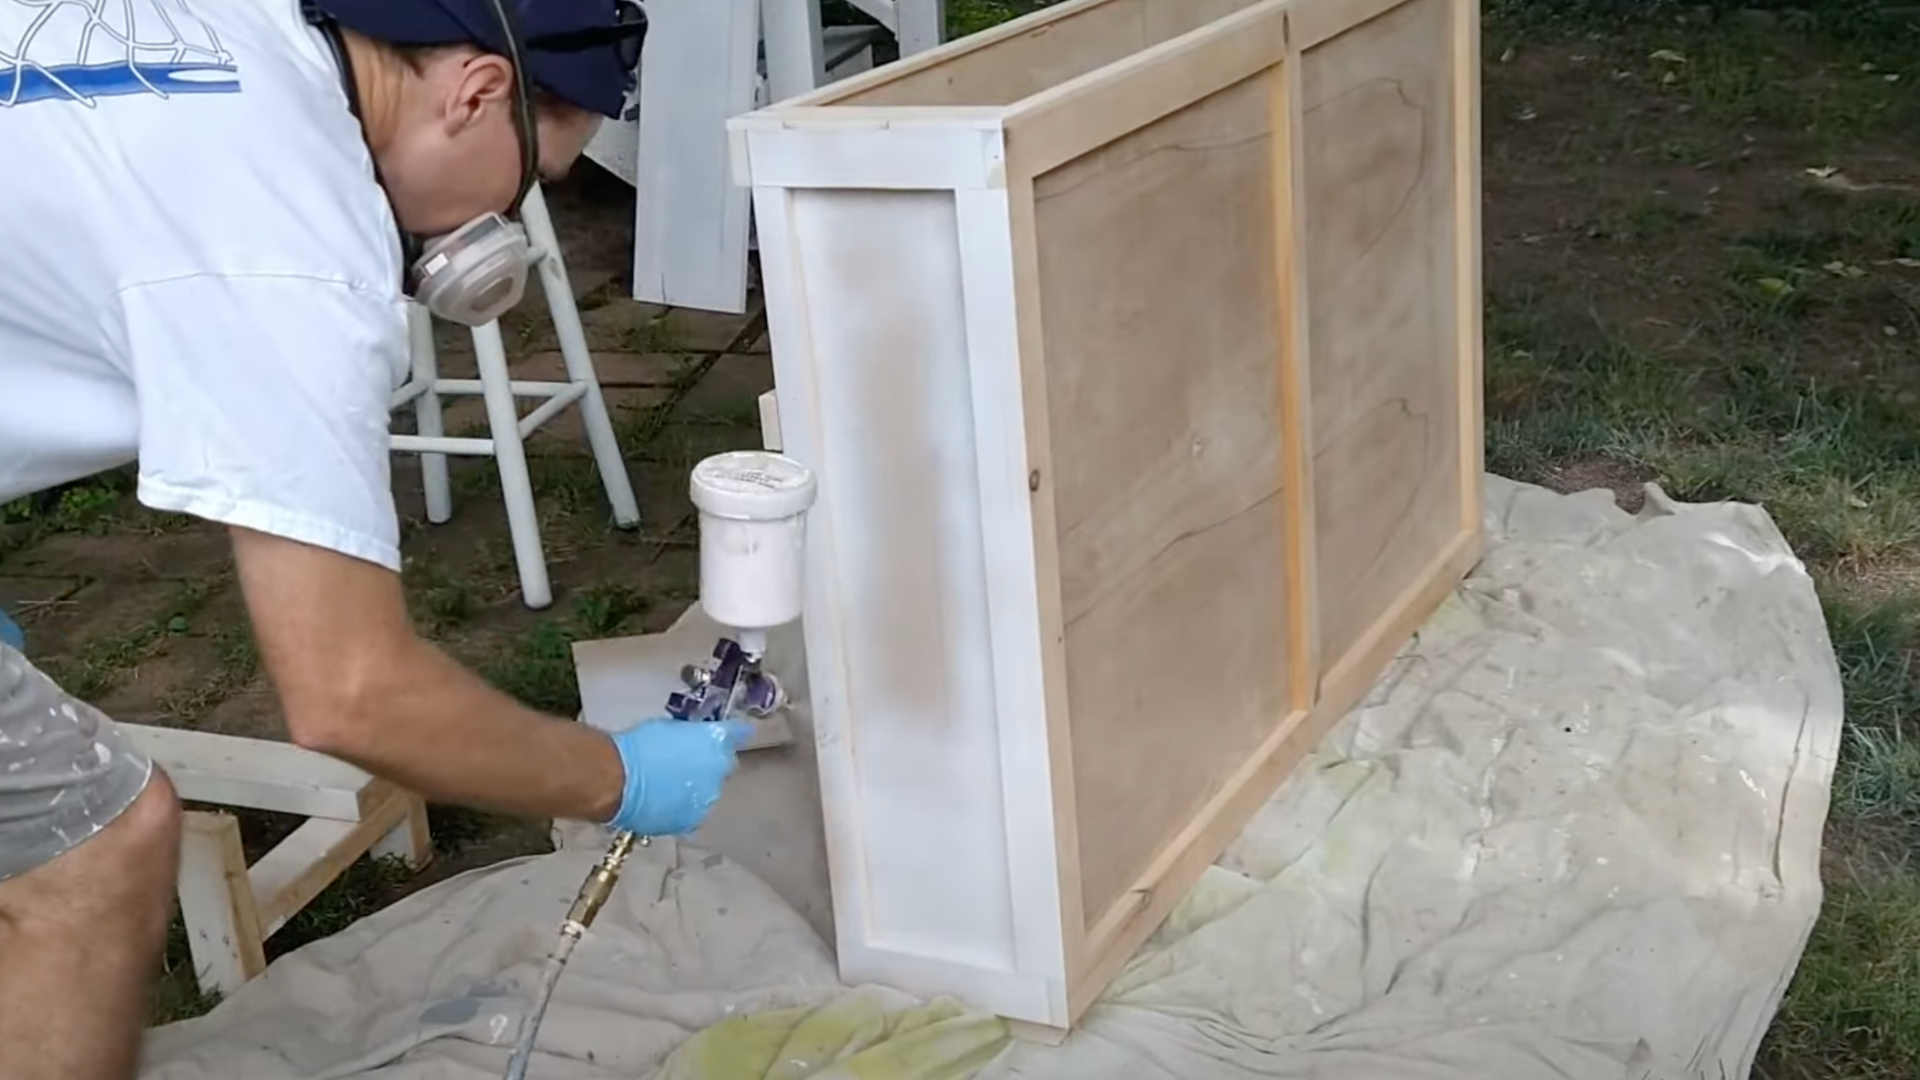
Take your sandpaper (220 grit) and rub all wood parts until smooth. Wipe away any dust with a clean cloth. Next, brush on your paint.
If you’re using white paint like in our example, you’ll need 4-5 coats to cover the dark spots in the pine.
Let each coat dry fully before adding the next one. Good lighting helps you spot any missed spots or drips as you paint.
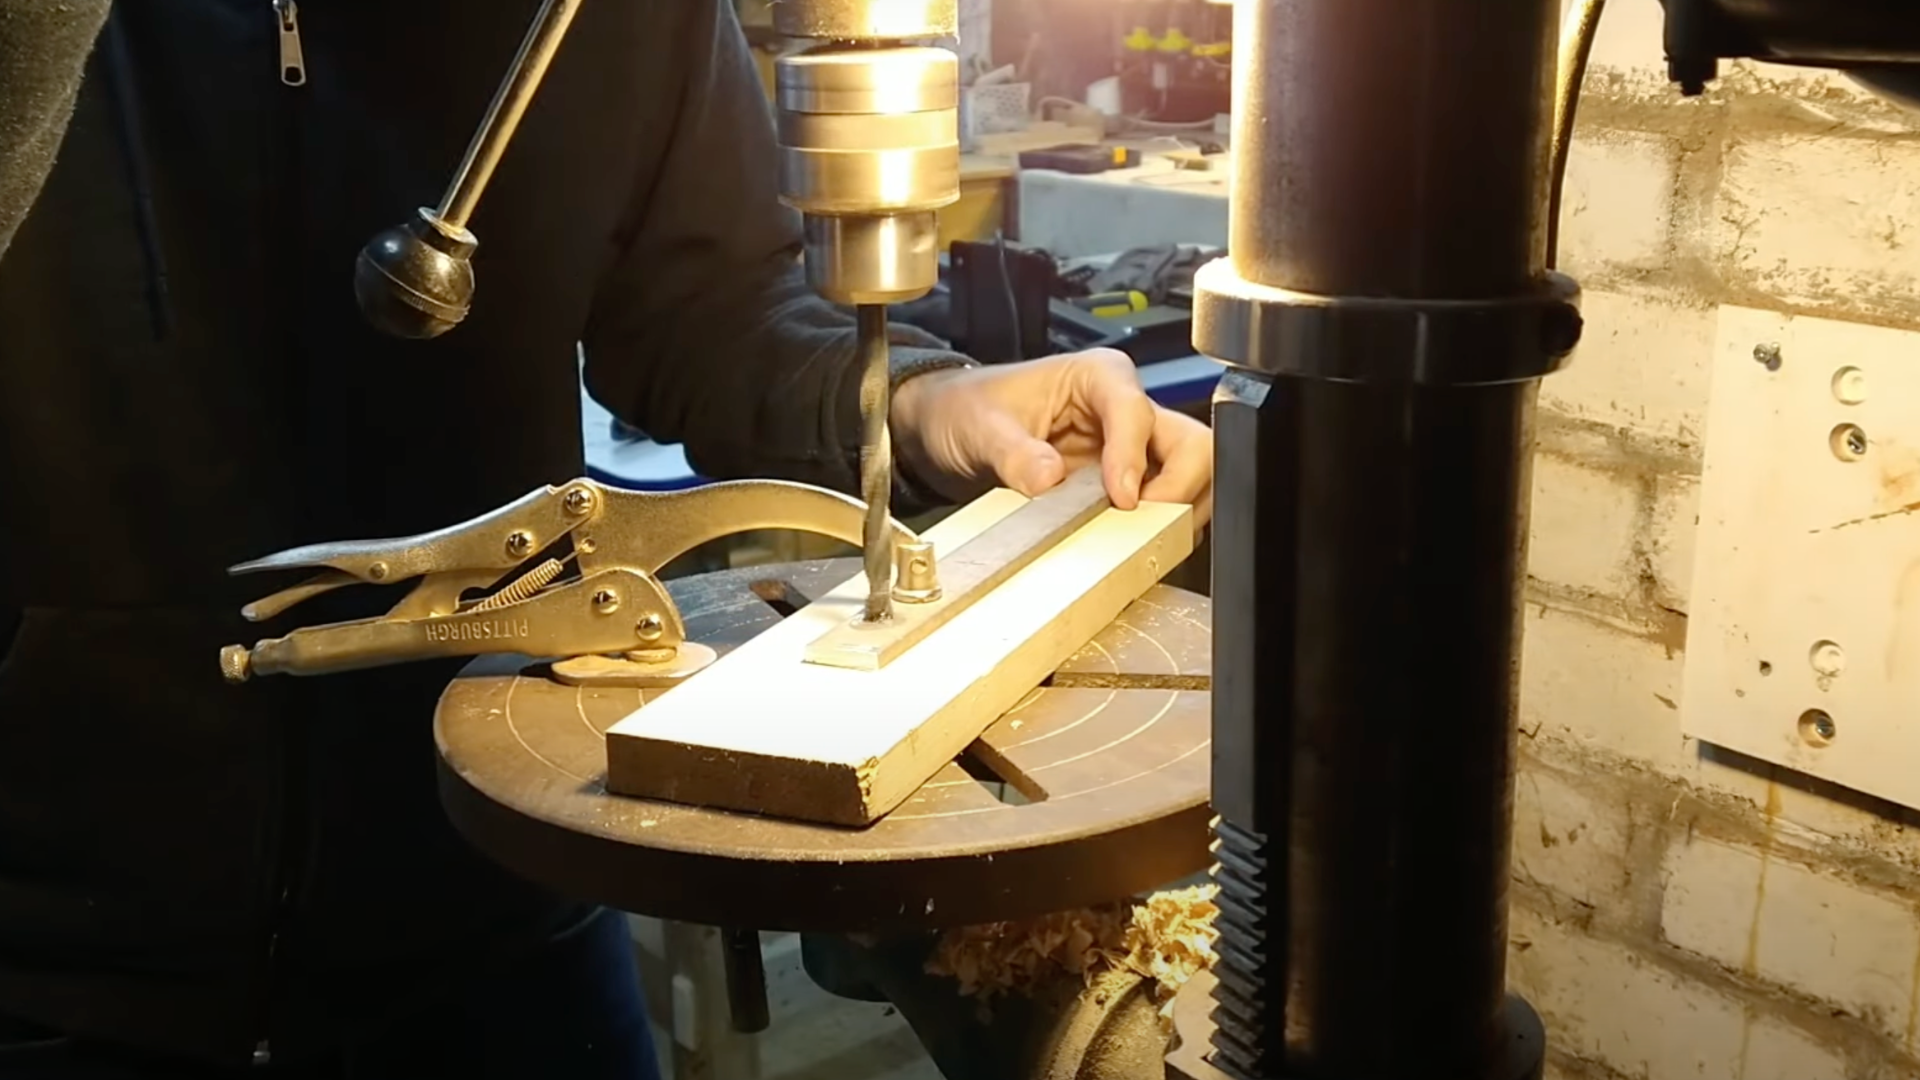
Step 6: Install the TV Lift Mechanism
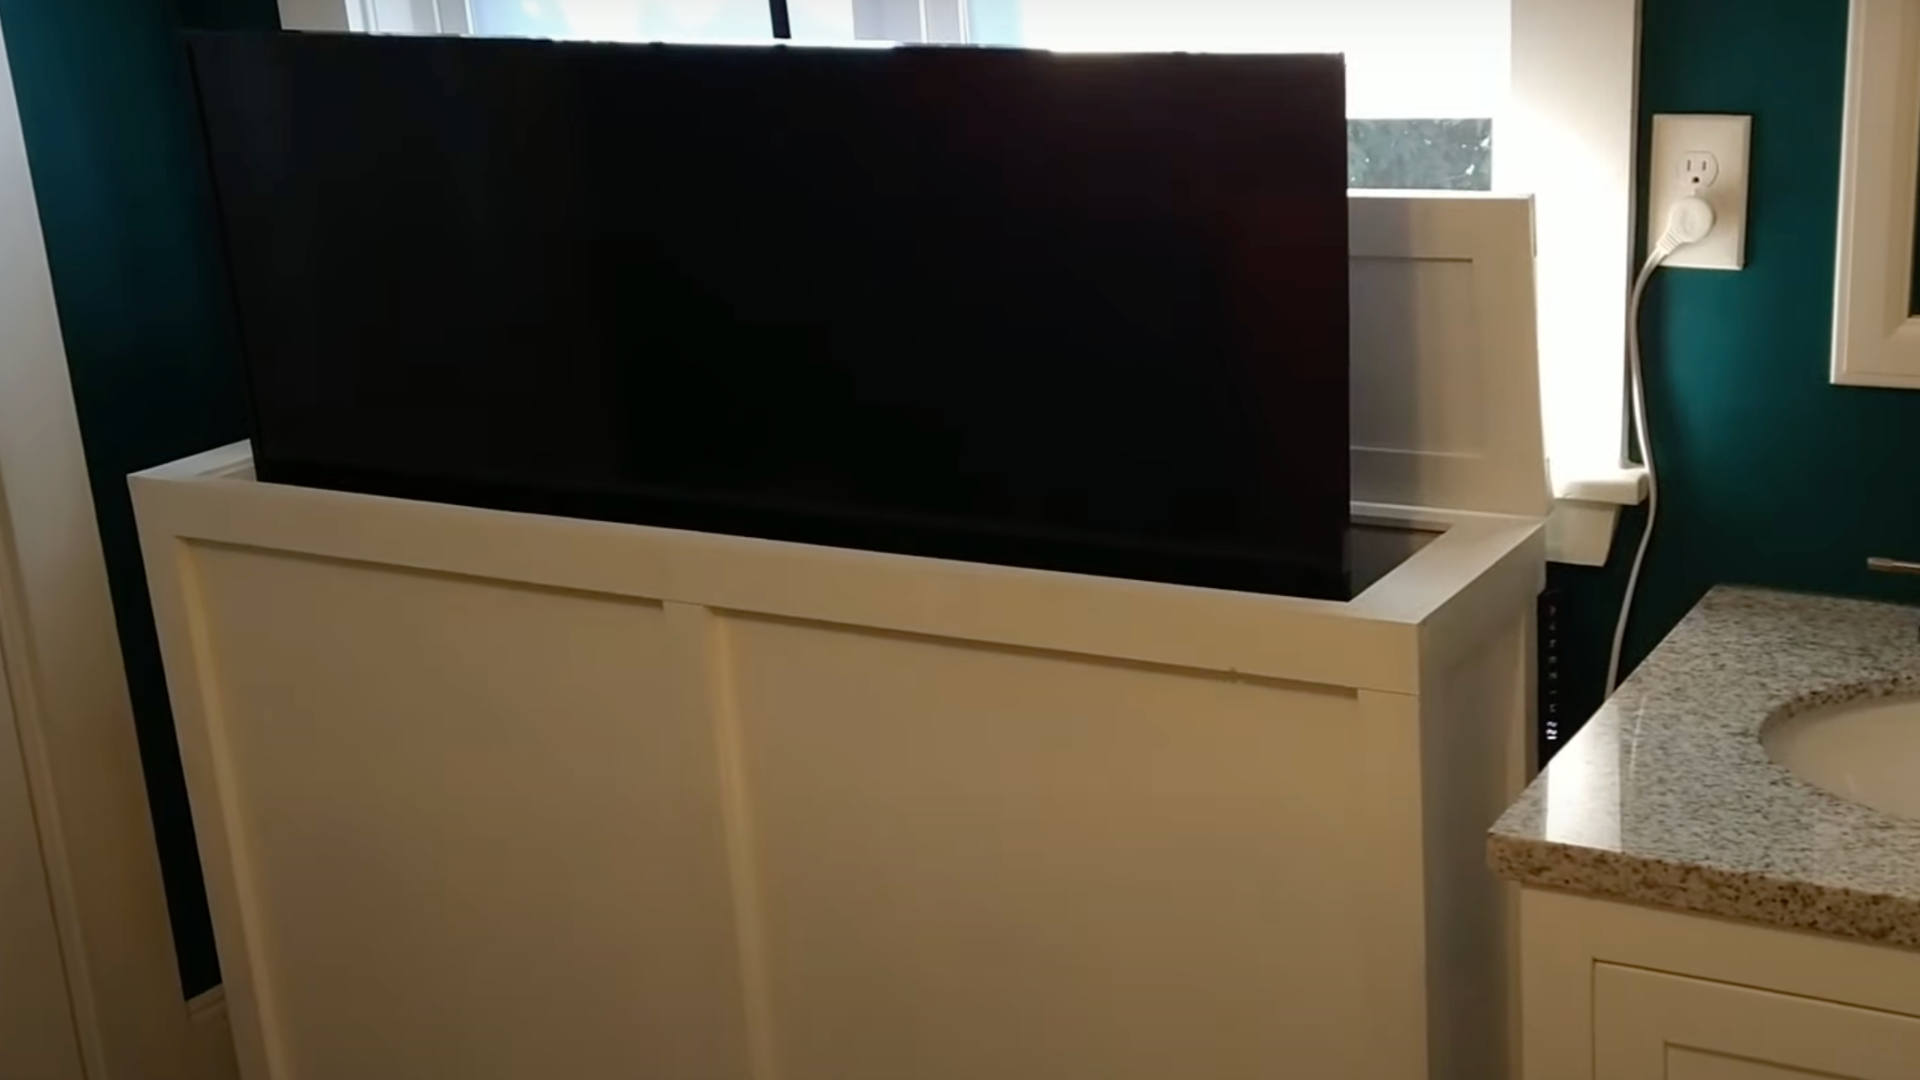
Follow the guide that came with your TV lift to put it inside your cabinet. Make sure it works well – the TV should move up and down smoothly when you press the remote button.
Remember to plan where the cords will go. Cut holes in the right spots to plug in your TV and hide the wires neatly.
Test the lift several times before putting your actual TV on it.
For a more detailed explanation, you can watch the YouTube video below.
Customising Your TV Lift Cabinet
When building your DIY TV lift cabinet, customization allows you to create a piece that fits seamlessly with your home’s decor.
From choosing the right materials to adding decorative touches, this section will guide you through making the cabinet both functional and stylish.
Choosing the Right Finish
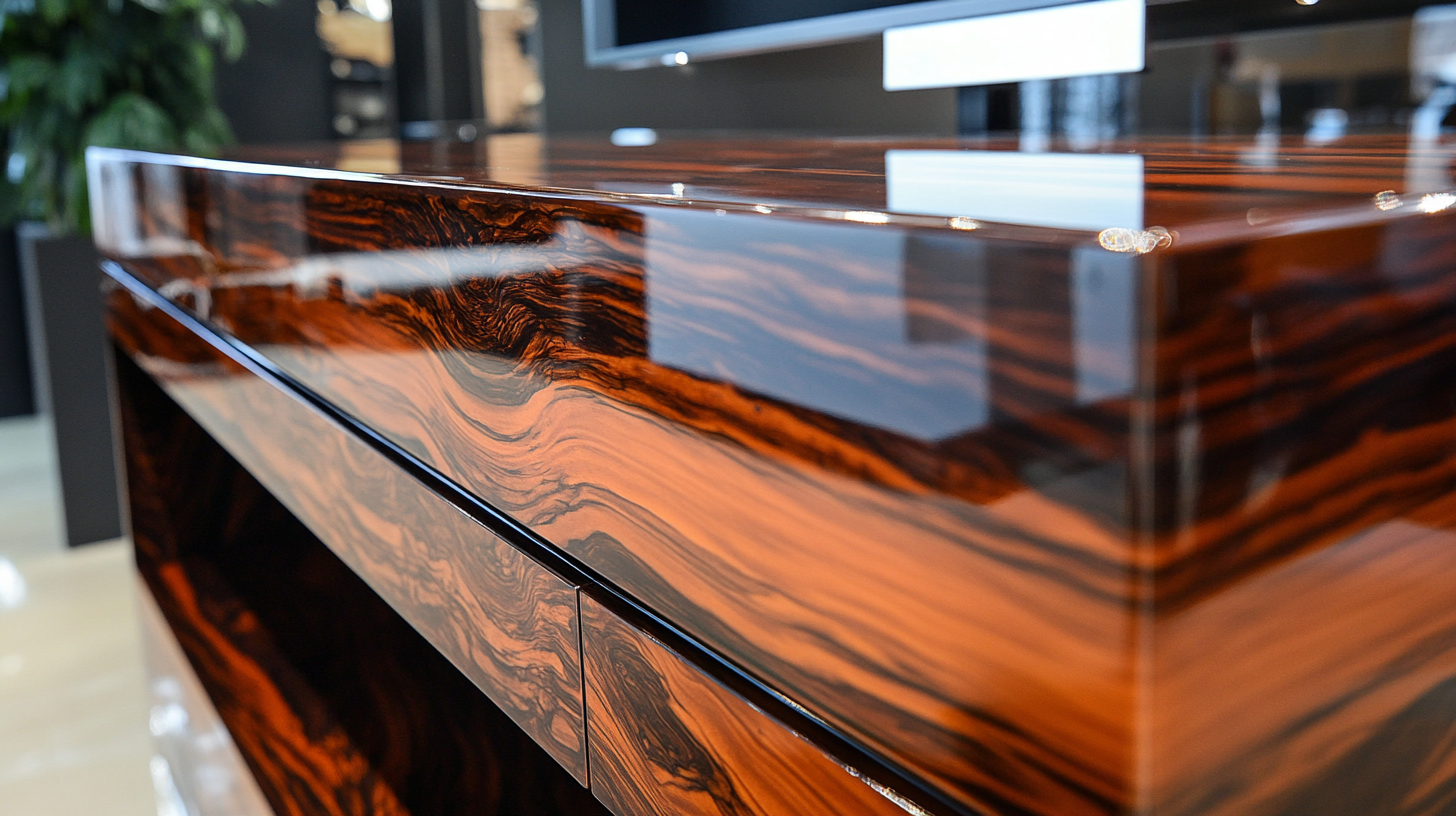
The finish you pick gives your cabinet its final look. Paint works well for modern rooms and easily covers wood flaws.
First, choose a good primer, then apply thin coats of paint. Staining shows off the wood grain and comes in many colors.
Add clear polyurethane on top for a shiny look. Test your finish on scrap wood first to ensure you like the color and look.
Adding Extra Storage
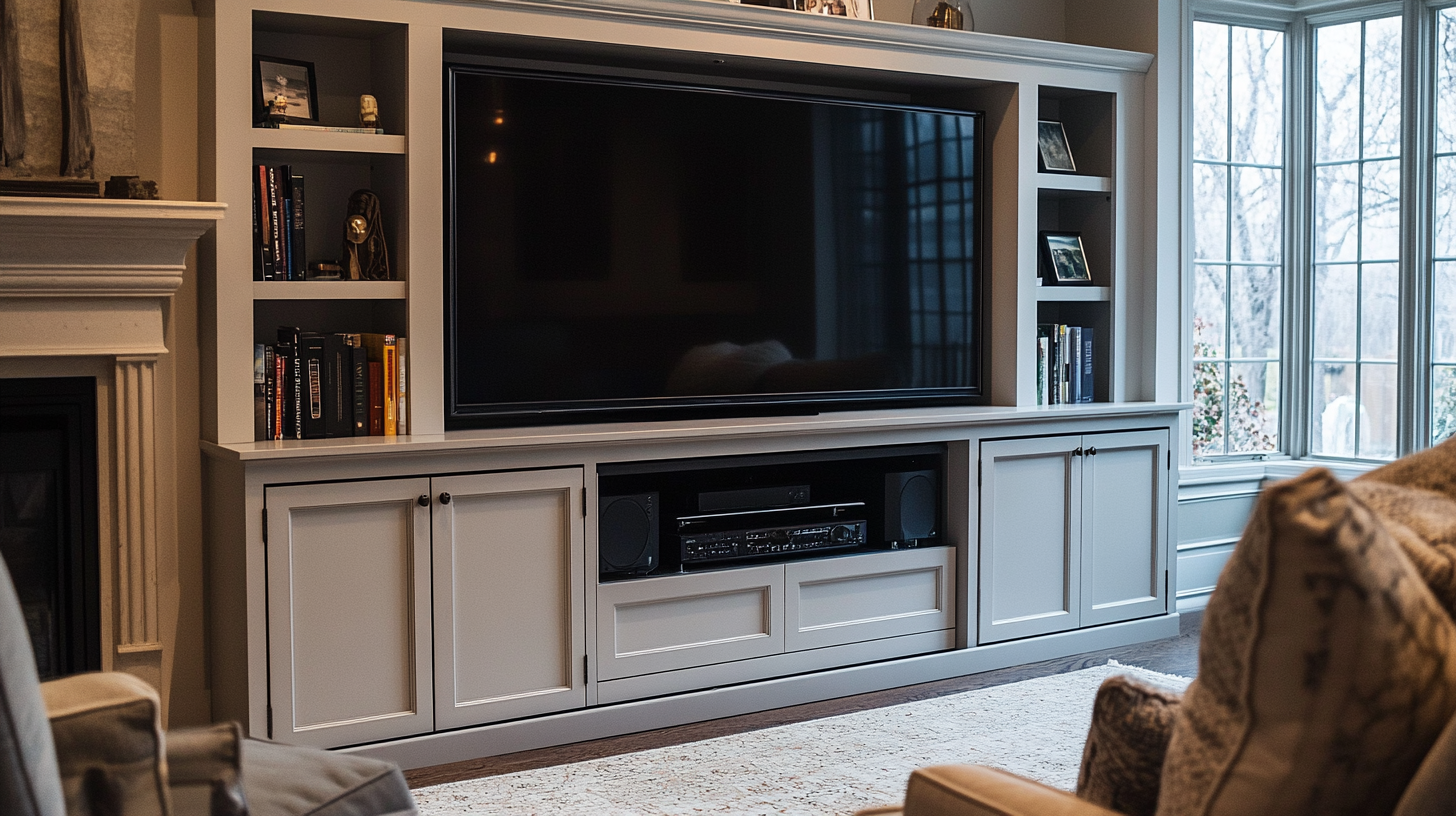
Add storage space to make your cabinet more useful. For example, put shelves on the sides to hold game systems or media players.
Small drawers work well for remote controls and other small items. Consider adding a pull-out shelf for a sound bar.
Make sure any extra storage doesn’t block the TV’s movement or take up space needed for cables and the lift system.
Smart Upgrades for Your Cabinet
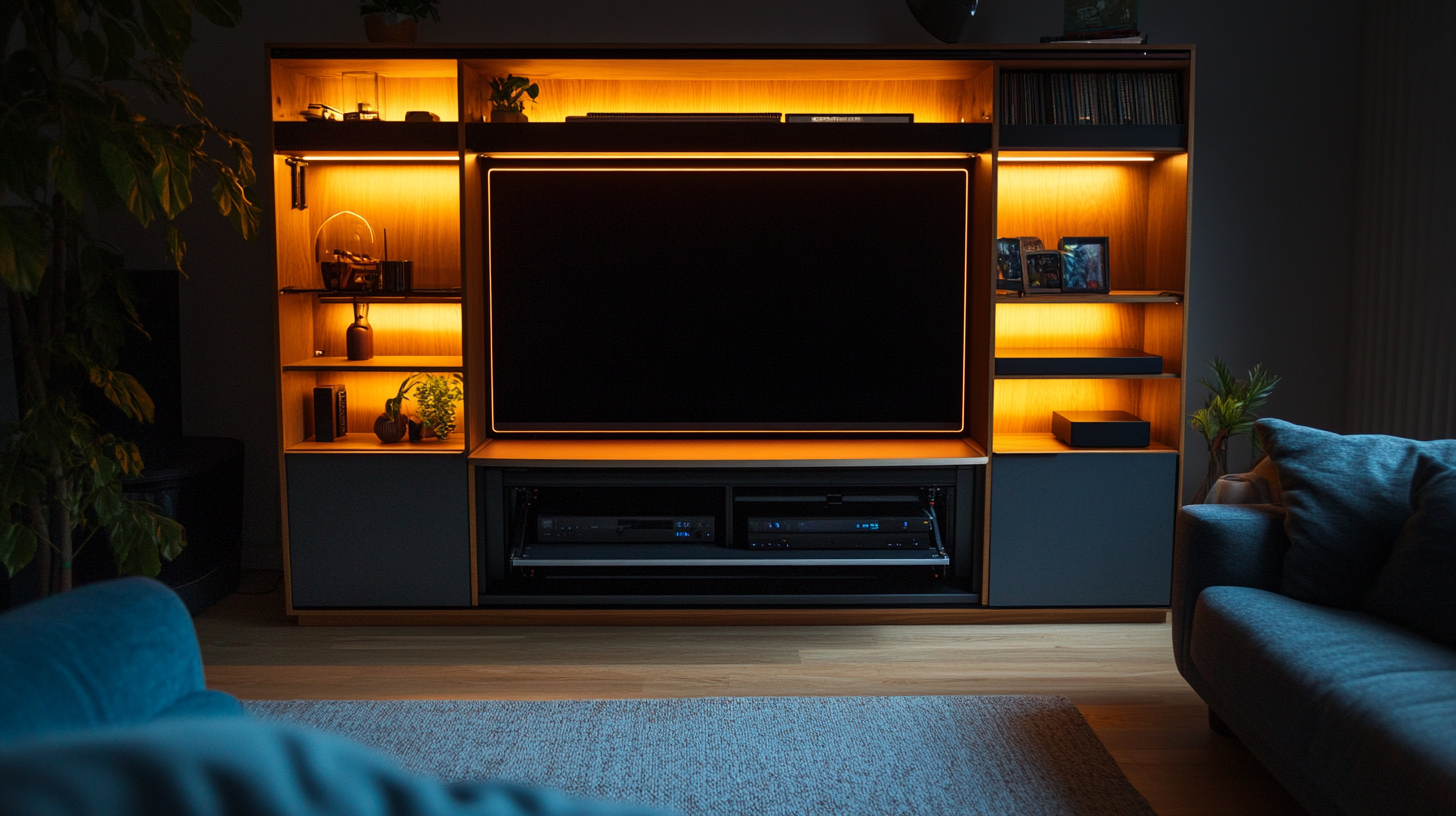
Take your cabinet to the next level with smart features. Add LED lights around the TV or inside shelves that turn on when the TV rises.
Install a smart power strip that lets you control all devices with one switch. If you’ll have hot electronics inside, consider adding cooling fans.
You can even add touch sensors to open doors or raise the TV without using the remote.
Common Mistakes to Avoid
Knowing what pitfalls to watch for can save you time, money, and frustration when building your TV lift cabinet. Even small errors can affect how your cabinet works or looks. Taking time to plan and work carefully helps ensure your project turns out right the first time.
Let’s look at the common mistakes:
- Wrong measurements: Check all dimensions twice before cutting. This includes your TV size, lift mechanism height, and cabinet space.
- Weak frame structure: Use strong joints and enough support beams. A weak frame may wobble or break when the TV moves up and down.
- Poor cable planning: Before building, consider where all cords will go. Add holes in the right spots for clean cable paths.
- Ignoring weight limits: Make sure your lift can handle your TV’s weight. Going over the limit can break the lift or make it work poorly.
- Rushing the finish: Take time with sanding and painting. Skipping steps here will show in the final look of your cabinet.
Maintenance Tips For TV Lift Cabinet
Taking good care of your TV lift cabinet helps it last longer and keeps it working well. Regular checks and cleaning prevent problems that could damage your TV or the lift system. Simple maintenance tasks done often will save you from costly fixes later on.
Let’s look at the maintenance tips:
- Dust regularly: Wipe all surfaces weekly with a soft cloth. Dust can get into the lift mechanism and cause wear over time.
- Check moving parts: Inspect all hinges, tracks, and the lift system once a month. If necessary, add a small amount of lubricant for smooth movement.
- Test the lift: Run your lift up and down monthly to make sure it works without strange noises or jerky motions.
- Inspect wiring: Check power cords and connections every few months for signs of wear, looseness, or damage.
- Tighten hardware: Every six months, check and tighten any loose screws or bolts. Cabinet movement can cause fasteners to loosen over time.
Wrapping Up
Building your own DIY TV lift cabinet might seem like a big job at first, but now you know it’s totally possible!
By following these steps, you can create a custom piece that fits your space and style. Not only will you save money, but you’ll also have the pride of making something with your own hands.
Remember to take your time with each step, double-check your measurements, and test the lift before adding your TV.
If you run into any problems, just go back to the guide and try again.
Want to make your project even better?
Try adding lights that turn on when the TV rises or extra shelves for your games. Your DIY TV lift cabinet is waiting for you to build it – what are you waiting for?