
DIY A Firewood Holder: A Complete Guide
Keeping firewood neat and dry doesn’t have to be a hassle.
A simple DIY Firewood holder can help you store your logs off the ground, protect them from moisture, and make them easy to grab when you need them.
This project is perfect for anyone who wants a solid and budget-friendly way to manage their firewood. You won’t need special tools or advanced skills to build it—just a few basic materials and some spare time.
It’s strong enough for outdoor use and compact enough for inside your home.
If you’ve been looking for a reliable way to stack your wood, this easy build is a smart, low-cost solution you can count on.
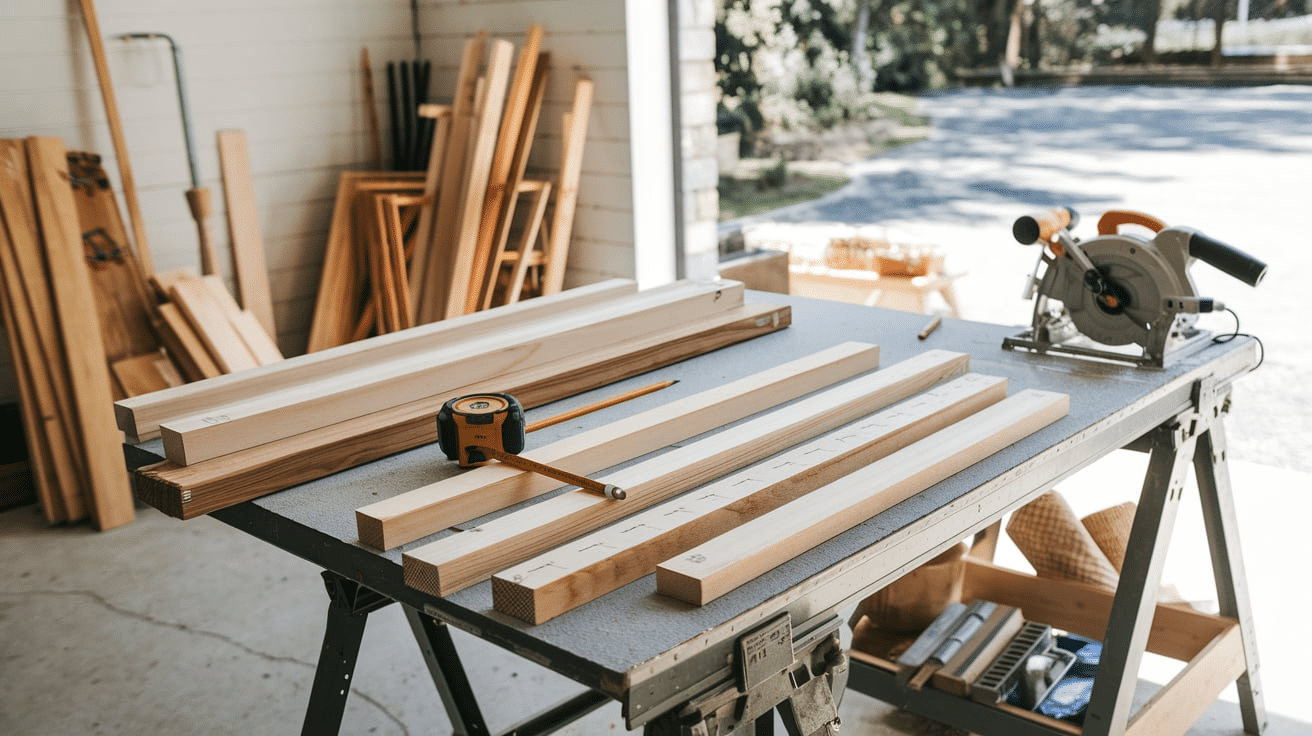
Materials and Tools Needed to DIY a Firewood Holder
To build a strong and reliable DIY log holder, you’ll need a few basic tools and materials that are easy to find at most hardware stores.
Pressure-treated wood, screws, and a drill will handle the main structure, while a saw helps cut everything to size. With these simple items, you can create a log holder that keeps your firewood stacked and secure.
Wood Options
- 2×4 lumber for the base and supports (8-10 feet, quantity 4)
- 4×4 posts for the corners (4 feet, quantity 4)
- 1×6 boards for the base slats (6 feet, quantity 3)
- 3-inch deck screws (box of 50)
- 2-inch wood screws (box of 50)
You can use pressure-treated lumber if your log holder will stay outdoors, or regular lumber if it will be under cover or if you plan to add a weatherproof finish yourself.
Tools Required
- Circular saw or hand saw
- Drill with screwdriver bits
- Measuring tape
- Pencil
- Square
- Sandpaper (medium grit)
Materials Checklist
You can print this checklist to take with you to the hardware store:
- 2×4 lumber (8-10 feet) – Quantity: 4
- 4×4 posts (4 feet) – Quantity: 4
- 1×6 boards (6 feet) – Quantity: 3
- 3-inch deck screws – Box of 50
- 2-inch wood screws – Box of 50
- Exterior wood sealer (optional)
- Safety glasses
- Work gloves
Step-by-Step Guide to DIY a Log Holder
Step 1 – Measure and Cut Your Wood
For a standard log holder that holds a good amount of firewood:
- Cut two 2x4s to 36 inches long for the back legs
- Cut two 2x4s to 24 inches for the front legs (creates a sloped design)
- Cut three 1×6 boards to 24 inches for the base slats
- Cut four 2x4s to 16 inches for the base depth supports
For a compact version that works in smaller spaces:
- Cut two 2x4s to 24 inches long for the back legs
- Cut two 2x4s to 18 inches for the front legs
- Cut three 1×6 boards to 18 inches for the base slats
- Cut four 2x4s to 12 inches for the base depth supports
Take your time with measurements and mark clearly before cutting. It’s always smart to measure twice before making any cuts.
Step 2 – Build the Base

- Put your three 1×6 base slats side by side with about 1/2 inch space between them.
- Place two 16-inch 2x4s across the slats – one at the front edge and one at the back edge.
- Attach each slat to the 2x4s using two 2-inch screws at each meeting point.
- The spaces between slats help air move around your firewood, which keeps it drier.
Step 3 – Add the Legs and Sides
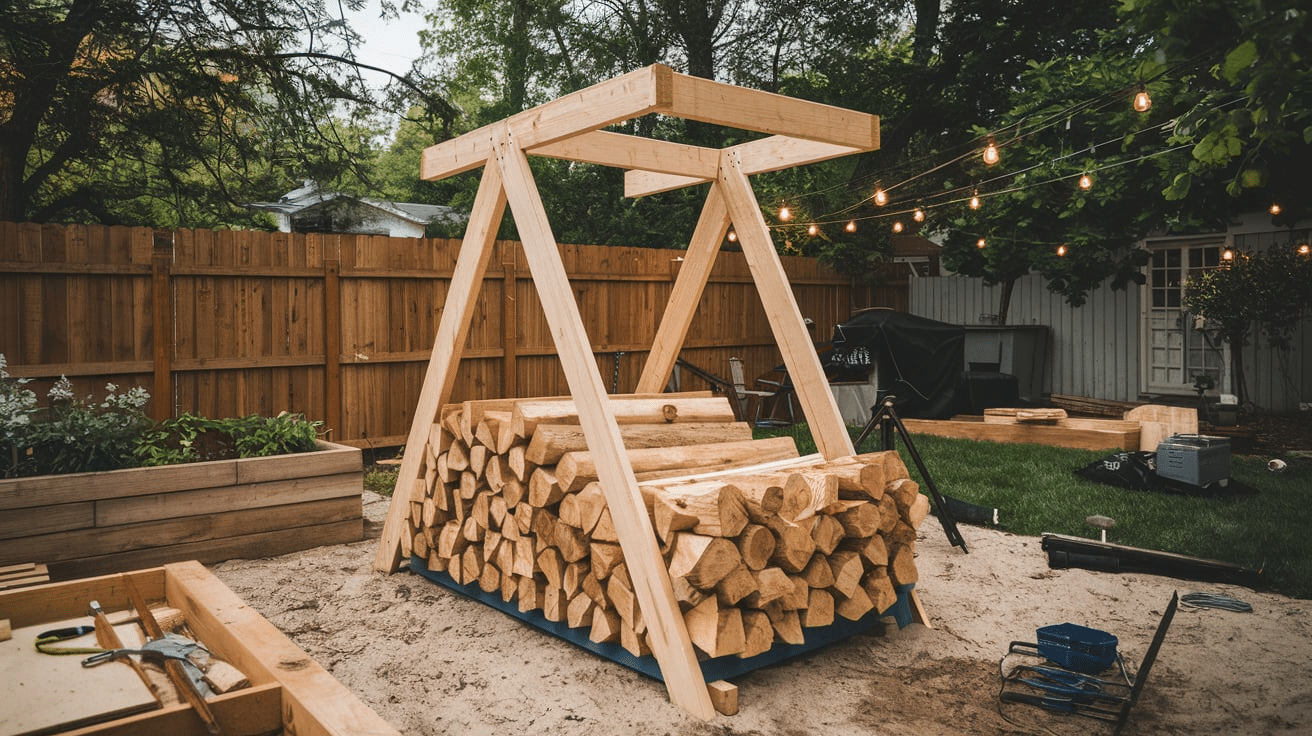
- Attach the 36-inch 2x4s (back legs) to the back corners of your base, making sure they stand straight up. Secure with two 3-inch screws through the base into each leg.
- Attach the 24-inch 2x4s (front legs) to the front corners the same way.
- Connect the remaining two 16-inch 2x4s between the front and back legs on each side at the top. This creates a box frame with a sloped top.
- Check that all parts are firmly attached and the structure is stable.
Step 4 – Reinforce and Finish
- Add diagonal braces to the sides for extra strength. Cut two 2x4s at a 45-degree angle to fit between the back and front legs on each side.
- Secure these diagonal supports with 3-inch screws.
- Sand any rough edges to prevent splinters when you handle your firewood.
- If using untreated wood and planning to keep the holder outdoors, add an exterior wood sealer or stain for weather protection.
Customization Tips for a Firewood Holder
You can adjust your DIY log holder to match your storage needs.
Add side rails to hold smaller pieces or kindling, or reinforce the center with extra posts if you’re stacking heavy logs.
Simple changes like these can improve both stability and function without adding much time or cost.
For Heavy Loads
If you plan to stack a large amount of firewood, making a few changes to the design can help it stay strong over time.
Adding a middle support beneath the base slats helps prevent sagging or bending, especially when the rack is fully loaded.
Switching out the standard 1×6 boards for thicker 2×6 boards also improves the base strength and durability.
For those who want to maximize space, you can include a second row of base slats halfway up the frame. This allows for two stacking levels, helping to keep logs organized and easy to reach.
These simple upgrades can make your log holder sturdier and more efficient.
For Small Logs or Kindling
To improve your DIY log holder, you can add simple upgrades that boost function and help keep things tidy.
Attach 1×4 boards along the sides to hold in smaller pieces that might slip through. Inside the holder, create dividers using spare wood to separate kindling from larger logs.
For extra convenience, include a small shelf at one end to keep fire starters or matches within reach.
These quick additions make your log holder more useful without making the build more complex.
Weatherproofing
For outdoor log holders, it’s best to use pressure-treated lumber to help resist moisture and rot.
Apply two coats of exterior-grade wood sealer or stain to protect the surface from weather damage.
Adding small feet under the base can lift it off the ground, which helps prevent water from soaking into the wood.
Place your finished log holder in a spot with some coverage to reduce exposure to heavy rain or snow.
This simple care will help your holder last longer and keep your firewood in better condition.
Beginner Builder Tips to DIY a Firewood Holder
If you’re starting out with building projects, take your time measuring and double-checking each cut before you begin assembly.
Using clamps can help keep boards steady while you screw them together.
Don’t rush—working at a steady pace helps you stay accurate and safe.
Safety First
Always prioritize safety when building your DIY log holder. Wear safety glasses to shield your eyes while cutting or drilling.
Use gloves to protect your hands from splinters or sharp edges.
Make sure your wood is clamped or held firmly before cutting. And most importantly, keep your hands at a safe distance from all blades to avoid injuries.
Simple precautions like these help you stay safe while getting the job done right.
Common Beginner Mistakes
Rushing through measurements can lead to uneven cuts and pieces that don’t line up the way they should.
Skipping pre-drilled holes often causes the wood to split, especially near the edges.
Another common mistake is not checking that corners are square, which can leave the log holder unstable or wobbly.
Taking a little extra time on these steps can save you from frustration later and give you a much stronger final build.
Time-Saving Techniques
Before you start cutting, mark all your lines clearly to keep things organized.
Group cuts that are the same size so you can save time adjusting the saw.
To avoid wood splitting and make assembly smoother, pre-drill all the screw holes.
It also helps to have someone nearby to hold pieces steady while you secure them in place.
These small steps can make the building process quicker and easier.
Common Mistakes to Avoid
Building a DIY log holder is simple, but skipping a few key steps can lead to issues later.
If your holder will be used outdoors, avoid using untreated wood, as it can rot quickly.
Make sure your screws are placed securely and evenly to keep the structure stable.
Rushing through measurements or skipping cross supports can also affect how long your holder lasts.
Taking your time and checking each step helps ensure it turns out strong and steady.
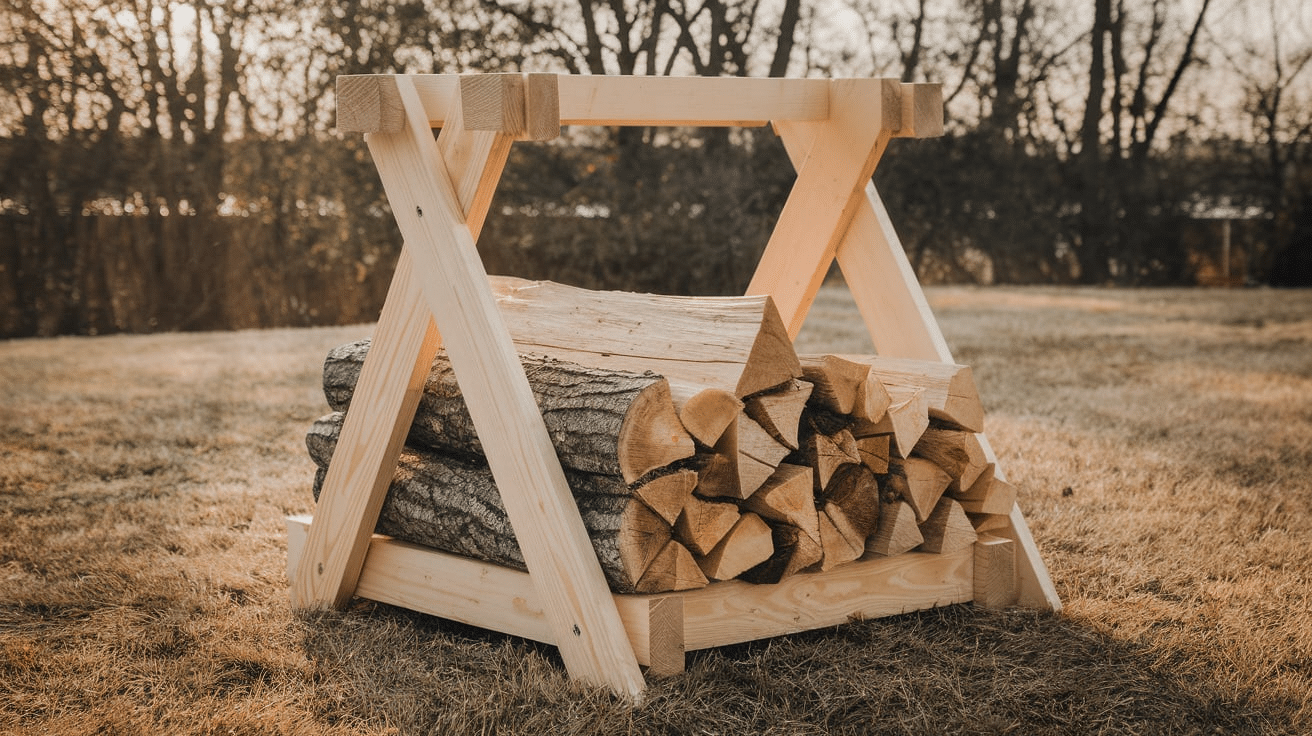
Final Thoughts
A well-built DIY log holder helps keep your firewood neat, dry, and close by when you need it.
It’s more than just a rack—it’s a practical project that brings real value to your space.
With basic tools and a little effort, you can create something that lasts through the seasons.
You don’t need to follow every step exactly—adjust it based on your tools, space, and style.
Once you’ve built one, you might want another for your garage, backyard, or even as a gift.
Adding small personal details makes it feel like your own.
A simple DIY log holder can do more than hold wood—it can show your skills and care for your home.
Frequently Asked Questions
Can I Use Pallets to Build a Log Holder?
Yes, pallet wood works well if it’s heat-treated. Just clean it and sand it to avoid splinters.
How Much Wood Does this Design Hold?
It holds around 1/6 to 1/4 of a face cord. That’s good for several fires, depending on use.
Do I Need to Treat the Wood if it Stays Outdoors?
Yes, use sealer or stain if it’s not pressure-treated. Covering it helps it last even longer.


