DIY Tapestry Guide: Create Beautiful Wall Art at Home
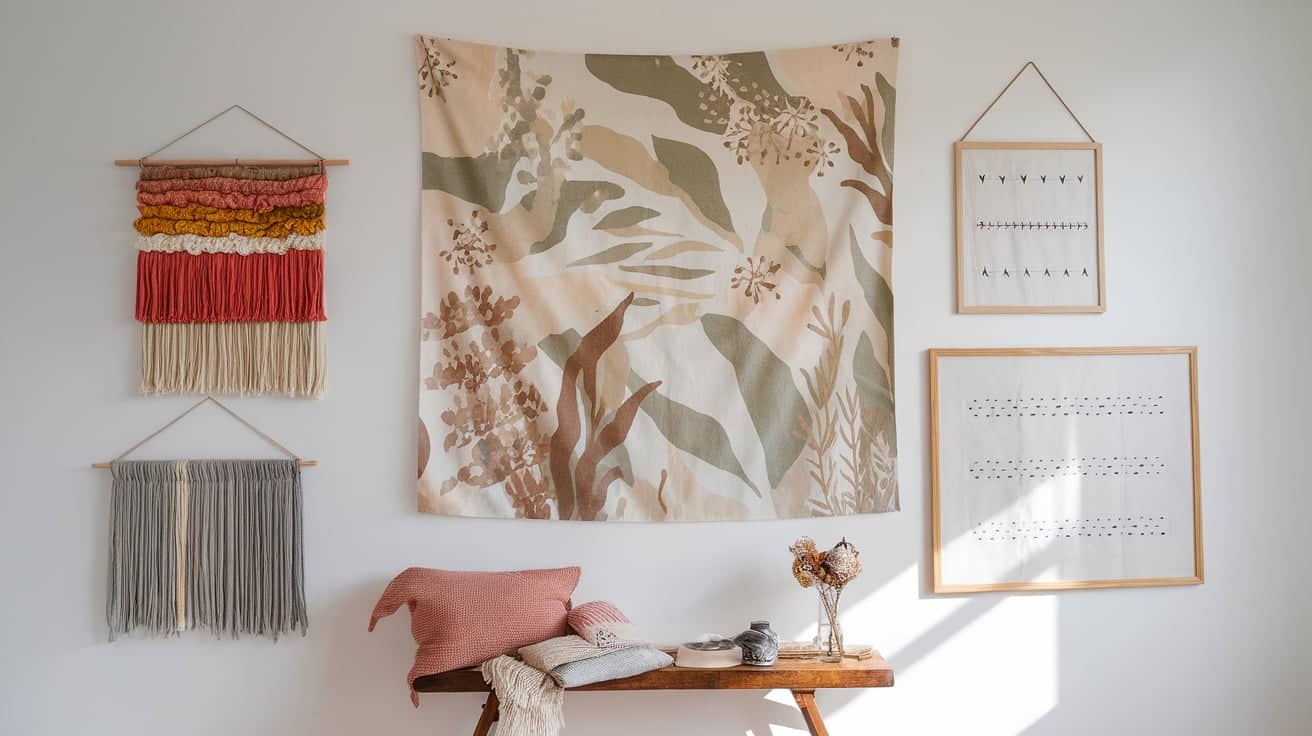
Tapestries bring warmth and personality to any room through their mix of textures, patterns, and colors. Stores sell many ready-made options, but making your own creates a truly one-of-a-kind piece that fits your space perfectly.
A handmade tapestry saves money while allowing you to control every detail, from size and style to colors and materials.
You can make small pieces for cozy corners or large statement pieces for main walls. The choices are endless.
Making your tapestry is simpler than you might think. There are methods for every skill level, from no-sew designs to more detailed weaving projects.
With basic materials and a few hours, you can create wall art that shows your style and starts conversations.
Let’s explore how to make your beautiful wall tapestry step by step.
Understanding Tapestry Types
Wall tapestries offer countless options for home decoration. The method you select shapes both the final look and the creation process.
Different Methods of DIY Tapestry Creation
1. No-Sew Tapestries
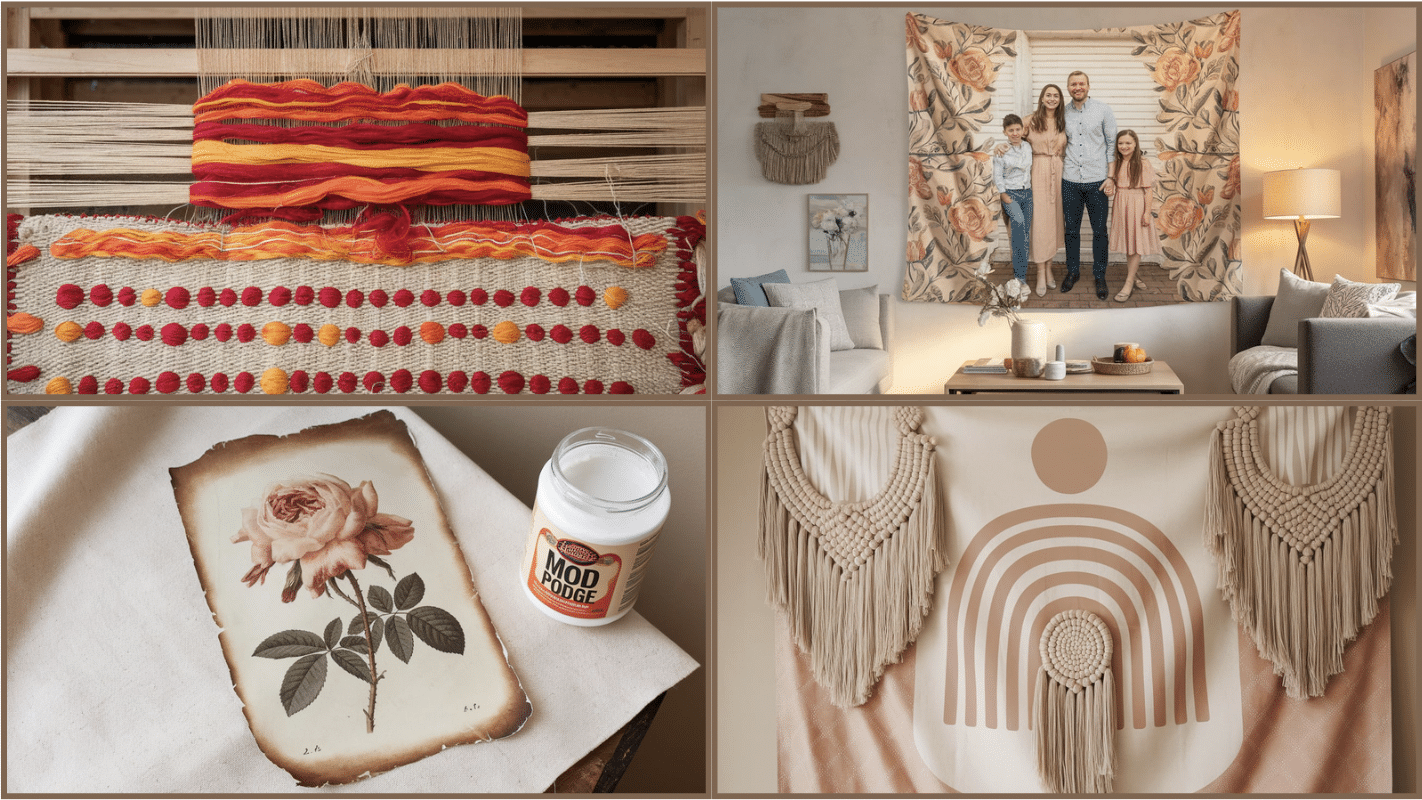
You can create stunning wall art without touching a needle and thread. These pieces use fabric adhesives and simple knot techniques to build beautiful designs.
2. Weaving Without a Loom
Simple materials like a woven rug can serve as your base for adding texture and color. This method lets you add yarn in layers to build depth and visual interest.
3. Mod Podge Fabric Art
This technique transfers printed images onto fabric using basic craft supplies. The process creates an aged, artistic effect that works well with botanical prints and vintage designs.
4. Framed Tapestry Art
Wood frames give your fabric art structure and a finished look. The combination of fabric and frame turns simple materials into gallery-worthy pieces.
5. Photo Transfer Tapestries
Turn your favorite photos into fabric art using special transfer techniques. This method works best with engineering prints and light-colored fabrics.
Choosing the Right Method for You

Skill Level Assessment
Starting with an honest look at your crafting experience helps you pick the best project. New crafters might want to begin with no-sew options, while those with basic DIY skills can try framed pieces.
Time and Resource Considerations
Each method needs different amounts of time and tools. No-sew projects often take a few hours, while framed pieces might need a weekend.
Your budget also guides your choice. Basic supplies like drop cloths and yarn cost little, while framing materials add to the total.
Project Goals
Think about where you’ll hang your tapestry and how you want it to look. Some methods create rustic pieces perfect for casual spaces, while others produce more polished art suited to formal rooms.
A Step-By-Step DIY Tapestry Crafting Guide
STEP 1: Gather Your Materials
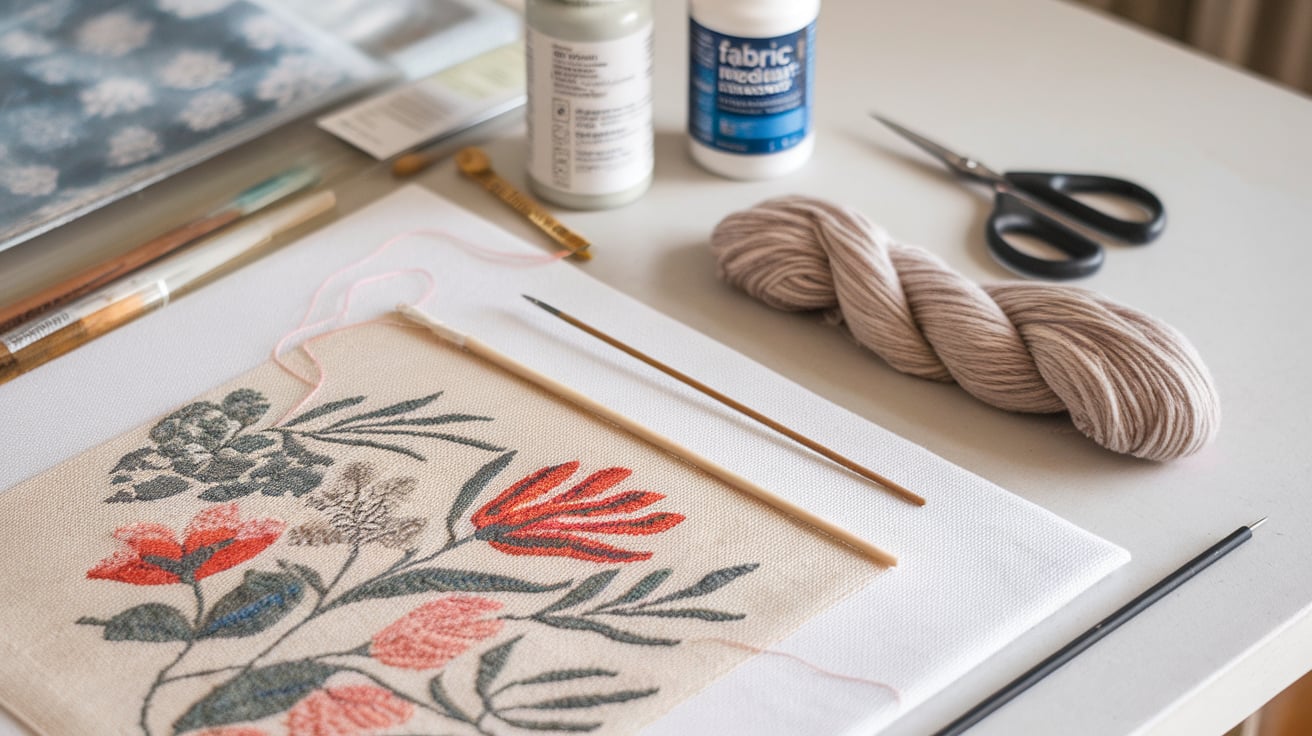
Start with a tapestry kit that includes pre-printed canvas, wool, a needle, and a reference chart. Additional tools like thread snips and a needle threader can make the process easier, especially when working with thick wool.
STEP 2: Secure the Canvas
Attach the canvas to a frame using a running stitch along the edges or clamps if included in the kit. A secured canvas keeps your work steady and easier to manage, though the frame is optional.
STEP 3: Learn Basic Stitches
Practice the three key stitches: half cross stitch (bottom left to top right), continental stitch (top right to bottom left), and basket stitch (worked diagonally). Each stitch offers unique texture and coverage.
STEP 4: Anchor and Secure Threads
Begin with a waste knot to anchor your thread and ensure it doesn’t unravel. Finish rows by tucking loose threads into the back using your needle to maintain a neat and durable finish.
STEP 5: Complete and Maintain Your Tapestry
Once the design is stitched, trim any excess threads and clean the tapestry if necessary. Regularly inspect and maintain the piece to ensure its longevity, whether used as a cushion or wall hanging.
Video Tutorial
For more information, check out this video tutorial by LoveCrafts.
Tips for Beginners
1. Avoiding Common Mistakes
Test your adhesives on scrap fabric before starting your main piece. Measure your space and materials twice before cutting.
2.. Time-Saving Hacks
Pre-washing fabrics prevent shrinkage later. Using straight pins to plan your design lets you adjust before making permanent changes.
3. Enhancing the Quality of Your Tapestry
Iron your fabric before starting to remove wrinkles. Planning your design on paper helps create balanced, attractive results.
Finishing and Displaying Your Tapestry
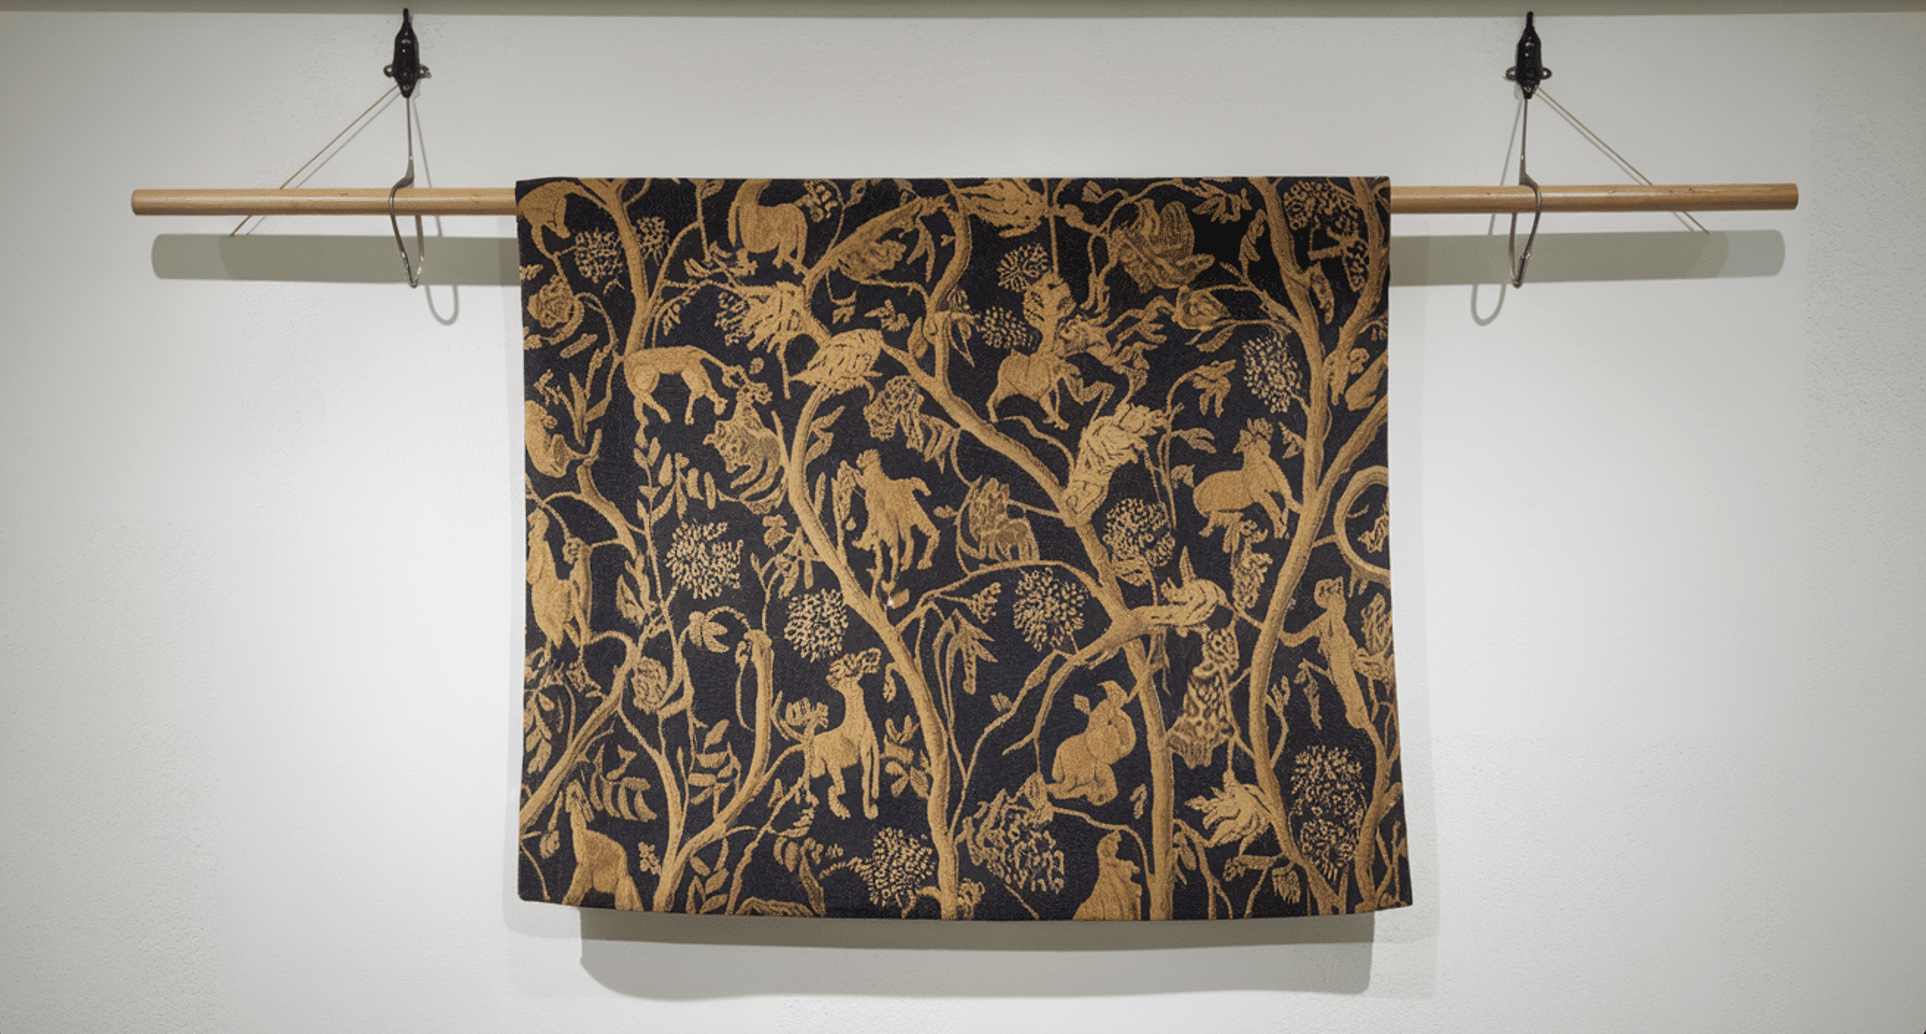
Hanging Methods
Simple dowel rods work well for lighter pieces. Heavier tapestries need secure wall anchors and proper mounting hardware.
Framing Options
Wood frames protect your art and add a finished look. You can build simple frames from basic lumber or use ready-made picture frames.
Care and Maintenance: Making Your Tapestry Last
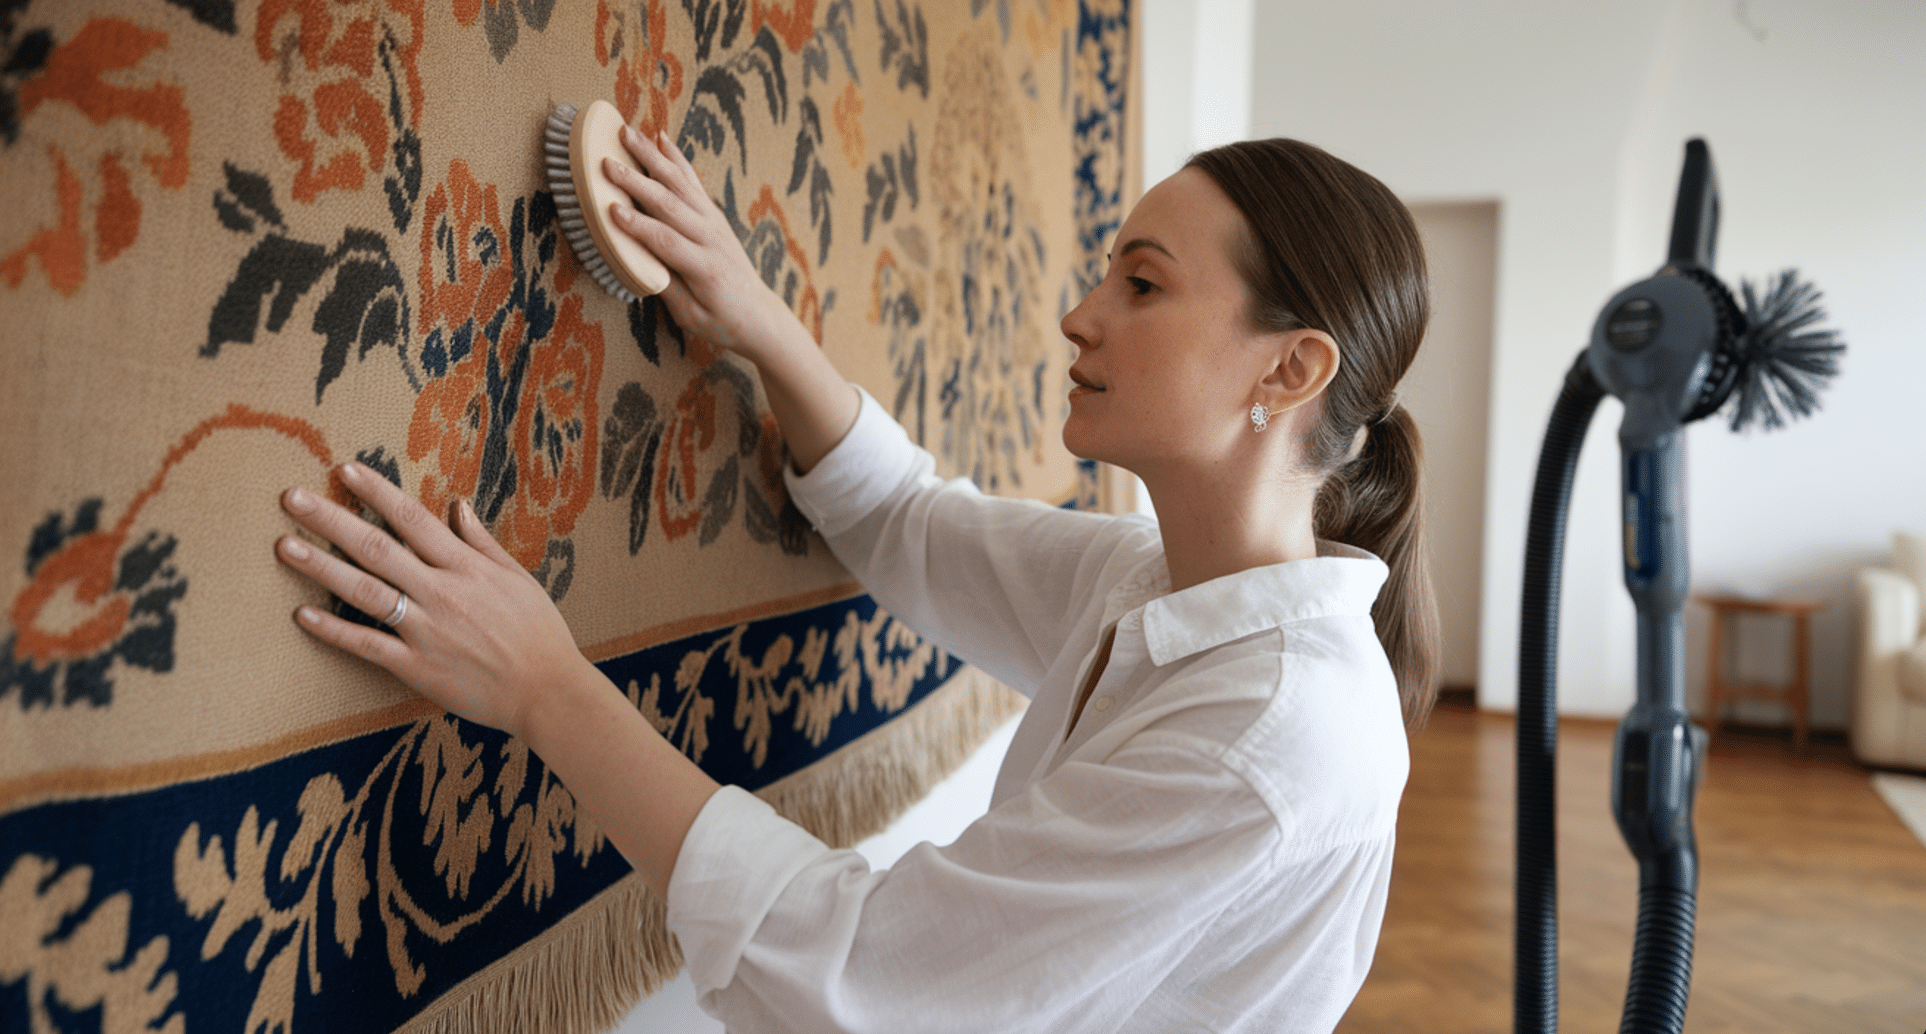
Wall tapestries need regular attention to stay beautiful over time. Like any fabric art, proper cleaning and storage greatly affect how long your piece maintains its appeal.
1. Regular Cleaning
Dust your tapestry monthly with a soft brush or vacuum with a brush attachment on low power.
Keep the brush moving gently across the surface to prevent snags or pulls in the fabric. Test any cleaning products on a small, hidden area first for deeper cleaning.
2. Protection from Elements
Sunlight can fade your tapestry’s colors over time. Place your piece away from direct sun or use UV-protective window coverings. High humidity might lead to mold, so make sure your room has good airflow.
3. Storage Solutions
Roll it instead of folding it to prevent permanent creases when storing your tapestry. If you’re storing it long-term, use acid-free paper between the layers.
Store rolled tapestries horizontally rather than standing them up.
4. Quick Repairs
Check your tapestry every few months for loose threads or small tears. Fix small issues immediately with matching thread or fabric glue to prevent bigger problems. Keep leftover materials from your project for future repairs.
5. Professional Care
Some tapestries, especially those with special materials or complex designs, might need professional cleaning.
Find a cleaner who has experience with wall hangings and fabric art. Ask about their methods before trusting them with your piece.
These simple care steps help protect your work and keep your tapestry looking fresh for years. A well-maintained tapestry continues to add beauty to your space while preserving the time and effort you put into creating it.
Wrapping It Up
Keeping your tapestry fresh and beautiful needs ongoing care and attention. The right cleaning and storage habits protect your handmade art for years.
Start with basic care like monthly dusting and checks for damage. Small fixes today prevent bigger problems tomorrow.
Choose the right spot in your home, away from harsh sunlight and high humidity, to help your tapestry stay bright and clean.
Proper rolling techniques prevent damage when storing your piece. Professional cleaners offer expert help for special pieces or tough stains.
Think of your tapestry care as part of your regular home maintenance routine.
With these simple care steps, your handmade wall art will stay a striking part of your home decor. A well-maintained tapestry will tell your creative story for many years ahead.
Frequently Asked Questions (FAQs)
Will Command Strips Hold a Tapestry?
Yes, Command Strips can securely hold lightweight tapestries. Ensure the surface is clean and follow the instructions for best results. Avoid using them for heavy or bulky tapestries.
Can You Make a Tapestry Without a Loom?
Using a sturdy frame or canvas, you can make a tapestry without a loom. Attach threads or fabric to create patterns using simple stitching techniques.
How Do I Care for a Handmade Tapestry?
Gently vacuum it regularly with a soft brush attachment. Spot clean stains with mild soap and water, and avoid exposing it to direct sunlight or humidity.

