DIY Dog Food Stand: A Step-by-Step Guide
Building your own dog food stand is a fun and rewarding project.
Not only does it help keep your dog’s feeding area neat, but it also allows you to create something custom to fit your dog’s size and your home’s style.
With a DIY dog food stand, you can save money compared to store-bought options while adding a personal touch to your home.
This guide will show you how to build a functional and stylish dog food stand that meets your pet’s needs, whether you want a simple design or one with extra storage.
Let’s get started and create the perfect feeding station for your furry friend.
Why Build a DIY Dog Food Stand?
Customized to Fit Your Dog’s Needs
A custom dog food stand ensures it’s the right height for your dog’s comfort and health. You can adjust the height based on your dog’s size or breed.
For example, larger dogs might need a raised stand to avoid straining their necks.
Tailoring the size and design also lets you create a stand that suits your dog’s feeding habits and preferences. This ensures your dog has a comfortable and convenient eating experience.
Cost-Effective
Building a stand yourself is cheaper than buying a pre-made one. You can find affordable materials at your local store or repurpose materials you already have.
Using inexpensive materials, such as wood or plywood, helps keep the overall cost low. It’s a one-time investment that will last a long time, saving you money in the long run.
Aesthetic and Functional Appeal
You can match the stand to your home’s style and decor, making it blend seamlessly into your space. If you want a modern, rustic, or classic design, the choice is yours.
Adding storage for food, treats, or toys makes the stand more practical and useful. A non-slip surface can also make the feeding area safer and easier to clean, preventing spills or messes.
Materials and Tools Required for the Project
Materials
- Wood: Pine, poplar, oak, or reclaimed wood are great options for a sturdy stand. Choose a wood that fits your design and budget.
- Screws: Use wood screws or screws for wood to hold the stand together securely.
- Wood Filler: This is helpful for filling any cracks or imperfections in the wood.
- Stain/Paint: Pick a stain or paint to finish the stand and match your home’s style.
- Non-Slip Material: Rubber, cork, or silicone sheets for the base can help prevent slipping and protect your floors.
Tools
- Saw: A miter saw or hand saw is needed to cut the wood to the desired size.
- Drill with Bits: A drill will help you create pilot holes for screws to ensure the wood stays in place.
- Measuring Tape and Pencil: Use these to measure and mark the cuts precisely.
- Sandpaper: Sand the edges and rough spots to make the wood smooth and safe for your pet.
- Screwdriver: This is needed to tighten the screws and complete the assembly.
Step-by-Step Guide to DIY a Dog Food Stand
Step 1: Measure and Plan Your Design
- Start by measuring the size of your dog’s bowls. Check the diameter and height to ensure they fit well on the stand.
- Next, determine the height of the stand. A general guideline is to make the height match your dog’s elbows for comfort.
- Decide if you want a simple stand or one with extra storage for food or toys.
- Draw a simple plan or template for the cuts and assembly to guide you through the process.
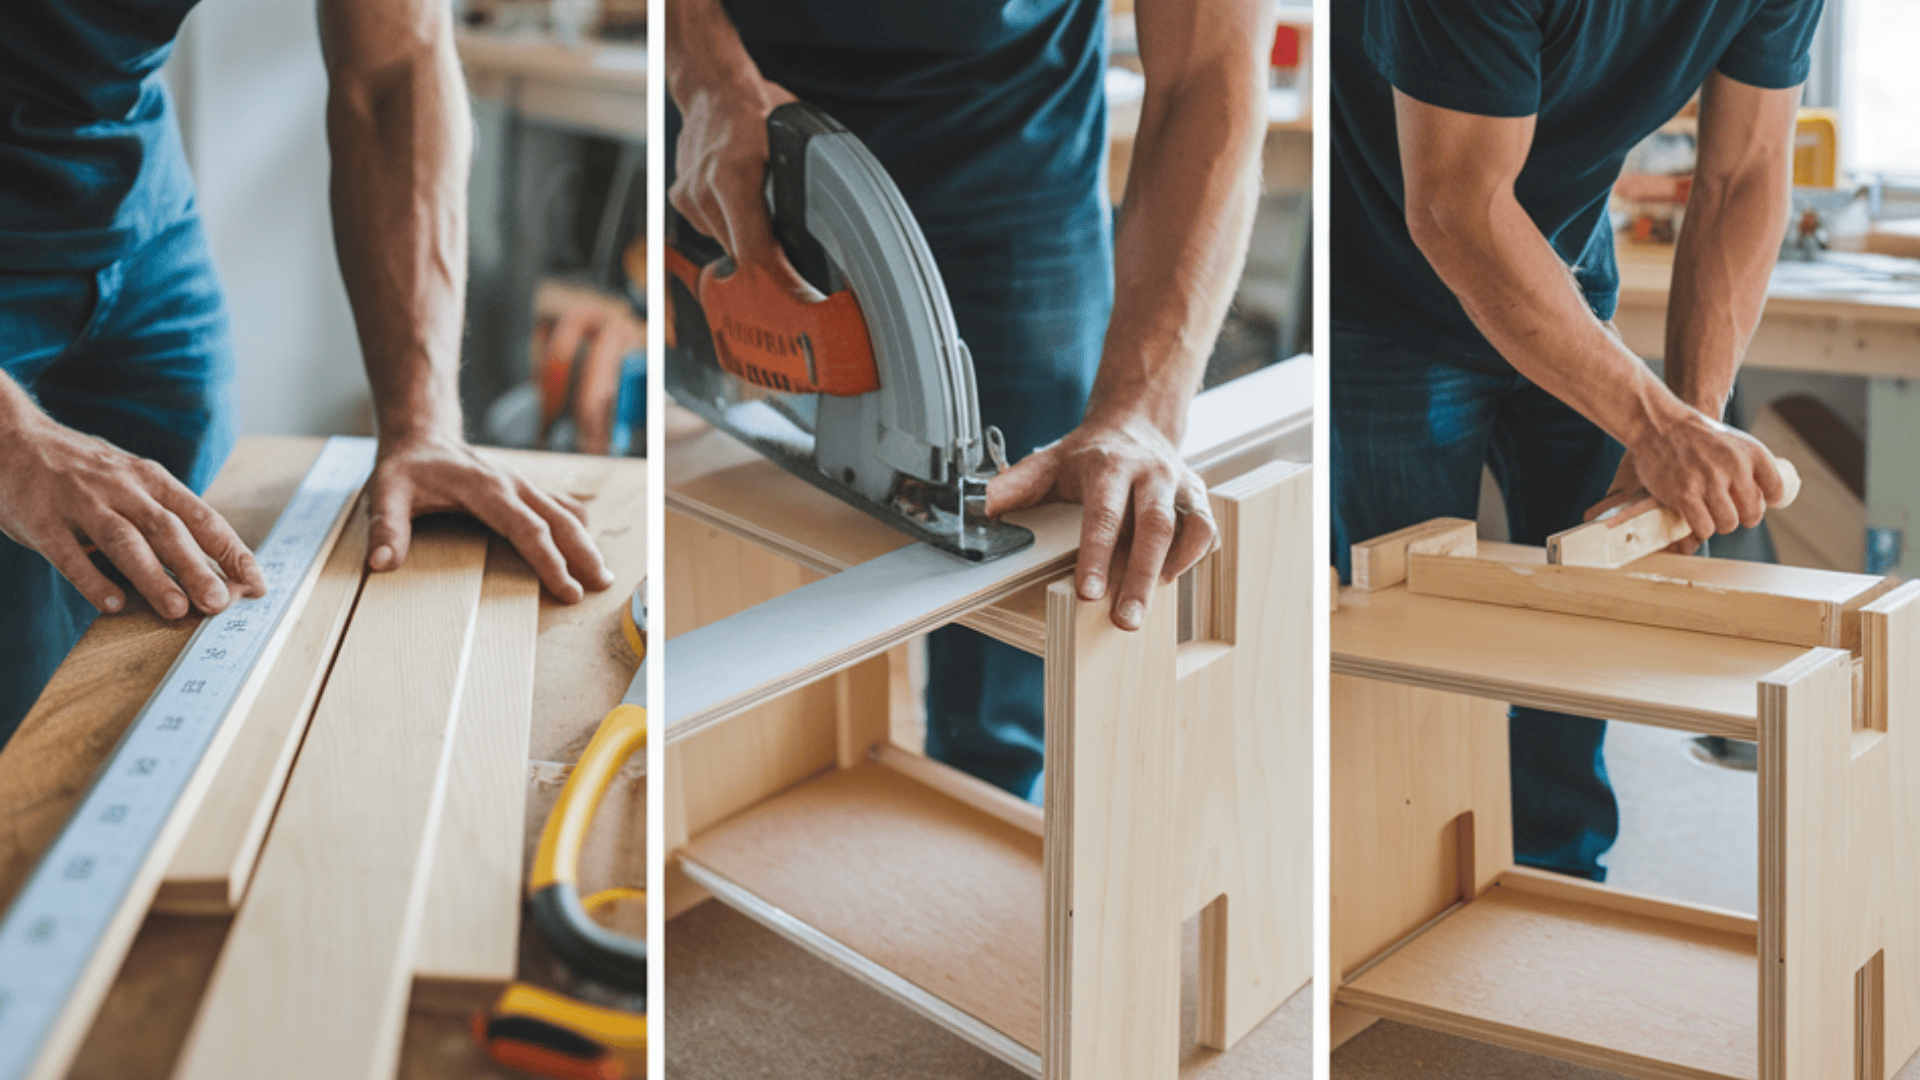
Step 2: Cut the Wood Pieces
- Cut the base piece large enough to comfortably fit the bowls, leaving some space between them.
- Cut four legs to the height you determined earlier. Make sure they are all the same length to keep the stand stable.
- If you are adding storage or decorative features, cut the additional pieces for those parts.
Step 3: Assemble the Stand
- Attach the legs to the base using screws or wood glue. Make sure they are securely fastened.
- Check the alignment of the legs to ensure the stand is stable and even.
- Add any extra features, such as a storage compartment or side supports, to enhance the stand’s durability and functionality.
Step 4: Sand and Finish the Stand
- Use sandpaper to smooth out the edges and remove any rough spots or splinters.
- Apply a coat of stain or paint to the stand, choosing a finish that matches your home’s decor.
- Seal the stand with a protective finish to make it durable and easier to clean.
Step 5: Add the Non-Slip Surface
- Attach rubber, cork, or silicone pads to the surface where the bowls will sit. This will help keep the bowls from sliding around during feeding time.
Step 6: Place the Bowls and Test the Stand
- Ensure the bowls fit securely in the designated spaces.
- Test the stability of the stand by placing weight in the bowls and checking for any wobbling or movement. If it feels unstable, adjust the stand until it is steady.
Once these steps are complete, you’ll have a functional and stylish DIY dog food stand!
Design Variations and Customization Ideas
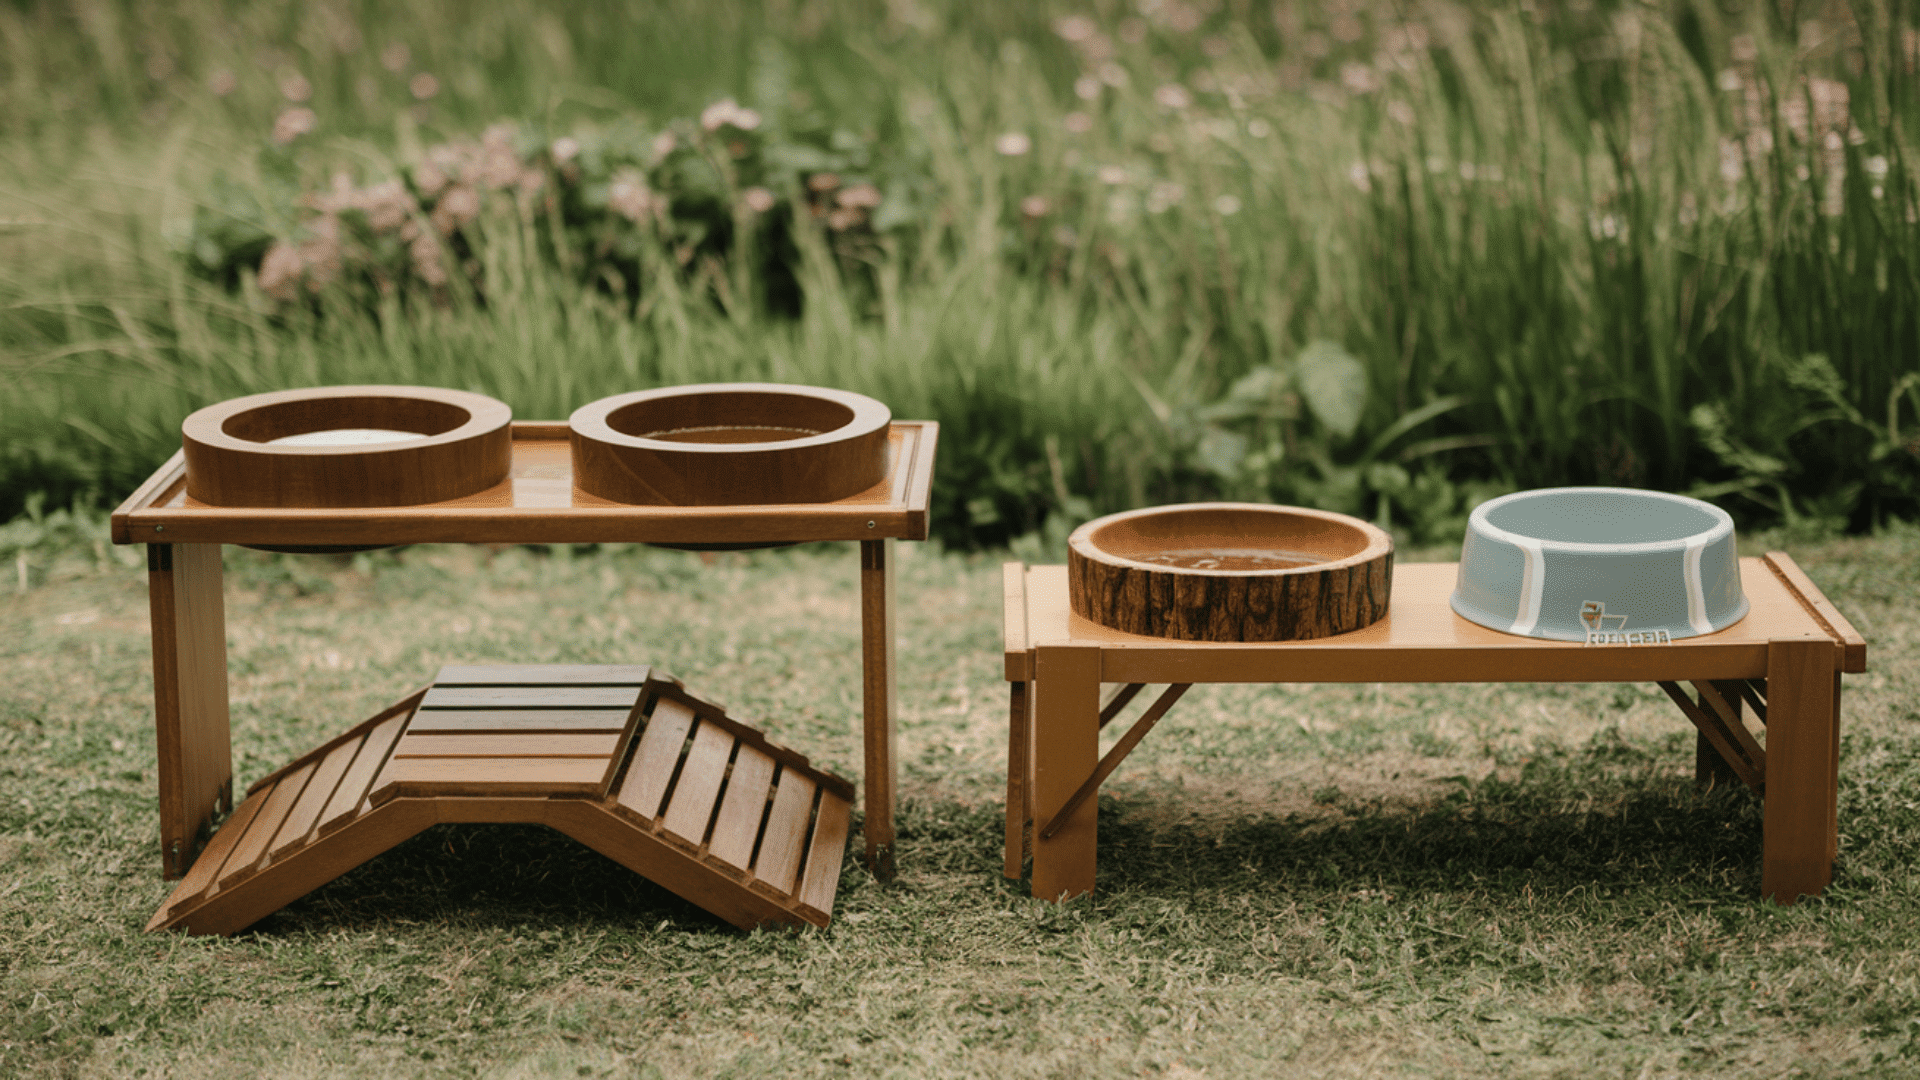
Raised vs. Standard Stands
Raised stands are ideal for larger dogs or dogs with arthritis. They reduce neck strain and make eating more comfortable.
To create a raised stand, simply add taller legs or adjust the height during your design planning.
A raised stand can also be more stylish and give your dog a more comfortable eating experience. It allows your dog to feed at a more natural height, reducing stress on their neck and joints.
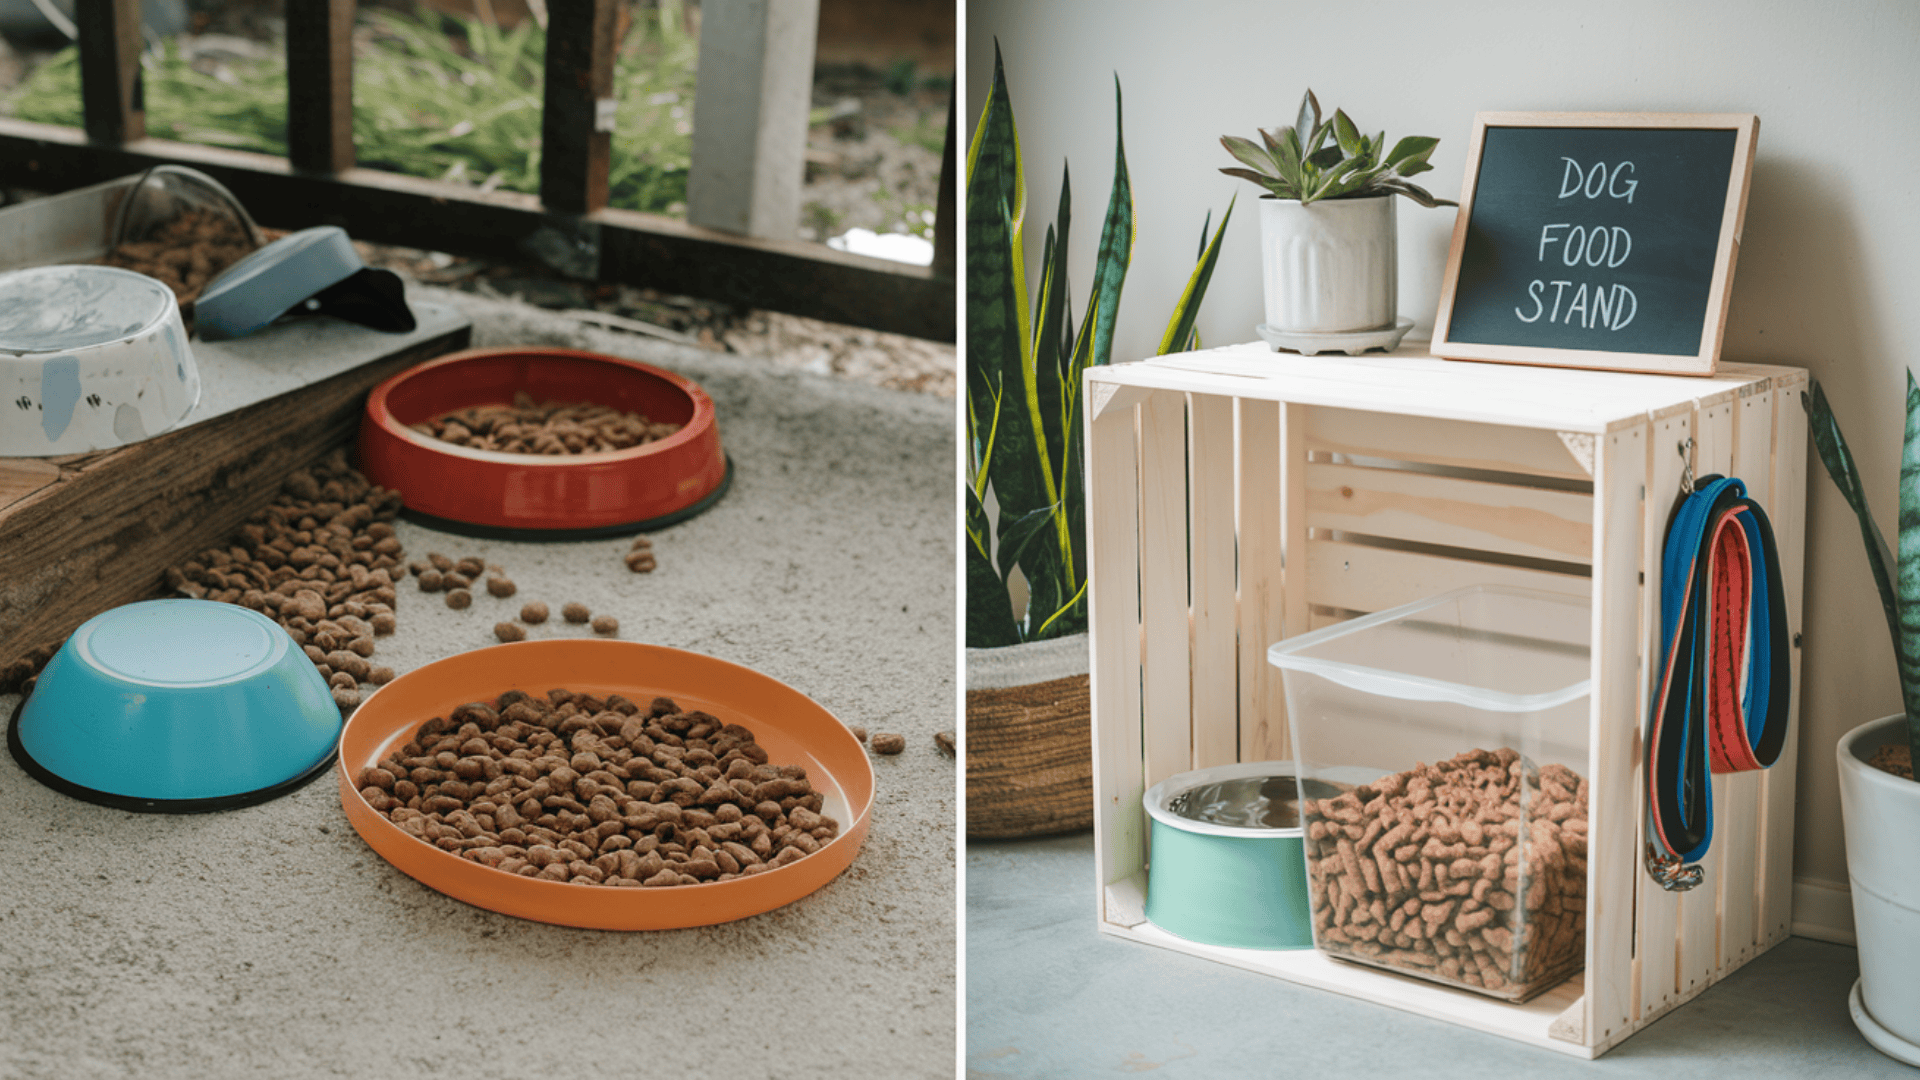
Adding Storage
Consider adding a drawer or compartment under the stand to store dog food, treats, or toys.
This extra storage helps keep your dog’s feeding area organized and ensures all their essentials are in one place.
You can use simple hinges or sliding mechanisms to access the storage easily.
Adding storage not only makes the stand more functional but also keeps your home neat and tidy.
Non-Slip Features
Adding non-slip features ensures the stand stays in place during mealtime. To prevent the stand from sliding around, attach rubber or cork pads to the bottom of the legs.
You can also use non-slip mats underneath the bowls to keep them from moving while your dog eats. These small adjustments improve the stability and safety of the feeding area.
Creative Design Ideas
Paint or stain the stand to match your home’s decor. Choose colors or finishes that blend with your interior style.
A simple coat of paint can transform a plain wooden stand into a beautiful piece that complements your home.
For a rustic or vintage look, consider using reclaimed wood or distressing the surface for added charm. These creative touches can give your dog’s feeding station a unique and personalized touch.
You can also add decorative elements like handles, stenciled designs, or a nameplate to make the stand truly yours. It’s a fun way to add character while also making the stand functional.
Maintenance and Care Tips for Your Dog Food Stand
Regular Cleaning
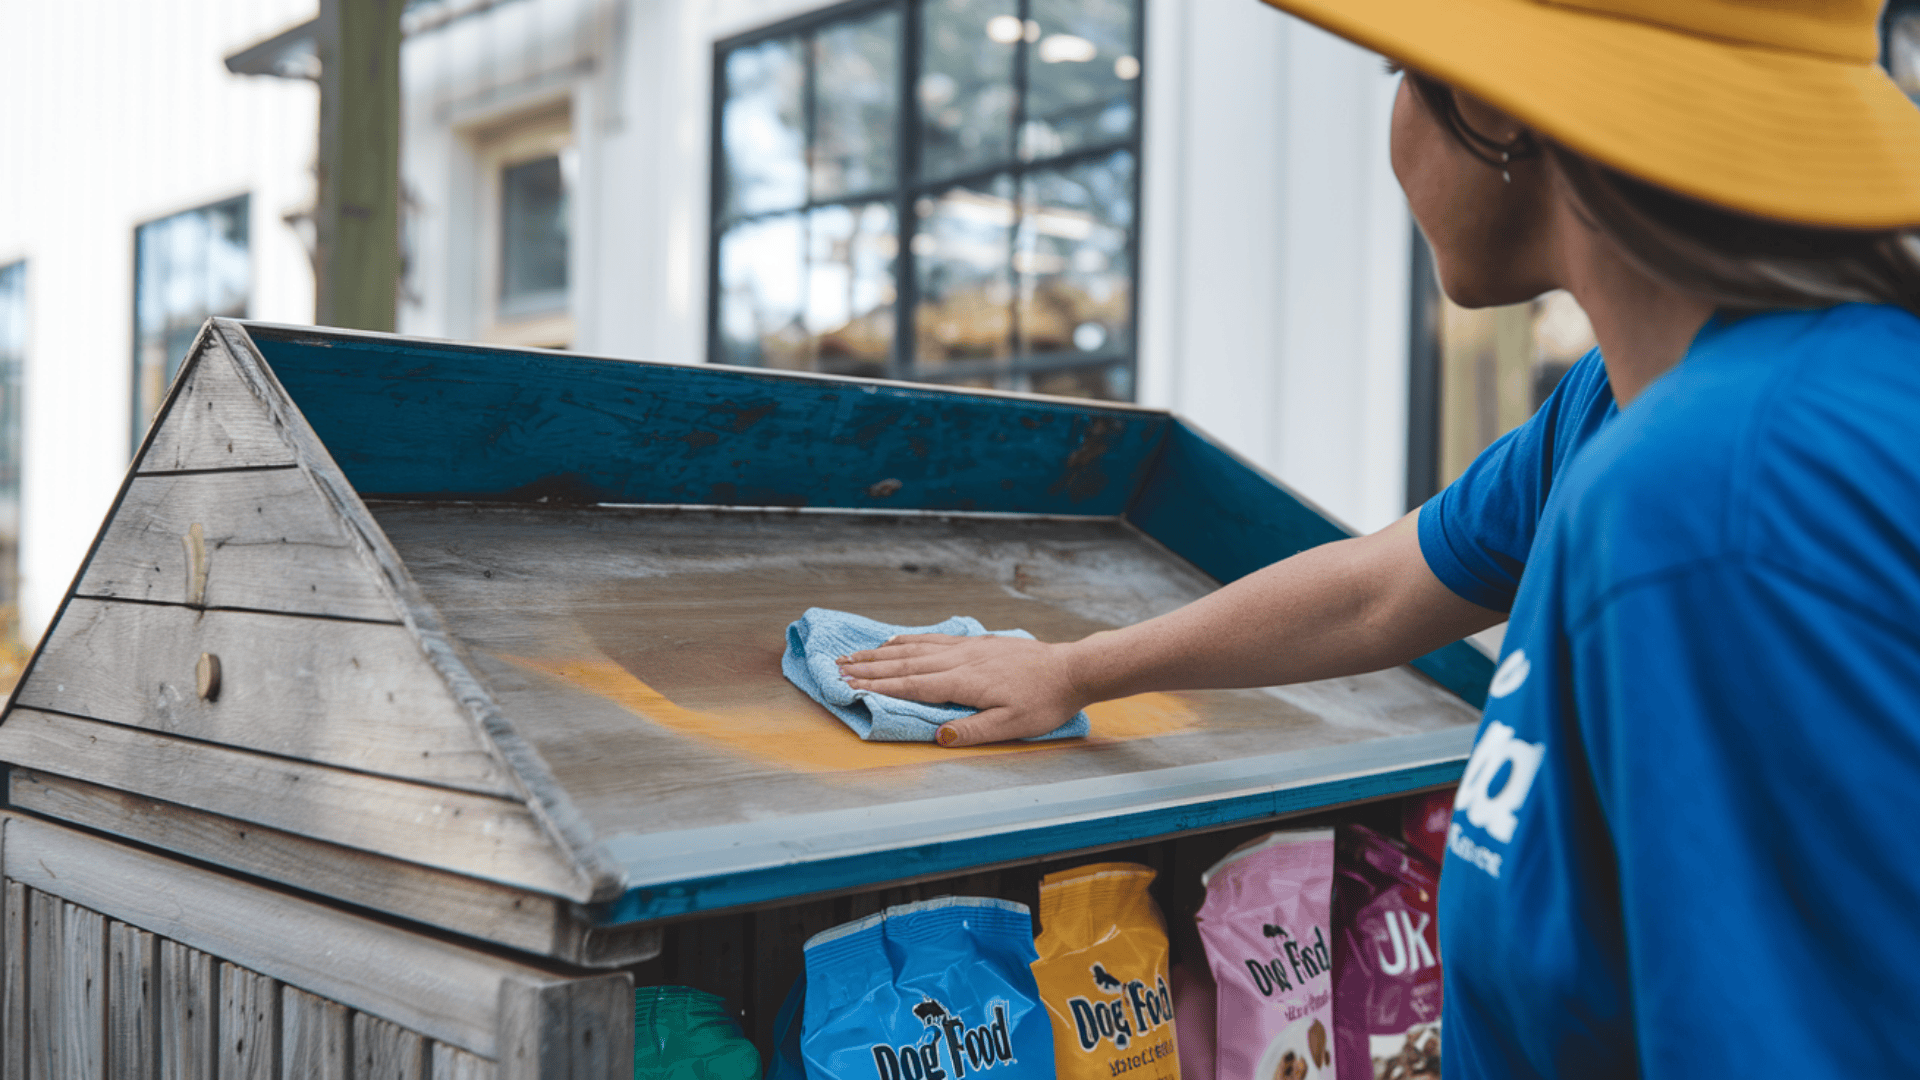
Clean the stand regularly to keep it free from food debris and dust.
Wipe down the surface of the stand and bowls after each use to maintain hygiene.
Use a mild soap and water solution to clean, avoiding harsh chemicals that could harm your dog.
Sanding and Refinishing
Over time, the wood may become scratched or worn. Sand down any rough spots to keep the stand smooth.
If the stand starts to lose its finish, apply a fresh coat of paint or stain to keep it looking new.
Refinish the stand every so often to maintain its durability and appearance.
Inspection for Stability
Check the stand periodically for stability. Make sure the legs are secure and that there are no wobbles or loose screws.
If your dog is a heavy eater or bumps into the stand frequently, consider tightening the screws or adding additional support to maintain stability.
Regular inspections help ensure the stand remains safe and functional for your dog.
Common Mistakes to Avoid
Incorrect Height for Your Dog
It’s important to make sure the stand is the correct height for your dog’s comfort. If the stand is too low or too high, it can cause neck strain or discomfort during feeding time.
Measure your dog’s elbow height to ensure the right height. This will help you adjust the stand accordingly.
A properly positioned feeding station will provide the best feeding experience and prevent any unnecessary strain on your dog’s neck and joints.
Forgetting to Measure Bowls
Double-check the size of the bowls you plan to use before building the stand. The base of the stand should provide enough space for the bowls, with some extra room around them to avoid spills.
Make sure the bowls fit snugly into the stand so they don’t move around while your dog is eating. Proper measurement ensures the bowls stay in place, keeping the feeding area tidy and secure for your pet.
Choosing the Wrong Wood
Not all types of wood are ideal for this project. It’s essential to select a sturdy wood like pine, oak, or poplar, which provides durability and strength.
Avoid softwoods that may break or wear out quickly. Opt for woods that are both easy to work with and strong enough to support the bowls and food.
A sturdy base ensures the stand will remain safe and functional for a long time.
By avoiding these common mistakes, you can create a stable, comfortable, and long-lasting dog food stand that works well for both you and your pet.
Conclusion
Building your own dog food stand is a rewarding and simple project that allows you to create a custom solution for your pet.
Not only will it save you money, but it also ensures your dog has a comfortable, practical feeding space tailored to their needs.
By following the easy steps and using the right materials, you can craft a durable and stylish stand that fits your home’s decor.
Ready to start building? Gather your materials and get started today!
And if you’re interested in more creative DIY ideas and home improvement tips, be sure to check out the other helpful blogs on our website.