DIY Outdoor Coffee Table: Easy Building Guide & Tips
Are you looking to add the perfect finishing touch to your patio or deck? A handmade outdoor coffee table might be just what you need.
Building your own table is cost-effective and lets you create exactly what you want for your space.
With some basic tools and materials, you can build a custom piece that will withstand the weather while matching your personal style.
This guide covers everything from choosing the right wood to adding custom features and maintaining your table for years to come.
Even if you’ve never built furniture before, our step-by-step instructions make it simple to create a piece you’ll be proud to show off at your next outdoor gathering.
Materials for Your Outdoor Coffee Table
Creating your outdoor coffee table is a simple weekend project that can add both function and style to your patio or deck. With the right materials and tools, you can build a table that withstands the elements.
Best Wood for Outdoor Coffee Tables
Western red cedar is an excellent choice for outdoor furniture due to its natural weather and rot resistance. According to Instructables, it also offers good stability in changing outdoor conditions.
Treated lumber and regular 2x4s are budget-friendly options that many DIY builders use.
Ana White’s popular plans show how to build an entire outdoor coffee table using just 2x4s, making it very strong and long-lasting.
Other Materials You Can Use
You don’t have to stick with just wood. The Home Depot guide shows how to build table bases with wood, while other sources suggest concrete tops for a mixed-material look. Some builders use stone tops or add metal elements for extra strength.
Grey Snail Designs mentions that their outdoor table can double as a bench, showing how practical these mixed-material designs can be.
Tools You’ll Need
For a basic outdoor coffee table, you’ll need:
- A saw for cutting the wood pieces
- A drill for making holes and driving screws
- Various screws and fasteners
- Sandpaper for smooth finishes
- Outdoor wood sealer or paint to protect against weather
Many online sources offer step-by-step instructions that list exactly which tools you’ll need for specific designs.
DIY Outdoor Coffee Table: Step-by-Step Guide
Building your outdoor coffee table doesn’t have to be complicated.
This guide breaks down the process into manageable steps that anyone can follow, even with basic woodworking skills. By the end, you’ll have a custom piece that fits your space perfectly.
Step 1: Planning Your Design
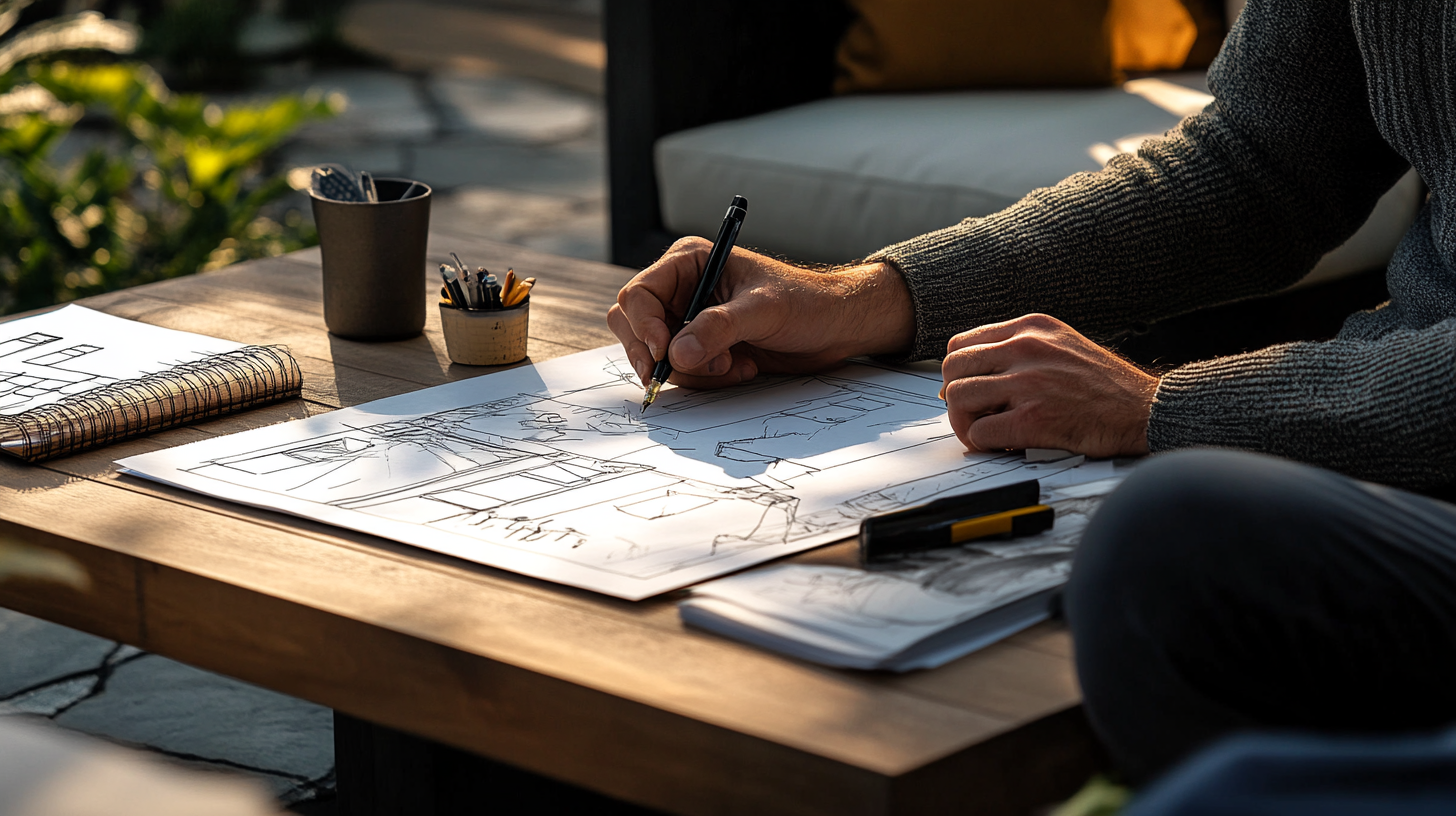
Before buying any materials, think about what you want your coffee table to look like. According to Pine and Poplar, having detailed plans takes the guesswork out of creating your outdoor table.
Consider the size by measuring your outdoor space to determine the right dimensions. Standard coffee tables are 16-18 inches tall, but you might want something different for your needs.
Think about the style—whether simple and modern or more detailed with extra features. Also, consider functionality, like whether you need storage space or just a spot to place drinks.
Rehab Life’s $50 Modern Patio Coffee Table project shows how a clear plan can help keep costs down while creating a good-looking piece.
Step 2: Preparing the Materials
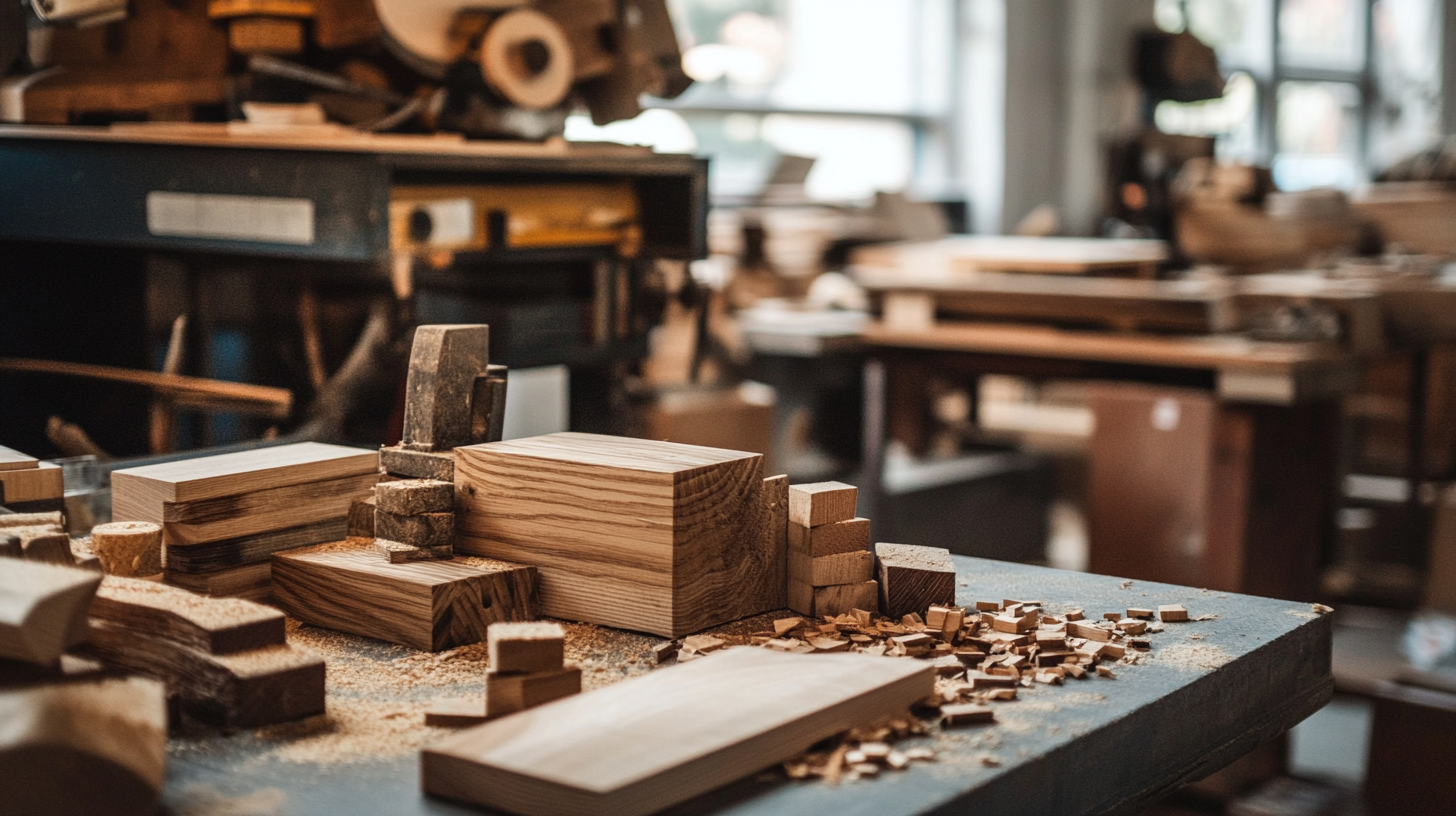
Once you have your design, it’s time to prepare your materials. Make a complete cut list with all pieces and dimensions, then measure each piece carefully—remember the old saying, “Measure twice, cut once.”
Mark your cuts clearly with a pencil and cut all pieces using a saw – a miter saw works well for straight cuts.
Finally, sand the cut ends to remove splinters. As Grey Snail Designs notes, patching any holes or imperfections at this stage will improve the final product.
Step 3: Assembling the Base
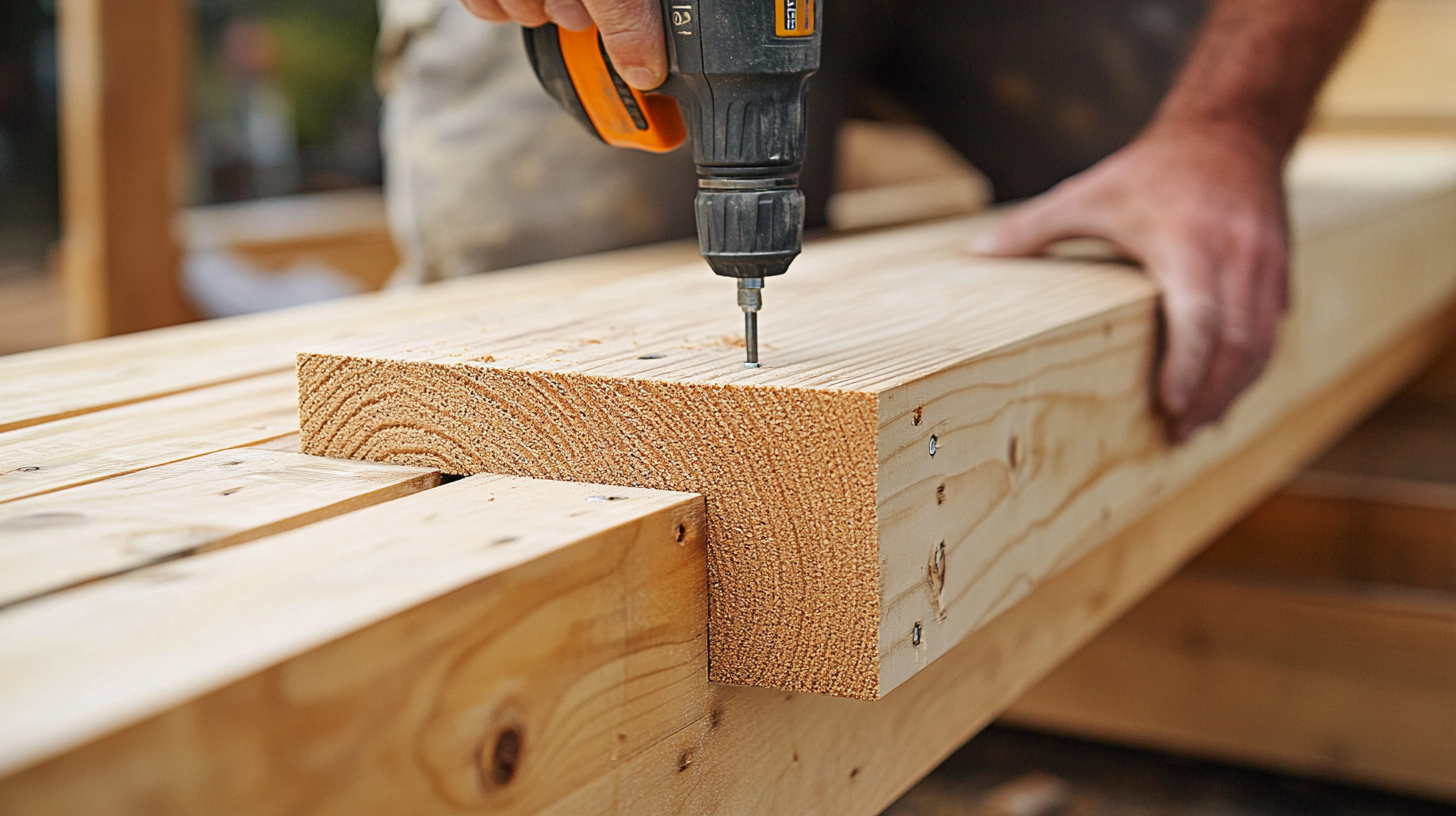
The Home Depot guide offers specific instructions for base assembly. Start by drilling pocket holes at each end of the apron pieces (the sides that connect the legs).
Connect the 16-inch and 26-inch boards to form the table apron, then attach the legs to the corners of the apron.
If your table is larger, add support beams across the middle, and check that all connections are tight and the base sits level.
Ana White’s popular 2×4 outdoor table plans show how to create a very sturdy base by using simple joining techniques.
Step 4: Attaching the Tabletop

Now it’s time to add the top. Lay out your tabletop boards with small gaps between them (1/8 inch) to allow for water drainage.
Secure them to the base using screws from underneath. For concrete tops, The Radiant Abode suggests using a strong adhesive to secure it to the wood base.
Make sure the top is firmly attached with no wobbling, and test the stability by pressing down on all corners.
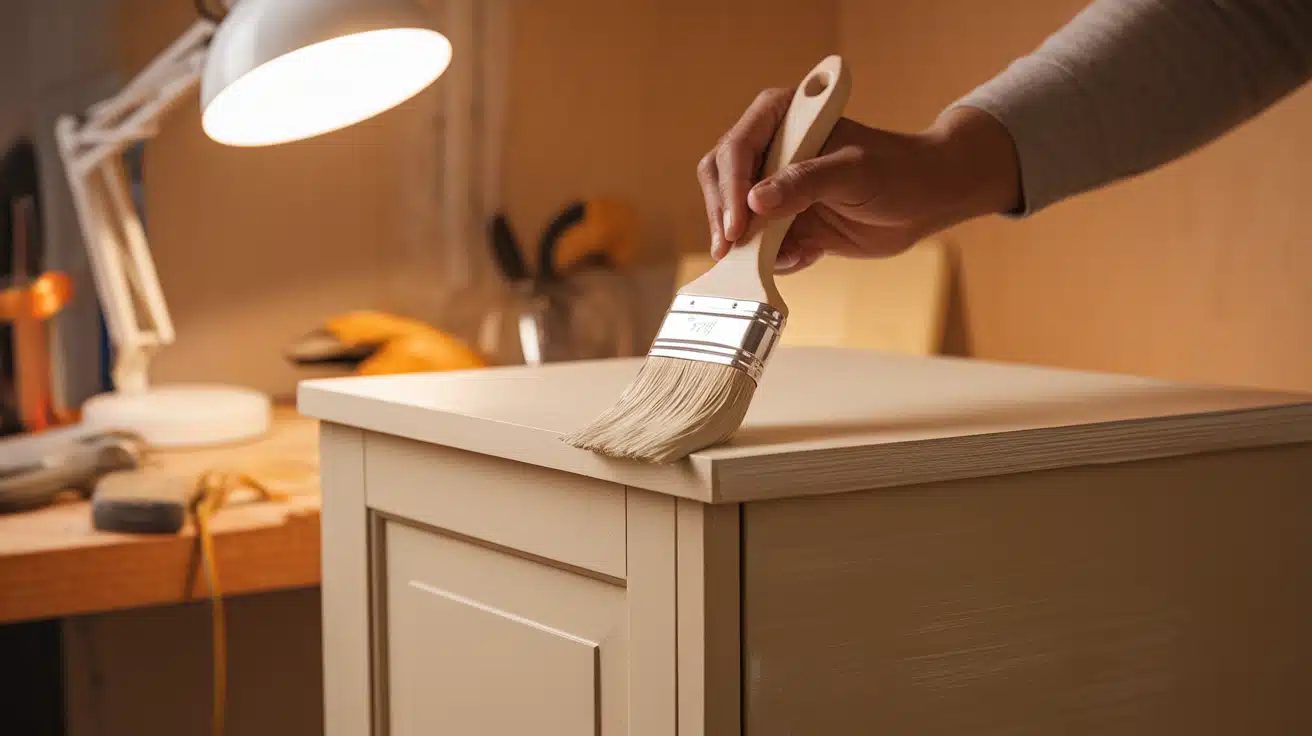
Step 5: Sanding and Finishing
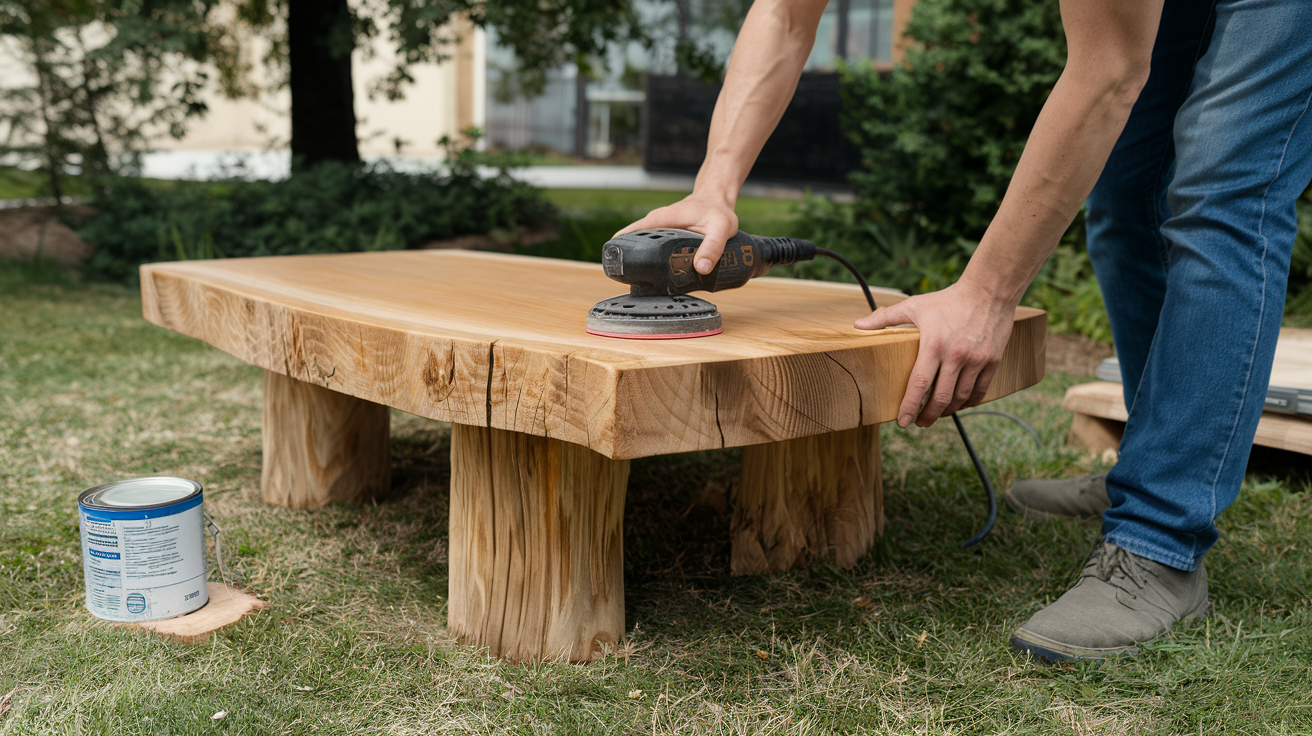
Proper finishing makes your table look professional. To achieve a smooth finish, sand all surfaces starting with medium-grit sandpaper (80-100) and then moving to finer grits (150, then 220).
Remove all dust with a tack cloth and round over any sharp edges for safety. Fill any remaining gaps or holes with wood filler.
Step 6: Waterproofing and Weatherproofing
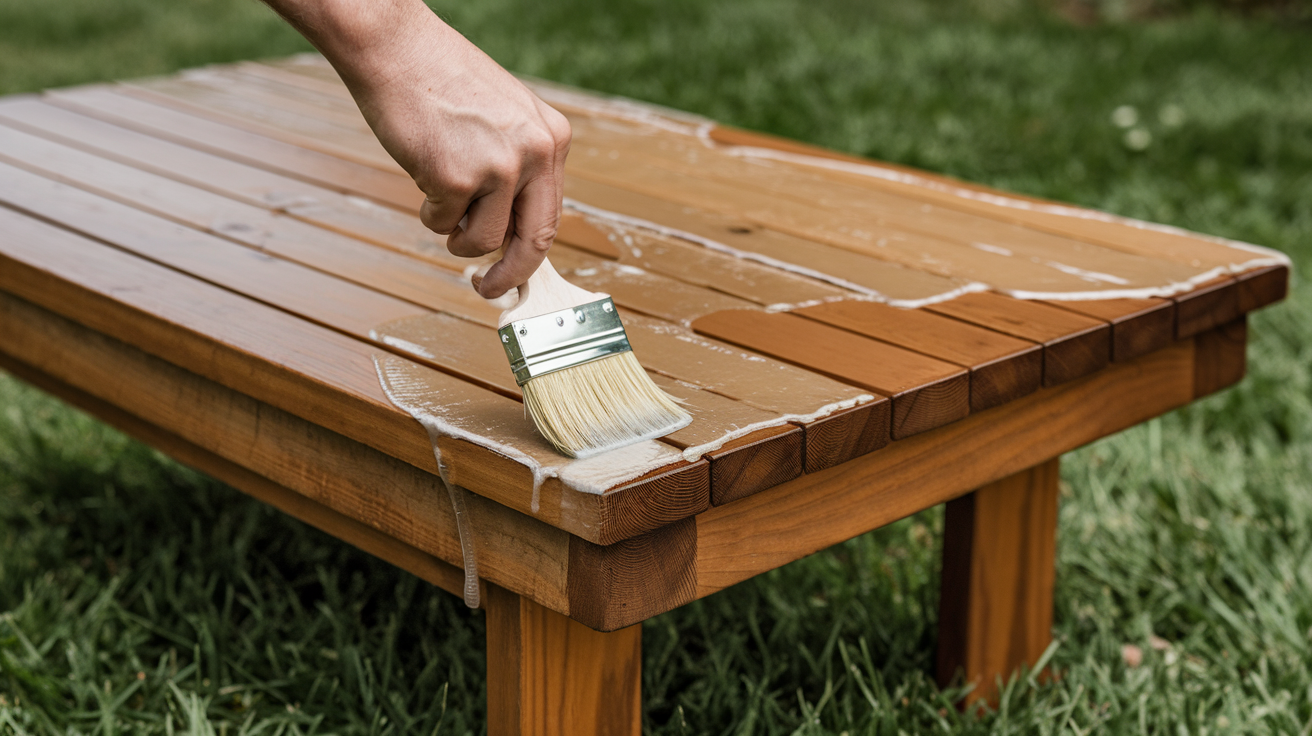
The final and most important step for outdoor furniture is protection from the elements.
Choose an outdoor-rated sealant or finish and apply a clear waterproof sealer or stain to all surfaces. Pay special attention to end grain and joints where water can soak in.
Apply at least two coats, following the product directions, and allow proper drying time between coats and before using the table.
Instructables points out that western red cedar is naturally weather resistant but still benefits from sealing to maintain its color and extend its life outdoors.
Customization Ideas for Your DIY Outdoor Coffee Table
Once you’ve built your basic table, a few simple additions can make it uniquely yours while adding function and style to your outdoor space.
1. Adding Storage
Simple shelves beneath the tabletop provide convenient storage for outdoor items. The Back 40 Craftsman’s design on Instagram shows how lower shelves add both function and visual interest.
Some DIY builders create hidden storage with pull-out drawers or lift-top designs where the surface raises to reveal compartments underneath. These additions make your table more useful without complicating the build process.
2. Mixing Materials
Combining materials creates visual interest and can improve durability. The Radiant Abode shows how to use a concrete planter as a base with a wooden top.
Metal brackets or hairpin legs paired with wood give an industrial look, as seen in several Instructables projects.
Some builders add tile or stone inlays on wooden tops where drinks are placed, preventing water rings and heat damage.
3. Styling with Color and Finish
Your finish affects both appearance and longevity. The Radiant Abode suggests priming wood before using a roller for smooth color application.
Many DIY builders use transparent or semi-transparent stains that protect while showcasing the natural wood grain. Popular color choices include natural cedar tones, deep browns, weathered grays, and colors that match other outdoor furniture.
Grey Snail Designs emphasizes that outdoor-rated finishes are essential for protection against sun, rain, and temperature changes.
Tips for Maintaining Your Outdoor Coffee Table
With proper care, your DIY outdoor coffee table will last for many seasons. A few simple maintenance habits can prevent damage and keep your table looking fresh despite constant exposure to the elements.
- Regular Cleaning: Wipe down the surface with mild soap and water every few weeks to prevent dirt buildup. The Home Depot guide suggests avoiding harsh chemicals that can damage the finish.
- Seasonal Protection: Apply a fresh coat of outdoor sealant once a year, ideally before winter or rainy seasons start.
- Cover When Not In Use: Several Reddit DIY forum posts recommend using a waterproof cover during harsh weather or when the table is not used for extended periods.
- Quick Fixes: For small cracks, apply wood filler and touch up with a matching stain. The Instructables guide notes that catching small issues early prevents bigger problems.
- Check For Loose Parts: Tighten any screws or fasteners that may have worked loose due to temperature changes or use.
- Signs It Needs Attention: Water no longer beading on the surface, visible gray weathering of wood, or soft spots are all indicators that it’s time to reapply protective finishes.
- Winter Storage: In severe climates, consider moving the table to a covered area during the off-season to extend its life significantly.
Conclusion
Building your outdoor coffee table brings many rewards. You’ll save money compared to store-bought options while creating something that perfectly fits your space and style preferences.
The simple materials and basic tools make this an ideal weekend project, even for beginners.
The satisfaction of enjoying drinks and meals on furniture you made yourself adds a special touch to outdoor gatherings.
With the steps and tips in this guide, you have everything needed to create a durable, beautiful table that will serve you well for many seasons.
Why not gather your materials and start building this weekend? Read other blogs on our website for more helpful DIY guides and tips on enhancing your space.
Frequently Asked Questions
How tall should an outdoor coffee table be?
According to multiple DIY guides, the standard height is 16-18 inches. This works well with most outdoor seating while keeping drinks and items within easy reach.
How to make a wood coffee table waterproof?
Apply at least two coats of outdoor-rated sealant, paying special attention to end grain and joints. Regular reapplication yearly maintains protection.
How do you turn a coffee table into an outdoor table?
Sand the existing finish, apply outdoor-rated sealant, replace any indoor hardware with rust-resistant versions, and add protective feet for moisture barriers.