
DIY Entryway Bench: A Simple Step-by-Step Guide
Are you tired of shoes piled up at your front door? A DIY entryway bench can fix this problem! This simple project gives you a place to sit while putting on shoes and keeps your entry clean.
In this guide, we’ll show you how to build your bench step by step. You’ll learn what materials you need, how to cut and put the pieces together, and ways to make it look nice.
We’ll also cover different styles, such as country and modern looks. Even if you’ve never built anything before, you can create a bench that works for your home.
Ready to make your entryway more useful and good-looking? Let’s get started!
Why an Entryway Bench is Essential
An entryway bench provides a spot to sit when putting on or taking off shoes. It keeps your entryway looking neat while providing a place to store items you need when going out. This simple piece of furniture makes coming home easier and helps stop the mess that often builds up by the door.
- A bench with storage keeps shoes, bags, and other items off the floor, making your home look cleaner as soon as you walk in.
- Having a seat in the entryway is helpful for older family members, kids, or when you’re carrying heavy items and need to sit down.
Step-by-Step Guide to DIY Entryway Bench
Creating a custom entryway bench is a rewarding and functional project that adds both style and storage to your home. This guide will walk you through each step of building your bench from start to finish. Let’s get started.
Materials Required
Here’s the essential materials list for your DIY entryway bench:
- Plywood (3/4 inch thick)
- Wood Glue
- Pocket Hole Screws
- Screws
- Paint or Stain
- Wood Filler
- Sandpaper
- Coat Hooks (Optional)
- Clamps
- Heavy-duty Screws
- Trim (Optional)
Now, let’s begin with the steps.
1. Plan Your Bench Design
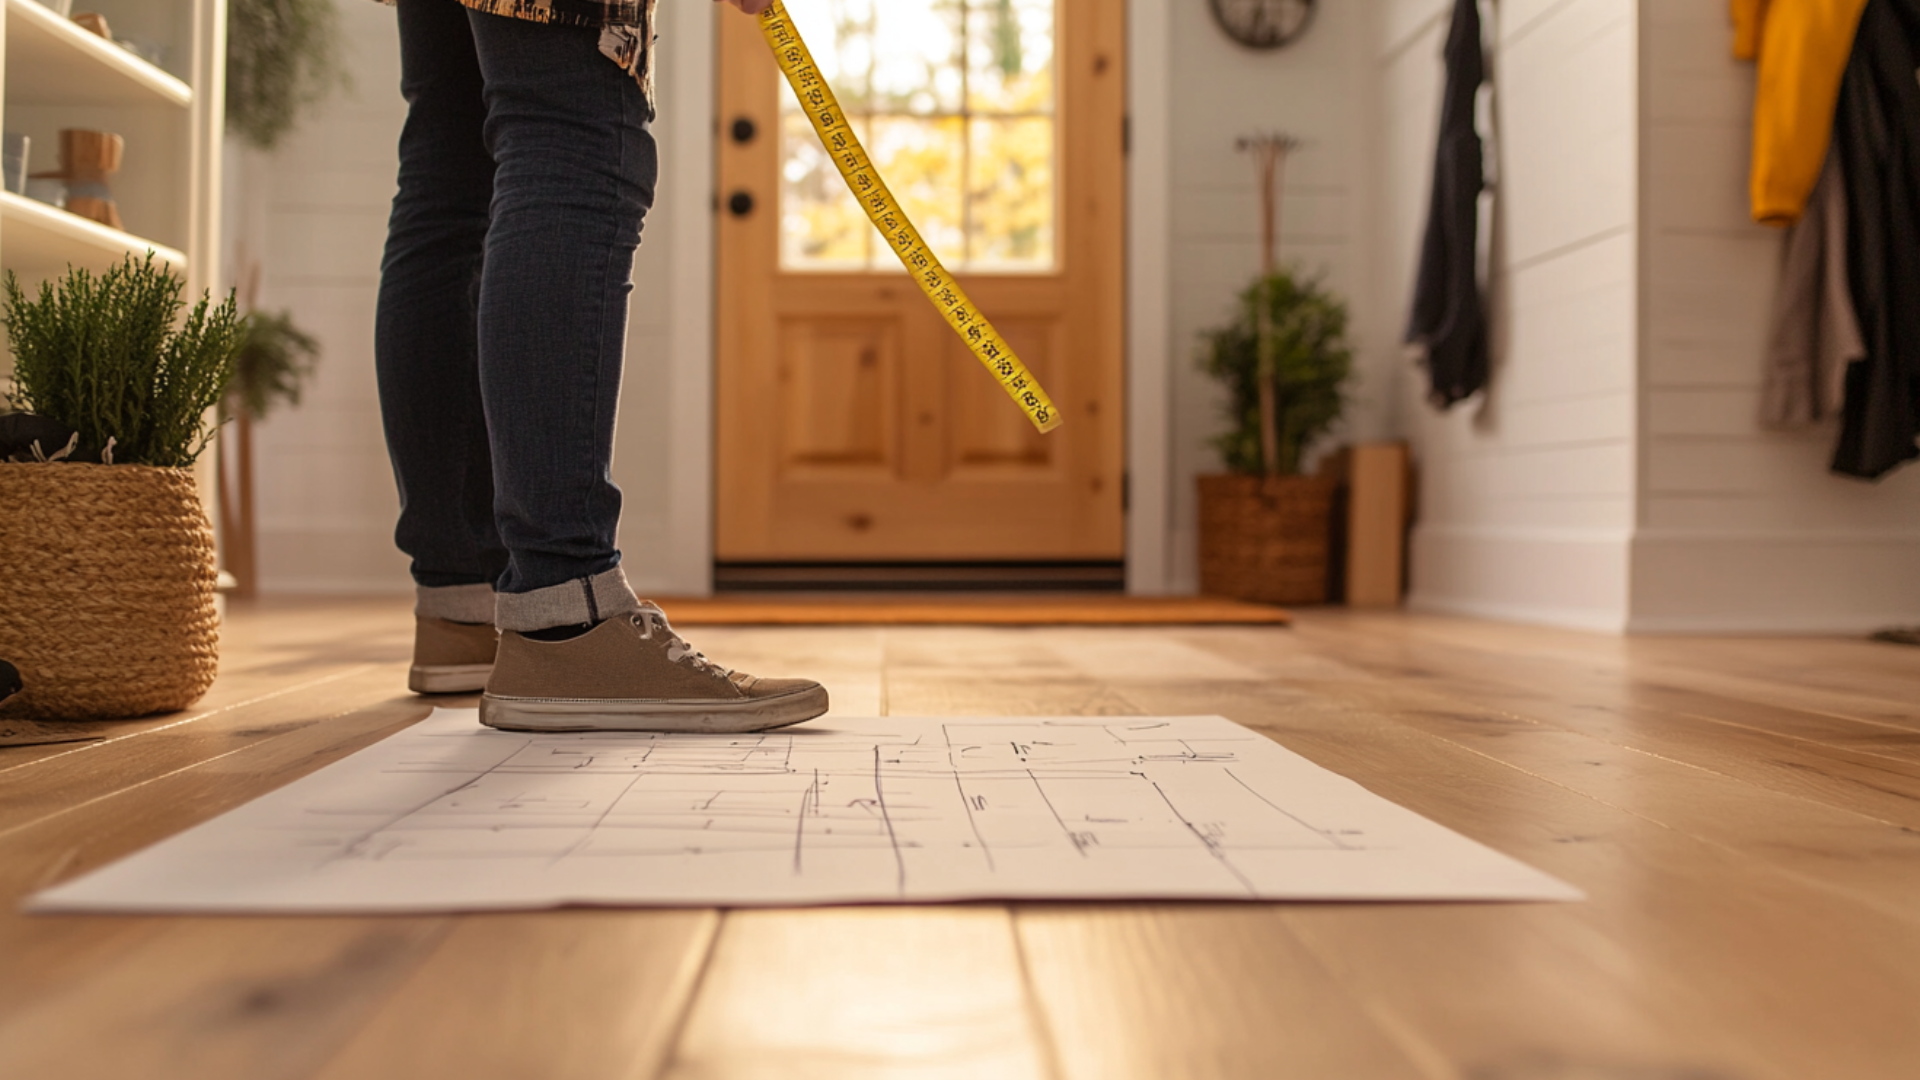
Start by checking the space in your entryway. Then, use measuring tape to get the exact width and height you want.
Think about what style fits your home—simple, country, or modern. Consider whether you need extra storage space for shoes and bags. Draw a simple sketch of your bench with all the measurements.
This will help you buy the right amount of materials and make your building process much easier.
2. Cut Your Wood Pieces
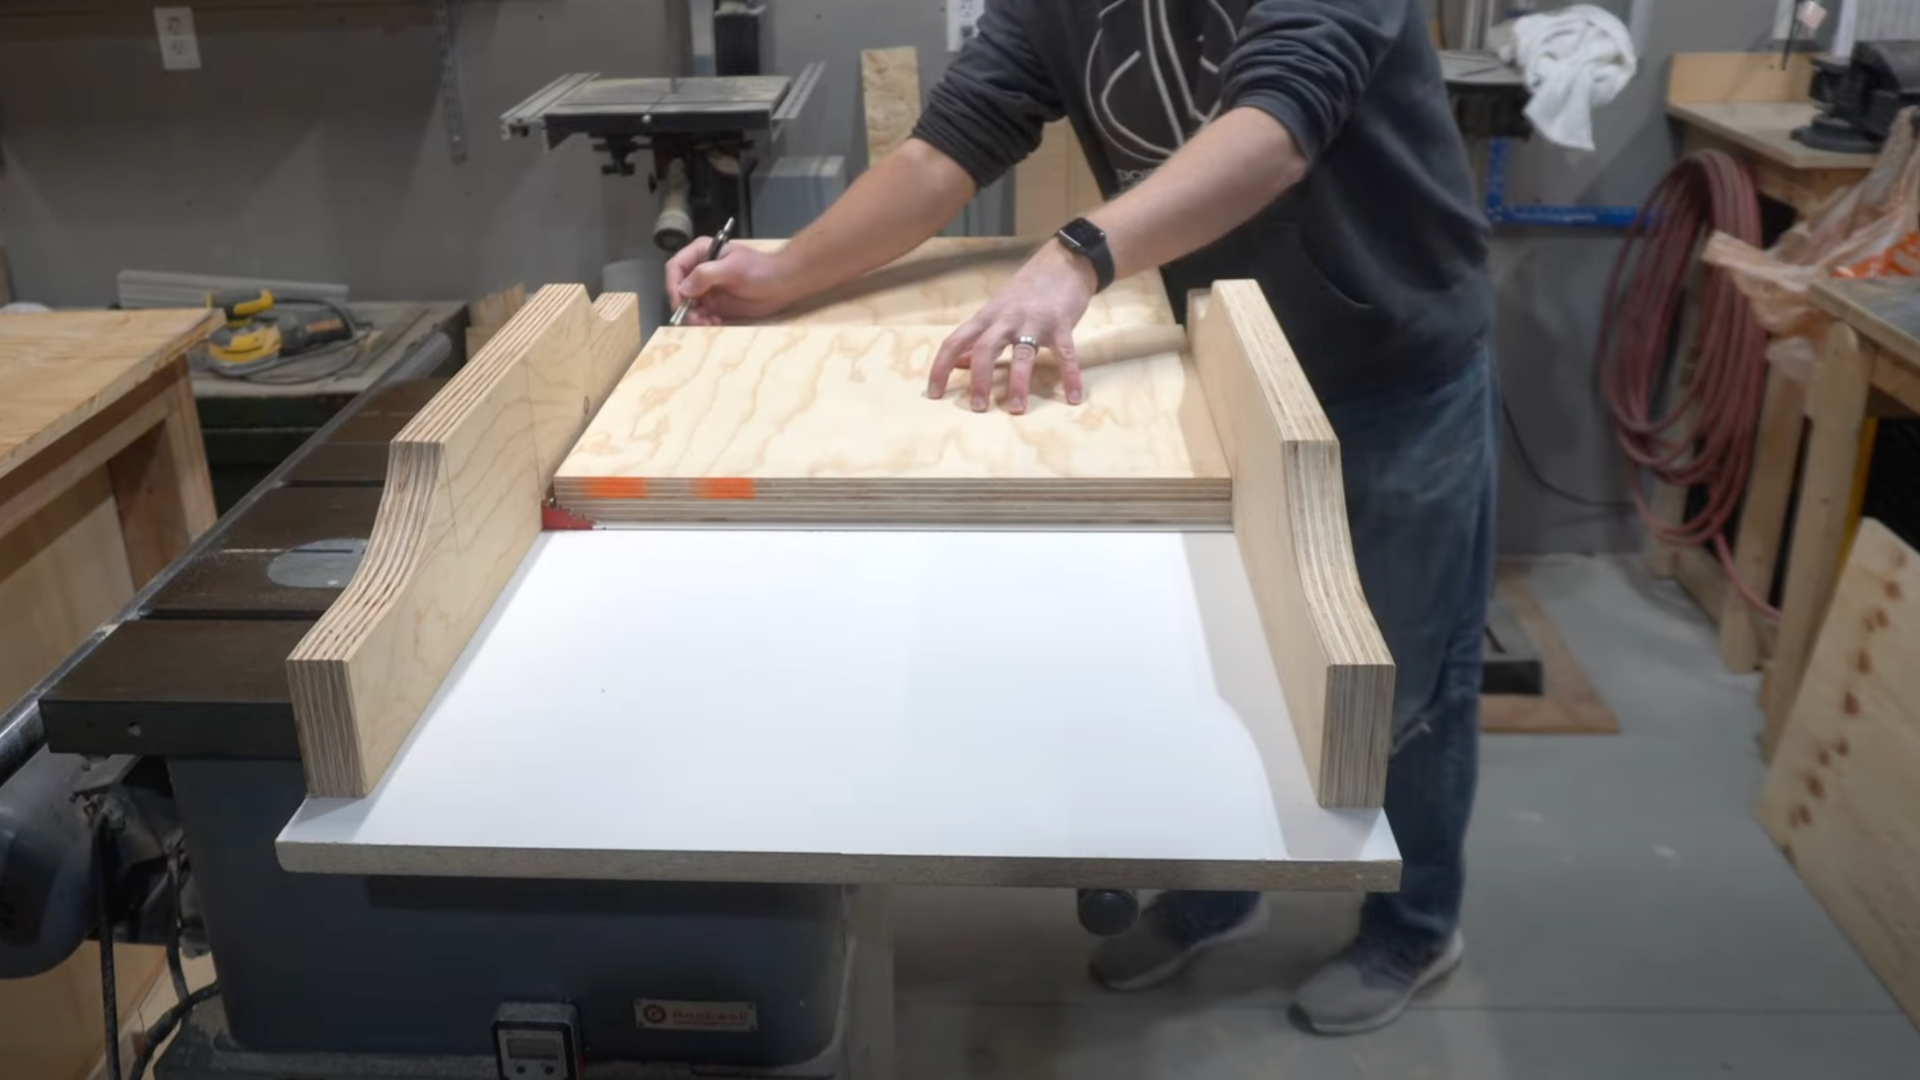
Get your plywood and mark all the pieces you need to cut. You’ll need pieces for the top, sides, and any storage spots.
Mark cutting lines with a pencil. Make sure your measurements are correct before cutting. A saw with a guide will help make straight cuts.
Cut slowly and carefully. After cutting, double-check each piece to ensure it matches your plan. This step will set up your whole project for success.
3. Assemble the Base
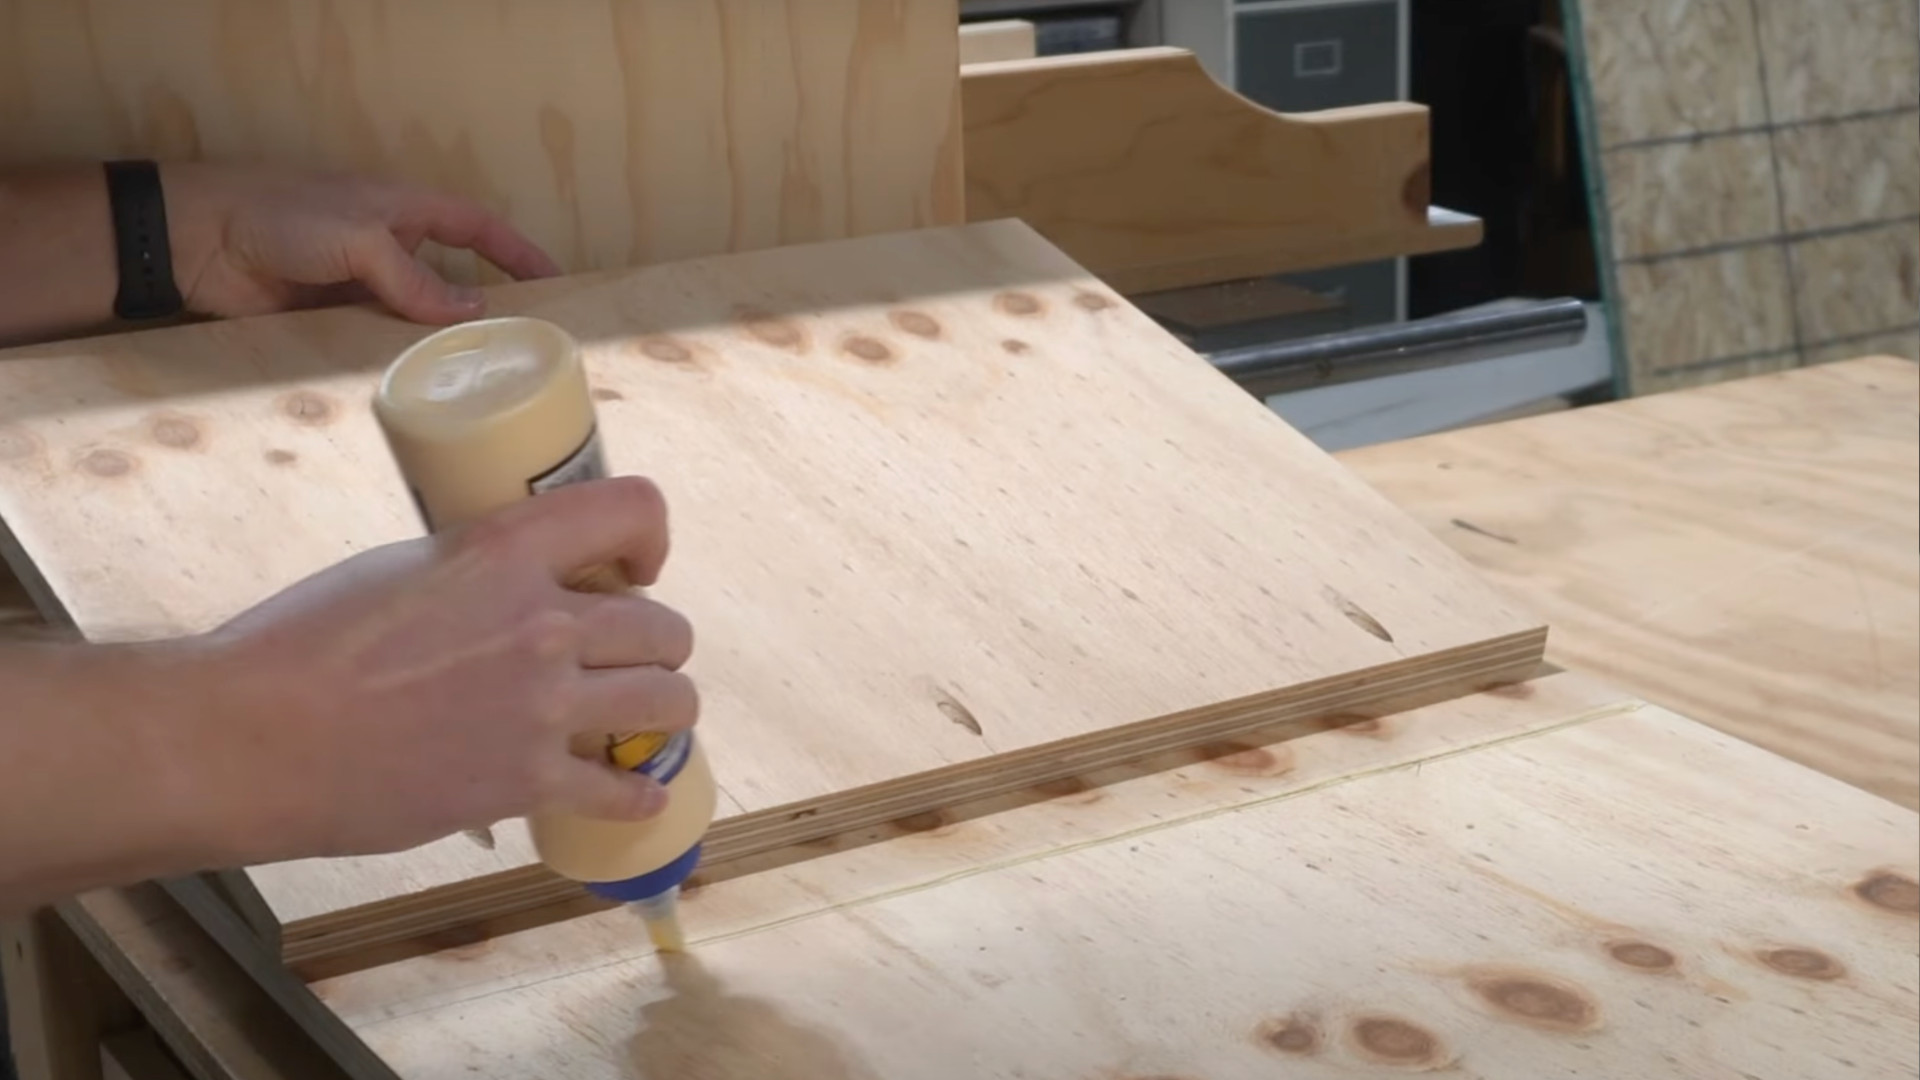
Put wood glue on the edges where the pieces will join. Place the legs against the top piece. Insert screws through pocket holes to hold everything together firmly.
Use clamps to keep the parts from moving while you work. Using a square tool, check that all corners are at right angles.
Let the glue dry fully before moving on. This creates a strong base that will last for years.
4. Add Cubbies
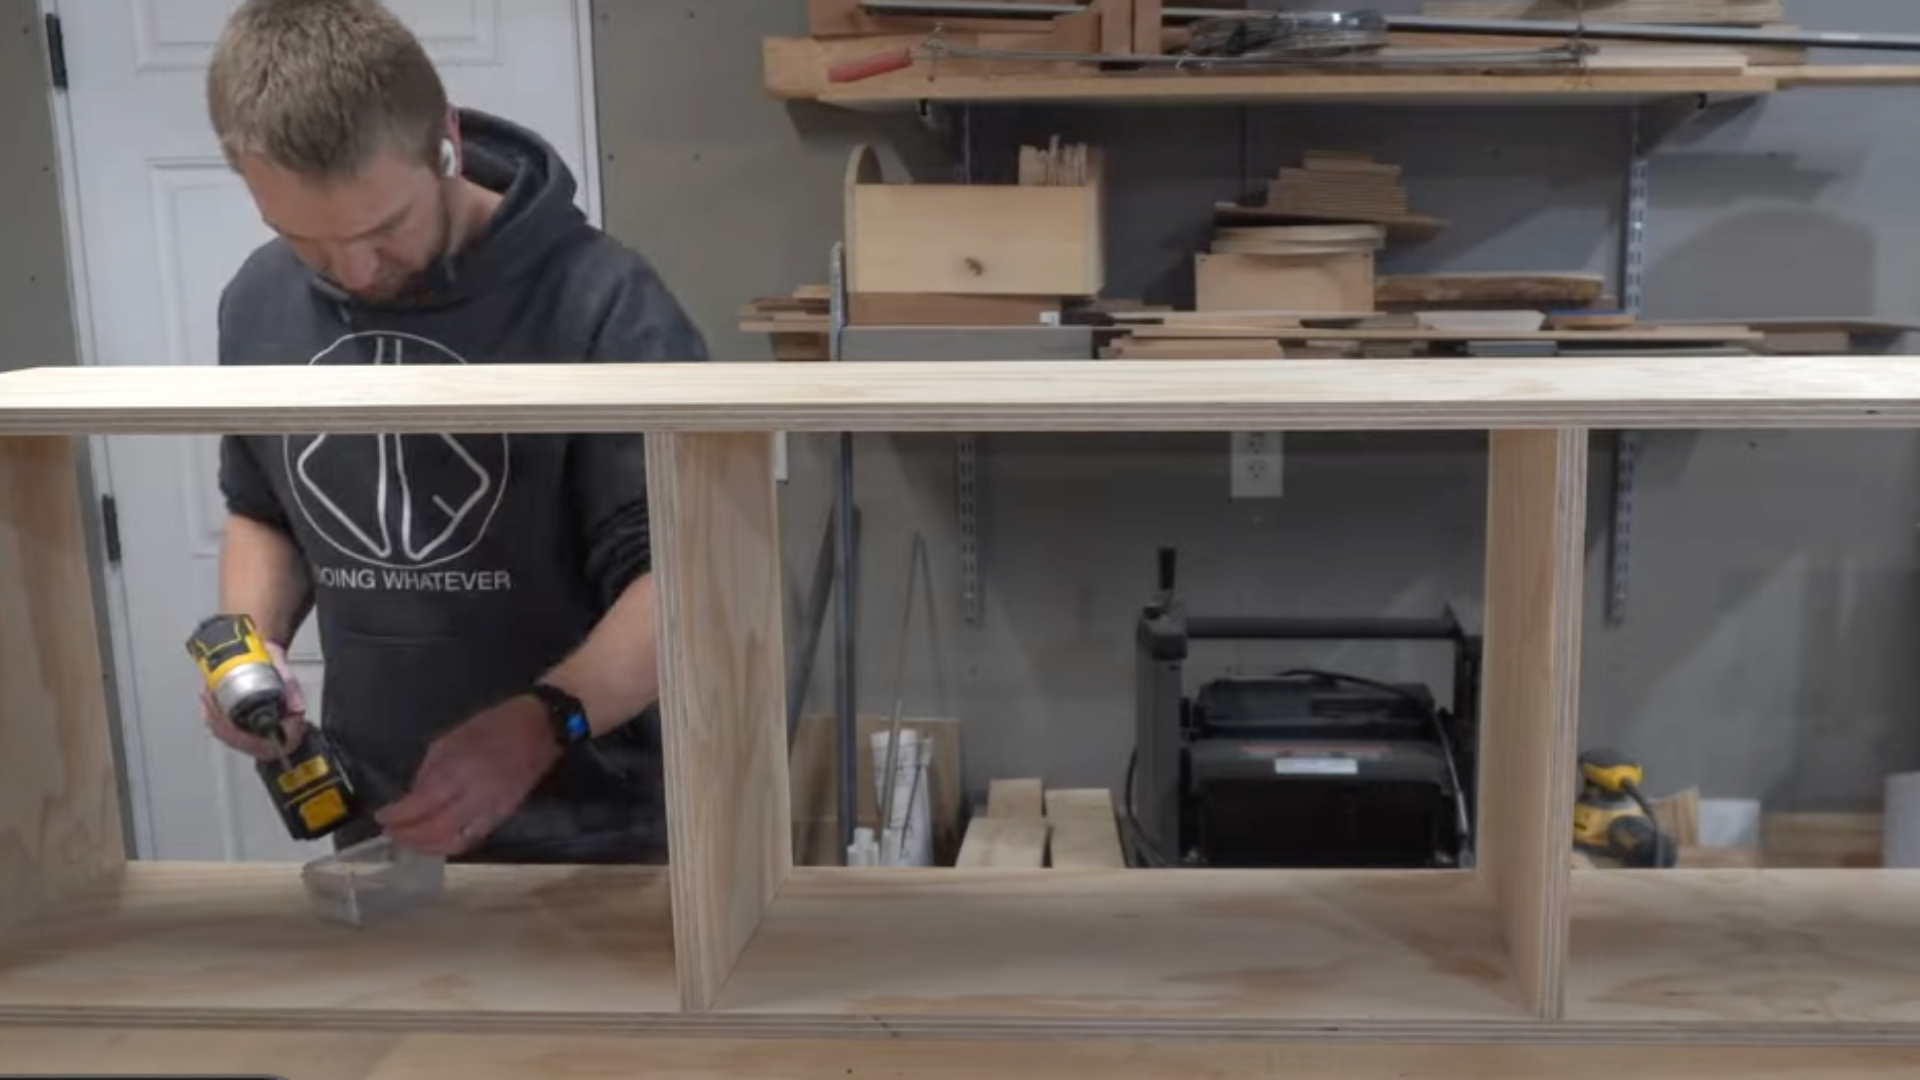
If you want storage spots, now is the time to add them. Cut pieces of wood for dividers and apply wood glue to the edges of these pieces.
Place them evenly under the bench top. Secure each divider with screws from underneath. Make sure they’re spaced to fit the items you plan to store.
These cubbies will give you places to put shoes, bags, or storage bins.
5. Fill and Sand
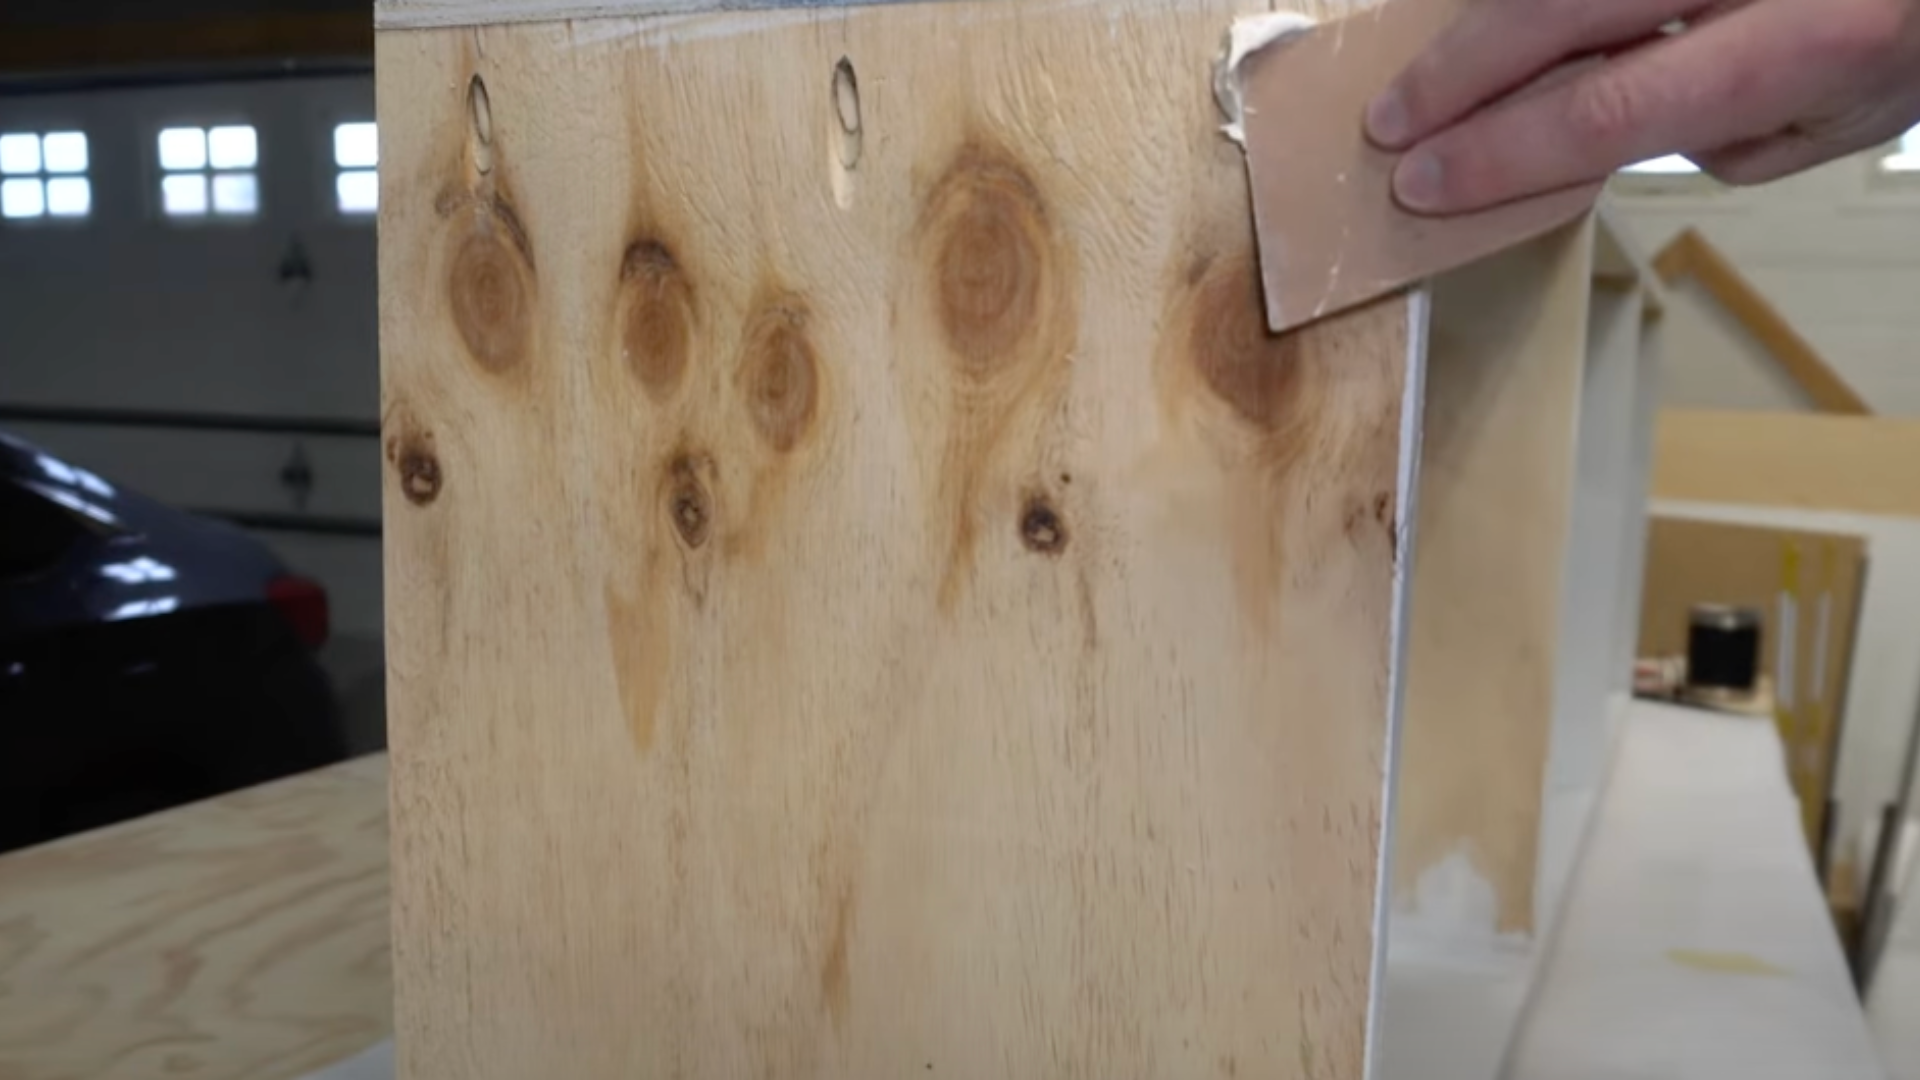
Look for any gaps, cracks, or screw holes in your bench. Fill these spots with wood filler using a small putty knife.
‘Let the filler dry completely. Then, start sanding the entire bench. Begin with rough sandpaper and finish with fine grit.
Sand in the direction of the wood grain. Keep going until the surface feels smooth when you run your hand over it. This step makes your bench look much more finished.
6. Paint or Stain
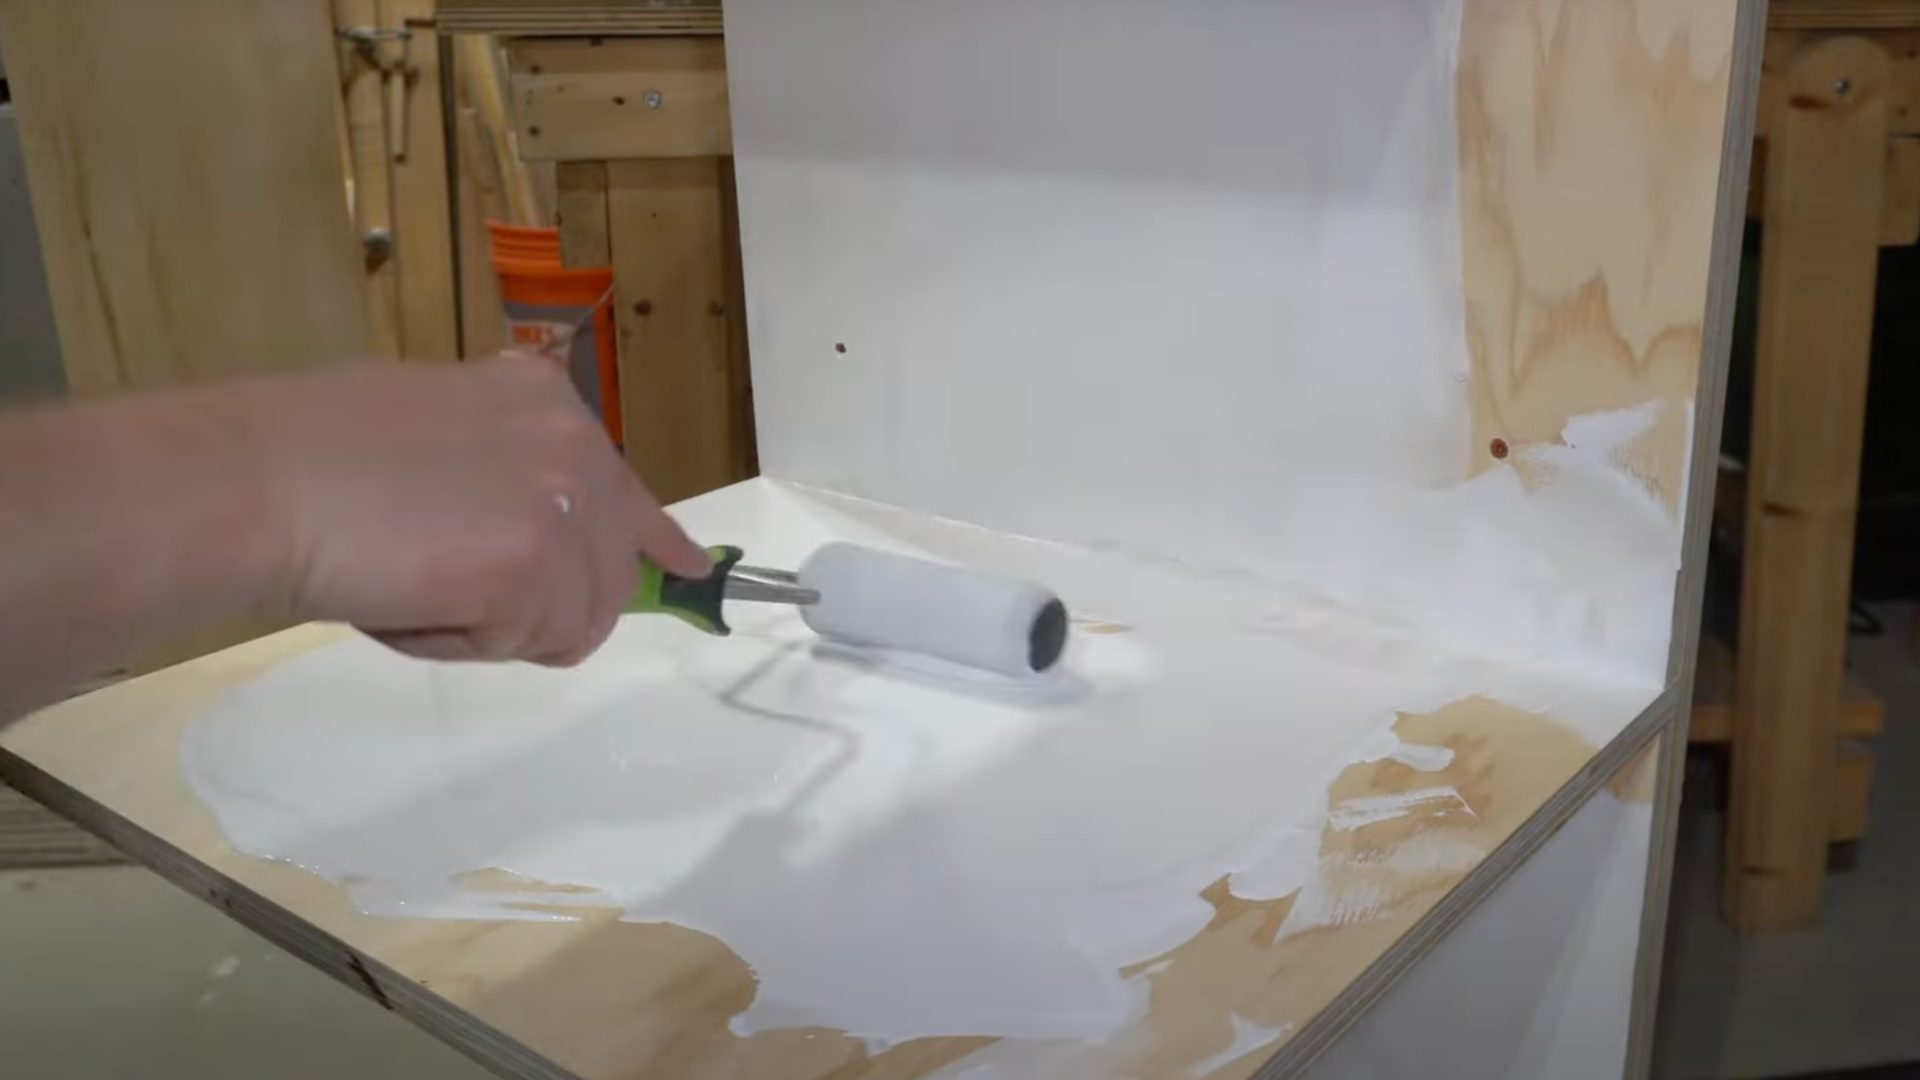
Clean your bench with a damp cloth to remove all dust. Apply primer if you plan to paint, or skip this step for staining.
Use a brush or roller to apply paint or stain in thin, even coats. Work in small sections. Let each coat dry fully before adding another.
Most projects need 2-3 coats for good coverage. This step gives your bench its final look and helps protect the wood.
7. Install Coat Hooks
Choose hooks that match your bench style. Decide how high to place them so coats won’t drag on the floor. Mark spots for each hook with a pencil.
Make sure they’re spaced evenly. Drill small pilot holes to prevent the wood from splitting. Screw in each hook until it’s tight but don’t force it.
These hooks will make your entry area more useful by giving you spots to hang coats and bags.
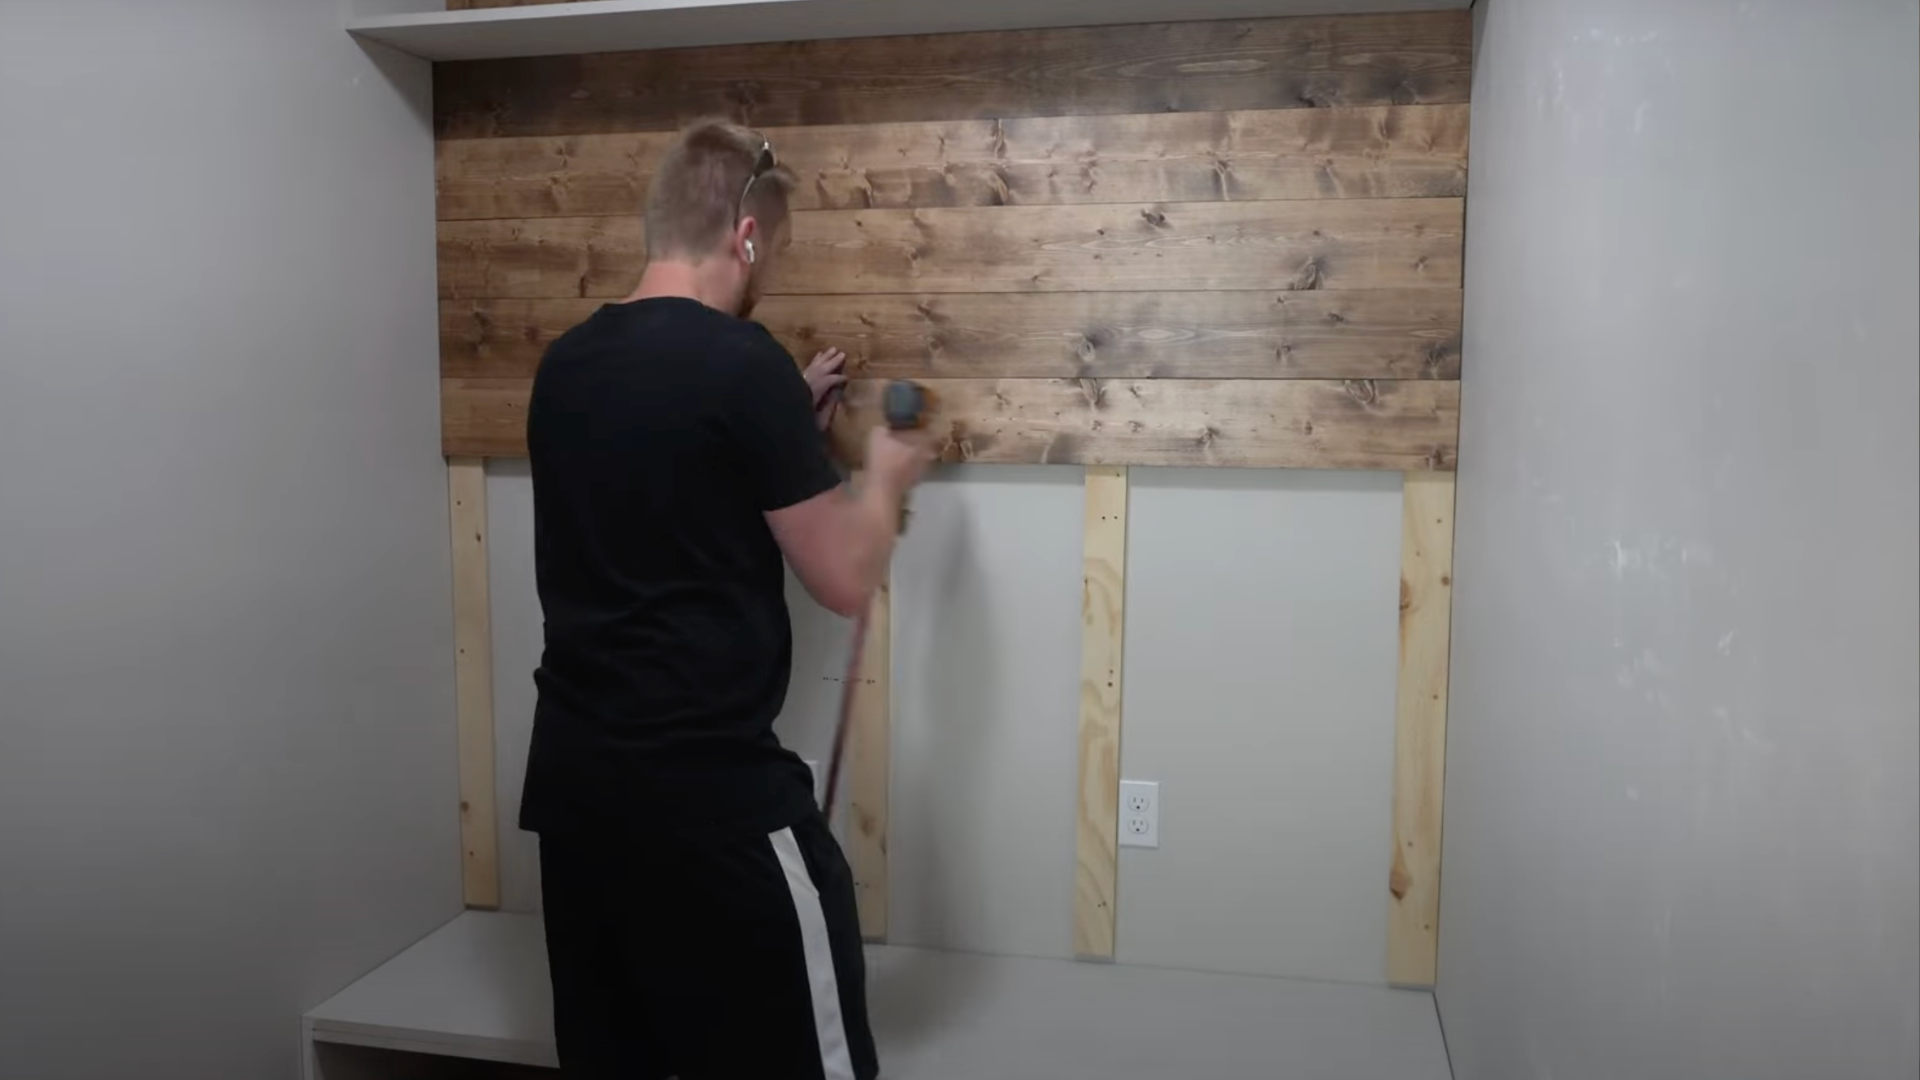
8. Secure the Bench and Final Touches
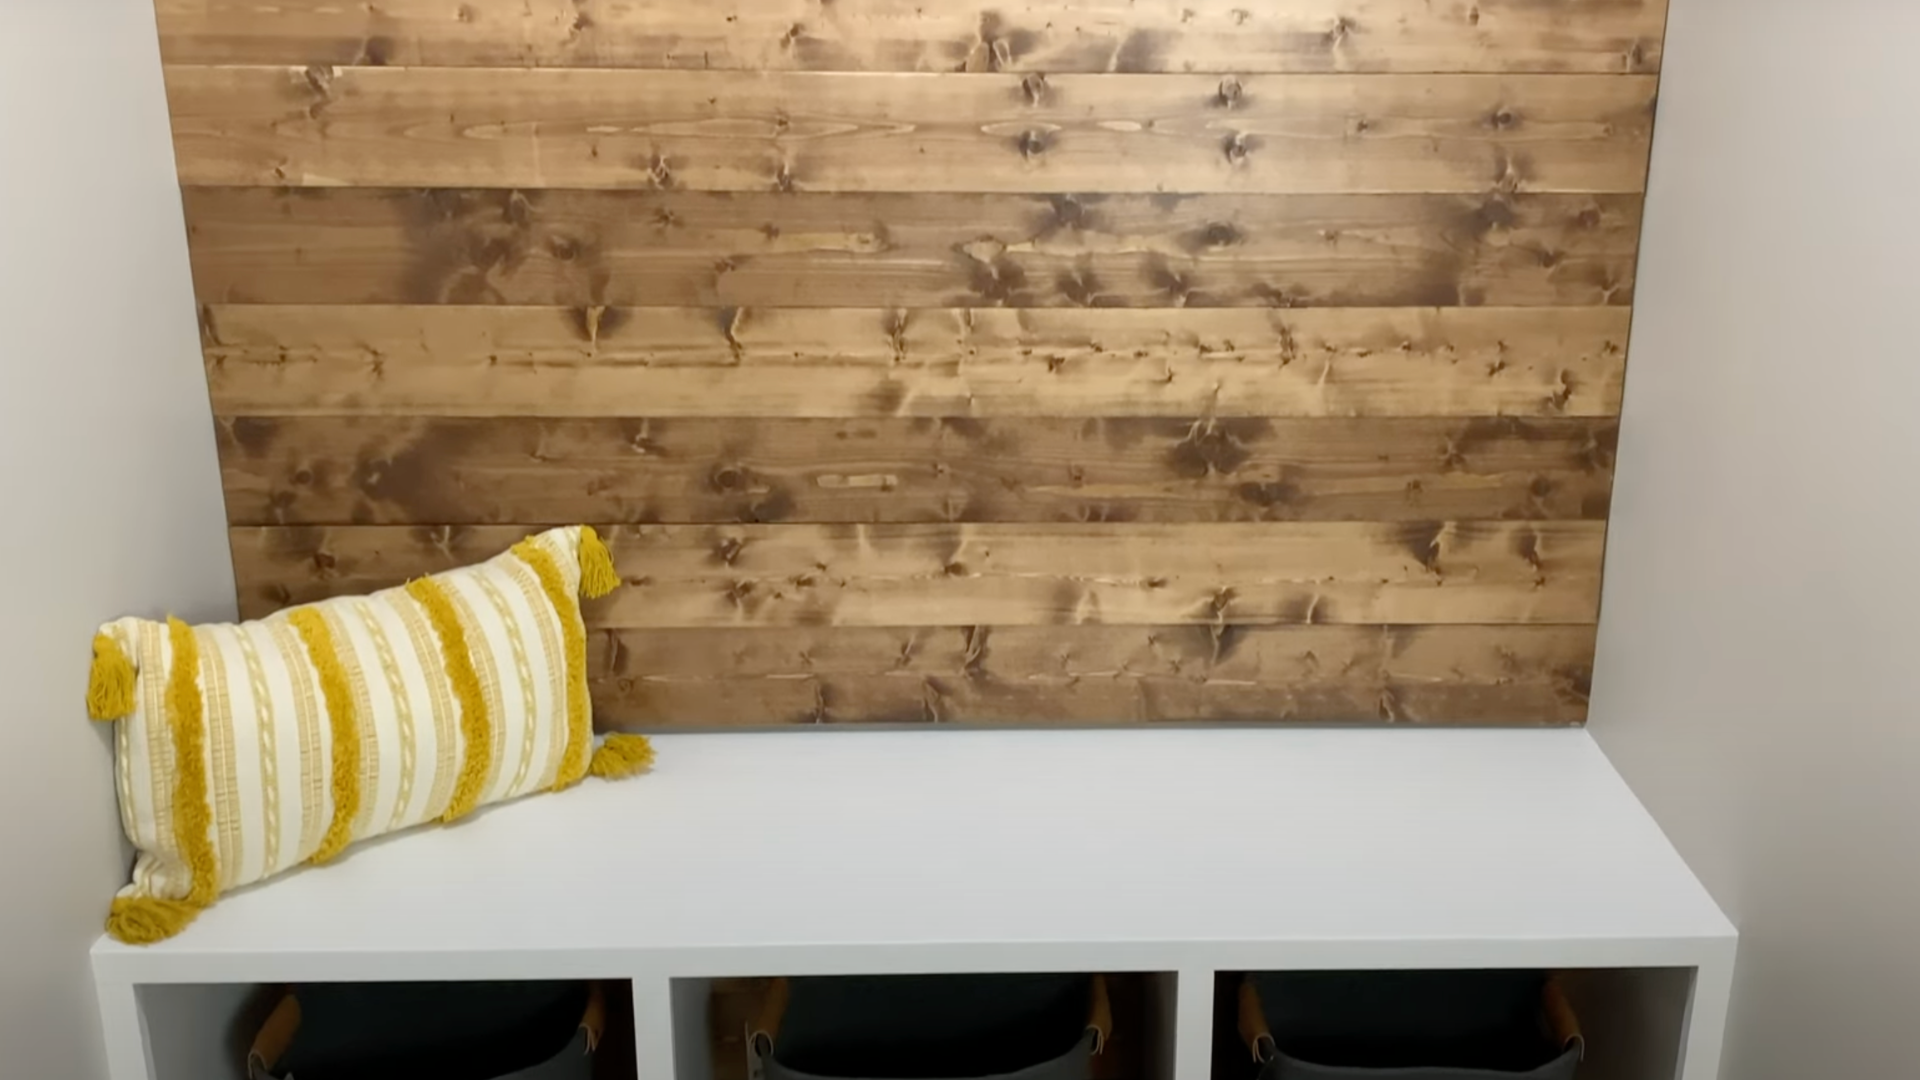
Place your bench in its final spot in your entryway. If it might tip, attach it to the wall with brackets for safety.
If you want, add a small cushion on top for comfort. Place a mat nearby for wet shoes. Add a few small items, like a plant or a tray for keys, to make the space feel like home.
Your new bench will now help keep your entryway clean and organized.
For a detailed explanation of a DIY entryway bench, you can watch Doing Whatever’s YouTube video below.
Design Variations and Customization
You can change your bench to match your home style. There are many ways to make it your own with a few simple changes.
Farmhouse-Style Bench
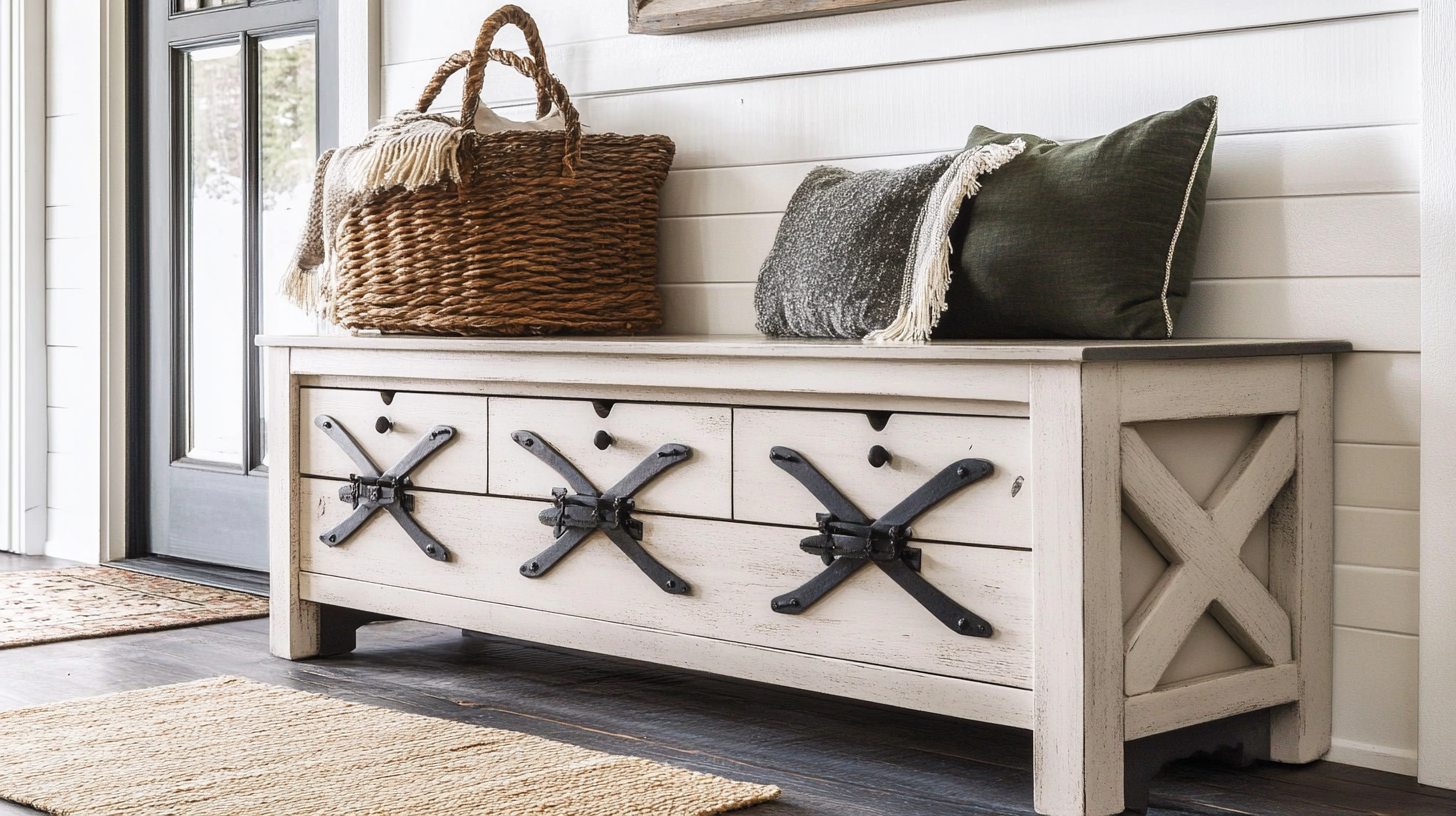
For a country look, use thick wooden boards with visible grain. Paint the bench white or light blue and sand the edges to show some wood underneath.
Add black metal handles to drawers for an old-time feel. Use boards with knots and marks for more character. Attach X-shaped supports on the sides to complete the farm look.
This style works well in homes with warm colors.
Modern and Minimalist Bench
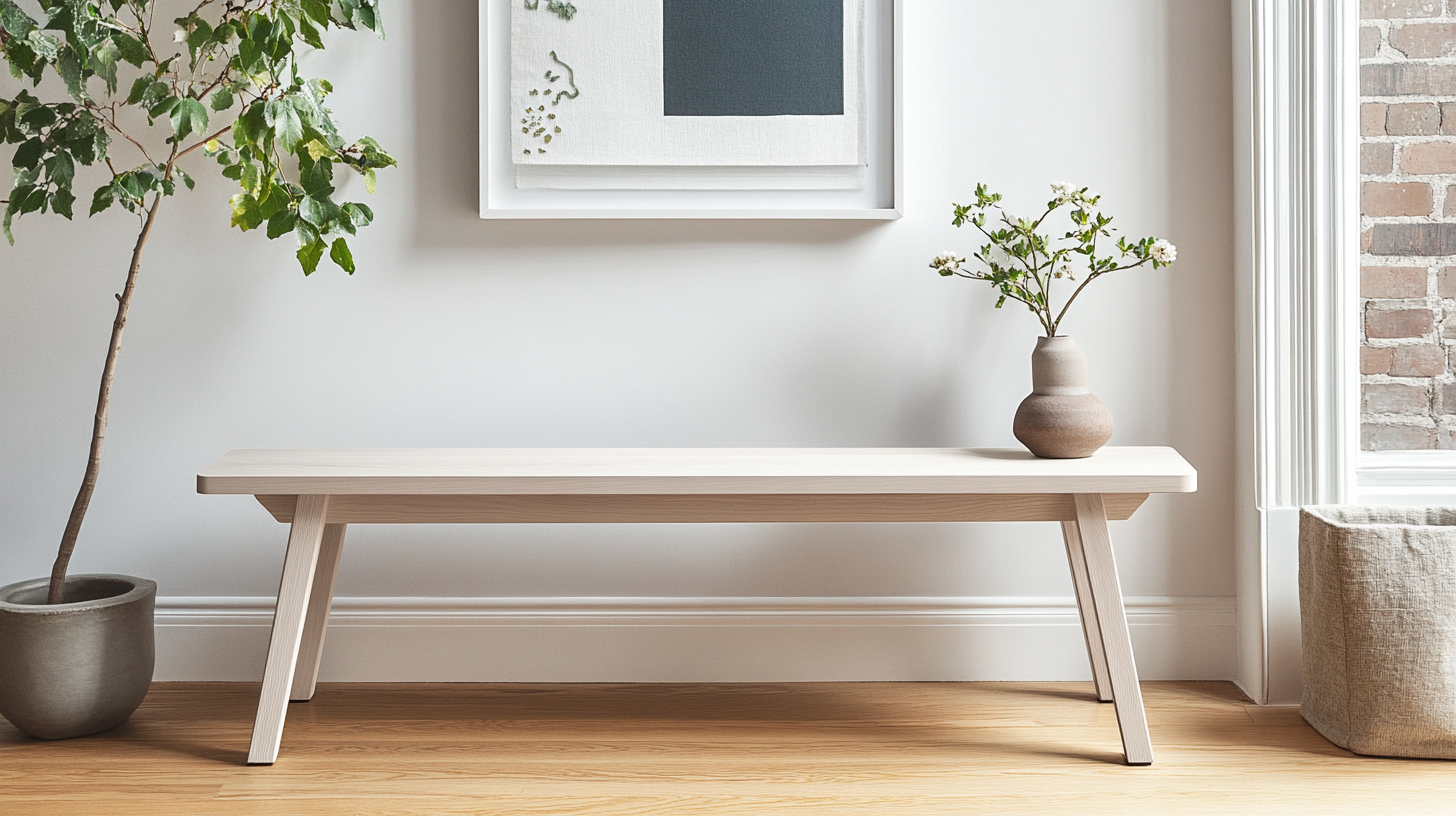
For a clean look, focus on straight lines and simple shapes. Choose plain wood without fancy details. Paint it white, black, or gray to match most rooms.
Keep the legs thin and straight. Skip extra details and focus on good building. Use hidden storage without handles showing.
This type of bench works well in smaller spaces and homes with simple styling.
Adding Upholstery for Comfort
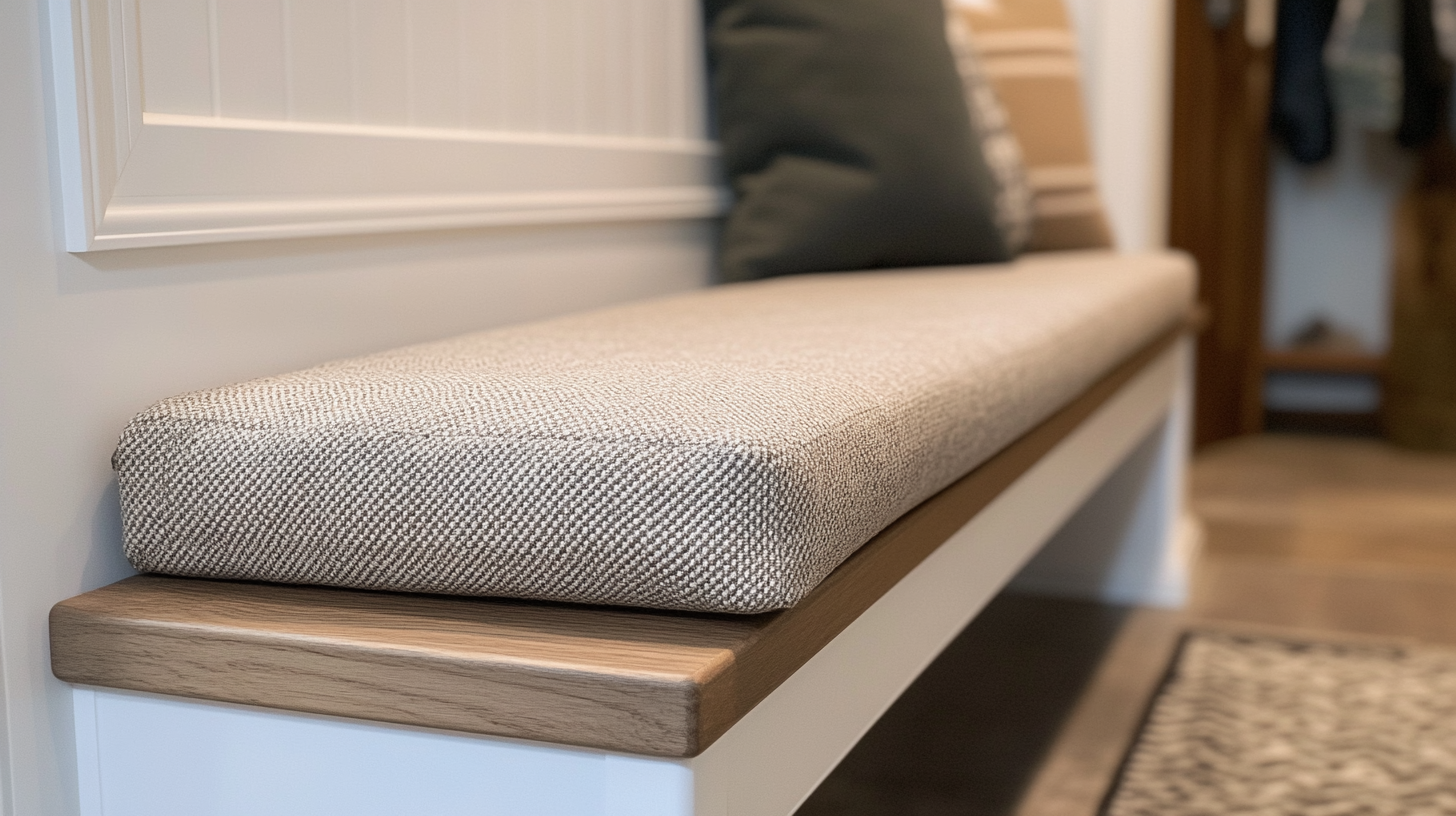
A cushion makes your bench more comfortable. Buy foam from craft stores; 2-3 inches thick works best. Cut it to match your bench size.
Cover it with fabric you like, pulling it tight around the foam. Staple the fabric to a thin board cut to size. Attach this to your bench top with screws from below.
Choose fabric that can be cleaned easily for high-traffic areas.
Maintenance and Care for Your Entryway Bench
Taking care of your bench keeps it looking good for many years. Regular cleaning and checks prevent damage and wear. Small fixes now can stop big problems later. A well-kept bench stays strong and keeps its looks longer than one that’s ignored.
Now, let’s look at some helpful tips to keep your bench in top shape:
- Check for loose screws monthly. Tighten any that have come loose due to regular use.
- When possible, keep the bench away from direct sunlight. Too much sun can fade wood and fabric over time.
- Clean spills right away to prevent staining and warping of the wood.
- Use felt pads under any items kept on top of the bench to prevent scratches.
- Dust weekly with a soft cloth to keep dirt from building up in corners and crevices.
Wrapping Up
Building your DIY entryway bench is easier than you might think. With basic tools and some wood, you can create a useful piece that makes your home more organized.
Remember to measure twice and cut once, and take your time with each step. If you make a mistake, don’t worry – wood filler and paint can hide many small errors. Try adding personal touches like your favorite color or special hooks that match your home.
You could start this project this weekend and have a new bench by Sunday night!
Your front door area will look better, and you’ll feel proud every time you sit on something you made with your own hands.


