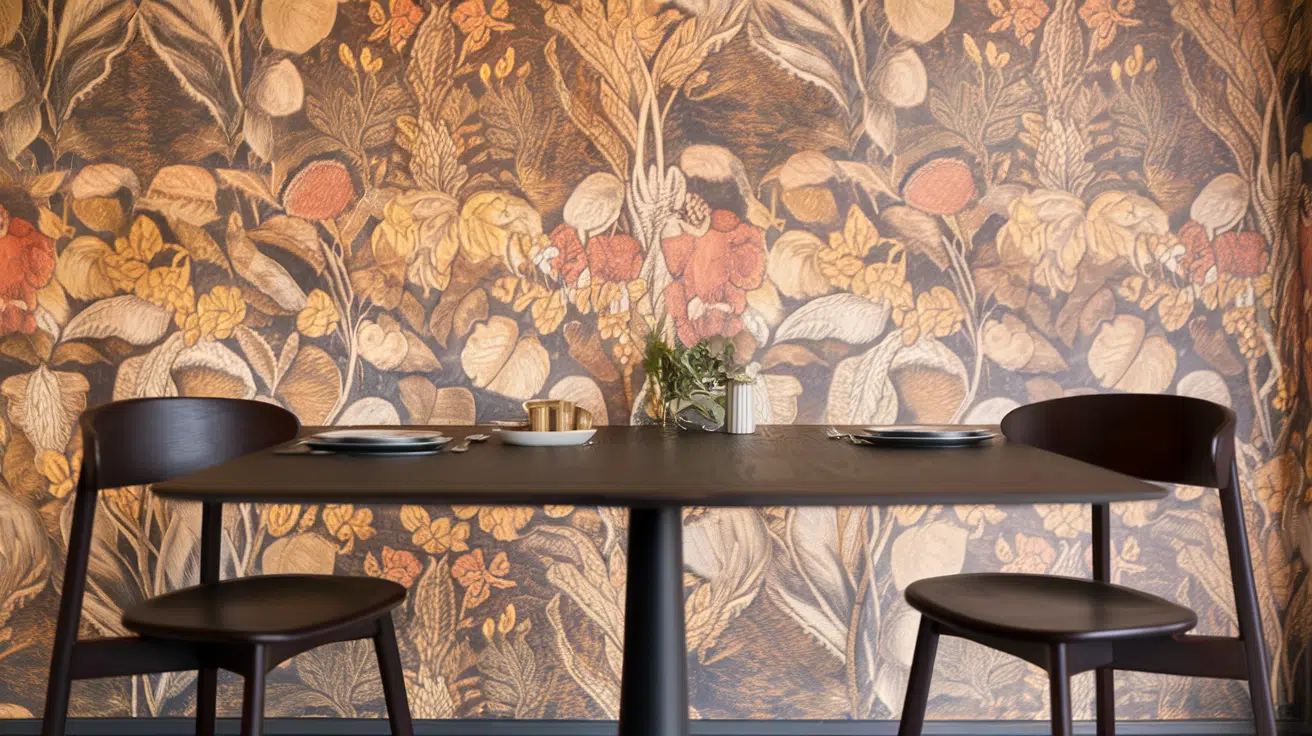
How to Build a Corner Cabinet: A Complete Guide
Ever look at an empty corner and think, ‘I could really use some extra storage there’? You’re not alone.
Corners often go unused, but they have a lot of potential. Making your own corner cabinet is a great way to fix that.
It gives you more space, adds a personal touch to your home, and allows you to build it yourself at your own pace.
You don’t need fancy tools or years of experience. Just a bit of time, a few basic supplies, and a clear plan.
This guide is made for you if you like working with your hands and want something that feels useful and satisfying when it’s done.
Planning Your Corner Cabinet
Think about how the cabinet will fit into your daily life. Will it hold towels, books, or kitchen tools?
The size and shape should match what you need and where you plan to place it. Once you’ve decided on its use, it’s easier to sketch a basic layout and get ready to measure.
Cabinet Types and Uses
There are two main types of cabinets:
- Floor-standing: These sit on the floor and work well in living rooms, kitchens, or bathrooms. They can hold towels, cookware, or books.
- Wall-mounted: These hang on the wall, making them great for tight spots or when you want something off the ground.
Think about how much storage you need and what you’ll be putting inside. That will help you decide the shape, size, and depth.
Measuring Your Space
Start by measuring the wall space where your cabinet will go. Corners can be tricky, especially if the walls are not at perfect angles.
- Use a measuring tape and measure both walls from the corner out.
- If the walls meet at something other than 90 degrees, use an angle finder.
- Don’t forget baseboards or moldings, as they can affect how your cabinet sits against the wall. Measure them too, and subtract the thickness from your final size.
Tools and Materials for a Corner Cabinet
You don’t need anything fancy to get started. A handful of reliable tools will carry you through most of the work.
The basics, such as a saw, drill, clamps, and measuring tape, are usually enough. If you already have a small workspace at home, you’re likely good to go.
Essential Tools
When you’re getting started on your corner cabinet project, you don’t need a whole workshop. Just a handful of tools will help you get clean cuts, strong joints, and a good finish.
These are the basics that work well for most people and can handle every step from cutting to assembling.
- Kreg Jig – for making pocket holes that keep your screws hidden but strong
- Circular saw or table saw – to cut your panels to size
- Drill and bits – to make holes and drive screws
- Wood glue – for extra grip between wood joints
- Bar clamps – to hold pieces together while glue dries
- Measuring tape and square – for accuracy and straight lines
- Pencil – to mark your cuts and hole locations clearly
With these in your toolbox, you’re off to a solid start.
Material Options
You’ve got a few good choices when it comes to materials for your corner cabinet.
Plywood is a solid pick for the frame because it’s strong, holds screws well, and comes in large, easy-to-cut sheets.
MDF is another option with a smooth surface that takes paint nicely, but it doesn’t hold up well around moisture.
Reclaimed wood gives your cabinet a more worn, lived-in feel. Just make sure the boards are clean, dry, and safe to work with.
For the hardware, grab some hinges if you’re adding a door, and knobs or pulls for easy opening. If you’re building a floor-standing piece, consider adding legs to lift it slightly off the ground.
Step-by-Step Guide to Make a Corner Cabinet
Building your corner cabinet step by step makes the process easier to handle. You’ll begin by cutting your panels based on the size you measured.
Once that’s done, you can move on to assembling the frame using glue, screws, and clamps.
After the frame is secure, you’ll add the face frame, shelves, and top piece. Take your time with each part and check your measurements along the way to keep things neat and steady.
Step 1: Cutting the Panels
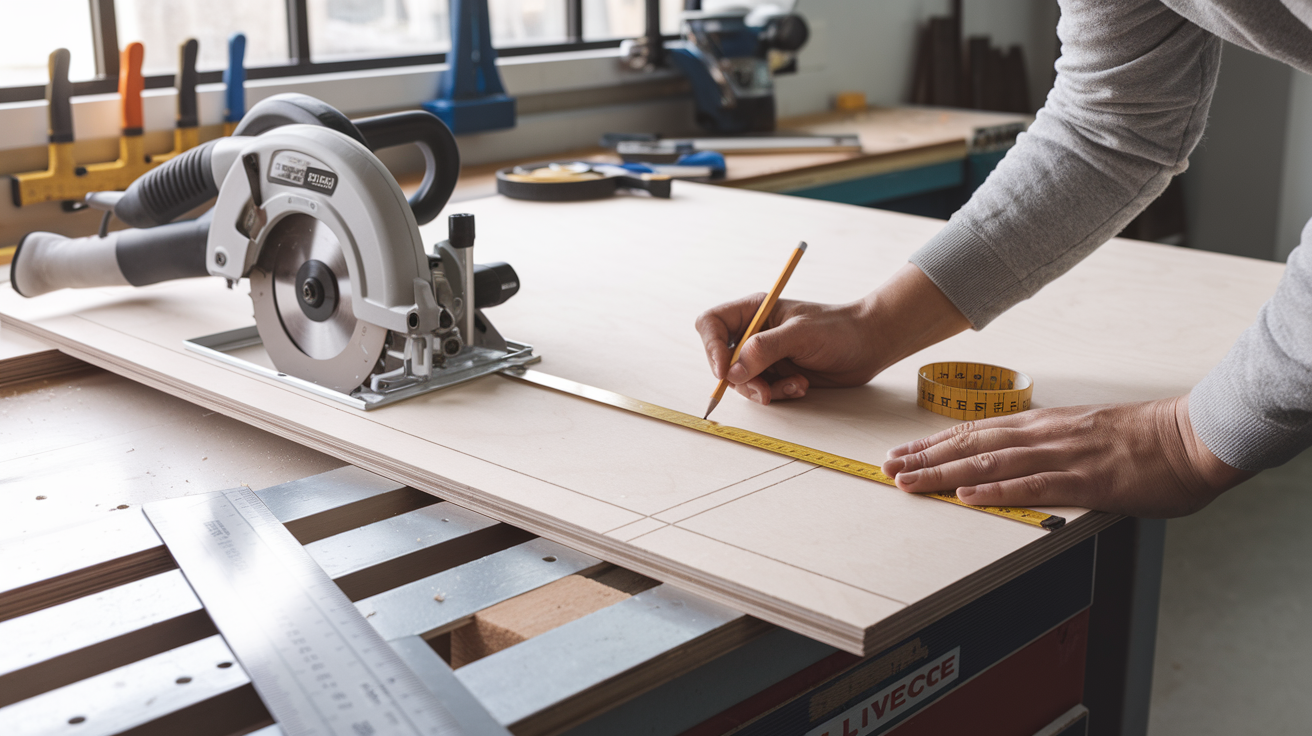
Start by measuring and marking all your cuts clearly on your wood. Cut the side panels, back panels, and any interior shelves using a circular saw or table saw.
If your corner isn’t perfectly square, you’ll need to cut the angles to match. For a cabinet with a triangle shape, be sure to plan and mark where the front face will go.
Keeping your lines clean and accurate here will help everything come together more smoothly later.
Step 2: Assembling the Frame
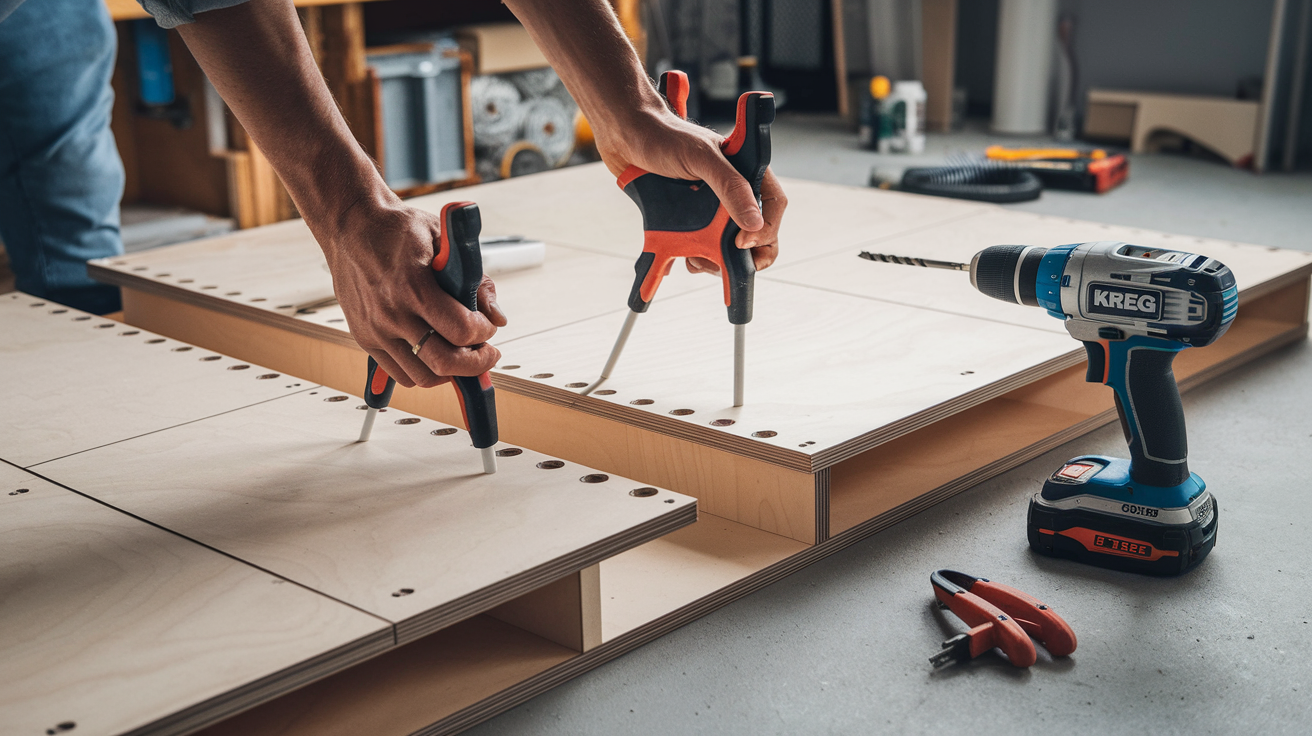
Once all your pieces are cut, lay them out in order. Use wood glue at the joints to hold things in place and secure everything with clamps.
Then drill pocket holes using a Kreg Jig to connect the parts without showing screws on the outside.
Take your time lining everything up before fastening so the frame stays solid and square.
Step 3: Adding the Face Frame
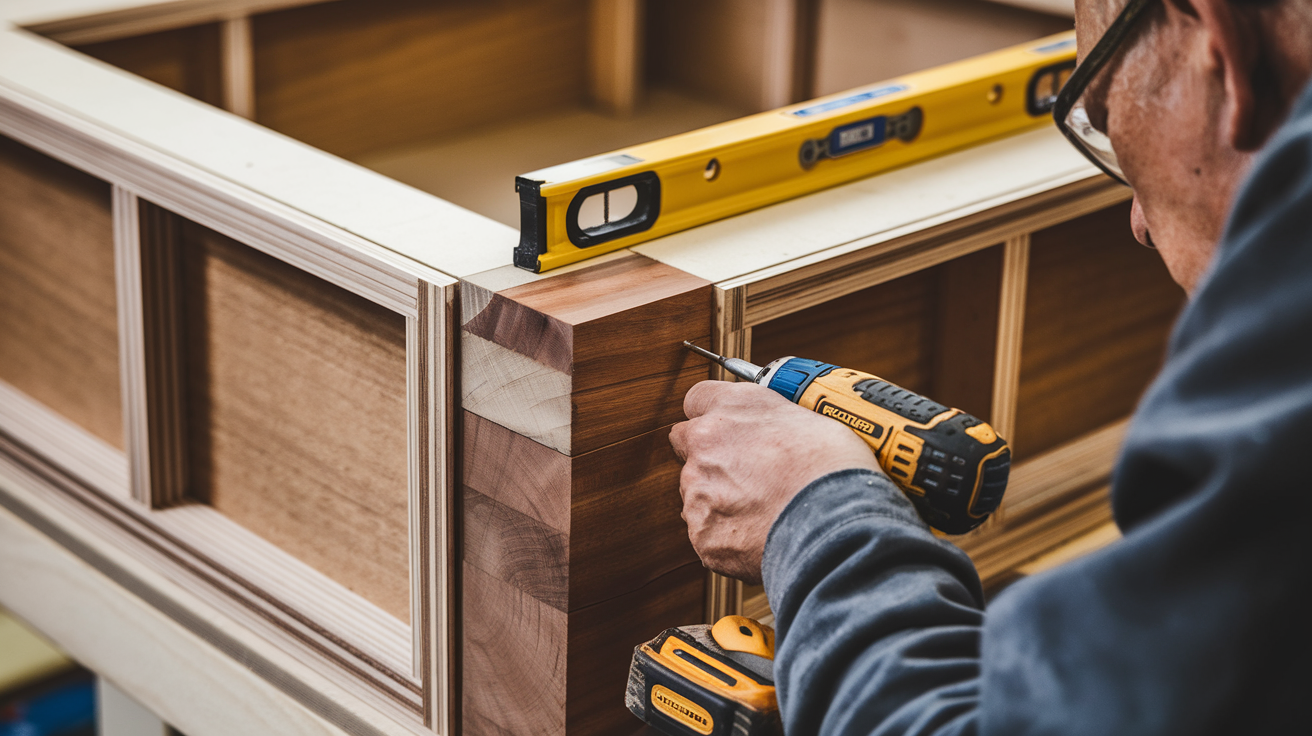
The face frame covers the edges and gives your cabinet a finished front. Cut your face frame pieces to fit around the front opening, then check that they’re straight with a level.
Attach the frame with nails or screws, making sure all corners are tight and flush. This step helps the cabinet look neat and feel more stable.
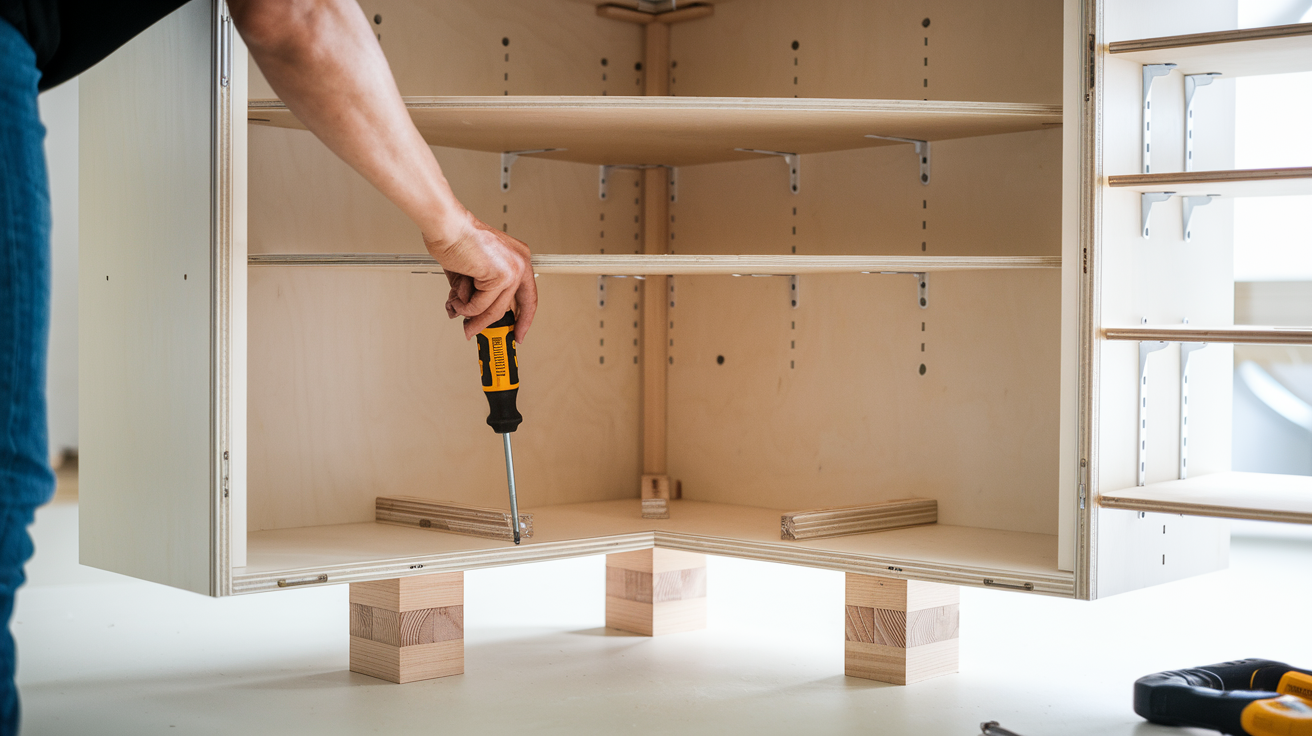
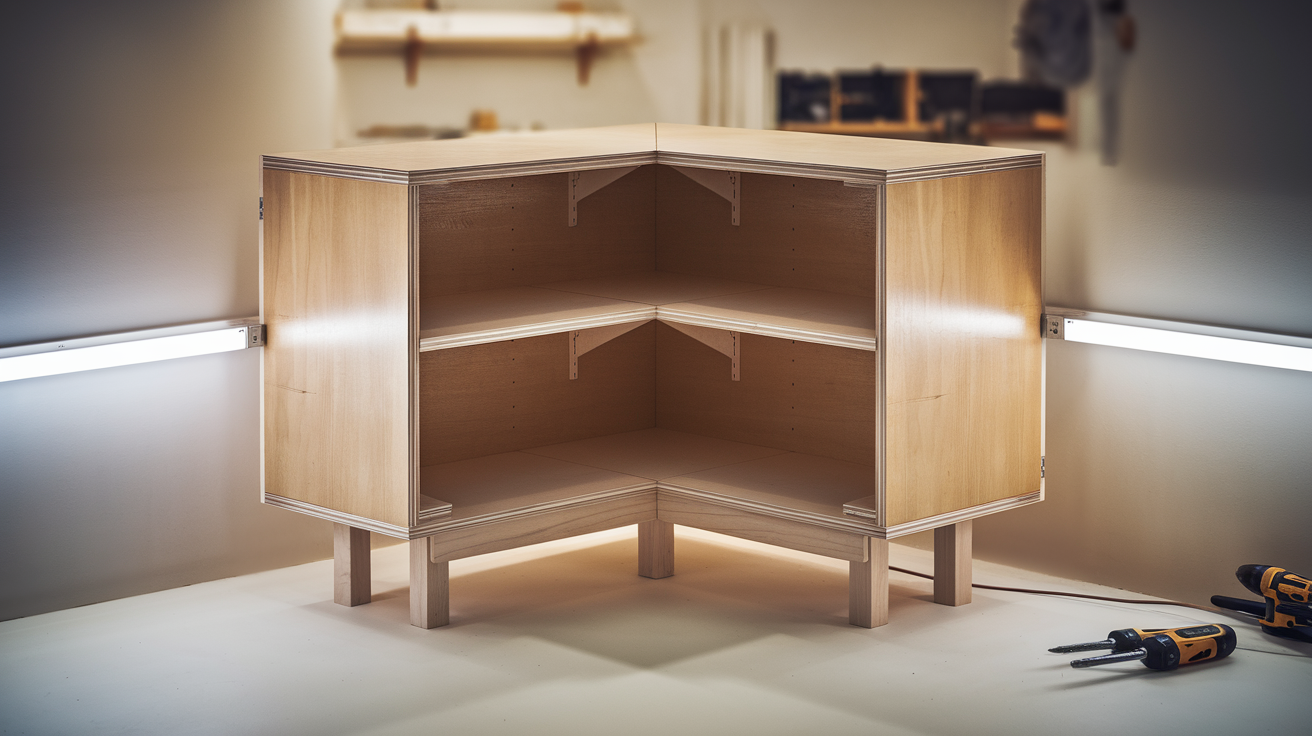
Step 4: Shelving and Leg Options
You can choose to add either fixed or adjustable shelves, depending on what you need the cabinet to hold.
If you’re building a floor-standing cabinet, now’s the time to attach the legs. You can use store-bought legs or blocks of wood cut to size.
Raising the cabinet a bit also helps with cleaning and protects it from floor moisture.
Step 5: Creating and Attaching the Top
The last main piece is the top. Cut it to match the shape of your cabinet, checking the fit before attaching.
If you want soft edges, use a router to smooth the sides. When using MDF or similar materials, make sure to sand the surface and seal it to protect it from wear or moisture.
Once everything is dry, fasten the top in place with screws from inside the cabinet.
Corner Cabinet Finishing Ideas
You can shape your corner cabinet to fit your space and taste. Add a door if you want to hide the inside, or leave it open for easy access.
Paint, stain, or sand it for a clean finish that works with the rest of your room. You can even use beadboard or wallpaper on the back panel to bring in some pattern or texture.
1. Adding a Door or Leaving It Open
Adding a door to your corner cabinet can help hide items you don’t want out in the open, like cleaning supplies or cables.
On the other hand, leaving it open keeps things easy to grab and gives it a lighter feel.
Think about what you’ll store and how the space around the cabinet will look. You can even reuse an old cabinet door or window frame if it fits well.
Just make sure your hinges are installed evenly so the door swings the right way and lines up properly.
- Repurpose an old cabinet door or window
- Go door-free for quick access
- Use soft-close hinges to avoid loud slams
2. Paint, Stain, and Distress Options
Painting or staining your cabinet is another way to make it feel like part of your room.
Try to match the color with other furniture or go for a contrast if you want it to stand out.
If you’re using reclaimed wood, a light sanding followed by a wood stain can bring out its natural tone. Let each coat dry before handling or adding knobs and handles.
- Flat black for a bold, clean look
- White or robin’s egg blue for a soft, airy touch
- Natural stain for a warm, rustic feel
3. Using Beadboard or Wallpaper Backing
To finish off the inside, think about using backing that adds a little texture or color. This step is small but can make the whole piece feel more complete.
Beadboard works well if you want something simple and clean. For a bit of fun, wallpaper can bring in a pattern or color that ties into the rest of the room.
- Beadboard for a classic wood-paneled look
- Wallpaper for color or pattern
- Attach it with wood glue or finishing nails
Troubleshooting Tips for a Corner Cabinet
Things can go a little off during the build, and that’s completely normal. If your cabinet door doesn’t line up right, check the hinges first.
Make sure the cabinet is level on all sides before adjusting anything else. If the cabinet isn’t sitting close to the wall, it could be the baseboard or an uneven floor.
In that case, you might need to add a small shim to balance it out. And if the frame looks off or feels a bit twisted, it’s probably not square.
A measuring square can help with that—check your corners as you go and tighten everything with clamps before driving in the screws.
Wall-Mounting vs. Free-Standing Cabinets
If you’re mounting the cabinet on a wall, start by finding the wall studs. Use a stud finder to mark them clearly.
These spots will give your cabinet the support it needs. Use strong screws that can hold the weight of the cabinet and anything you plan to store inside.
It’s helpful to have another person nearby to hold the cabinet in place while you check that it’s level. A simple level tool will do the job.
If the corner where you’re working isn’t a perfect angle, try making a cardboard template first. This will help you cut the back and sides so they match the wall shape more closely.
Conclusion
You’ve now got a clear plan to build a corner cabinet that works for your space and your needs. We walked through tools, materials, step-by-step building, and ways to make it your own.
From measuring the space to adding personal touches, each part was broken down to keep things simple.
You don’t have to be an expert to start. Just go at your own pace, and don’t stress if it’s not perfect. What matters is that it’s something you made with your own hands. That feeling sticks with you.
When you’re ready, take what you’ve learned and start building. If you found this helpful, pass it along to someone else who might need it, too.
Looking for more DIY help? Read our other blogs for beginner-friendly projects, tips, and guides you can actually use.