How Long Does Wood Filler Take to Dry?
Waiting for wood filler to dry can test your patience. You’re ready to move forward with your project, but that patch of filler is holding everything up.
How long do you really need to wait? This guide cuts through the confusion with clear answers about drying times.
You’ll learn what affects drying speed, how to check if it’s ready, and simple tricks to speed things up safely.
If you’re fixing small holes or large cracks, knowing exactly when your filler is dry will save you from ruining your hard work.
Let’s get your wood repairs done right the first time.
What Is Wood Filler?
Wood filler is a handy material used to fix holes, cracks, and surface imperfections in wood. After drying, it creates a smooth, solid surface that can be sanded, painted, or stained.
Whether repairing furniture, floors, or wood trim, wood filler helps restore the wood’s original look. It comes in two main types: water-based and solvent-based.
Each serves different needs depending on the project. Choosing the right kind of filler ensures a strong repair and a cleaner finish, helping the wood look as good as new once the job is done.
Types of Wood Filler
Wood fillers come in two main types: water-based and solvent-based. Each option offers different drying times, strengths, and ease of use, depending on the needs of your repair project.
Water-Based Wood Filler
Water-based wood filler is a go-to choice for indoor repairs and quick fixes. It’s lightweight, easy to apply, and dries much faster than other types—often within 15 to 30 minutes for small holes or surface scratches.
This type of filler is also easy to clean up using just soap and water, making it beginner-friendly. It doesn’t have a strong smell, so it’s great for use in kitchens, living rooms, or other enclosed spaces.
Water-based fillers are paintable and can also be sanded down to a smooth finish. However, they aren’t the best choice for high-traffic areas, furniture that gets bumped a lot, or outdoor use. Over time, heavy use or moisture can cause them to shrink or break down.
Solvent-Based Wood Filler
Solvent-based wood filler is made for repairs that need to last. It takes longer to dry—anywhere from several hours to a full day—but creates a hard, durable finish that stands up to moisture, weather, and impact.
It’s a better fit for outdoor wood, structural repairs, or high-wear areas like floors and doors. It sticks well, doesn’t shrink much, and handles heavy sanding without falling apart.
One drawback is the cleanup. You’ll need mineral spirits or acetone to clean your tools afterward. It also gives off a strong odor while drying, so good ventilation is important.
Average Drying Time: What to Expect
Wood filler’s drying time depends on the type and depth of the repair. Quick fixes with water-based filler can dry in under 30 minutes, while deeper fills or solvent-based products take longer.
Always check the manufacturer’s instructions, as drying times vary by brand and environmental conditions. For small, thin applications, water-based wood fillers generally dry within 15 to 30 minutes, making them perfect for quick touch-ups.
When dealing with deeper repairs, expect the filler to cure fully in 6 to 8 hours. Solvent-based fillers, which provide a stronger finish, usually require between 12 and 24 hours to dry completely.
It’s essential to follow the product label closely, as each brand has different formulas that may affect drying time. Also, keep in mind that temperature, humidity, and airflow can all impact how fast or slow the filler sets.
Pro Tip: Always check the label! Brands vary, and the weather also plays a big role.
Factors That Affect Drying Time
The time your wood filler takes to dry depends on several key factors. Knowing these can help you plan your project better and avoid the frustration of waiting longer than expected.
Filler Type Matters
Water-based fillers typically dry faster than other types because the water in them evaporates quickly. For small repairs, you might wait just 15-30 minutes.
Solvent-based options take much longer because their chemicals need more time to cure properly. While you’ll stay longer, the result is often stronger and more resistant to future damage. Your choice should match your project needs and time frame.
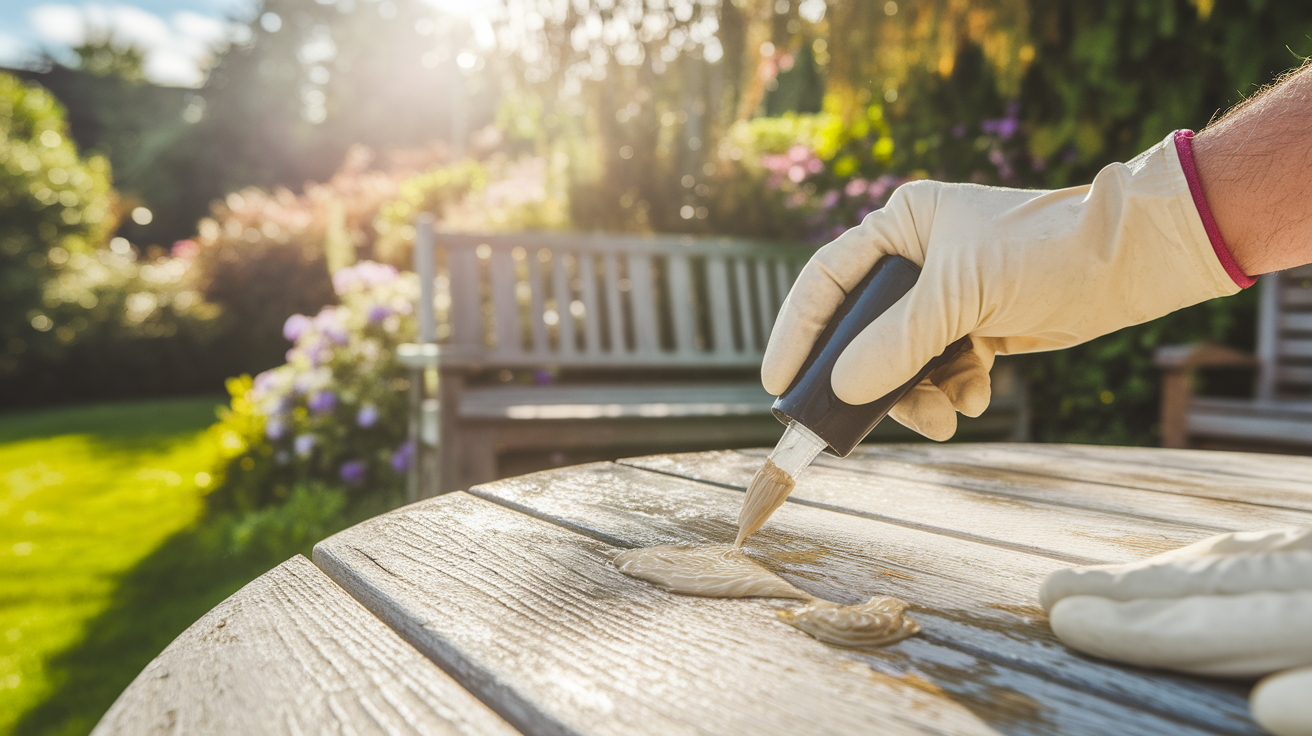
Thickness of Application
A thin layer of filler might dry within 30 minutes, while a deep repair that’s 1/4 inch or more could take several hours or even overnight. When filling deep holes, consider using multiple thin layers rather than one thick application.
Let each layer dry before adding the next. This approach takes more time upfront but actually speeds up the overall drying process and creates a stronger repair.
Temperature and Humidity
Warm, dry conditions speed up drying significantly. Most fillers work best between 65-75°F. In cold rooms below 50°F, drying time can double or triple. High humidity keeps moisture in the filler longer, slowing down the process.
If you’re working in a damp basement or during rainy weather, expect to wait longer. Using a fan or dehumidifier can help create better drying conditions.
Indoor vs. Outdoor Use
Indoor projects usually benefit from stable temperatures and less moisture in the air, helping filler dry more consistently. Most indoor repairs can be completed in a single day.
Outdoor projects face changing weather that can slow drying. Morning dew, sudden rain, or dropping temperatures can all affect your timeline. For outdoor work, check the weather forecast and plan for at least 24 hours of good conditions.
Signs Your Wood Filler Is Dry
Knowing when your wood filler is completely dry is important before proceeding to the next steps of your project. Several simple tests can help you determine whether it’s ready for sanding and finishing, saving you from mistakes that could ruin your work.
Visual & Touch Test
Most wood fillers change color as they dry, typically becoming lighter or less shiny than when first applied. This visual change is your first clue that it’s drying properly.
Run your finger lightly across the surface—it should feel hard and not sticky. Another good method is tapping it gently with your fingernail.
Dry filler produces a solid sound, while damp filler sounds dull or muffled. If you press and leave an indent, it needs more time to harden completely before you can continue with your project.
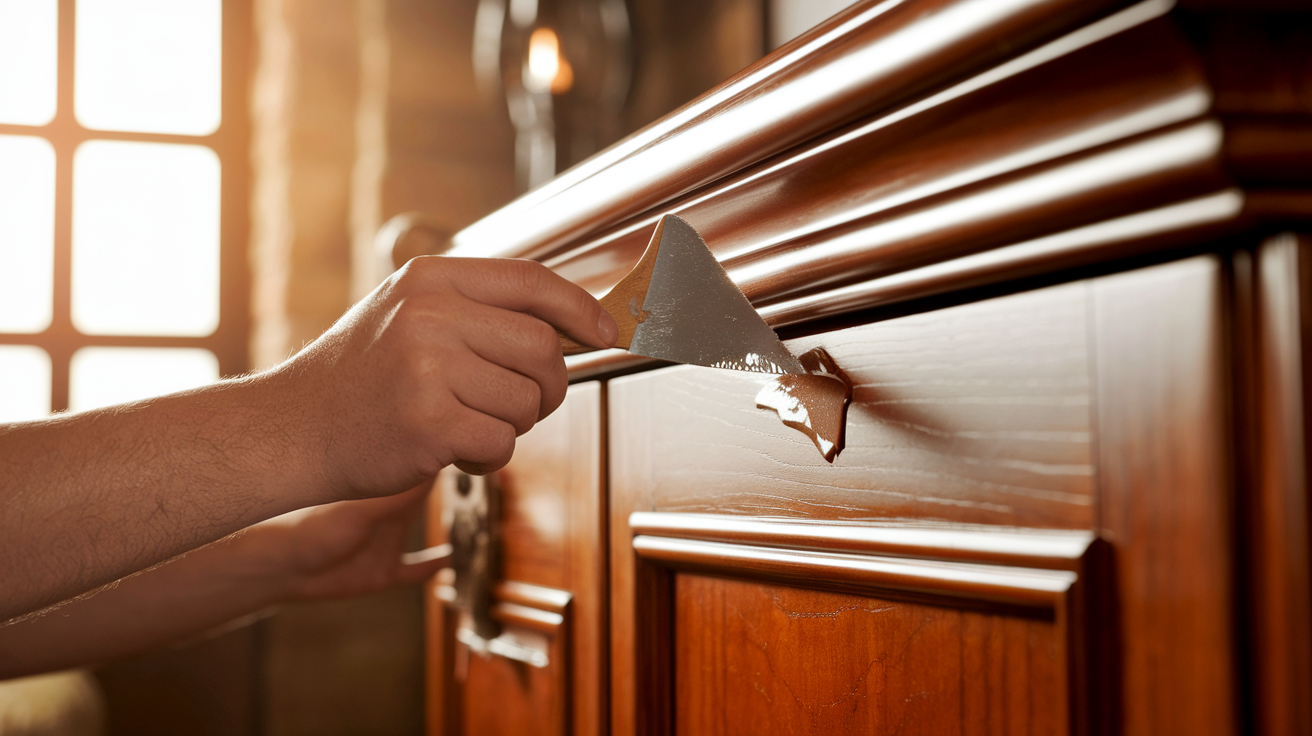
Sandability Test
The most reliable way to check if wood filler is dry is with a sandability test. Take some fine sandpaper and lightly sand a small corner of the filled area. If the sandpaper moves smoothly across the surface and creates fine dust, your filler is dry and ready for finishing.
If the sandpaper gets clogged or the filler feels gummy during sanding, stop immediately and give it more drying time. Forcing the process by continuing to sand wet filler can tear the repair out completely, causing you to start over.
Can You Speed Up Wood Filler Drying?
Yes, you can safely speed up the drying process of wood filler with a few simple methods. Knowing these tricks can help you finish your project faster without risking quality.
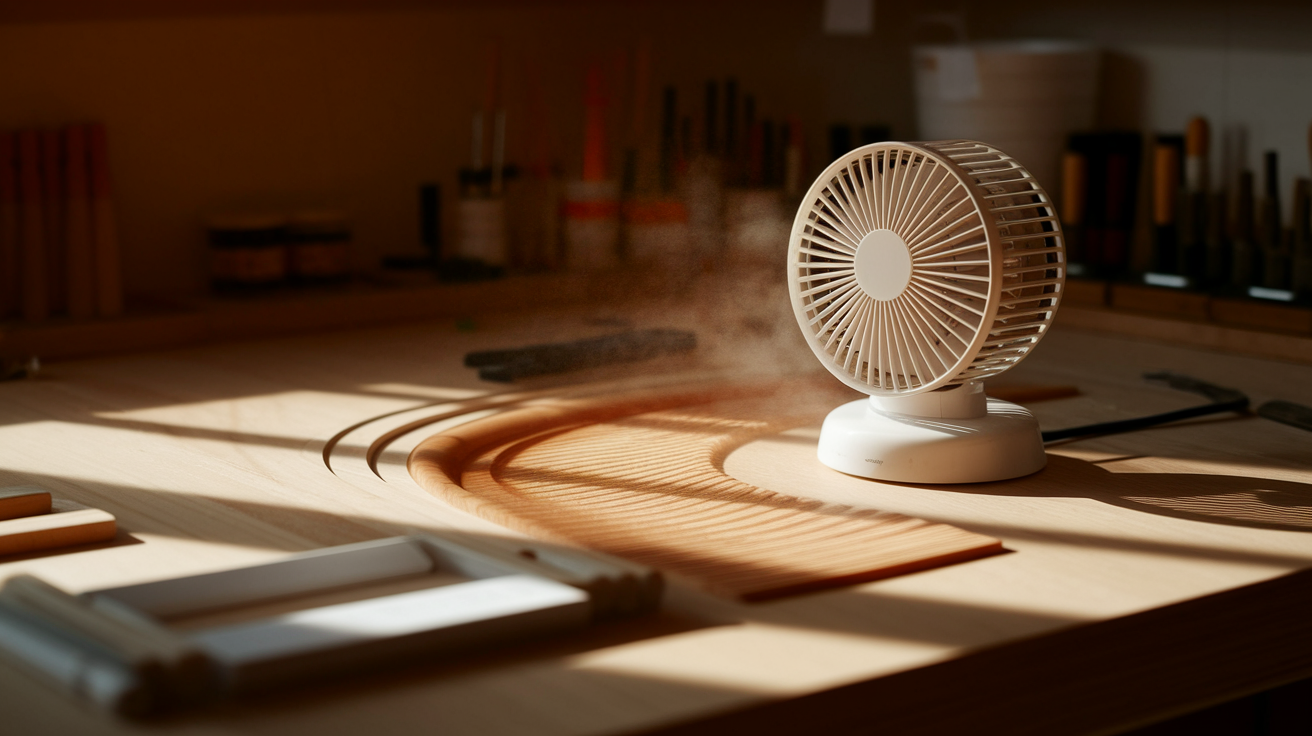
Safe Ways to Help It Along
Using a fan near your project creates air movement that helps moisture evaporate faster from the filler. Set it on low or medium speed and point it toward the repair area.
Slightly warming the room to 70-75°F helps too, as wood filler dries better in warm conditions.
Perhaps most important is applying thinner layers—each thin layer might dry in 30 minutes versus waiting hours for a thick patch. Multiple thin layers are almost always faster overall than one thick application.
What to Avoid
Direct heat from hairdryers or heat guns seems like a good idea, but it can ruin your work. This intense heat often dries the surface too quickly while the inside stays wet, leading to cracks or weak spots.
Placing heaters too close has the same problem. Rushing the process is tempting but often backfires—when you sand or paint too soon, you’ll likely need to remove everything and start over. Patience now saves time later.
Drying Time by Project Type
Different wood repair projects need different waiting times before you can move to the next step. This table shows typical drying times you can expect for common wood repair tasks.
| Project Type | Estimated Dry Time |
|---|---|
| Small nail holes | 15–20 minutes |
| Surface scratches | 30–60 minutes |
| Deep gouges & repairs | 6–8 hours |
| Exterior woodwork (thick) | 24 hours |
Common Mistakes to Avoid
Many DIY projects fail during the wood filler drying phase. These simple errors can waste your time and materials, forcing you to start over. Here’s what to watch out for:
- Sanding too soon before the filler fully hardens, pulling out your repair work
- Adding too much filler at once instead of building up thin layers
- Ignoring weather conditions like humidity that greatly extend drying time
- Not reading the product instructions for specific drying requirements
- Using indoor fillers for outdoor projects that need weather resistance
- Applying filler to dirty or unprepped surfaces, causing poor adhesion
- Working in temperatures that are too cold, which prevents proper curing
- Mixing different types of fillers that have incompatible drying times
Conclusion
Waiting for wood filler to dry is simply part of good woodworking. The right drying time depends on your specific project, filler type, and working conditions.
Remember that rushing leads to problems, while patience creates lasting repairs. Small holes might need just 15 minutes, while deep repairs require several hours or overnight.
Check drying progress with visual and touch tests, and when in doubt, wait a bit longer. Good air flow and thin layers are your best allies for faster results.
With these tips, your next wood repair project will turn out smooth, strong, and ready for years of use.
Want more helpful tips? Check out our other blogs for simple guides to make every wood project easier and more successful.