Board and Batten Installation Guide for Small Bathrooms
Are you tired of your plain bathroom walls? Board and batten might be the answer!
This simple wall treatment uses wooden boards to create patterns that instantly make rooms more interesting. Board and batten can work wonders even in small bathrooms.
In this guide, we’ll show you how to install it yourself, share design ideas that work in tight spaces, and give tips on keeping it looking great for years.
You don’t need to be a pro builder to add this stylish touch to your bathroom. With basic tools and a weekend of work, you can transform your bathroom from boring to beautiful without spending a lot of money.
Why Choose Board and Batten for Your Bathroom?
Board and batten is a great way to add style to your bathroom. It works with various bathroom designs, such as rustic and modern. This design can make smaller bathrooms appear bigger by drawing the eye upward. Its simple, classic look suits any space.
- Easy to install and update: Board and batten is simple to install and can be easily updated to match your style, making it a great DIY project or a quick professional fix.
- Creates a clean, fresh look: This timeless design adds texture and interest without overwhelming the space, bringing a polished, welcoming feel to your bathroom.
- Perfect for small bathrooms: The vertical lines help make small spaces feel larger by drawing the eye upward, giving your bathroom an open, airy look.
How to Install Board and Batten in Small Bathrooms
Now, let’s examine the materials you’ll need to get started. Once you have everything ready, follow these easy steps to install board and batten in your small bathroom and give it a fresh, stylish look.
Materials Required
Here’s a list of essential materials needed for installing board and batten in a bathroom:
- Wood or PVC Boards – For the vertical battens and horizontal top board.
- Measuring Tape – To accurately measure the space and determine the placement of the boards.
- Level – To ensure the boards are straight and properly aligned.
- Miter Saw – For cutting boards to the correct length and angles.
- Nails or Screws – To secure the boards to the wall.
- Nail Gun or Drill – To make installation quicker and easier.
- Wood Putty – To fill in nail or screw holes after installation.
- Paint or Stain – For finishing the boards and giving the design a polished look.
- Painter’s Tape – To protect areas of the wall you don’t want to paint.
- Caulk or Silicone Sealant – To seal the edges of the boards and prevent moisture from getting behind them.
Now, let’s begin with the steps.
1. Measure and Plan
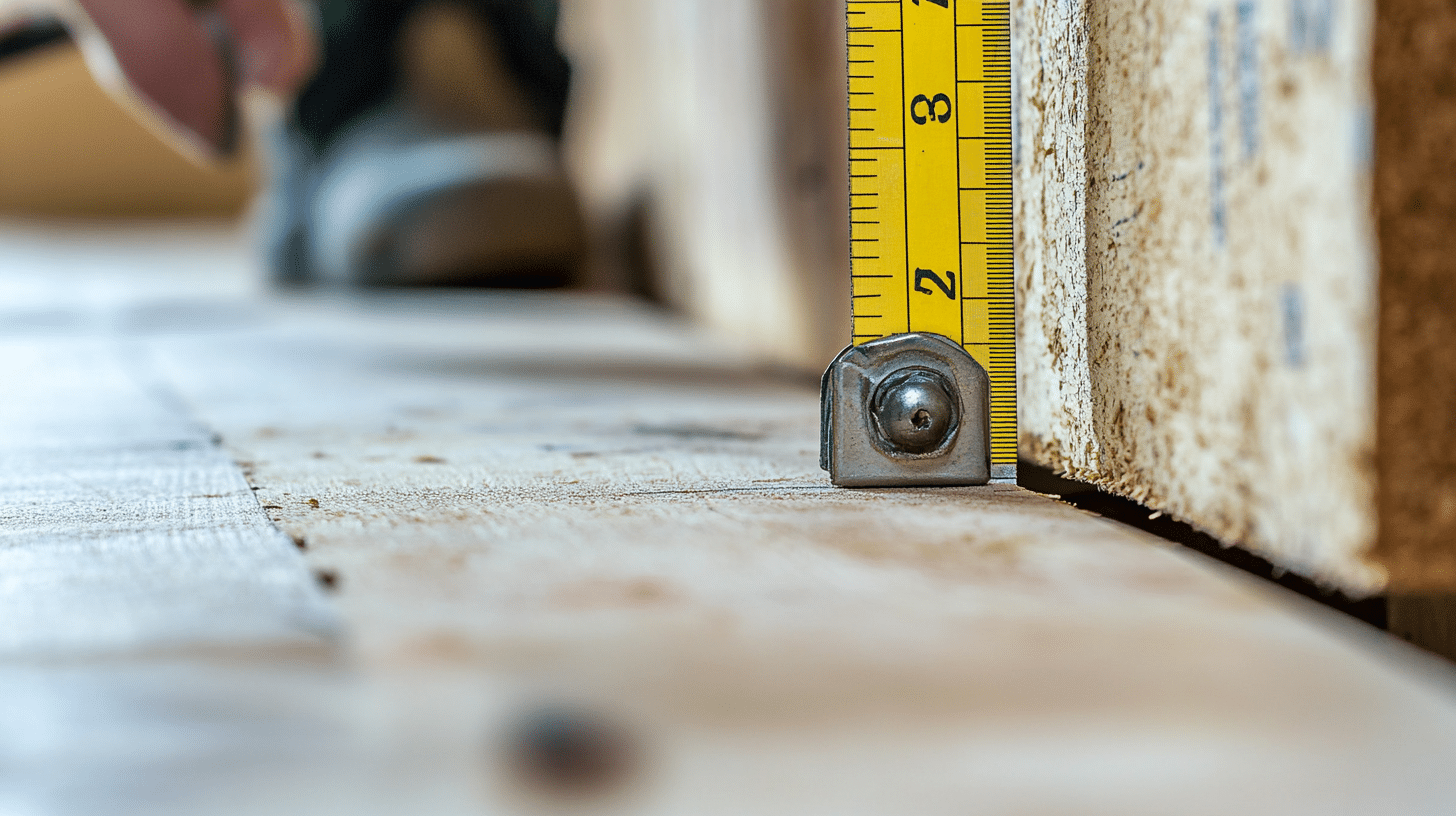
First, grab a tape measure to find the height and width of your walls. Then, think about how high you want your board-and-batten design to go—maybe halfway up the wall or all the way to the ceiling.
Make clear marks with a pencil at the chosen height all around the room. Draw light lines to connect these marks, giving you a straight guide to follow.
This step saves time and helps avoid mistakes later on.
2. Cut the Boards
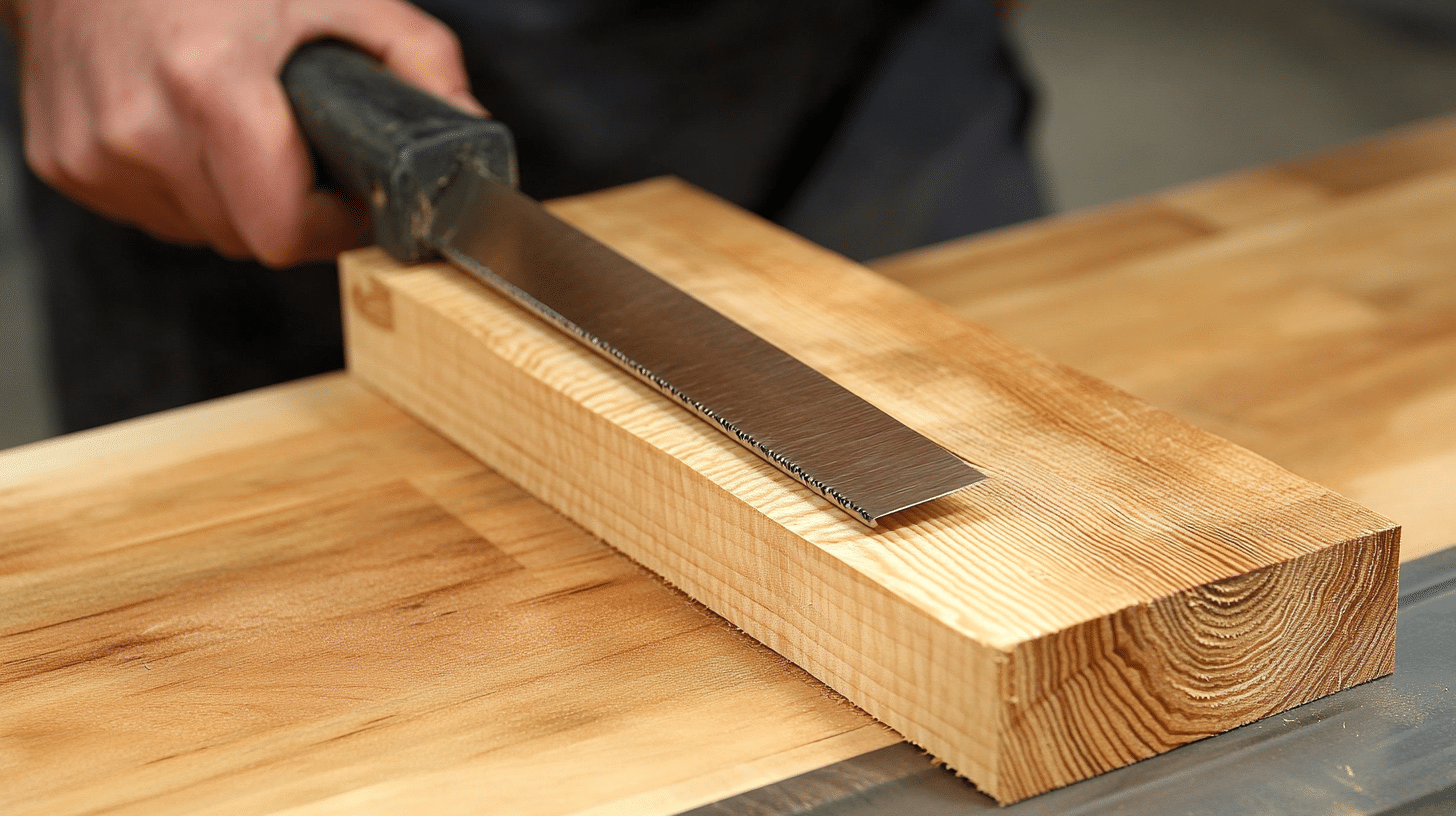
With your measurements ready, it’s time to cut your wooden boards.
You’ll need to cut two types: the long horizontal board that creates the top frame and several shorter vertical boards (battens) that will create the pattern.
Use a saw to cut each piece to the right length. Sand any rough edges so they’re smooth to the touch. Double-check each measurement before cutting to save wood and money.
3. Attach the Top Board
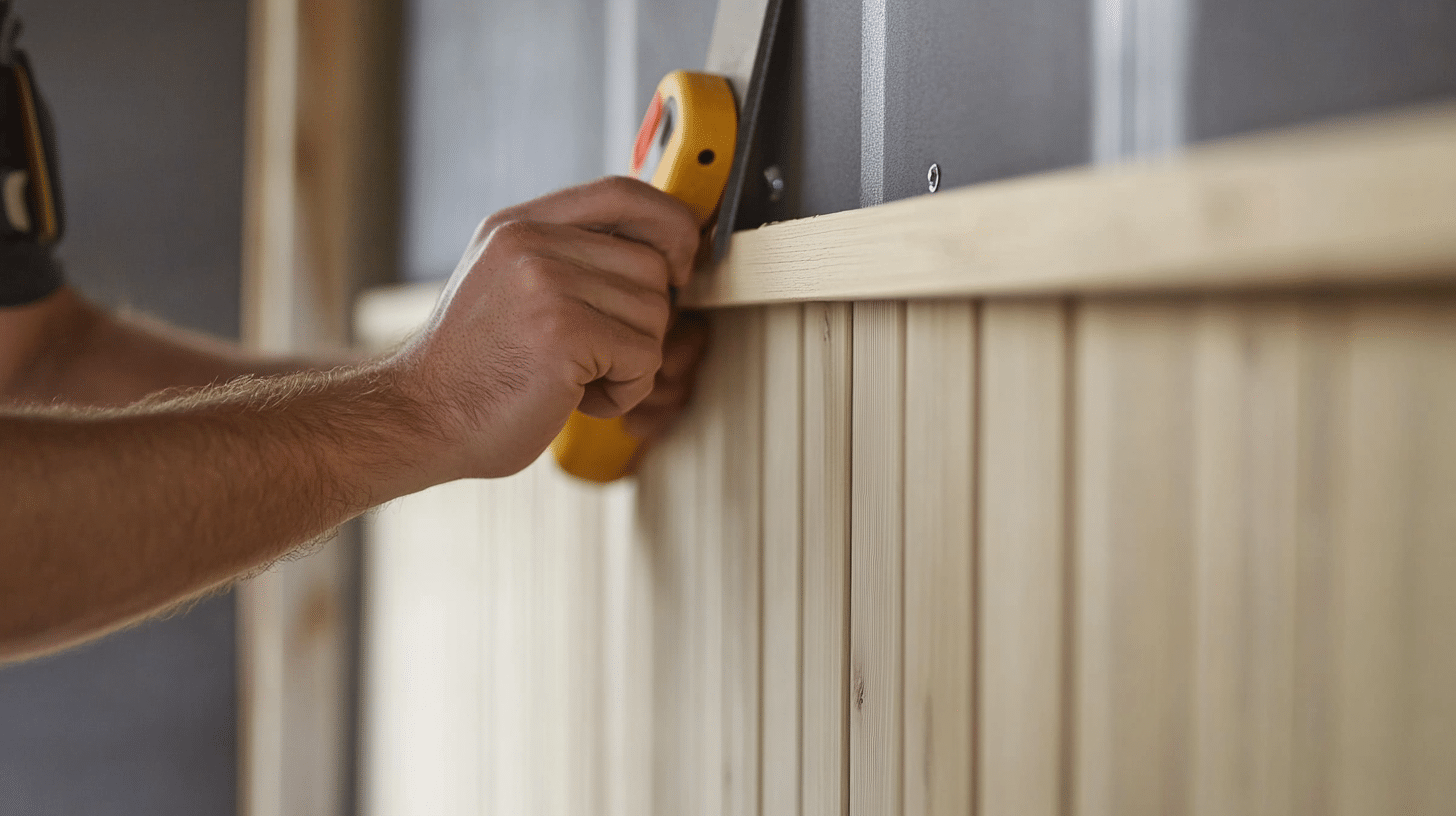
Now, take your horizontal board and place it against the wall at your marked height. Use a level tool to make sure it’s perfectly straight – even small tilts will be noticeable later.
Once it’s level, secure the board to the wall using nails or screws.
Make sure to find the wall studs for stronger attachment. If you can’t find studs, use wall anchors to keep the board firmly in place.
4. Install the Battens
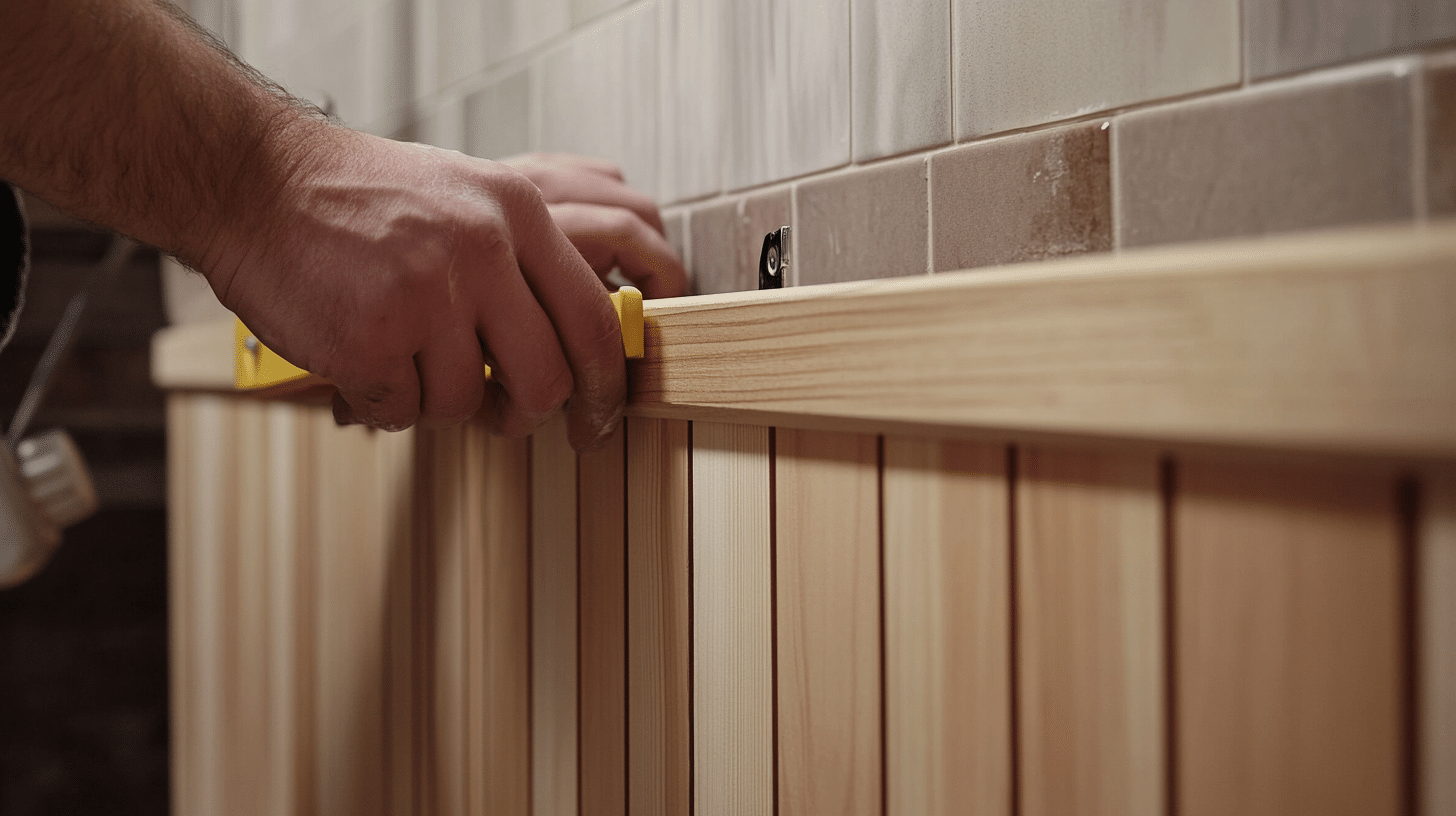
After the top board is secure, it’s time to add the vertical battens. Measure and mark equal spaces between each batten – usually about 12 to 16 inches apart. Start from one end of the wall and work your way across.
Place each batten against the wall, check that it’s straight with your level, then attach it with nails or screws.
Make sure each batten touches the top board for a clean look.
5. Finish and Paint
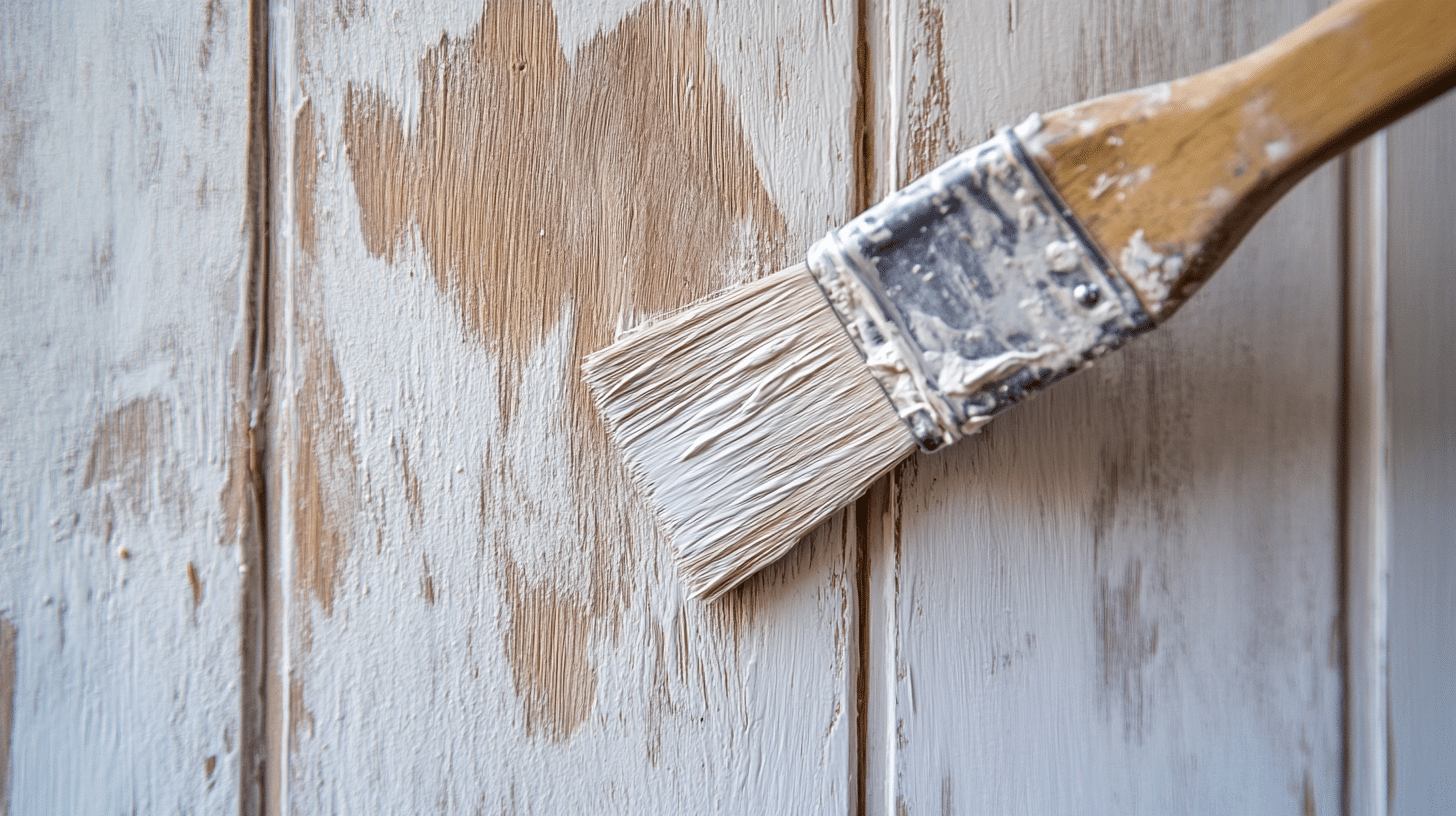
With all boards in place, your wall needs finishing touches. Use wood putty to fill in the nail holes and any gaps between the wood and the wall. Let the putty dry completely, then sand these spots until smooth.
Wipe away any dust with a damp cloth. Now, paint the entire wall and all boards with your chosen color. For the best look, you might need two coats.
Once dry, you’ll have a beautiful new wall that adds style to your room.
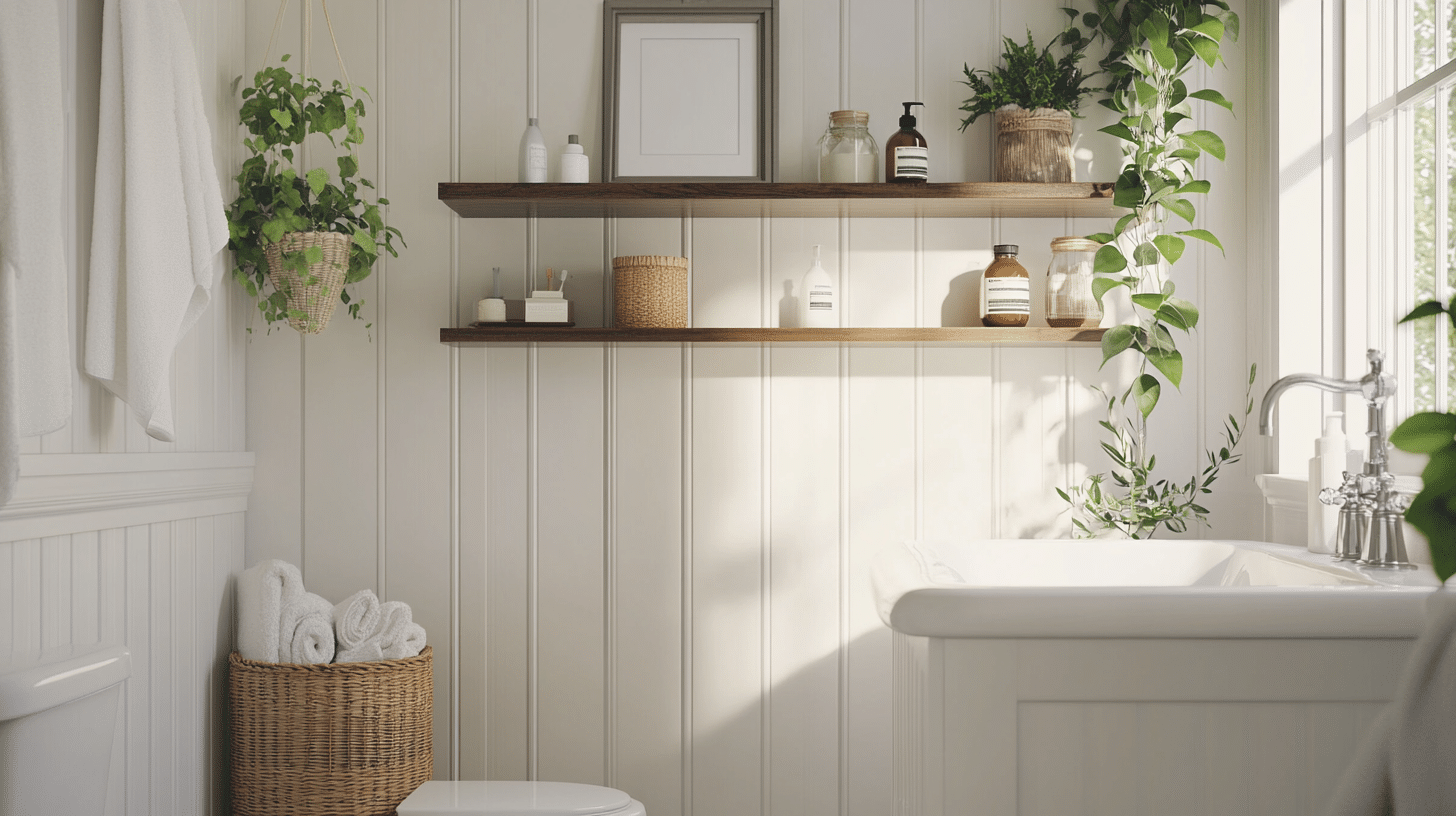
Design Ideas for Board and Batten
Small bathrooms can feel new and special with the right design touches. Board and batten adds texture and style without taking up space. Here are some ideas to make your small bathroom stand out:
1. Modern Farmhouse Charm
Paint your board and batten white or soft gray to create a clean backdrop. To bring warmth to the space, add simple wooden shelves or a wooden mirror frame.
Small touches like mason jar soap holders or woven baskets for storage keep the farmhouse feel going. This style works well in tiny bathrooms because it keeps things light and airy.
2. Bold Two-Tone Look
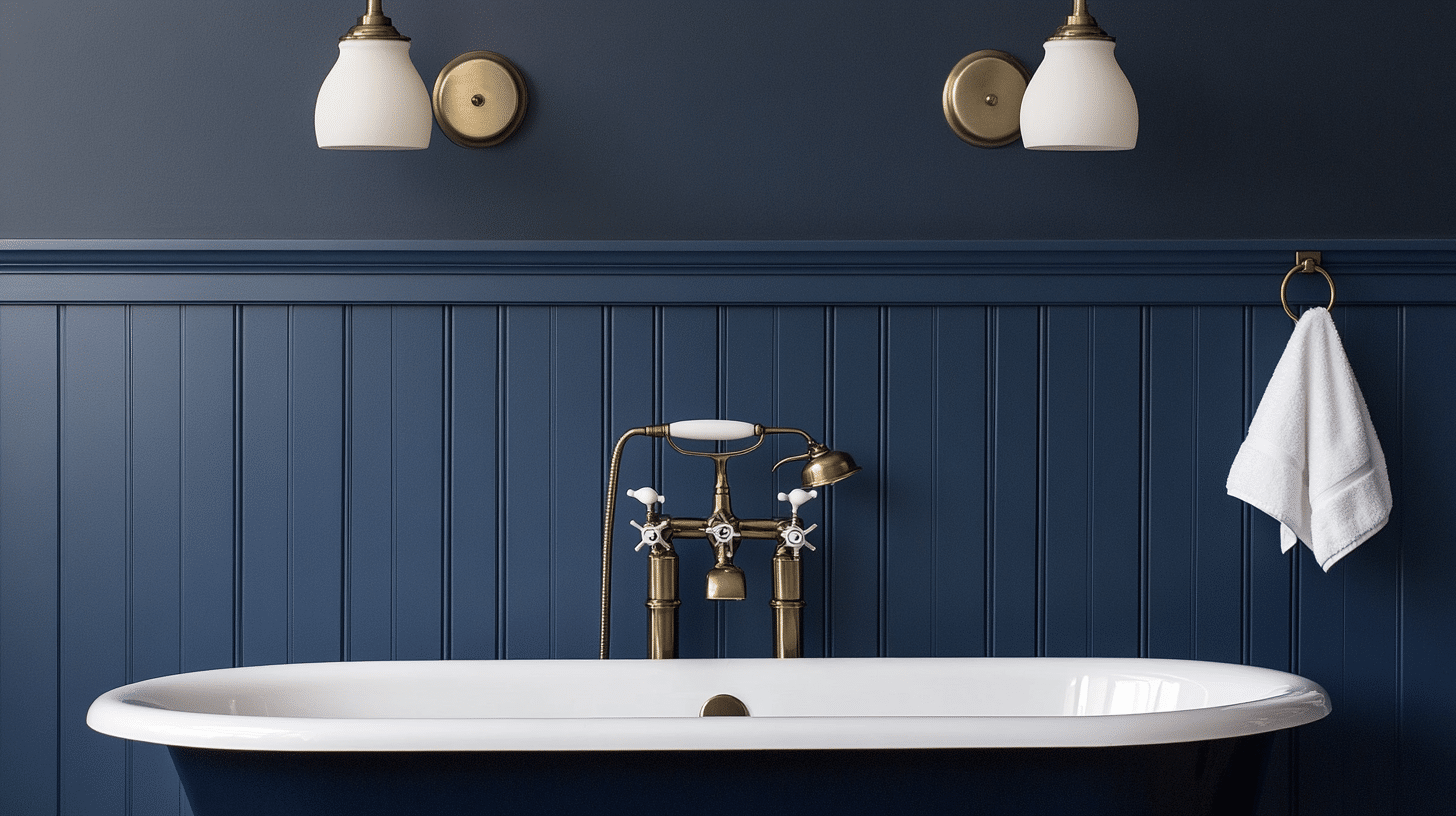
Paint the board and batten section in a deep color like navy blue or charcoal, then keep the top half bright white. This trick makes the ceiling seem higher and adds style to a tiny room.
Add brass or black metal fixtures to pop against the two-tone walls. This bold choice works especially well in powder rooms, where you can try bolder designs.
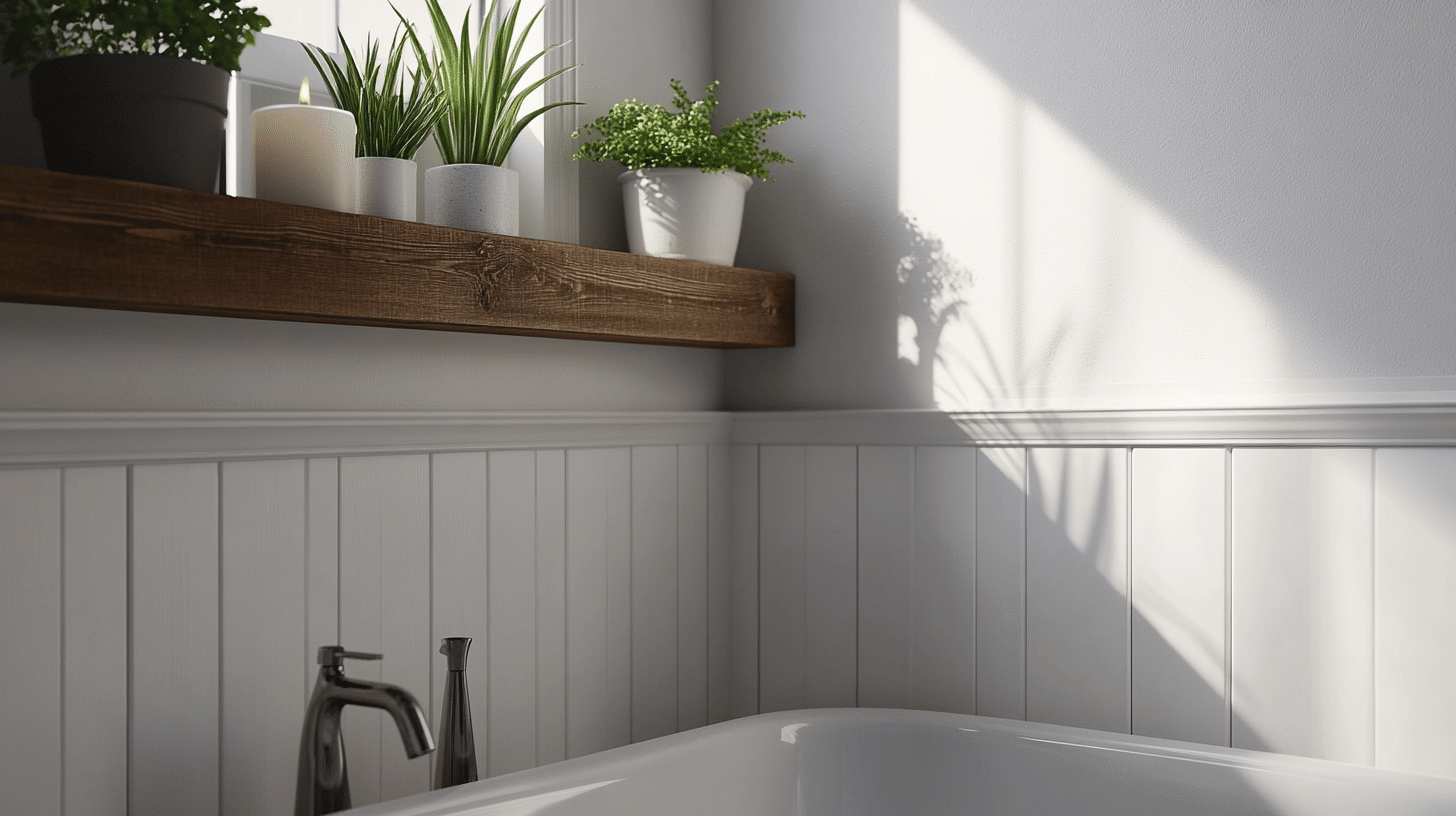
3. Vertical Board and Batten
Place your battens running up and down rather than across the wall. The up-and-down lines pull the eye upward, making your small bathroom seem taller.
Paint all the boards the same color for a clean look. This works great in bathrooms with low ceilings or in tight spaces like shower stalls, where you want to create more visual space.
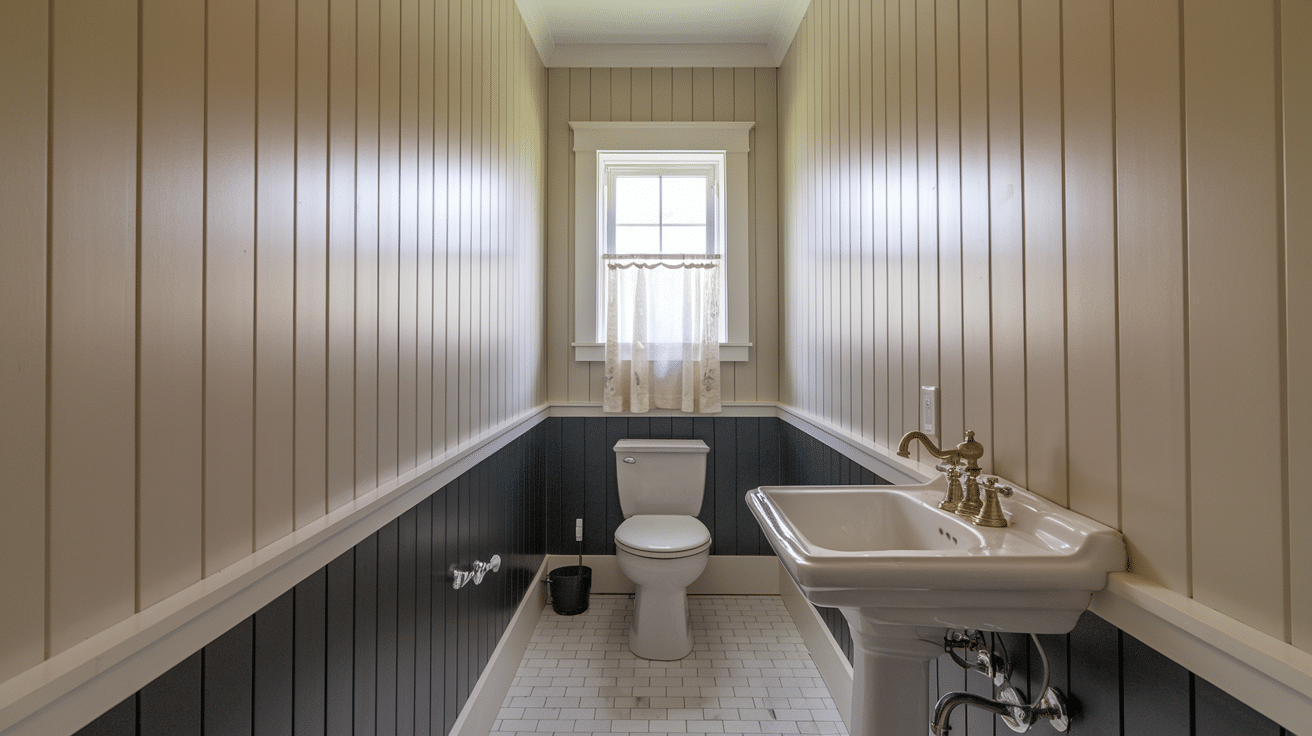
4. Half-Wall Board and Batten
Put board and batten on just the bottom half of your walls, about 3-4 feet high. Keep the top portion simple with paint or a subtle tile. This balance protects walls from water splashes while keeping the room feeling open.
To make the design more useful, add a thin shelf along the top edge for small plants or bathroom items.
5. Rustic Vibes with Natural Wood
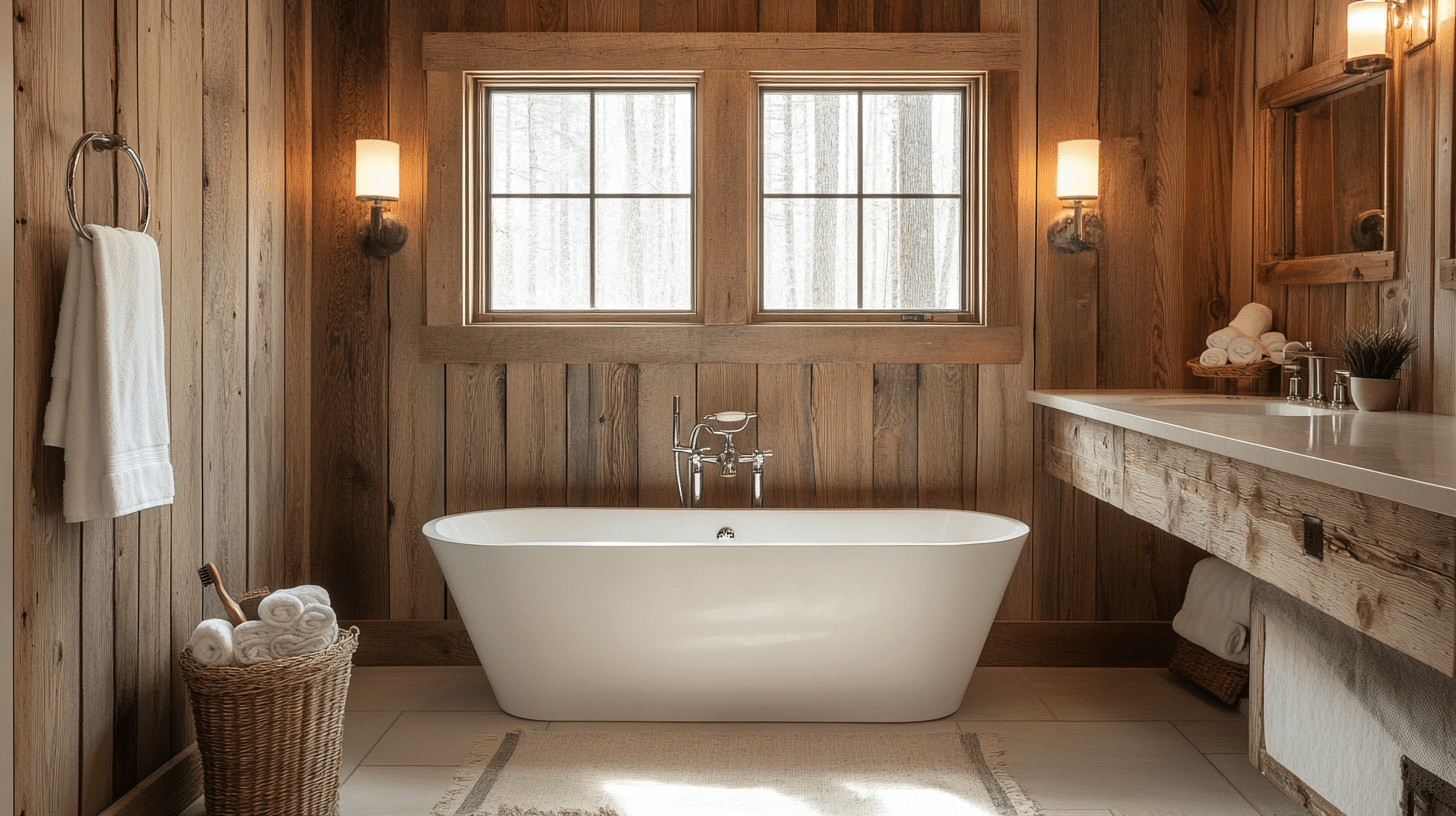
Choose pine, cedar, or oak boards with clear sealing instead of paint. The natural grain adds warmth to a small bathroom. Match with stone counters or floor tiles for a nature-inspired look.
Old-style faucets and light fixtures complete this cozy design. This works well in bathrooms with good air flow since wood needs protection from too much moisture.
Maintaining Board and Batten in Bathrooms
Board and batten walls in bathrooms not only look great but also protect your walls from water splashes. Regular care keeps them looking fresh and extends their life.
Well-maintained board and batten stays free from mold, keeps its color, and maintains the clean lines that make it so appealing. Taking care of these walls also saves money by avoiding costly repairs or replacements.
Let’s examine some tips for maintaining your board for a longer time.
- Apply waterproof sealant yearly, especially near wet areas.
- Caulk all seams and gaps, checking regularly for cracks.
- Use bath mats and shower curtains that catch water splashes.
- Run bathroom fans during and after showers to reduce moisture.
- Check for mold in corners and seams, and clean with a vinegar solution.
Wrapping Up
Now you have all the tools and know-how to create a beautiful board and batten bathroom wall! This project is perfect for weekend DIYers who want big results without spending too much.
Remember to seal your work well in wet areas and clean it regularly to keep it looking fresh. If you’re not ready to tackle a whole bathroom, try a small powder room first to build your skills.
The best part? You can change the look anytime with just a new coat of paint. Take before and after pictures to show off your hard work!
Ready to get started? Grab your measuring tape, pick up your supplies, and transform your bathroom this weekend.