How to Refinish Furniture on a Budget at Home?
Most people assume the hard part of refinishing furniture is the physical work. It is not. The real challenge is knowing which steps to skip and which ones you absolutely cannot.
Learning how to refinish furniture without that context is where most first attempts go wrong.
A coat of stain goes blotchy, a topcoat clouds over, and the whole project ends in frustration rather than a finished piece.
Most of those failures trace back to one or two decisions made early in the process. Get those right and everything else follows.
Tools and Materials Required to Refinish Furniture
Before you pick up a brush, make sure everything below is within arm’s reach. Running out mid-step, especially during stripping, can ruin the finish.
Tools:
- Orbital sander
- Stiff brush
- Steel wool pad
- Old toothbrush
- Foam brush
- Foam roller
- Small pour cup
- Screwdriver
Materials:
- 80-grit sandpaper
- 120-grit sandpaper
- 220-grit sandpaper
- Chemical stripper (Citristrip)
- Mineral spirits
- Clean rags
- Wood stain
- Furniture paint
- Polyurethane
- Replacement hardware
- Tarp
- Drop cloth
How to Refinish Furniture: Step-by-Step Guide
Refinishing furniture becomes much easier when each step is done in the right order, from cleaning and sanding to staining, sealing, and reinstalling hardware.
Here are the steps to get a clean, smooth, and long-lasting finish:
Step 1: Remove Hardware and Clean the Piece

Take off all handles, knobs, and pulls and set them aside. Wipe the entire piece down thoroughly to remove dust, grease, and built-up grime, paying close attention to grooves and recessed areas.
A clean surface lets you accurately assess the condition of the finish before you touch it with sandpaper.
Step 2: Sand the Flat Surfaces
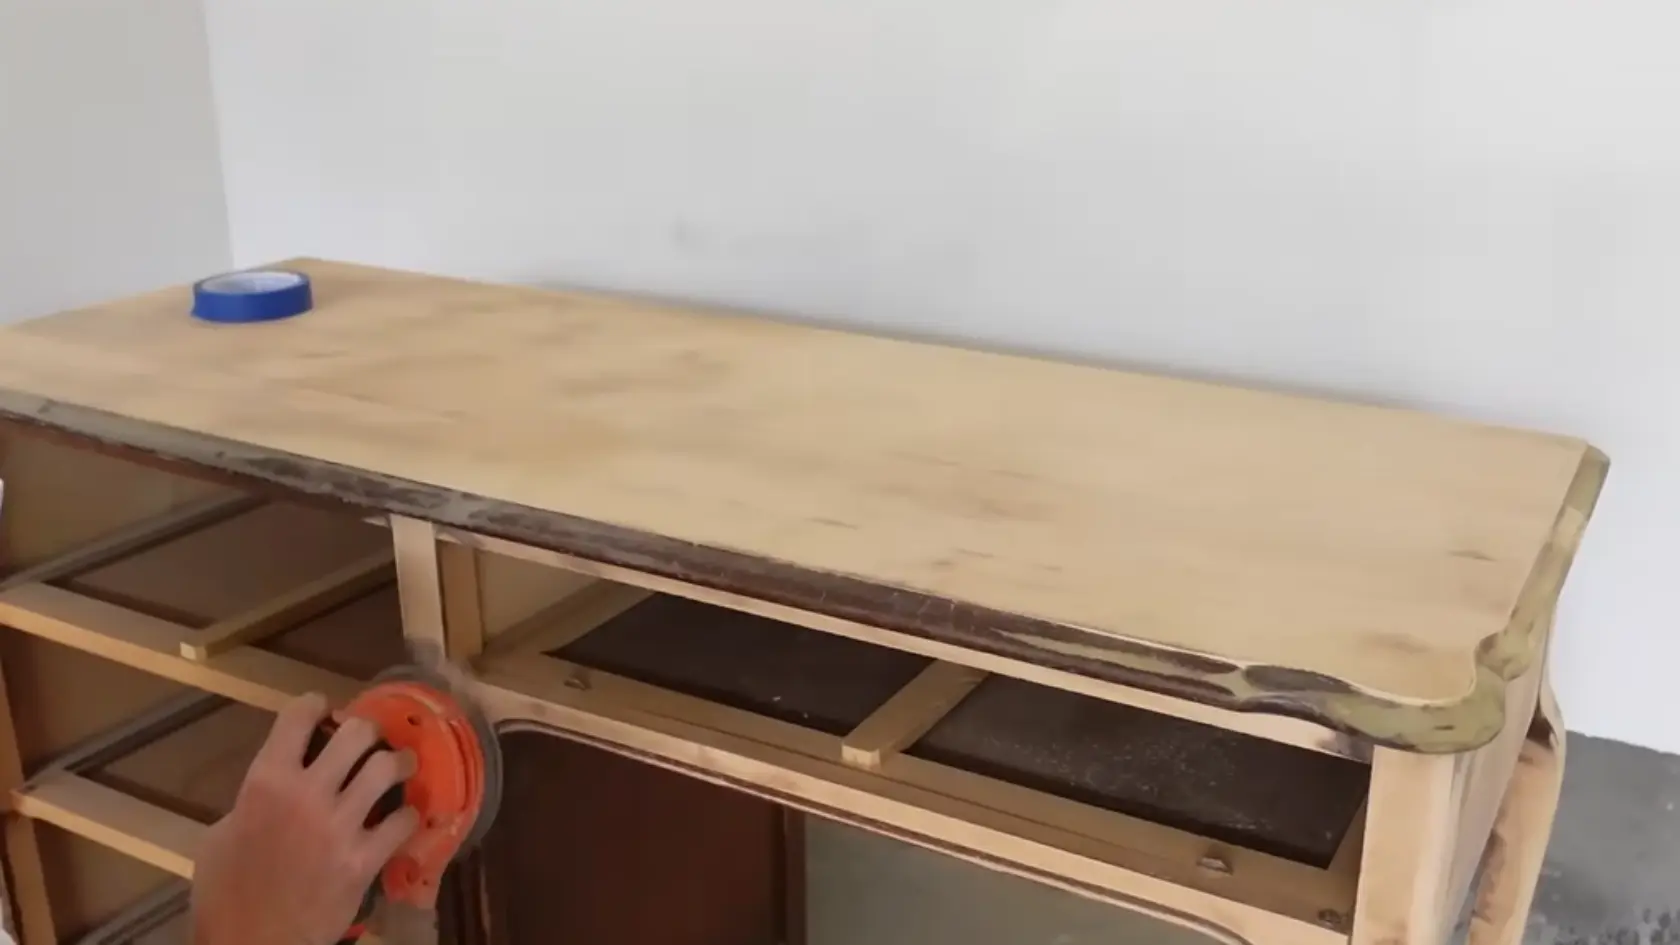
Work through three grits in order on all flat, open surfaces. Start with 80-grit to cut through the existing finish, and move to 120-grit to remove the deep scratches left behind.
Then finish with 220-grit for a smooth, stain-ready surface. Always sand with the grain and use an orbital sander on large areas to save time.
Step 3: Strip Recessed and Detailed Areas

Anywhere a sander can’t reach, like carved grooves, routed edges, drawer interiors, and indented panels, apply chemical stripper with a stiff brush and let it work overnight.
Scrub out the residue the next day using steel wool, an old toothbrush, and mineral spirits. Then do a final pass with 220-grit sandpaper to bring everything level with the sanded surfaces.
Step 4: Apply Stain or Paint
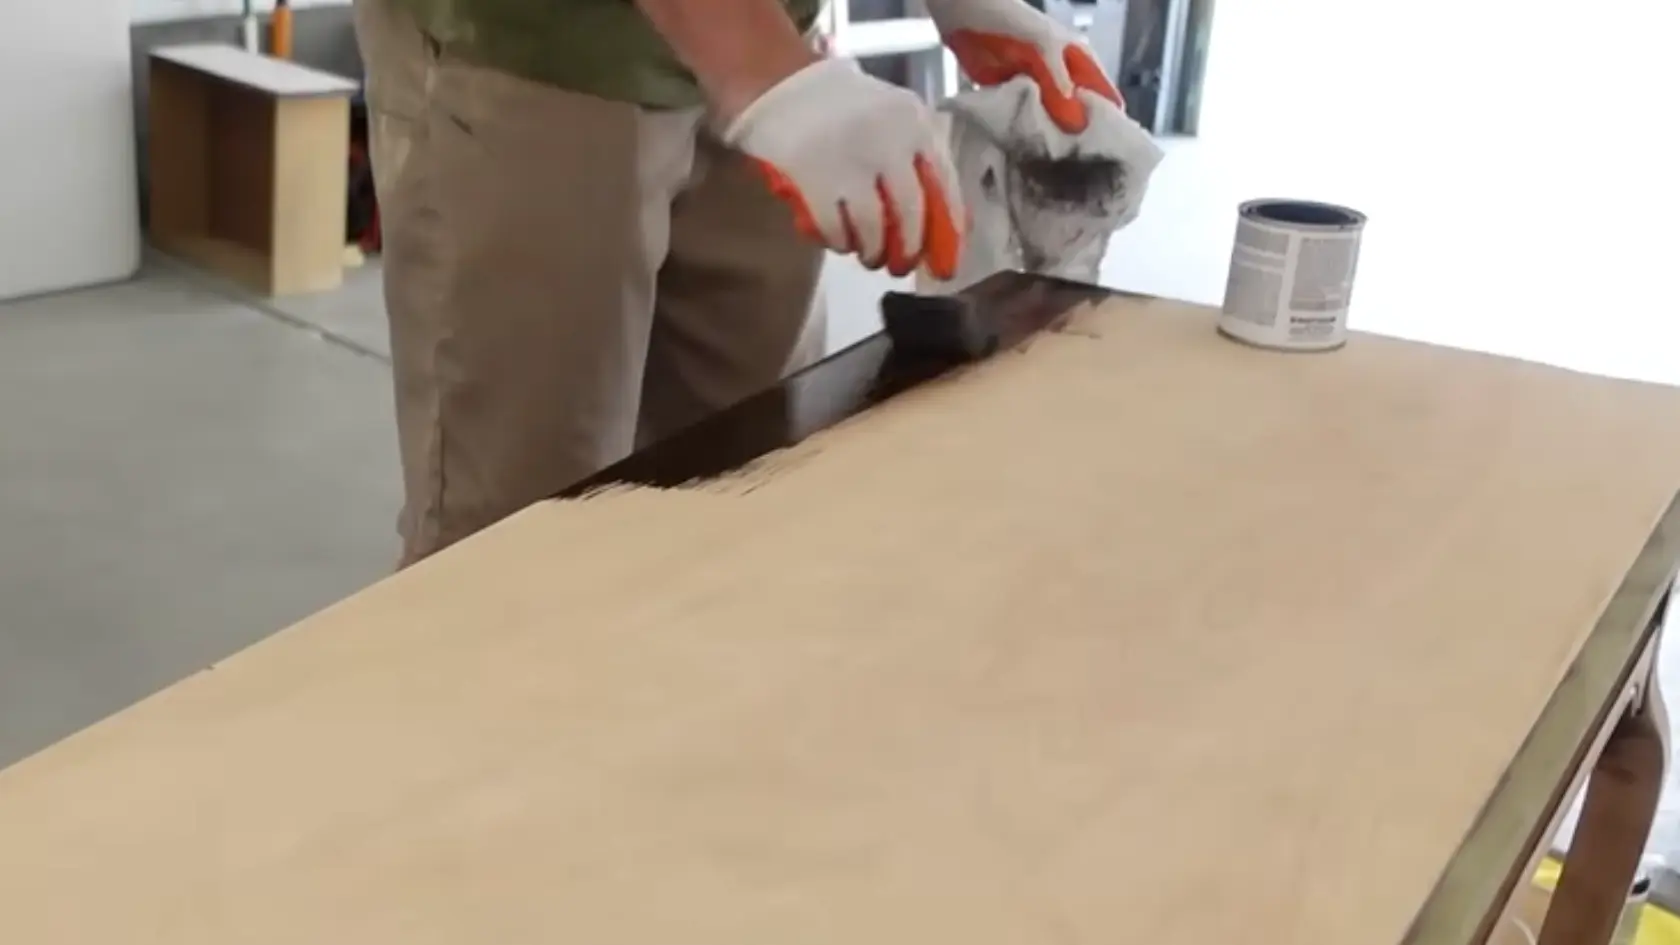
For bare wood surfaces, apply stain using a foam brush, working with the grain, then wipe off the excess with a clean rag before it dries.
For painted sections, use a foam roller on flat faces for a smooth, brush-mark-free finish. Let each area dry fully before moving on to the next.
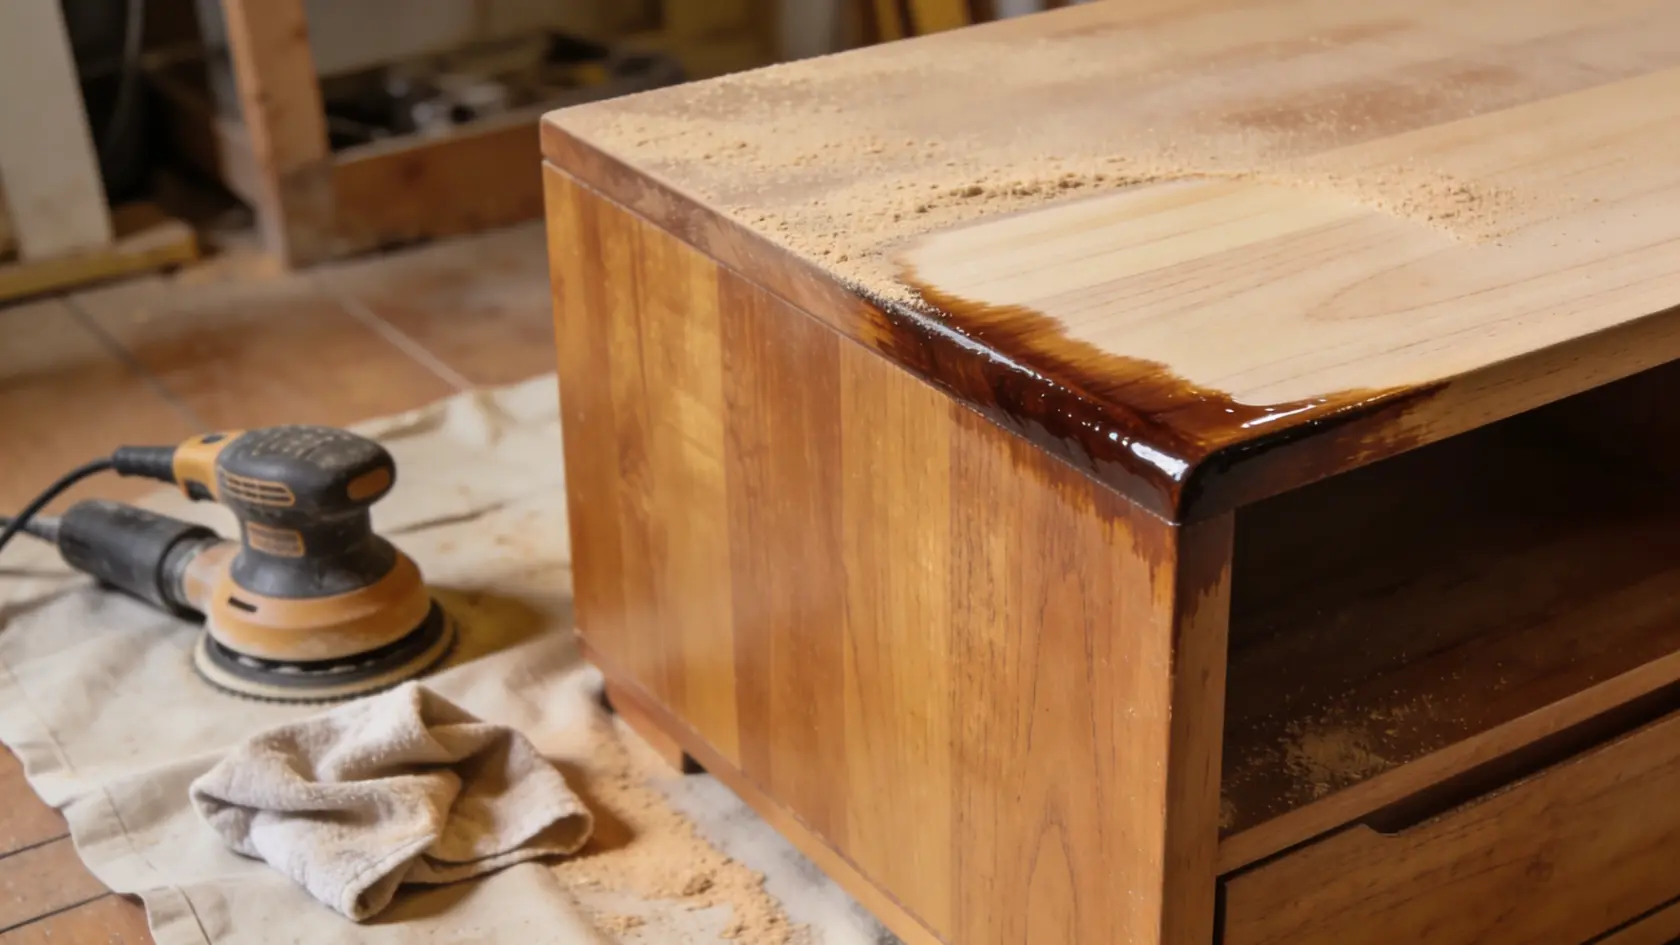
Step 5: Apply Polyurethane Topcoat

Pour polyurethane into a separate cup and apply a thin, even coat across all stained surfaces using a clean brush, working in long strokes with the grain.
Check your work in raking light as you go to catch any missed spots or streaks while the coat is still wet. Let it dry fully, then sand lightly with 220-grit and wipe clean before applying a second coat.
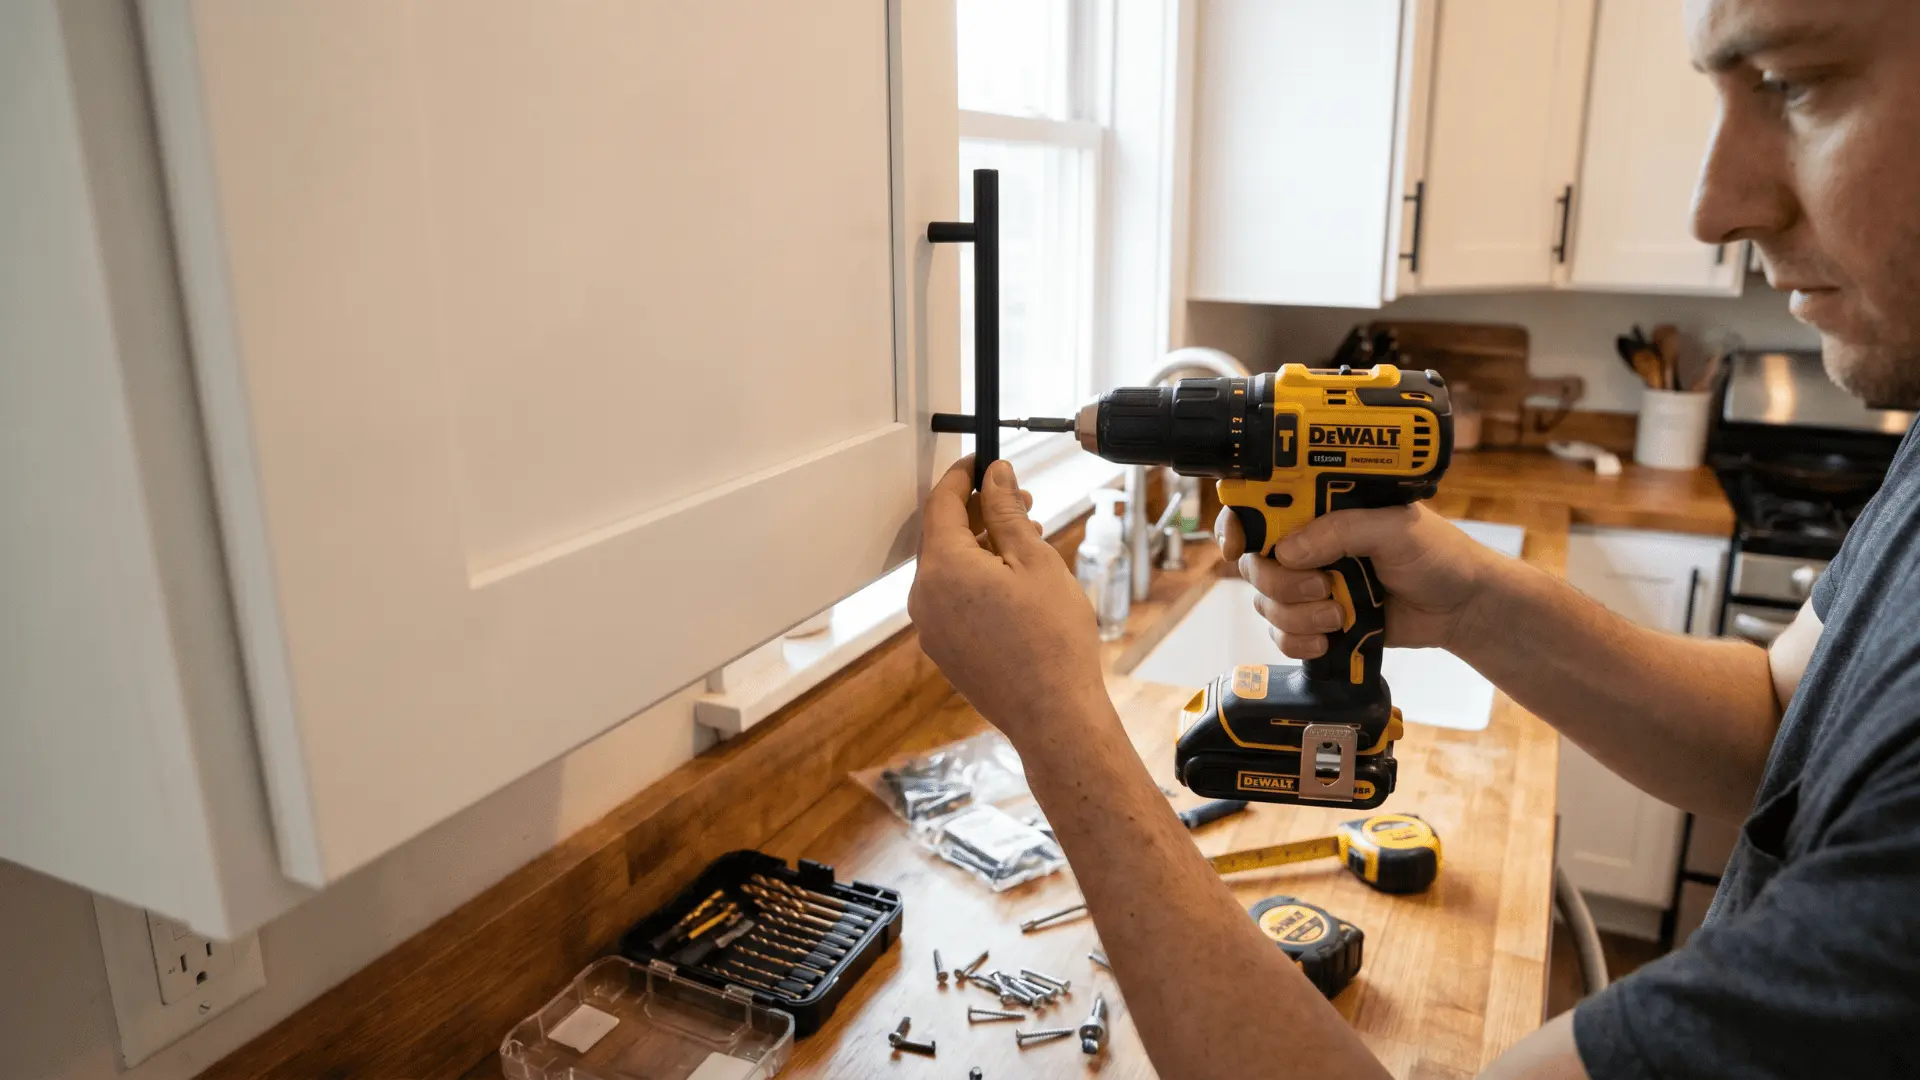
Step 6: Reinstall Hardware

Once the topcoat has fully cured, evaluate whether the original hardware suits the finished piece. If it looks worn or mismatched, replacing it is the highest-impact finishing touch.
New pulls in a complementary finish, like brushed brass or matte black, can completely change the character of the piece. Clean old hardware with metal polish before reinstalling if you choose to reuse it.
For an in-depth walkthrough of the whole process, check out the complete video tutorial below by House to Home DIY:
Choosing the Right Topcoat: Polyurethane, Polyacrylic, or Wax?
The right topcoat affects durability, appearance, maintenance, and long-term protection, so choosing the best option depends on the furniture type, finish color, and how often the piece will be used.
Below are the main differences between polyurethane, polyacrylic, and wax finishes:
| Topcoat | Best For | Finish Look | Durability | Key Advantage |
|---|---|---|---|---|
| Polyurethane | Dark wood and high-use furniture | Slight warm tone | High | Strong surface protection |
| Polyacrylic | Light paint and white finishes | Clear finish | Medium to high | Resists yellowing over time |
| Wax | Chalk paint and decorative pieces | Soft matte look | Low | Natural hand-finished appearance |
Common Mistakes While Refinishing Your Furniture
Small refinishing mistakes can affect the final result, but most problems are easy to correct once you understand what caused them and how to handle them properly during the process.
Here are common refinishing problems and simple ways to fix them:
- Blotchy stain: Uneven wood absorption creates patchy stain coverage.
- Polyurethane streaks: Thick coats or overbrushing leave visible surface lines.
- Cloudy topcoat: Moisture trapped during drying causes a hazy finish.
- Soft or weak finish: Topcoat needs more curing time before regular use.
- Paint bleeding: Loose tape edges allow paint to seep underneath.
Conclusion
Refinishing furniture takes patience, but the result is worth every step. A piece that looked ready for the bin can come out looking better than anything you would find in a store, and you will have the satisfaction of knowing you did it yourself.
Once you understand how each stage connects to the next, the whole process starts to feel less like guesswork and more like a skill you can build on with every project.
Whether this was your first attempt or you are slowly working through a house full of thrifted finds, the fundamentals covered here will serve you on every piece you take on.
Tried this on a piece at home? Drop a comment below and let us know what you worked on and how it turned out.
Frequently Asked Questions
Can You Refinish Furniture without Stripping It?
Yes. If the finish is still intact but dull, a light scuff, sand, and a wipe-on topcoat is all you need. Stripping is only necessary when you want bare wood for staining or when an old finish has built up in heavy layers.
What Is the Easiest Finish to Apply for Beginners?
Gel stain for coloring and wipe-on polyurethane for sealing. Both are forgiving, easy to apply evenly, and widely available at any hardware store.
How Long Does the Whole Process Take?
Two to three days for an average piece. Most of that is drying time between coats rather than active work.