The Best White Paint for Your Windowless Bathroom
When I first tackled my own bathroom project, I was overwhelmed by how dark and claustrophobic it felt.
White paint can work wonders in a small, windowless bathroom. It reflects light, opens up the space, and gives a clean, airy vibe.
However, not all white paints are created equal, especially in a room with no natural light.
I’ve learned that choosing the right white, whether it’s warm and cozy or crisp and cool, can completely transform the mood of your bathroom.
In this guide, I’ll share my tried-and-true recommendations for the best white paints that work beautifully in windowless bathrooms.
I’ll also give you tips on testing paint under artificial lighting, choosing the right finish, and pairing your walls with the perfect décor for a polished look.
Why White Paint is Perfect for Windowless Bathrooms?
Let me tell you about my love affair with white paint in windowless bathrooms.
After transforming countless dark, cave-like bathroom spaces over the years, I’ve become a true believer in the power of white paint – and I’m excited to share why it might be exactly what your bathroom needs, too.
1. Brightening Effect
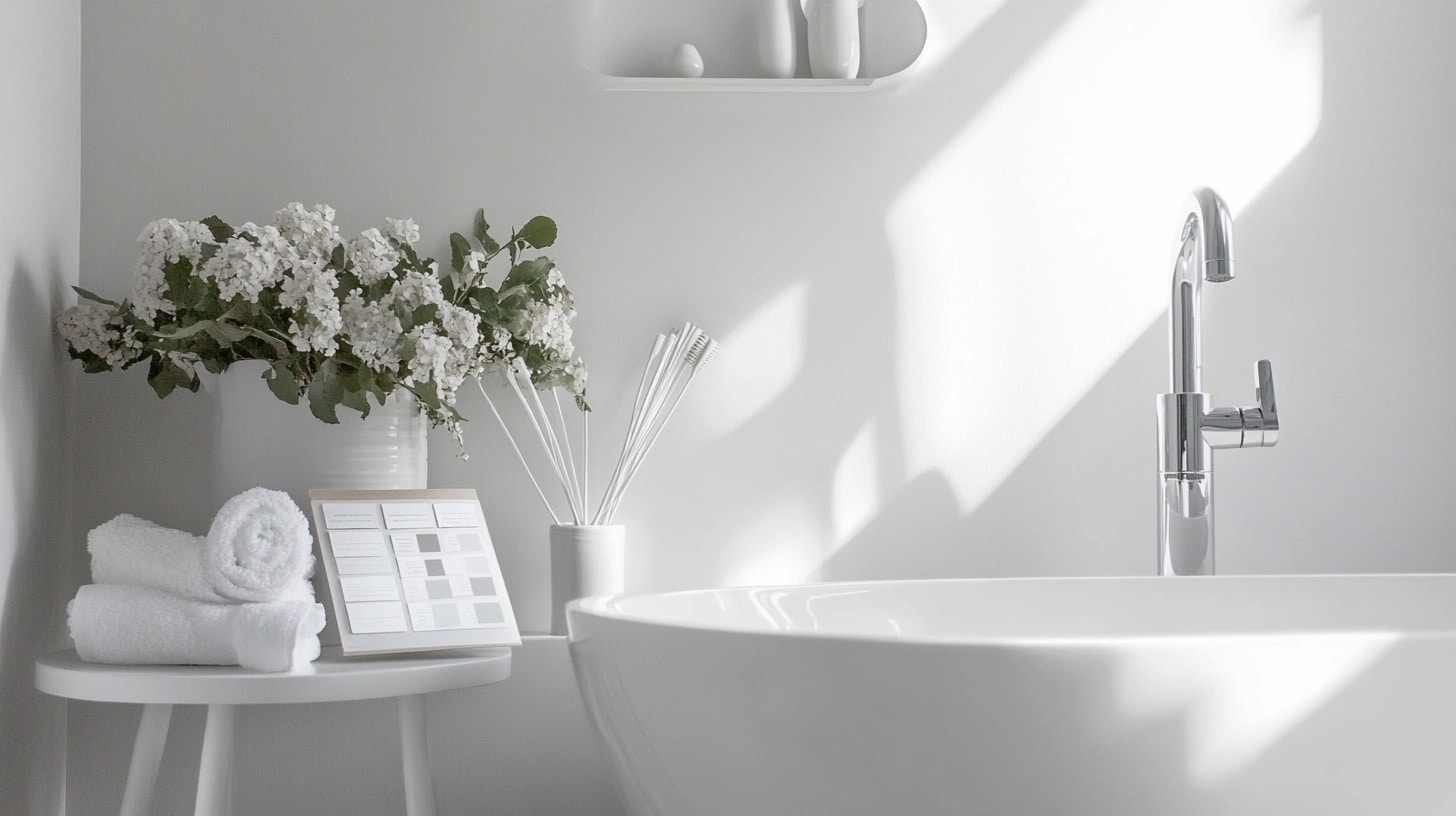
I’ll never forget the first time I painted a windowless bathroom white. Walking in after the final coat dried was like discovering a whole new room.
Through my DIY adventures, I’ve learned that white paint acts like a natural light amplifier.
Even with just a single overhead light fixture, those white walls bounce light into every corner, creating this amazing illusion of space.
A tip I discovered through trial and error, when choosing your white paint, grab a few samples and test them at different times of day with your bathroom lighting.
I personally love Benjamin Moore’s Chantilly Lace because it reflects light beautifully without looking harsh under artificial lighting.
Just remember to prep those walls properly, and trust me, I learned the hard way: bathroom walls need special attention due to moisture.
2. Versatility and Clean Aesthetic
One of my favorite things about white paint is how it’s basically a blank canvas that plays nicely with everything.
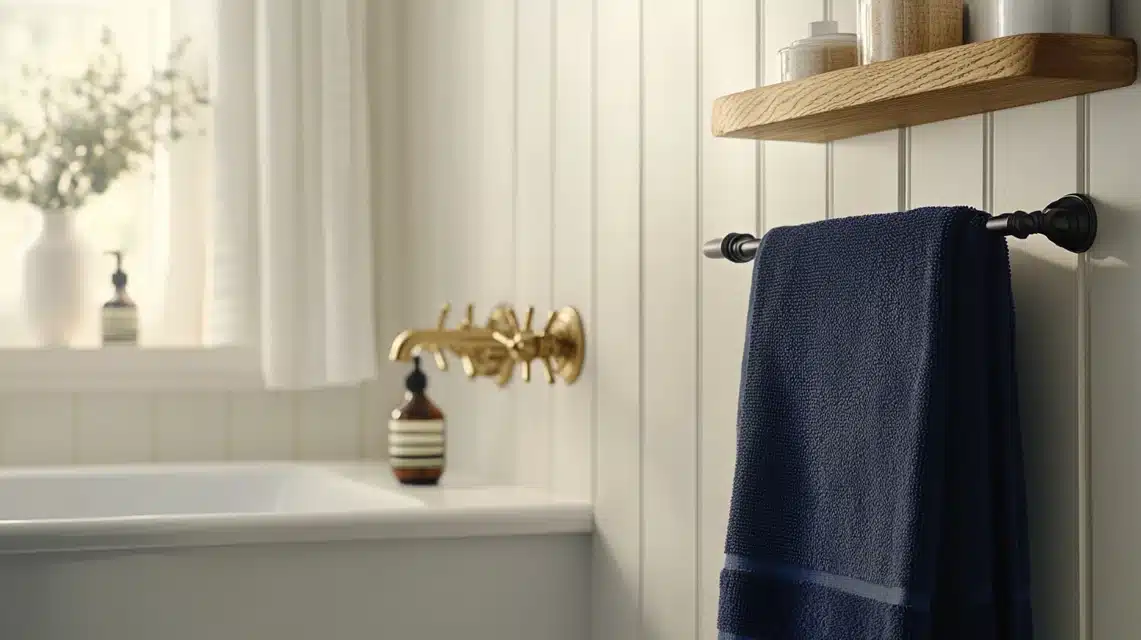
After repainting dozens of bathrooms (both mine and friends), I’ve seen white walls complement everything from vintage brass fixtures to ultra-modern matte black hardware.
Currently, I’m rocking a combination of white walls with some gorgeous navy blue towels and natural wood accessories in my own windowless bathroom, and I can switch up the look whenever I want without touching the paint.
A little insider secret from my DIY experiments: consider using a pearl or eggshell finish rather than a flat white. It’s not just about the look.
These finishes have saved me countless hours of cleaning because they’re more resistant to moisture and can be wiped down easily.
After dealing with flat paint that showed every watermark, this was a game-changer for me!
Features to Look for in White Paint for a Windowless Bathroom
After testing countless white paints in my own bathroom renovations (and helping neighbors with theirs!), I’ve learned that not all white paints are created equal.
I’ll share what I’ve discovered through my DIY journey about choosing the perfect white paint for your windowless bathroom.
1. Light-Reflecting Properties
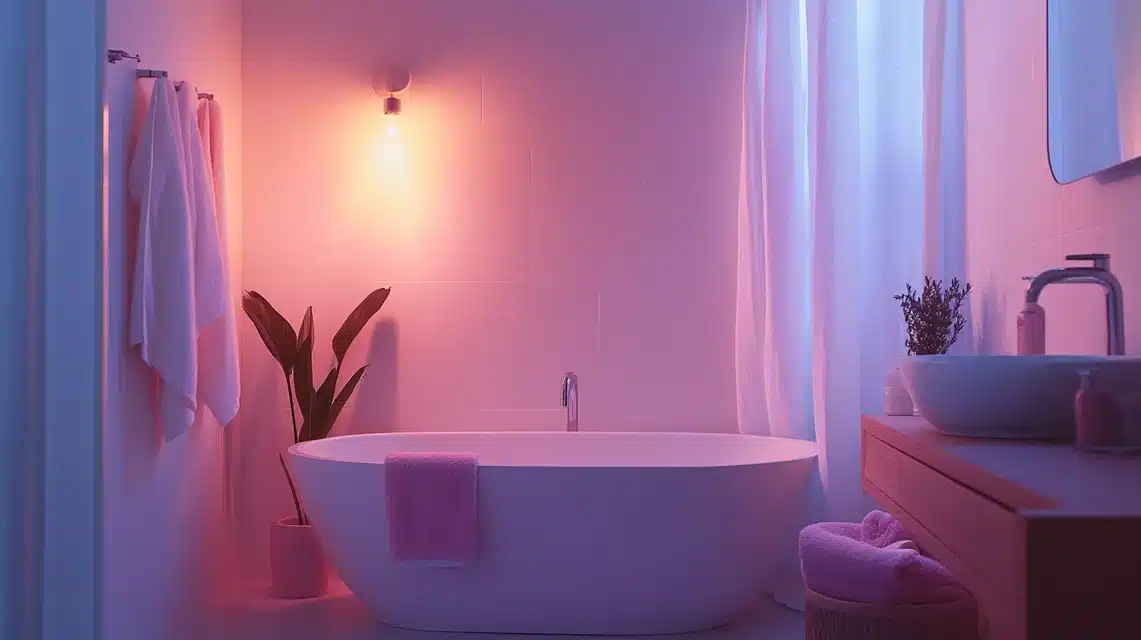
I wish I’d known when I started painting checking the Light Reflectance Value (LRV) isn’t just paint-geek territory – it’s a total game-changer!
After painting three different whites in my basement bathroom, I finally understood why some whites just “worked” better than others.
Look for whites with an LRV of 85 or higher – they’re the real MVPs of brightening up dark spaces.
My current go-to is Sherwin-Williams Pure White (LRV 84.5). I discovered it while helping my sister redo her tiny powder room, and the difference was incredible.
The previous white paint looked dull and lifeless, but Pure White made the space feel like it had a window!
Just remember to test your paint samples in the darkest corner of your bathroom – that’s where you’ll really see the difference in light reflection.
2. Sheen Matters
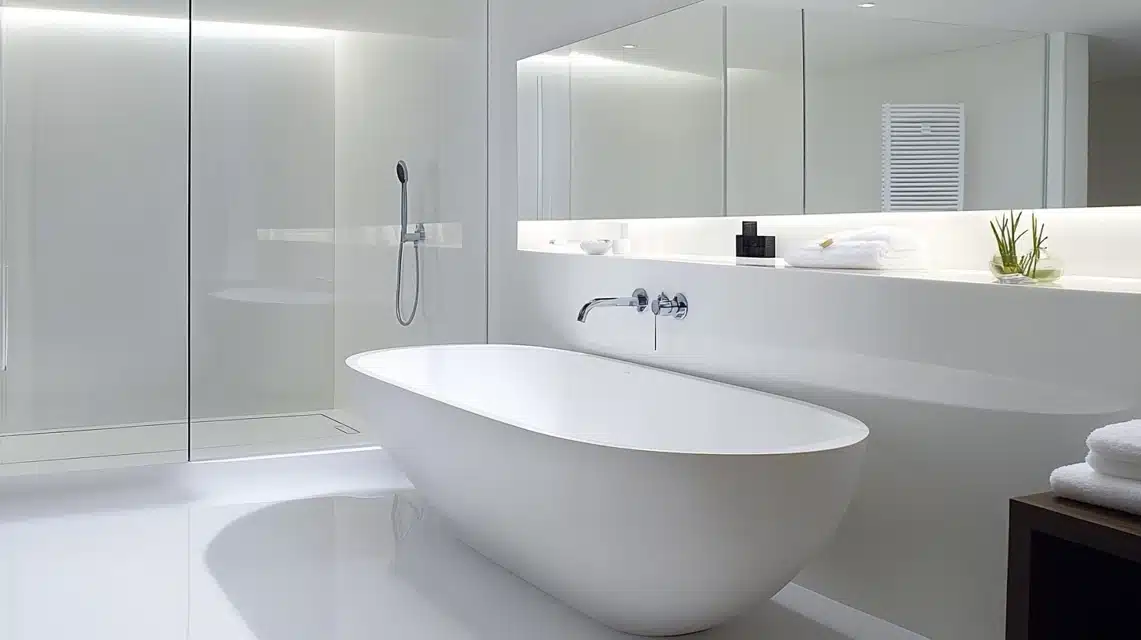
“Matte Paint Mishap” – a rookie mistake that taught me the importance of sheen selection. After dealing with mold spots on my first bathroom paint job (ugh!), I’ve become a huge advocate for semi-gloss or satin finishes.
These aren’t just practical choices for moisture resistance. They actually help bounce more light around the room.
I personally prefer a satin finish for walls – it hits that sweet spot between durability and sophistication.
After trying both, I found that semi-gloss can sometimes look a bit too shiny on large wall surfaces, though it’s perfect for trim work.
Tip from my recent bathroom makeover: use the same white color but go one sheen higher on your trim for a subtle, sophisticated contrast.
3. Warm vs. Cool Undertones
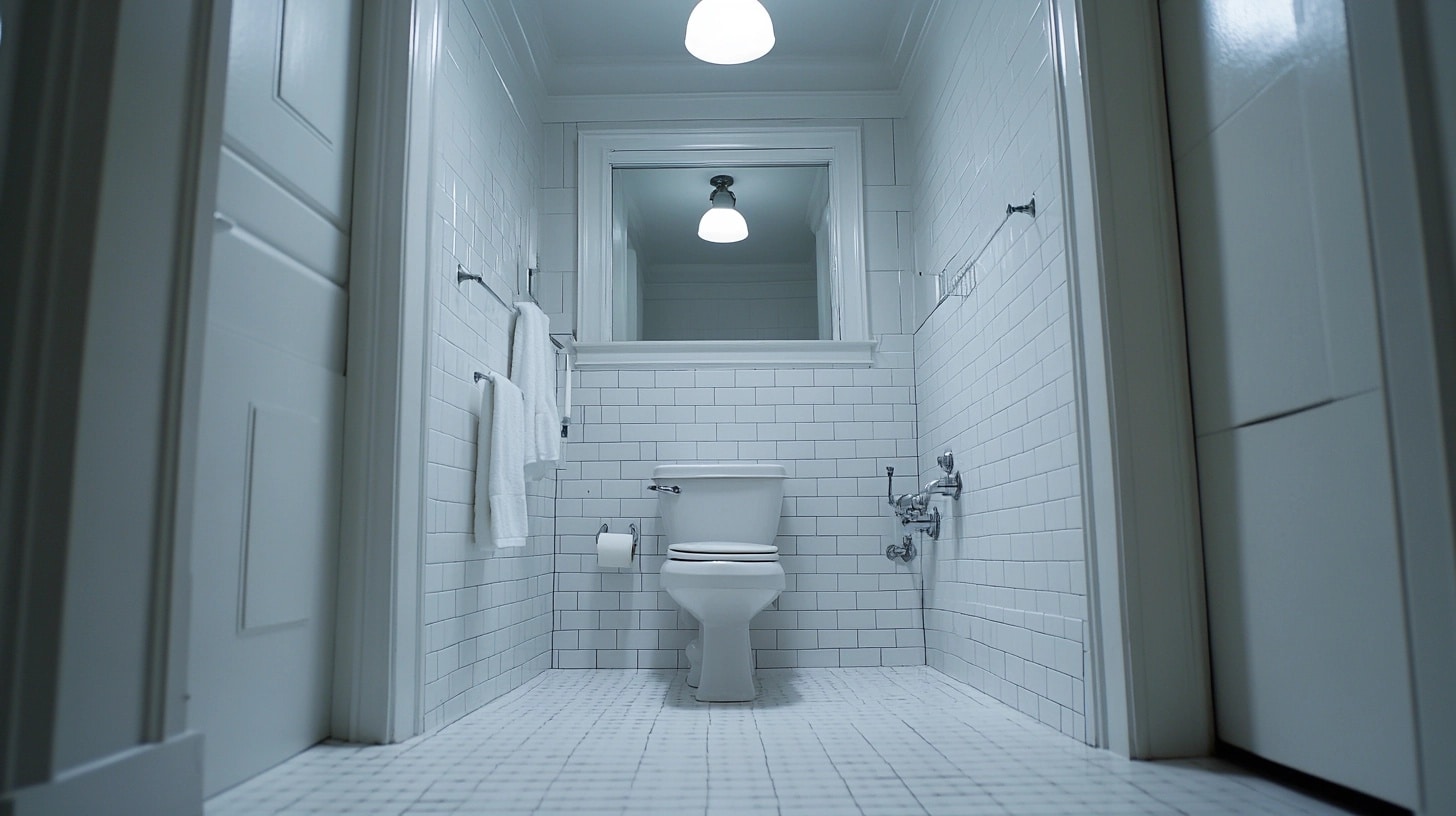
Through countless paint swatches and mini makeovers, I’ve cracked the code on undertones. If you’re like me and felt overwhelmed by the sea of white paint options, here’s what I’ve learned.
Your lighting plays a huge role in how warm or cool whites appear.
In my north-facing windowless bathroom, I originally chose a cool white that ended up looking rather clinical under LED lights.
Switching to a warmer white like Benjamin Moore’s White Dove made the space feel instantly more welcoming.
However, when I helped my friend with her bathroom that had warmer-toned light fixtures, I went with a cooler white (Sherwin-Williams Extra White) to balance things out.
A quick tip from my paint-stained hands: grab some poster board, paint large swatches, and stick them on different walls in your bathroom.
Live with them for a few days, and pay attention to how they look during your morning routine versus evening hours. This little test has saved me from several almost-mistakes.
Top White Paint Recommendations for Windowless Bathrooms
After testing dozens of white paints in my own windowless bathroom renovations (and helping countless DIY friends with theirs), I’ve compiled my tried-and-true favorites.
Let me share what I’ve learnt through years of real-world testing and numerous paint touch-ups!
1. Warm White Options

My first bathroom makeover, where the white paint looked oddly sterile. That project taught me the value of warm whites.
Benjamin Moore’s Simply White has become my go-to recommendation for cozy vibes.
I used it in my guest bathroom, and visitors always comment on how welcoming it feels – even with just artificial lighting.
Sherwin-Williams Alabaster is another gem I found while helping my sister renovate her powder room. It has this subtle warmth that’s especially gorgeous with bronze or brass fixtures.
Tip: if you have cream-colored tiles or fixtures you can’t change, Alabaster is your best friend. It harmonizes beautifully without making the older elements look dingy.
2. Cool White Options

For those of you aiming for that crisp, spa-like feel (I know I was!), cool whites can work magic. Behr’s Ultra Pure White changed my main bathroom from a cave-like space to a bright and airy one.
Just be careful with this one – I learned that it can look a bit stark under cool LED lighting, so I switched to warm white bulbs to balance it out.
Sherwin-Williams Extra White is another fantastic option I found during a recent project. It’s become my secret weapon for modern bathrooms with chrome or nickel fixtures.
After using it in my last bathroom update, I found it creates this incredibly fresh, clean look without feeling clinical.
3. Best High-LRV Whites
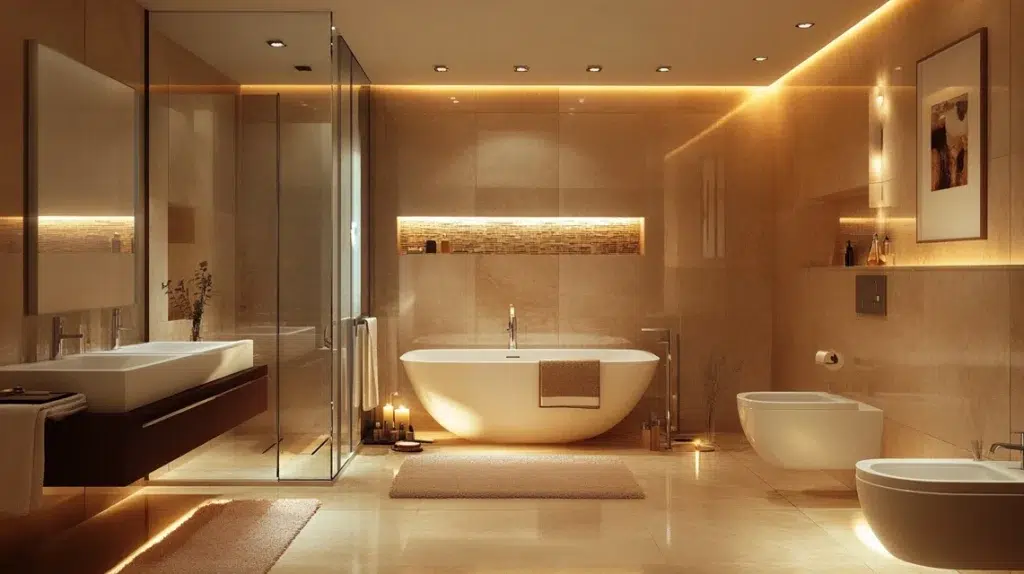
Let’s talk about my absolute favorite category for windowless spaces, high-LRV whites. Farrow & Ball’s All White is a splurge, but wow, does it deliver?
When I finally bit the bullet and used it in my smallest bathroom, the difference was jaw-dropping. It has this fantastic ability to make the space feel luminous even with minimal lighting.
I recently saw Benjamin Moore’s Chantilly Lace (LRV 92.2) while helping a friend with her renovation. It’s become my new favorite for maximizing light reflection.
Tip: Pair these super-bright whites with dimmable lighting. Sometimes, they can be almost too bright at full strength!
One surprising find during my DIY adventures was Pittsburgh Paints’ Pure White. Don’t let its simple name fool you.
This paint has incredible light-reflecting properties, and I’ve found it particularly forgiving on less-than-perfect walls (a common issue in older bathrooms like mine).
Step-by-Step Guide to Remodel Your Bathroom
Here is a guide from my side which you can follow to help you remodel your bathroom too!
1. Assess Your Space
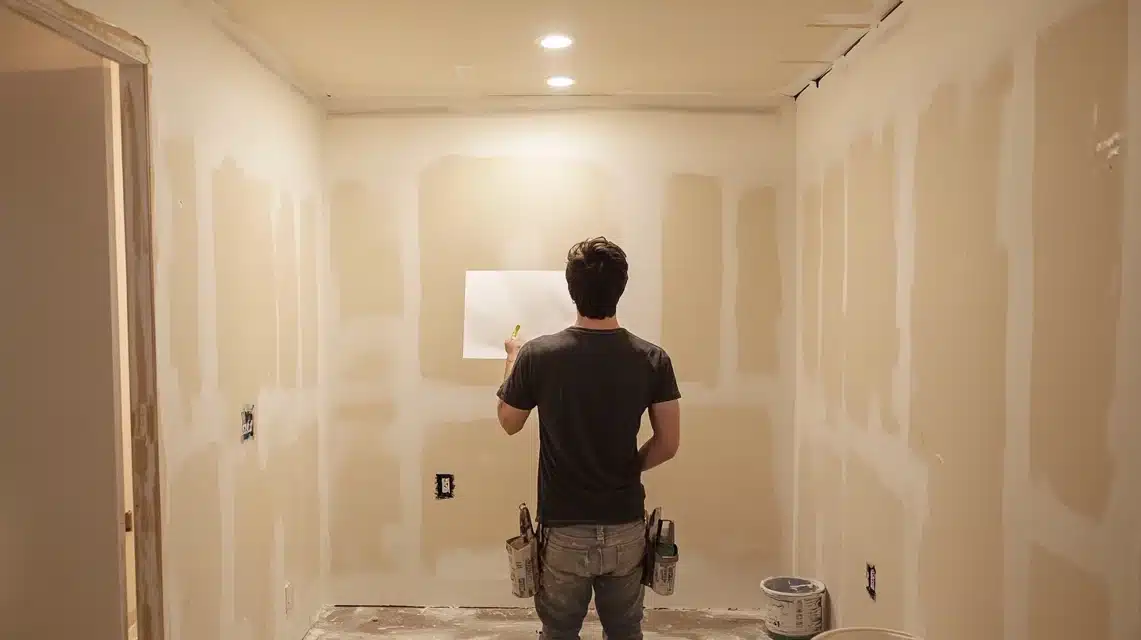
Before I even picked up a paintbrush for my latest bathroom project, I spent time really getting to know the space.
Trust me on this one—I learned the hard way that skipping this step leads to headaches later!
Pull out that measuring tape and jot down your room dimensions. I like to take “before” photos, too—they’re not just great for your DIY blog; they also help you spot issues you might miss.
Tip: visit your bathroom at different times of the day with a white piece of paper.
Hold it against various walls and notice how the existing lighting affects it.
In my case, this revealed that my old yellowish ceiling light was casting a dingy tint on everything, definitely something that needed addressing.
2. Choose the Right Paint Color
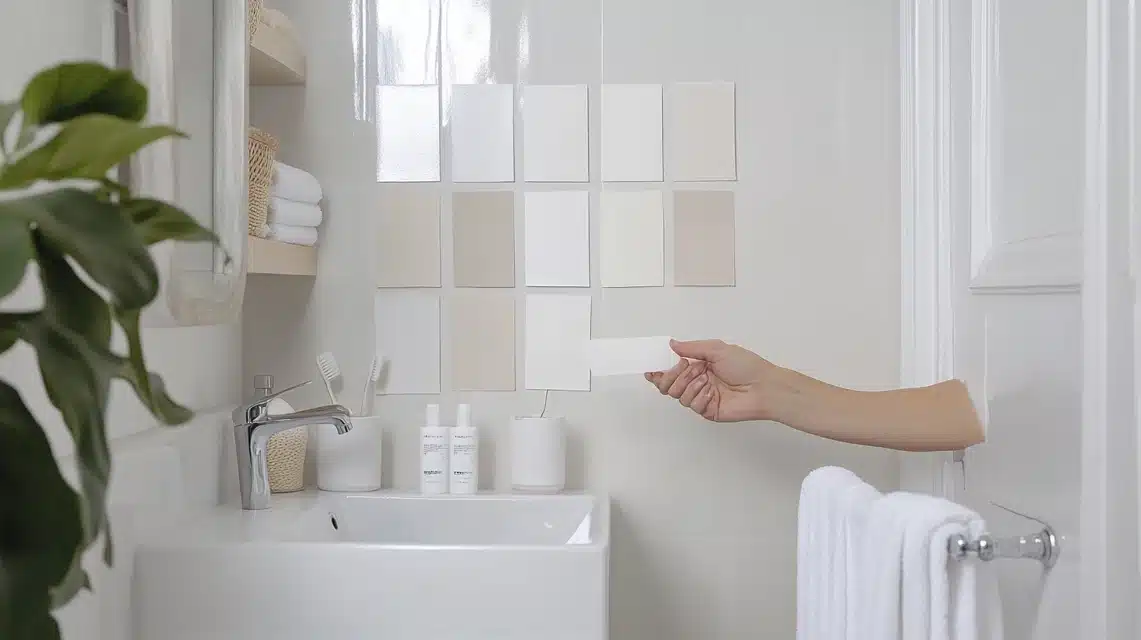
After trying what felt like every white paint sample at the store, I’ve developed a foolproof testing method. Get sample pots of 3-4 whites (don’t skip this step – it’s worth the extra cost!), and paint 2-foot squares on each wall.
My favorites to test are:
- Sherwin-Williams Pure White (my current bathroom color)
- Benjamin Moore White Dove (great for warmer lighting)
- Benjamin Moore Chantilly Lace (perfect for modern vibes)
Watch these samples throughout the day and notice how they change under your bathroom lighting.
In my bathroom, what looked perfect on the sample card appeared completely different once it was up on the wall next to my chrome fixtures.
3. Select Appropriate Lighting
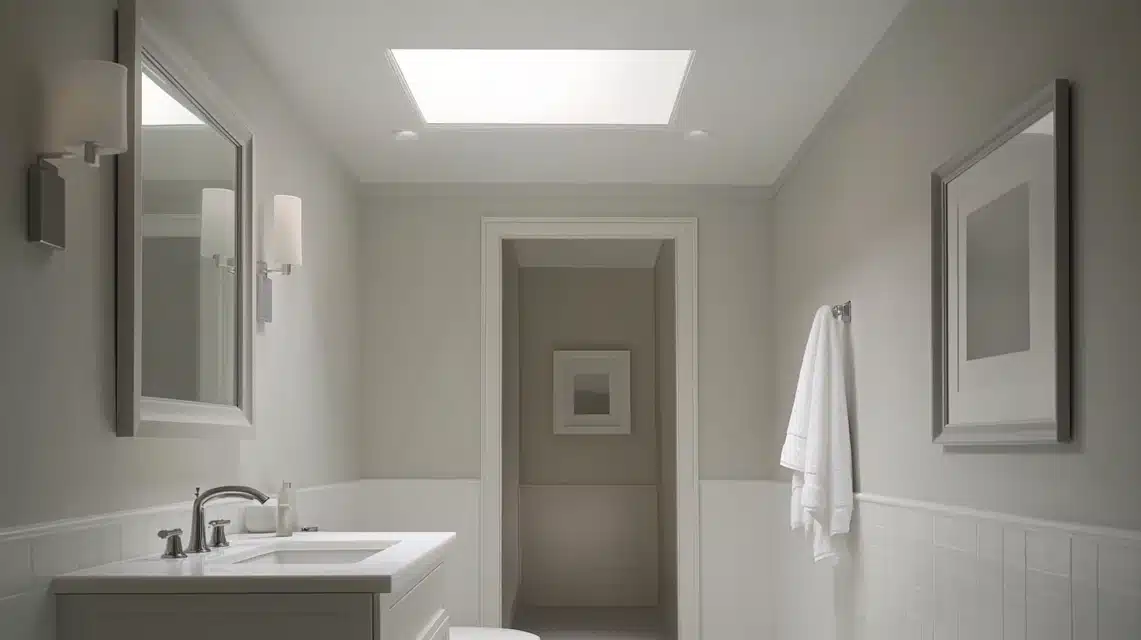
Getting the lighting right transformed my windowless bathroom from “meh” to “wow!”
After much experimentation, I found that layering different light sources works best.
I installed a bright LED ceiling fixture for overall lighting, then added wall sconces on either side of the mirror to eliminate those annoying shadows while doing makeup.
Tip: Look for bulbs labeled “daylight” with a color temperature around 5000K. The ones I initially bought were too yellow, completely changing the appearance of my carefully chosen white paint!
4. Prepare the Room
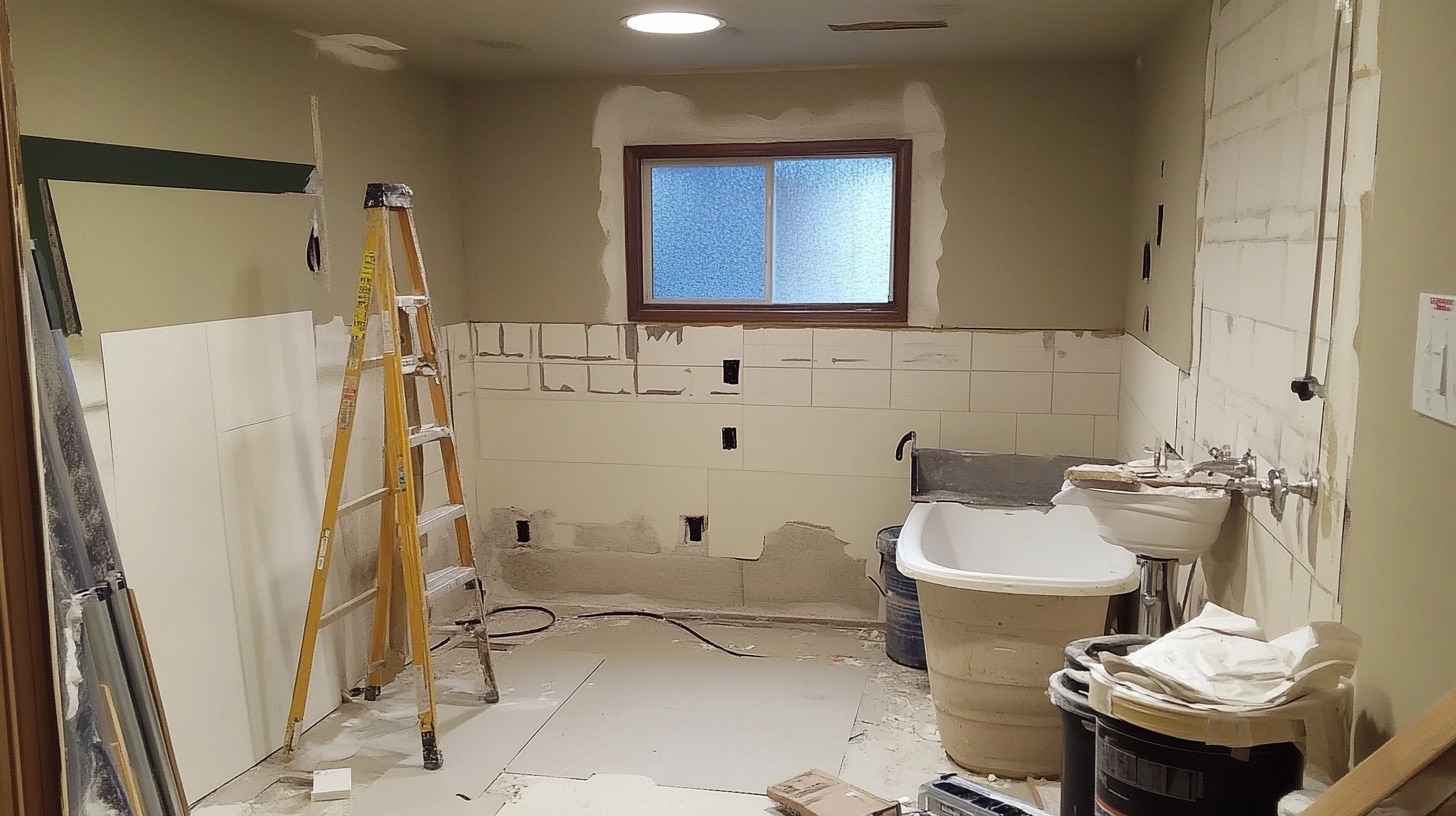
Here’s where many DIYers (including past me!) try to cut corners – don’t! Proper prep makes all the difference. I always:
- Remove all hardware and switch plates
- Repair any wall damage with spackling compound
- Sand everything smooth
- Clean walls thoroughly with TSP substitute
- Use a quality mold-resistant primer (I learned this necessity after a particularly humid summer)
5. Paint Application Tips
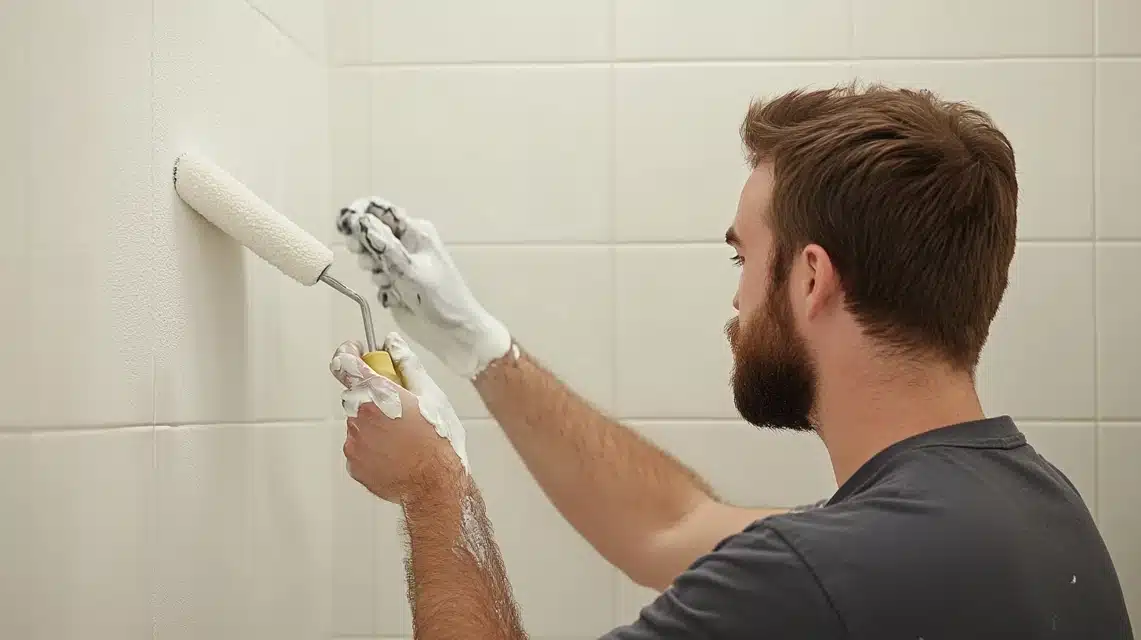
Having painted multiple bathrooms, I’ve fine-tuned my technique. Start by cutting in around the edges using an angled brush.
I prefer a 2.5-inch Purdy brush for control.
For rolling, invest in a quality 3/8-inch nap roller cover designed for smooth surfaces.
My secret weapon? A paint additive called Floetrol. It helps eliminate roller marks and gives you more working time – which is essential in a small space where you’re constantly working around fixtures and corners.
6. Finishing Touches
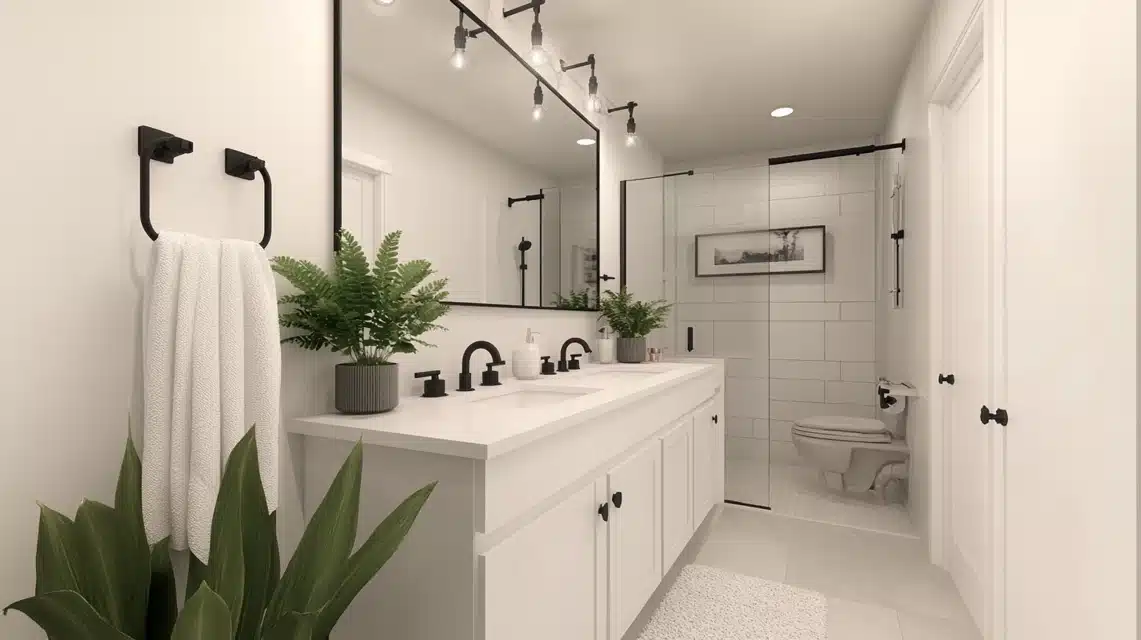
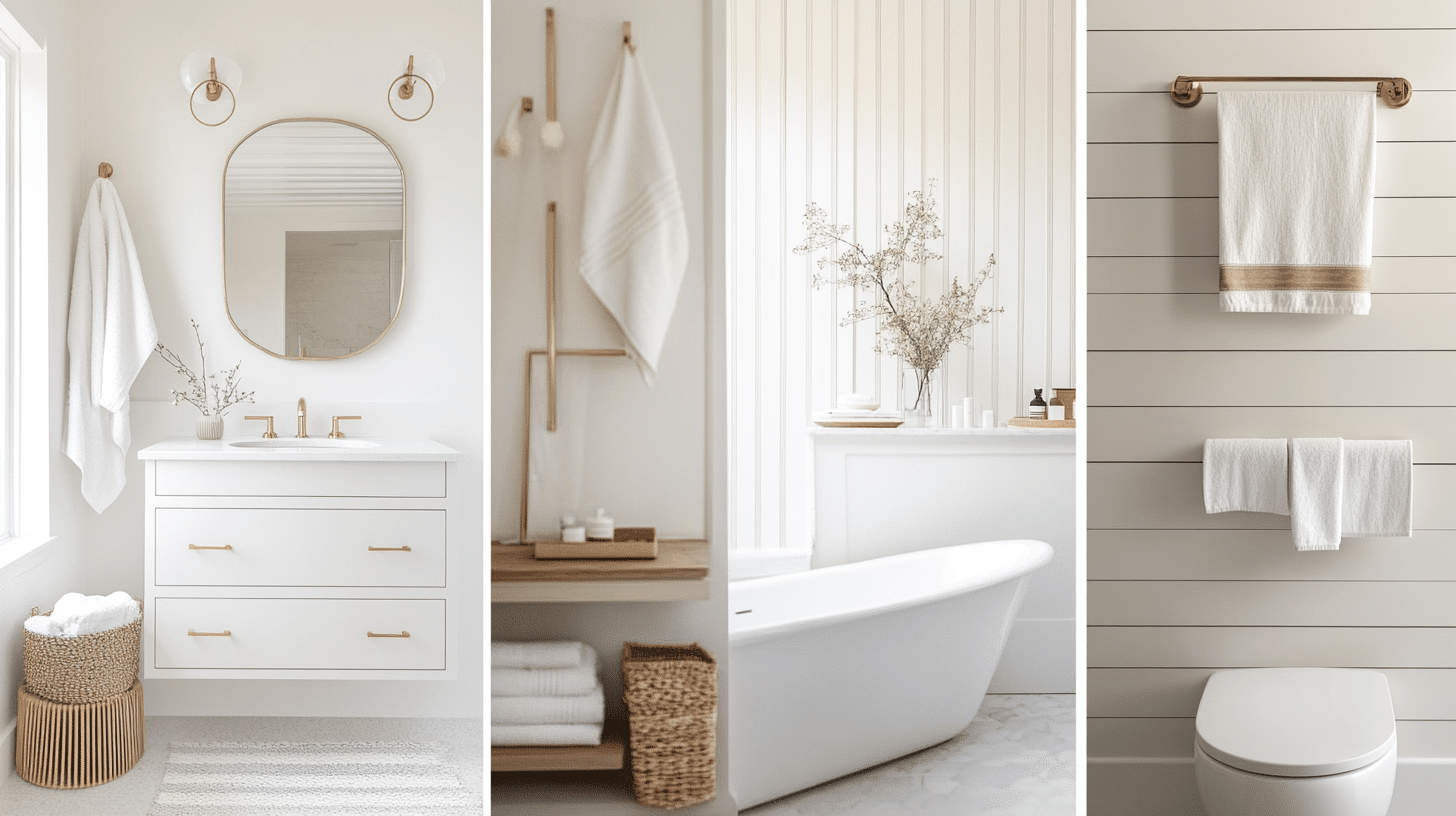
Once your gorgeous white walls are done, it’s time for the fun part! I love using contrasting elements to make the white really pop. In my bathroom, I added:
- Matte black hardware for a modern contrast
- Large mirror to amplify light reflection
- Green plants (artificial in my case – no natural light!)
- Textured white towels for subtle depth
Enhancing the Space with Complementary Decor
After diving deep into the world of bathroom makeovers (and making plenty of styling mistakes along the way!), I’ve discovered that the right decor can make white walls sing.
1. Mirrors to Reflect Light
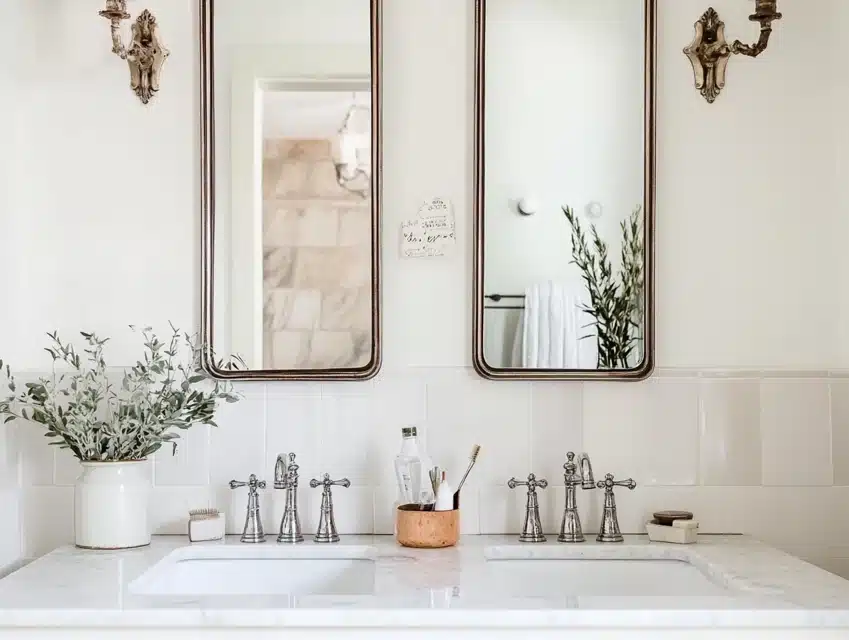
This might sound a bit extreme, but I became slightly obsessed with mirror placement after seeing how dramatically it changed my own windowless bathroom.
Beyond the standard over-sink mirror, I experimented with adding a full-length mirror on the opposite wall, and it literally doubled the perceived size of my space.
My favorite mirror-placement trick: I installed my vanity mirror about 4 inches higher than standard height and angled it slightly downward.
This catches more light from the ceiling fixture and bounces it throughout the room. Just be sure to check the angle works for everyone in your household my tall husband had to help me find the sweet spot!
A game-changing discovery from my latest renovation: frameless mirrors reflect more light than those with heavy frames.
I replaced my chunky framed mirror with a sleek, frameless one, and the difference was incredible.
Though if you love the look of frames like I do, I found that thin metallic frames can add style while still maximizing reflection.
2. Accents to Warm Up the White
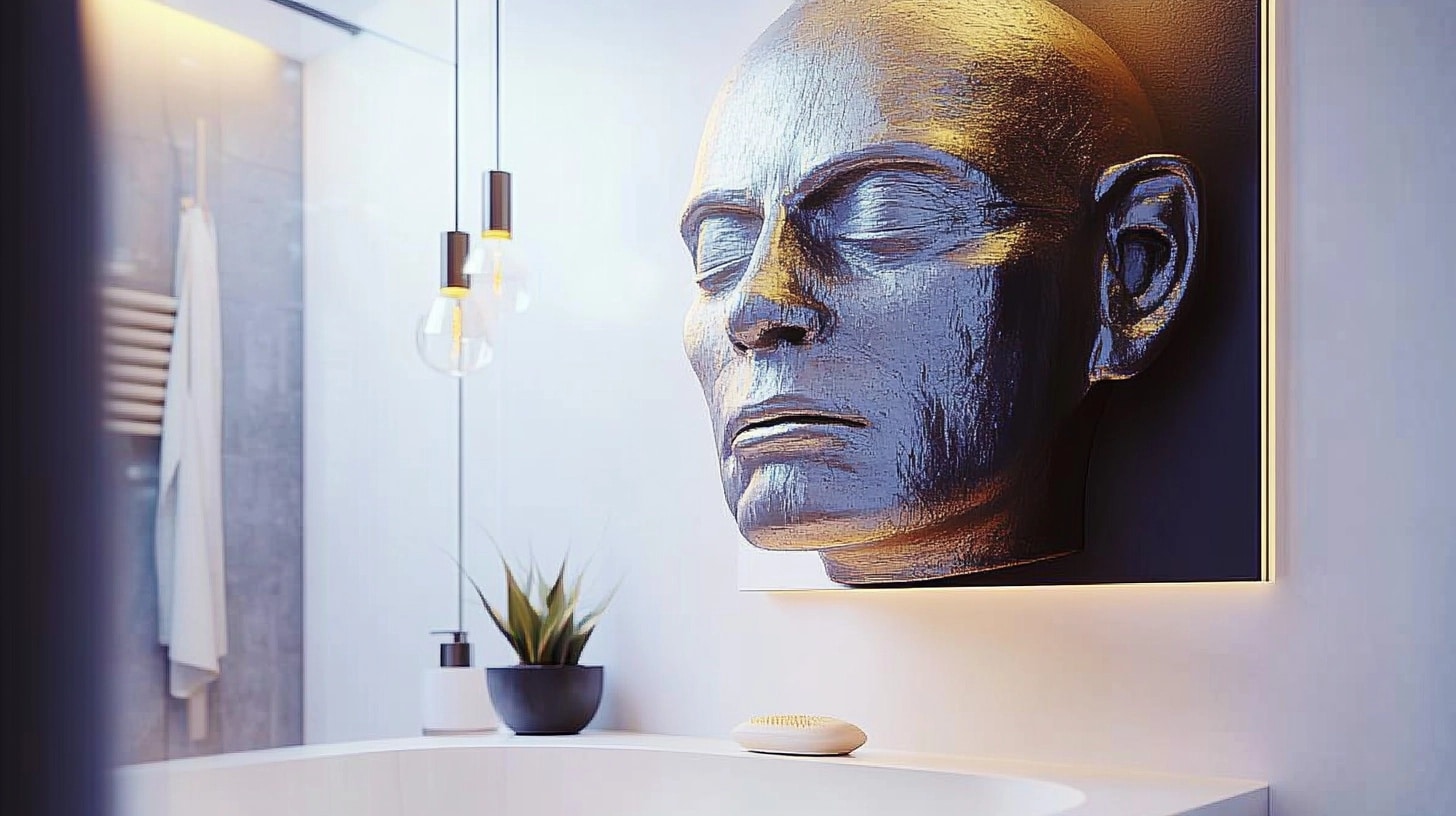
Let me tell you about my “too-white disaster” before I learned to balance things properly. When I first painted my bathroom white, it felt like a sterile doctor’s office until I started layering in textures and colors.
Now, I follow what I call my “rule of threes” – incorporating three different textures to make the space feel complete.
My current setup includes:
- A chunky, woven bathroom mat that adds amazing texture (and feels great underfoot!)
- Plush Turkish cotton towels in a warm terracotta color
- A small wooden stool that brings in natural elements
The best part about decorating white bathrooms? You can easily switch up the look seasonally. I keep my base neutral but swap out towels and accessories.
Right now, I’m loving sage green accessories, but in summer, I switch to coastal blues. Just be careful not to go overboard – I learned that too many accessories in a small space can make it feel cluttered rather than cozy.
For artwork, I discovered that black and white photography looks stunning against white walls while maintaining the bright, airy feel.
After trying various options, I settled on a collection of small botanical prints that add interest without overwhelming the space.
Speaking of overwhelming, here’s a mistake I made so you don’t have to avoid too many shiny surfaces!
While metallics can be beautiful, I once went a bit overboard with chrome accessories, and the bathroom ended up feeling cold and impersonal.
Now, I mix in matte finishes and natural materials to create a more balanced, welcoming vibe.
Conclusion
From warm, creamy whites to crisp, modern shades, the options I’ve shared in this blog can truly work magic in dark spaces.
Remember, testing is key! Grab a few samples, see how they look under your bathroom’s lighting, and don’t rush the process. A little extra time now will save you from repainting later.
For me, the finishing touches are where the magic really happens. Pair your freshly painted walls with a great mirror to reflect light, add colorful towels or accessories for personality, and maybe even throw in some greenery for a pop of life.
Tackling this project yourself not only saves money but gives you that amazing sense of pride every time you step into your transformed bathroom. Trust me, there’s nothing like knowing you brought a vision to life with your own hands.
So grab that paintbrush and let your creativity shine. With the right shade of white, you’ll turn your windowless bathroom into a space that feels fresh, bright, and uniquely yours. Happy painting!
Frequently Asked Questions
How do I Keep White Walls Looking Clean in a Humid Bathroom?
This was a huge learning curve for me! After dealing with mildew spots on my first attempt, I discovered the importance of proper ventilation and paint finish.
Always use bathroom-specific paint with mold-resistant properties, and go for a satin or semi-gloss finish.
I run my exhaust fan during showers and for 30 minutes after – it makes a world of difference in maintenance.
What’s the Best Lighting to Pair with White Walls in a Windowless Bathroom?
Based on my own trial and error, layered lighting is key. I installed a bright LED ceiling fixture (5000K “daylight” temperature) for overall illumination, then added sconces beside the mirror for task lighting. Just avoid yellowy bulbs – they can make your beautiful white walls look dingy.
How Many Coats of Paint Will I Really Need?
Based on my experience across multiple bathroom projects, I plan for three coats: one primer and two topcoats. Don’t skip the primer! I tried once to save time and regretted it when the moisture started affecting the paint. Quality primer is especially important in bathrooms.
Can I Paint Over the Existing Dark Walls with White?
Yes, but preparation is crucial! I learned this the hard way in my powder room makeover.
Use a high-quality primer specifically designed to cover dark colors (I recommend two coats of primer in this case), and be patient between coats.
The extra time spent on proper prep will save you from seeing dark color bleeding through later.
How Do I Choose Between Warm and Cool Whites?
Look at your existing fixtures and lighting. In my main bathroom, which has chrome fixtures and LED lights, a cool white (Benjamin Moore Chantilly Lace) works perfectly. But in my powder room with brass hardware and warmer lighting, a warm white (Benjamin Moore White Dove) creates a more harmonious feel.

