Spray Paint Picture Frames: DIY to Refresh the Look
Spray painting picture frames is a great way to make old frames look fresh and new. It only costs a few dollars and some basic tools.
This guide shows you how to change dark or worn-out frames into bright, clean pieces that fit your style.
One can of spray paint, which costs less than $4, can give multiple frames a complete makeover.
We’ll share simple steps, helpful tips, and smart ideas from someone who tried this project at home.
Whether you’re fixing up one small frame or planning to redo all your wall displays, this guide will help you do it right.
Step-by-Step Guide to Spray Paint Picture Frames
Step 1: Gather Materials
- Spray paint (in your chosen color, e.g., Rust-Oleum or Krylon)
- Drop cloth or cardboard (to protect surfaces)
- Sandpaper (optional for a rustic finish)
- Painter’s tape (if parts need masking)
- Safety gear: gloves, mask, and protective eyewear
Step 2: Prepare the Frames
- Remove any pictures, glass, and backing from the frames.
- Clean the frames thoroughly to remove dust, grease, or residue. Use a damp cloth and let it dry completely.
Step 3: Set Up a Spray Area
- Choose a well-ventilated outdoor area and lay down a drop cloth or cardboard.
- If the frames are small, ensure a few feet of protective area around them to prevent overspray on other surfaces.
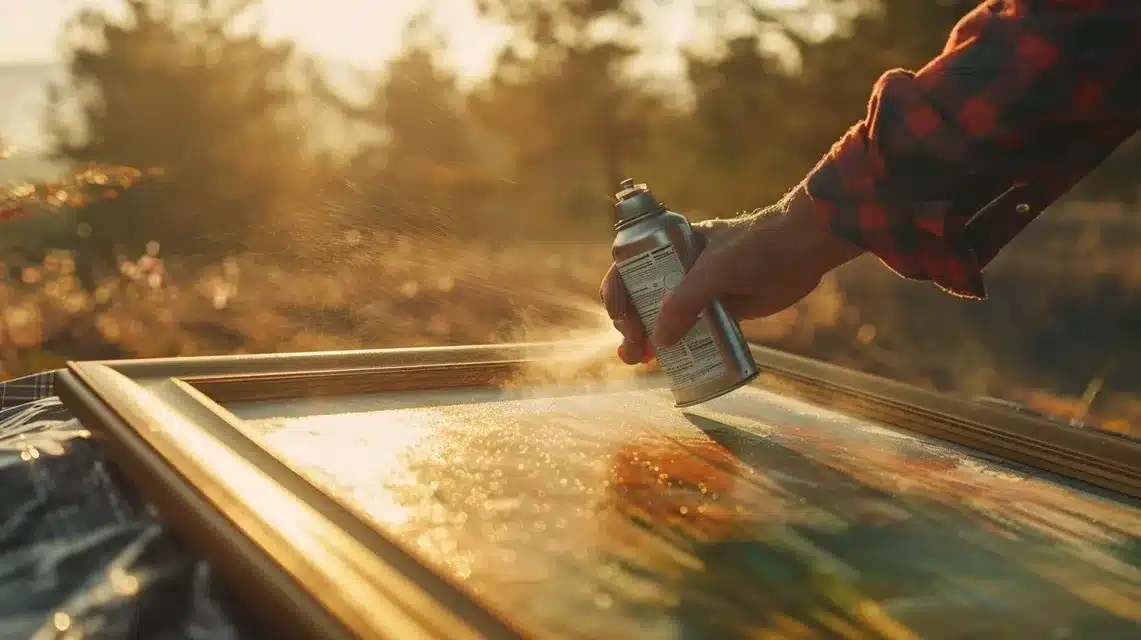
Step 4: Begin Spray Painting
- Shake the spray paint can for 1–2 minutes before use.
- Hold the spray can 10–12 inches away from the frame.
- Use smooth, even strokes, starting before the frame and releasing after passing over it to avoid scars.
Step 5: Apply Multiple Coats
- Allow each coat to dry as recommended on the paint can (usually around 20–30 minutes).
- Apply at least two coats for complete coverage, letting each coat dry in between.
- Inspect for any missed spots and touch up as needed.
Step 6: Optional: Add a Rustic Finish
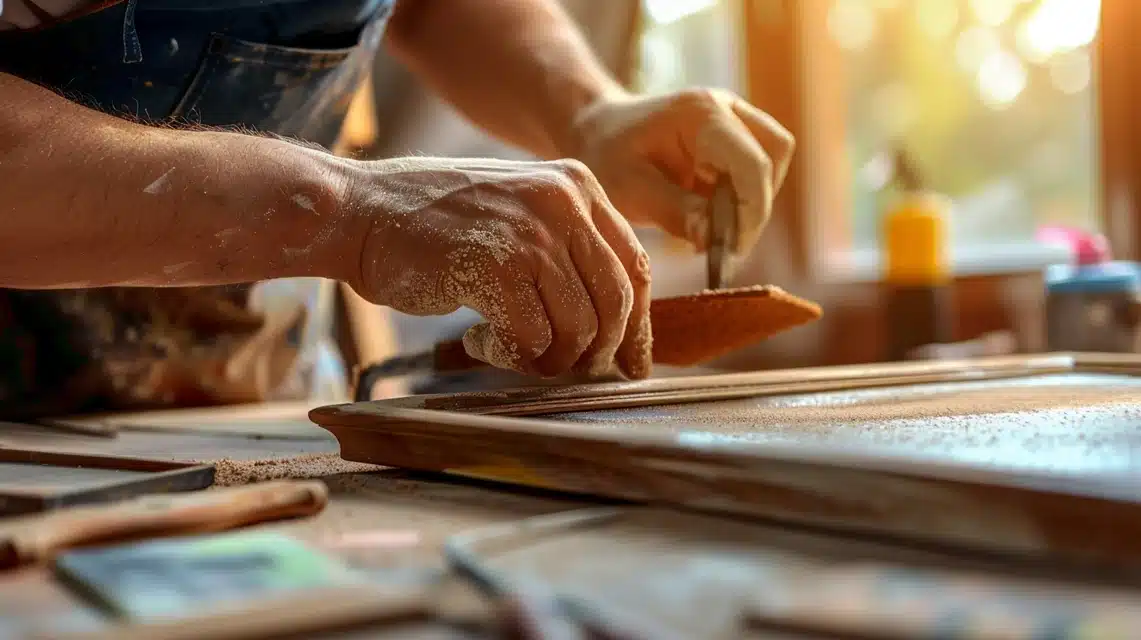
- Once the final coat dries, lightly sand the edges or certain areas with fine-grit sandpaper to give a rustic, distressed look.
- Focus on areas where natural wear would show for a realistic effect.
Step 7: Let It Cure
Allow the frames to dry fully for a few hours or as the spray paint manufacturer recommends.
Step 8: Reassemble
Once the paint is dry, reassemble the frame with glass, backing, and pictures.
Your newly painted frame is now ready to brighten up any space!
Safety Precautions for Spray Painting Picture Frames

Protect Yourself First
- Work outside or in open spaces with lots of fresh air
- Put on safety glasses to keep paint away from your eyes
- Use hand coverings when painting
- Wear old clothes or an apron to keep paint off your good clothes
Watch Out For
- Small flying bugs: The source mentions bees getting drawn to paint smell
- Wind direction: Point spray away from yourself
- Other people or pets: Keep them far from your work spot
Clean-Up Rules
- Put used paint cans in sealed bags
- Check local rules about throwing away paint items
- Take empty cans to proper waste spots
- Keep paint away from grass, plants, and water
Smart Tips
- Take breaks if you need fresh air
- Keep water nearby to wash hands
- Work during daylight hours to see better
- Stop if you feel unwell
Fresh Ideas for Your Frames
Picking Colors
- Warm white makes photos stand out
- Light colors work well in small rooms
- Match your wall color for a clean look
Make It Special
- Scratch some paint off the edges with sandpaper for an old-time look
- Put the tape in shapes before painting
- Mix plain and textured frames in groups
Setting Up Your Wall
- Put similar frames close to each other
- Space frames 2-3 inches apart
- Try laying frames on the floor first to test your setup
Quick Tip: The source shows how gentle sanding can turn a plain white frame into something special – it happened by chance and made the frames look better!
Summing Up
The process needs care and patience, but the results are worth the effort. With good planning and the right tools, you can turn tired frames into pieces that look brand new.
This project shows that small changes can greatly impact your home. The steps are easy to follow, the materials are cheap, and the process is fun.
You might also find ways to make the frames match your style, like adding gentle marks with sandpaper for extra charm.
Start with one frame, and you’ll soon want to update them all.
Frequently Asked Questions
How Do I Prevent Drips and Runs in the Paint?
Hold the can 10-12 inches away and spray in steady side-to-side moves. Don’t stay too long in one spot.
How Long Should I Wait for The Paint to Dry Before Handling It?
Wait 30 minutes between coats. Let it dry for 2-3 hours before touching. Time varies with the weather.
Is It Necessary to Use a Primer?
If your frame is already painted, you can skip the primer. For bare wood or metal, primer helps paint stick better.


