Whole Home Renovation Guide: Where to Start
Starting a renovation without a clear direction can quickly turn into a stressful experience.
A whole home renovation involves more than just design changes, it requires planning, sequencing, and careful decisions at every stage.
Many homeowners focus on the visible results but overlook the process that leads there. That’s where most problems begin.
Today, I’ll show you how to approach your renovation step by step, from defining priorities to managing execution and avoiding common mistakes. The goal is to give you clarity before any work begins.
Let’s start with the first step.
Set Clear Goals for Whole Home Renovation
Before you begin your whole home renovation, you need a clear picture of what you want to achieve. Start by identifying what is not working in your current space and what needs to change.
Clear goals keep your decisions focused from day one. Without them, choices become confusing, costs rise, and the project can easily lose direction.
What You Should Define First
Start by breaking your ideas into specific points instead of broad thoughts. This makes planning much easier.
- Spaces: Decide which areas need work, such as the kitchen, bathroom, or the entire house
- Problems: Identify issues like poor layout, limited storage, outdated systems, or visible damage
- Purpose: Define the outcome you want, such as more space, better flow, a modern look, or rental use
This step turns unclear ideas into a structured plan you can actually follow.
Separate Must-Haves from Nice-To-Haves
You won’t be able to include everything, so set priorities early. Focus first on what is essential for safety and function, like structural fixes, wiring, or layout improvements.
Then list the upgrades that are optional, such as high-end finishes or design upgrades. This makes it easier to adjust your plan later without confusion.
Why This Step Matters and What Happens if You Skip It
Your goals influence your budget, design choices, and timeline. When they are clear, decisions become faster and more consistent.
If you skip this step, the plan keeps changing during the project. Costs increase, timelines stretch, and contractors may struggle to understand the scope. This often leads to delays and unnecessary complications.
Set a Budget for Whole Home Renovation
Before you start your whole home renovation, you need a clear and realistic budget that matches your goals. This step helps you understand how much you can spend and where that money should go.
A complete budget should cover:
- Construction costs
- Labor charges
- Materials and finishes
- Permits and approvals
- A 15–20% buffer for unexpected expenses
Many homeowners underestimate hidden costs. Work like plumbing upgrades, electrical changes, or structural repairs can quickly increase the total.
Setting a proper budget keeps your decisions controlled and prevents last-minute surprises. If you skip this step, you may deal with rising costs, incomplete work, or frequent changes that slow down the entire project.
Follow the Correct Remodeling Order
Start your whole home renovation in the right sequence to avoid damage, delays, and repeated work. Each step builds on the previous one, so getting the order right is critical.
The process always begins with the structure and exterior, then moves inward step by step.
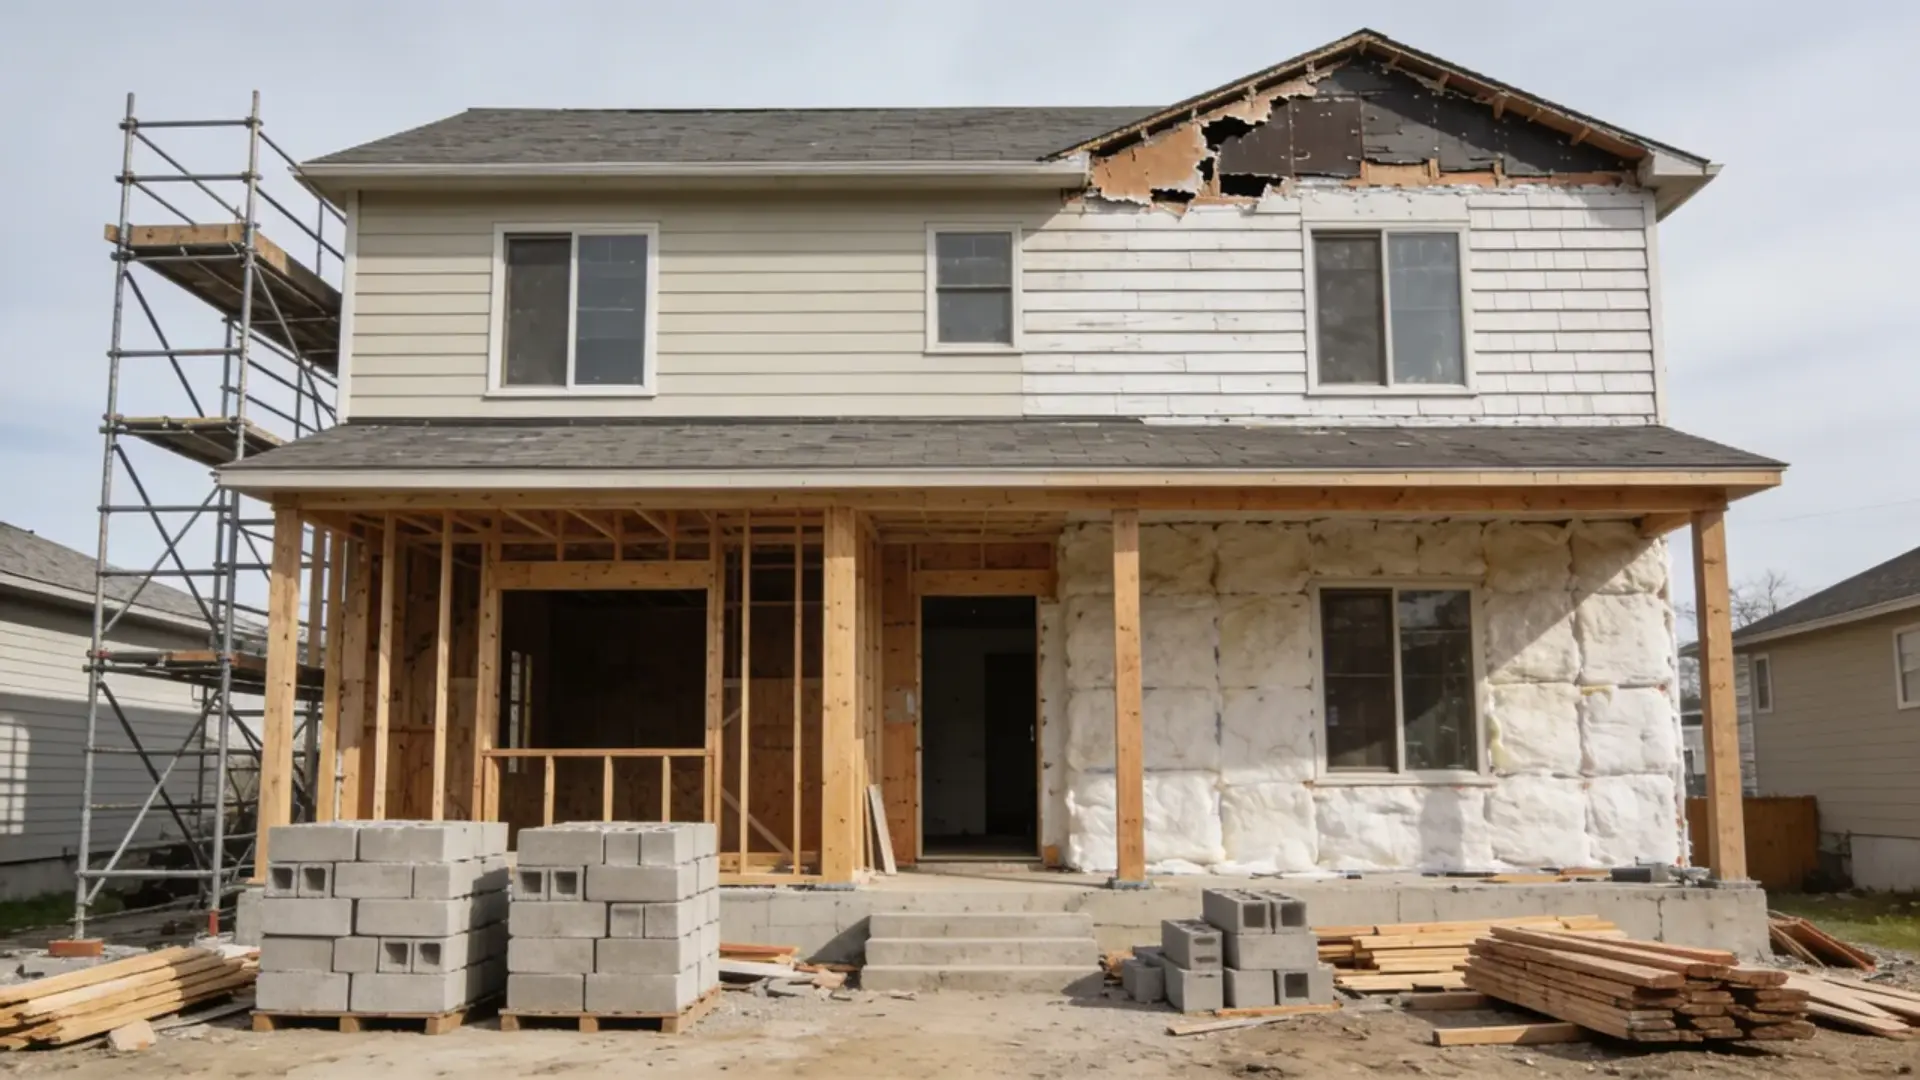
1. Start with Structure and Exterior
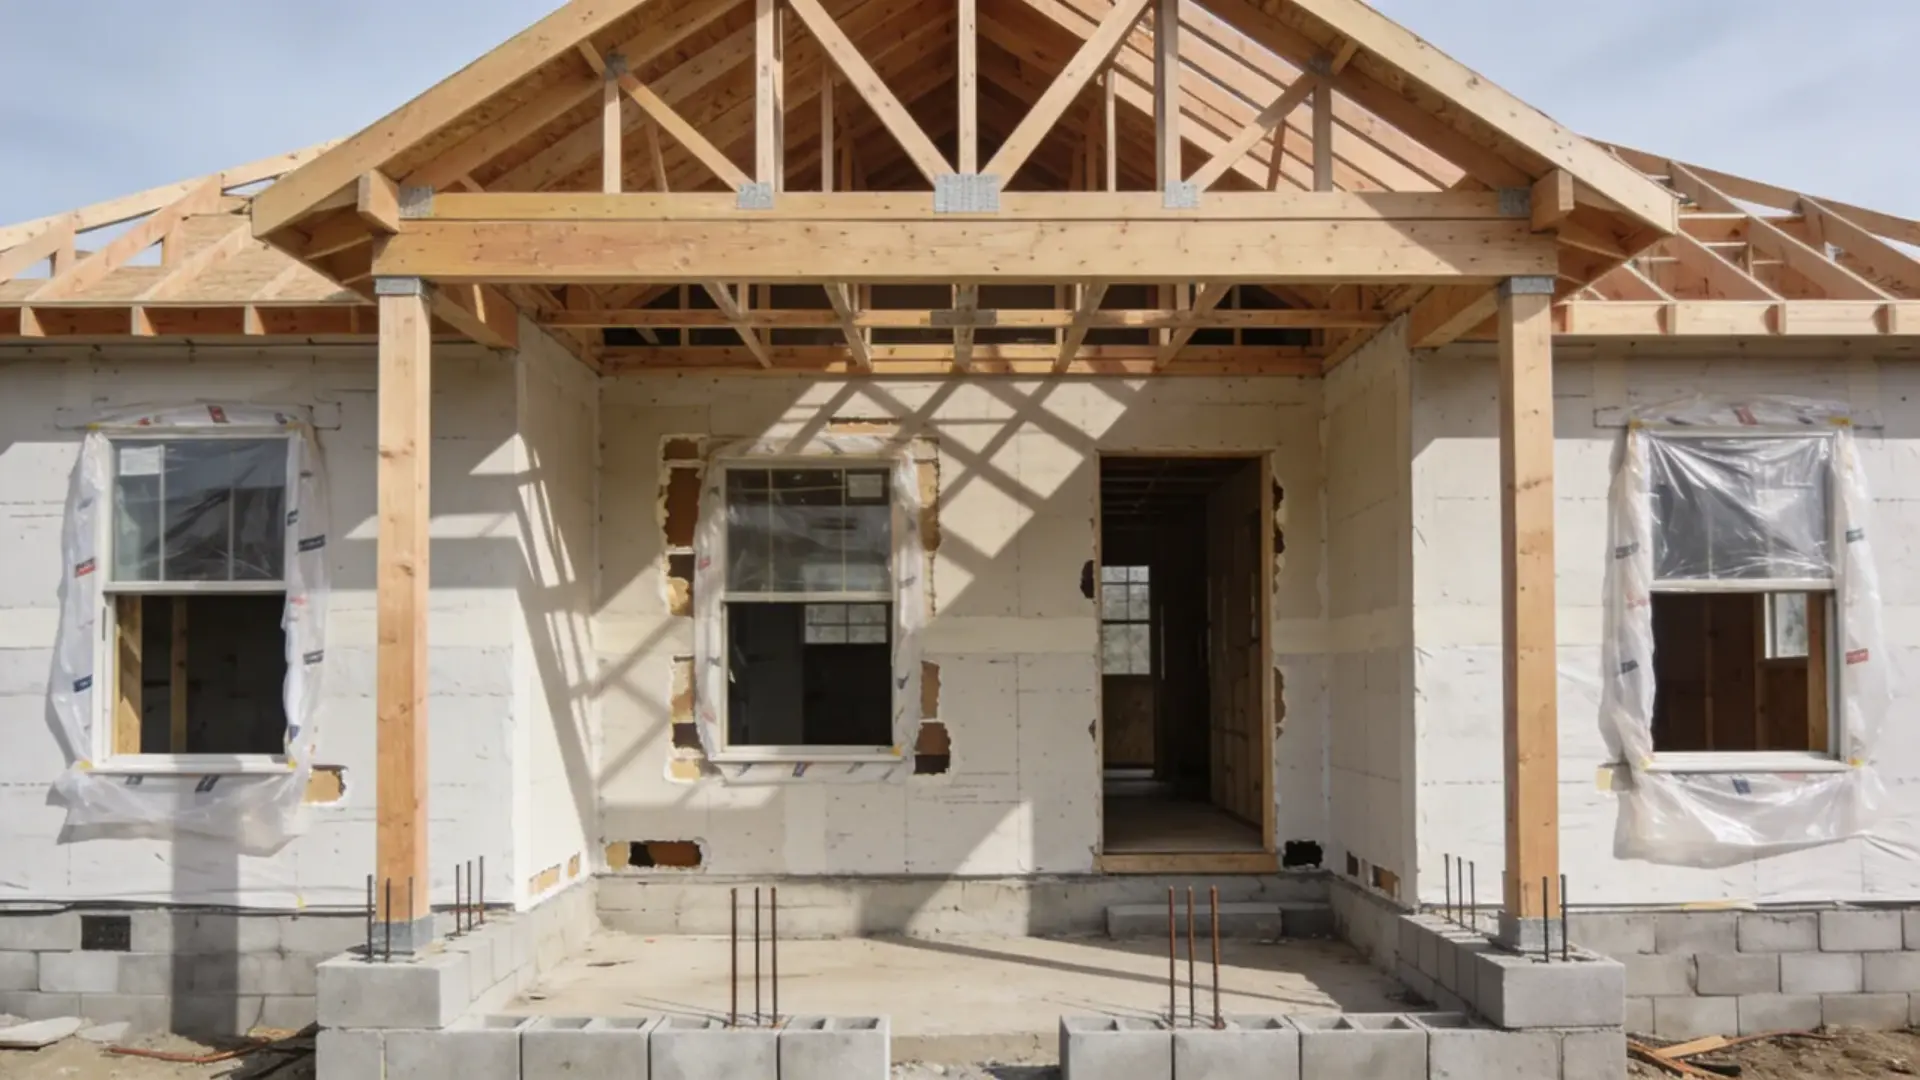
Begin with the core elements that support and protect your home.
- Foundation: Check for cracks, settlement issues, or weak areas
- Roof: Repair or replace to prevent leaks and water damage
- Walls and framing: Fix any structural damage or instability
- Windows and exterior doors: Ensure proper sealing and protection
These elements form the base of your home. Fixing them first ensures everything that follows stays protected.
If this step is skipped or delayed, interior work can get damaged by moisture or structural issues, leading to costly rework later.
2. Install Systems Next
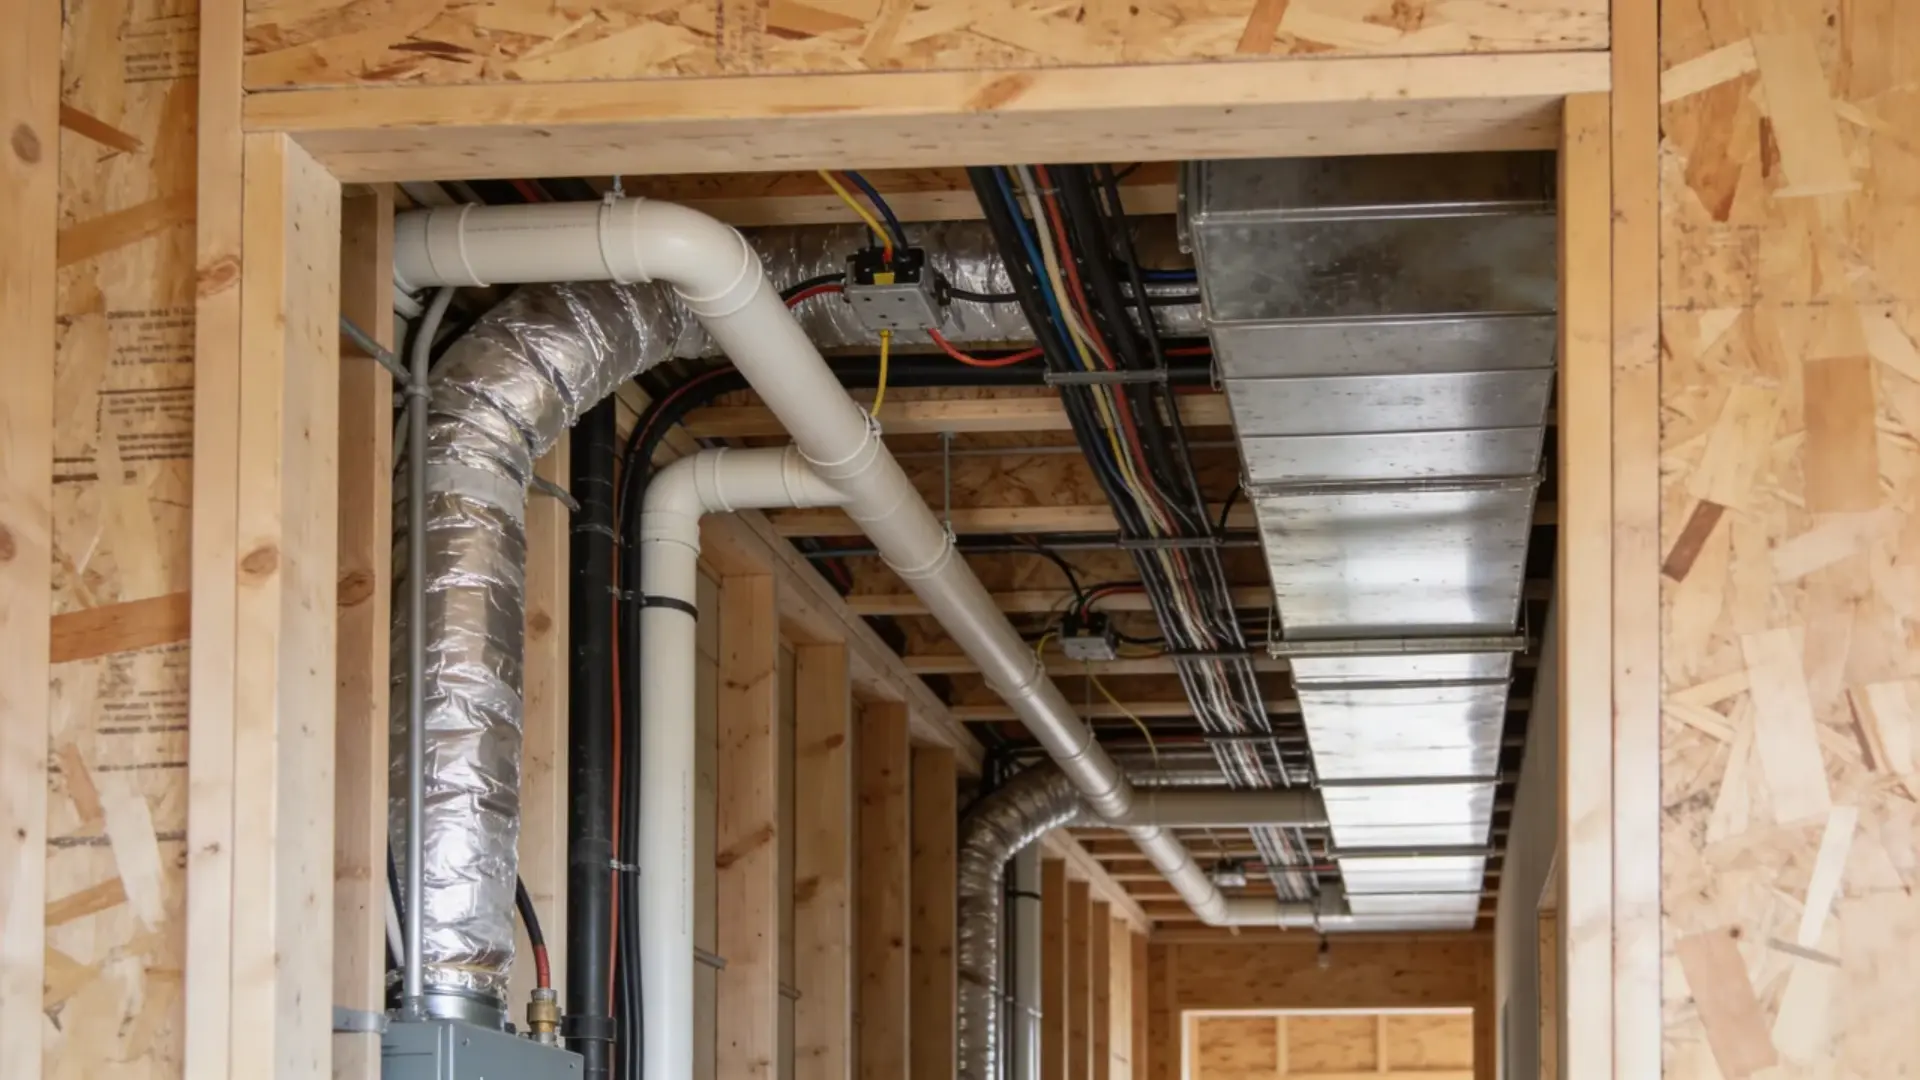
Once the structure is secure, move to all internal systems before closing anything up.
- Plumbing: Pipes and drainage lines
- Electrical: Wiring, outlets, and panels
- HVAC: Heating, cooling, and ventilation
These systems run inside walls and floors, so they must be completed at this stage.
If delayed, you may need to reopen finished walls, which increases both time and cost.
3. Close Walls and Add Insulation
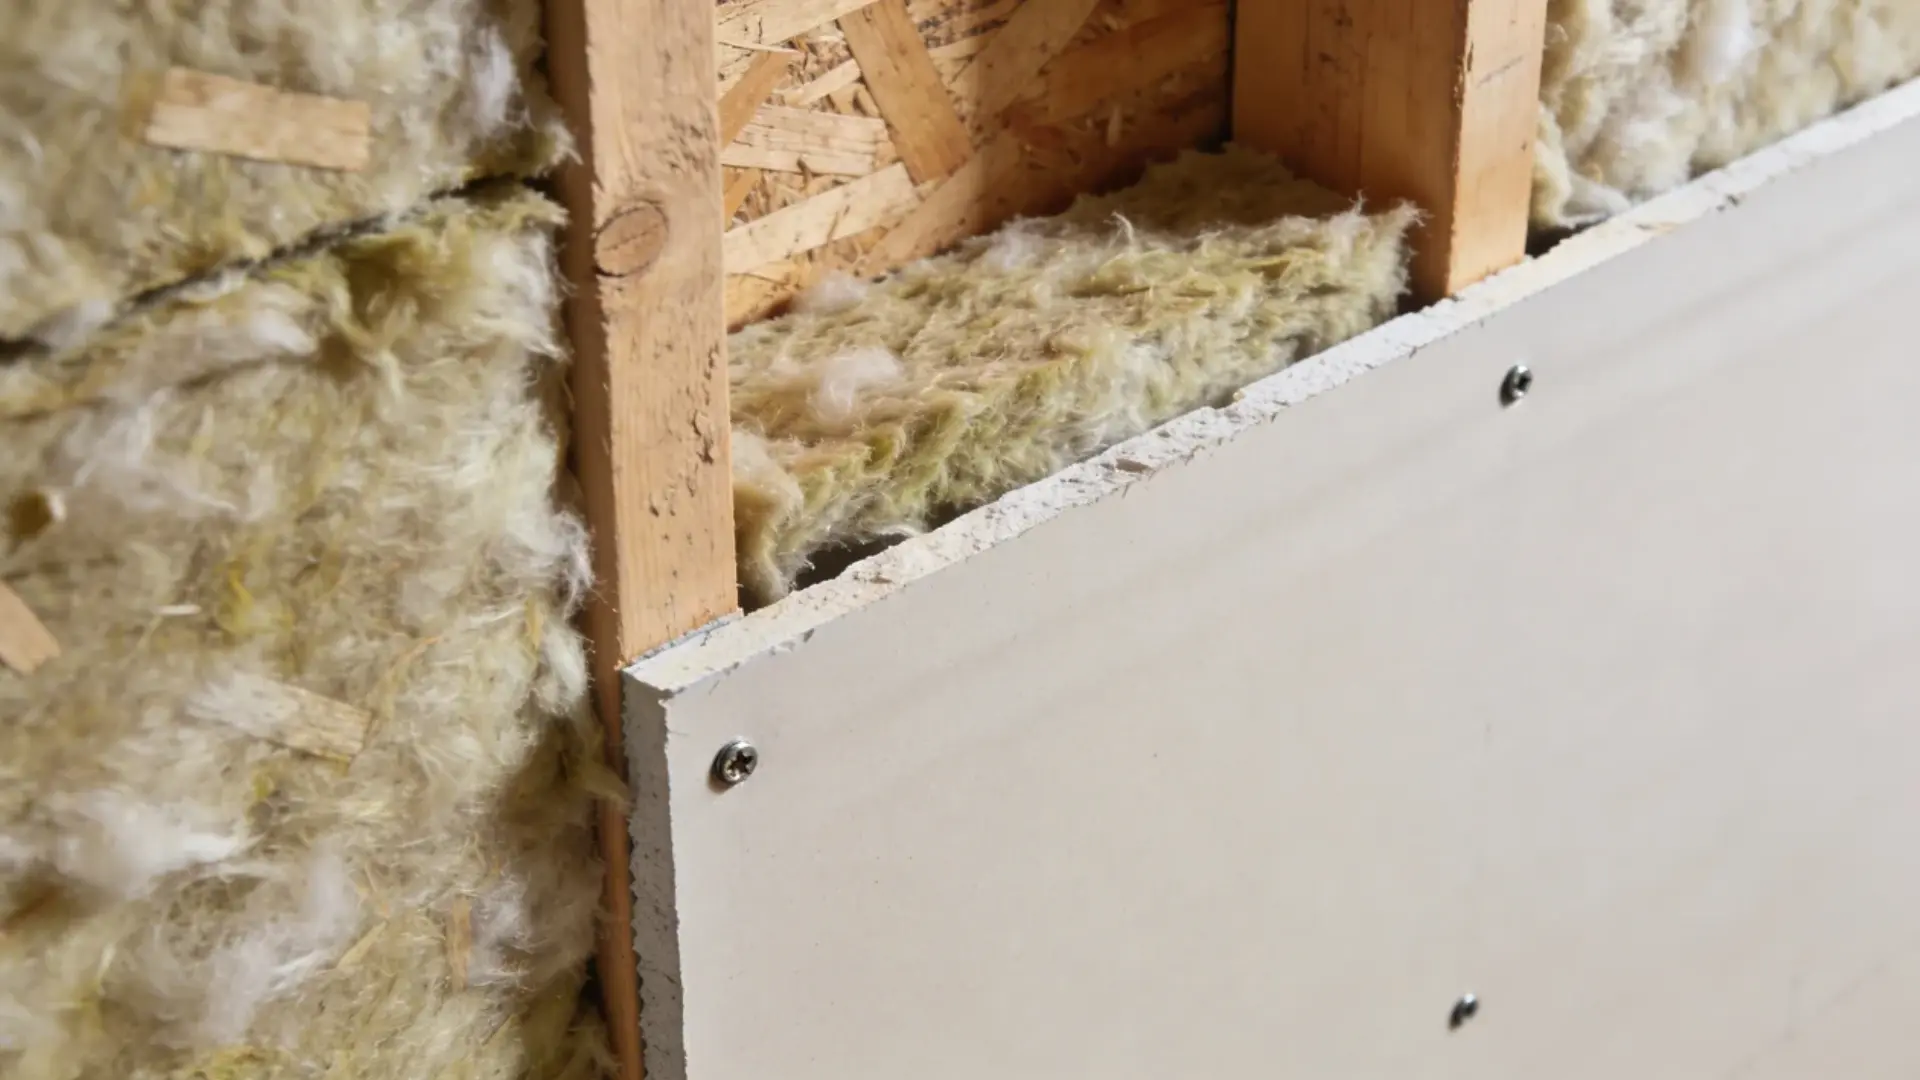
After installing systems, close the walls and prepare the interior shell. At this stage, inspections are carried out to ensure everything inside the walls is safe and properly installed.
Once approved, add insulation to improve comfort and energy efficiency.
Skipping or rushing this step can hide problems inside the walls. Fixing them later becomes expensive because the walls need to be opened again.
4. Finish with Interior Work
With the structure complete and walls closed, move to the final finishes.
- Flooring installation
- Painting and wall finishes
- Cabinets, fixtures, and fittings
This completes the look and usability of your home.
If these finishes are done earlier, they can get damaged during construction and may need to be replaced.
Get Permits and Approvals for Whole Home Renovation
Before starting your whole home renovation, it’s important to understand what permits and approvals are required in your area. Most major work cannot begin without proper authorization.
You will typically need permits for structural changes, electrical work, plumbing updates, and layout modifications. These requirements are set by local municipal authorities to ensure your home meets safety and building standards.
In many cases, you must submit detailed project plans and wait for official approval before work can start.
This process can take several weeks or even months, depending on the size and complexity of your renovation.
Skipping permits can lead to serious consequences, including fines, work stoppage, or even removal of completed work. It can also create issues during property resale, as unapproved work may not pass inspection.
Getting approvals early keeps your project legal, safe, and on track from the beginning.
Choose How You Will Run the Project
Before starting your whole home renovation, decide who will manage the project. This choice affects cost, speed, communication, and how much control you have during the process.
Hiring a General Contractor
With a general contractor, you hire someone to handle construction while you manage design decisions separately.
This option can reduce upfront costs, but it requires you to coordinate between different teams. If communication is not clear, delays and confusion can happen during changes or unexpected issues.
In the U.S., contractor-led renovations are often priced within the overall project cost, which typically ranges from $100 to $300 per square foot for mid-range work, depending on scope and materials.
Using a Design-Build Team
A design-build team handles both design and construction under one contract. This keeps planning and execution in one place.
- Single team manages the entire project
- Clear communication from the start
- Faster decisions with fewer conflicts
- Better coordination between design and construction
This approach usually costs more upfront, but it often reduces delays and mistakes, which can save money overall.
Doing It Yourself
In a DIY approach, you manage the entire project and hire workers as needed. This gives you full control over decisions and spending.
However, a whole home renovation is complex. It requires time, planning, and coordination across multiple trades. Mistakes in areas like structure, plumbing, or electrical work can increase costs and create safety risks.
For large renovations, this option can quickly become difficult to manage without experience.
Cost Comparison by Project Management Approach
| Approach | Typical Cost Range (USA) | Cost Structure | Hidden Costs Risk |
|---|---|---|---|
| DIY | $50–$150 per sq ft | Pay for materials + individual labor | High (mistakes, rework, delays) |
| General Contractor | $100–$300 per sq ft | Includes labor, management, markup | Moderate (change orders, scope changes) |
| Design-Build Team | $150–$350+ per sq ft | All-in-one pricing (design + build) | Lower (better planning and coordination) |
Start The Remodel With Clear Oversight
Once your whole home renovation is underway, your role doesn’t stop. Staying involved helps keep everything aligned with your plan, budget, and timeline.
Clear oversight means paying attention to progress and catching issues early before they grow.
- Regular check-ins: Meet with your contractor consistently to review progress and resolve concerns quickly
- Track budget and timeline: Keep an eye on spending and deadlines to avoid surprises
- Control changes: Approve any changes carefully to prevent unnecessary additions or cost increases
Even small issues can turn into major problems if ignored. Staying involved helps you maintain control and avoid delays.
Do A Final Walkthrough Before Payment
Before making the final payment, take time to review the entire whole home renovation in detail. This is your last opportunity to confirm everything is completed correctly.
Start by creating a punch list, which includes all unfinished work, minor defects, or fixes that need attention.
Then check key areas carefully:
- Electrical systems: Test switches, outlets, and lighting
- Plumbing: Check for leaks, water pressure, and proper drainage
- Fixtures and finishes: Inspect cabinets, fittings, and installed elements
Final payment should only be made once all items are completed. If this step is rushed or skipped, small issues can remain and become harder to fix later.
Quick Checklist for Whole Home Renovation
Before you begin your whole home renovation, go through this checklist to stay organized. It covers all the key steps in the correct order so nothing gets missed.
- Set clear renovation goals
- Define spaces, problems, and purpose
- Separate must-haves and nice-to-haves
- Set a realistic budget with buffer
- Get required permits and approvals
- Choose how you will manage the project
- Follow the correct remodeling order
- Stay involved and track progress
- Do a final walkthrough before payment
This keeps your renovation simple, structured, and easier to manage from start to finish.
Conclusion
A successful whole-home renovation is not just about how the final space looks, but how well the process is managed from start to finish.
When you move forward with a clear plan, a realistic budget, and the right sequence, the entire experience becomes easier to control. Small decisions made early often have the biggest impact later.
Staying involved, asking the right questions, and tracking progress can prevent most issues before they grow.
Now that you understand the full process, take the first step by outlining your goals and planning your renovation with clarity.
Frequently Asked Questions
What is the First Step in Whole Home Renovation?
Start by setting clear goals. Define what needs to change in your home before planning your budget or hiring contractors.
How Much Budget Should I Keep for Renovation?
Plan for construction, materials, labor, permits, plus a 15–20% buffer to cover unexpected costs during the renovation process.
Do I Need Permits for Whole Home Renovation?
Yes. Most renovations need permits, especially for structural, electrical, and plumbing work, to ensure safety and meet legal requirements.