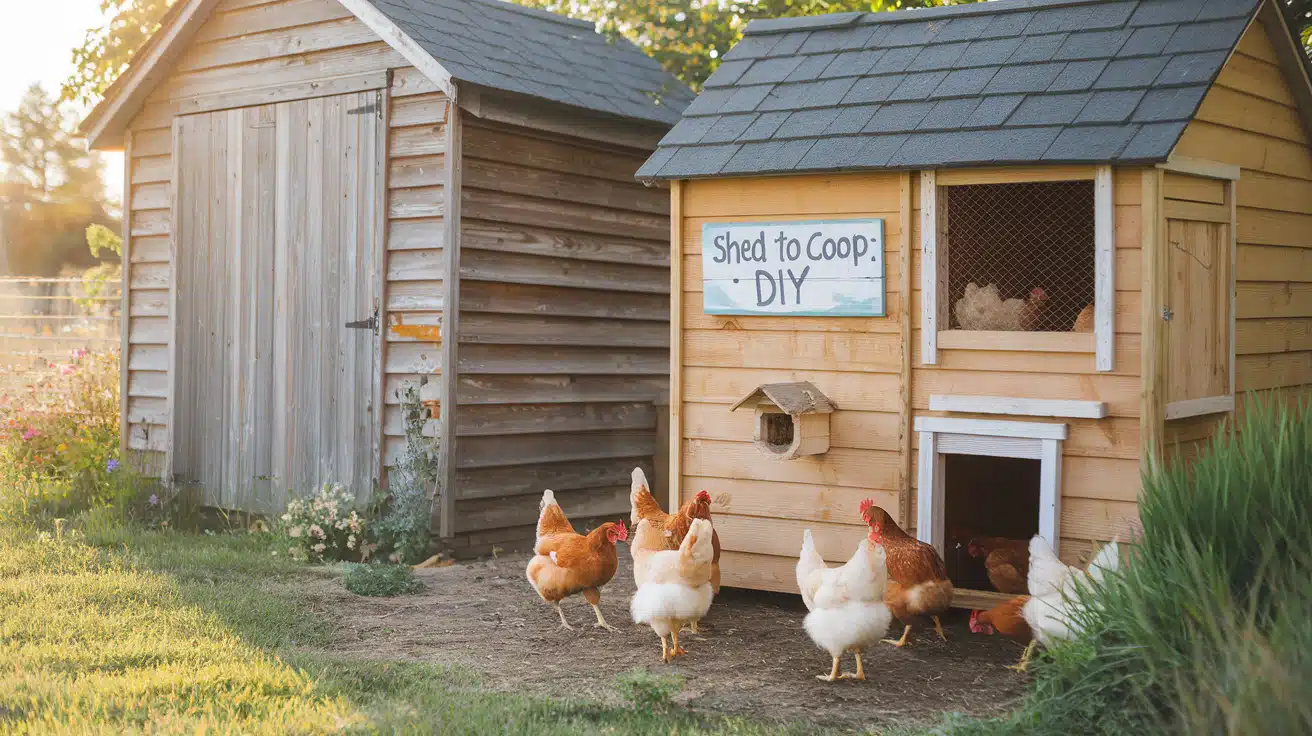
Turning Your Old Shed into a Chicken Coop: Simple Steps and Tips
Turning a shed into a chicken coop can be a smart way to house your feathered friends. This project offers many advantages for both you and your chickens.
With some planning and effort, you can create a safe and cozy home for your flock. This guide will walk you through the key steps to succeed in your shed conversion.
We’ll cover the main benefits, essential features, and a step-by-step process to help you get started. Let’s explore how to turn your old shed into a perfect chicken haven.
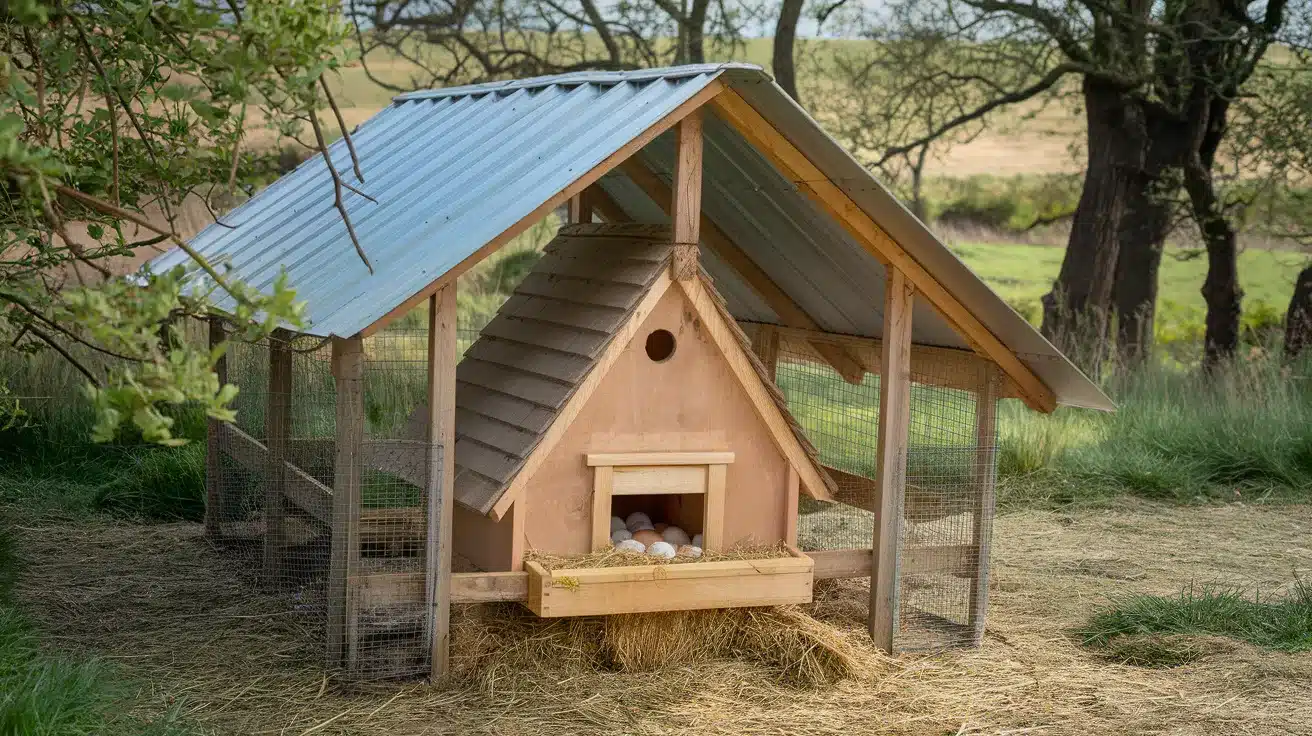
Reusing an existing structure saves money and materials while giving your chickens a sturdy shelter. A well-designed coop keeps your birds safe from bad weather and unwanted visitors.
It also provides a clean, comfortable place for them to lay eggs and rest. With the right setup, your chickens will be happy, healthy, and productive.
Ready to learn more? Let’s jump into the details of creating your ideal chicken home.
Benefits of Turning a Shed Into a Chicken Coop
Converting a shed into a chicken coop offers you and your feathered friends several advantages. Let’s explore the main benefits of this practical solution.
1. Safety from Outdoor Elements
A shed-turned-coop provides excellent protection from harsh weather conditions.
It shields your chickens from rain, wind, and extreme temperatures. This shelter helps maintain your flock’s health and comfort year-round.
2. Protection From Predators
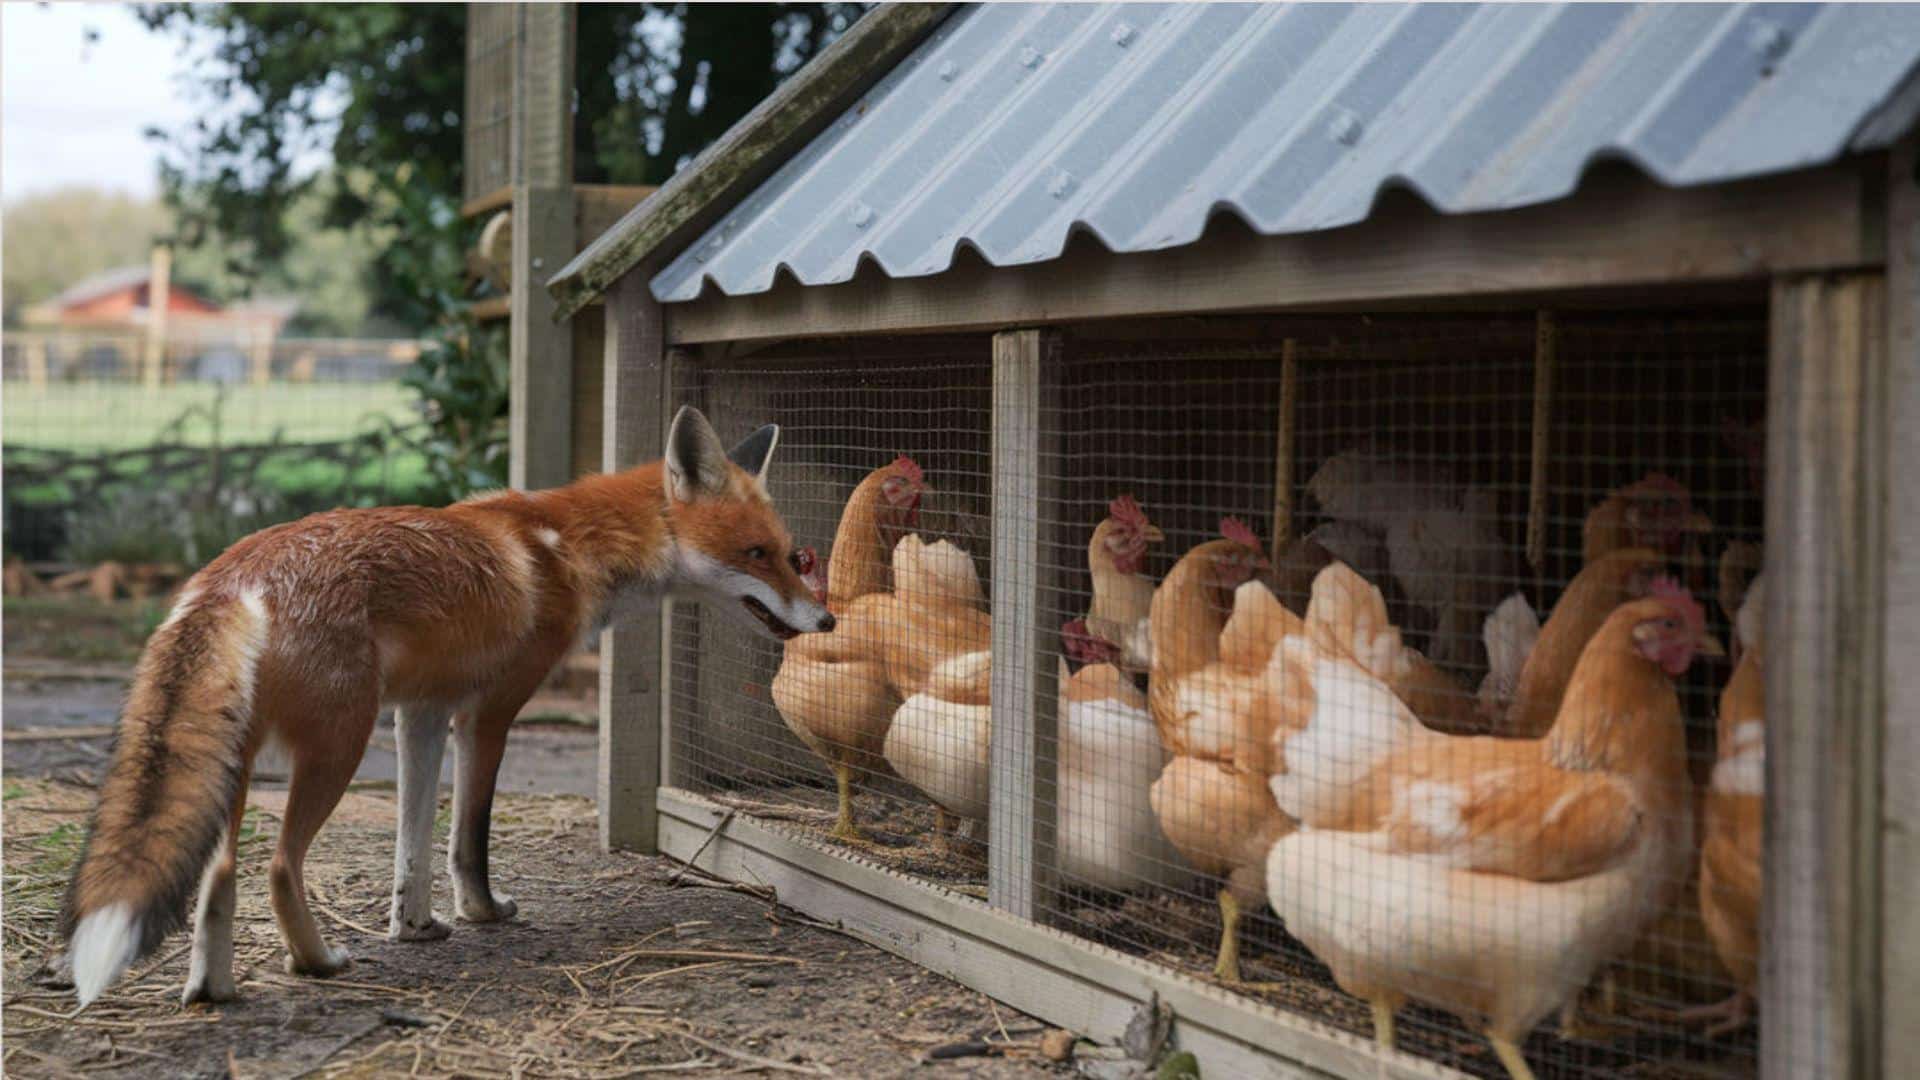
A solid structure like a shed offers better security against predators than open-air coops. You can easily reinforce doors and windows to keep out unwanted visitors.
This added protection gives you peace of mind, knowing your chickens are safe.
3. A Comfortable and Safe Laying Space
Sheds can be easily modified to include cozy nesting boxes. These provide a quiet, private area for hens to lay their eggs.
A comfortable laying space can lead to increased egg production.
4. Hygienic Living Environments

A shed’s enclosed space makes it easier to maintain cleanliness. You can install proper ventilation and drainage systems to keep the coop dry and fresh.
Regular cleaning becomes more manageable in a well-designed shed-coop.
5. Happy and Entertained Flock

With some creativity, you can add enrichment features to your shed coop. Things like perches, swings, or even a small outdoor run can keep your chickens active and content.
A happy flock is more likely to be healthy and productive.
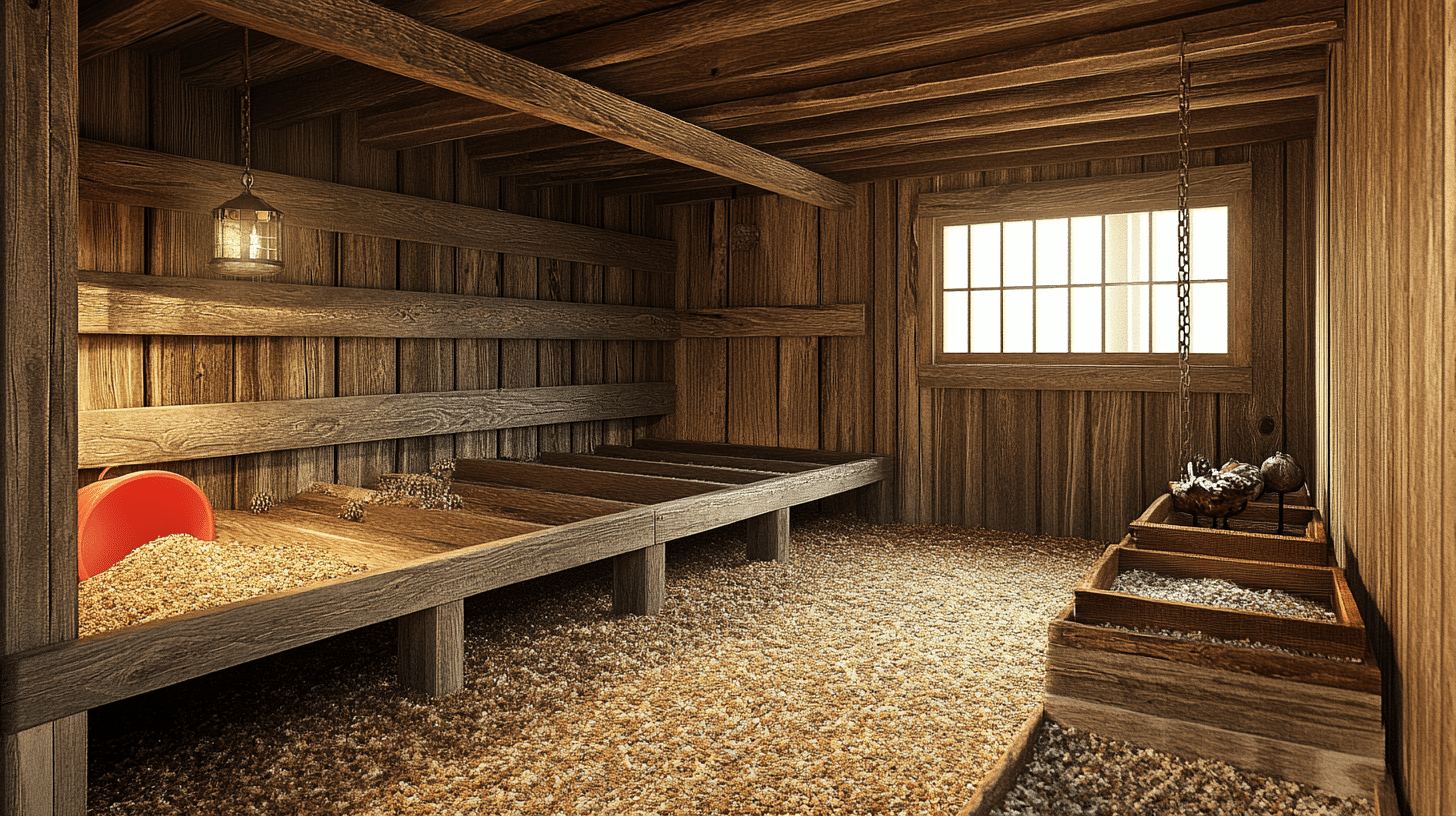
Inside a Chicken Coop: Essential Features
Certain features are crucial to creating a functional chicken coop from your shed. Let’s look at the key elements you should include in your coop design.
1. Roosting Perch
Chickens need a place to sleep comfortably off the ground.
Install sturdy perches at different heights to accommodate your flock’s natural roosting behavior.
Make sure the perches are wide enough for your chickens to grip comfortably.
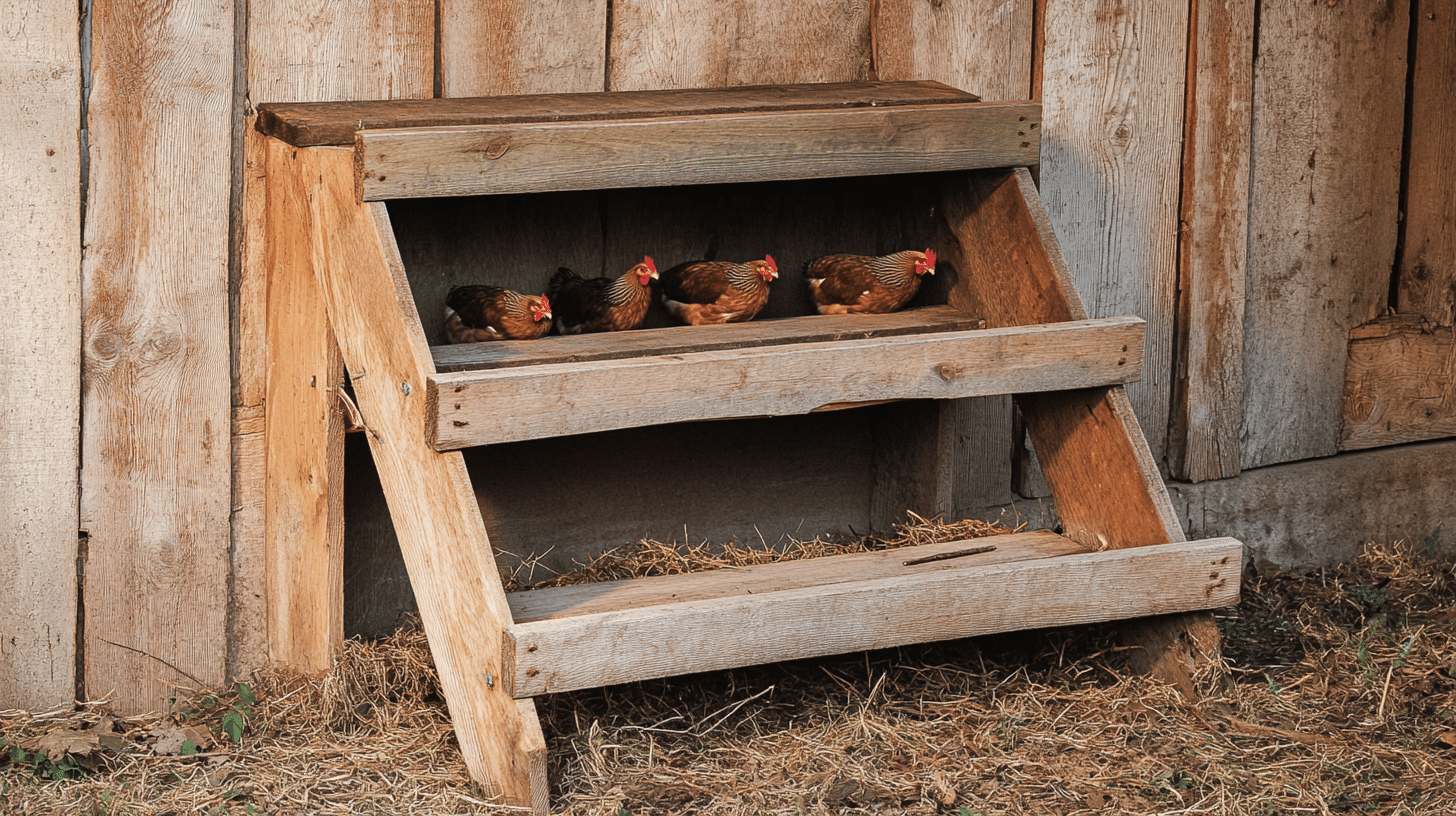
2. Nesting boxes
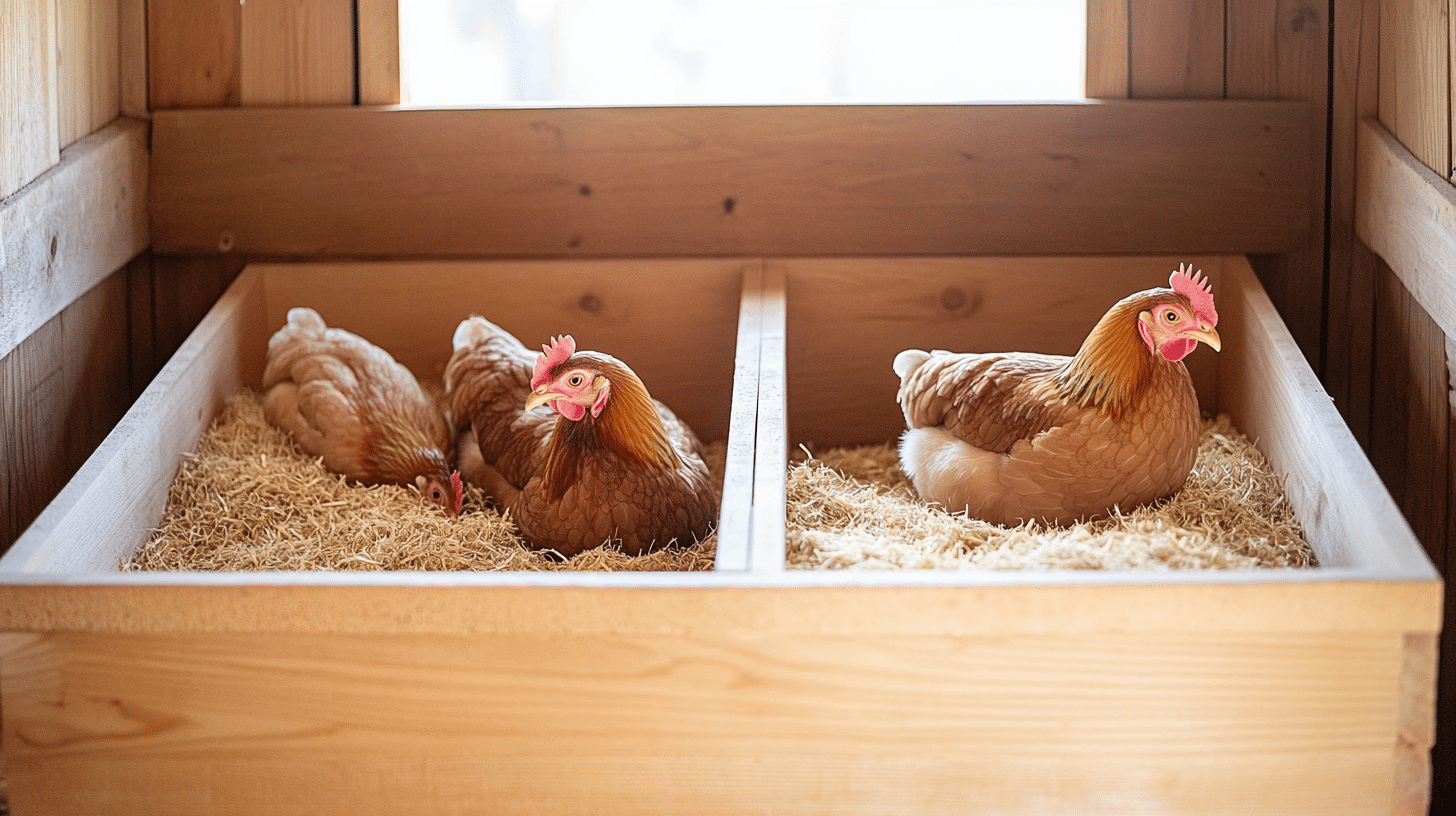
Provide one nesting box for every 3-4 hens in your flock. Line the boxes with soft bedding material for comfort.
Position the boxes in a quiet, slightly darkened area of the coop.
3. Insulation
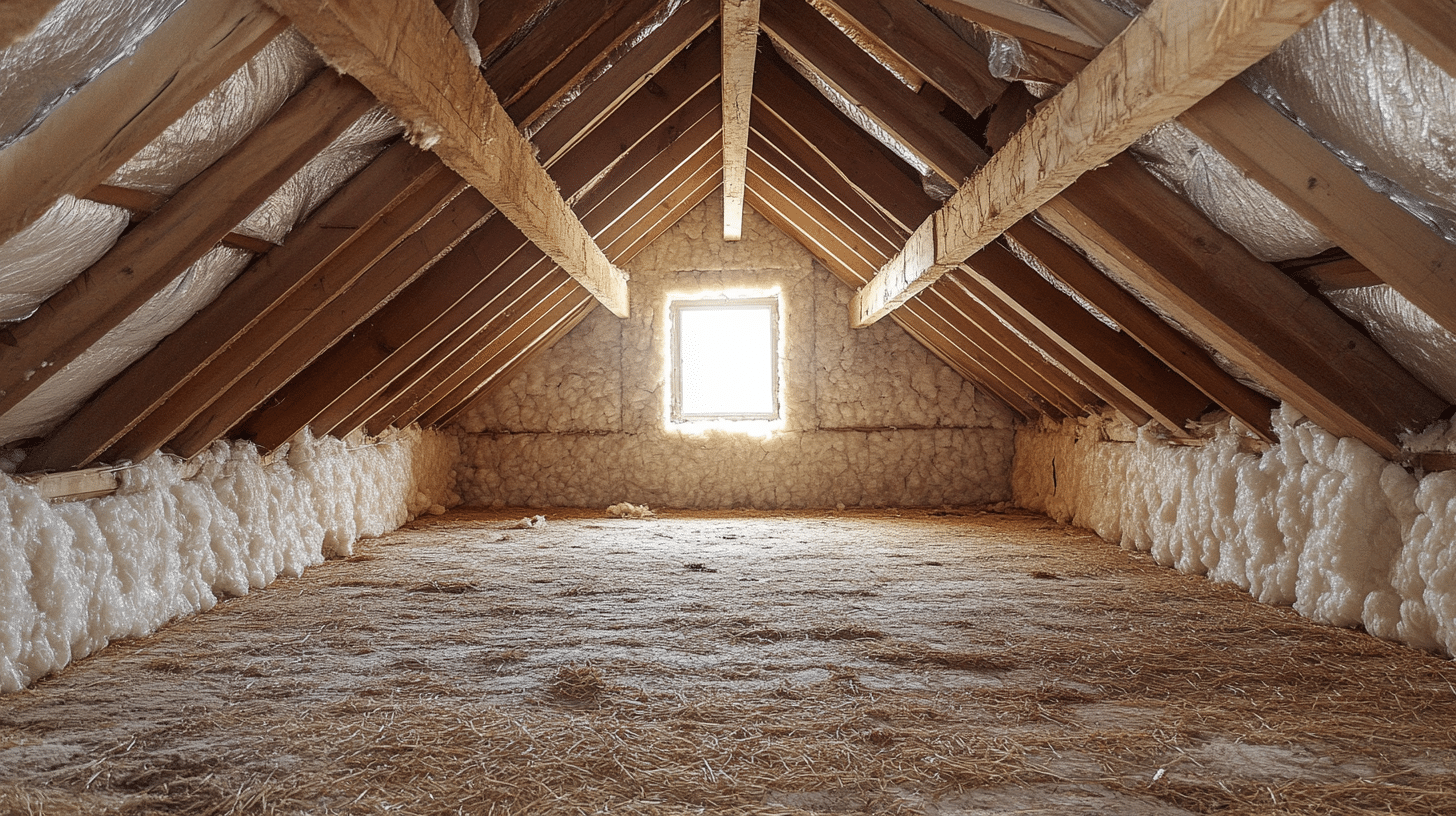
Proper insulation helps maintain a stable temperature inside the coop. This is especially important in regions with extreme weather conditions.
Use safe, chicken-friendly materials to insulate walls and roofs as needed.
4. Lighting

Adequate lighting is important for egg production and overall chicken health. Install windows or skylights to allow natural light into the coop.
Consider adding artificial lighting for shorter winter days.
5. Litter Trays

Litter trays help manage waste and keep the coop clean. Materials like wood shavings or straws can be used in the trays.
Change the litter regularly to maintain a healthy environment.
6. Food and Water Supply
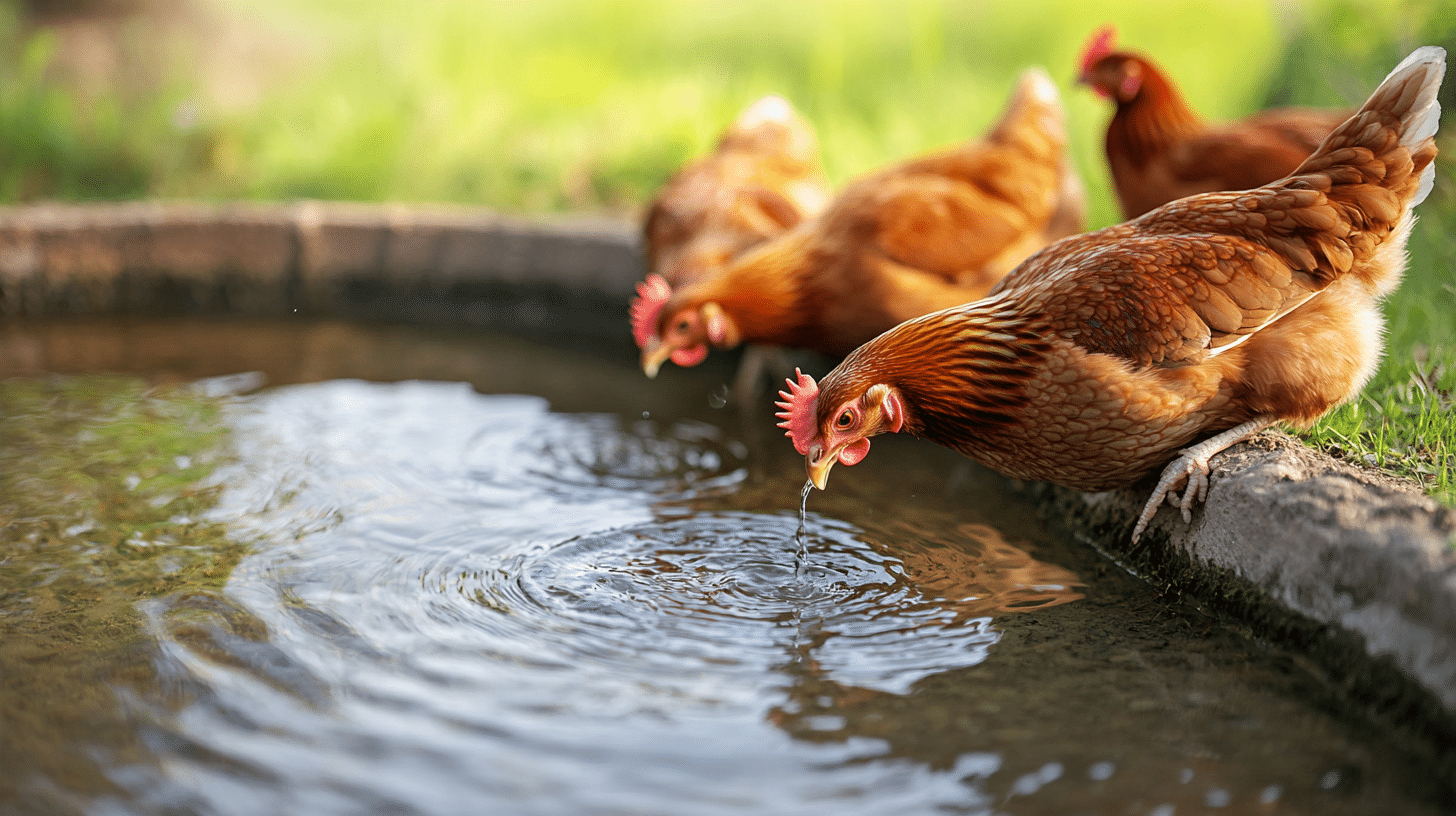
Set up sturdy feeders and waterers that are easy to clean and refill. Position them so they won’t get contaminated by droppings.
Ensure all chickens have easy access to fresh food and clean water.
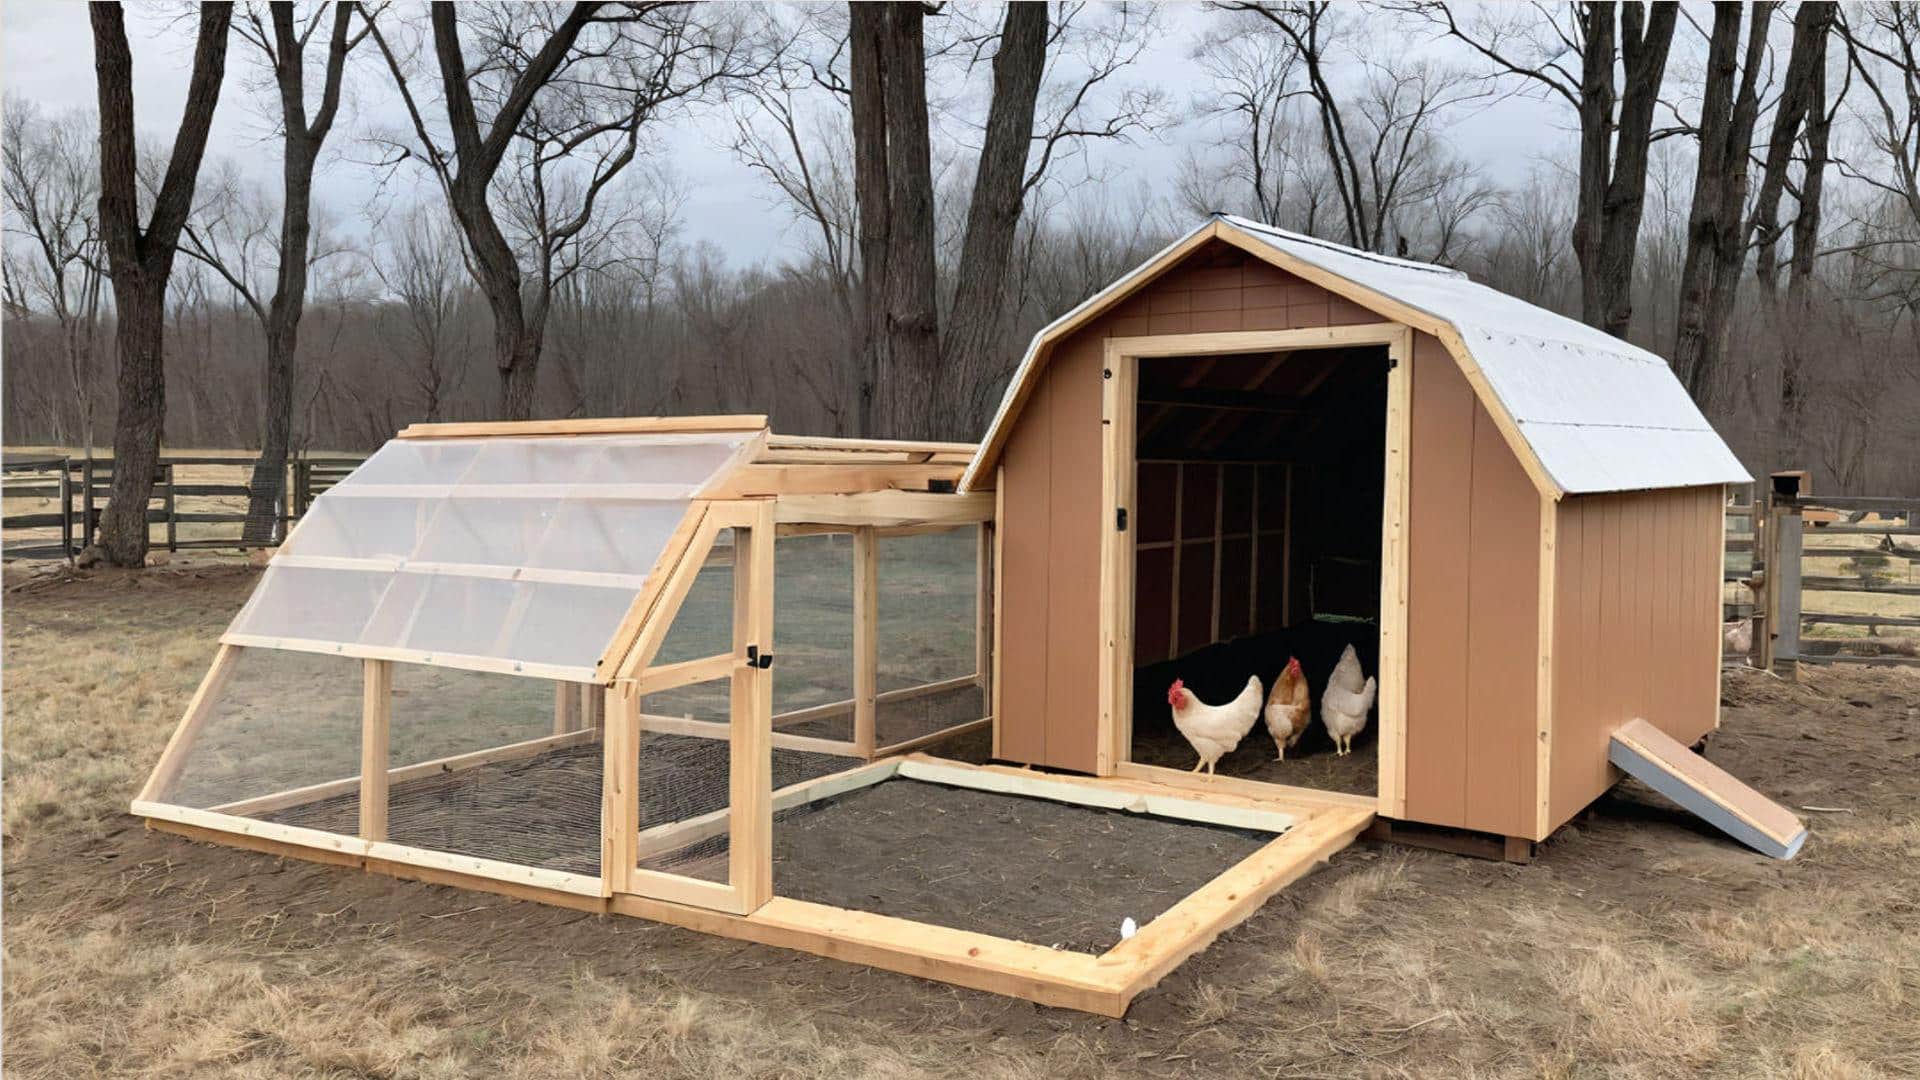
DIY Steps to Convert an Existing Structure into a Chicken Coop
Now that we’ve covered the benefits and essential features let’s walk you through converting your shed into a chicken coop.
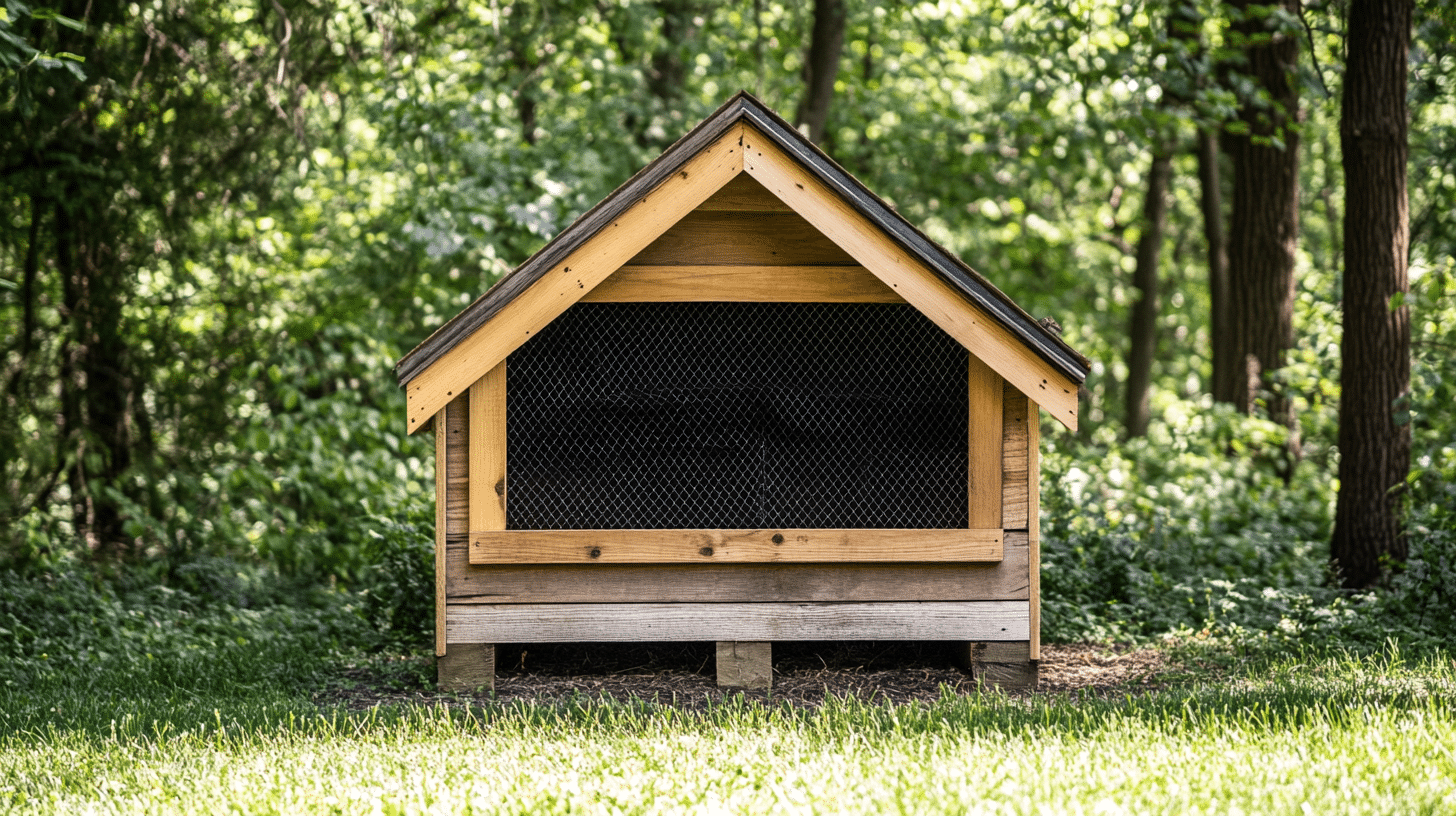
1. Choose an Appropriate Structure
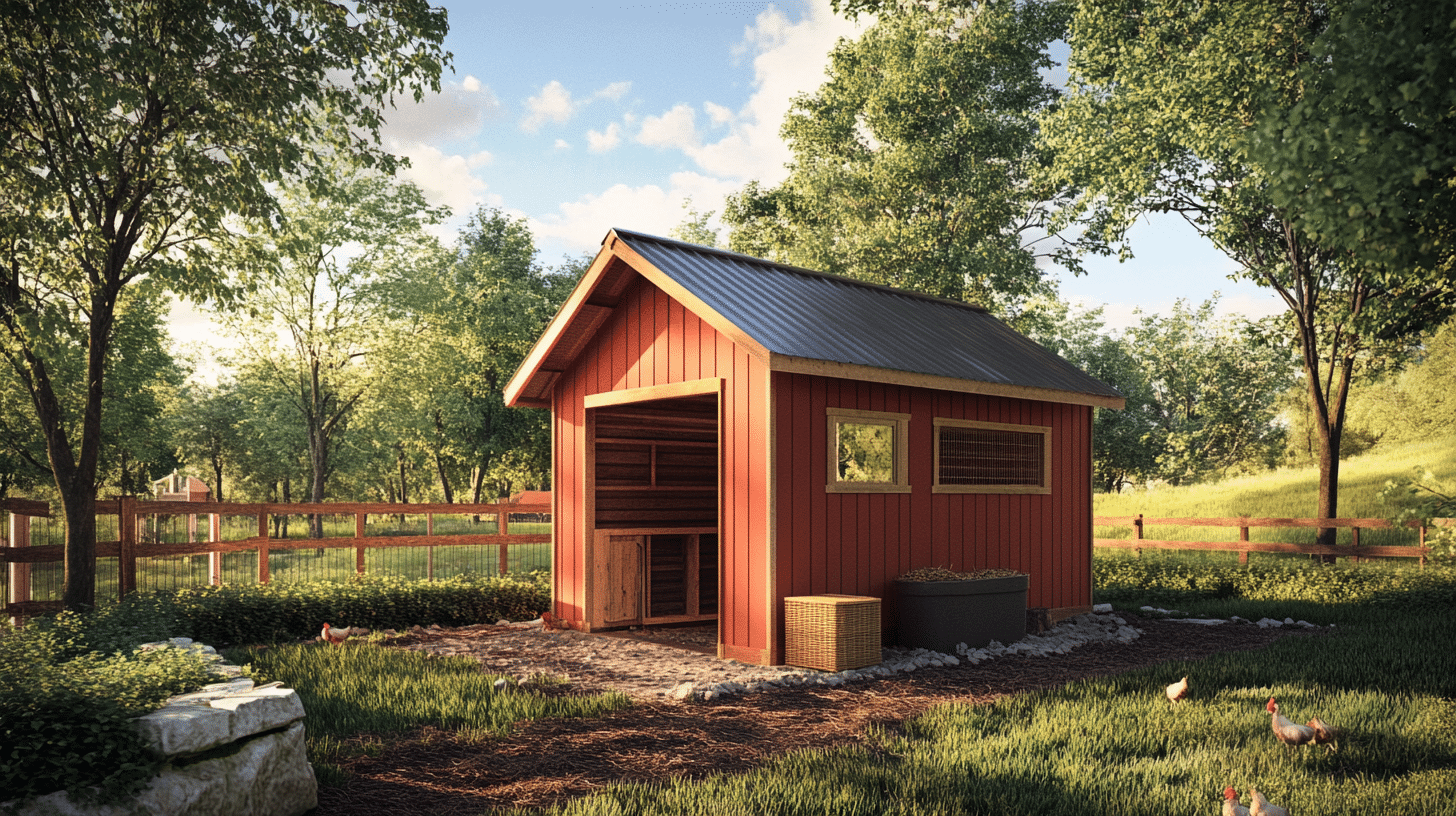
Select a shed that is in good condition and the right size for your flock. Ensure it’s in a convenient location to access and care for your chickens.
2. Prepare the Structure
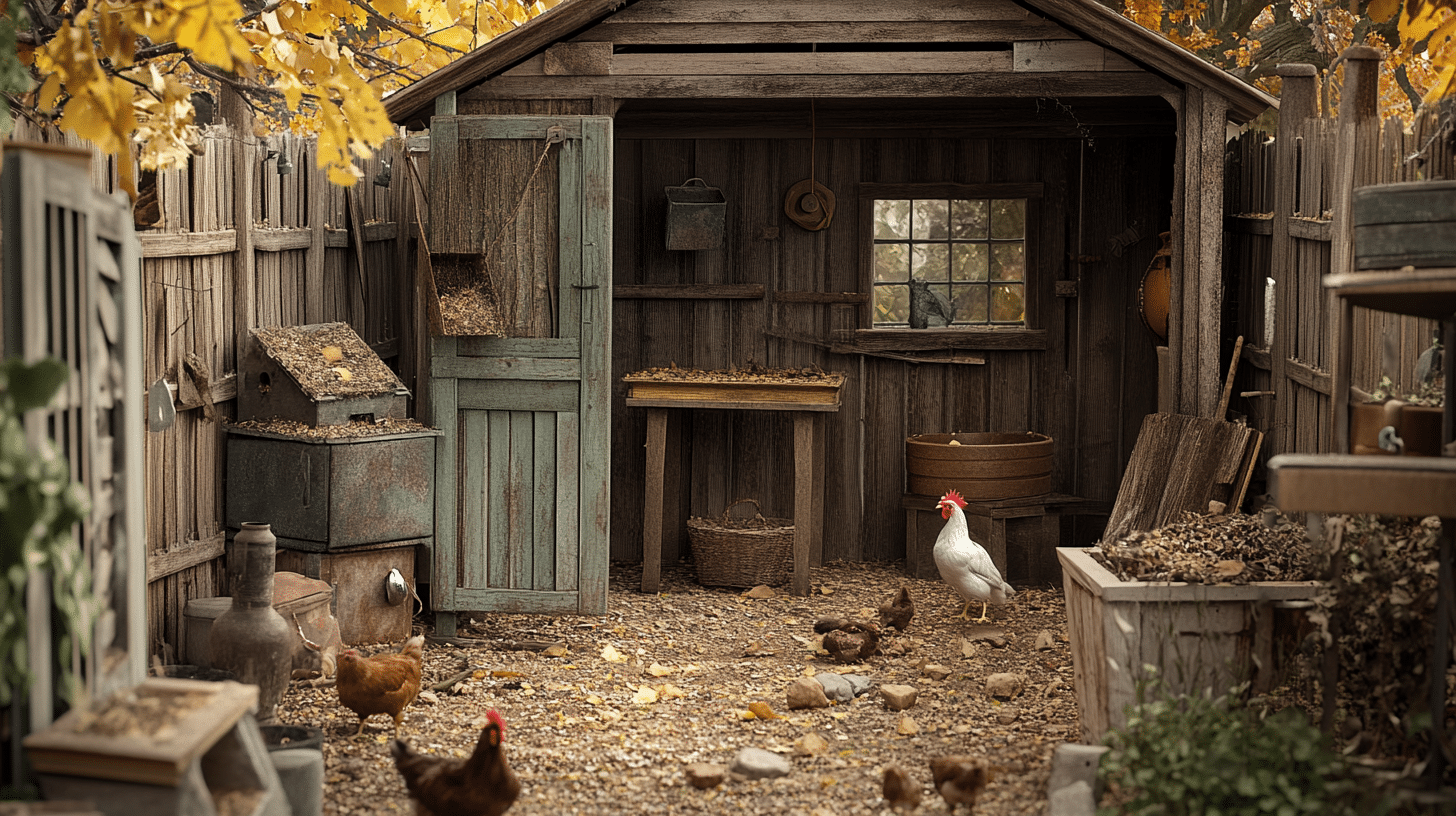
Clear out the shed’s interior, removing unnecessary items for the coop. Sweep the floor thoroughly and remove all debris.
Check and clean the surrounding area to create a safe environment for your chickens.
3. Secure the Floor
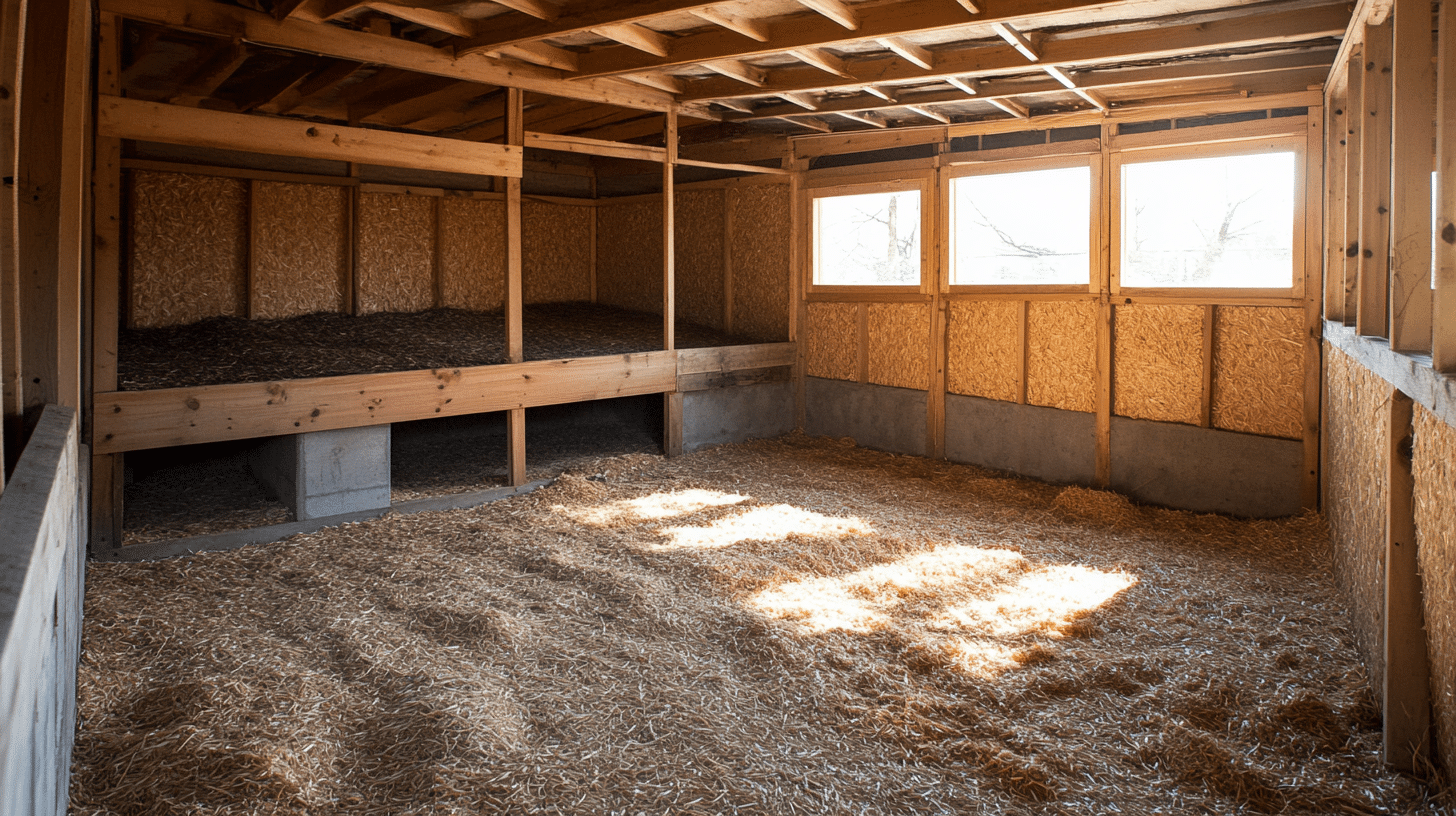
Ensure the coop has a solid, level floor to protect against predators and dampness. Install wooden pallets and cover them with plywood sheets for added stability.
Consider adding vinyl flooring for easier cleaning. Add a layer of pine shavings or straw for bedding.
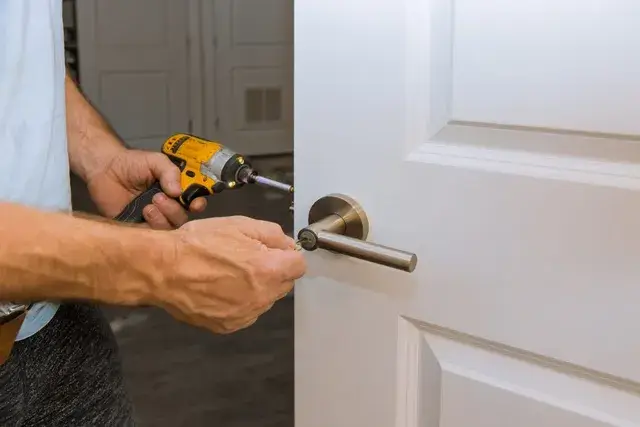
4. Create a Chicken Entrance
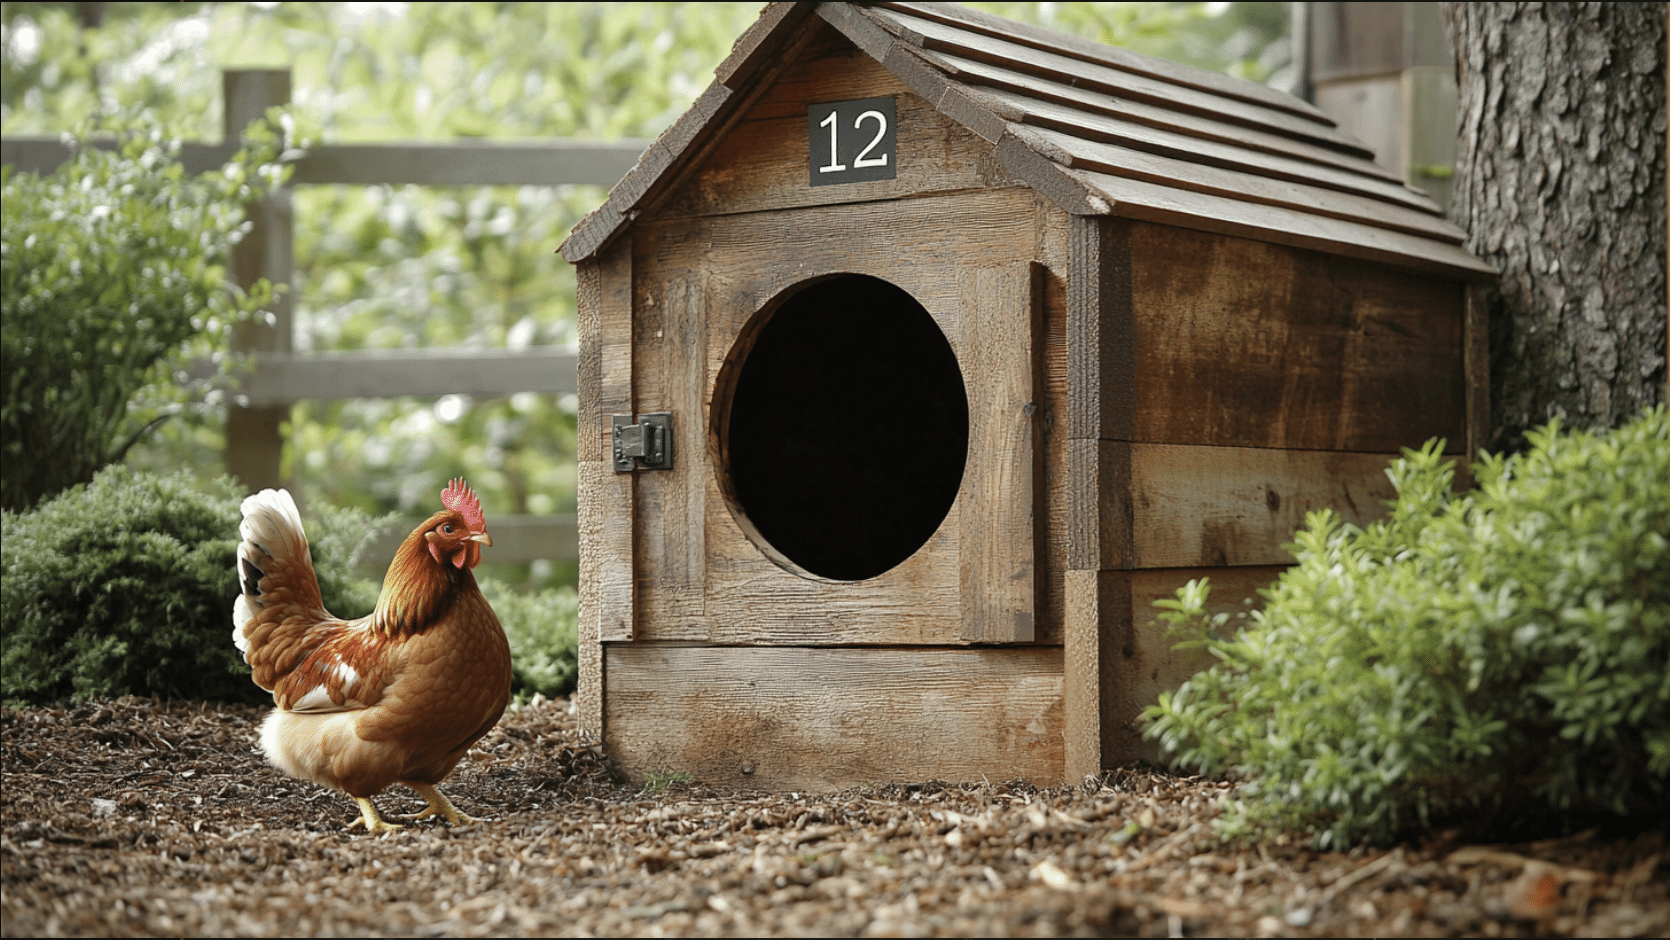
Cut a 12″ x 12″ hole in a side wall at an appropriate height for your chickens. Attach hinges to the cut-out piece to create a small door for the chickens.
Install a predator-proof latch to secure the entrance at night.
5. Secure All Access Points
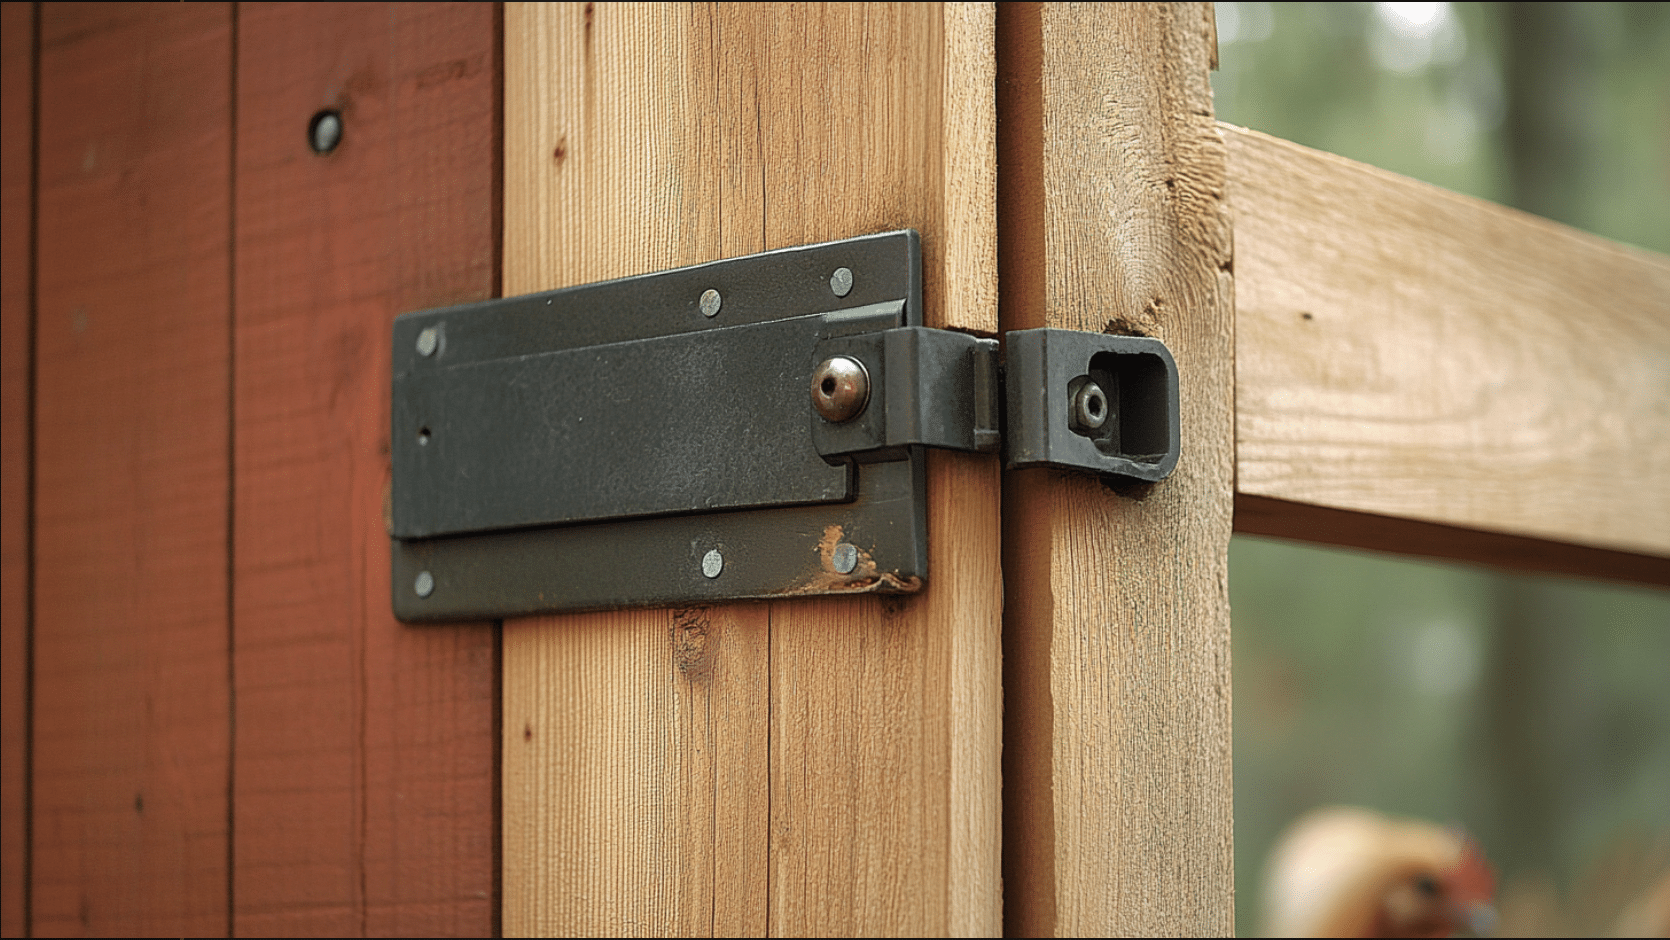
Install a strong, predator-proof latch on the shed’s main door. This will ensure your chickens’ safety and prevent unwanted entry.
6. Install Nesting Boxes
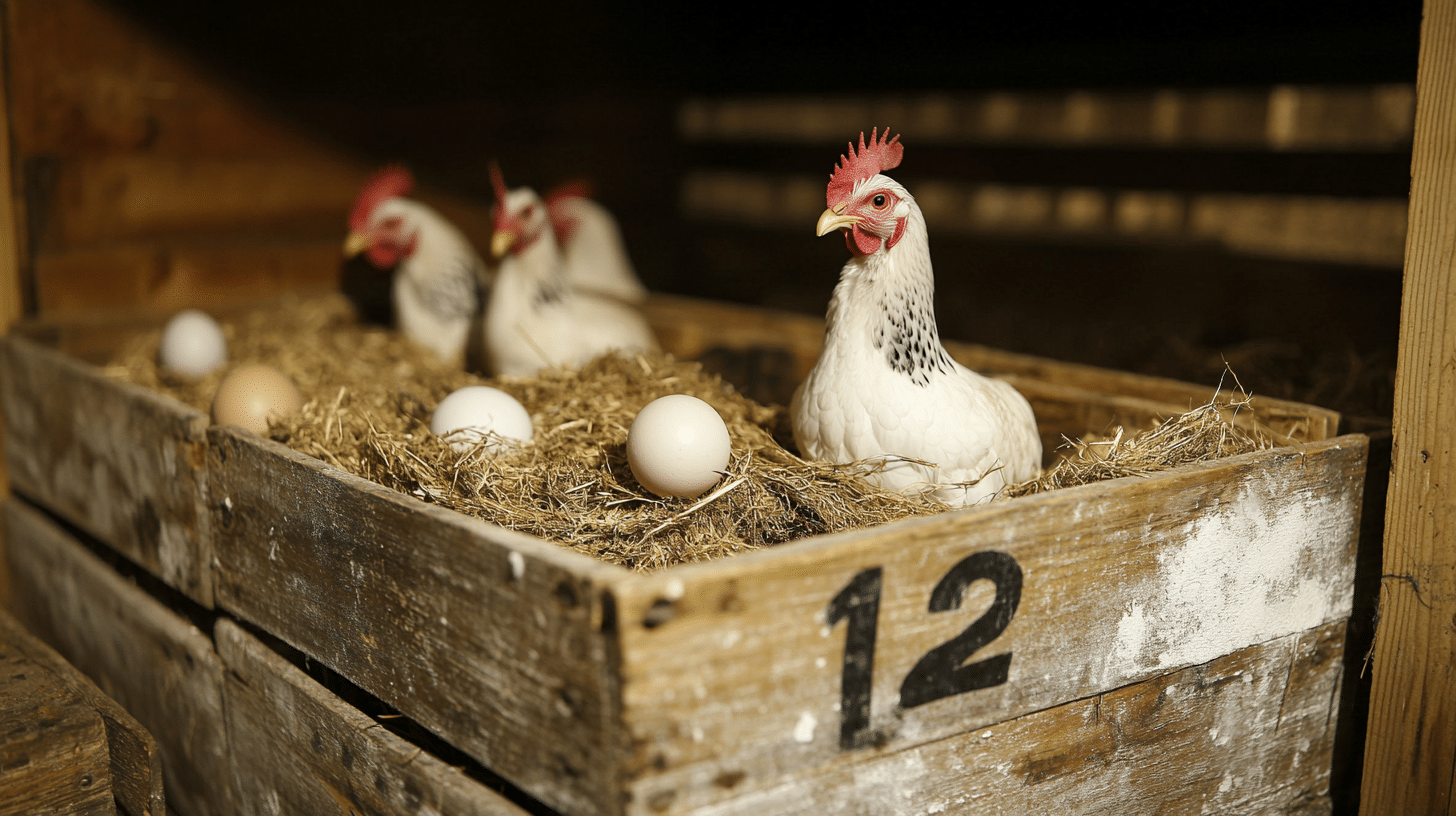
Set up 12″ x 12″ nesting boxes, allowing one box for every 3-4 hens. Fill the boxes with soft bedding material for comfort.
Position the boxes at ground level or slightly raised but lower than the roosting bars.
Place a few fake eggs or golf balls in the nests to encourage laying.
7. Set Up Roosting Bars
Install roosting bars higher than the nesting boxes to prevent chickens from sleeping in the nests. For comfortable roosting, use 2×4 boards with the 4-inch side facing up.
Arrange the bars in a ladder-like design for easy access. Provide at least 8 inches of roosting space per chicken.
8. Ensure Proper Ventilation
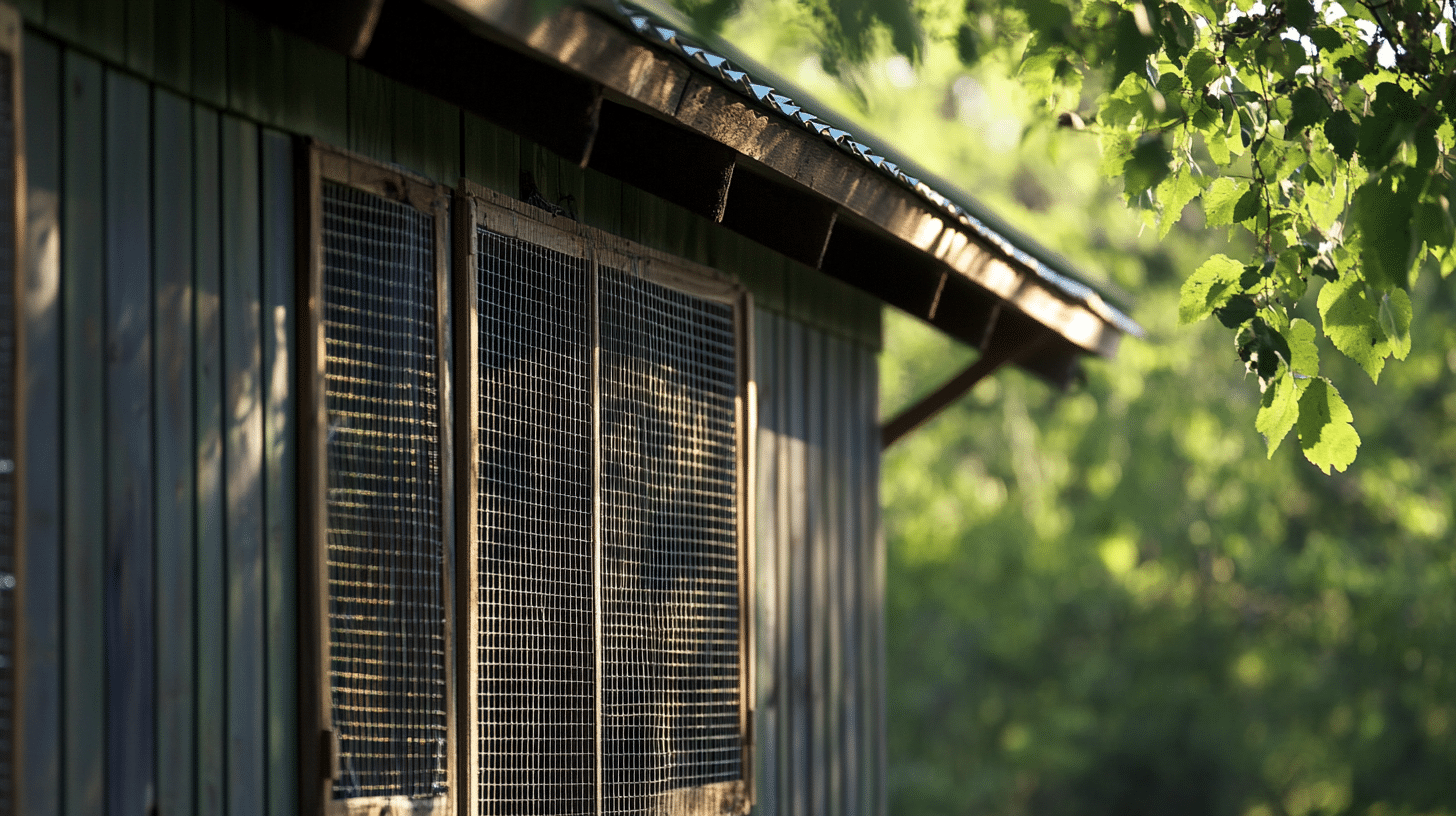
Cover existing windows with welded wire to allow airflow while keeping predators out. If needed, cut additional ventilation openings near the eaves on all walls.
Cover all vents with welded wire or metal grates for security.
9. Inspect for Gaps and Holes
Carefully examine the entire structure for any openings larger than one inch. Seal all gaps to prevent small predators from entering the coop.
10. Prepare the Interior
Add additional bedding material throughout the coop for comfort. Set up feeders and waterers in convenient locations.
Include dust bath areas if desired, using a mixture of sand and wood ash.
11. Introduce Your Chickens
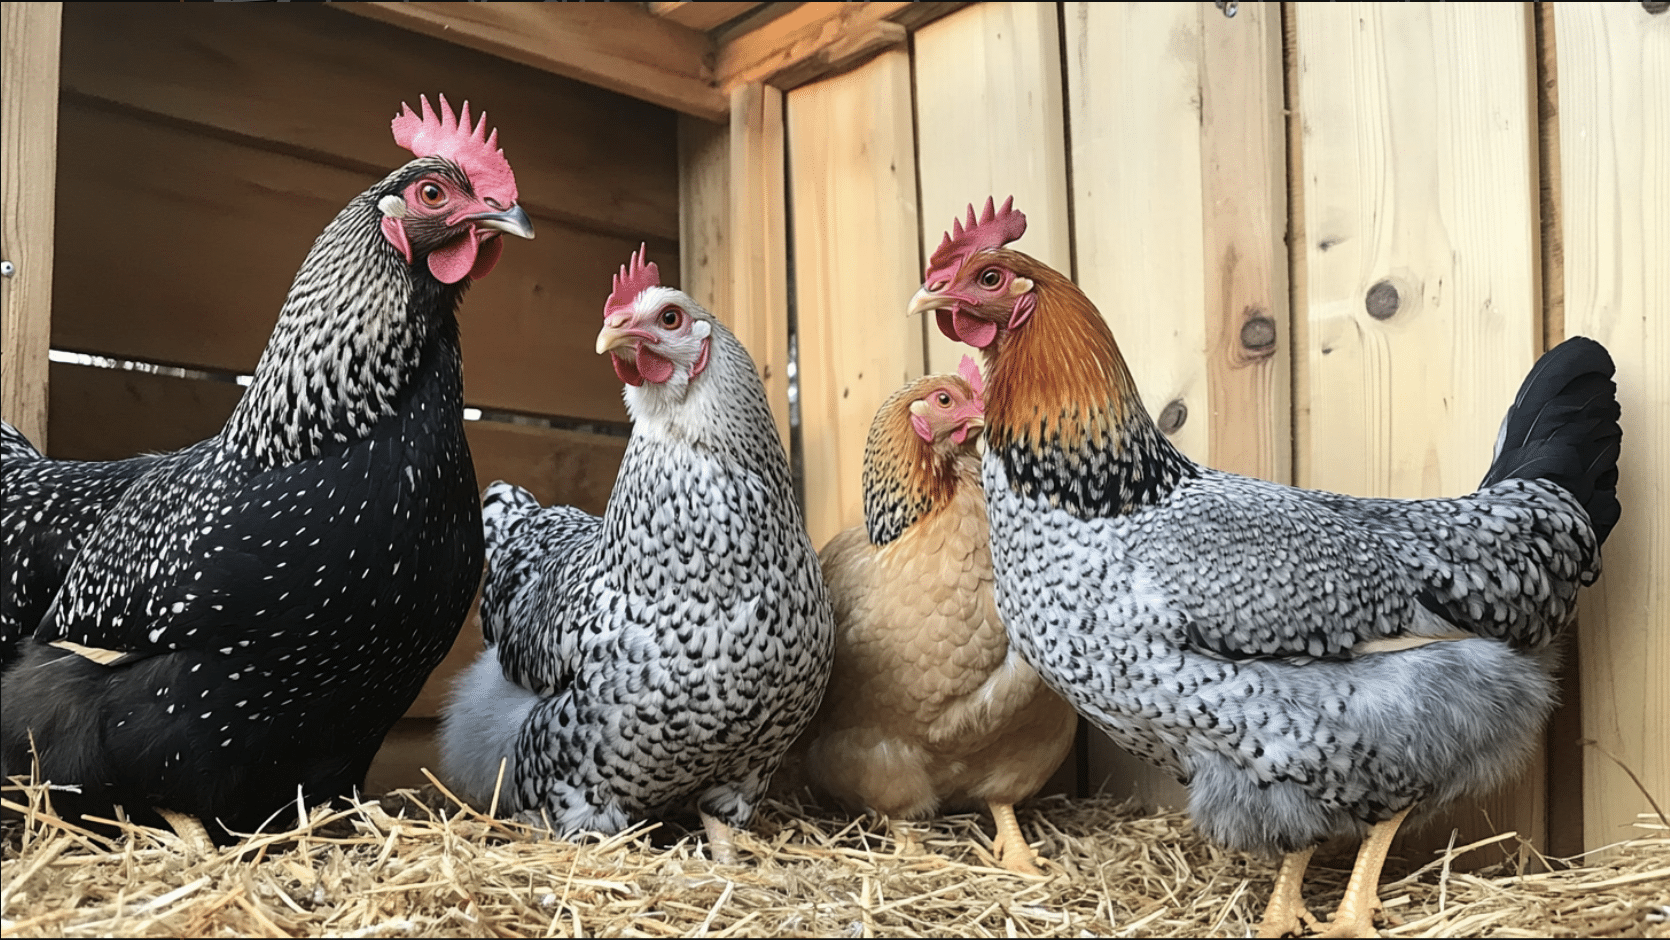
Once everything is set up, move your chickens into their new home.
Monitor them closely for the first few days to ensure they adjust well to the new environment.
Cost Considerations and Expenses
| Expense Category | Description | Cost Estimate |
|---|---|---|
| 1. Nesting Boxes | Materials to build nesting boxes yourself | $20 to $50 |
| 2. Roosts | Materials for roosts: cost depends on size and material used | $10 to $30 |
| 3. Ventilation Materials | Wire mesh and vents for proper ventilation | $30 to $80 |
| 4. Bedding | Quality bedding; cost per bag (lasts several months for a small flock) | $15 to $30 per bag |
| 5. Feeders | Equipment for feeding chickens | $20 to $50 |
| 6. Waterers | Equipment for providing water | $10 to $40 |
| 7. Total Conversion Cost | Overall estimated cost for basic shed conversion | $100 to $500 |
| 8. New Pre-built Coop | Cost of purchasing a new, pre-built chicken coop | $200 to $2000 |
| 9. Feed | Monthly feed costs for a small flock | $15 to $30 per month |
You save on building a new coop from scratch by repurposing an existing structure.
The total cost will vary depending on the condition of your shed and the materials you choose.
Wrapping It Up
Turning a shed into a chicken coop is a smart and practical project with numerous benefits. This conversion provides a haven for your chickens, shielding them from harsh weather and predators.
Repurposing an existing structure creates a comfortable space for egg-laying and promotes a clean living environment for your flock. You’re also saving money and efficiently using your property.
While requiring effort, the process is manageable for most DIY enthusiasts. Remember, a well-designed coop leads to happier, healthier chickens and potentially increased egg production.
For those considering this project, don’t hesitate to get started. The rewards of fresh eggs and the satisfaction of providing a quality home for your chickens are well worth the effort.
Your shed-to-coop conversion experience awaits!
Frequently Asked Questions (FAQs)
Can I Use Any Type of Shed for A Chicken Coop?
Yes, most sheds can be converted into chicken coops if they are well-ventilated, secure, and spacious enough to comfortably house the chickens.
What Materials Are Best for The Flooring Inside a Chicken Coop?
Wood, concrete, or linoleum are good options for chicken coop flooring. To absorb moisture and provide comfort, cover with bedding materials like straw or pine shavings.
How Do I Maintain Cleanliness in My Shed-Turned-Coop?
Clean regularly by removing bedding, wiping surfaces, and replacing them with fresh straws or shavings. Ensure proper ventilation and disinfect occasionally to prevent disease.