Straw Bale Gardening: Easy No-Dig Growing Method
Straw bale gardening offers a practical way to grow food without dealing with hard soil or a heavy setup. It turns a simple bale into a planting space that feeds crops as it breaks down.
This method changes how space, effort, and materials are used in gardening.
In this blog, I’ll walk you through how it works, why it suits small areas, and what you need to get started with confidence.
If you’ve struggled with poor soil or limited room, this approach may shift how you think about growing plants.
Let’s start with how the method actually works.
Straw Bale Gardening: A Simple Way to Grow without Digging
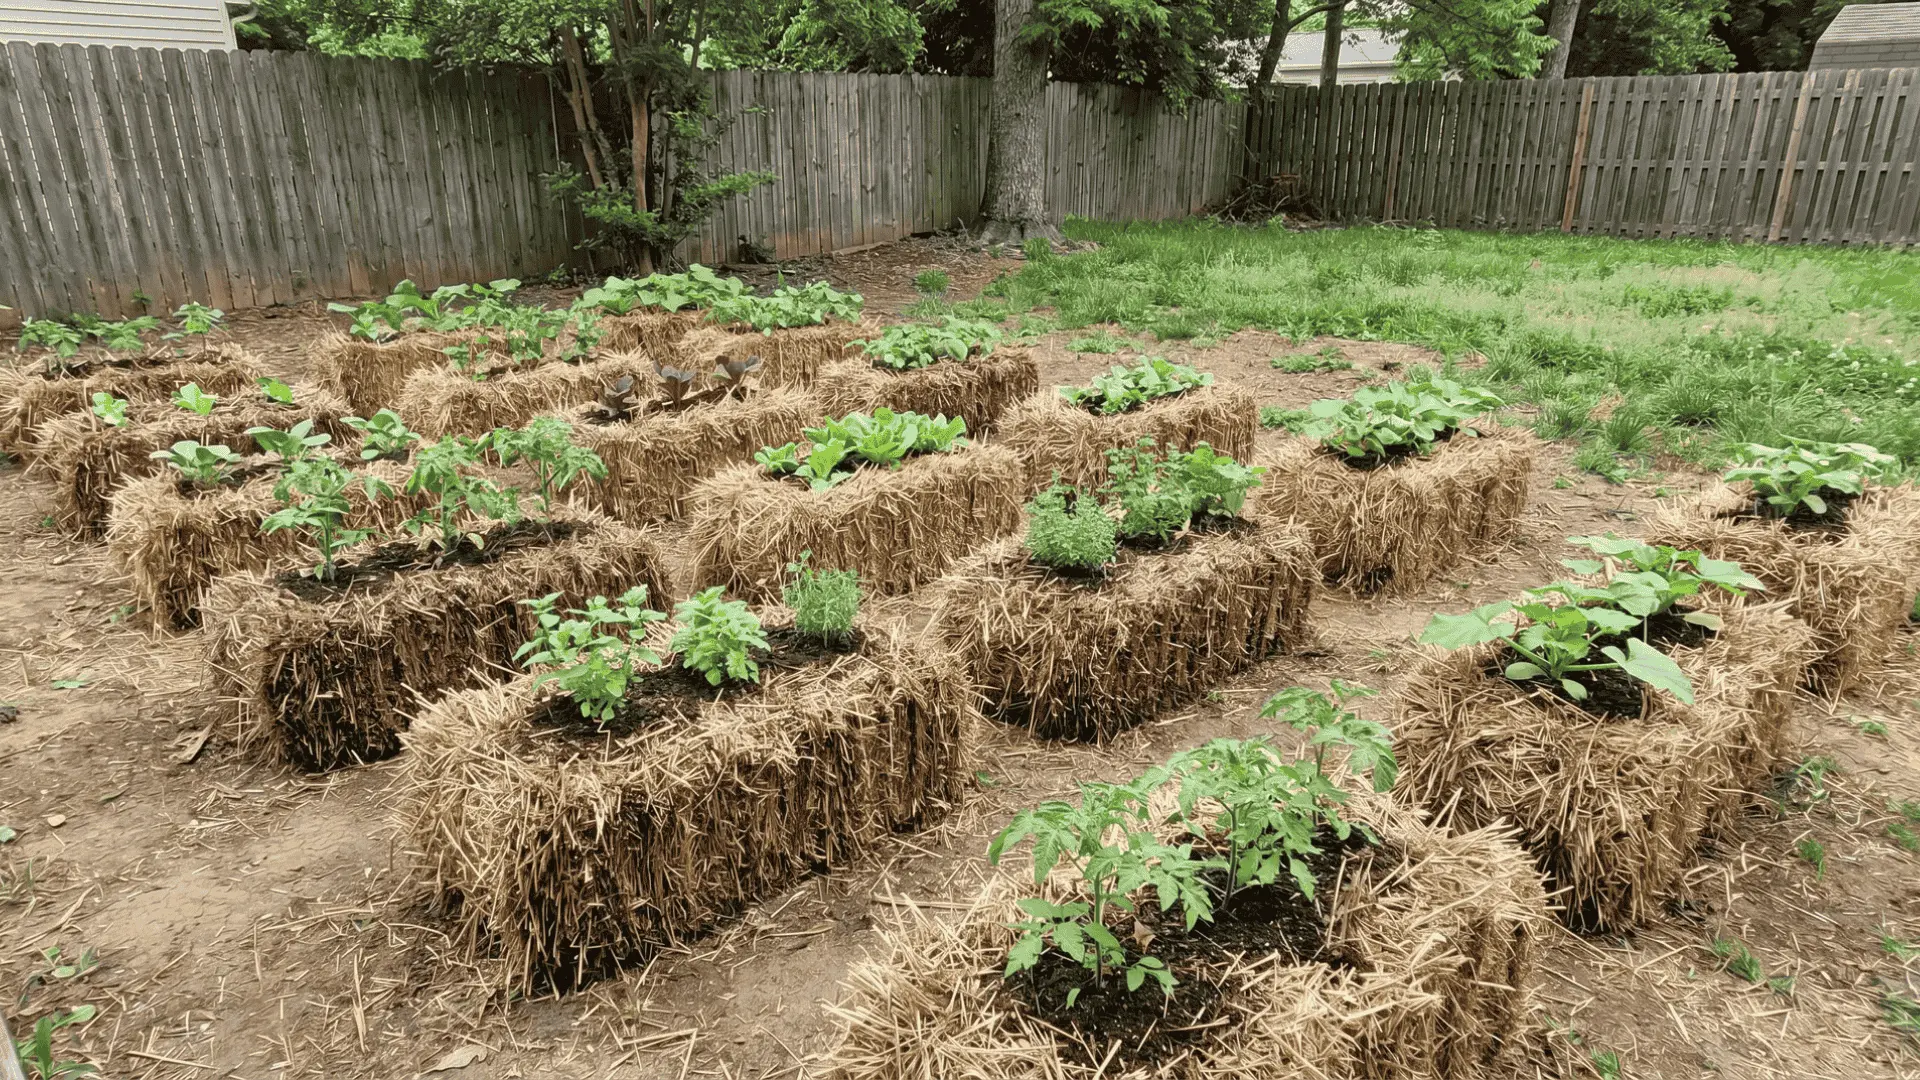
Straw bale gardening is a simple way to grow vegetables without digging or building beds. Plants grow directly in straw bales instead of soil.
The bale works as both a growing medium and a slow nutrient source. During conditioning, microorganisms break down the straw, creating heat and releasing nutrients that help plants grow.
As the bale softens, it starts to act like compost. Roots spread easily through the loose structure and absorb water and nutrients.
This method reduces the need for heavy tools and soil prep. It also helps avoid issues like poor soil or limited space, making it useful for small yards and patios.
Make sure to use straw, not hay. Hay contains seeds and can lead to unwanted weeds.
Benefits of Straw Bale Gardening
This method offers several clear advantages for beginners and experienced growers.
- No digging or soil preparation required
- Lower upfront cost compared to raised beds
- Works well in areas with poor soil
- Flexible placement in small spaces
- Fewer weeds compared to ground planting
The raised height of the bale reduces bending and strain during planting and maintenance.
As the straw breaks down, it continues to improve plant health without extra work. These benefits make it a reliable option for simple home gardening.
How to Start Straw Bale Gardening: Step-by-Step
Starting straw bale gardening requires basic setup and regular care. Below is a list of tools and materials required, along with the steps to start straw bale gardening:
Tools and Materials You’ll Need
- Straw bales (wheat or oat)
- High-nitrogen fertilizer
- Hand trowel
- Potting mix
- Soaker hose (optional)
Step 1: Soak the Bales
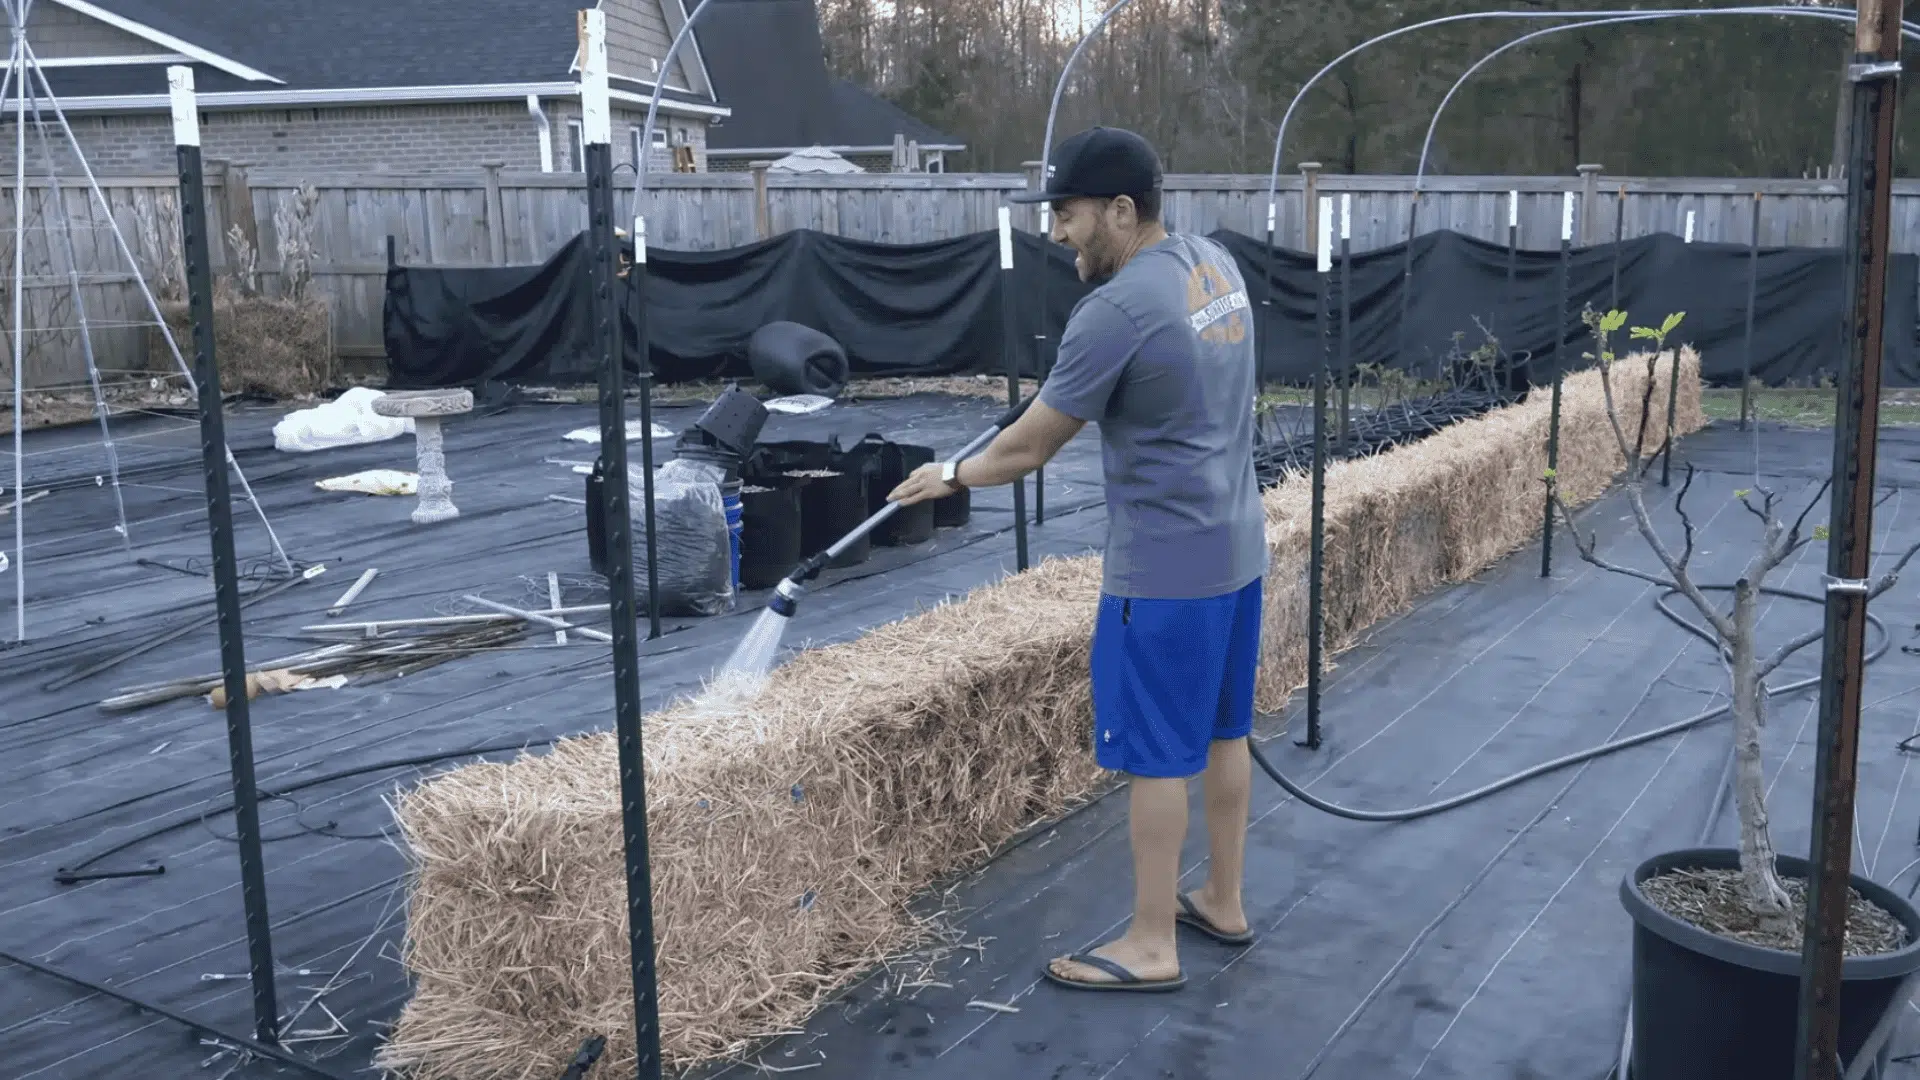
Water the bales thoroughly for the first 3 days. Make sure water goes deep inside; not just the top layer. A properly soaked bale will feel heavy when touched or lifted slightly.
Dry pockets inside can slow down the process later. This step softens the straw structure and prepares it for breakdown. Moisture also helps activate natural microbes present in the bale.
These microbes are needed for decomposition to begin. Take your time and water slowly for the best results.
Step 2: Add Fertilizer and Keep Watering
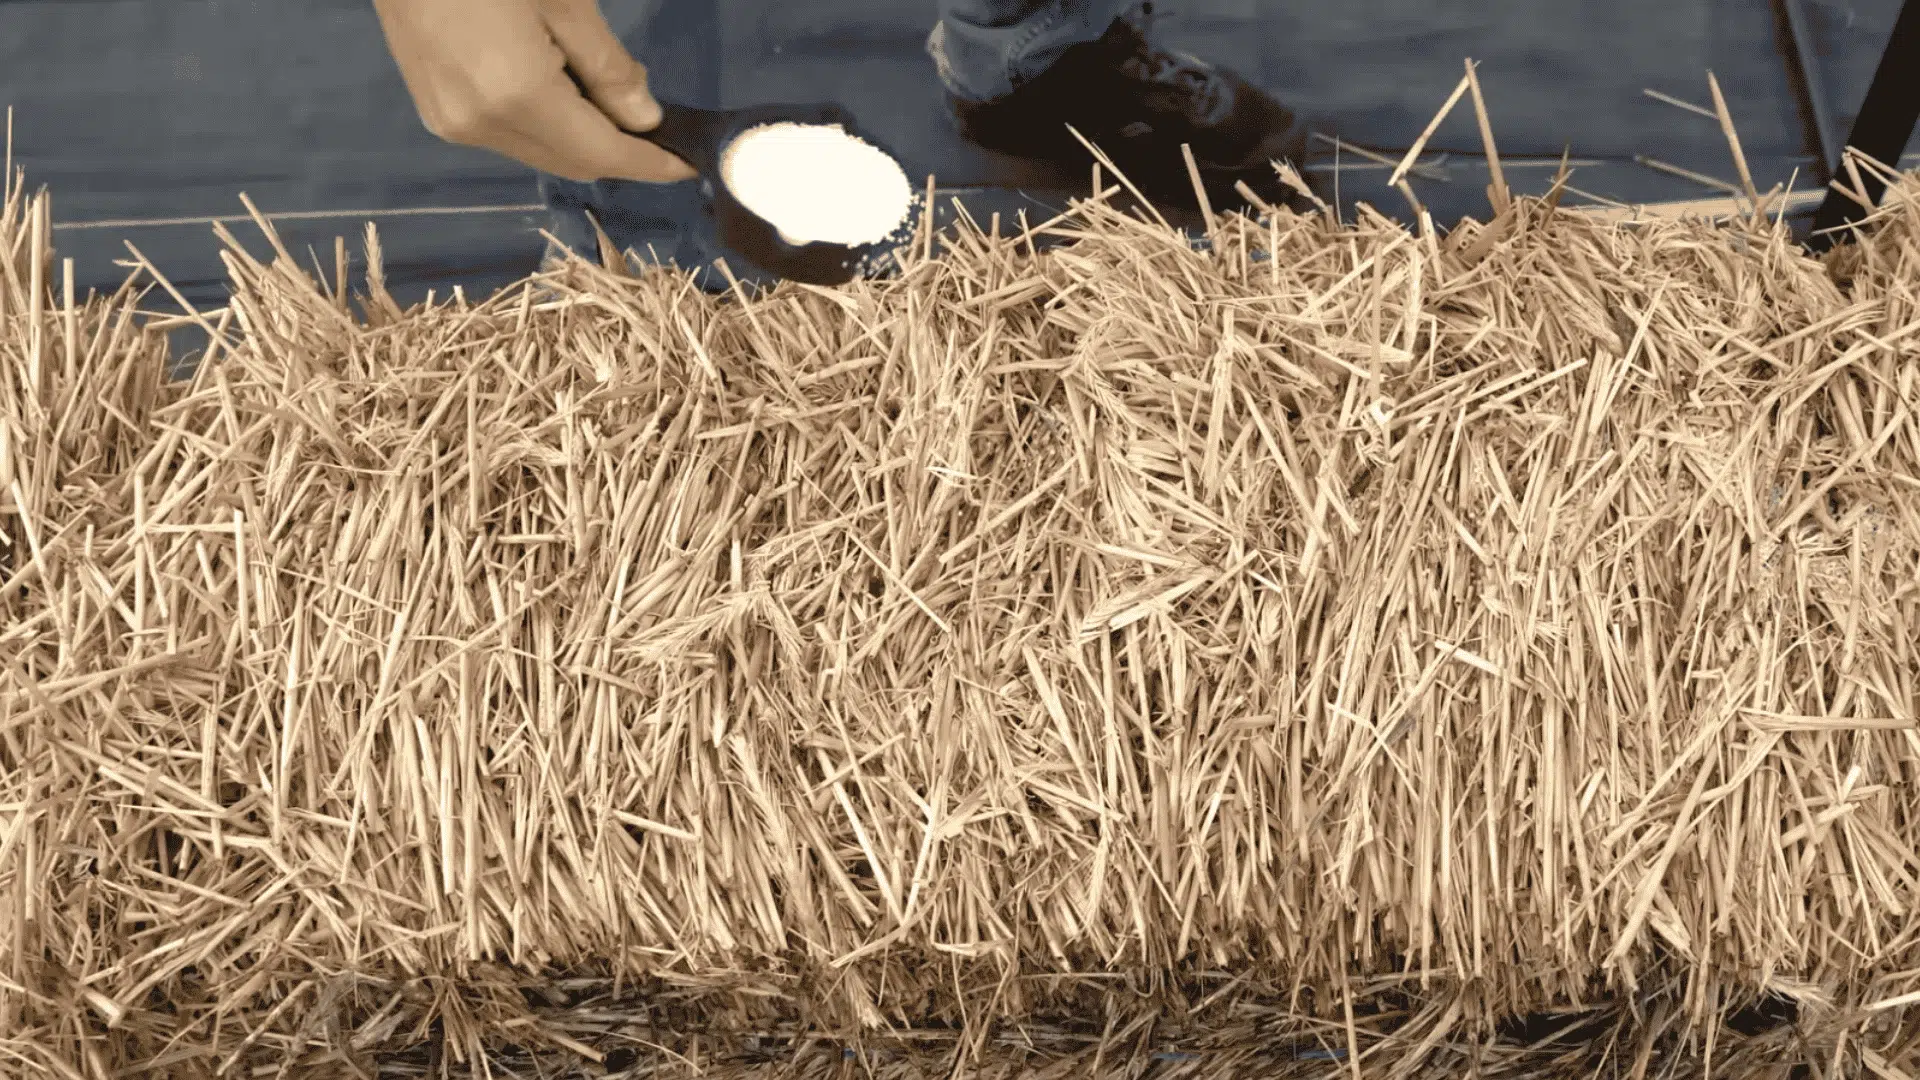
Start adding nitrogen fertilizer from day 4 onward. Use about 1/2 cup per bale for days 4–6. Then reduce to 1/4 cup per bale for days 7–9. Always water after applying fertilizer to push it inside.
Nitrogen helps microbes grow and break down the straw faster. As they work, the internal temperature of the bale rises. This heat is a sign that the process is active. Consistent watering keeps everything moving properly.
Step 3: Let the Bale Cool Before Planting
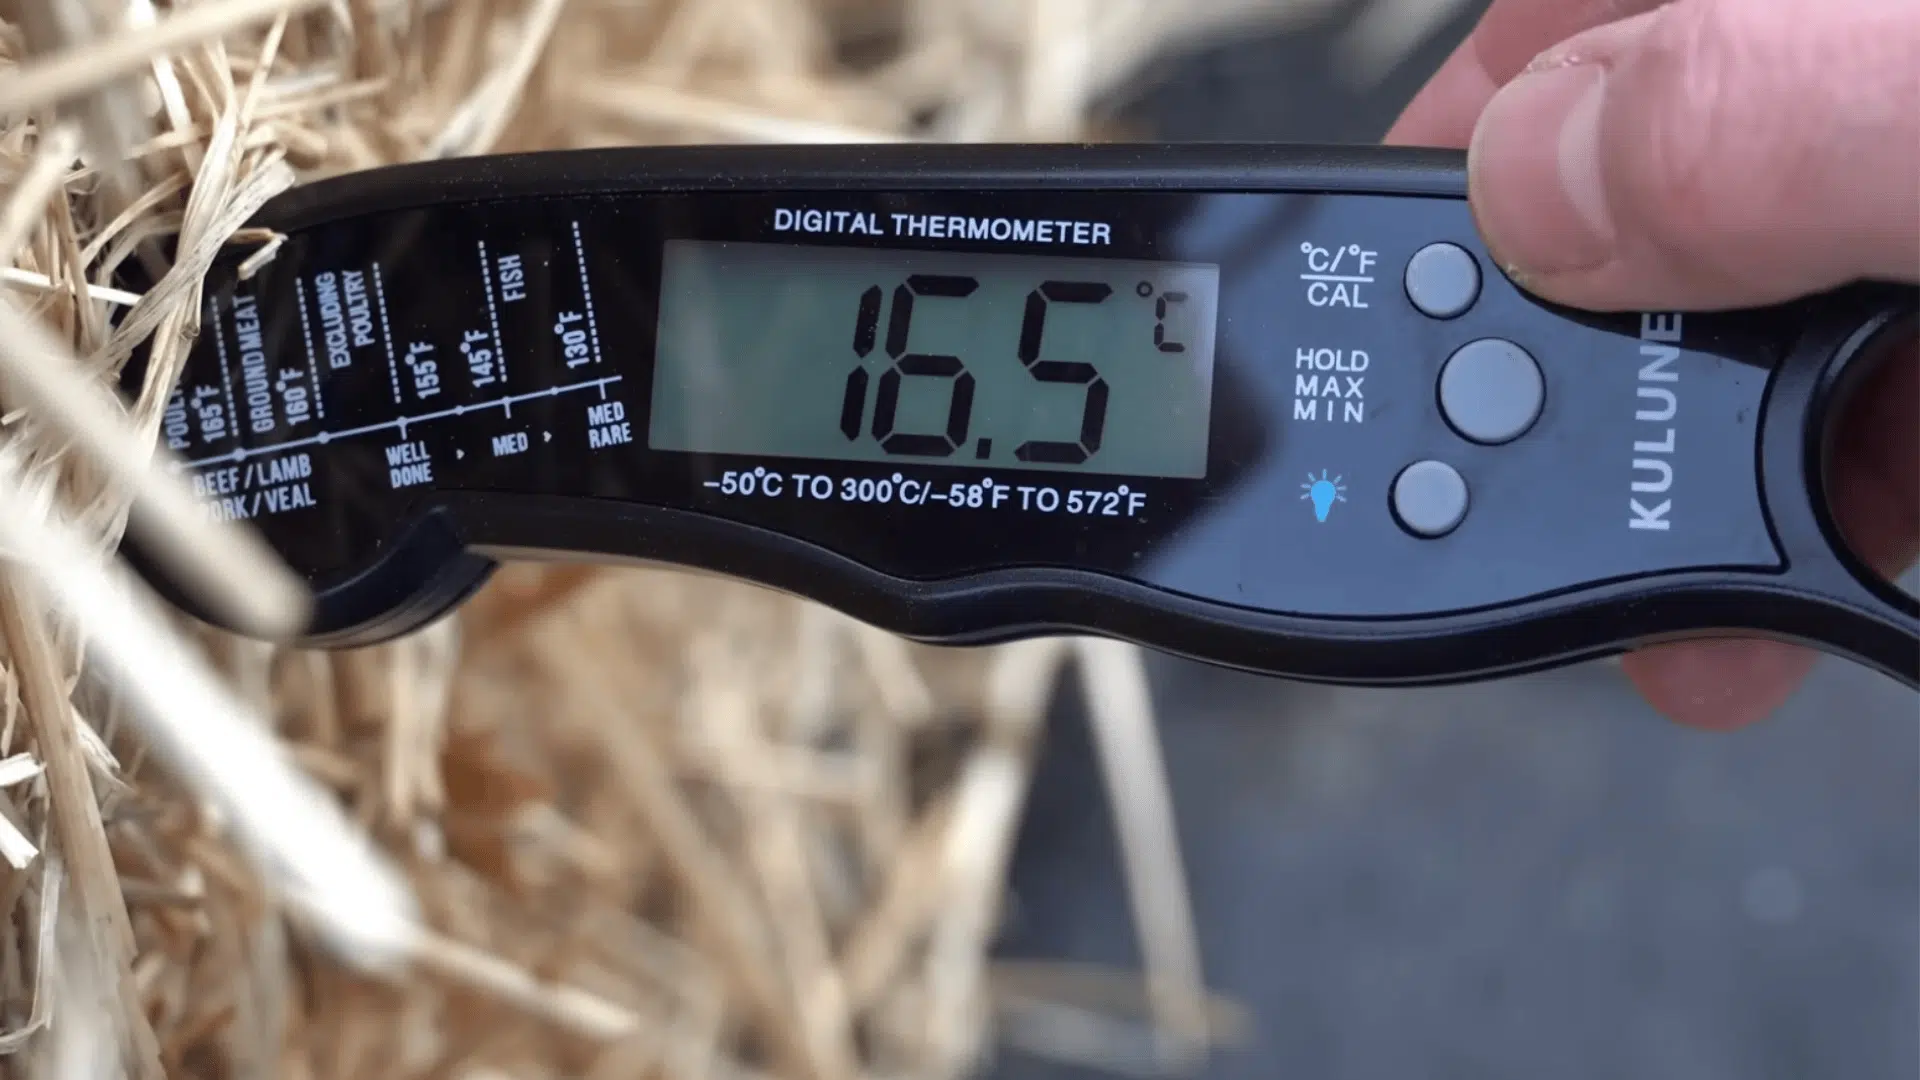
After about 10 days, check the temperature inside the bale. Insert your hand into the bale to feel the heat level.
It should feel warm but not too hot to keep your hand in; if it feels very hot, wait a few more days.
Planting too early can damage roots due to heat. Cooling shows that the intense breakdown phase is slowing. At this stage, the bale becomes more stable for plants. Patience here helps avoid early plant stress.
Step 4: Plant Your Crops
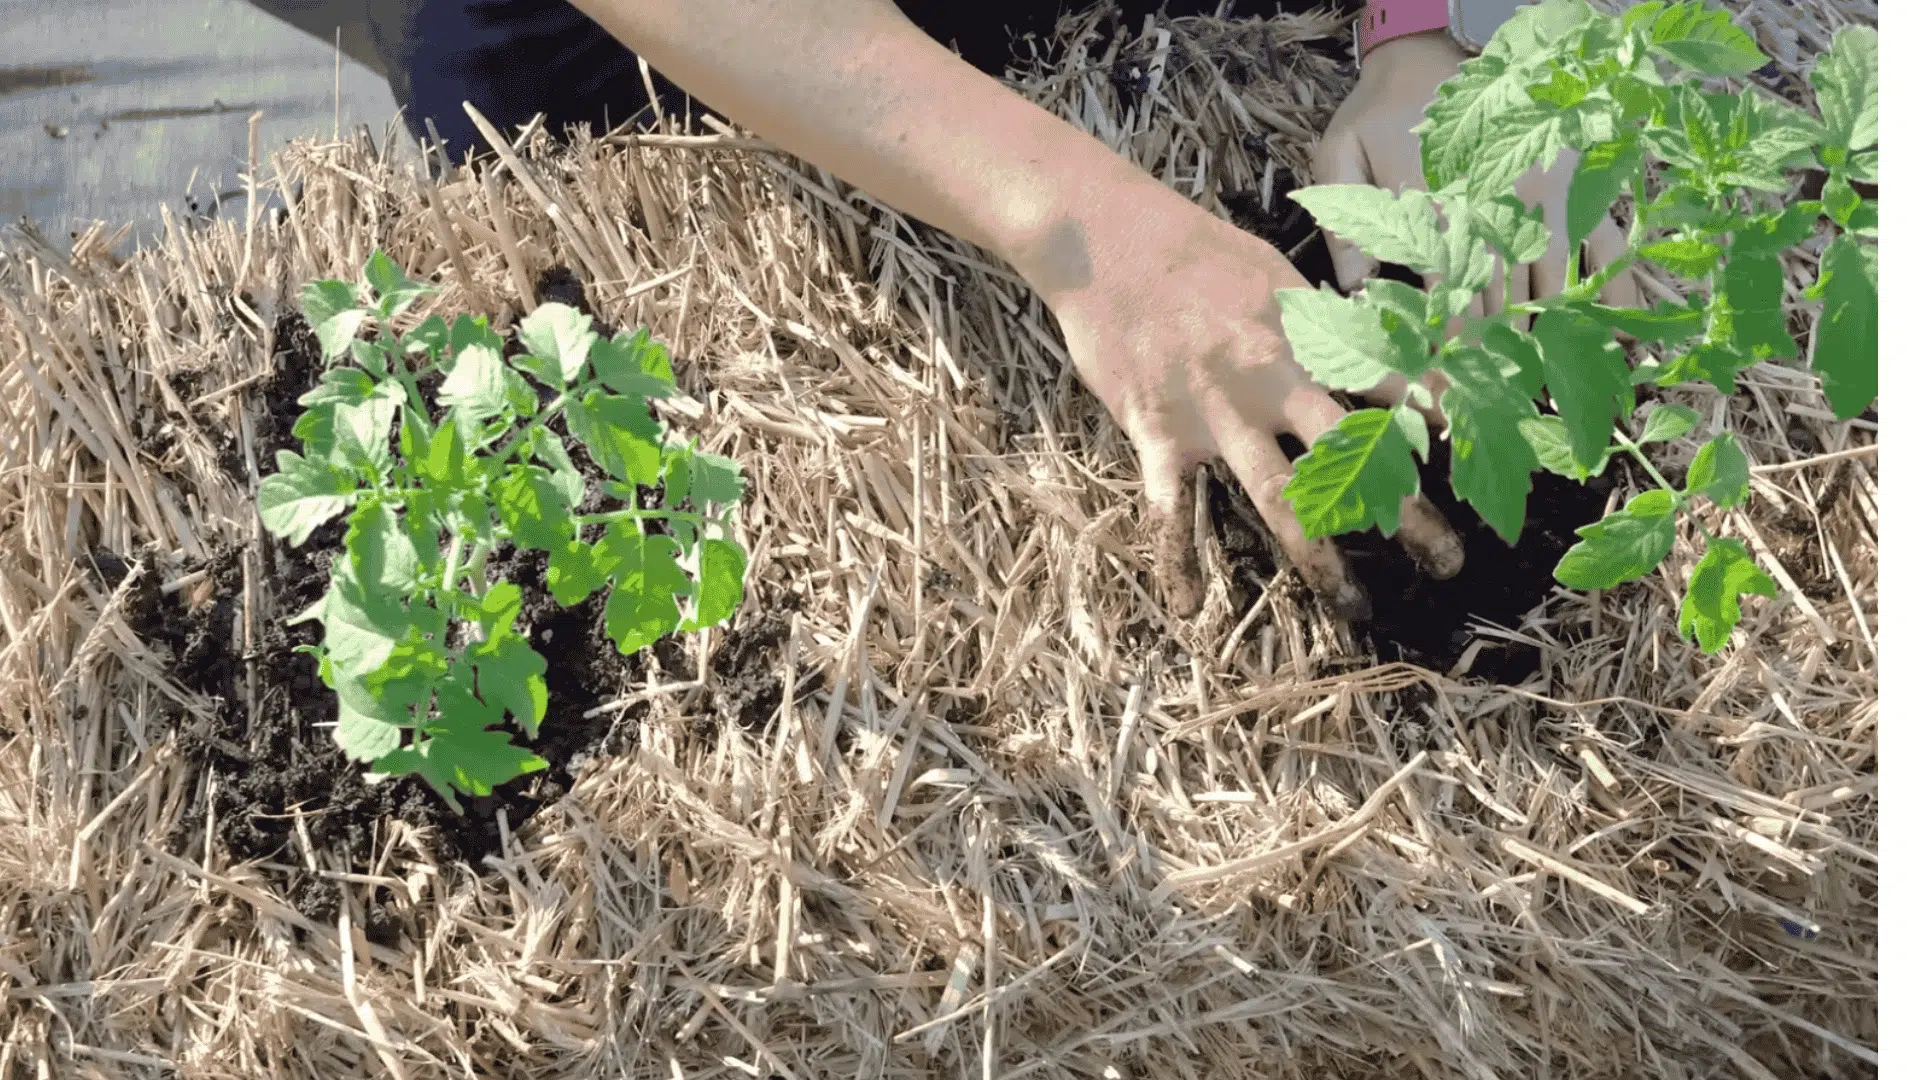
Use a trowel to make small holes in the bale. Add a bit of potting mix into each hole before planting. This gives roots a stable and nutrient-rich starting point.
Place the plant gently and firm it in place. Keep proper spacing to allow airflow between plants. You can plant 2 tomato plants per bale. Or you can plant 3 to 4 pepper plants per bale.
Step 5: Water and Feed Regularly
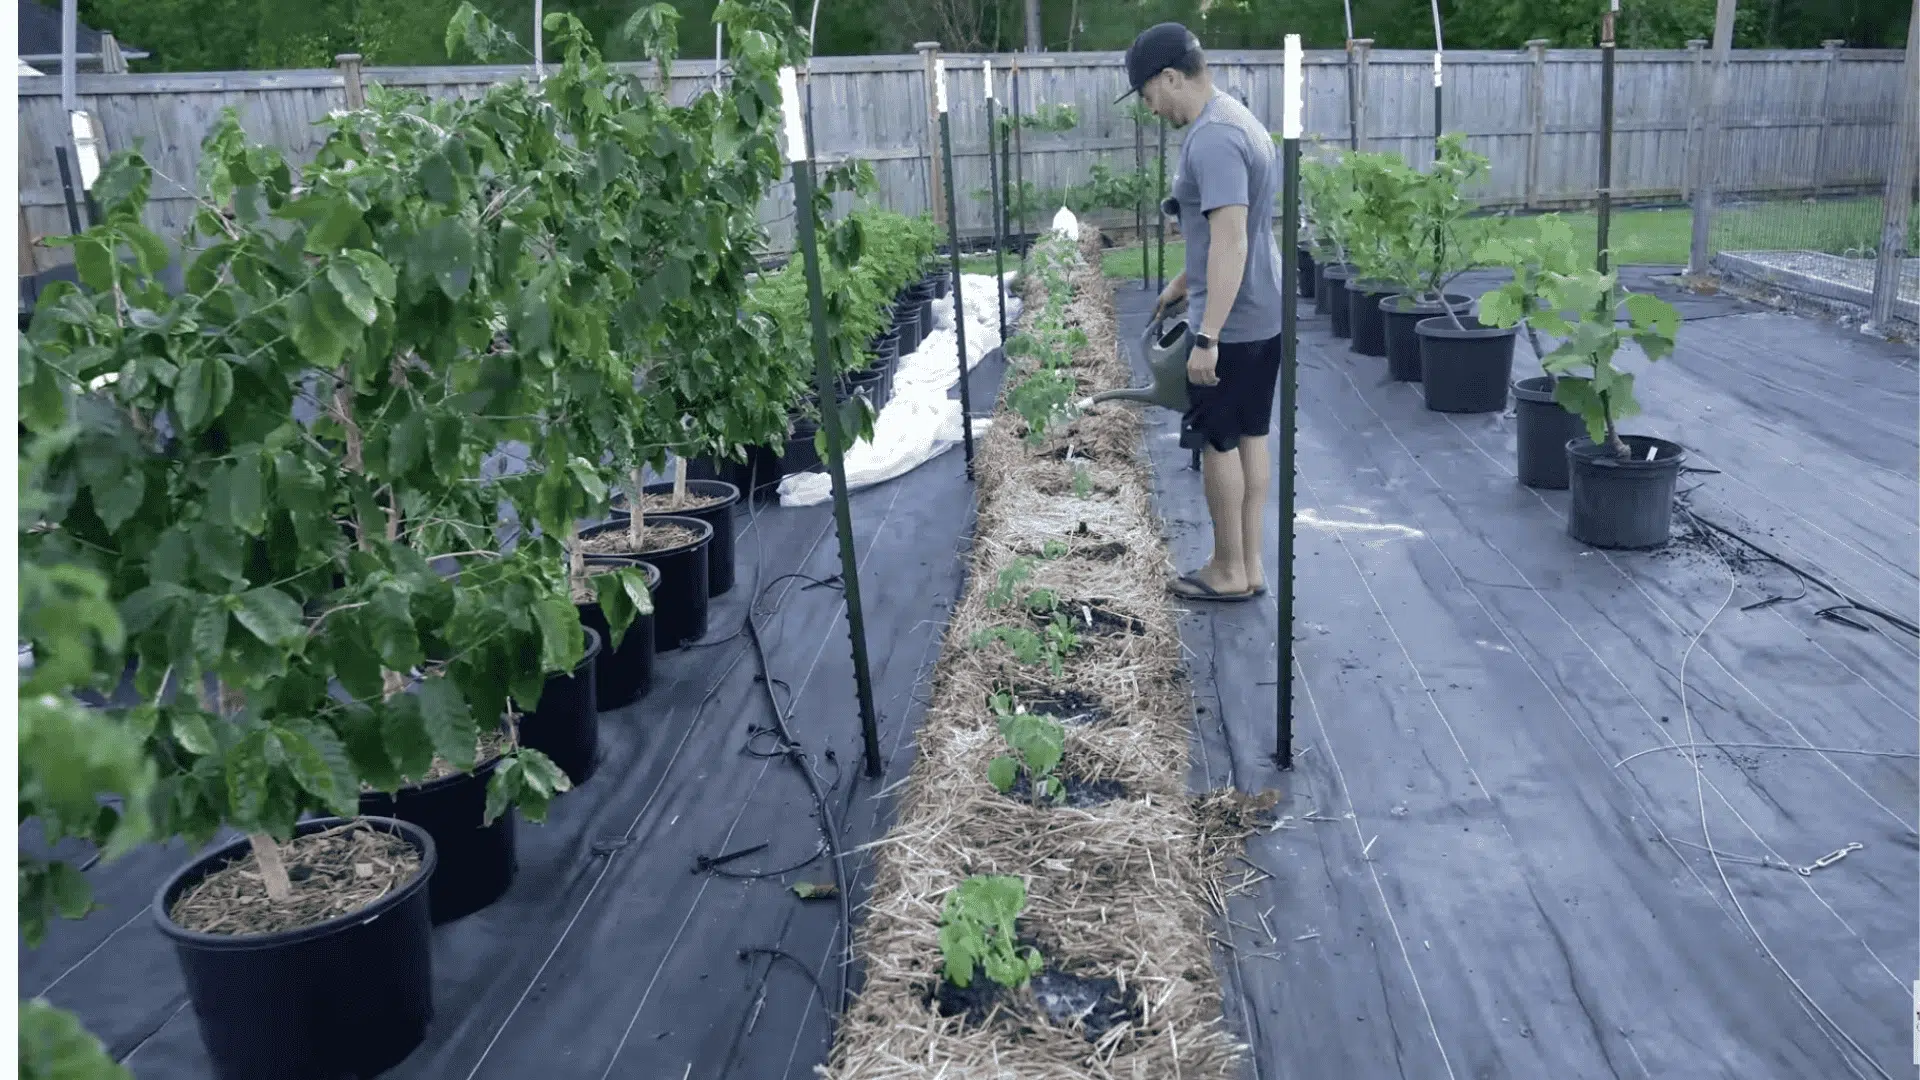
Straw bales dry out faster than normal soil. Check moisture a few inches deep, not just the surface; water daily, especially during hot weather.
In very high heat, watering may be needed more often. Morning watering helps plants absorb moisture better. Use liquid fertilizer every 2 weeks for a steady nutrient supply.
Regular feeding supports continuous plant growth. Consistent care keeps the bale productive throughout the season.
Refer to this video by The Millennial Gardener for a better understanding of straw bale gardening.
Best Plants for Straw Bale Gardening
These crops grow well in straw bales due to their root structure, nutrient needs, and adaptability to loose growing conditions.
| Crop | Suitability of Straw Bale | Why It Works Well | Planting Tip |
|---|---|---|---|
| Tomatoes | Excellent | Deep roots and high nutrient use | Plant 2 per bale and provide support |
| Peppers | Very Good | Thrive in warm, well-drained conditions | Plant 3–4 per bale |
| Cucumbers | Excellent | Fast growers that like loose growing media | Use a trellis for better growth |
| Zucchini | Very Good | Large plants benefit from rich nutrients | Give enough space per plant |
| Leafy Greens | Good | Shallow roots grow easily in the top layer | Can be planted densely on top |
These plants grow well because they do not rely on compact soil. Vining plants can be supported with simple stakes or trellises. Leafy greens grow quickly and are easy to maintain.
Avoid root crops such as carrots or potatoes. They require firmer structure for proper development.
Common Mistakes in Straw Bale Gardening
Even small errors can affect how well your bales perform across the season. Knowing what to avoid early helps you protect your effort and yield.
Below are the most common mistakes to watch out for:
- Using hay instead of straw leads to weeds
- Skipping conditioning causes weak growth
- Moving wet bales becomes difficult
- Not watering enough during hot weather
- Overcrowding reduces airflow and growth
- A hay bale garden often fails due to seed contamination.
Straw Bale Gardening vs. Raised Beds
| Feature | Straw Bale Gardening | Traditional Raised Beds |
|---|---|---|
| Upfront Cost | Low. Only bales and fertilizer | High. Wood, hardware, soil |
| Setup Time | Quick. Place and water | Time-consuming build |
| Maintenance | Needs frequent watering | Holds moisture longer |
| Lifespan | 1–2 seasons | Long-term setup |
Straw bale gardening works well for quick results and low commitment. Raised beds are better suited for long-term use and more stable growing conditions.
Choosing between them depends on your space, budget, and time available.
Seasonal Tips for Better Results
Weather shifts directly affect how your bales behave and how plants respond throughout the season.
Adjusting your routine to match local conditions keeps growth steady and predictable.
Here are the key tips to follow:
- Hydrate More in Heat: Warm climates dry bales fast, so check moisture levels each morning.
- Extend Cool-Season Prep: Lower temperatures slow microbe activity, requiring a few extra conditioning days.
- Manage Heavy Rainfall: Frequent rainfall can cause bales to flood, so reduce manual watering during wet spells.
- Apply a Light Mulch Layer: A thin top cover stabilizes surface temperature and limits water evaporation.
- Watch Wind Exposure: Strong winds dry bales unevenly, so position them in sheltered garden spots.
- Track Local Patterns: Adjust your schedule based on how quickly your specific bales dry or retain moisture.
Small seasonal adjustments make a big difference in keeping your bales productive and your plants thriving.
Conclusion
Straw bale gardening offers a simple way to grow vegetables without working the soil. It reduces setup time, cost, and physical effort while still giving reliable results.
With proper conditioning and regular care, the bales create a supportive growing environment where plants can develop strong roots and steady growth throughout the season.
It also allows you to garden in places where traditional soil gardening is difficult. This makes it useful for small spaces, poor soil conditions, or areas with limited access to ground beds.
For anyone looking for a practical, low-effort way to start gardening, straw bale gardening is a reliable, easy-to-manage option.
Frequently Asked Questions
How Long Does a Straw Bale Last?
A straw bale usually lasts for about one to two growing seasons. Over time, it naturally breaks down into compost that can still be used in your garden.
Can I Reuse the Same Bale Next Year?
Yes, you can reuse the same bale, but it may not perform as well. Fresh bales provide better structure and nutrients, which help support stronger plant growth and better results.
Do Straw Bales Attract Pests?
Straw bales can attract some pests, but proper care helps control them. Regular watering, spacing, and monitoring plants can reduce problems and keep your garden healthy and manageable.