Step-by-Step Guide to Under Stairs Closet Storage Plan
Need more space in your home? I know the feeling. That awkward area under your stairs often becomes a messy catch-all spot or stays empty.
After helping many homeowners with storage solutions, I can tell you that under-stairs spaces can work better.
I want to share my tested plans for turning this unused area into smart storage. These ideas will help you add valuable space to your home.
In this guide, I’ll provide step-by-step instructions for building an under-stairs closet. You’ll learn about measuring the space, picking materials, and installing shelves and drawers.
Plus, I’ll include tips for lighting and organization that I’ve learned from my own projects.
Understanding Your Space Before Planning
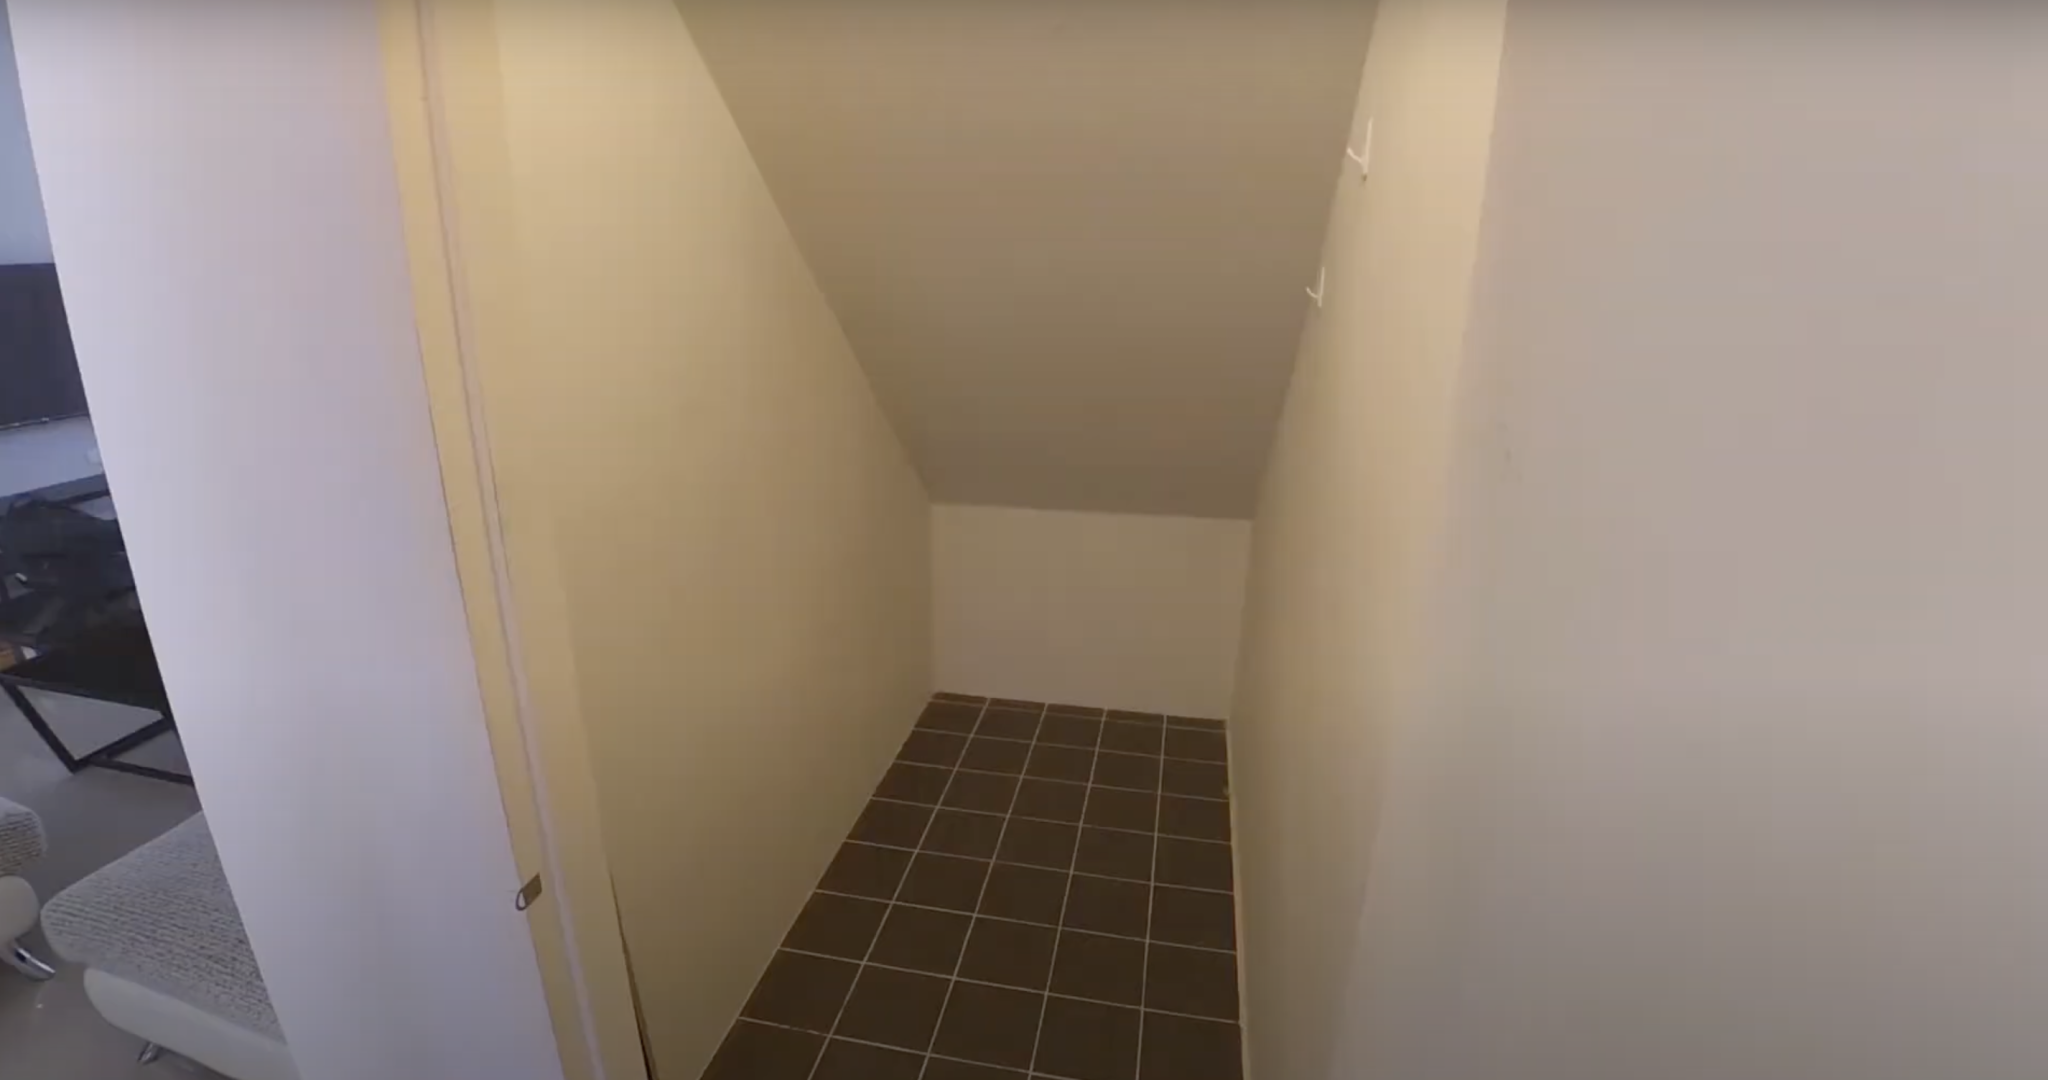
I’ve worked with many under-stairs spaces and’ll share what I learned. Before you start building, let’s get to know your space.
1. First Steps
Get your measuring tape out. Write down the following:
- Height at both ends
- Width of the space
- Total depth available
- Any odd angles
- Location of electrical outlets
2. Think About Your Needs
What items do you plan to store? This matters. I store my vacuum and winter coats in mine. Your needs might differ. Make a list of:
- Large items you want to fit
- Small things need shelves
- Items requiring hanging space
- Seasonal stuff you’ll rotate
3. Smart Space Use
I suggest dividing your space into zones:
- Tall section for brooms and coats
- Middle area for boxes and bins
- Lower spots for rarely-used items
How to Build Under Stairs Closet
| Tools Needed | Materials List |
|---|---|
| A basic hand saw or circular saw | 2×4 lumber for framing |
| Drill with bits | Plywood sheets (3/4 inch) |
| Stud finder | Drywall panels |
| Level | Door and hinges |
| Measuring tape | Door handle |
| Pencil | Wood screws |
| Screwdriver set | Drywall screws |
| Safety glasses | Wall anchors |
| Work gloves | Paint and primer |
| Shelf brackets | |
| Shelf boards |
Step-by-Step Process for Building It
1. Frame the Space
- Find and mark wall studs
- Build a basic frame using 2x4s
- Check that the corners are square
- Make sure the frame is level
- Add Walls
- Cut plywood to fit sloped ceiling
- Attach plywood to the frame
- Install drywall panels
- Fill seams and sand smooth
- Make the Door Opening
- Frame outdoor space
- Add header support
- Check to open is square
- Install door frame
- Add Storage Features
- Install shelf brackets
- Cut and place shelf boards
- Add closet rod if needed
- Put in floor supports
- Finish Up
- Paint walls and trim
- Hang the door
- Add door handle
- Test door swing
- Final Touches
- Check all screws are tight
- Make sure the door closes right
- Add any extra hooks
- Test shelf strength
Cost Estimation and Budgeting for Building
| Category | Item | Quantity/Description | Cost Range ($) |
|---|---|---|---|
| Framing and Walls | 2×4 lumber | 10-12 pieces | 40-60 |
| Plywood sheets | 2-3 | 80-120 | |
| Drywall panels | 2-3 | 30-45 | |
| Wall anchors and screws | 25-35 | ||
| Door and Hardware | Basic interior door | 70-100 | |
| Door hinges | 15-20 | ||
| Door handle | 20-30 | ||
| Frame materials | 30-40 | ||
| Storage Items | Shelf brackets | 8-10 | 40-50 |
| Shelf boards | 4-5 | 60-80 | |
| Closet rod | 15-20 | ||
| Storage hooks | 20-25 | ||
| Finishing Materials | Paint and primer | 40-50 | |
| Sandpaper | 10-15 | ||
| Wood filler | 8-12 | ||
| Caulk | 5-10 |
Total Cost Range
- Basic setup – $450-$550
- Mid-range – $600-$750
- Full custom – $800-$1000
Money-Saving Tips
- Buy materials during sales
- Check local building surplus stores
- Use leftover paint if possible
- Start with basic shelves
- Add extras over time
Step-by-Step Process to Organizing Stairs Closet Storage Plans
Tools & Materials Required
- Hammer drill (for concrete walls) or regular drill
- Level
- Measuring tape
- Screwdriver
- Support bars (different lengths based on ceiling slope)
- Shelving units
- Screws and anchors
- White zip ties for extra security
- Command hooks
- Basic toolset
Step-by-Step Process
1. Clear the Space
- Take everything out of the closet
- Sort items into three piles:
- Keep in closet
- Store elsewhere
- Give away/donate
2. Measure Your Space
- Note wall dimensions
- Mark spots for support bars
- Consider ceiling slope
- Plan shelf spacing
3. Install Support Bars
- Mark drill points on walls
- Drill holes for anchors
- Insert wall anchors
- Attach the first support bar
- Check for level placement
- Mark and install the remaining bars
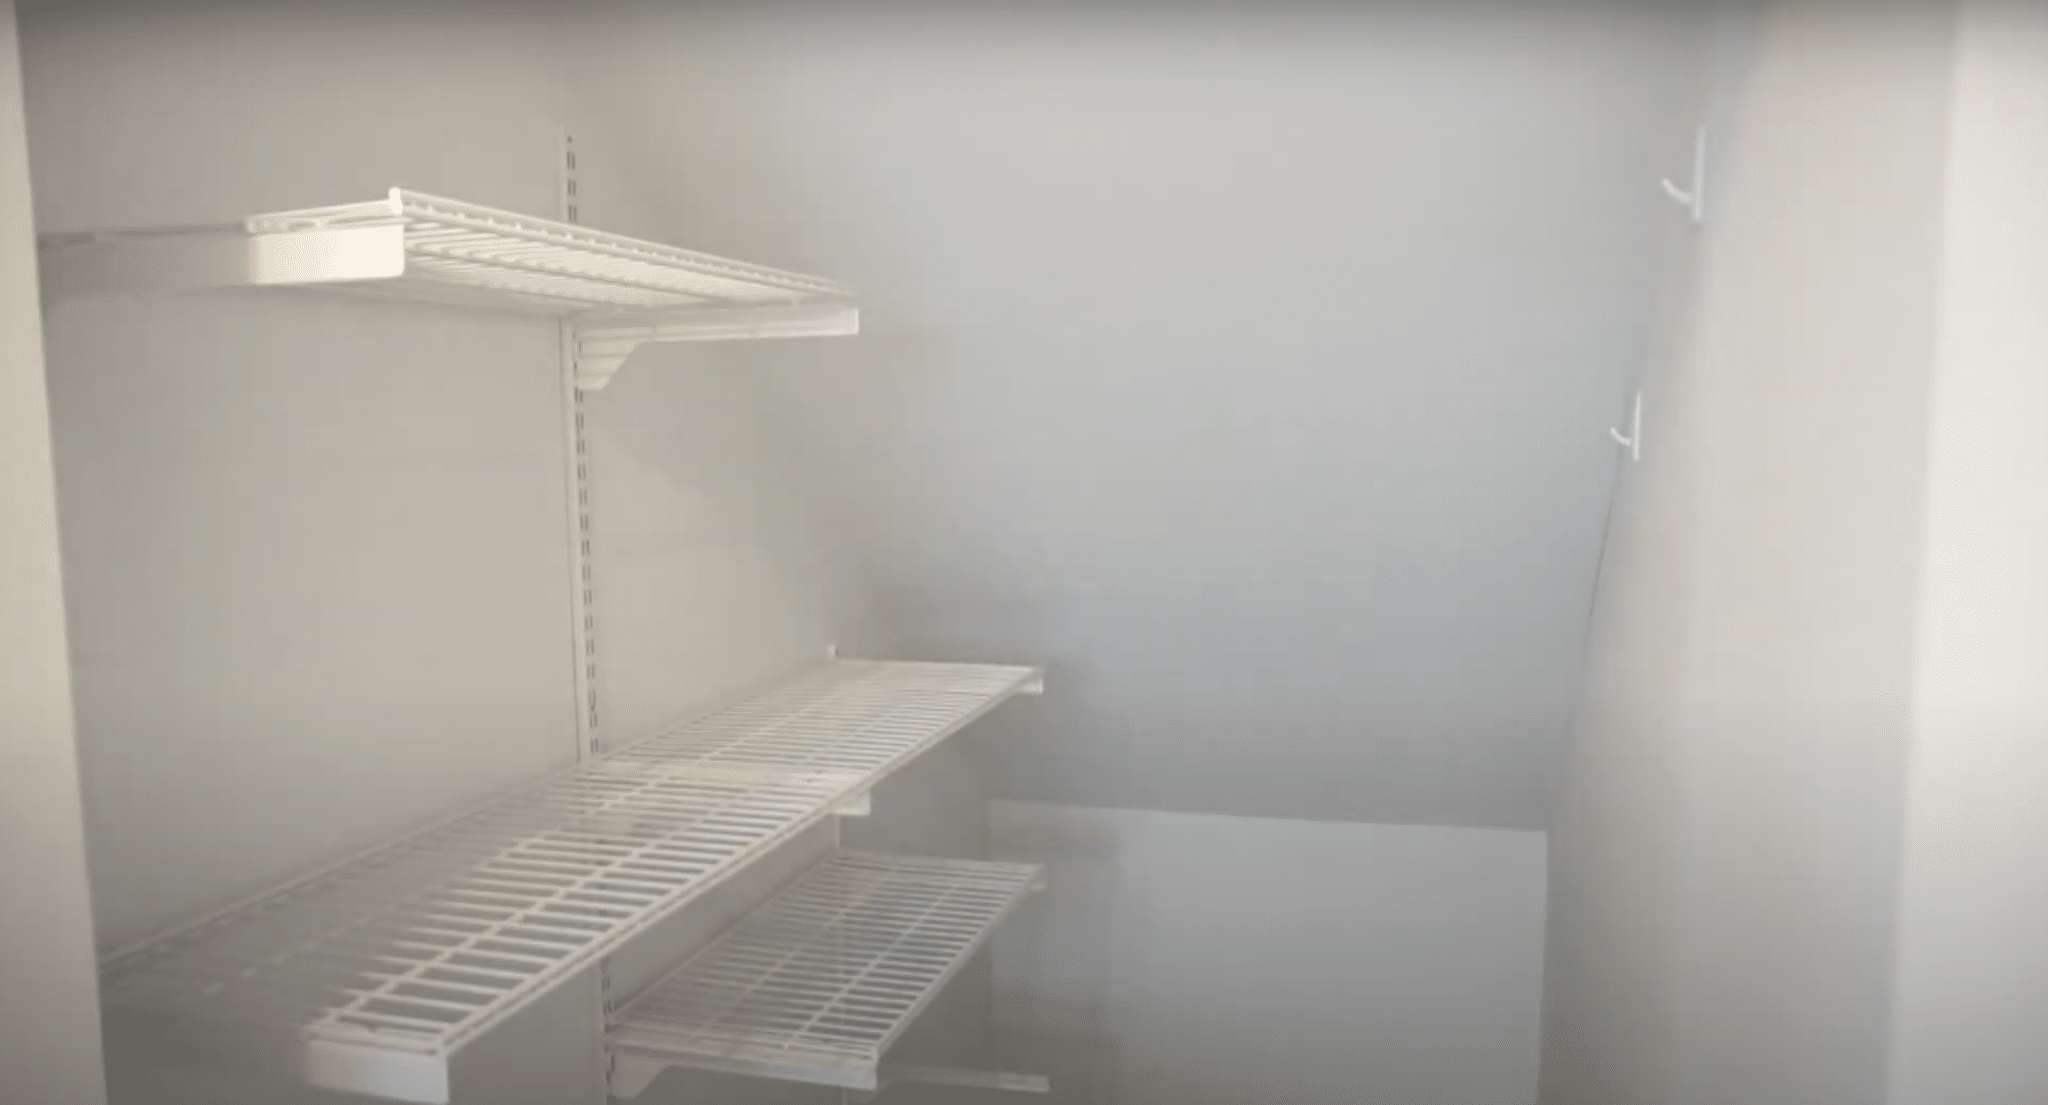
4. Add Shelving Units
- Place shelves on support bars
- Test stability
- Use zip ties to secure shelves
- Double-check all units are level
5. Organize Items
- Put tall items (ladder, vacuum) against the back wall
- Add command hooks for hanging tools
- Place frequently used items at eye level
- Store seasonal items up high
- Keep heavy items low
6. Final Safety Check
- Test shelf stability
- Secure any wobbly parts
- Make sure pathways are clear
- Check all mounted items are firm
Common Challenges Encountered During Organizing
Let me share the typical problems I’ve faced while working on under-stairs storage and how to fix them.
1. Space Limitations
- Sloping ceilings create odd angles Fix: Use adjustable shelving units
- Limited headroom near the back Fix: Save this area for seasonal items
2. Access Issues
- Hard to reach back corners Fix: Add pull-out bins or drawers
- Dark spaces make items hard to find Fix: Install battery-operated LED lights
- Narrow entry points Fix: Use sliding or bi-fold doors
3. Storage Problems
- Items getting lost in deep spaces Fix: Use clear boxes with labels
- Shelves not fitting right Fix: Take exact measurements before buying
- Things falling off shelves Fix: Add small ledges or guard rails
4. Building Challenges
- Wall material differences Fix: Use proper anchors for your wall type
- Uneven floors Fix: Add shims under shelving units
- Tight spots for drilling Fix: Get a right-angle drill attachment
Can I Build Under-Stairs Storage Myself or As a Professional?
Building under-stairs storage can be a doable DIY task if you have basic skills with tools. You can handle this project if you know how to measure, cut wood, and use a drill.
You’ll need a weekend or two, some patience, and a friend to help out.
But think about your skill level first. If you’re new to building, start with simple shelf units. These give you good storage without much risk. You can always add fancier features later as you learn more.
Call a pro if you need to move electrical wiring, change walls, or want custom cabinets. These tasks need special skills and tools. A professional can also spot problems you might miss, like wall strength issues or hidden pipes.
The choice often comes down to three things: your time, your skills, and your budget. DIY costs less but takes more time. Professional work costs more but gets done faster and often includes a warranty.
My suggestion? If you’re unsure, try a small project first. Build one simple shelf unit. If that goes well, you can do more. If not, you’ll know it’s time to call someone who builds storage spaces for a living.
Conclusion
Building an under-stairs closet isn’t just about adding storage – it’s about making your home work better for you. I hope this guide helps you see the potential in that unused space under your stairs.
Remember to start with good planning. Take time to measure, choose the right materials, and think about what you’ll store. Whether you build it yourself or hire help, focus on making it practical for your needs.
Ready to start your project? Take a good look at your space and make a list of materials. Start small if you’re unsure.
And don’t forget – you can always reach out in the comments if you have questions about your specific project. I’d love to hear how your storage solution turns out!
Frequently Asked Question
What are Some Creative Under-Stair Storage Ideas?
Install pull-out drawers or shelves, create a cozy reading nook, design a wine rack, set up a small home office, or build custom cabinets to maximize under-stair space.
How Do I Measure and Plan for Angled Spaces?
Record dimensions at multiple points using a measuring tape, create a scaled drawing, consider the slope of the stairs, and plan custom solutions to fit the angled space.
What Materials are Best for Building Under-Stairs Storage?
Plywood or medium-density fiberboard (MDF) is cost-effective and versatile, while hardwood offers durability. Consider materials that match existing décor and are suitable for the intended storage use.

