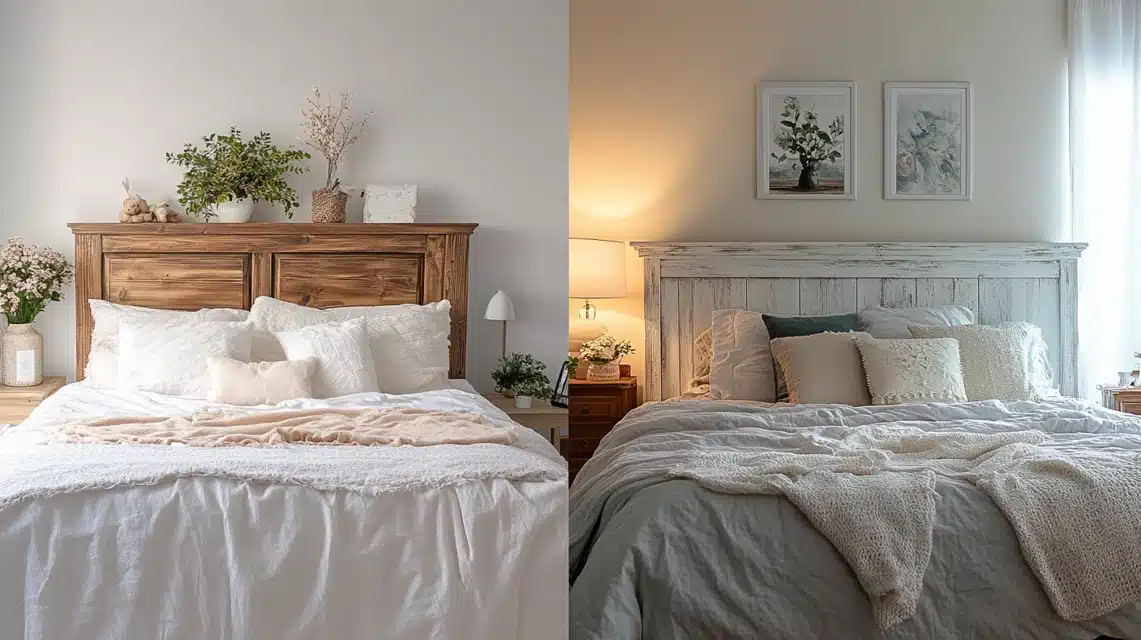
Step-by-Step Guide to Painting Headboard and Footboard
I will show you why painting headboard projects are worth your time and money.
Many people spend hundreds of dollars replacing outdated headboards, but you don’t have to do that.
With some basic tools and the right steps, I can help you transform a plain or worn headboard into a beautiful focal point for your room.
Trust me – a DIY paint project lets you pick any color and finish. I’ve done this many times, and the feeling of completing the project yourself makes the result so much more special.
Let me explain everything you need to know about giving your headboard and footboard a fresh look.
Stepwise guide to painting headboard and footboard
Step 1: Gather materials and prepare workspace
Materials needed:
- Dixie Belle White Lightning cleaner (TSP-based)
- Dixie Belle products (primer, paint, topcoat)
- Sandpaper (220 grit)
- Surf Prep sander
- RZ mask for sanding protection
- Painter’s tape
- Rad Pad (for sanding)
- Small artist brush for touch-ups
- Dixie Belle Cotton (for painting)
- Dixie Belle Satin (for topcoat)
Prepare a well-ventilated workspace, ideally outdoors if weather permits, for spraying.
Step 2: Clean the furniture
Goal: Remove oils, grime, and other residue from the furniture.
- Mix Dixie Belle White Lightning cleaner in a spray bottle.
- Spray the cleaner generously on all surfaces and wipe down thoroughly.
- Allow the furniture to dry completely before moving on to the next step.
Step 3: Sand the furniture
Goal: Smooth the surfaces and prepare them for painting.
- Put on an RZ mask to protect from dust.
- Sand the furniture using a Surf Prep sander and 220-grit sandpaper. For intricate areas, use a sponge pad to conform to curves.
- Pay extra attention to areas with gouges or screw holes. Fill these spots with Dixie Mud for a smoother finish.
- Once sanding is complete, wipe away any dust with a clean cloth.
Step 4: Apply primer (Dixie Belle Boss)
Goal: Block stains and prepare the surface for paint.
- Strain the Dixie Belle Boss primer to ensure it is free of lumps.
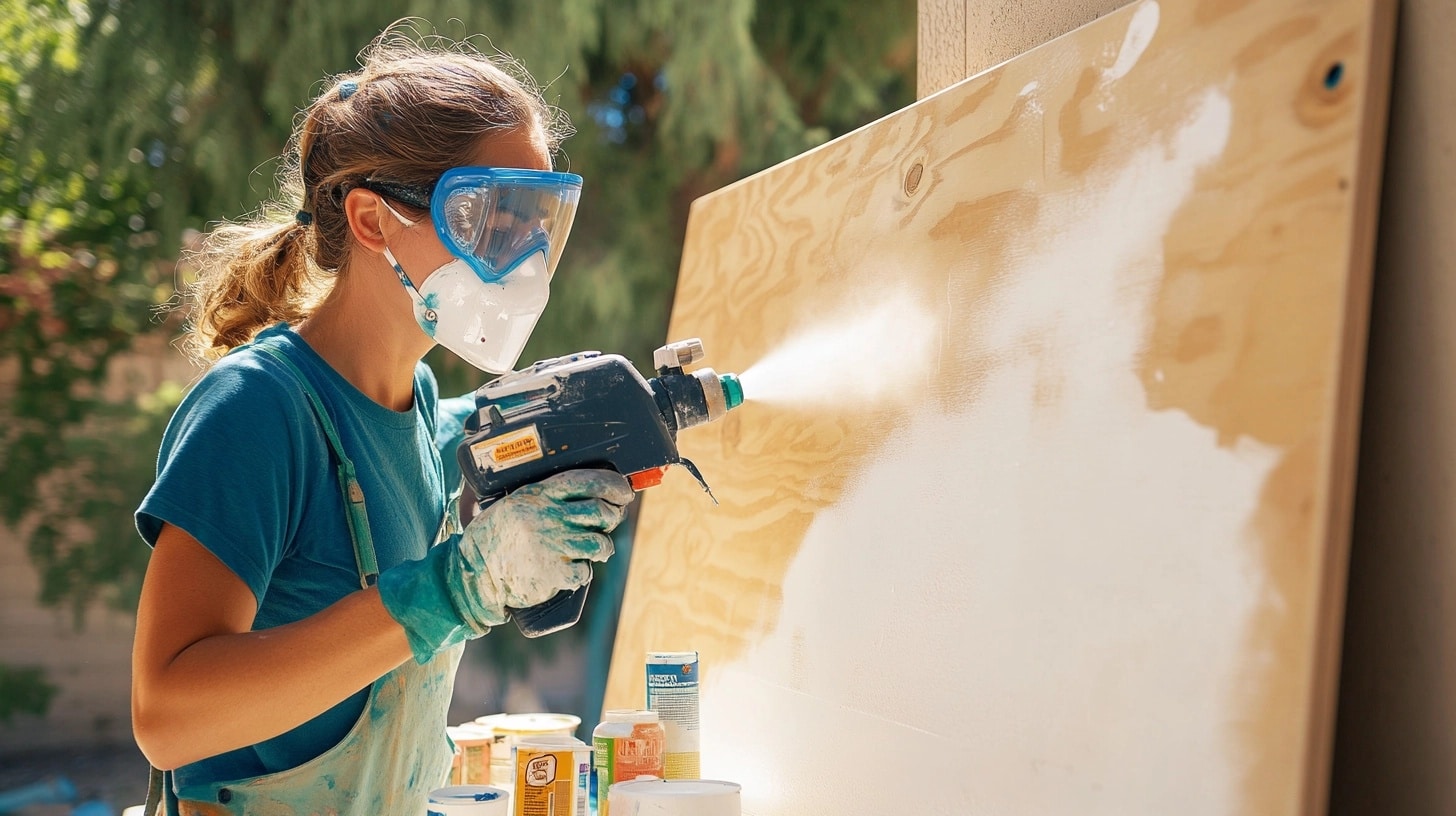
- Use a sprayer to apply a thin coat of primer to all furniture pieces.
- Let the primer dry completely before applying the paint.
Step 5: Paint the furniture
Goal: Apply the base coat to your headboards and footboards.
- Use Dixie Belle Cotton (white paint) for a clean look.
- Please set up your sprayer, fill it with the paint, and begin spraying.
- Apply two coats of Dixie Belle Cotton for full coverage. Allow each coat to dry in between.
Step 6: Apply topcoat (Dixie Belle Satin)
Goal: Protect the paint and give the furniture a smooth finish.
- Strain the Dixie Belle Satin topcoat before use to avoid any clumps.
- Use a sprayer to apply an even coat of the topcoat to all painted surfaces.
- Allow the topcoat to dry completely. This step helps protect the finish and ensures durability.
Step 7: Touch up
Goal: Fix any areas where the paint might have bled or missed during spraying.
- Remove any painter’s tape carefully.
- Use a small artist’s brush to touch up areas where the paint didn’t cover properly or where tape lines left slight marks.
- Let the touch-ups dry before proceeding.
Step 8: Final reveal and assembly
Goal: Finish the furniture makeover and prepare it for the home.
- Once all coats are dry, carefully remove any painter’s tape and inspect for imperfections.
- Reassemble or move the headboards and footboards to their final location.
- Enjoy the refreshed look of your newly painted and polished furniture.
Click here to download the guide guide to painting headboard and footboard
DOWNLOAD PDF
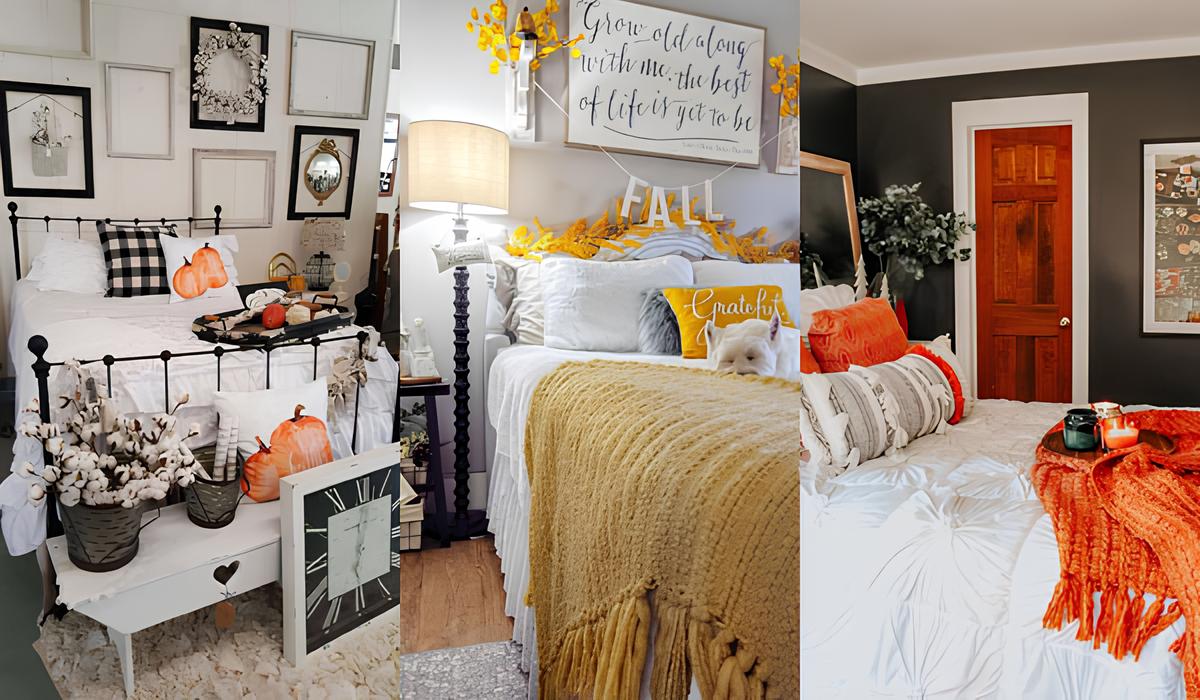
Learn how to match your headboard to your bedroom decor…
A freshly painted headboard can make your bedroom look new. Wood, metal, and upholstered headboards need specific preparation, but all can be updated with paint to match your style.
Choosing the right color
White remains popular as it fits any bedroom style, as shown in the source video where Lauren uses Dixie Belle’s Cotton white paint. When picking your color, look at your:
- Wall paint shade
- Bedding colors
- Other furniture in the room
Choosing the right finish
The finish type greatly affects how your headboard looks and lasts. Like the one used in the video, a satin finish gives a soft look while being easy to clean.
It’s less shiny than glossy options, making it good for hiding small surface problems. Semi-gloss works well, too, especially in rooms with lots of light.
Which paints are suitable for different headboards
Wood headboards
- Recommended paints: chalk paint, latex paint, or furniture paint
- Primer choices: bonding primer for better adhesion
- Best finishes: matte, satin, or semi-gloss, depending on the look and durability needed
Metal headboards
- Recommended paints: spray paint or enamel paint
- Primer choices: rust-preventive primer for metal surfaces
- Finishes: high-gloss for a sleek look or matte for a more subtle finish
Upholstered headboards
- Recommended paints: fabric spray paint or upholstery dye (if the fabric is durable)
- Considerations for light or dark fabrics and the texture of the headboard
Mixed material headboards
- How to address wood, metal, and fabric combinations in one headboard
- Choosing a paint that can adhere to multiple surfaces
Find out if sanding or priming is necessary before painting
When sanding is required
To check if you need to sand, run your hand over the surface—rough spots or peeling paint means it’s time to start.
For wood headboards, begin with 220-grit sandpaper, as shown in the furniture flipping video.
Use sanding sponges for curved areas to maintain even pressure. Pay extra attention to any scratches or marks.
Start with a light scuff for metal headboards to help the paint stick better. Remember to clean off all dust between sanding steps—a tack cloth works well.
Clean the surface thoroughly after sanding before you start painting.
When priming is necessary
To block stains and seal the surface of wood headboards, use a water-based primer like the one shown in the video.
For metal headboards, choose a bonding primer made for metal surfaces. This stops rust and helps the paint stay on better.
Raw wood always needs a primer to seal the grain. Already-painted surfaces in good condition might not need it, but using primer often means you’ll need fewer coats of paint overall.
Identify Common Pitfalls and How to Avoid Them
1. Uneven Coverage or Streaking
- Common causes: Too much paint, poor brush technique, not using enough primer
- Solutions: Apply thin coats, use a high-quality brush or sprayer, allow proper drying time
2. Paint Peeling or Chipping
- Common causes: Incorrect primer or no primer, painting over a glossy finish without sanding
- Solutions: Always sand and prime when needed. Use appropriate paint for the material.
3. Over-Spraying or Drips
- Common causes: Using too much paint, poor spraying technique
- Solutions: Hold the sprayer at a consistent distance, apply light coats, and let them dry in between
4. Color Mismatch
- Common cause: Choosing a color without testing or matching with the rest of the room
- Solutions: Test small patches before committing to a full-color change
5. Inadequate Drying Time
- Common cause: Rushing the painting process, applying multiple layers too quickly
- Solutions: Allow sufficient drying time between coats (especially for primer and topcoats)
Summing Up
I hope this guide has given you the confidence to paint your headboard and footboard. Let me sum up the key points I covered:
- Clean your surface well with a TSP-based cleaner
- Sand with 220-grit paper for the best paint grip
- Use a primer to block stains and help the paint stick
- Apply thin coats of paint for even coverage
- Finish with a protective topcoat
Remember, you can always reach out if you have questions. Don’t forget to share photos of your finished project – I’d love to see how your headboard makeover turns out!

